You must be logged in to rate content!
15 minute read

R53 supercharger install
Compliments of zirconmr2 @ totalmini.com
7-29-2014
I recently bought a new supercharger just in case one of ours went tits up.
Simply couldn’t stand the thought of brand new parts sitting on the shelf so went ahead and fitted it.
Also fitted at the same time was a new water pump.
Things that come off along the way:
Front bumper
MFE modular front end
Radiator
Intercooler
Throttle assy
Bypass valve
Alternator
So if you need to change any of those, keep reading…..
This is just a “how to” of how I did things, if your stupid enough to attempt something like this without following the general safety rules when working on cars so be it. I wont be responsible for numptyism!
new parts bought:
Water pump `o` ring 11517509186
Water pump 11517520123, 11511490591
Intake manifold- intercooler horn gasket 17511524319
Supercharger to intercooler horn gasket 17511520044
and I should also have had the crank sensor o ring handy, they tend to leak but I didn't know that at the time.
Crank sensor `o` ring 12147514983
I got my gaskets from vecchio engineering, always had good service from him.
Raise the front of the car and place on axle stands or similar.
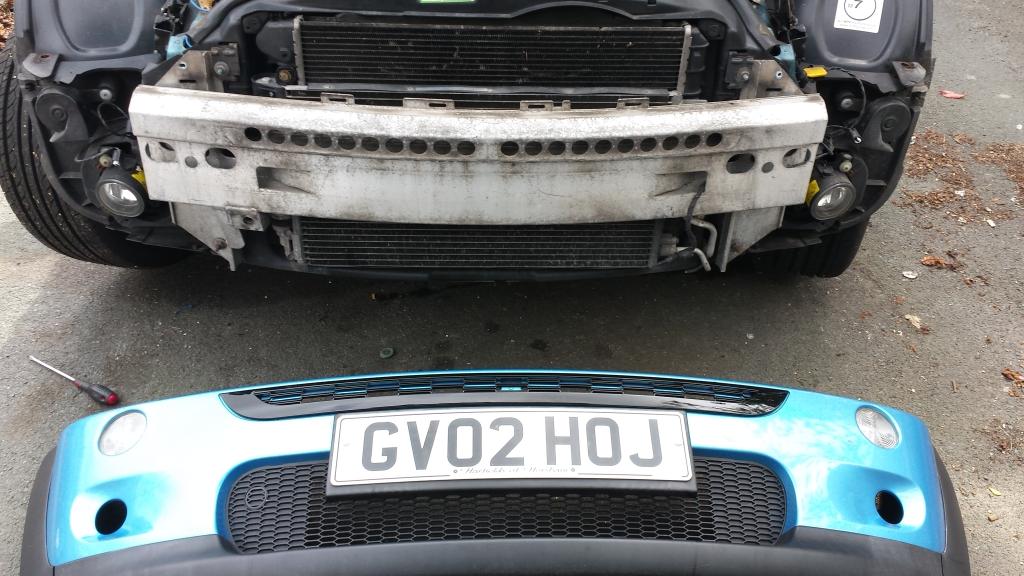
Start by removing the front bumper.
Remove the rearmost screw here (both sides)
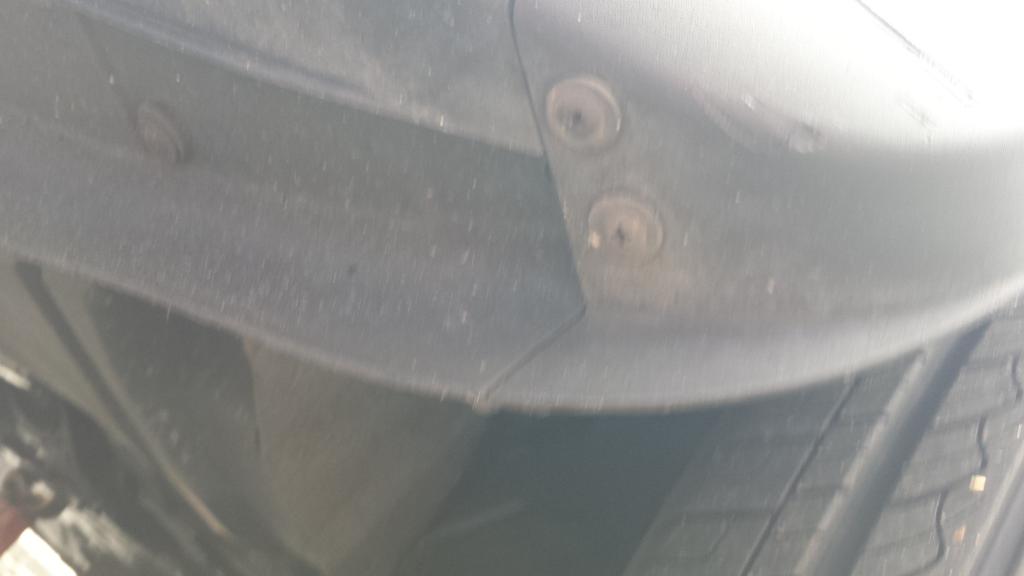
The remove 3x 10mm bolts and 2x screw from along the bottom

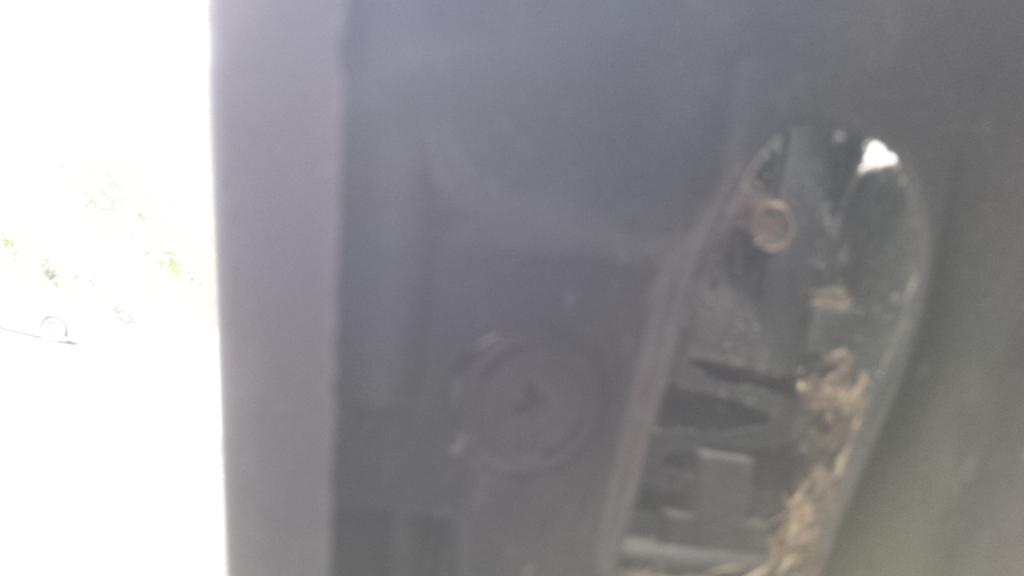
Now look inside the wheel well, inside this hole there is an 8mm bolt going straight up, remove it.
Now unclip the indicator and sidelight plugs

Next, undo these 2x torx screws (one each side)
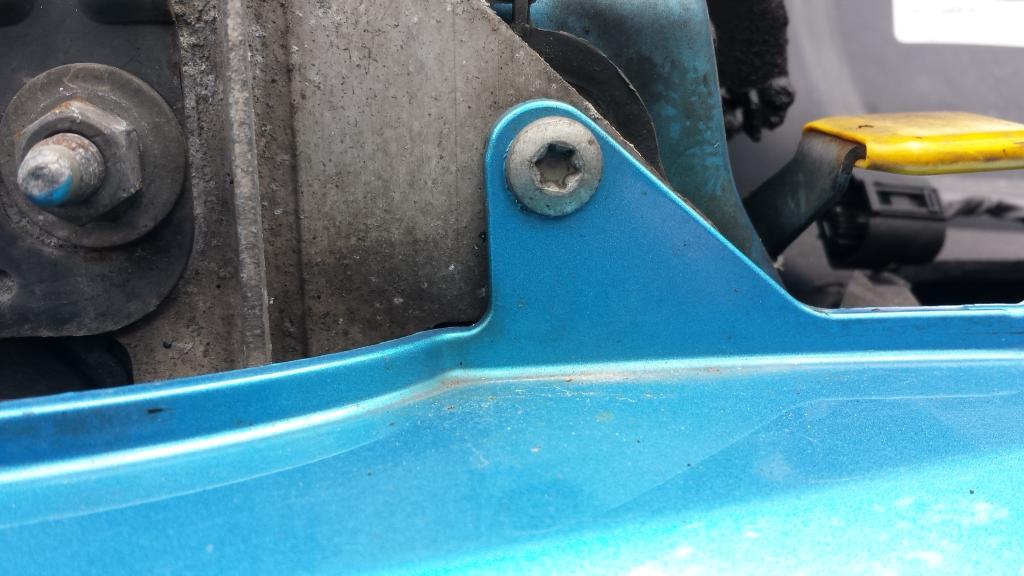
You can now pull the bumper skin forward, look inside and remove the external temp sensor from the clip inside the bumper skin.
Put bumper skin in a safe place once removed
Now remove the aluminium crash bar, remove 4 from the bottom, 2 each side

4 from the middle, 2 each side

And finally 2 from the top, 1 each side (with brackets)
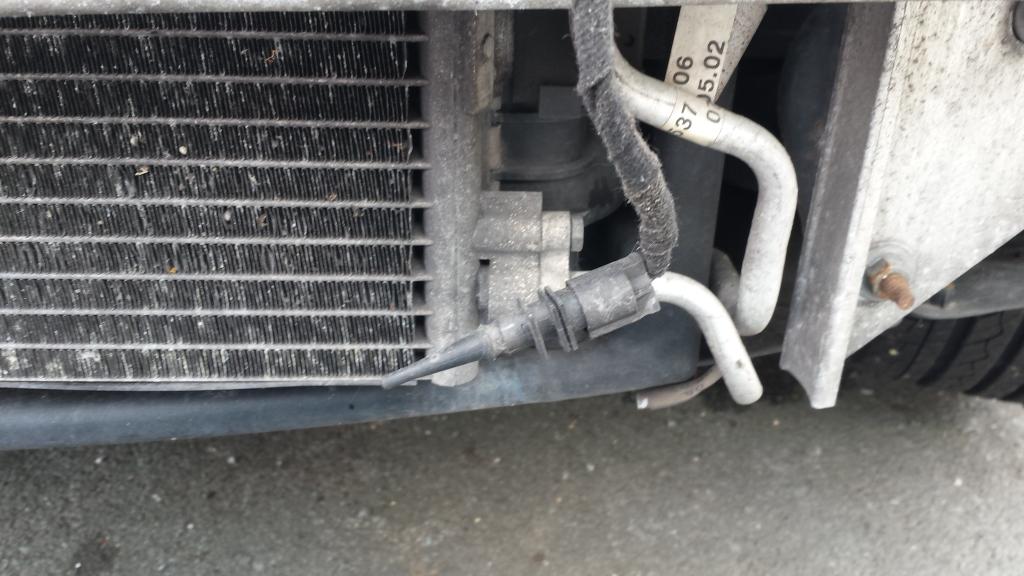
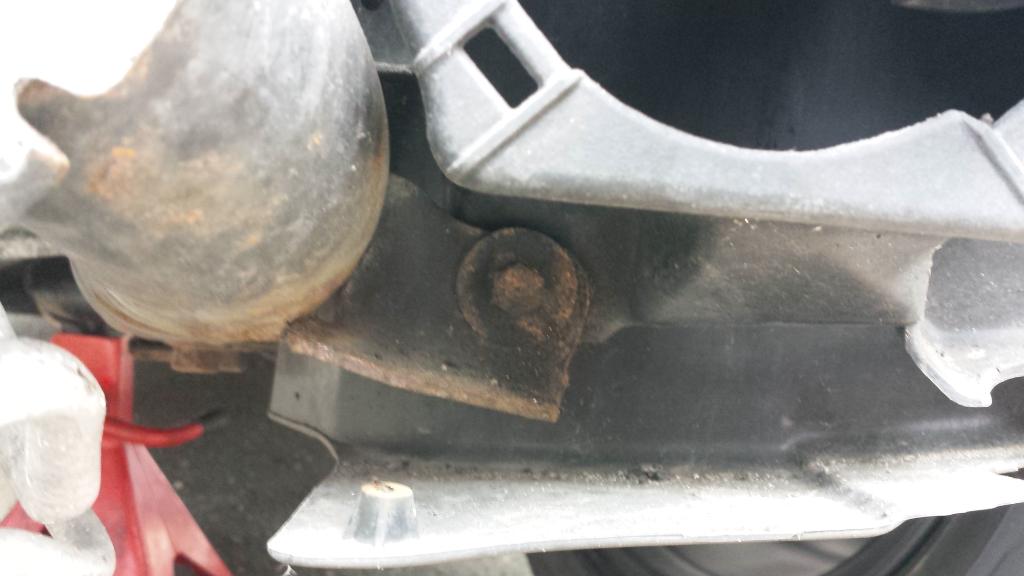
Now remove this 10mm bolt from the aircon radiator, and carefully put the radiator to the left side of the car

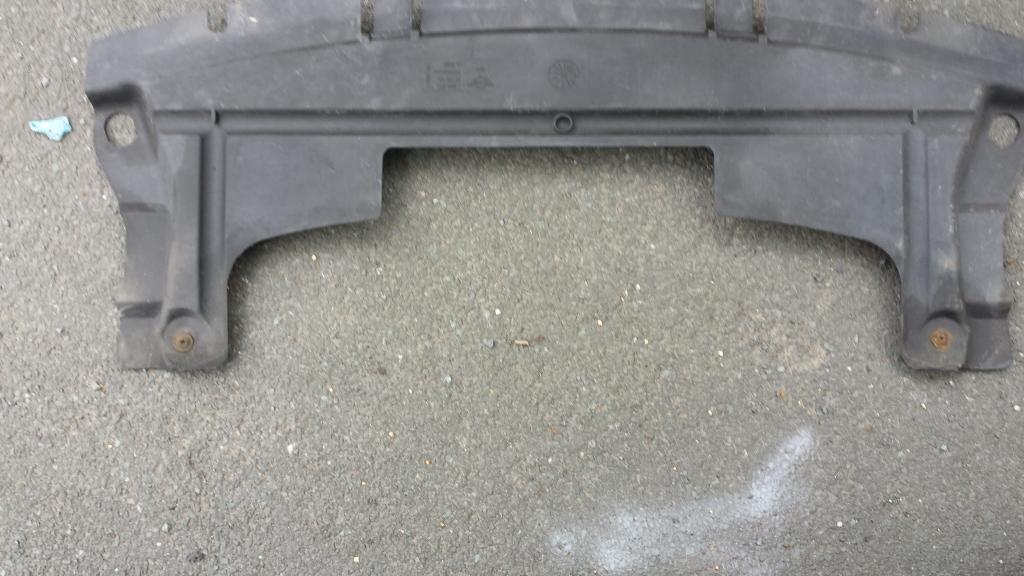
Now undo the 2 Philips screw holding the undertray on
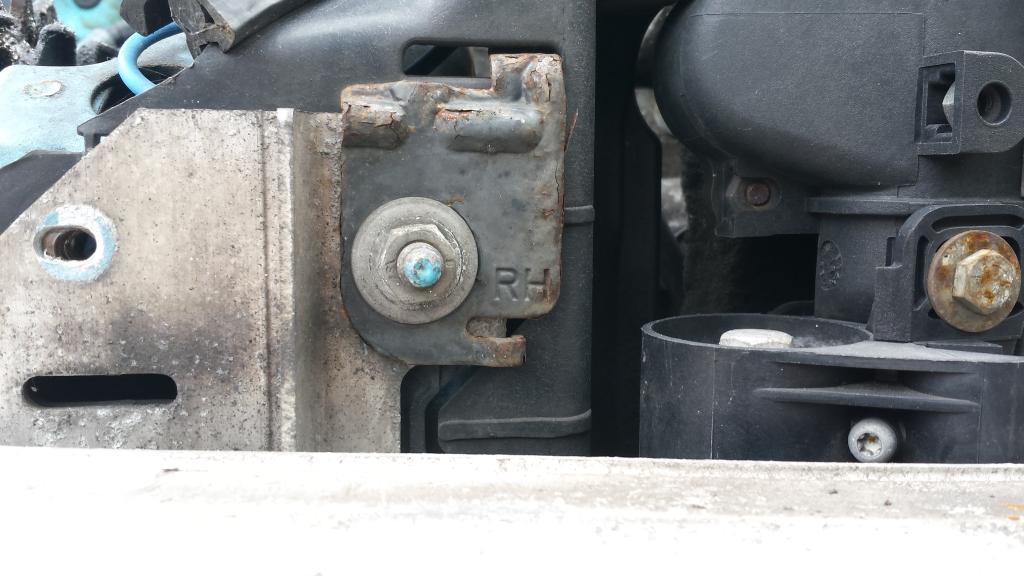
While you are down there, undo 2x 10mm bolts on the crush tubes
Then the 16mm bolts holding the crush tubes on

Pull them forward to remove them, they might need persuading!
While on the floor, remove the hose at the bottom of the radiator, have a big enough container at the ready to catch the coolant, removing the expansion tank cap will aide flow.
Remove the top hose, I split it at the bleed valve as it’s easier to access
Look to the top of the radiator, pop the 2 clips out and remove them
Undo the wiring for the radiator fan (facelift is slightly different)

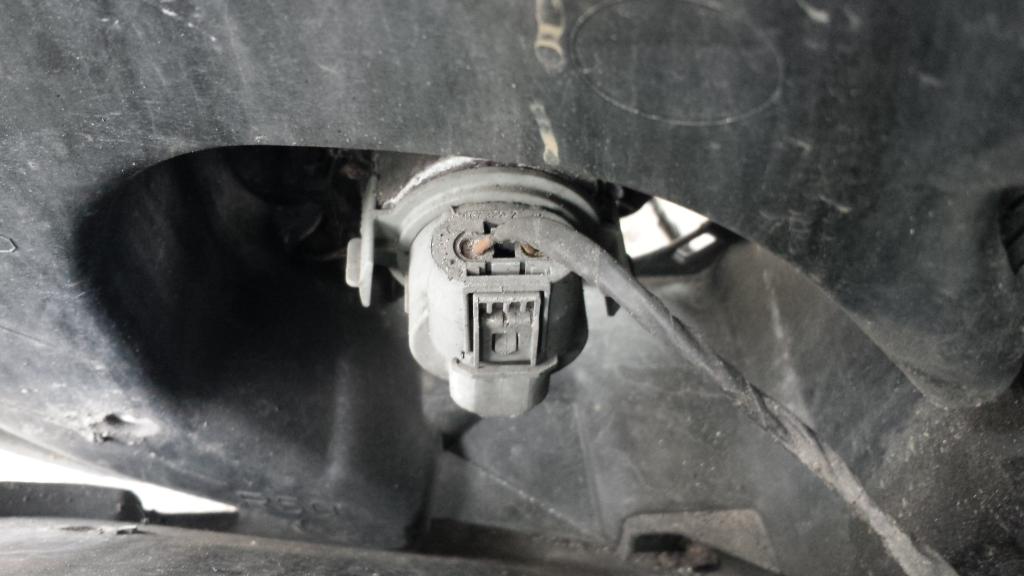
Unplug the horns, one each side
And unplug the fog lights
Now pull the wiring through the relevant hole and remove the MFE, (modular front end). Place it safe with other parts you have removed.
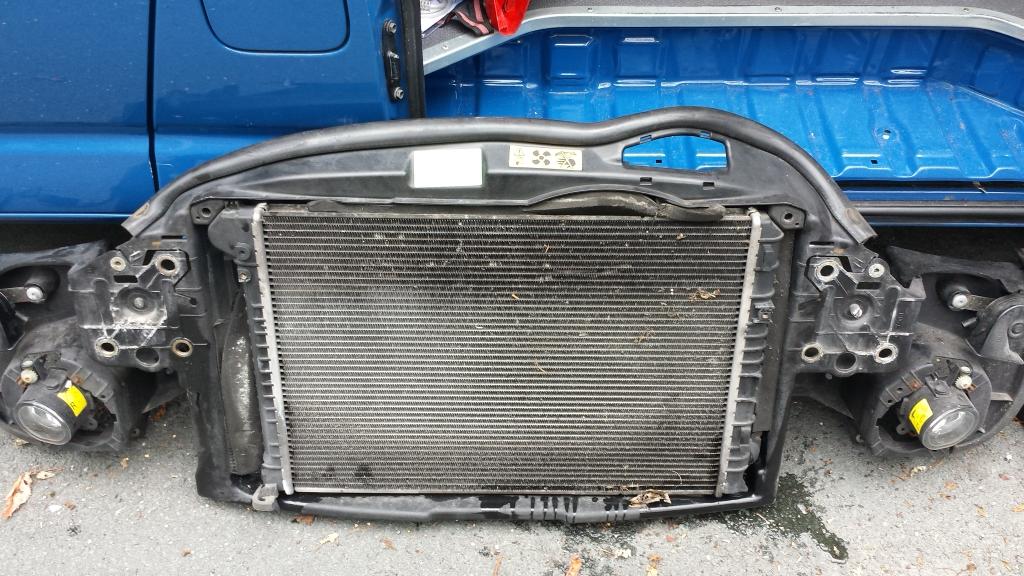
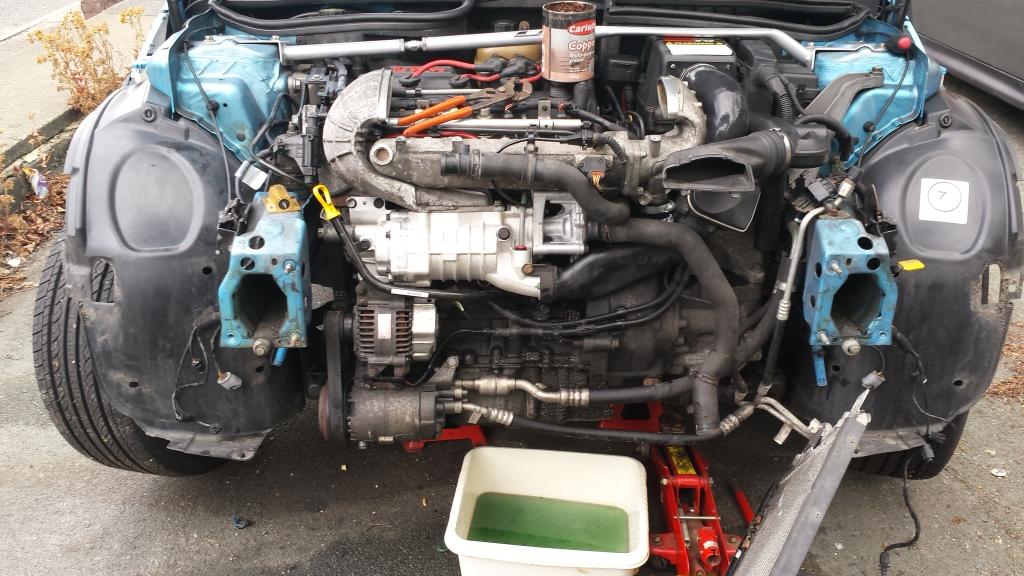
Your car’s a mess
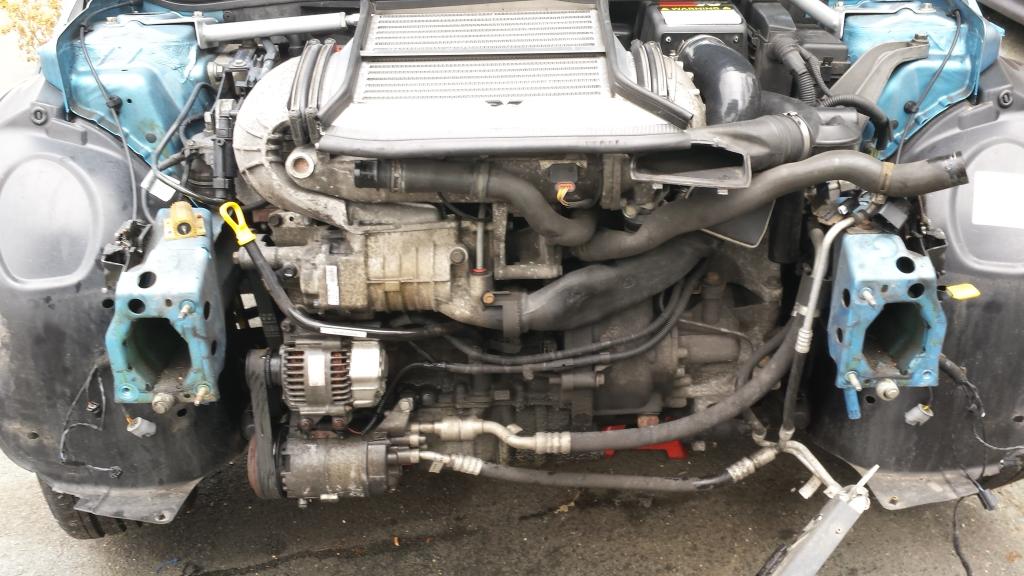
Now start on the engine
Remove the 8 torx screws holding your snoot boots in place
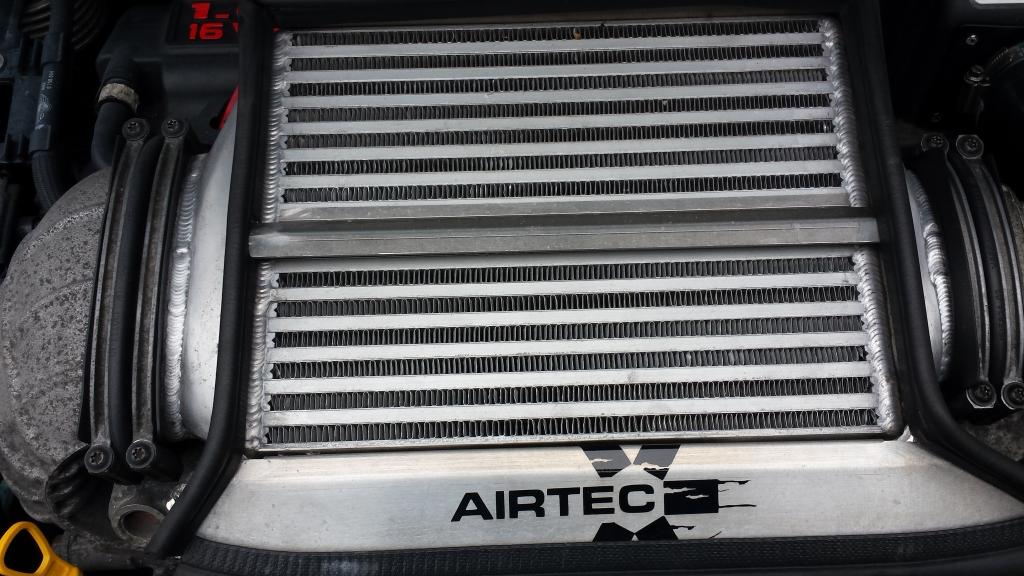
Then there are 2 Allen screws holding the airtec, different intercoolers are held on differently, it’s easy to work out. Once the fixings are out, push the IC left while pulling up at right hand side, if will now come off.
Remove this 10mm so the top hose becomes free
Remove this clip on the induction pipe, stock requires a special tool so better to replace with jubilee clips
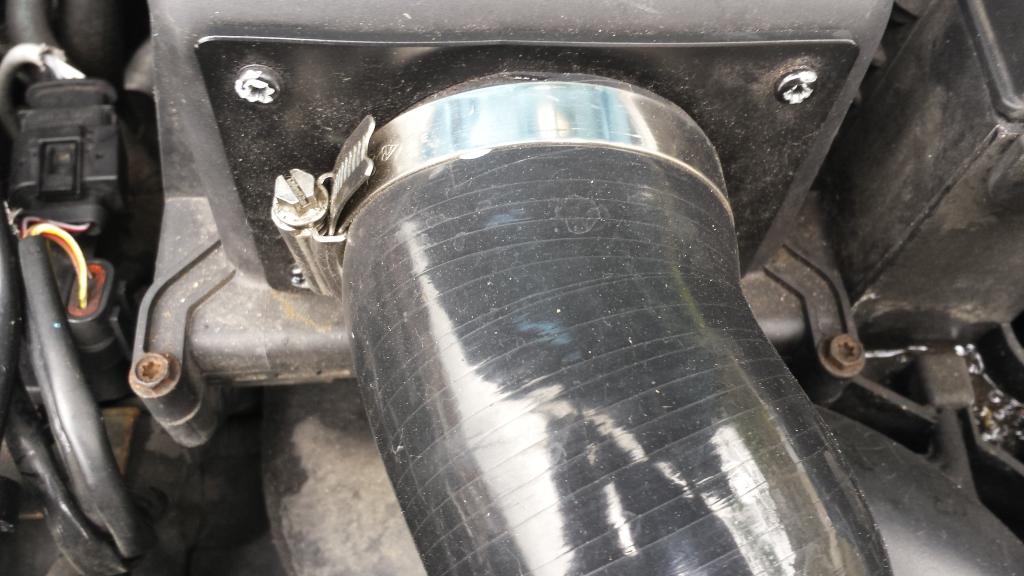
Then this one, also on the induction pipe, and finally the bottom one connecting to the throttle assembly, remove induction pipe.

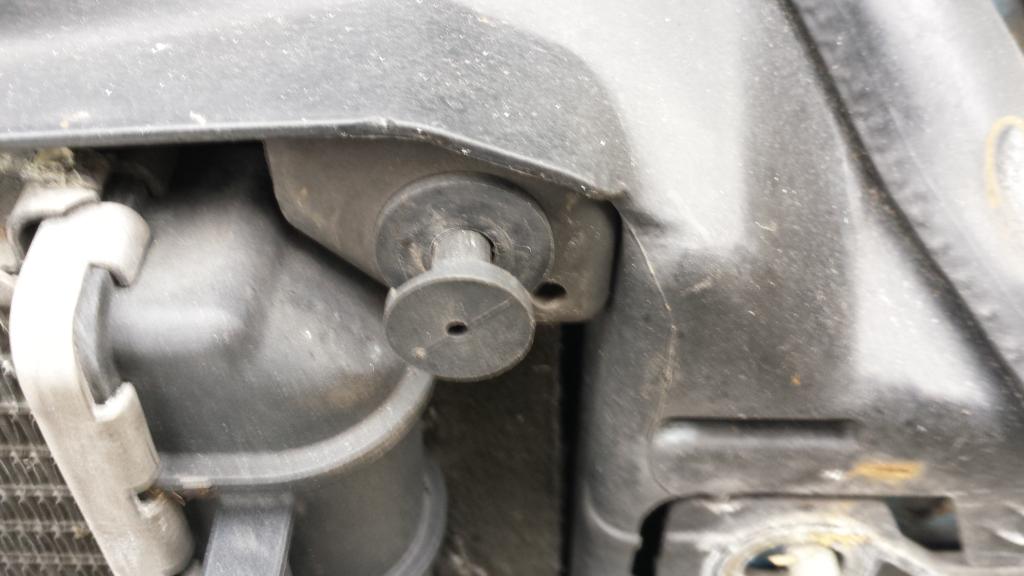
Now remove this resonator
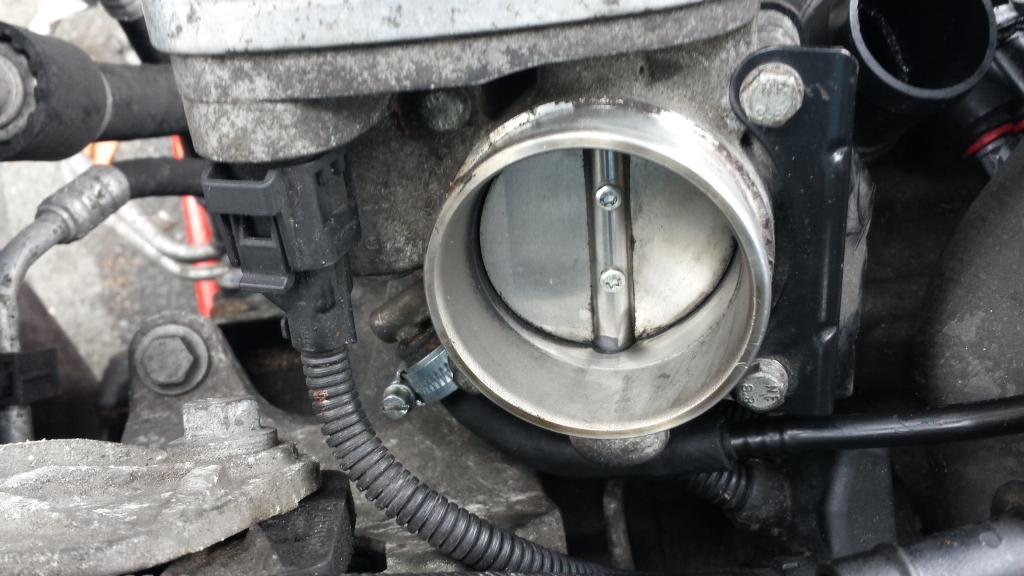
Remove these 4 bolts, unplug the wiring, and remove the hose from the throttle assembly

Remove throttle assy

Remove the 10mm bolt from here to help with the above
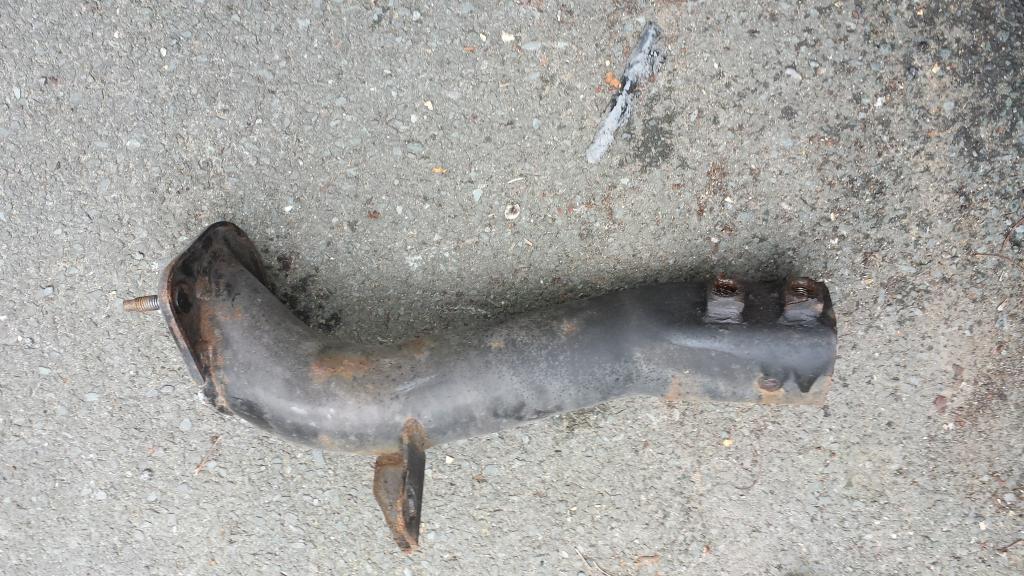
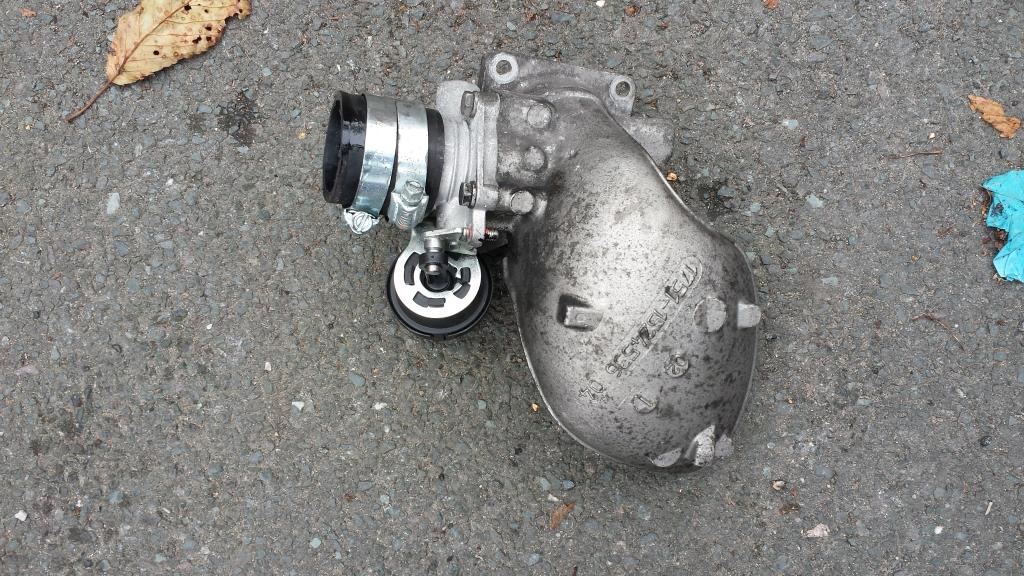
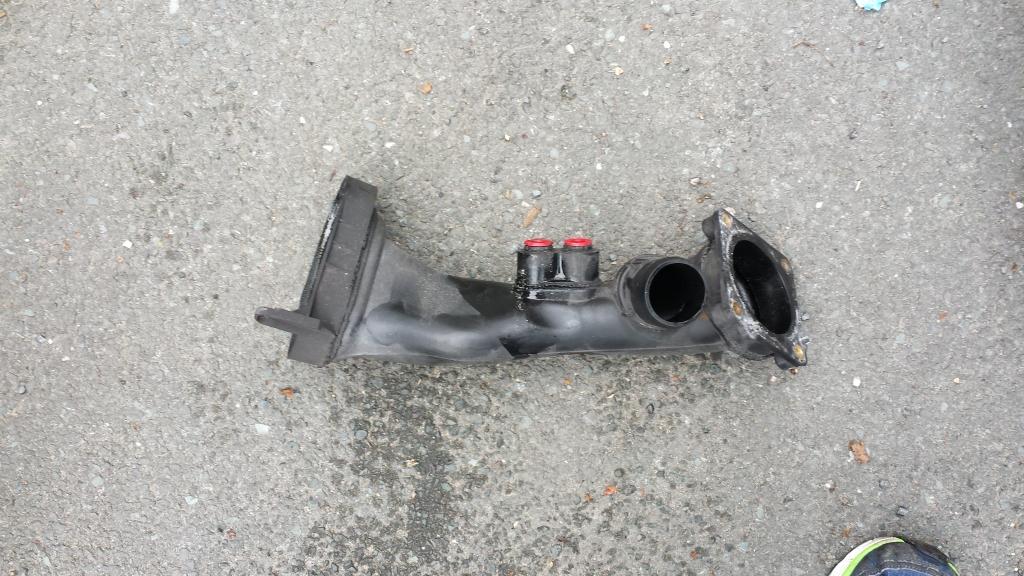
You can now remove the right hand intercooler horn and bypass valve, 3x 11mm nuts hold the horn in place, and a hose clip in the bottom connecting to the intake pipe.
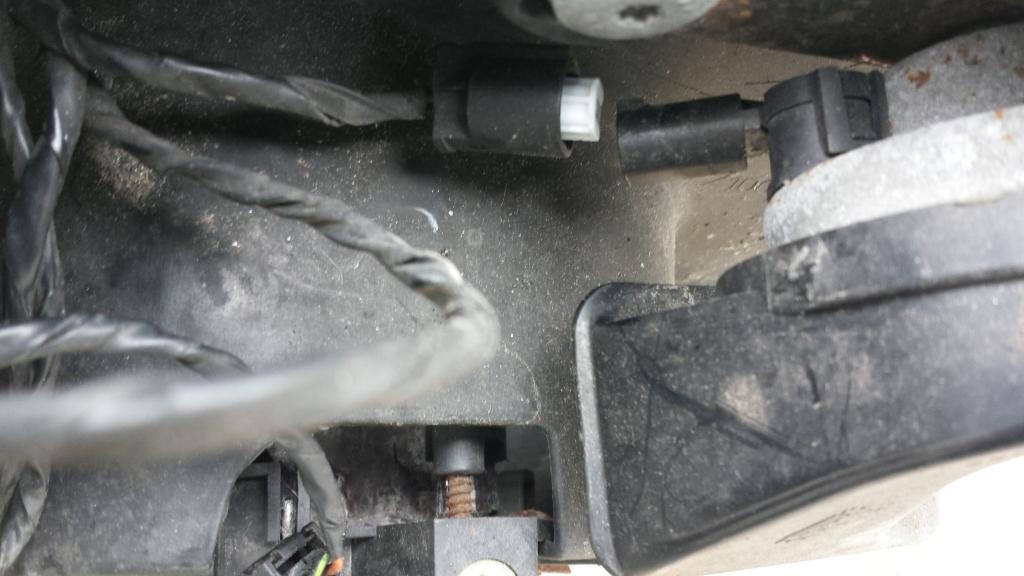
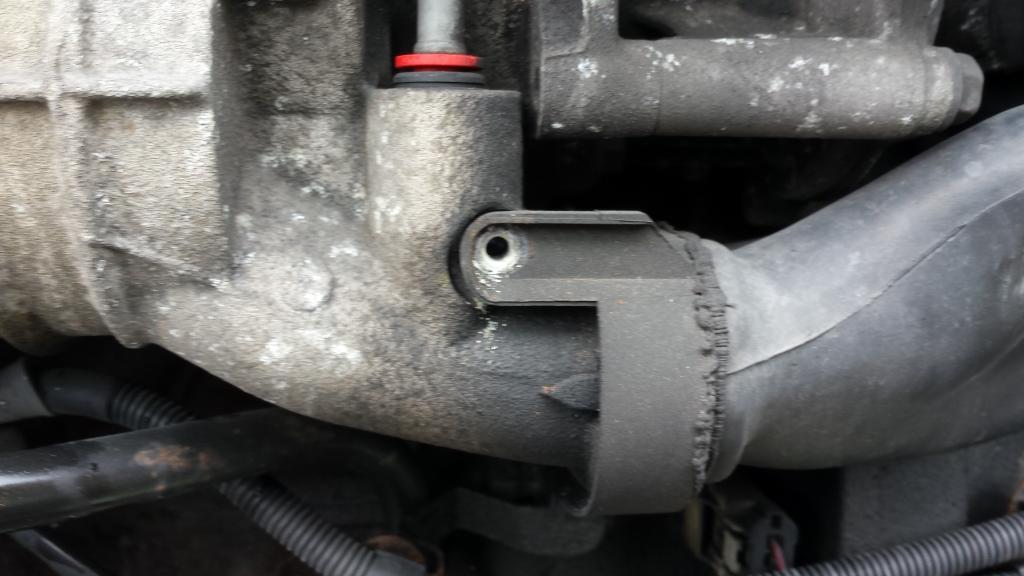
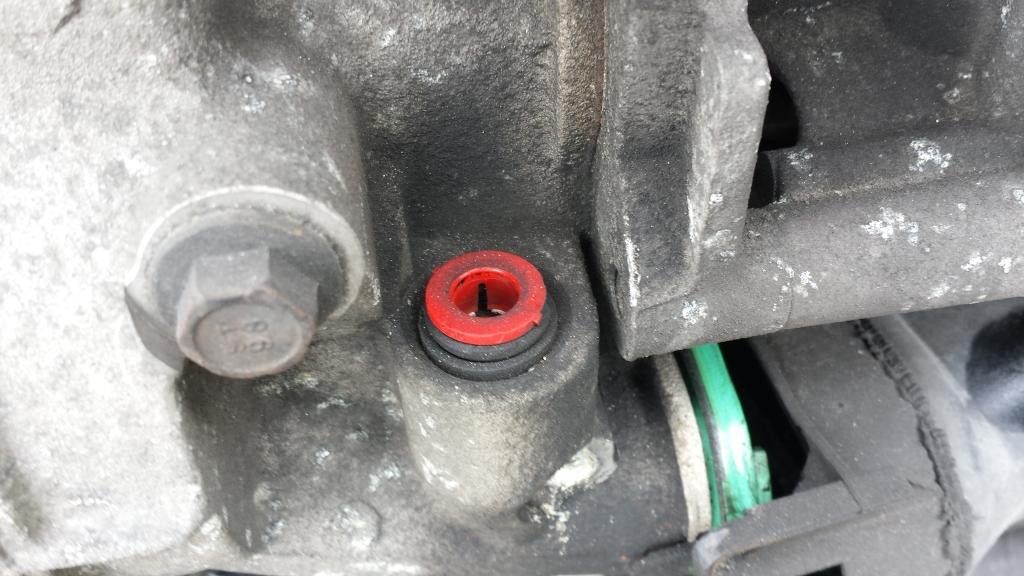
Unclip the pipe from here, push down on both side of the red section and the pipe will pull upwards to free it
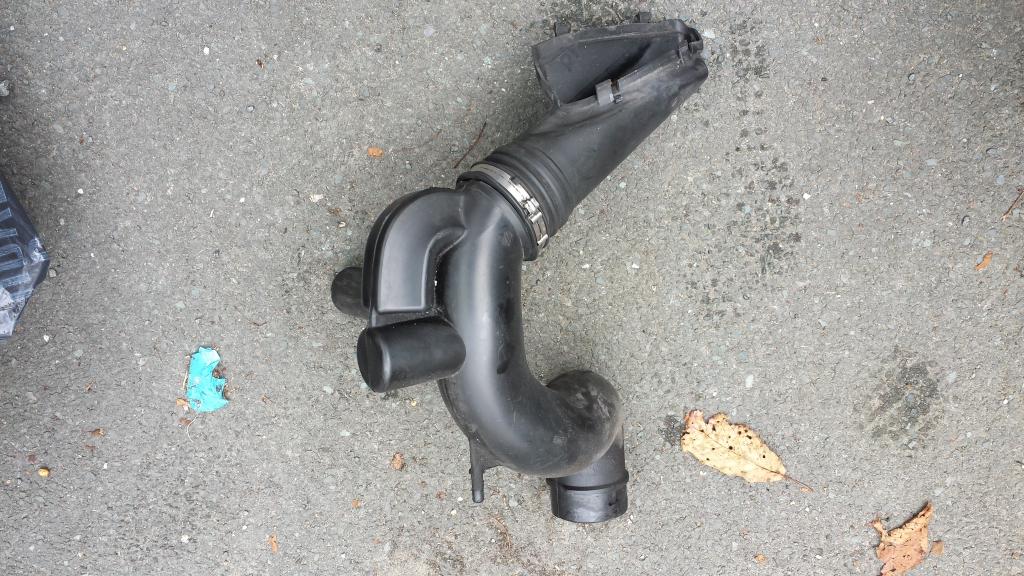
There are 2 more connectors like above on the intake pipe, remove them and remove intake pipe
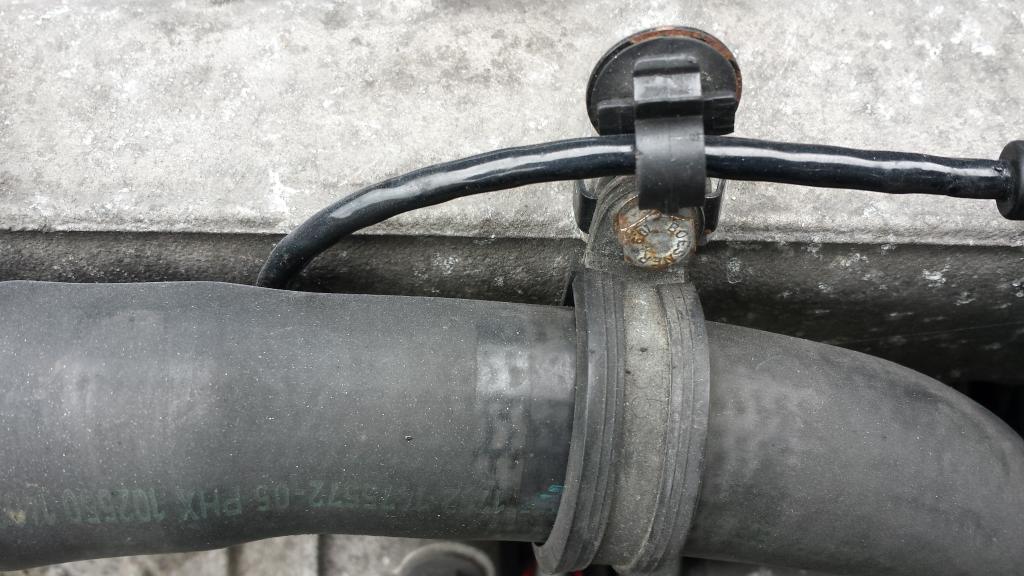
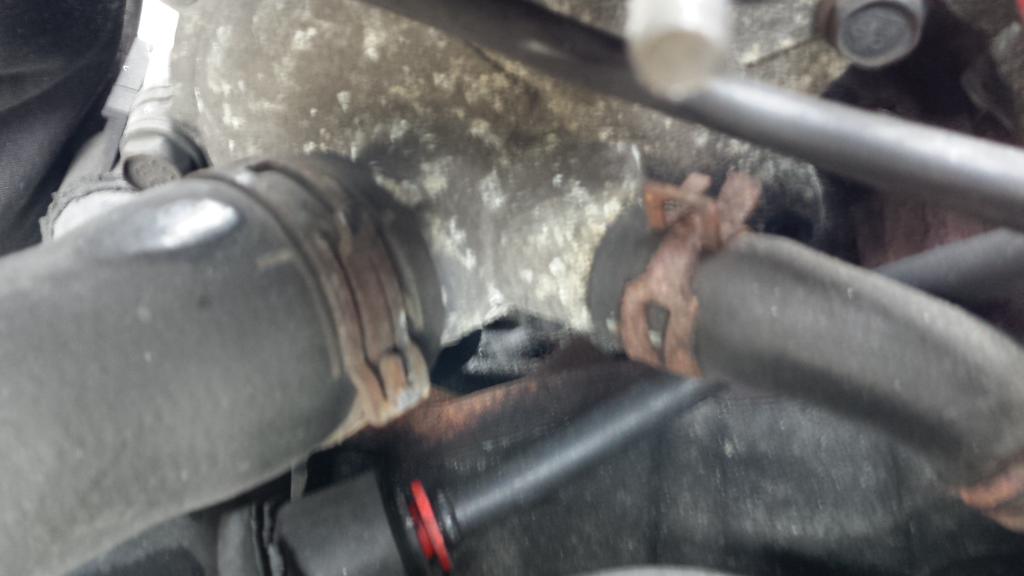
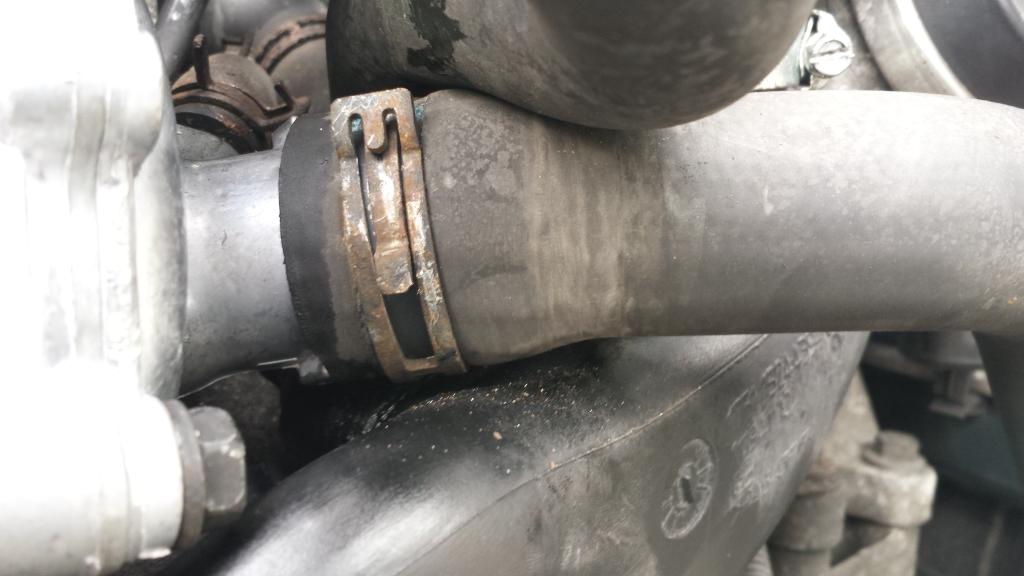
You should now have ample room to access these 2 hose clips on the water pump, remove the hose from said water pump
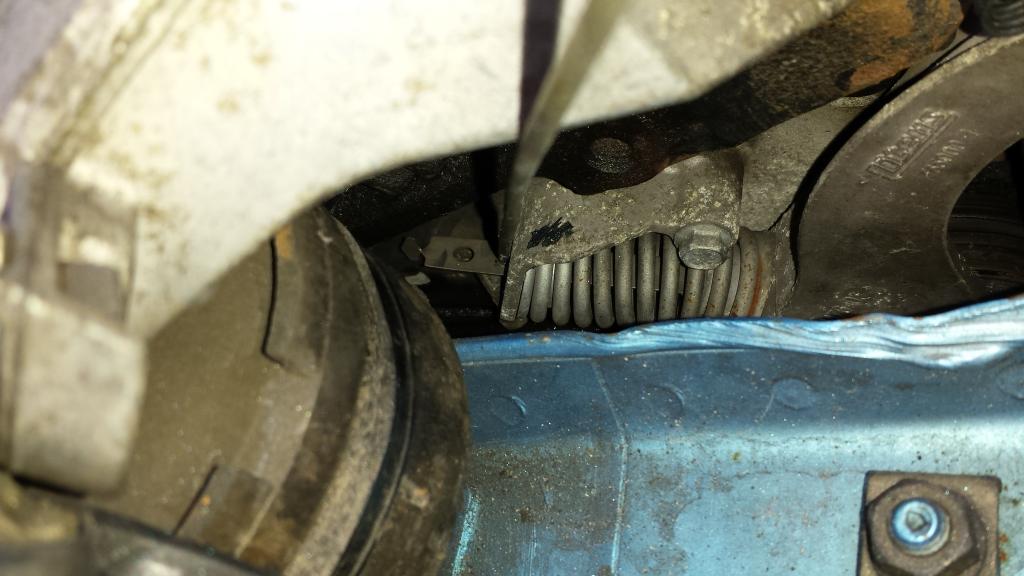
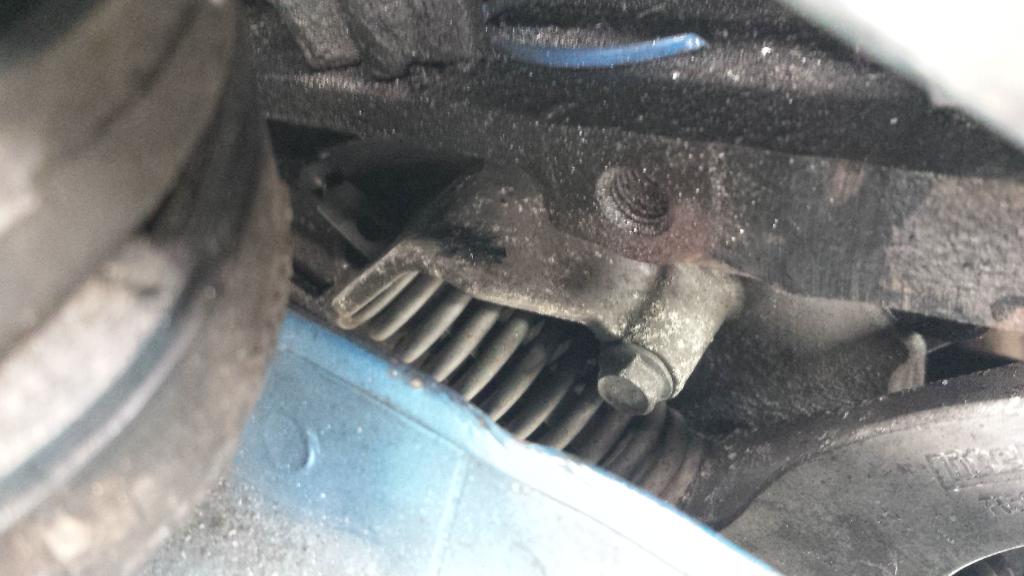
Next you will need a tensioner tool to compress the tensioner assembly, compress the tensioner and place a suitable tool through the lower hole shown here, the serpentine belt will now be slack.
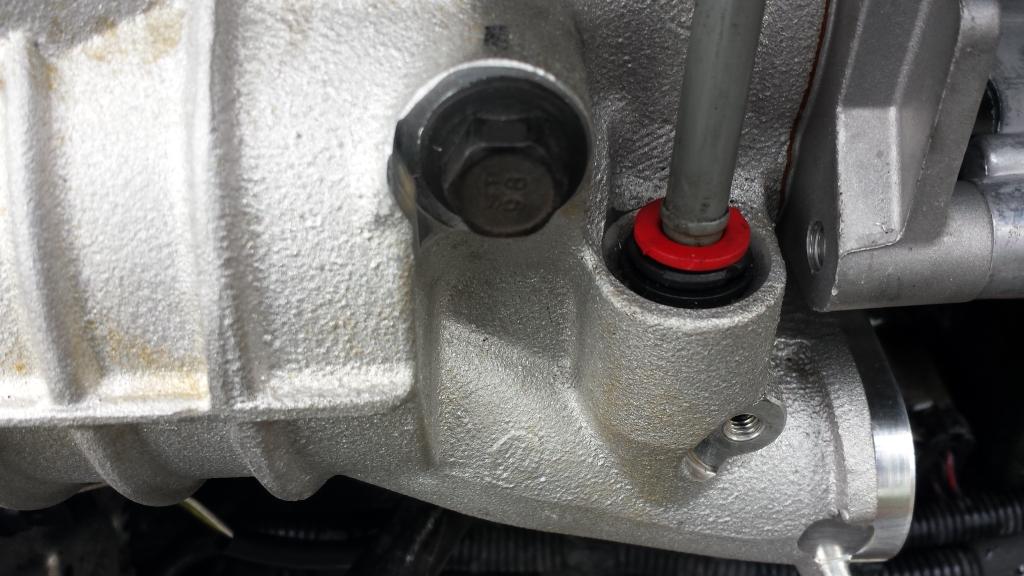
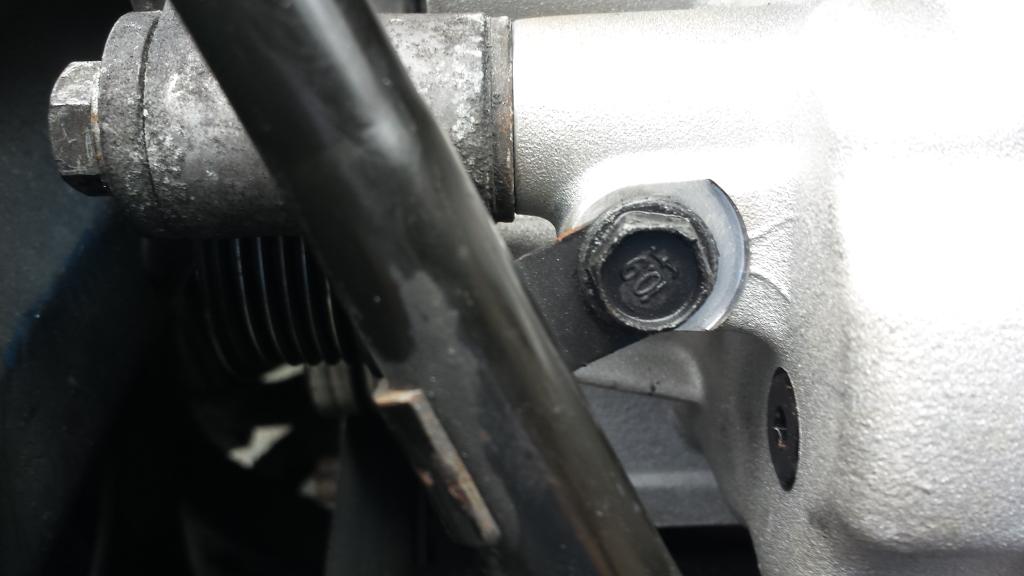
Now remove these 2 bolts, one on the charger, one on the lower part of the dipstick tube

Remove this bolt from the charger

Remove dipstick and then this bolt holding the dipstick tube

Remove this bolt on the tensioner assembly

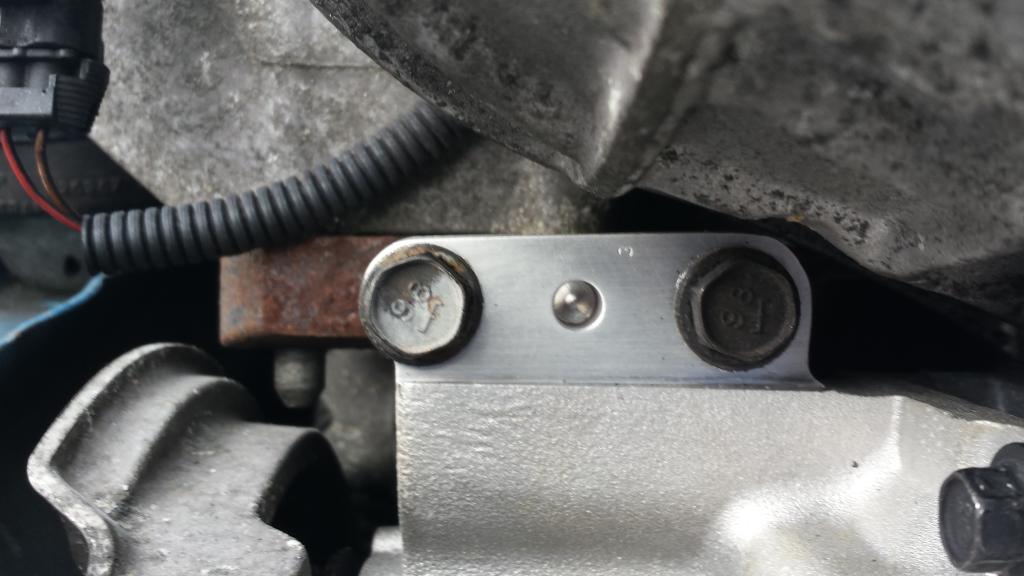
Now these 2 from the left side of the charger

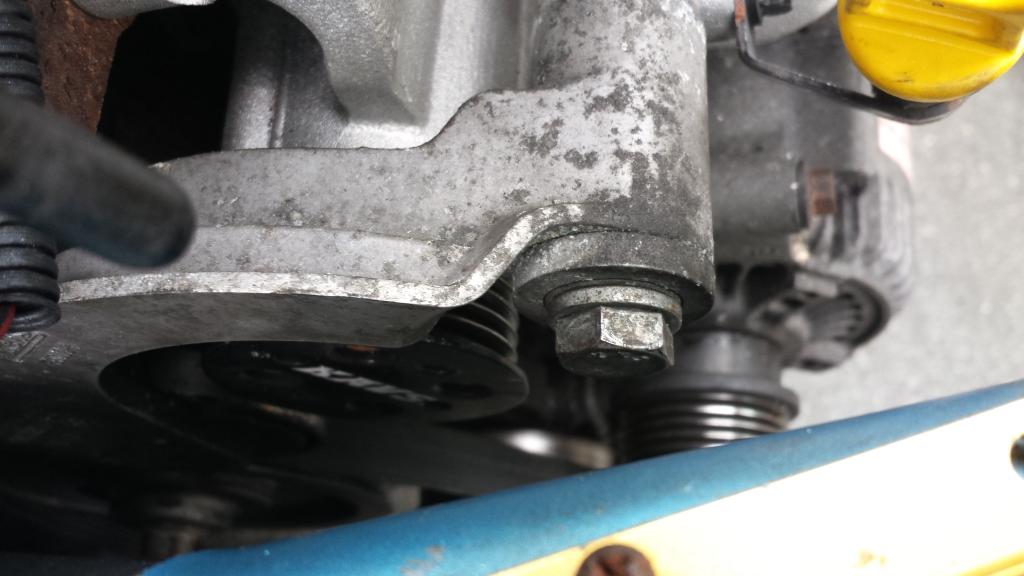
Remove the belt from round the alternator and then take out the 3 bolts holding it to the engine, lower the alternator and rest it on something so the wires are not under stress

Now you can pull off the charger and water pump!!

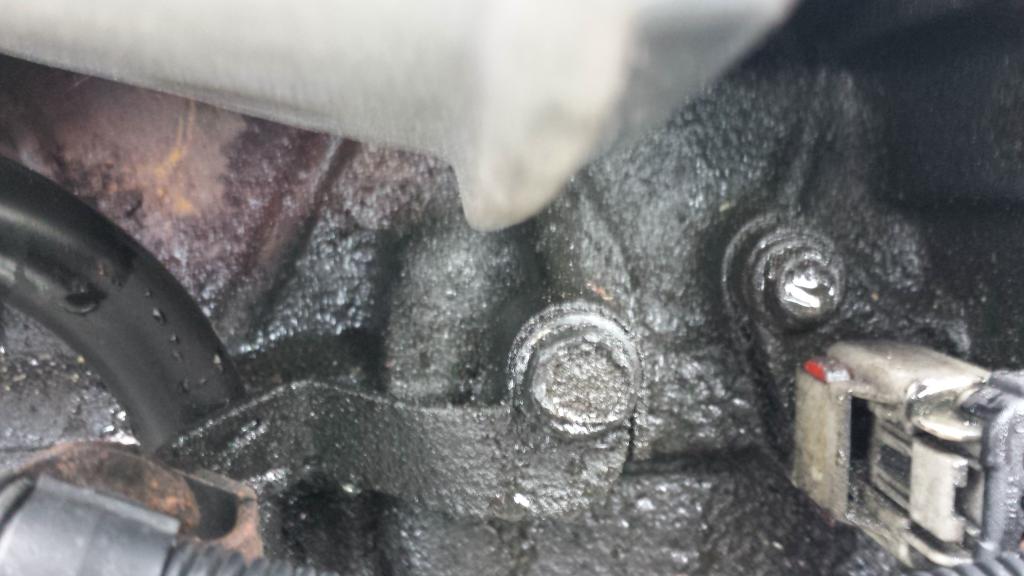
Finally remove the water pump connection from the engine, 2 x 8mm bolts

The rebuild.
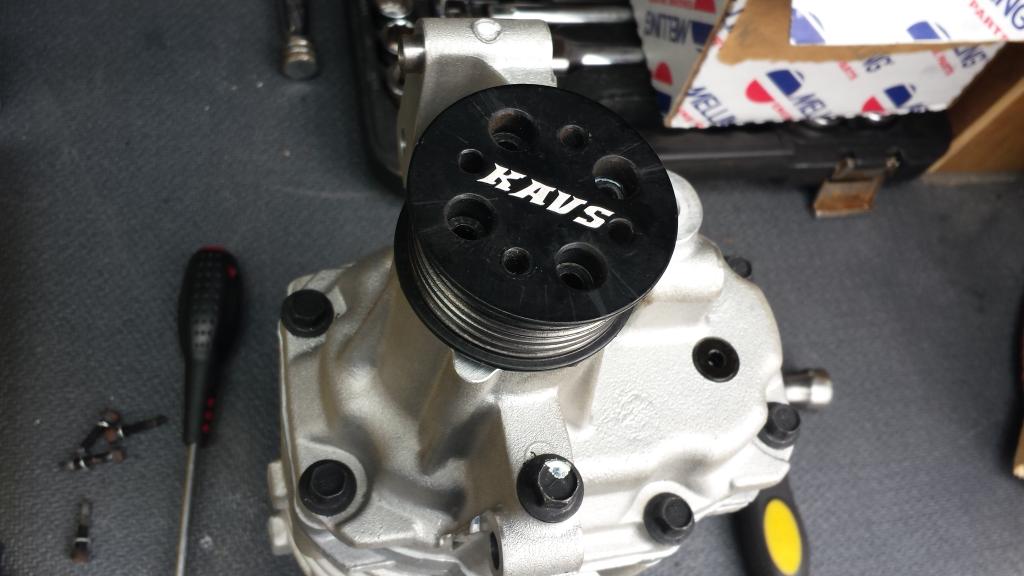
If you are swapping a charger you might as well fit a smaller pulley for a bit more oomph. I used a craven speed puller to remove the stock pulley and put a 16% reduced kavs pulley on
Get a new gasket for here
line you water pump up so the lugs locate and bolt it to the charger, for the price of a new pump you might as well fit a new one, you don’t want to be doing this again anytime soon do you?
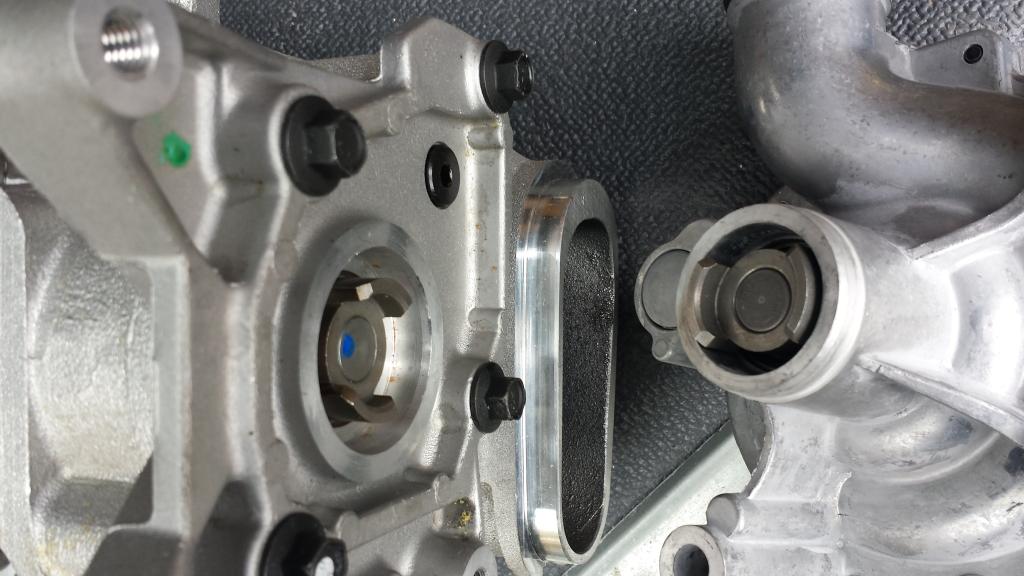
give this a good clean up and fit a new o ring, the o ring is the same part number as on the water pump, clean the engine block too, put a little silicon grease on the o ring and refit.

Pick up the charger, when lifting it into place, fit the smaller hose to the water pump

Refit the bolts in the charger, dipstick tube, tensioner assembly and alternator. And also fit this pipe, press the red section downwards while pushing the pipe in.
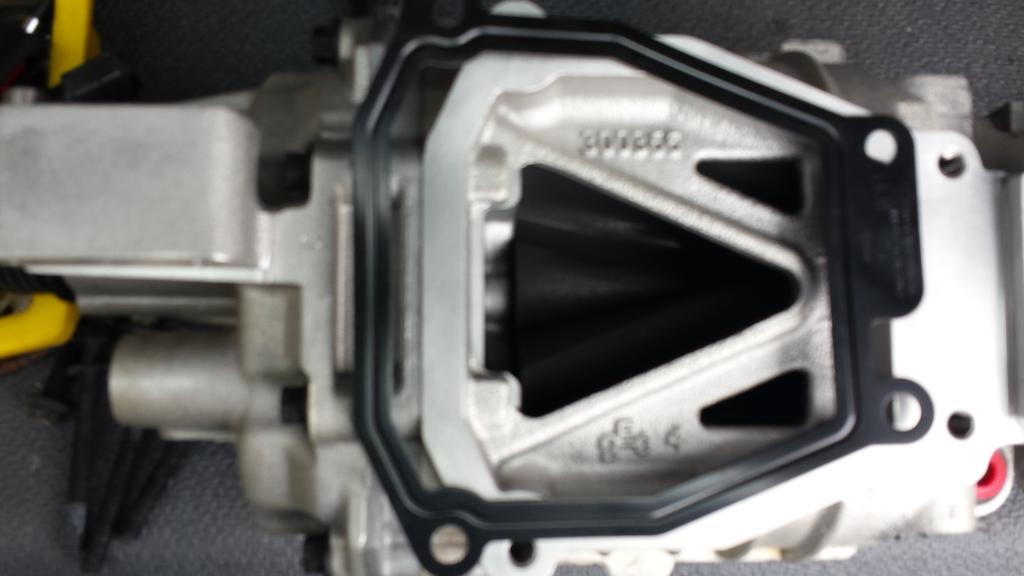
WFT?

Now make sure the belt is routed correctly and use the tensioner tool to relieve tension and remove the pin from here, you should then only be able to see one hole there, otherwise you have the wrong size belt
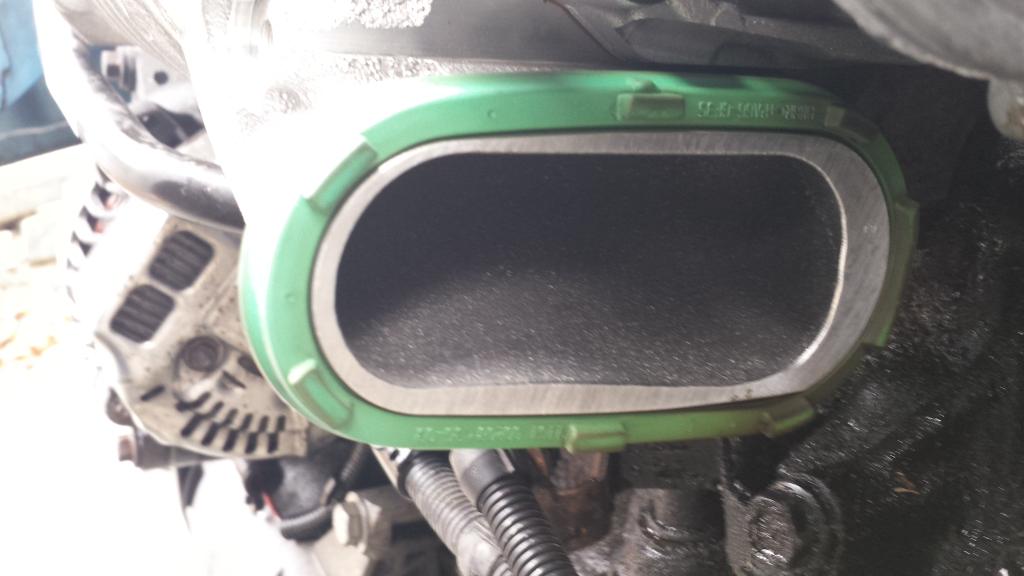
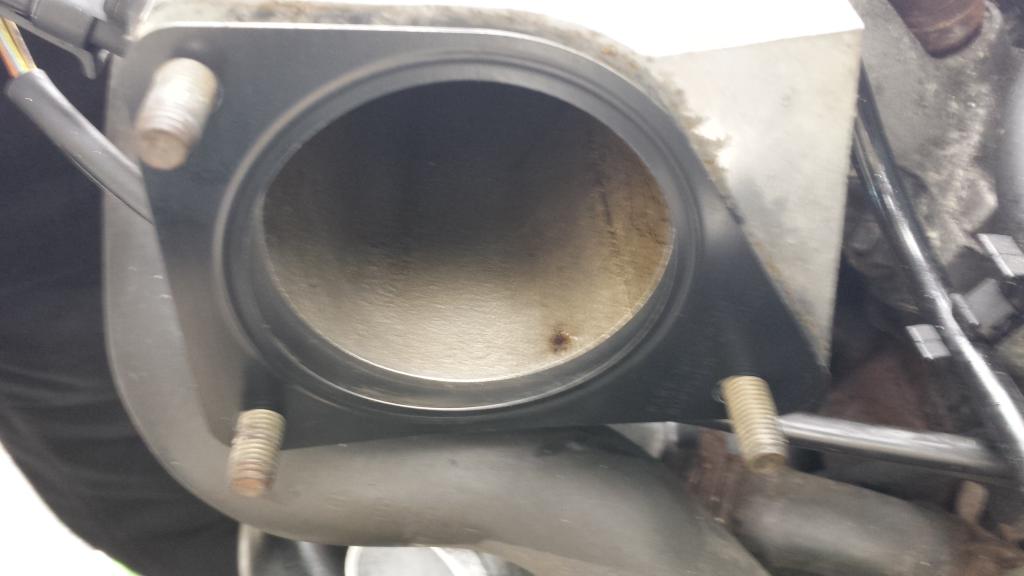
Clean up or replace this green gasket and fit it to the charger
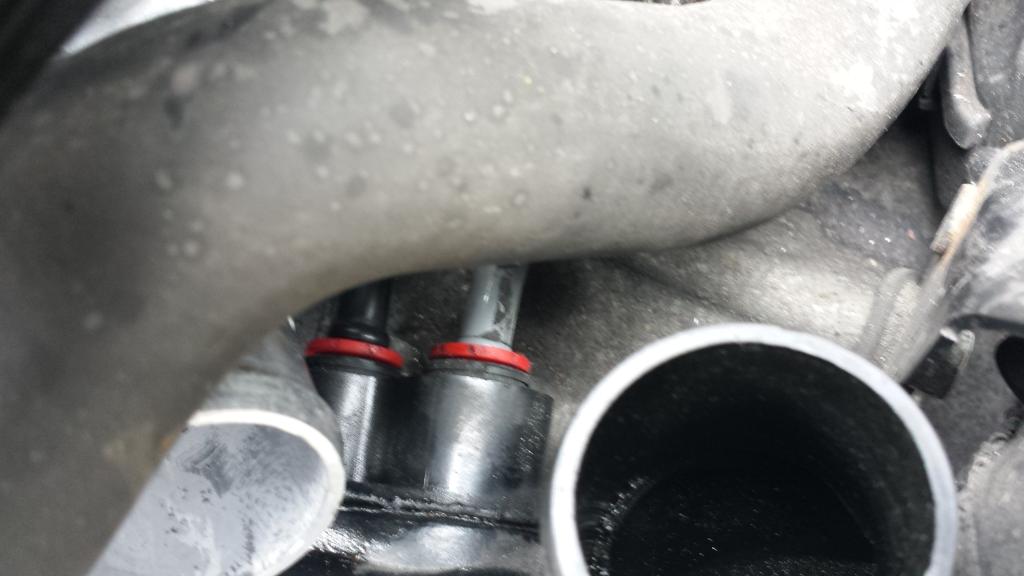
Fit these 2 pipes to the intake pipe
Fit the intake pipe to the throttle assy, then fit the throttle assy, remembering the hose and wiring
Fit this bolt

Now fit the right intercooler horn and bypass valve, put a new gasket on here
Make sure you connect this up properly

Fit the 2 pipes for the air box

Connect the radiator bottom hose to the water pump
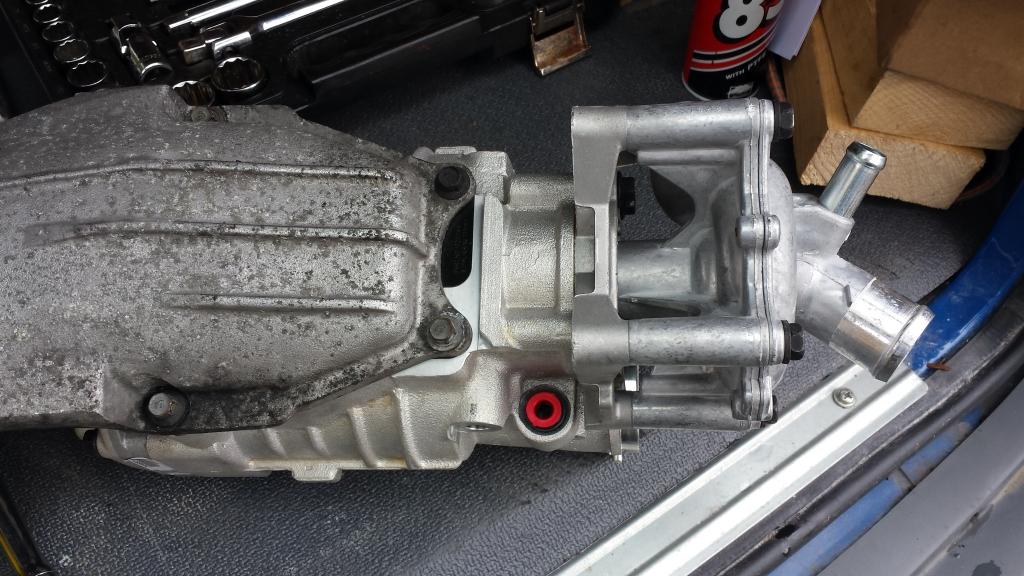
It should now look like this
Now all you have to do is fit the intercooler, MFE (making sure you connect the radiator hose and fan connectors), crash bar and bumper skin. Fitting is the reverse of how all this started.
Once you are in one piece, fill will new coolant, start your engine and bleed the coolant system properly. Make sure the heater is on full blast as you bleed the system.
There are plenty of guides on the web for how to bleed it.
If it sounds right and there are no leaks and your water isn’t boiling then great, go for spin!