You must be logged in to rate content!
14 minute read
Seat restore & colour change, pic heavy
Compliments of zirconmr2 @ totalmini.com
11-30-2013
did this a couple of years ago to my bmw evo seats,thought i would share over here for anyone who has worn seats or just fancies doing something different.
yes its for bmw vader seats, but the process will be silmilar for our mini seats.
heres how it went....
i had basic seats in my car, green leather, and i just hate them! i decided to get myself a set of vaders, holding out for a green set would take forever, if they even exist.
so i bought myself a set of grey ones.
they are really tired with a few cracks, no holes though.
so i am going to try to colour them to match my green leather interior.
I HAVE NEVER ATTEMPTED ANYTHING LIKE THIS BEFORE!!!! will post pics along the way.
wish me luck! ha ha
the first step is to remove the seats from the vehicle, just 4 bolts and out they come.
the next step is to take off the seat back. undo these 2 screws...
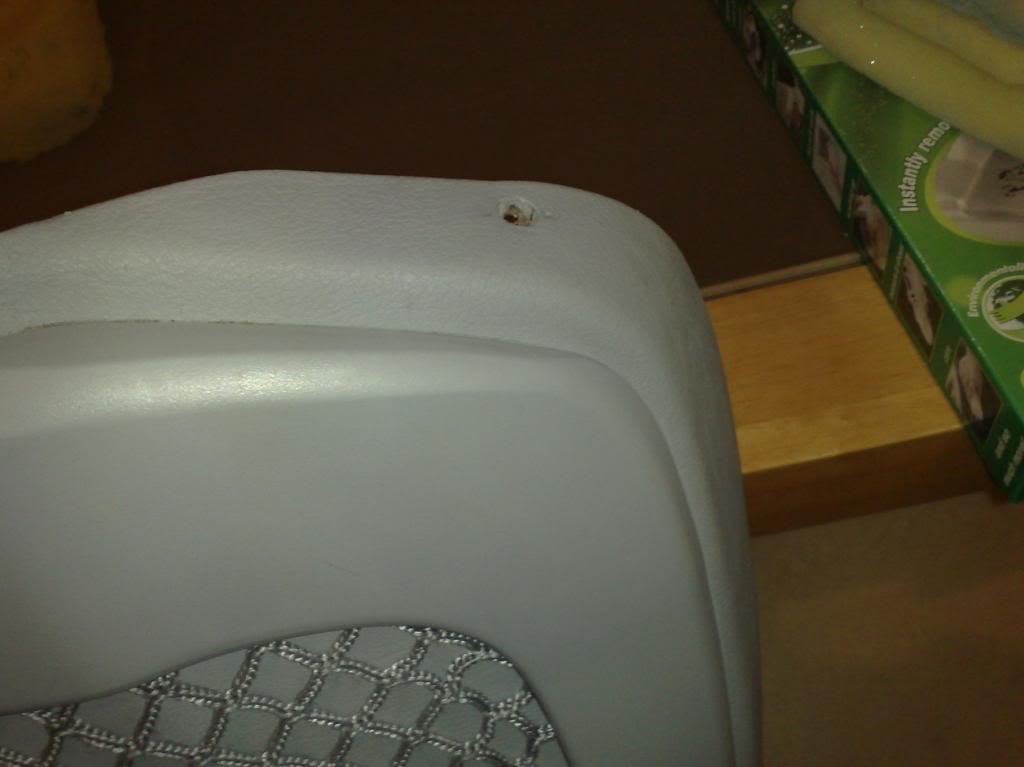
the next step is to remove the side handles (if you have them) just pull them out and then pop thier surrounds out carefully, so you dont break the seat back panel, then pop the headrest off and remove the plastic surrounds in the top of the seat........
the seat back panel will now pull away, now unclip the leather from around the frame being careful again not to cause any damage. the seat back padding will just pull off after this is done.
the pic here shows the seat back after using the leather prep solution. i bought a kit for about $70 which should have everything needed to do this job... we` see. first up. leather prep...
i had to remove to top shiny coat on the leather, this is done using leather prep. quite easy. just apply with a scratch pad until all the top coat has been removed.
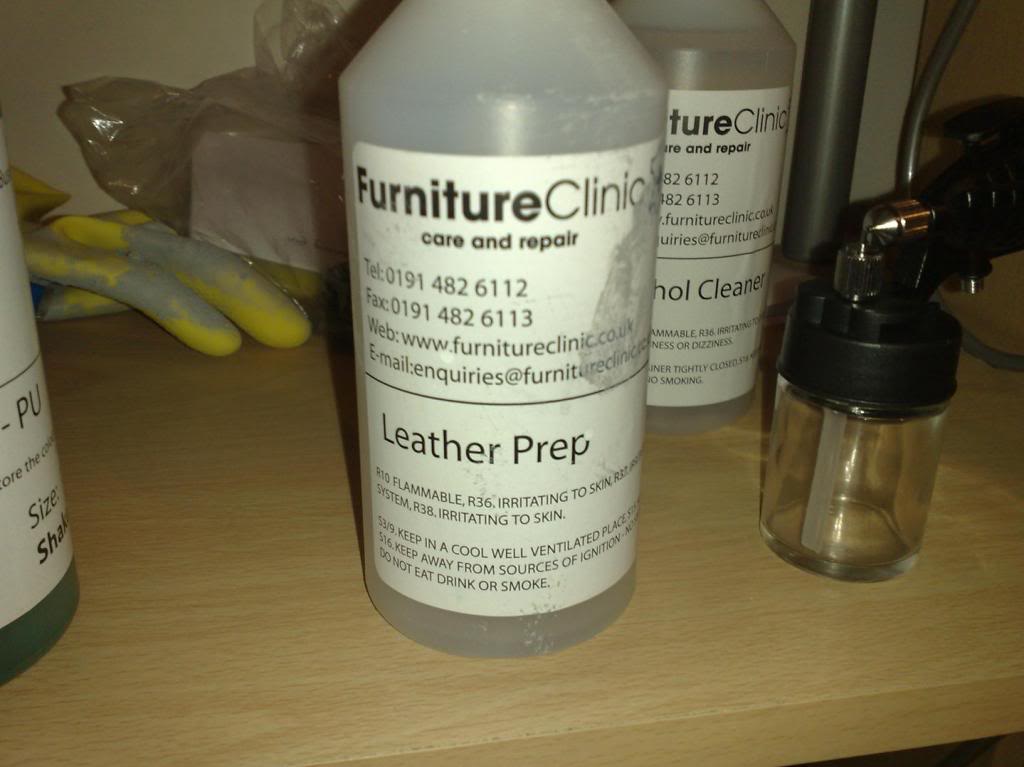
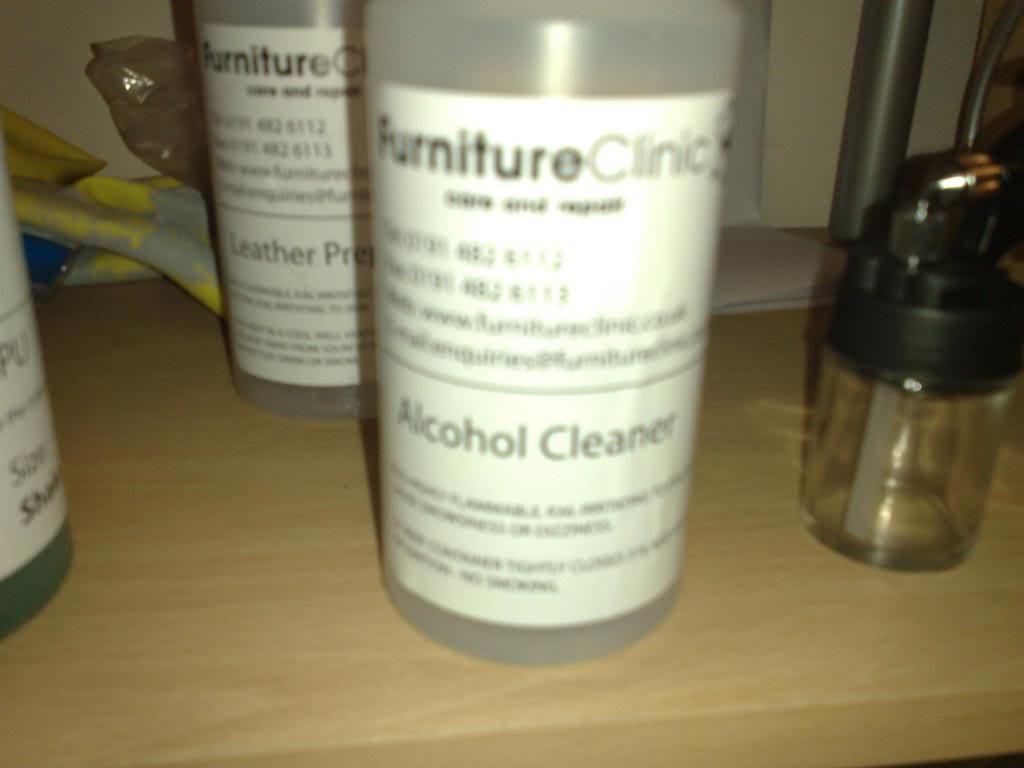
then use an alcohol cleaner to remove any gunk left over on the leather.
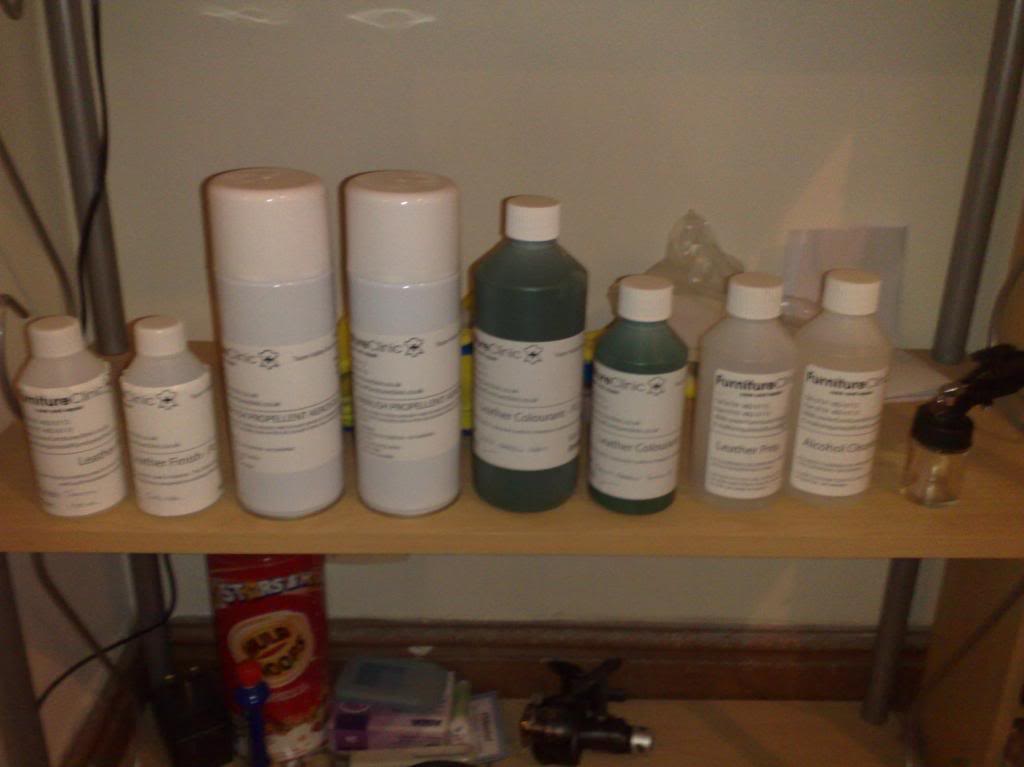
oh, this is the full kit i used
next remove the seat base.
underneath the seat, undo to screws at the front,
and pop to black plastic clips at the rear,
the seat base will pull up, under the seat base you will be able to see 6 large screws, the front 4 are holding on the extending peice at the front of sport and vader seats, take these screws out and the seat base is free.....

when all the leather has been prepped and cleaned (mine took a lot of hard work because some clown had already sprayed some grey paint over them to make them look better for selling)
you should use a very fine sand-paper 1200 grit and use it wet!
just to smooth everything over.
as with all jobs of this nature preparation is the key.
clean the leather again, dry, now i`m ready to add some colour. this is just the base coat, applied with a sponge. making sure to get in all the nooks and crannies, vaders sure do have alot of nooks!!

after one coat, looks gash, right?

thats as far as i got on day 1, about 4 hours work, stripping down the seats, one seat has a complete base coat, the other seat is in pieces and the leather is waiting to be prepped.
if you are thinking of doing this, and your seats have not been attacked by some idiot with a spray can, prepping them will take minutes rather than hours, i had to cut through a few layers of spray paint before reaching the original finish coat.
if i was just removing the shiny finish it would have been so much easier!!
day 2
the next pics are the comparison between the two seats, one is untouched (but off the seat frame obviously) the other has the base coat on.


two coats of colour on.....

a bit more info.....
the kit i bought was from furnitureclinic.co.uk
the kit comprised of
1 bottle of leather prep
1 bottle of alcohol cleaner
1 bottle of colourant
2 cans of compressed air
1 airbrush
2 sponges
protective gloves
clean rags for wiping down
cotton wool
instructions!
i have never used an airbrush before but it does seem a bit crappy, so i have borrowed a compressor just in case the results with the compressed air are not very good.
these kits are not only for people who want to colour change, you can also get colour match kits for repair of you bolsters etc.
i am going from light grey to dark green, the site says you can go from black to white even!! just takes more coats of colour.
just hope the finished result is good enough......
oops, in the list above, kit also has finish coats satin and gloss
coffee break...
i now have 3 coats done, takes about 5 mins to apply 1 coat. then dry with a hair dryer, and do another. one more and i`ll give the airbrush a shot......its almost too easy!
just an afterthought...
while your seats are in bits, check the condition of the bowden cables, my original seats no longer allow access to the rear because the cables have broken, check if they are frayed and replace if needed.
and when re- assembling, put the passenger side on the driver side and vice versa, because one will be worn more than the other.
as you can see by this pic, things are really starting to come together.
this is with 3 coats applied using the sponge.

day 3
today i started to prep the other seat, here is a pic of it prepped and ready for the colourant....

after adding 3 coats, as before, with the sponge, i got the airbrush ready. as i said previously, i also had a compressor but thought i would try this rather crappy airbrush as i came with the kit. here is a pic of the seat with one coat of colour using the airbrush.

the airbrush is very easy to use and gives surprisingly good results! here are the seats with the second coat. as you can see the green is now very dark. which is what i was hoping to achieve.


between coats, use a hairdryer to reduce drying time (apx 10 minutes). after this stage make sure the seats are completely dry, then buff down a bit and remove any dust, the next stage is to airbrush some sealant onto the leather, this is to protect your finish.
this shows a pic with the sealant on, i turned the flash off on the camera to stop relflection.


the final stage before i re-assemble the seats is to add my chosen choice of finish, i chose satin, you can also get gloss or matt finishes. as before, airbrush it on, i did 2 coats of finish.....


i am absolutely gobsmacked with the results this kit has given me! as i said before, i have never done this before, not even used an airbrush, but the results are great, i cant even tell which headrest is from the drivers seat and which is the better passenger side!
because the leather on the drivers bolster was really well worn, i can notice the difference here. but the improvement is massive.
would i do this again?? YES ABSOLUTLEY.
it was so easy, and only taken 3 nights so far, all i have to do now is put the seat back together, going to get some sleep first to allow the finish coats to cure.
if i was to do this again, i would have taken a bit more time prepping the leather, i could have eliminated more or the cracks (most are vastly improved now anyway).
the company i bought the kit from also do products for fixing holes etc, so no matter how far gone you think your seats are, there may just be a cheap and easy fix for you.
ok. when all had dried i was not entirely happy with the result of the finish coat (and having a bit too much time on my hands), i decided to have another go!
i didnt bother prepping the seats with leather prep this time, just scratched the surface with a scratch pad.
i already had half the colourant left from last time, and got a lighter green and mixed the two together, also got a semi-matt finish as i thought the previous finish was a bit too glossy.
so i stripped down the seats as previously described. then sprayed on the colourant.
this time i decided to use the compressor. WOW!
dont get me wrong, the airbrush i used before is adequate. but come on guys, the compressor is a proper toy! makes proper sounds, not like air escaping from a beach ball, and the job is done so much quicker!!!
once the colourant has had time to cure, then, again with the compressor, i added the finish coats, twice as much as last time because i wanted to be sure!
then left to cure overnight.
time to rebuild the seats, start with the bare seat....

next, put the seat back pad in place, use the headrest to hold in position if you like, and clip on the leather.....

once the seat back is in position, screw down the pull out sport bit, 4 big screws, on the seat base,

then put the seat base in postion and push down to clip into place, now replace the two screws at the front......


next fit the seat back panel, if you noticed at the beginning, the vaders came with grey backs, as the vaders and basic seats use the same back, i used my black ones, two screws at the bottom hold the backs on...

now insert the surrounds for the tilt levers...

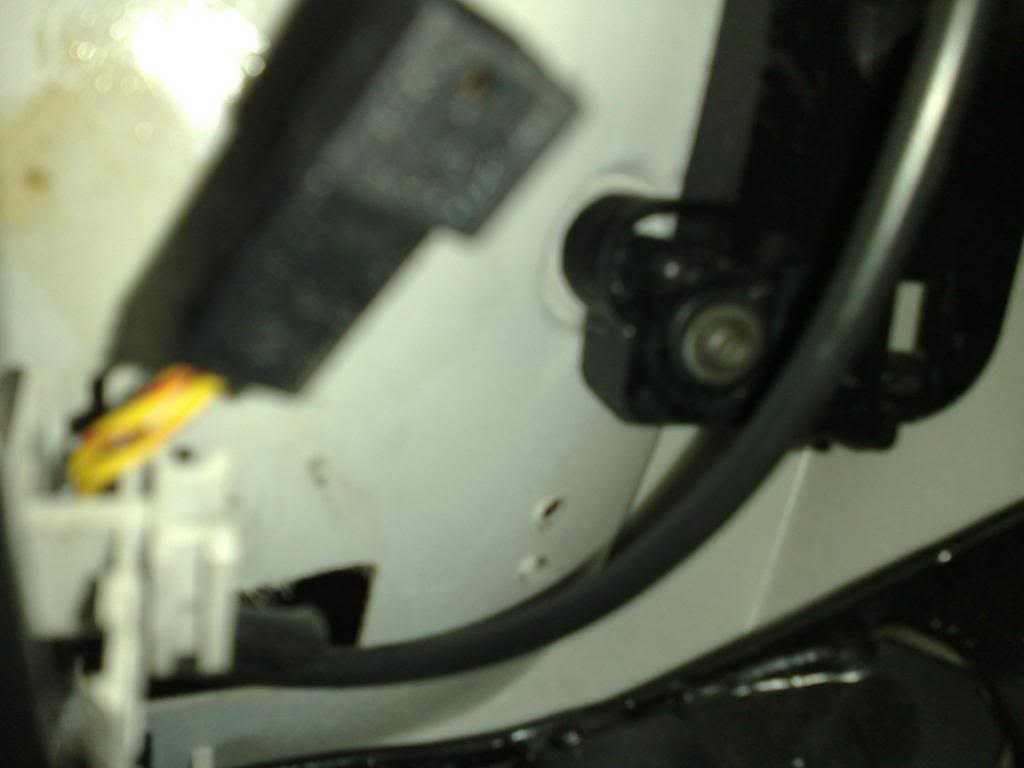
another reason for me doing this again was, fitting the fire extiguisher from my original seat, anyway, while the seats are out, check your bowden cable condition, these....

now slide on your headrest, push in the tilt levers and your finished, make sure you reconnect the electrical connectors for seatbelt pretensioners and airbag sensor.....
these


what weve been waitin for!
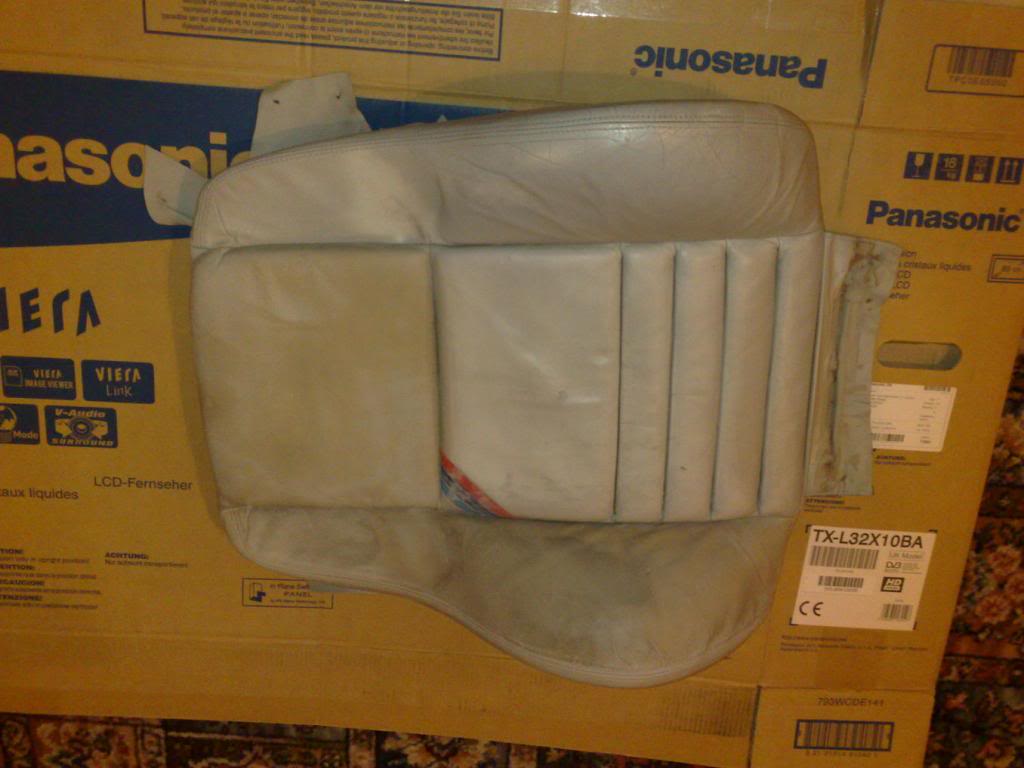
ok, the finished seat....


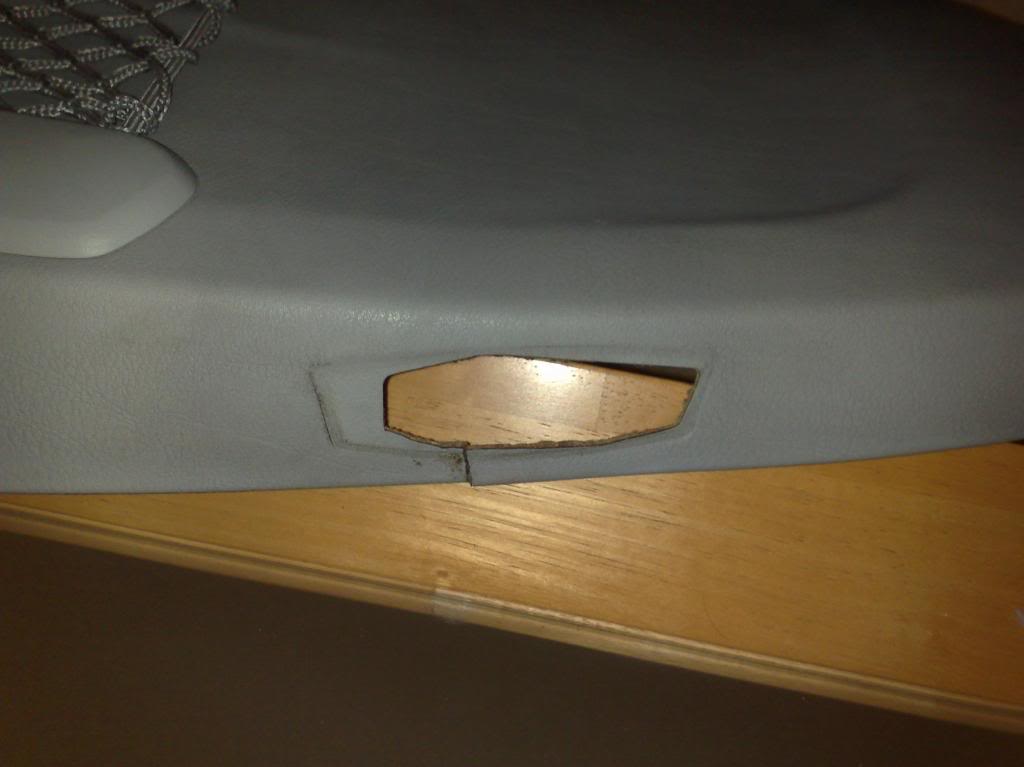
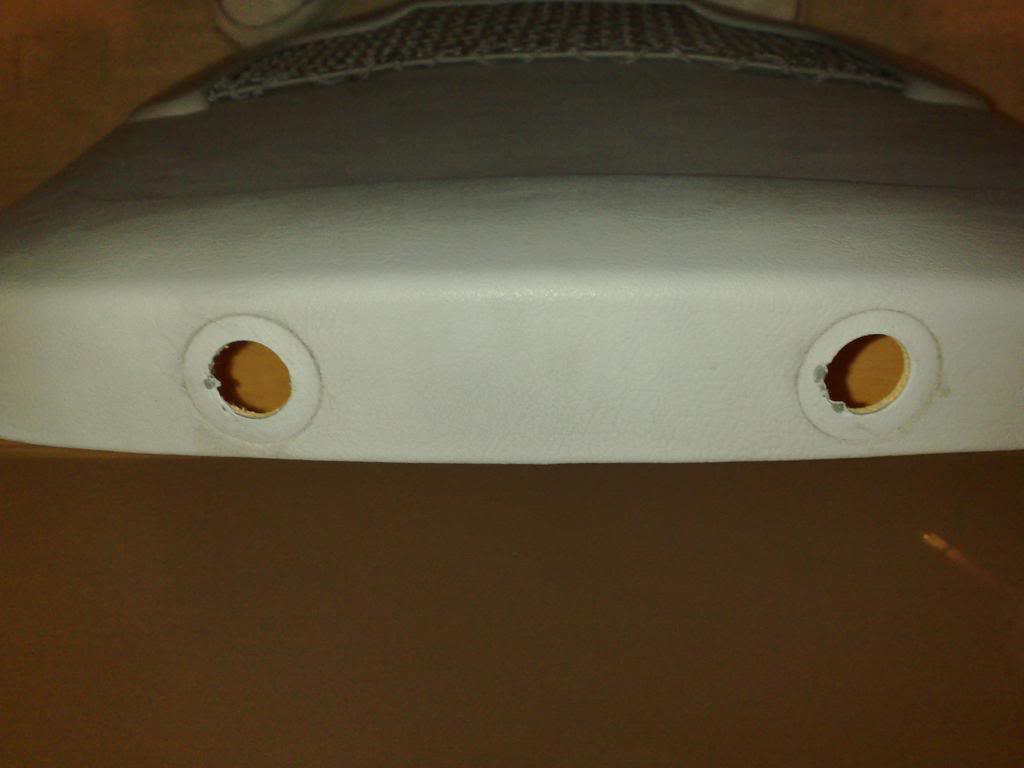
i was asked for some close up pics of the areas that get worn out, now repaired using no more than i have written, the upper and lower bolster, and the front extending section, came out really well if you ask me.


yes i DID do this in my living room!![]()
would never get away it now, funny how that little thing called a marriage certificate can stop things like this!
Good tips! Switchseats, check cables etc. seats look great!
Posted by Diggymart on 3/19/19 @ 1:30:41 PM