You must be logged in to rate content!
7 minute read
 Fly1Motorsports RS1 Install!!! & OEM Fender Removal
Compliments of Mr&Mrs @ the370z.com
10-12-2012
Hi everyone,
I have noticed a lot of inquiries about the OEM fender removal in conjunction with the Fly1Motorsports RS1 Fenders. If you like this DIY and would like to order a set there is a link is in my signature.
This install is actually very easy. It can be done over a weekend just messing around for a couple hours here and there (one day if your not busy).
Note I have a lot of extra parts removed from my car right now so if you see something missing from my pics that was not mentioned, don't worry, you do not have to remove it.
Quick disclaimer before we get started:
I am not a mechanic nor do I imply to be one. All work done to your vehicle is done at your own risk and I will not be held accountable for any damages.
Tools required for job:
Ratchet
Ratchet Extension
10mm Socket
Philips Screw Driver
Flat Head Screw Driver
Needle Nose Pliers
I am providing links to the front bumper removal, headlight, and side skirt removal. Two are great DIY's already provided by DIGI so there is no reason for me to re-write them. Please provide REP for him as well.
First remove the front wheels, and front bumper/front half of the fender liner. The fender liner is not part of this DIY but it is self explanatory once you look at it.
Link ---> Digi's Front Bumper Removal
You can take out the rear half of the fender liner now, or when you get to the skirts.
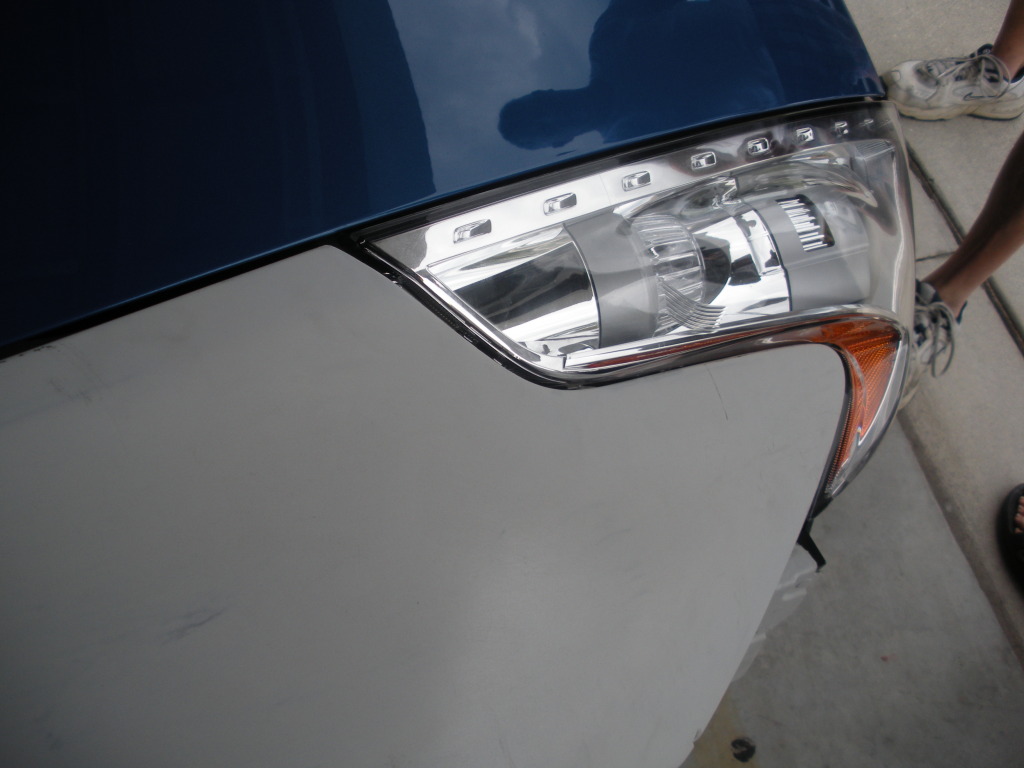
Second remove the headlights.
Link ---> Digi's Headlight Removal
Third remove the side skirts.
Link ---> Z1 Motorsports Side Skirt PDF
Remove the second half of the fender liner now if you did not in the beginning.
Now the fun part (if the skirts were not fun enough  )!
)!
Remove the rubber weather strip to expose the bolts underneath. I didn't picture all of the clips you can see what needs to be removed very easily.
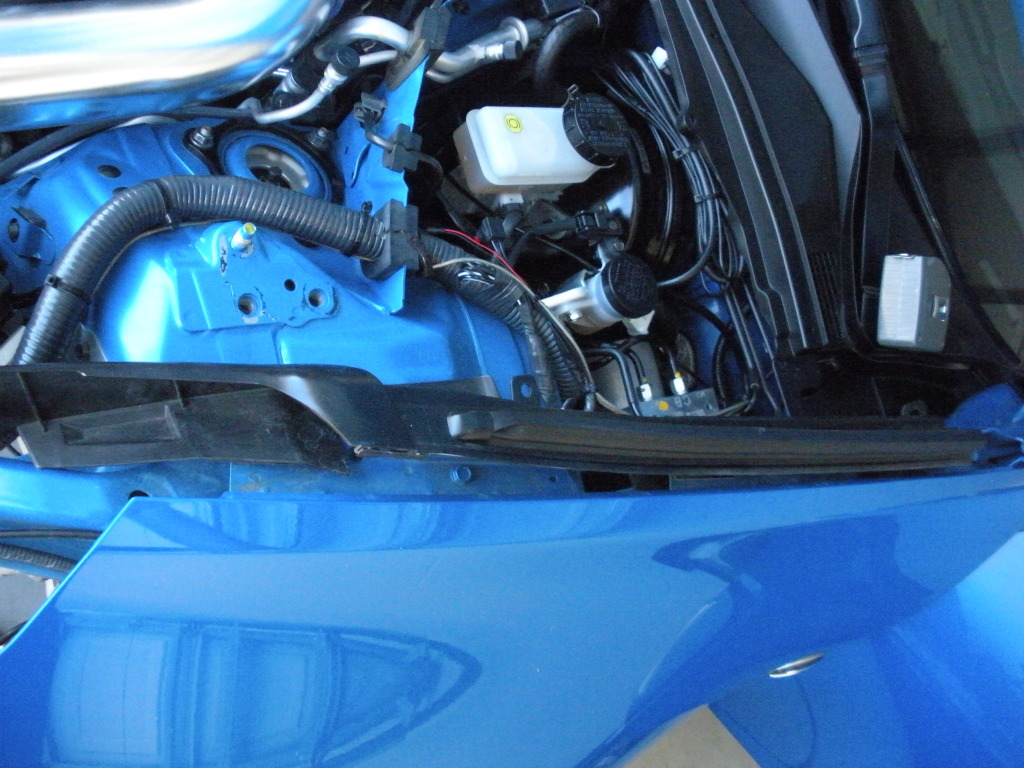
Next remove the plastic bumper hanger, it will be needed on the new fenders.

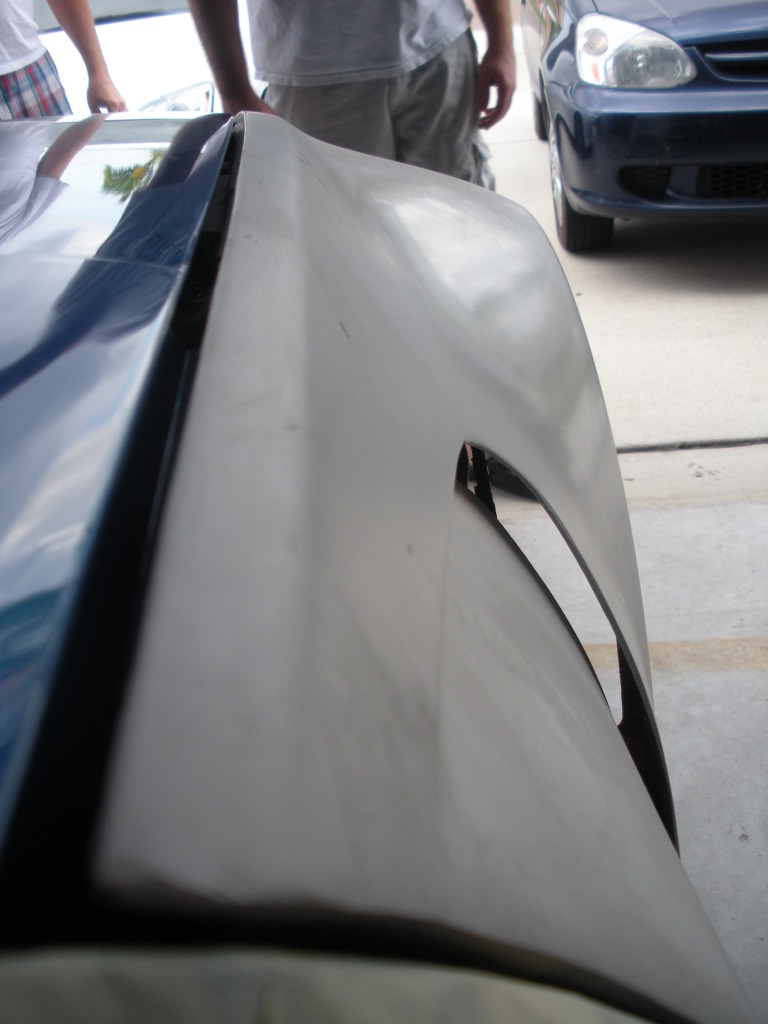
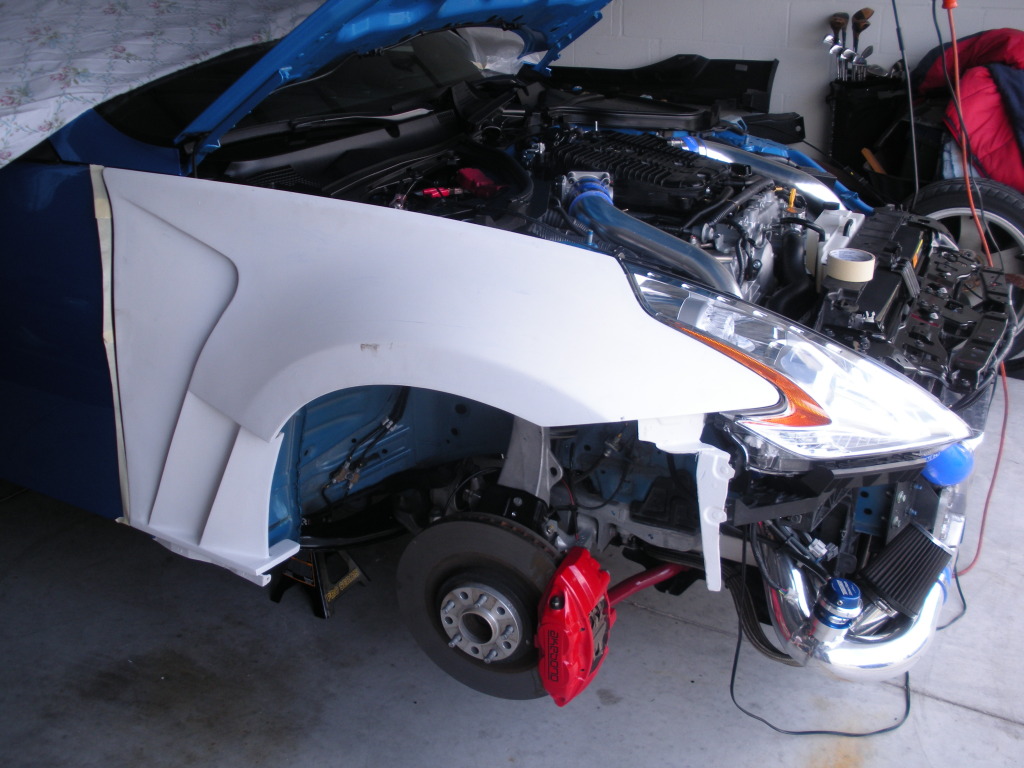
Next begin to remove all of the bolts holding the fender to the car.
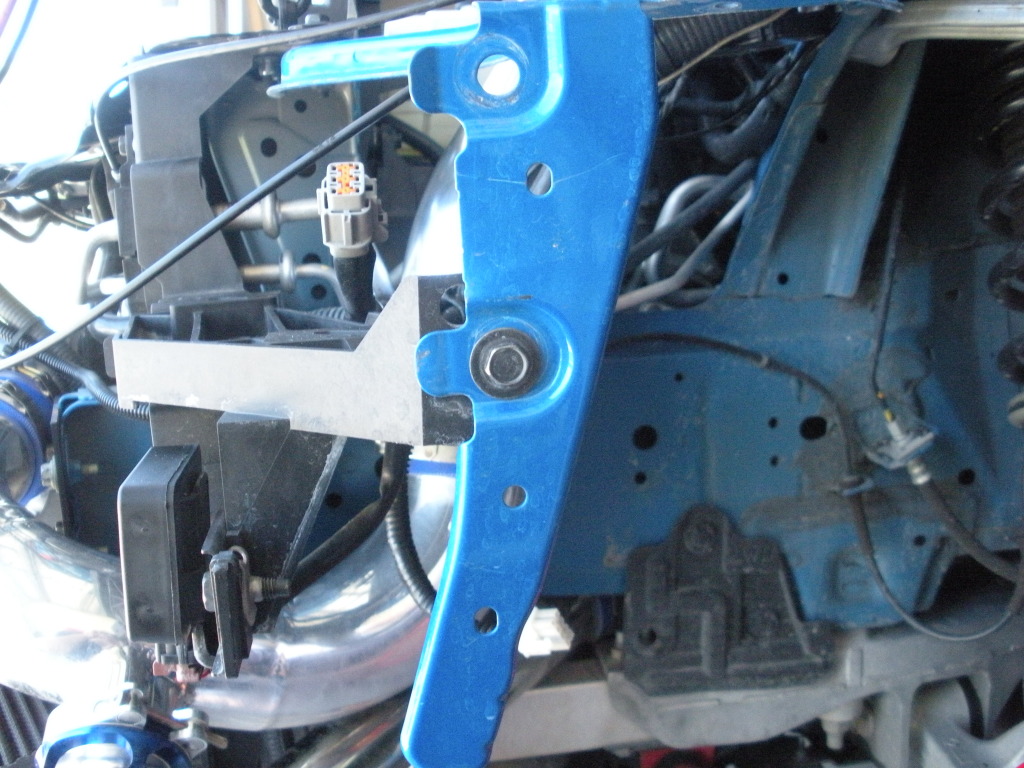
To get the remaining two loose you need to open the door all the way and use the extension! The one on top I loosen but leave in to hold the fender to the car. It is slotted so does not need to be completely removed.
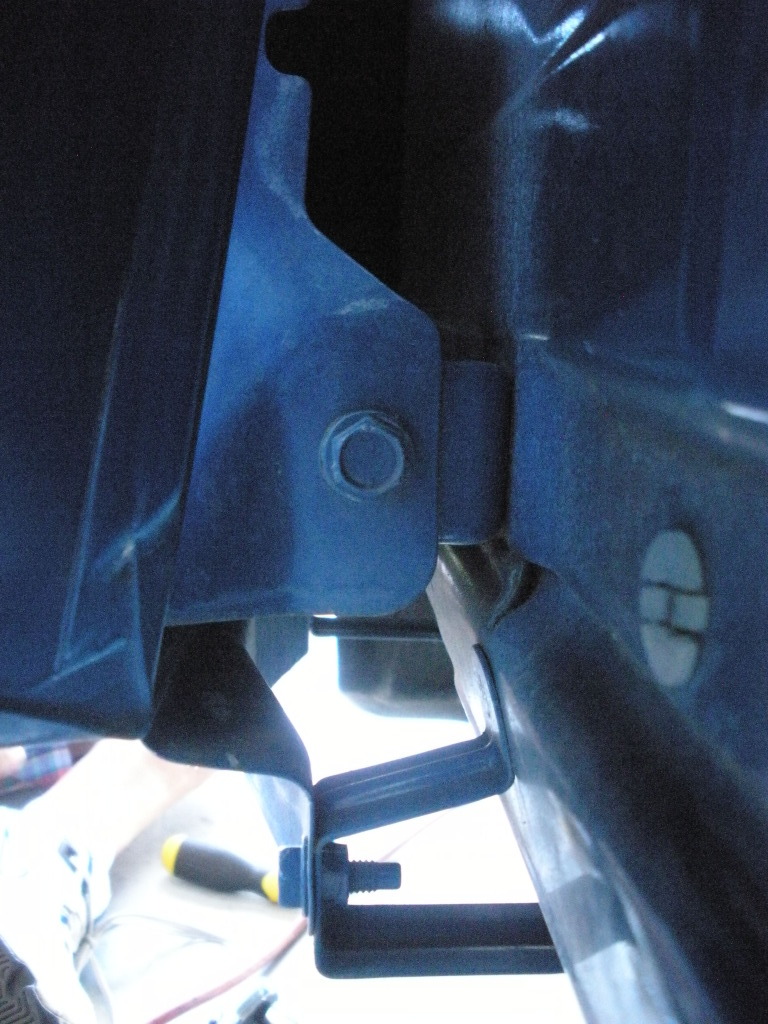
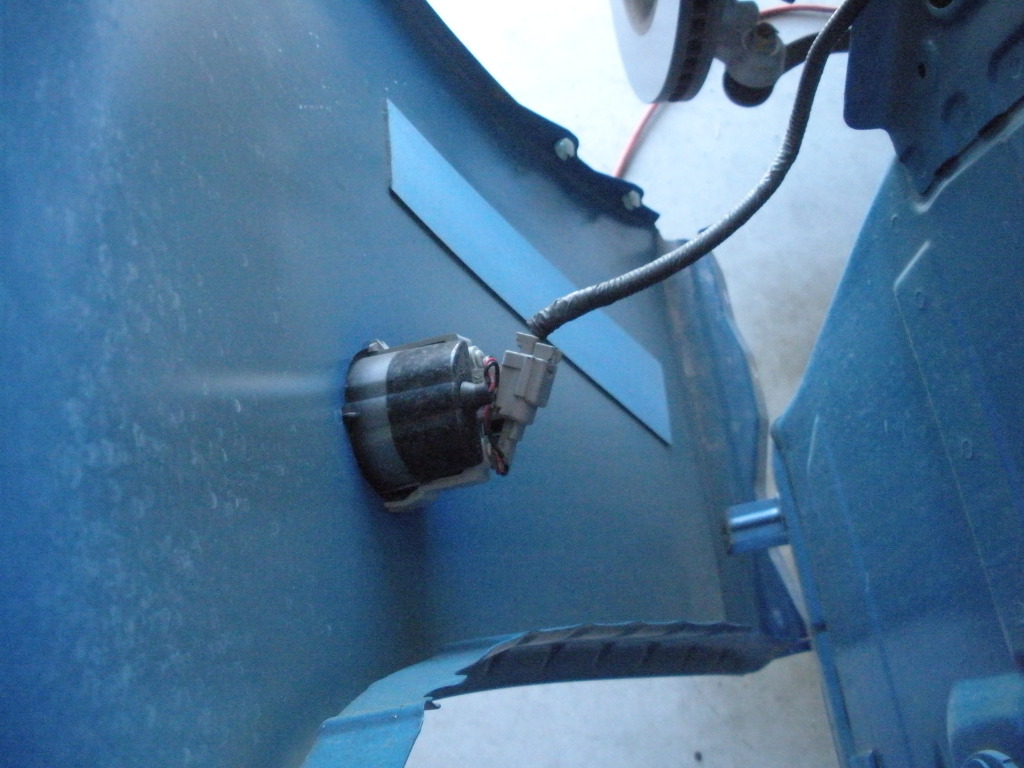
Do not pull to far away from the body because you need to remove the wire harness clip for the side blinker. Use the needle nose pliers on the clip it comes off very easy.
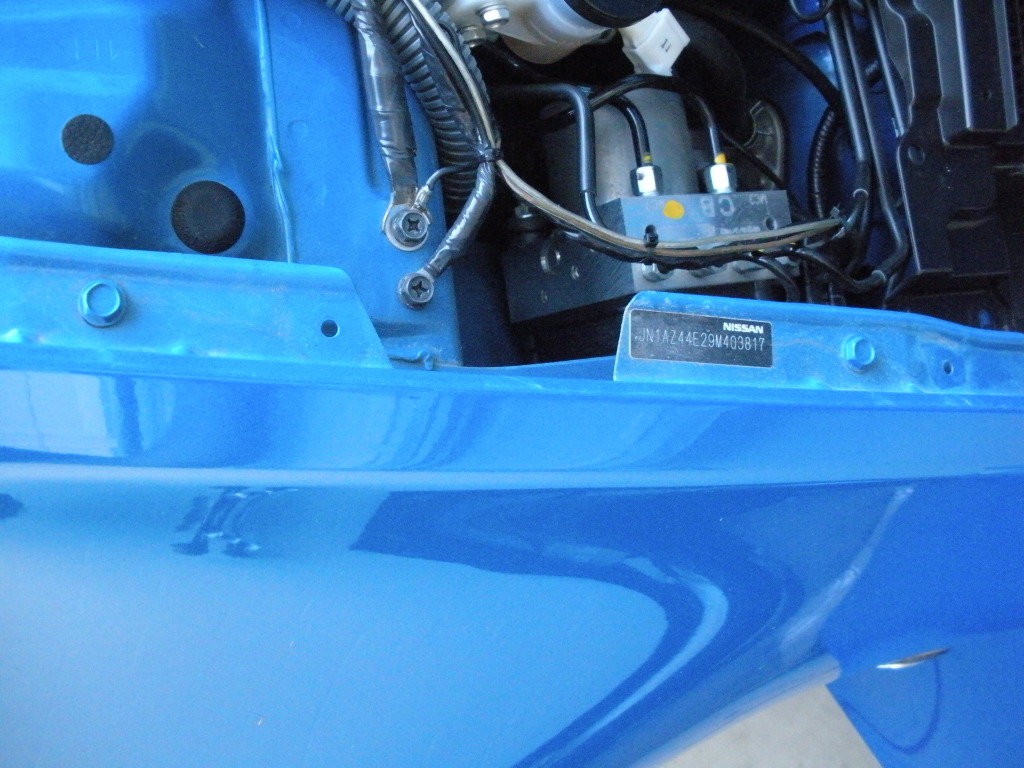
Now remove any factory clips to re-use on the new fenders.
Rinse and repeat for the next side.
10/28/12
Ok here is the extended version. It is really, REALLY, hard to capture in a picture this step by step. I am posting some basic photos and tips to help you along the way. If you have any questions, post them here! That is what this thread is for! This will help save you a bunch of money on install costs because this is a labor intensive job.
Addition Tools Required:
Drill
Drill Bits Misc. Sizes
Dremel
Dremel Accessories
Masking Tape (Optional)
Wood Shims (Optional)
Extra Person! (Optional)
Safety Equipment!!!
Ear Plugs
Goggles
Face Mask
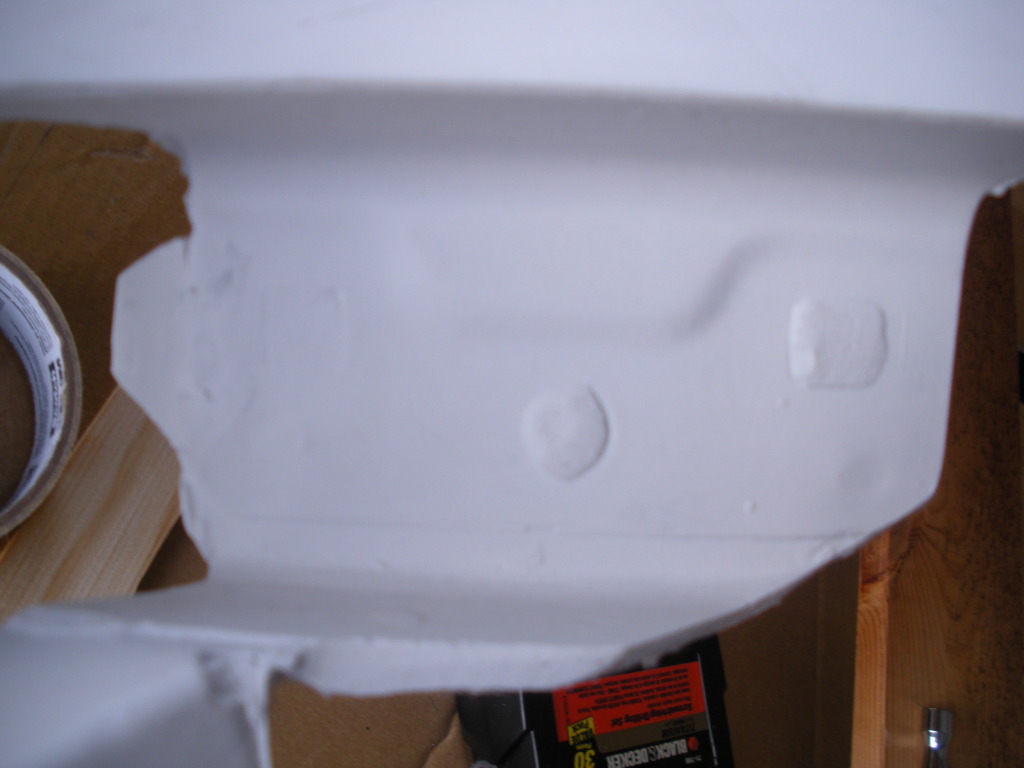
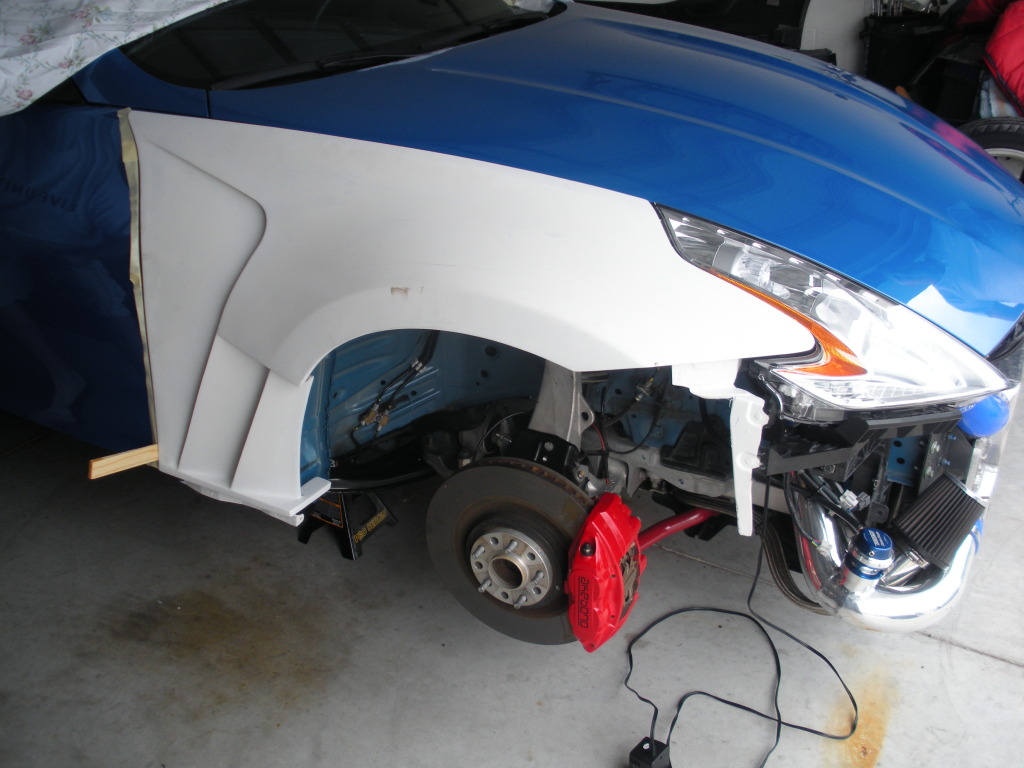
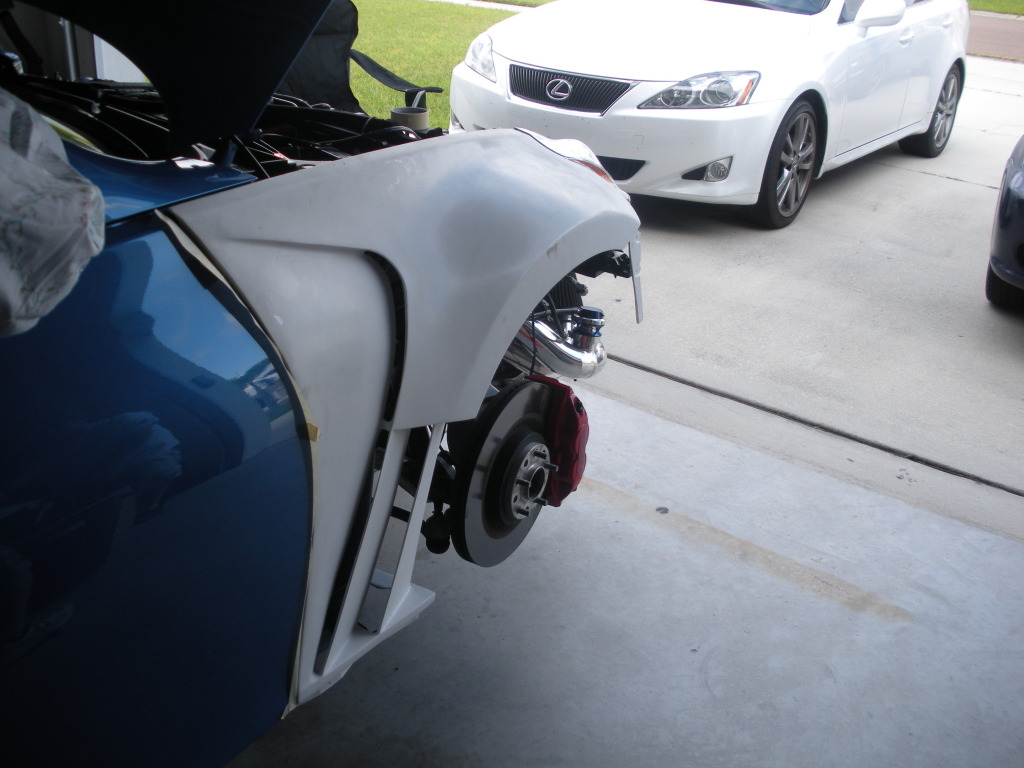
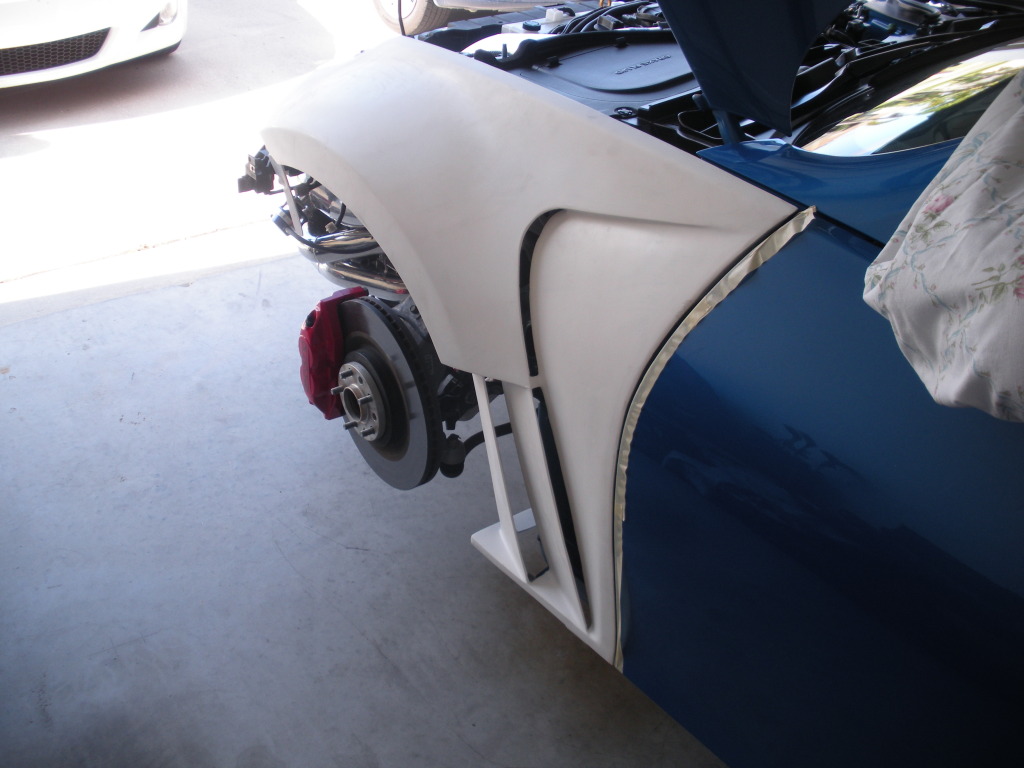
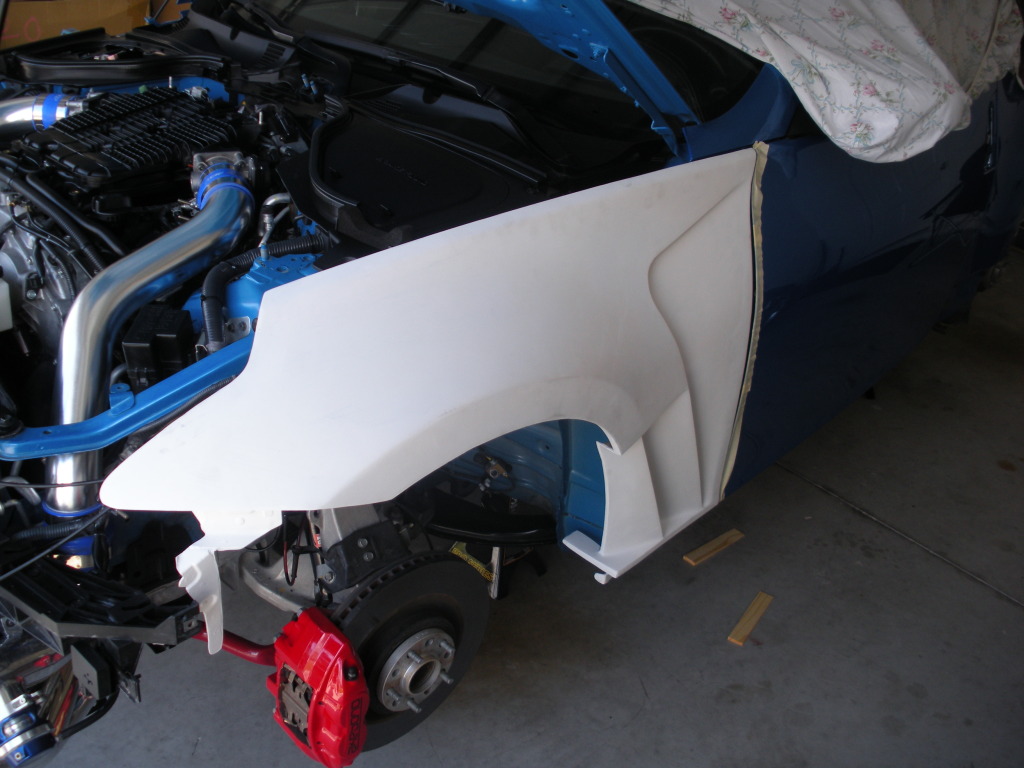
First thing I do is pop a couple holes to scab on the fender. I used two on top and one at the bottom (your choice really). You can clearly see mold marks where the factory holes would be (pictured below). I know not every car is the same but this gets you started without racking your brain for no reason. Take a pick, get yourself a couple holes and get started! P.S my picture below shows mold marks, and then after I drilled them out. I did not take a picture of the holes I used to scab it on.
Here is a photo of them cut out. I used a small drill bit to center my hole, then a larger one to the right size. For the square holes I use a dremel with a bit (pictured below) that cuts from the side, but also drills straight thru.

At this point it is just a matter of finesse and move a little this way, that way, etc. You will also see if you can use all the mold marks for your holes. I am pretty sure you can use them all, because I have twice now. The most you have to do is make a longer hole (not wider) so the fender can slide forward and back freely. I used tape down the door line to help avoid chipping or scratching it. Here are some pictures of my finesse lol.
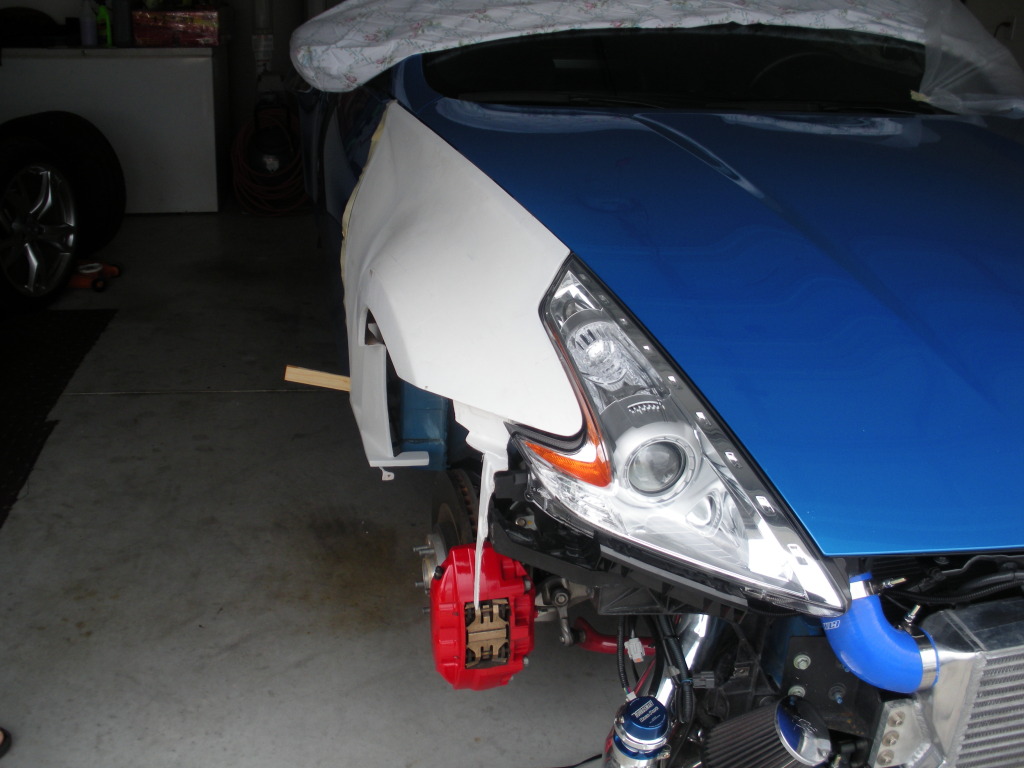
I do not really have much more to add then that. I got them both fitted in about 5-6 hours. Don't be afraid to try this on your own, it is fun, and rewarding! If you have any questions let me know!
Also I do not have all of my parts to line them up perfectly, but I can tell I have the adjustment to do it once I get my parts back. Just thought I would put that out there for anyone the is eye raping some of the gaps lol.
Thanks! ????????
Posted by Diggymart on 6/25/19 @ 7:26:09 PM