You must be logged in to rate content!
4 minute read
Front Stud replacement/ Spacer install
Compliments of Modshack @ the370z.com
6-30-2009
While a few guys have done this, I haven't seen a DIY so here goes. Adding 15mm spacers with extended studs requires jumping through a few hoops..
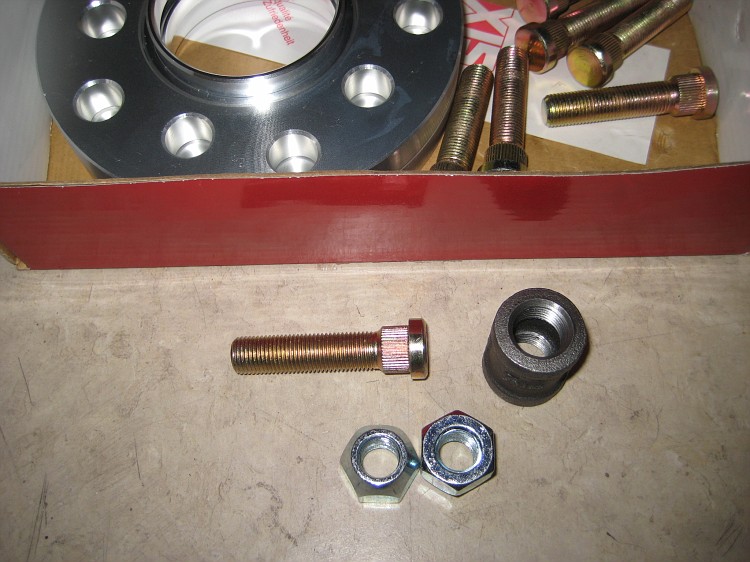
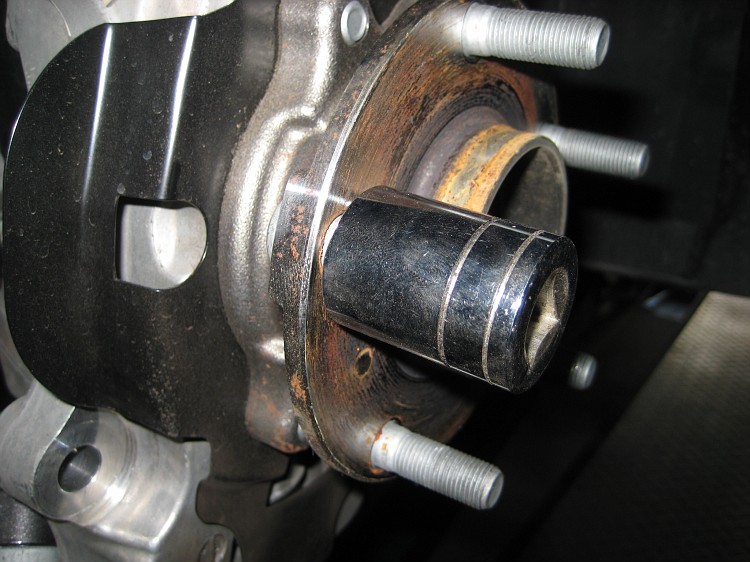
First, Buy (2) M12 x 1.25 lug nuts (open style) at your local NAPA store, and a 1" spacer of some sort (Home Depot plumbing dept). In this case a 3/8ths pipe coupling seemed like it would work. These will be the tools you need for installing the new and removing the old studs without damage. :
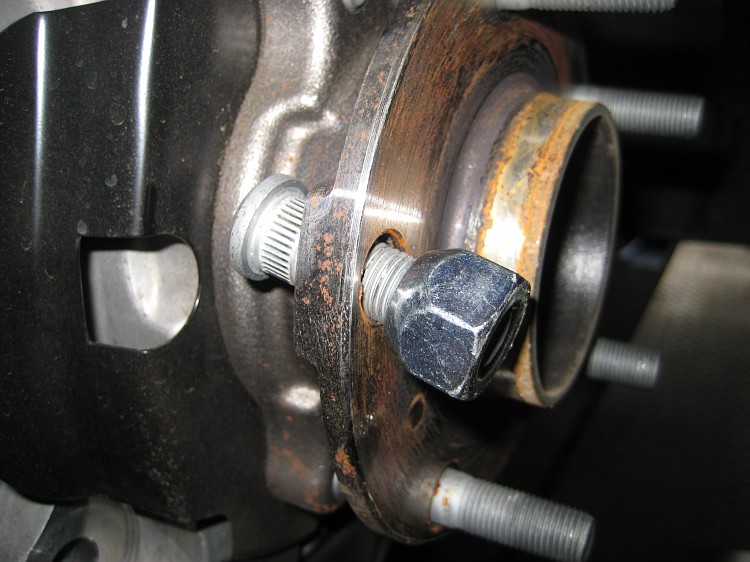
Remove your caliper and Rotor (see ChrisSlicks DIY) http://www.the370z.com/diy-section-d...ent-front.html. You can do this without the Pad removal step if you're careful and you don't have a lip built up on your rotors. This next step is assuming you want to remove the old parts undamaged in case you de-mod in the future. Otherwise just wail away with a hammer to remove them. If you like to preserve your stock parts (I do), Screw the nut on the stud:
Slide a larger socket over the stud and whack a few times with a hammer until the stud is free:
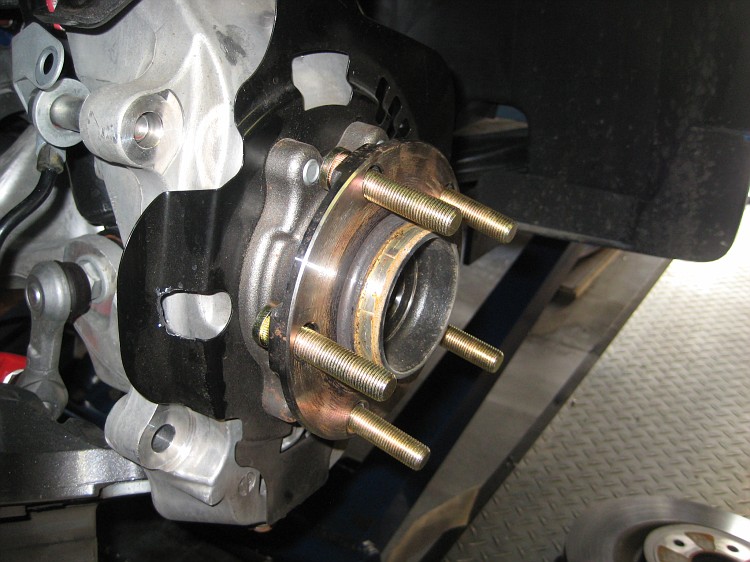
Knock all 5 out and save. The threads will be undamaged if you use this technique. Now for the install of the new studs. The cut-out in the splash shield does not provide quite enough clearance to fish the new longer studs into place without flexing the shield a bit . You can also Open this up a little with a die grinder or file and slip the new studs into the holes..All in loosely:
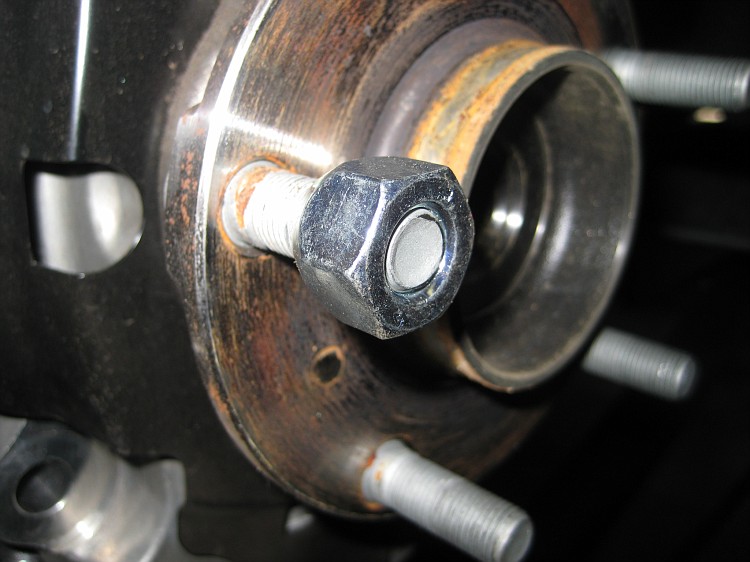
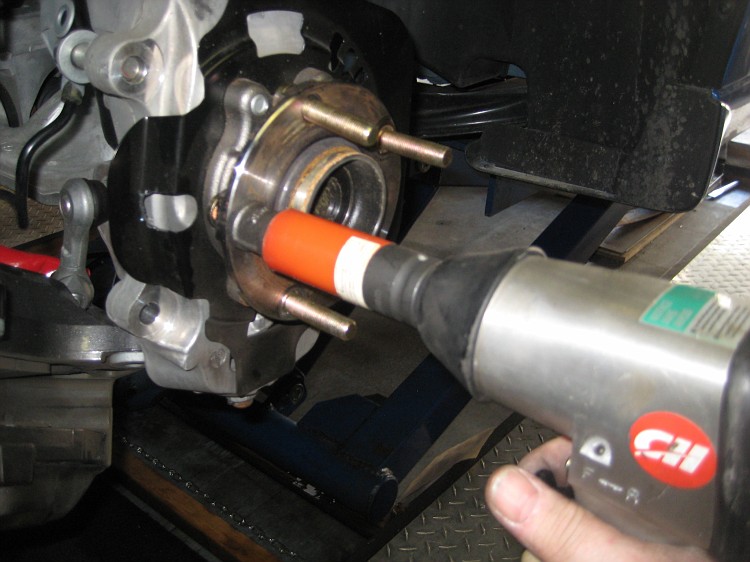
Now, take the open ended lug nut you bought and the 1" spacer and assemble on the stud:
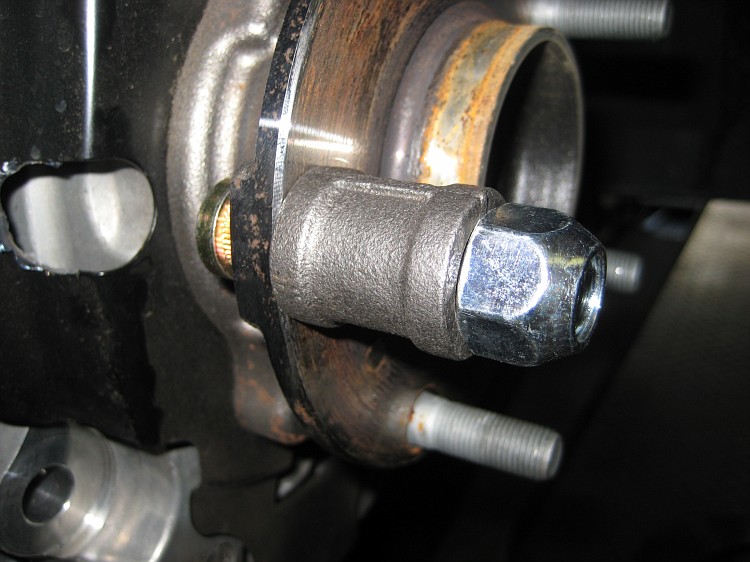
Hit with an impact gun until all studs are pulled in and firmly seated in place. This takes some muscle and probably is not doable by hand unless you can lock the hub in some fashion.. After 10 of these the lug nut will be getting a little funky which is why you bought 2! You'll want one with clean threads to hold your rotor/spacer in place when you re-mount your caliper.
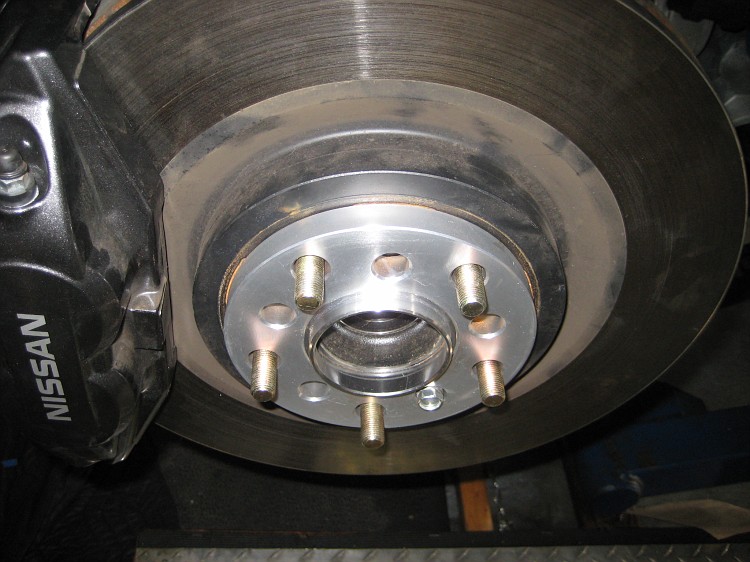
Re-assemble Rotor and caliper, put your spacer in place making sure the centering ring is fully seated.
Remount wheel and torque to spec. Drive a few miles and re-check torque just to be sure you got the studs pulled in all the way. I would do this a few times just to be safe.
Done! Rep points appreciated if you found this helpful..
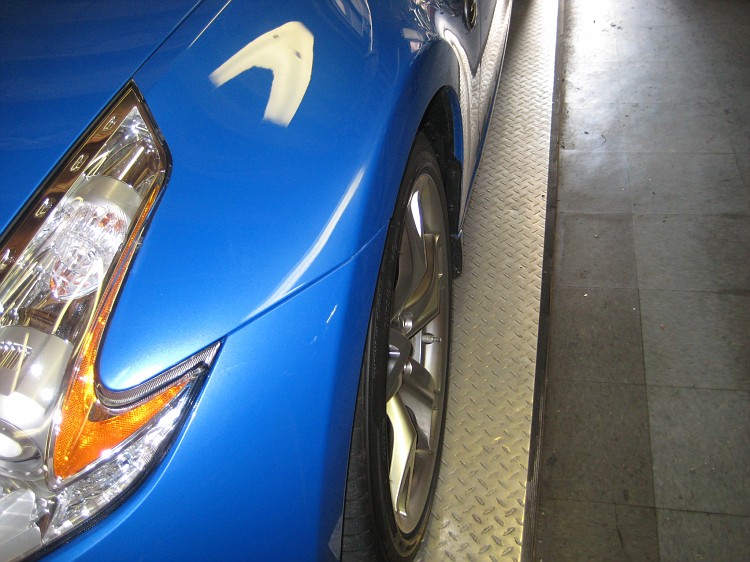
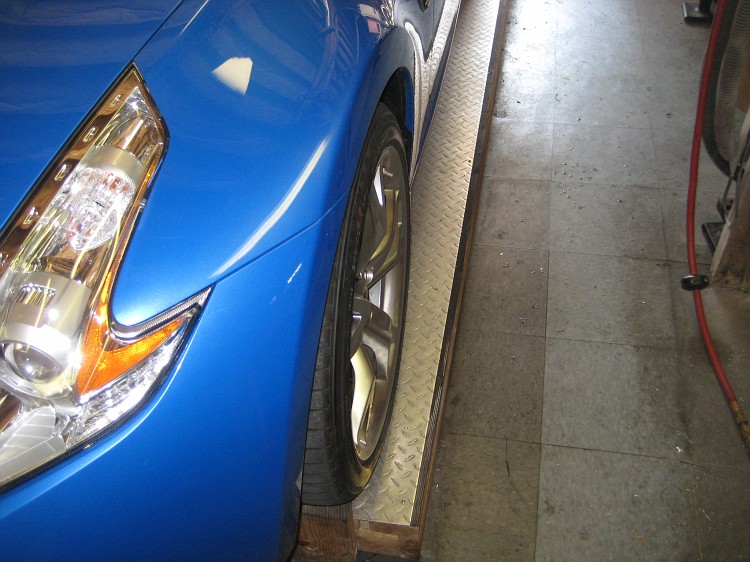
Spacers make a subtle visual difference, but contribute greatly to a muscular stance and filling out of the wheel wells. Before and after: