You must be logged in to rate content!
18 minute(s) of a 86 minute read
9-28-2010
WarShrike's Project Thread
Compliments of WarShrike @ http://www.fullthrottlev6.com
9-28-2010
Other posts:
T-56 Tech Article: LINK
T-56 Swap: LINK
Clutch/Flywheel options for big power: LINK
Wheels & Tires: LINK
Fitting a TSP Rumbler to your V6: LINK
Catback from TSP Rumbler to Dynomax Super Turbo: LINK
Corsa Clone tips installed: LINK
I'll go ahead and start making a nice long post on my project. This will cover the tear down, the parts pile, the build up and other challenges I faced along the way.
To start, for those who don't know me or know of my car, I'll give a quick rundown of it all and what/why I went through with this project when I "could have had a V8."
I've owned this car since December of 2002, and it was replacing the driving duties of my tired ol '83 BMW 533i which needed a full engine overhaul. I didn't want the car at first. It was an automatic and a V6, far from what I'd consider as manly at that point in time. I bought it used at 65,000 miles. Had to rebuild the transmission within the next 3,000 miles (not because of anything I did).
2000 Pontiac Firebird
Maple Red Metallic
4L60E
3.42's and Posi
I found out about FullthrottleV6 because I wanted to find something to do with this car. In my search I found out about Project Virus and Project Pathogen. Pathogen being the car owned by one of the members on here. That was my first inspiration to do something different, instead of go with the easy route.
So in 2006 I finally started doing little stuff here and there, first being a Whisper Lid from NotAV8, Matt from this board who was also a local member.
The proverbial Modding Cherry had been popped, and it sounded like Zeus gargling lightning bolts. I liked the new sound of the car.
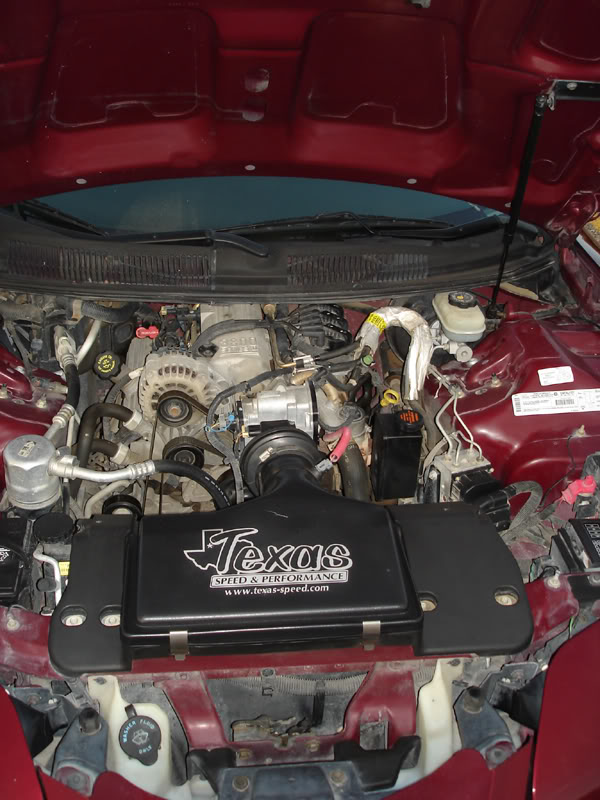
I then bought a LS1 19mm rear swaybar from a local guy and then bought a BMR 32mm swaybar from FloydSummerOf68 (Shawn). This was by far the most enjoyable mod I did to the car at that point in time. It really changed the handling characteristics of the car, even if it had the worn decarbons.
This was it for quite some time as I had just gotten married and had a lot of work around the new house to do. Then an opportunity presented itself that I couldn't pass up. Follow up in the next post.
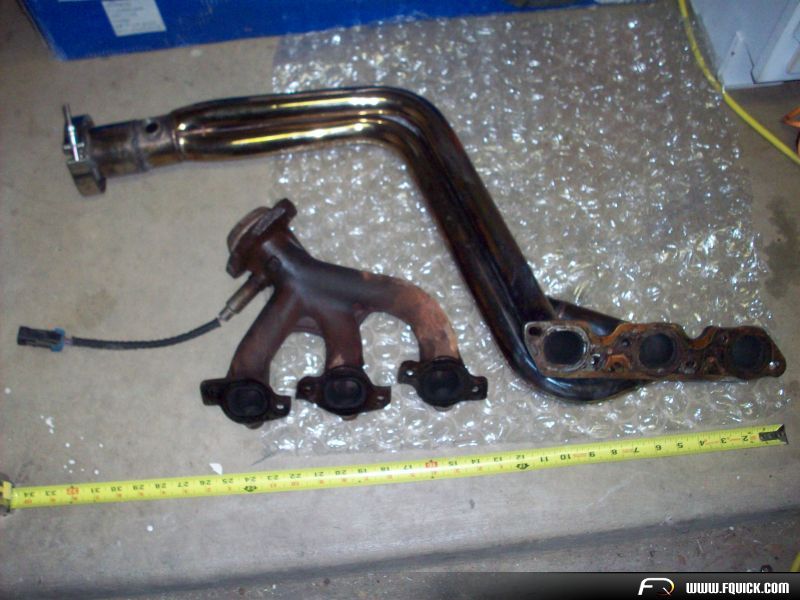
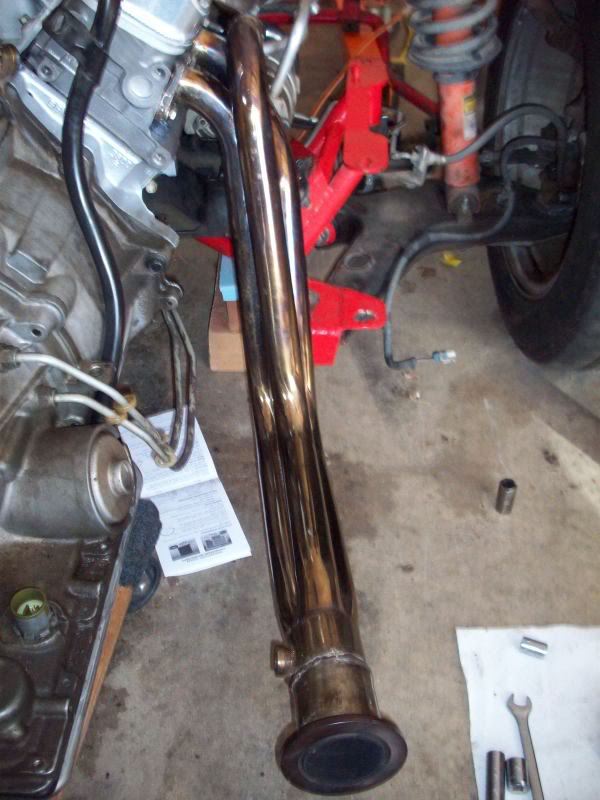
After the awhile Usd2Sing (Dan) decided to sell his Force Fed Fabs longtube headers. I decided to buy them as they were just what I was looking for to change things up on the car a little bit.
I was nervous and excited all at once as I hadn't turned a wrench mechanically on this car yet. So tired, and dirty after the install, everything worked. The reason why I was exceptionally dirty is the fact the car had an intake gasket leak since probably '04 and the slow weeping mixed with Texas dust had caked a mess in some areas of the engine.
Tubes delivered:
Comparison to stock tubular manifolds:
Installed:
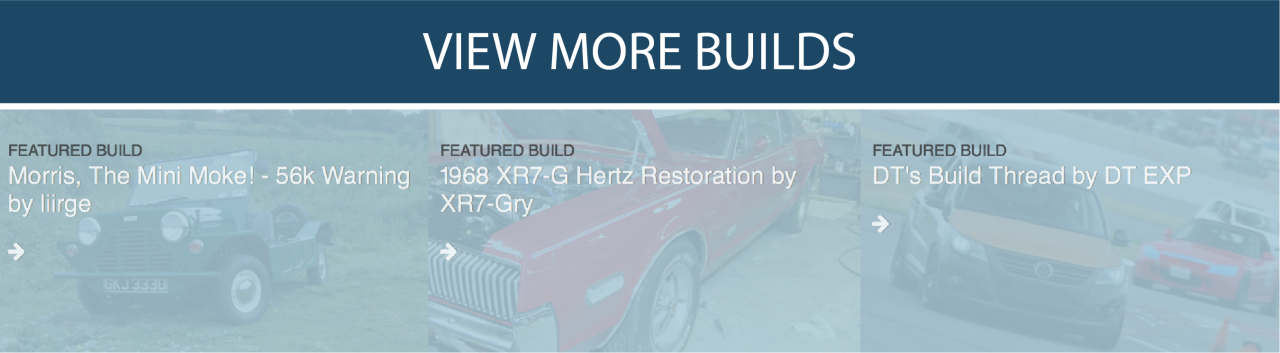
I also had a local exhaust shop install a TSP Rumbler catback as the local shops couldn't seem to do a true dual exhaust the way I wanted it routed.

Vids:
Before:
View Video on FQuick
First start:
View Video on FQuick
After with caback installed:
Things were good for some time, but the intake gasket was still leaking and I decided I'd try and do a preemptive strike on it before it tried to get a leg up on me and dump its contents into a cylinder one day.
I started accumulating parts and decided to get a few other things in the process since I'd be in the engine anyway.
I bought an Intense S1X NA camshaft for almost 1/2 price along with a full cam install kit, gasket set and all that fun stuff.
The profile for this cam is:212º/216º, lobe lifts: .327"/.321", valve lifts with 1.60:1 rocker arms: .523"/.514", lobe separation angle: 113º, intake centerline: 109º
But valve lift will be a little different in a bit because of other choices down the road and due to my findings later.
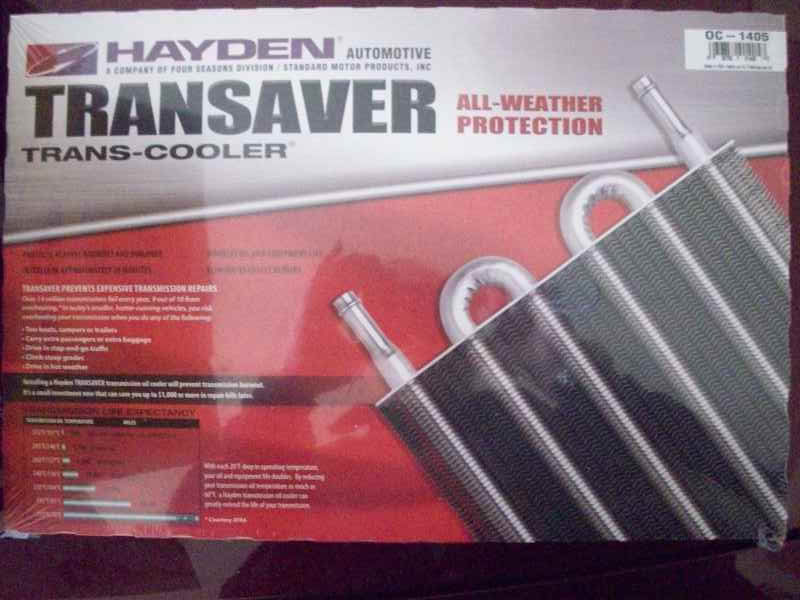
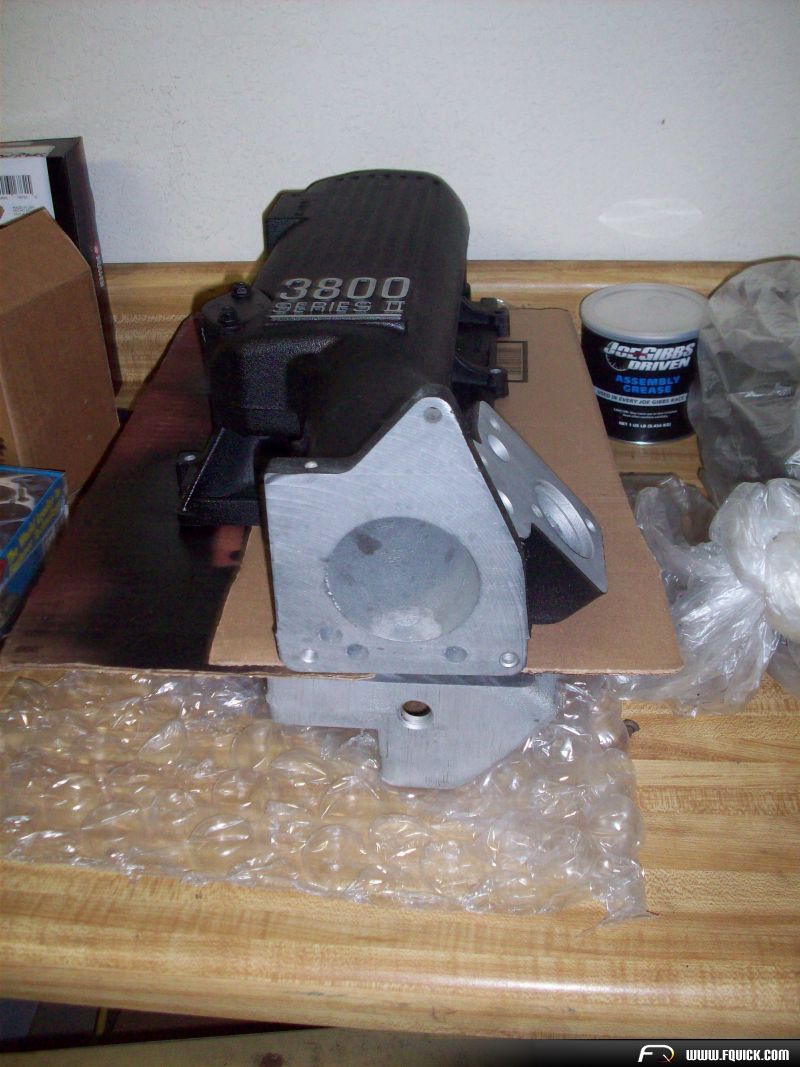
In steps Usd2Sing again, and I purchase his old stall from his Nitrous & NA car. TCI Super Street Fighter 3800 Stall and to go with that, a Hayden 1405 Trans cooler was purchased on ebay:

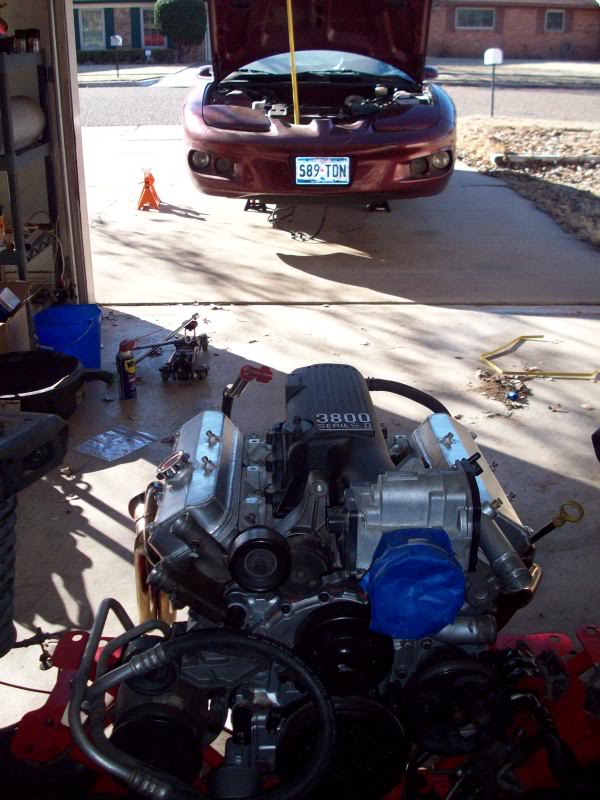
I decided to pull the car out of service in June of 2009. That's when things got ugly in a hurry.
I pulled the valve covers on a 135,000 mile motor to find this:
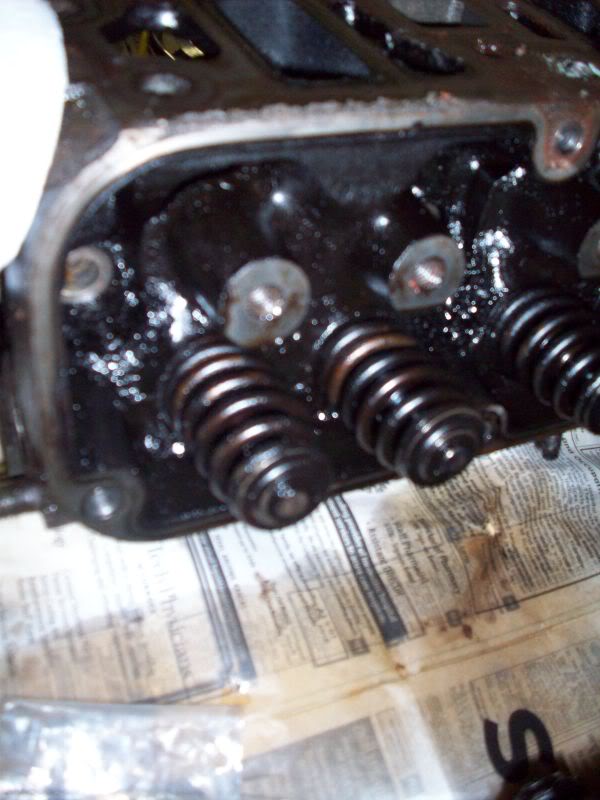

This perfectly explained the lifter tick and all the other issues. I had changed the oil on a regular basis, used synthetic etc. etc. I think it comes down to high miles and the previous owner probably skimped on changes while it was in their hands. 65K miles in two years is a lot.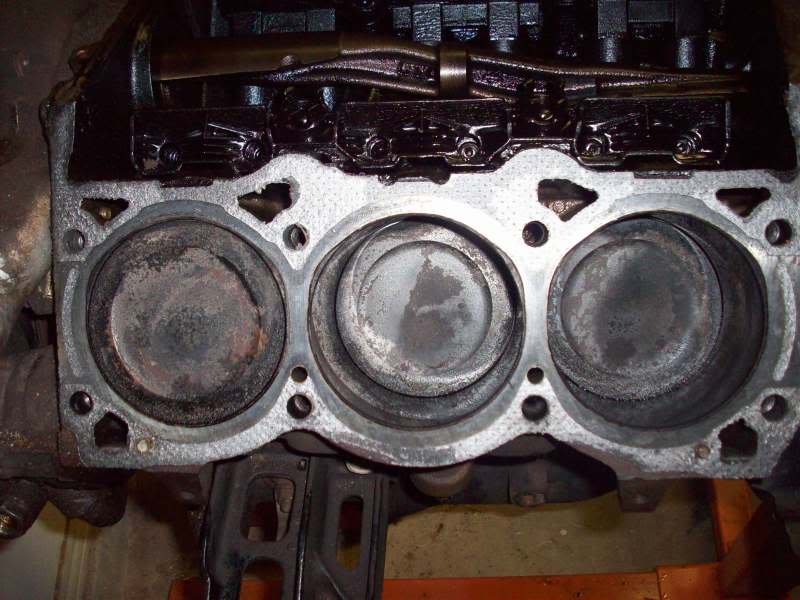
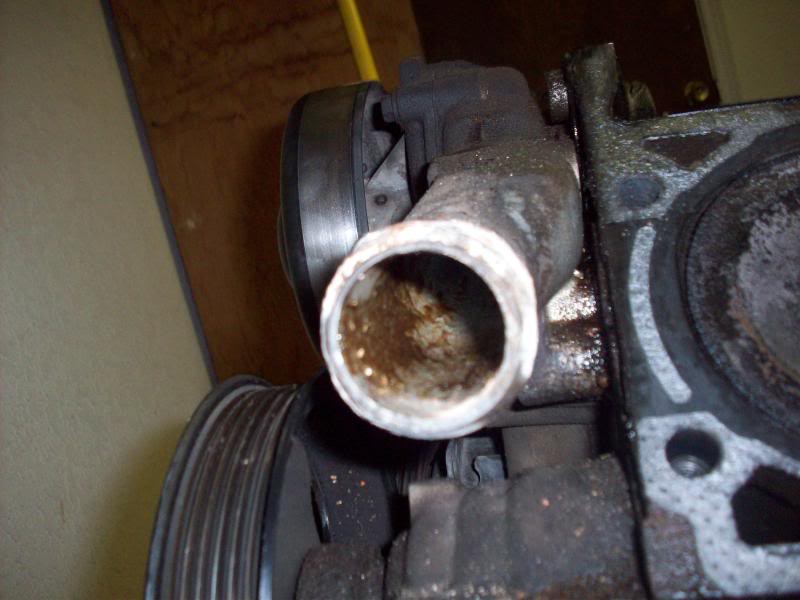
Nasty stuff in coolant line:
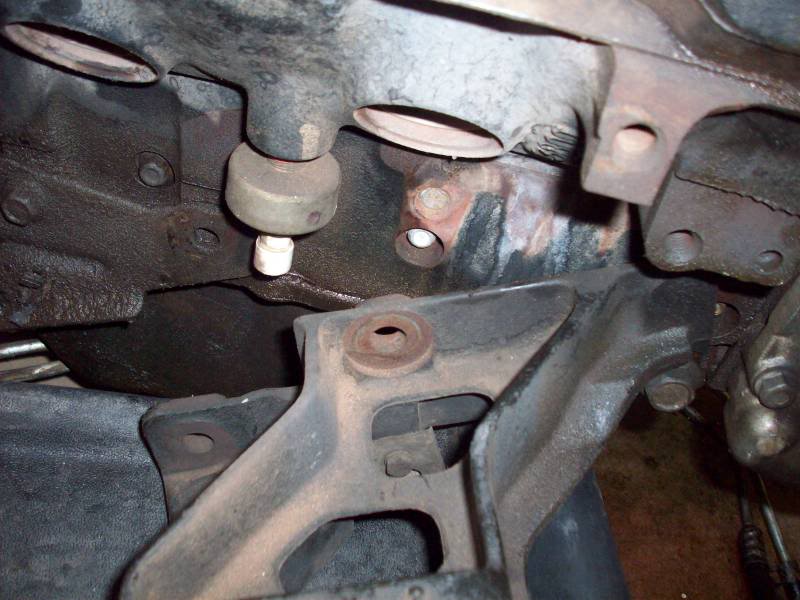
I found broken brackets and stuff galore on this engine. I never could track down why my AC made a rattling noise until half the bracket fell off while unbolting it. Broken clean in half, and the engine mount on that side had one broken bolt, one missing and the other was loose.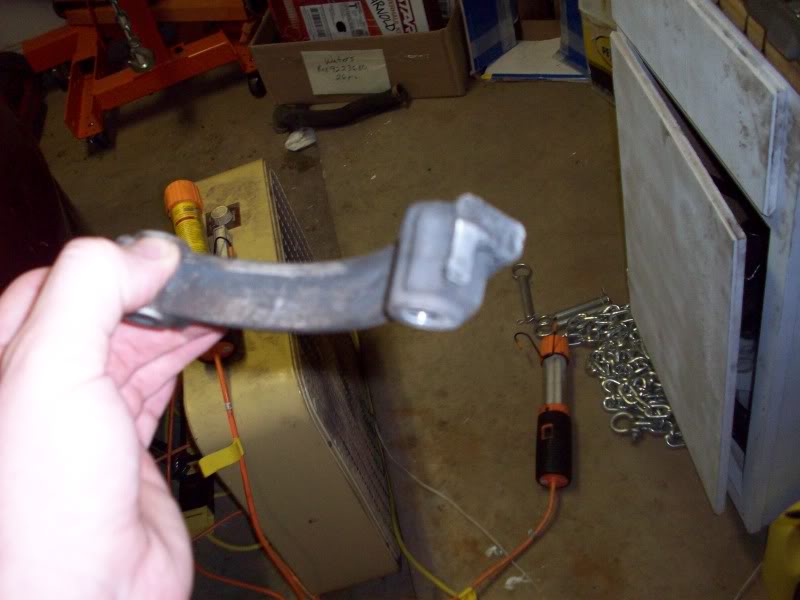
New posts to follow in a while, I've got to get ready for work.
You know the quote "The whole is greater than the sum of its parts;" well that's essentially what I tried to get the best in many areas. I tried to get parts discount, slightly used or sometimes I'd have to pay the regular pricing especially on labor.
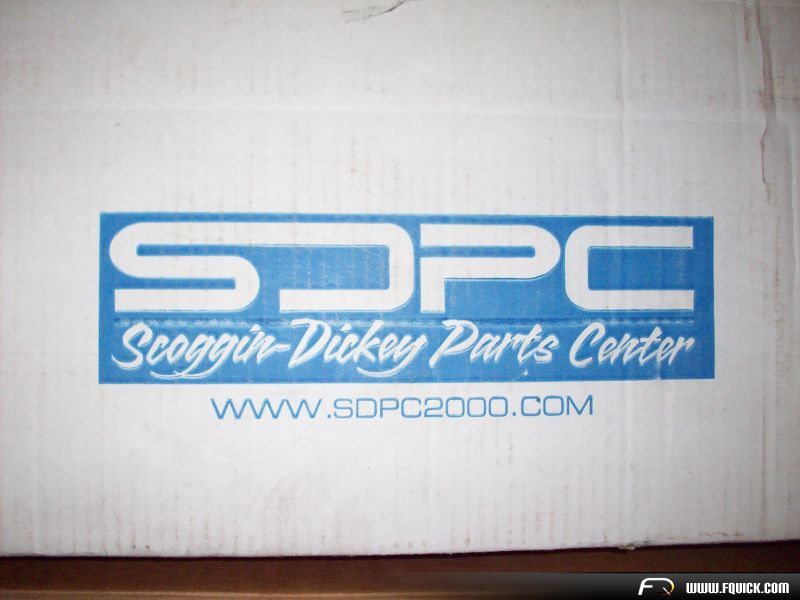
With the help from John at Scoggin Dickey Parts Center, I managed to get quite a few replacement parts, performance parts, guidance and even help on assembly of my engine later on.
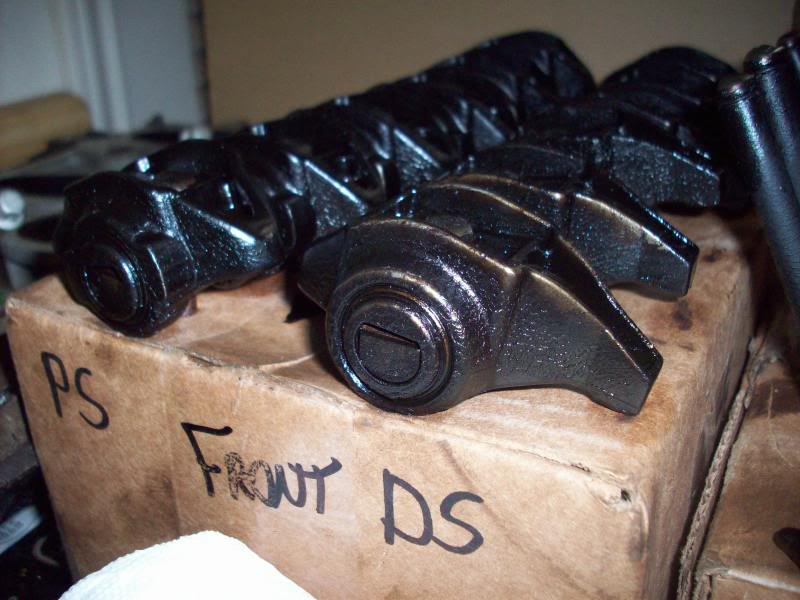
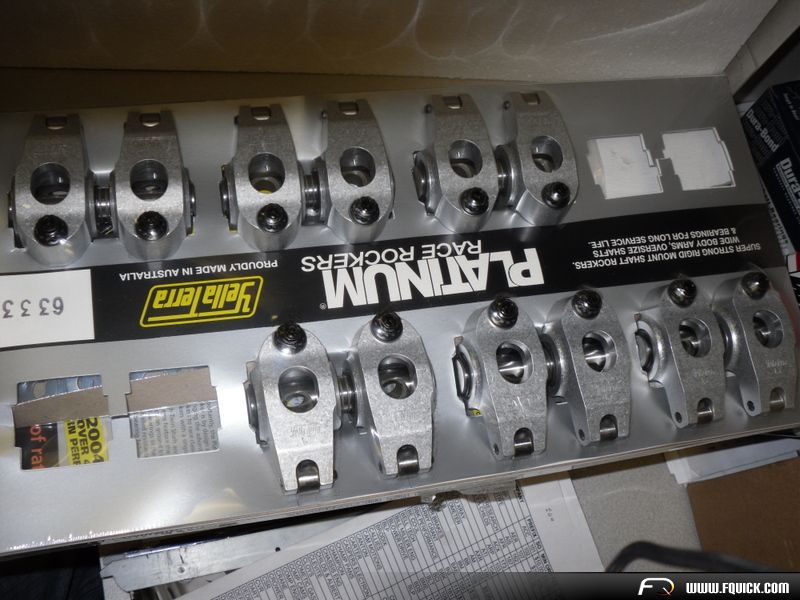
First item was to replace the rockers that I just did not care to trust anymore. We thought of going with 1.7 roller rockers and Yella Terra had some available. So I bought them, not knowing I'd later need 1/2" taller valve covers...
With these rockers, the cam lift changes a little bit to 212º/216º .556"/.546" 113º LSA.
On almost a weekly basis I stopped by SDPC (Local to me since I live in Lubbock), and picked up a package of parts and little odds and ends that needed replacement.
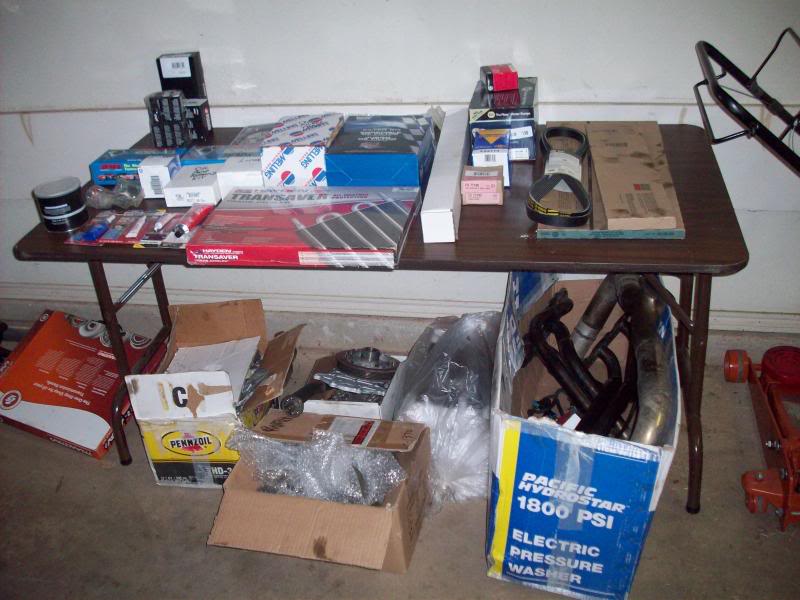
Starts with just one box...
And ends with a pile of parts...
Up next, show and tell from the machine shop.
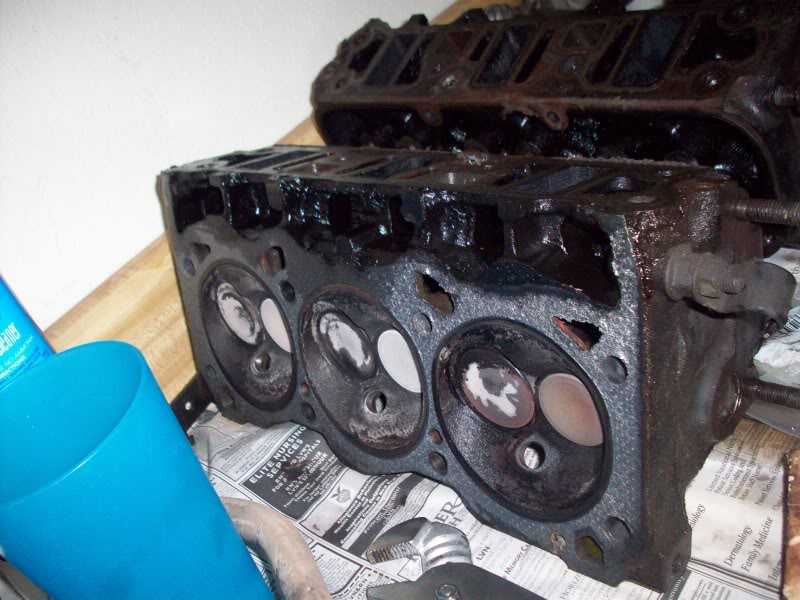
So I decided to have the whole block cleaned and re-honed, along with have the rotating assembly cleaned. I took this to a local shop (Total Engine Service) and had them hone and clean the block, make sure everything was nice and straight and install freeze plugs.
Then I learned after taking the engine home that if you use ARP Main Studs, due to the higher clamping force, you need to have the block align honed or else you run the risk of spinning a crank bearing.
TES didn't have an align hone machine, but they would outsource it to another shop that I had no idea who it was. I took it to Teiner Machine instead and had them align hone and do the oiling mods to the block, pump housing and filter adaptor to the spec by FlyinGTP.
So I lost some money there, lesson learned.
Parts back from machinists:
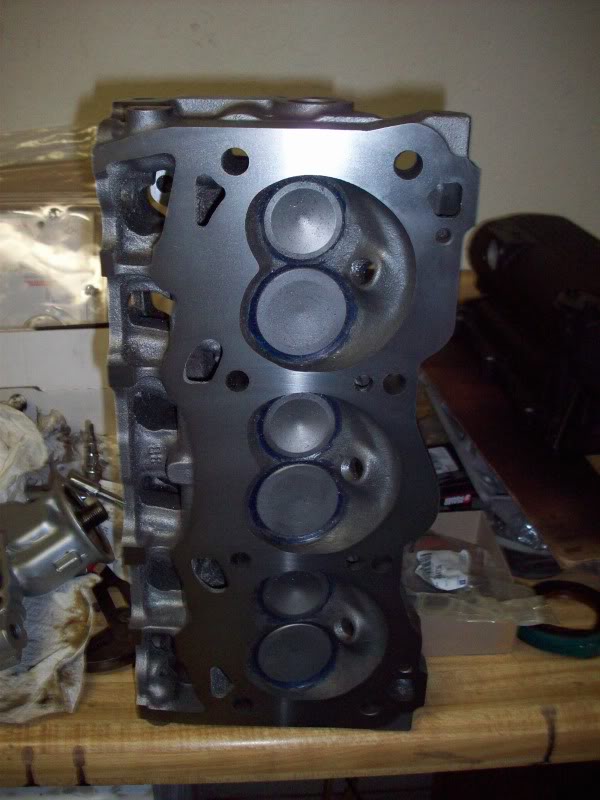
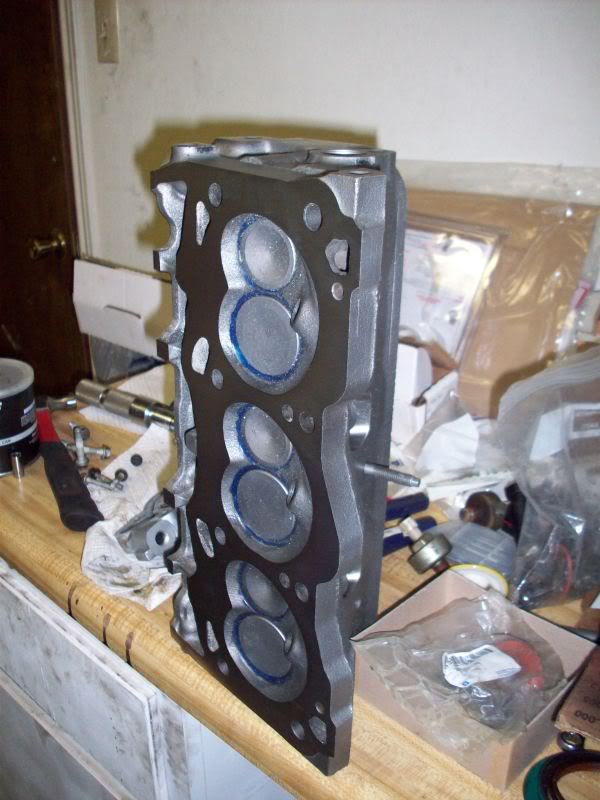
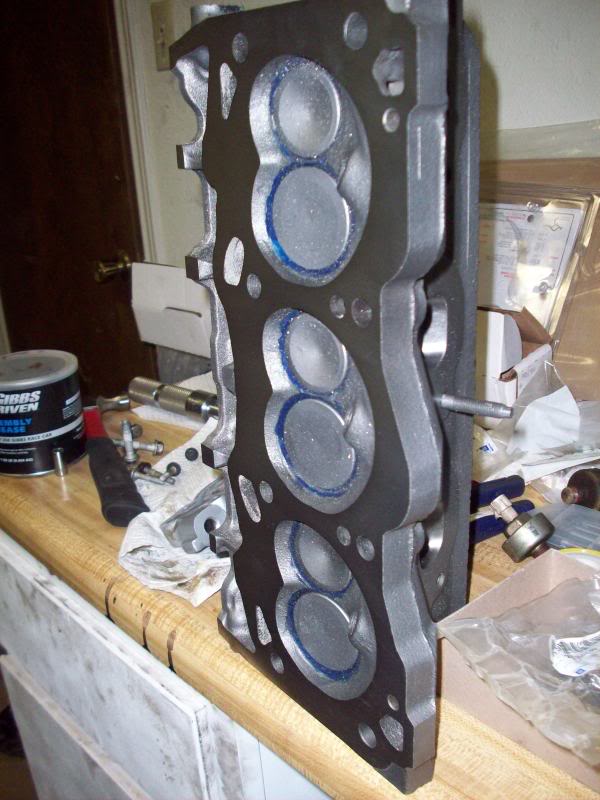
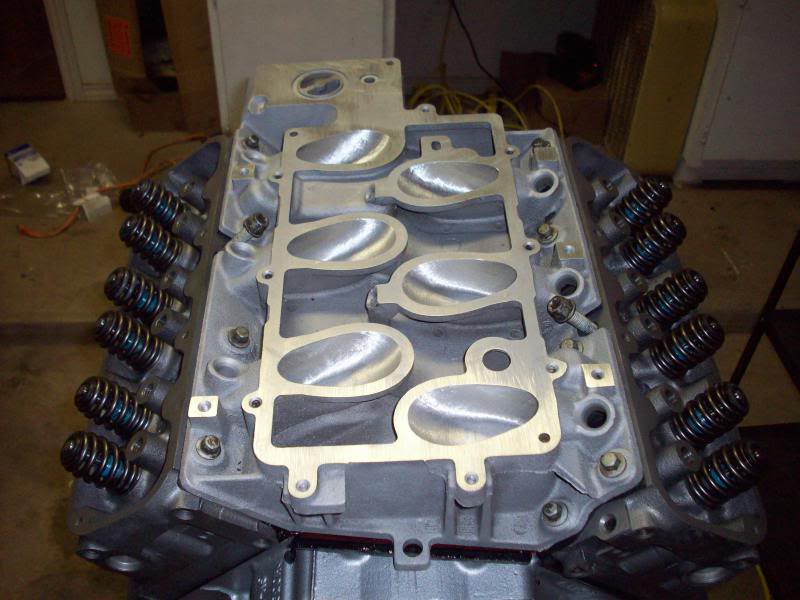
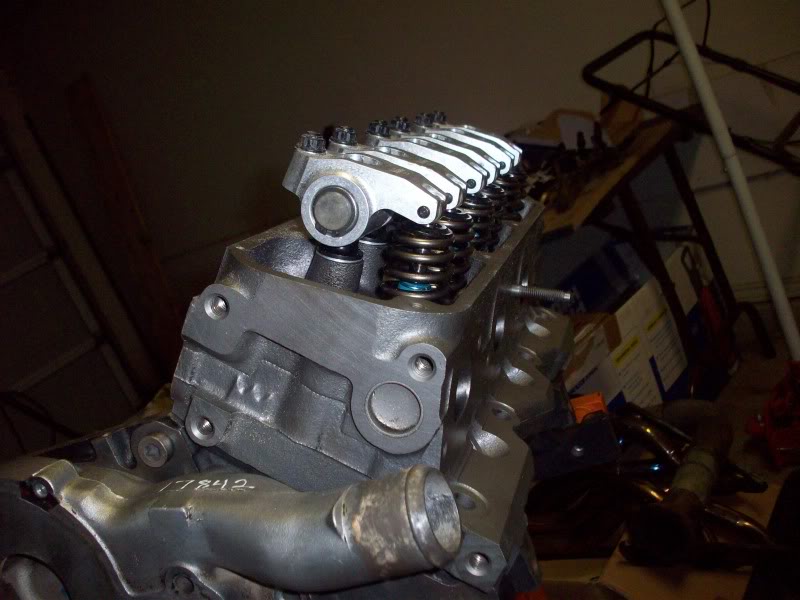
In this same timeframe, I started talking with John at 60°Inclusive. He had started branching out from the 60°V6 platform and offered to do the porting on my heads and intake and do some machining work on the heads to accept the 1.7 Yella Terras, and mill the valve guides for the extra lift they were going to see. Since I didn't want anything too serious or go with large aftermarket valves etc. etc. he did a base hand port all for a very reasonable price.
Because of his shop expansion causing the heads work to run long, he gave me a few kickbacks which I wear usually once a week and sport on my car 24/7. He also flowbenched my heads compared to stock, which even surprised him at the results.
Parts back from John at 60°Inc:
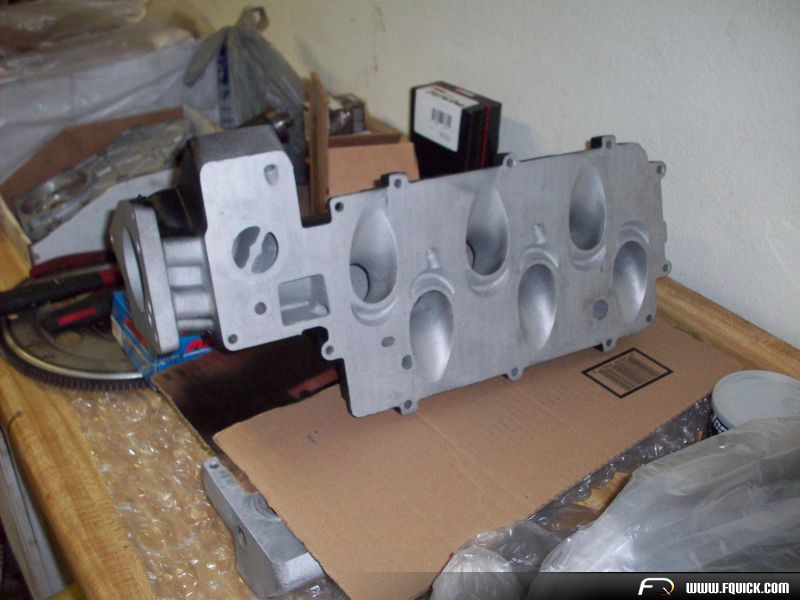
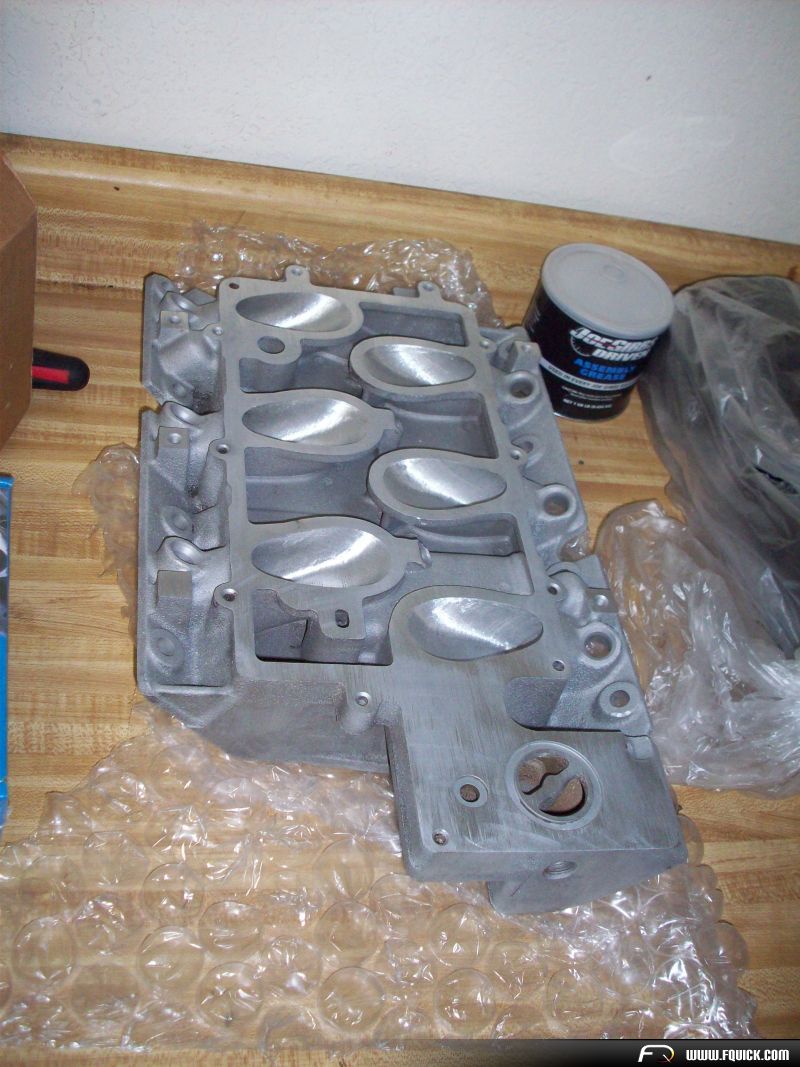
Intake delivered:
John sent me a teaser of what was about to be shipped to me: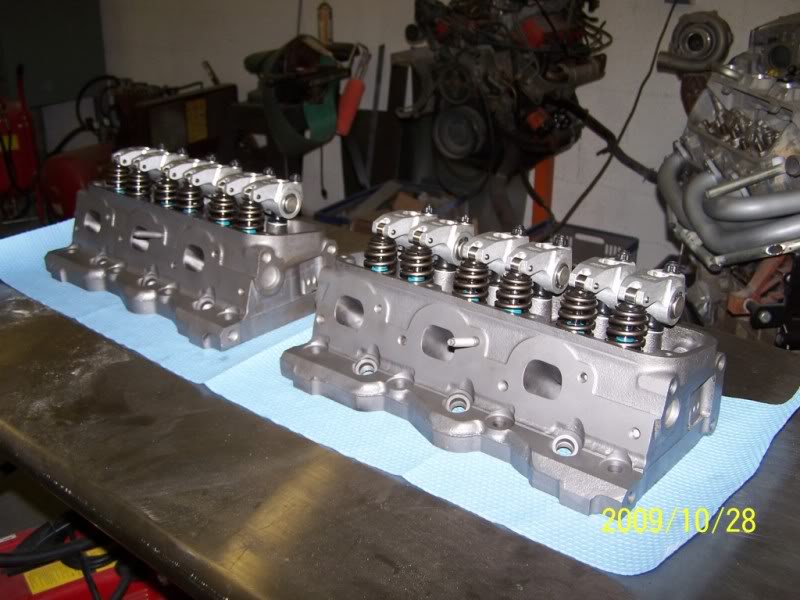
Heads delivered:
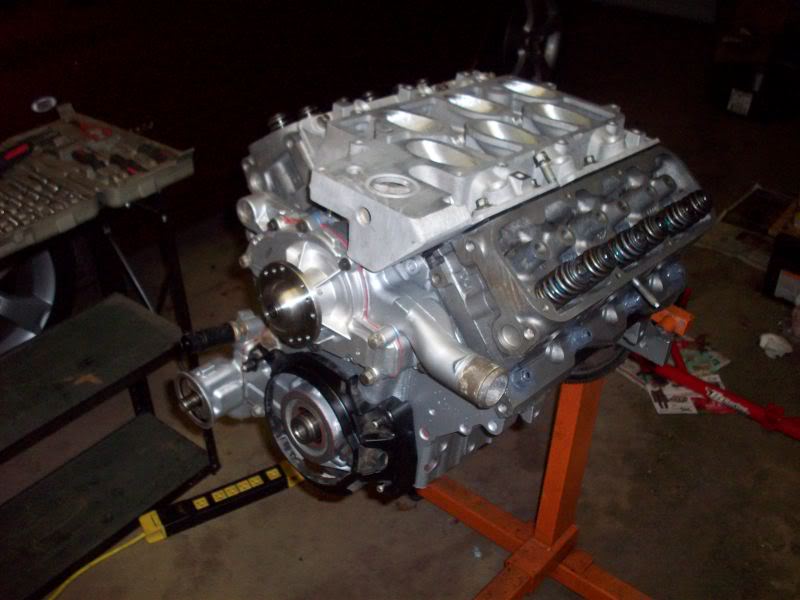
Up next, block assembly!
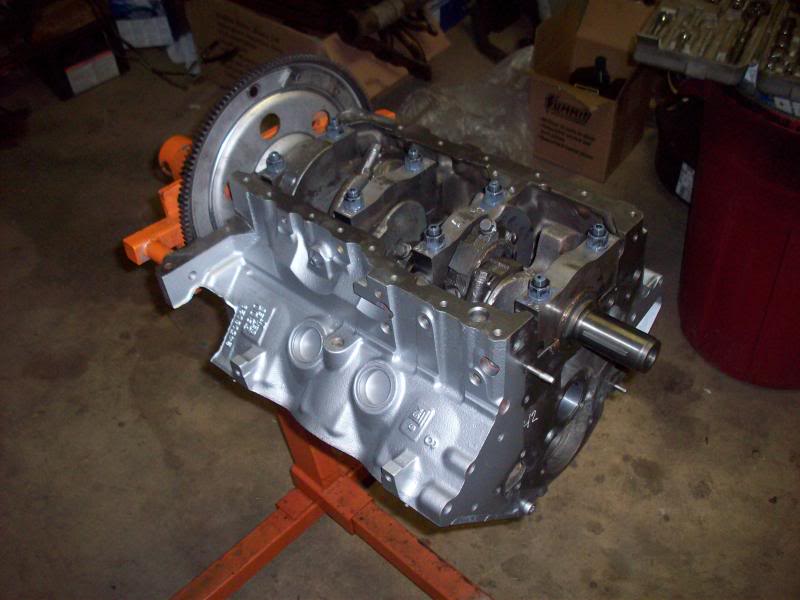
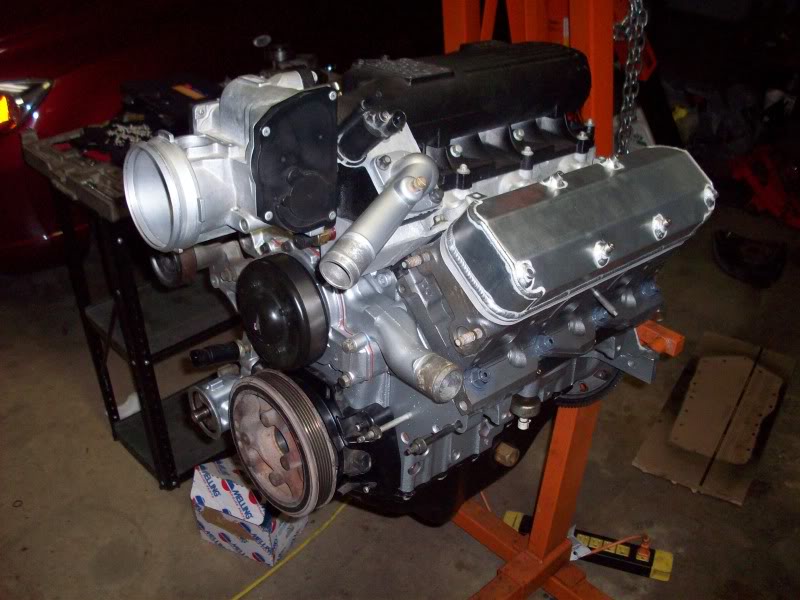
So In anticipation of the heads (not delivered yet), I started assembling the block and getting everything installed. I took my time and gauged everything out. I also took my time and rotated the assembly at least once a day while waiting on more parts so nothing sat in one spot too long.
I spray painted the block in a silver enamel from the parts store, just to make it a little easier to identify stuff while working in/under the car later on. The regular block is almost an oxide black coating, and after getting hot tanked most of that came off. I didn't want a big rusty hunk of iron in my engine bay.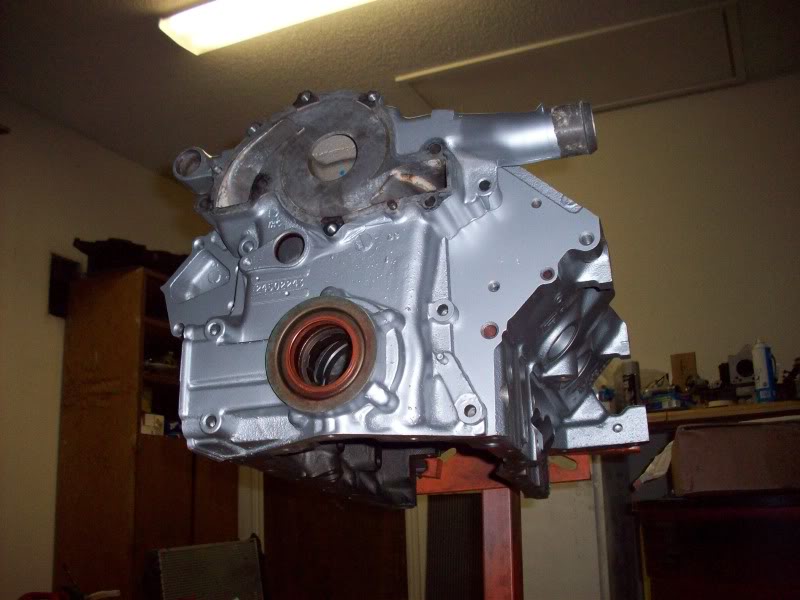
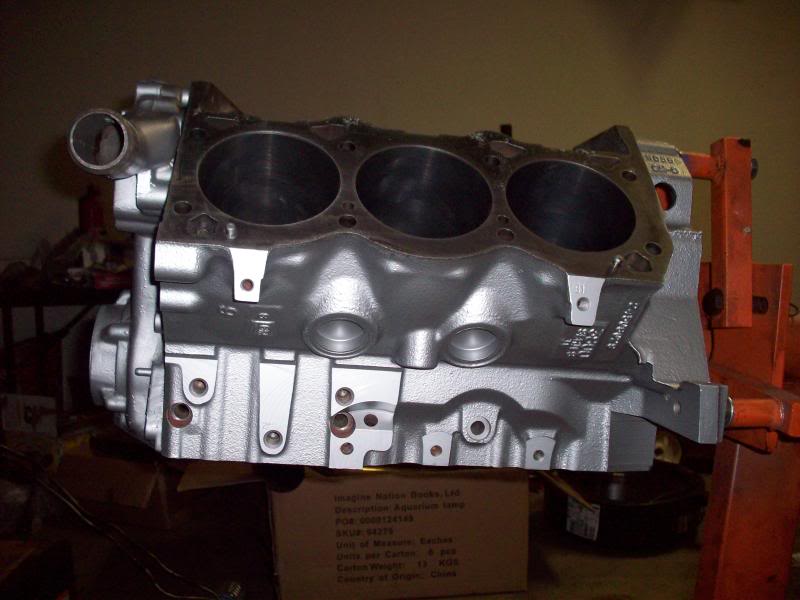
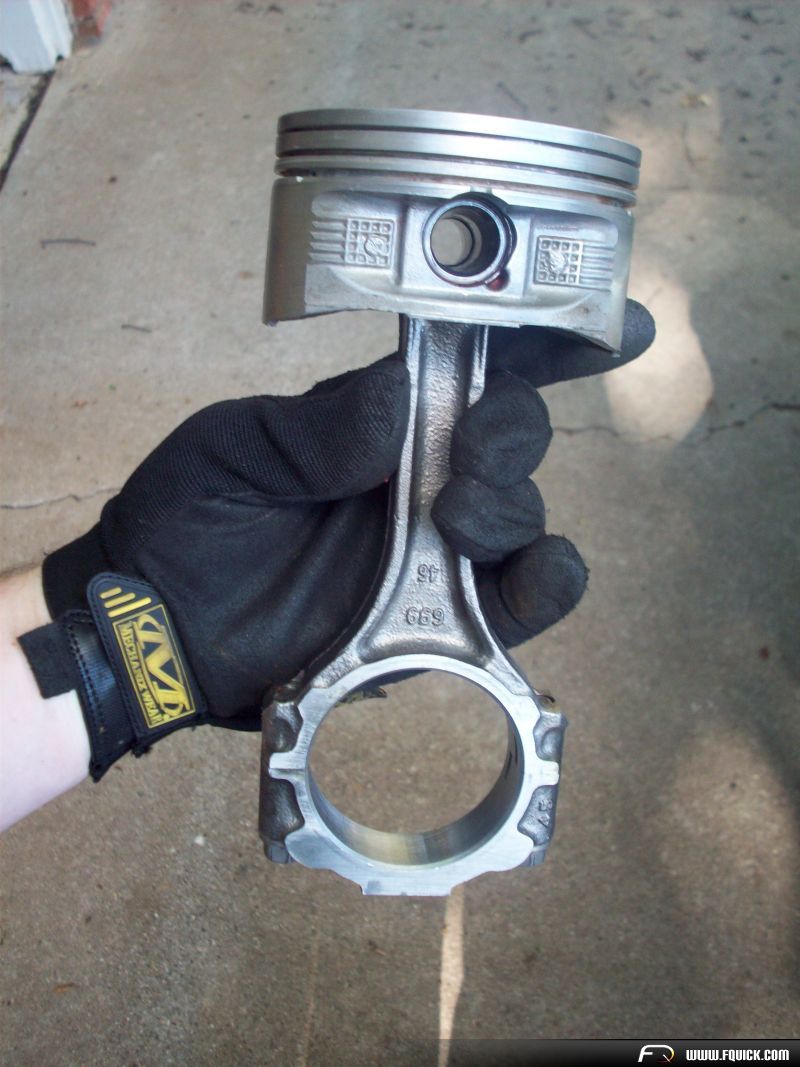
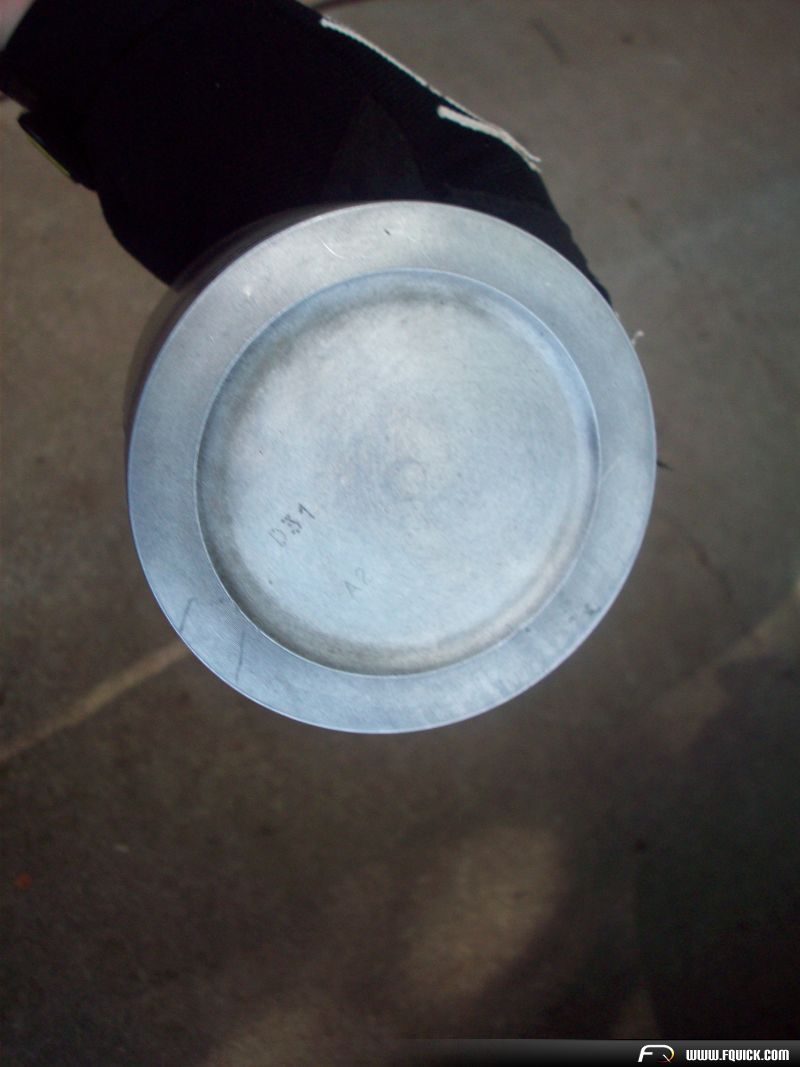
Slugs installed:
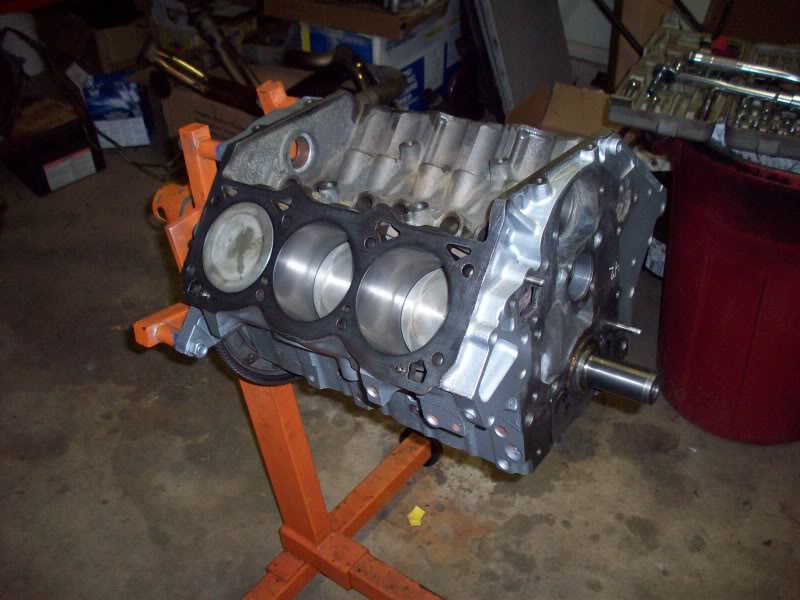
Upskirt! Giggity!
Using ARP Head Studs: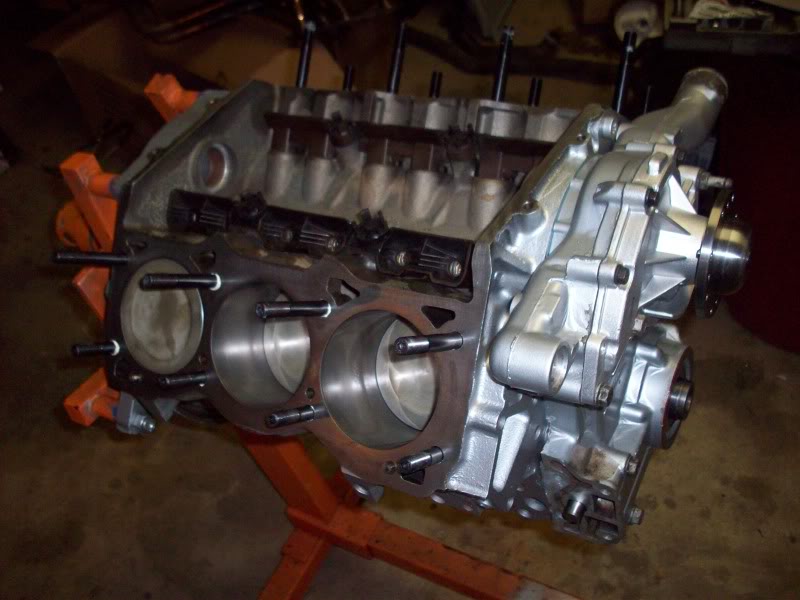
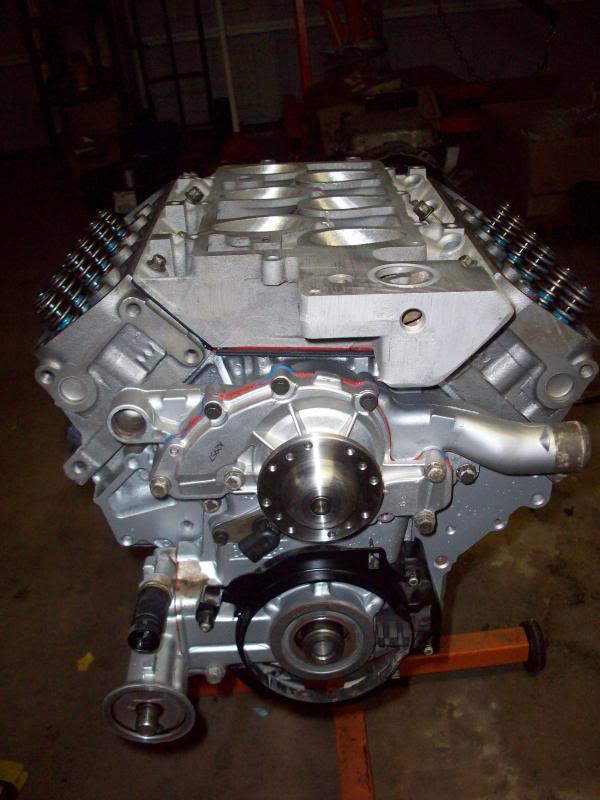
Top end assembly:

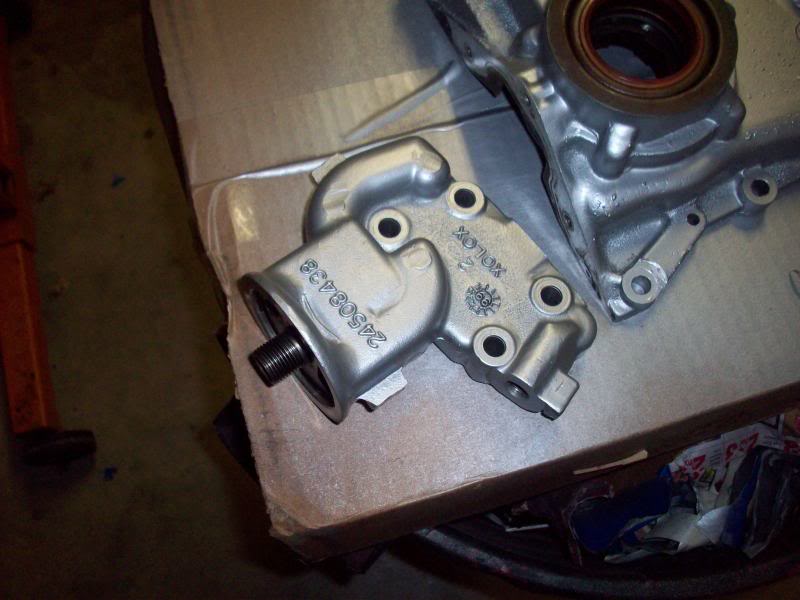
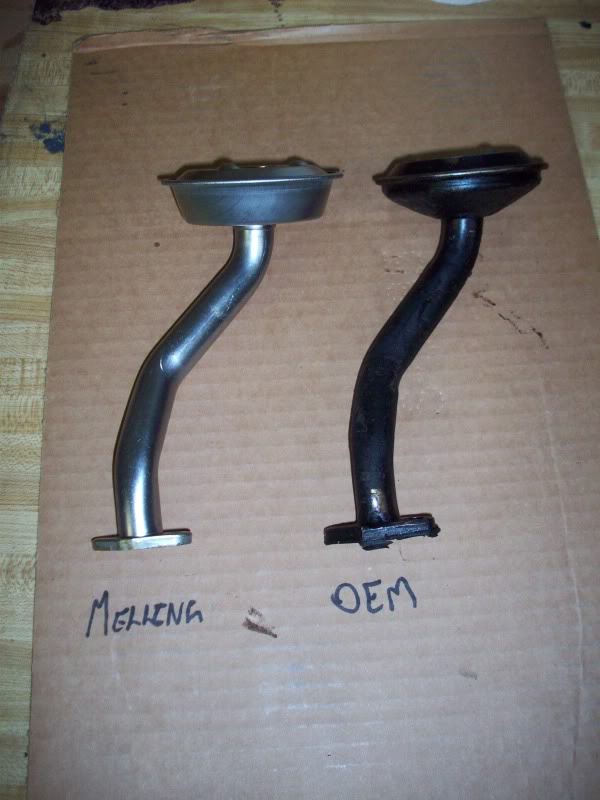
I found something else rather neat, the oil pickup tube from Melling is a little bit bigger in diameter and has a larger pickup head as seen in these two pics:
Up next, Engine Assembly Part II.
So I initially had a set of valve covers milled down to try and use the flanges as a spacer to clear the Yella Terra rockers. 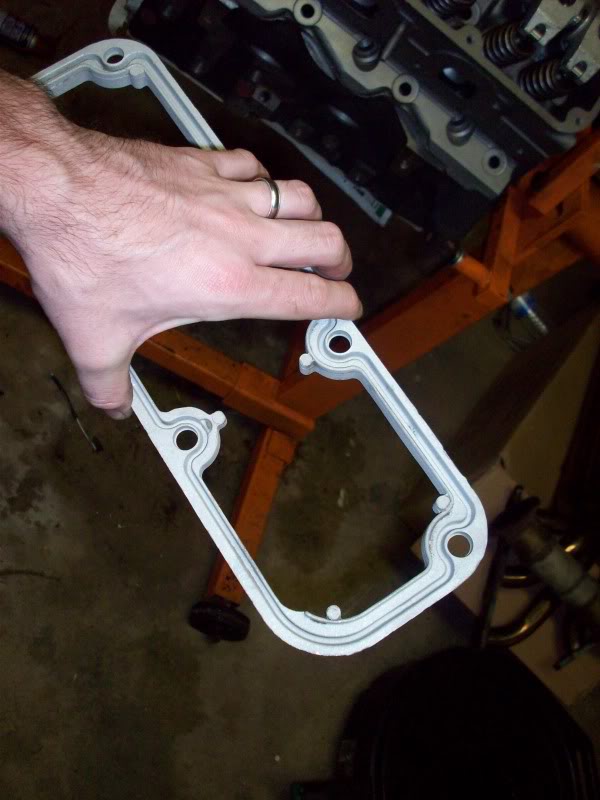
They didn't clear:
The biggest reason why is the adjuster nut. This adds a lot more across the top arc of motion that the valve covers have to clear. You need a bit more room to go 1/2" at least. For F-bodies, this will prevent you from using your stock coil bracket, and you will need to position it on your firewall.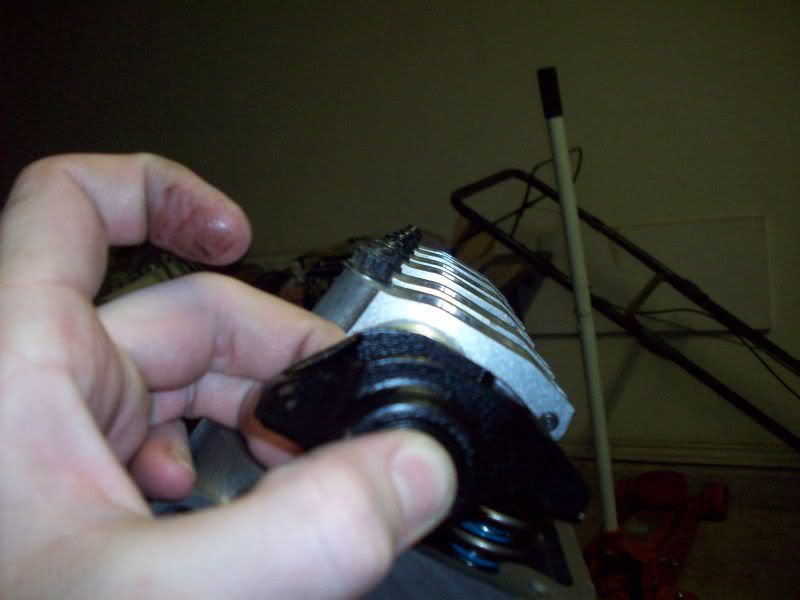
No matter how beautiful they are, somebody, somewhere is tired of dealing with their crap:
So I embarked on a quest to find somebody to fab taller covers for me, but a guy on CV6 was parting out a build. They had taller covers, and so I bought them. I still had to use the spacers because of my gargantuan elephantiasis diseased rockers.
Now you see me...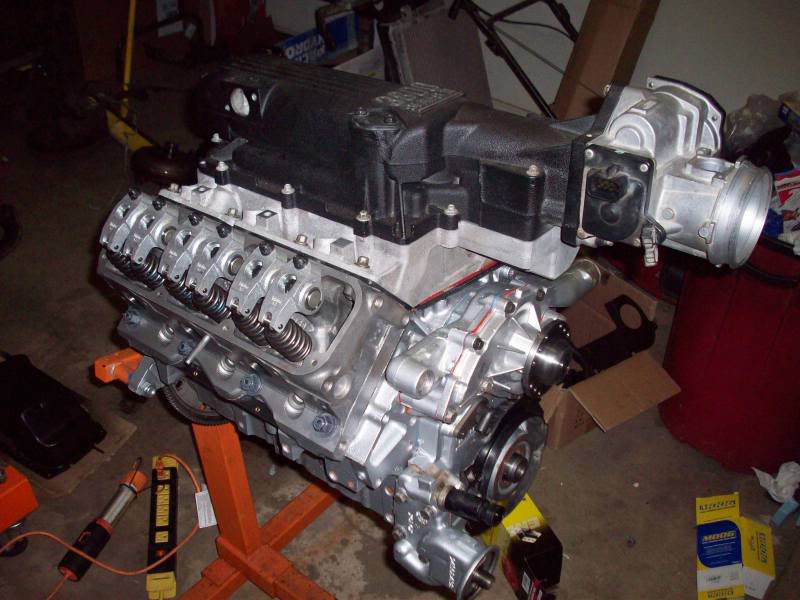
Now you don't!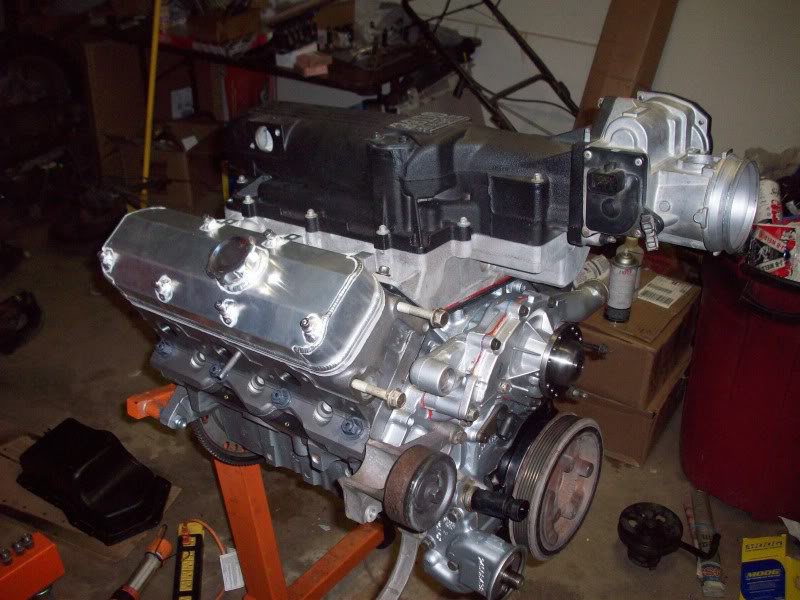
Up next, Suspension updates!
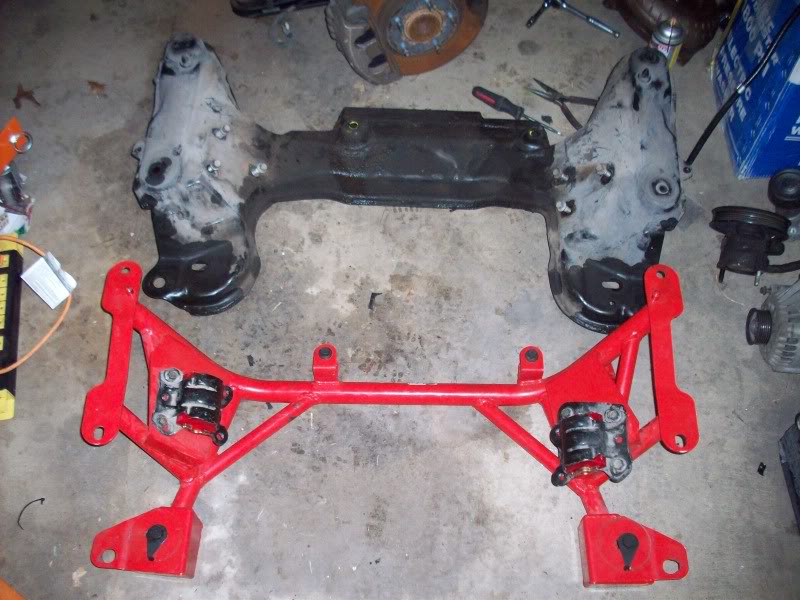
I purchased a PARacing Tubular K-member with road racing reinforcements (1/2 price) used from a local who was going to a boosted V8 swap instead.
Comparison of stock stamped steel k-member to PARacing setup:
Something in the vicinity of 30lbs difference...
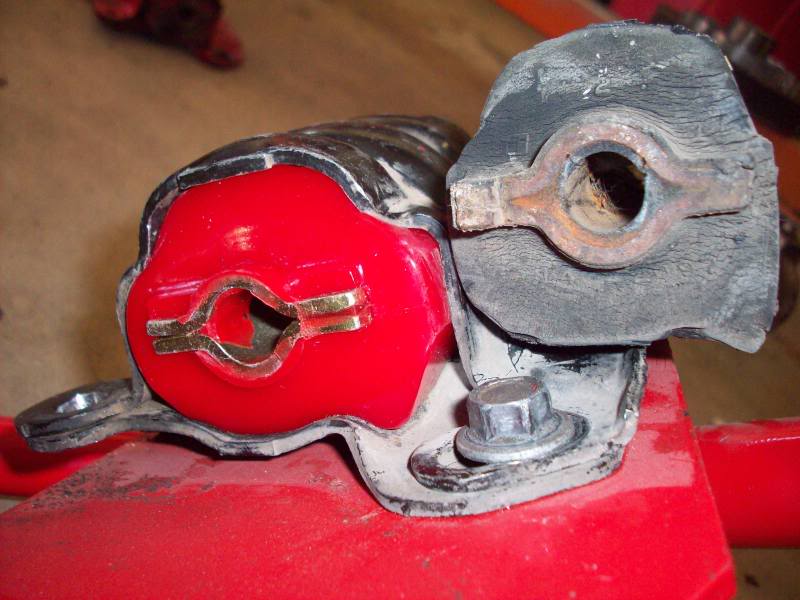
I put in poly motor mount bushings, which require you to drill out the rivets and pry on the old bushing like your life depended on it...
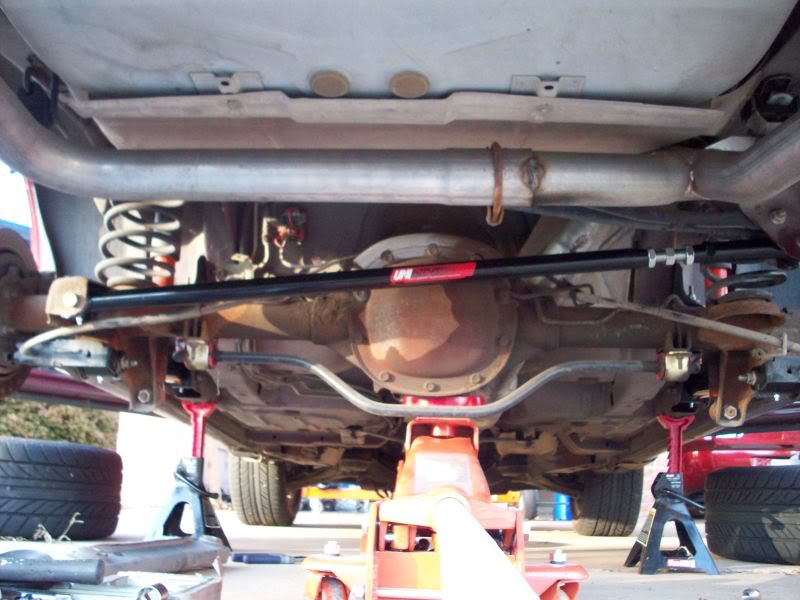
I also installed UMI tubular lower control arms and adjustable pan hard bar:
Sir not appearing in this thread is my set of QA1's, which were installed under the cover of darkness lol!
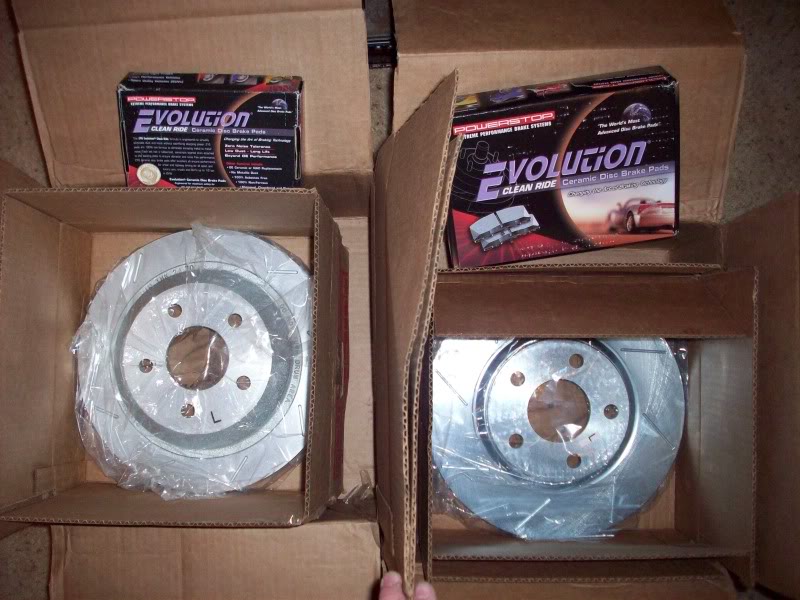
Bought some slotted rotors, which my old rotors had a lip on the outside edge...
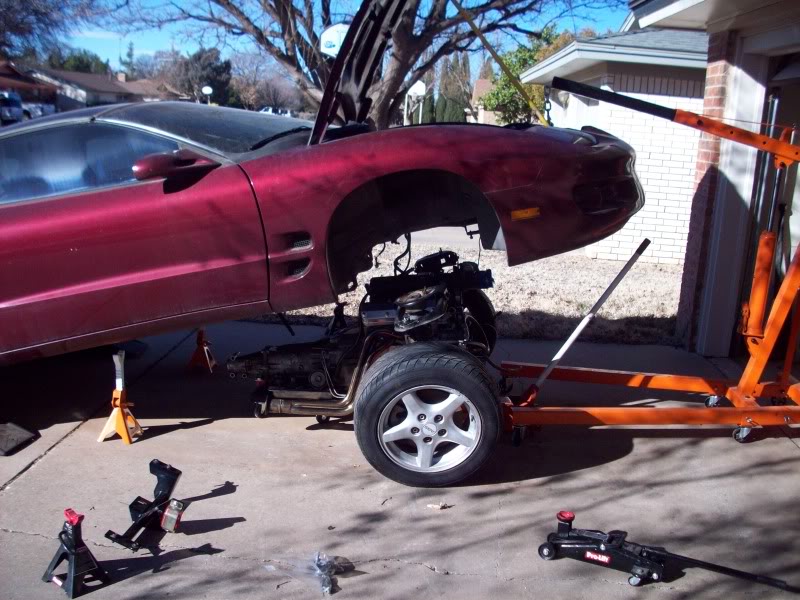
Up next, mating!
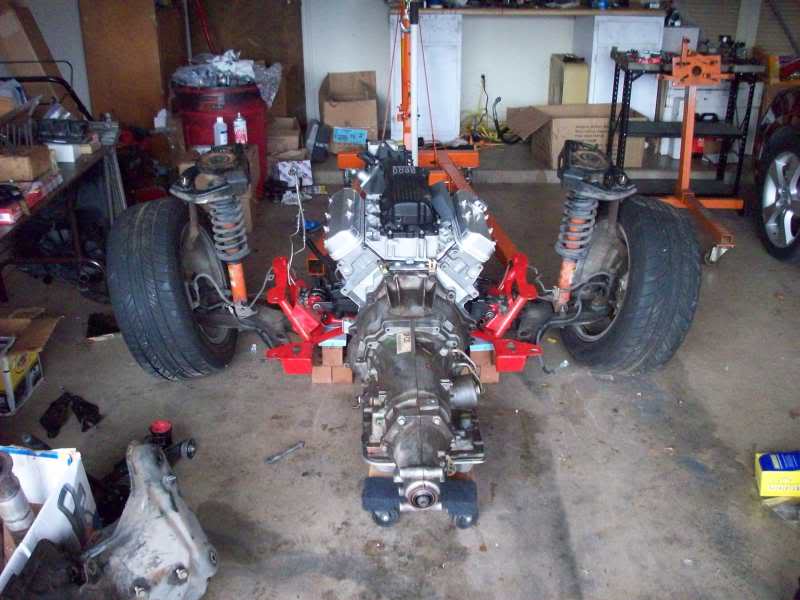
Step 1, assemble front k-member and suspension components:

Step 2, begin mating dance and observe proper language to adhere to the ceremony and not take away from the moment:
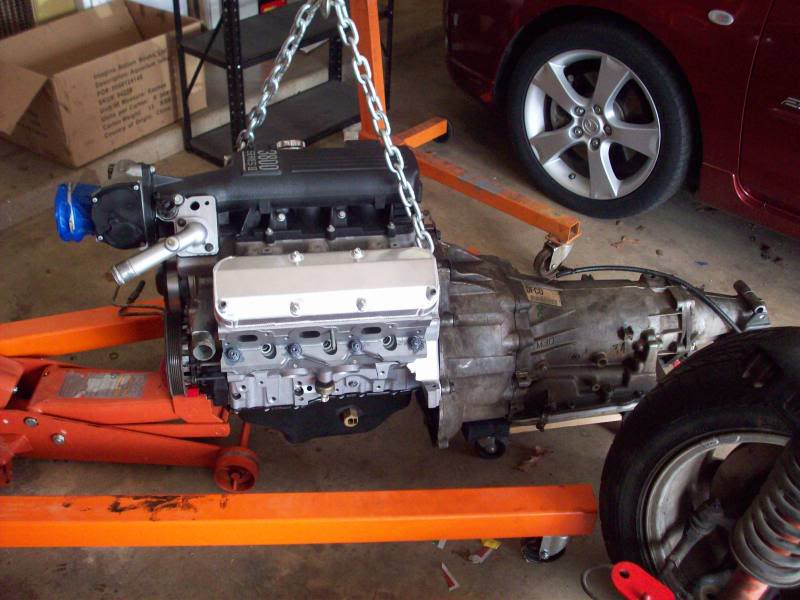
Step 3, bring mated pair to their new cradle and allow them to consummate their marriage:
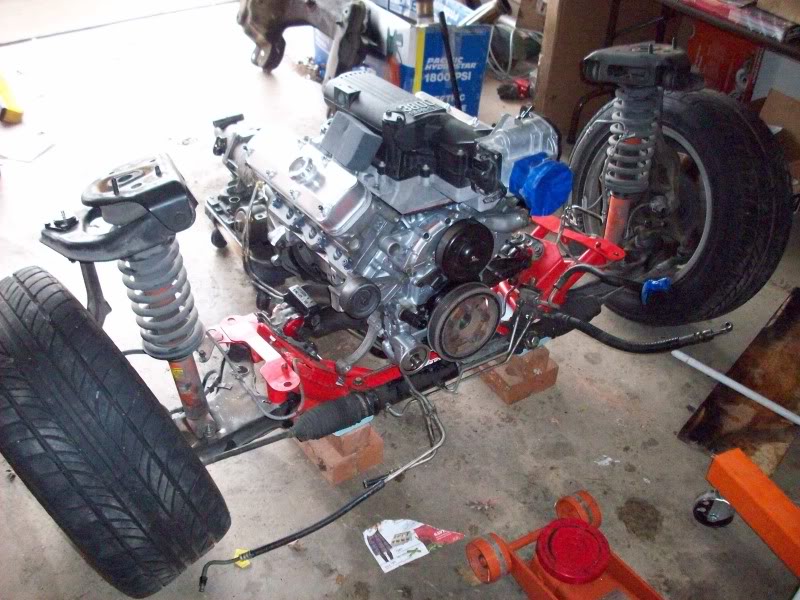
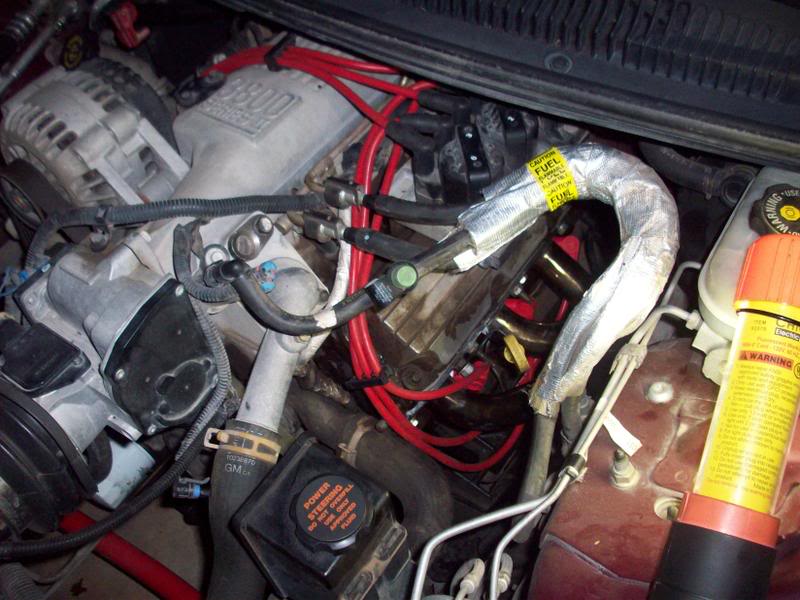
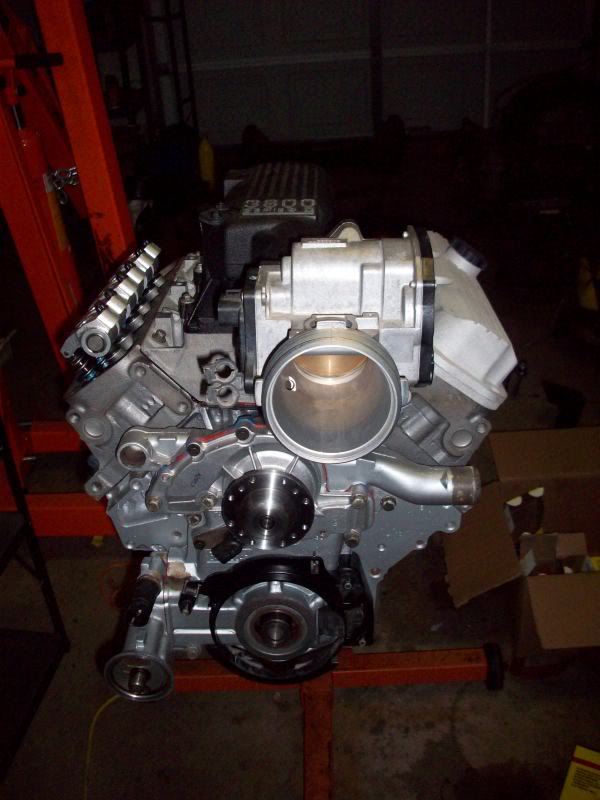
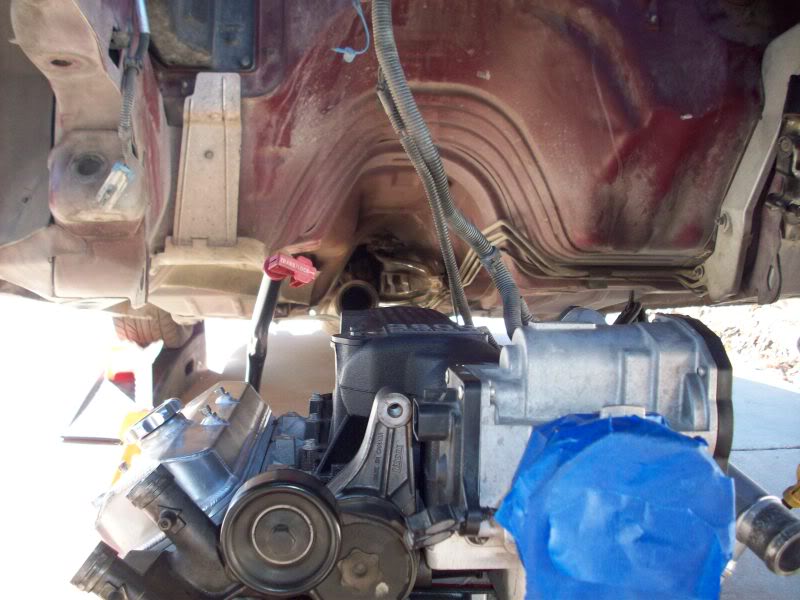
Installed headers and just started test fitting things with the new valve covers. Some bending of parts required...like the dipstick tube!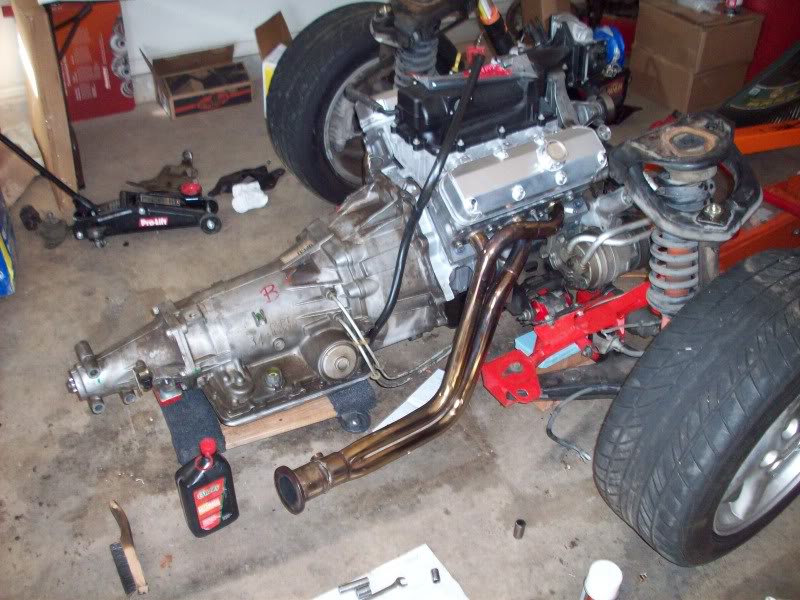
9:30 AM
Started clearing a path to the car, half the bay is filled with the old OEM parts.
10:00 AM
10:15 AM
10:45 AM
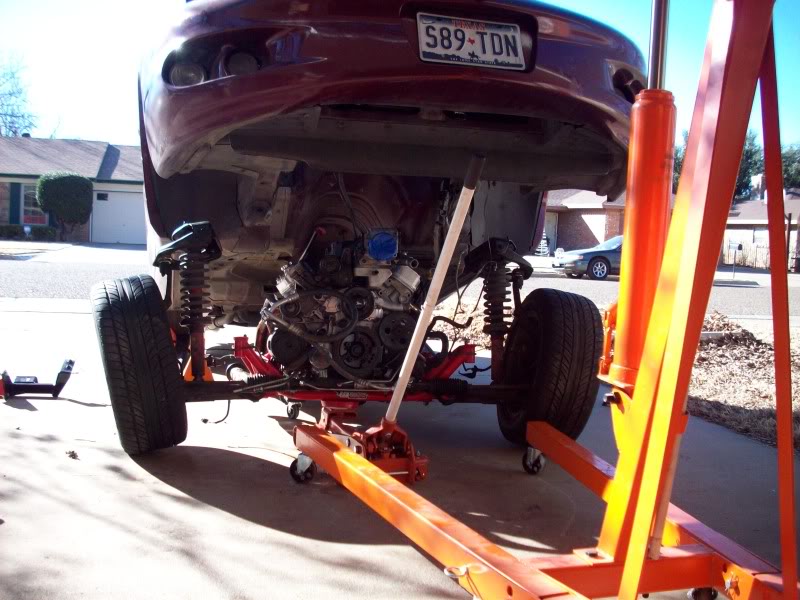
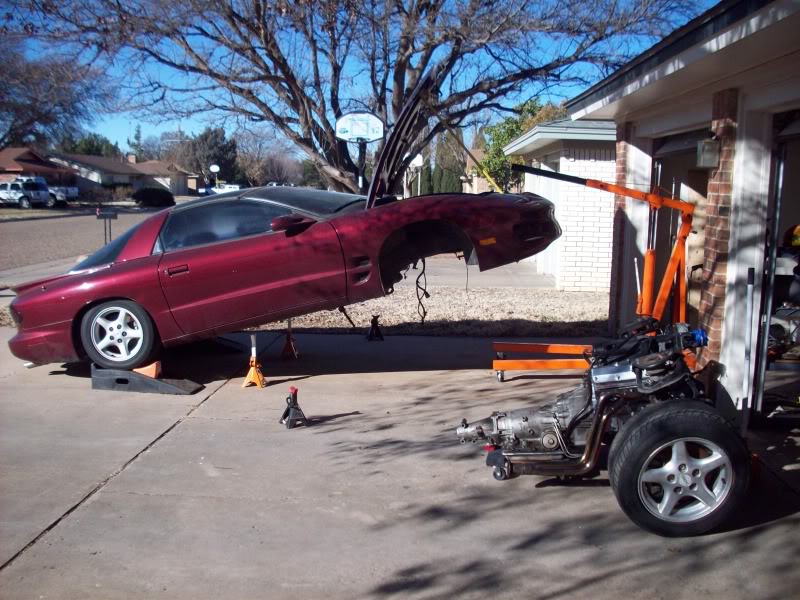
11:00 AM Fighting a heavy engine and trans with a jack up front that keeps slipping down the smooth tubular K-member proves to be very challenging to line up.
2:00 PM Time to shower up and head to work.
Pushed the car into the garage, neighbors probably though it had been towed finally after sitting in my drive way from June 2009 to January 2010.
In the Duke's Pit of Despair!
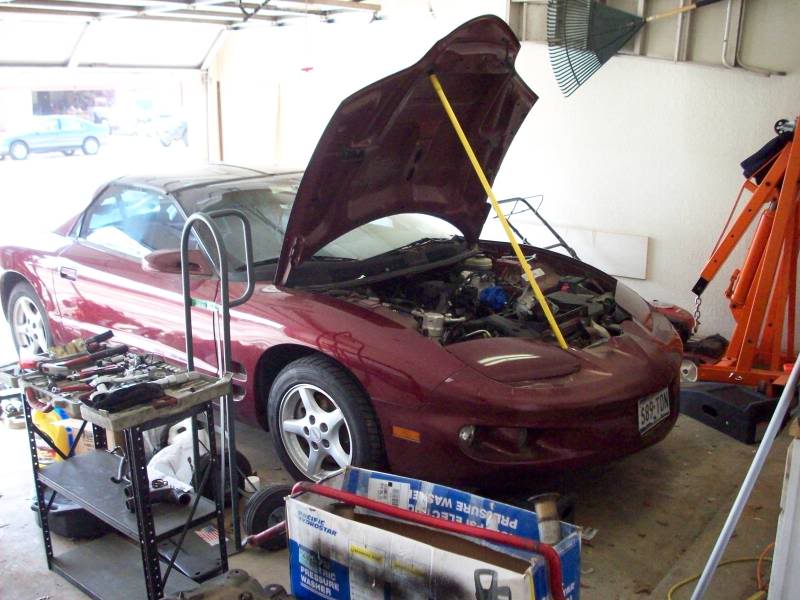
Looking like a car again!

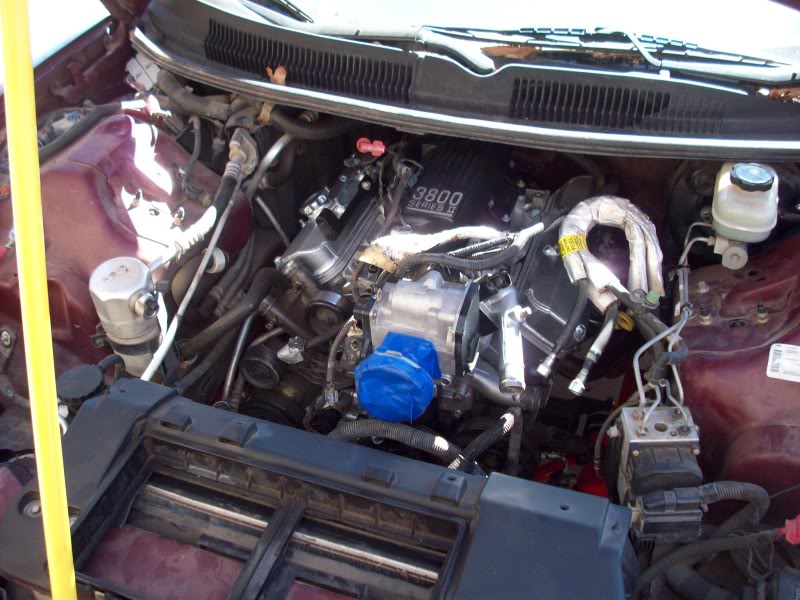
Coil bracket mounted to firewall, had to move it an inch over towards the intake as the prong on the coil pack was on the brake booster.
Still working...
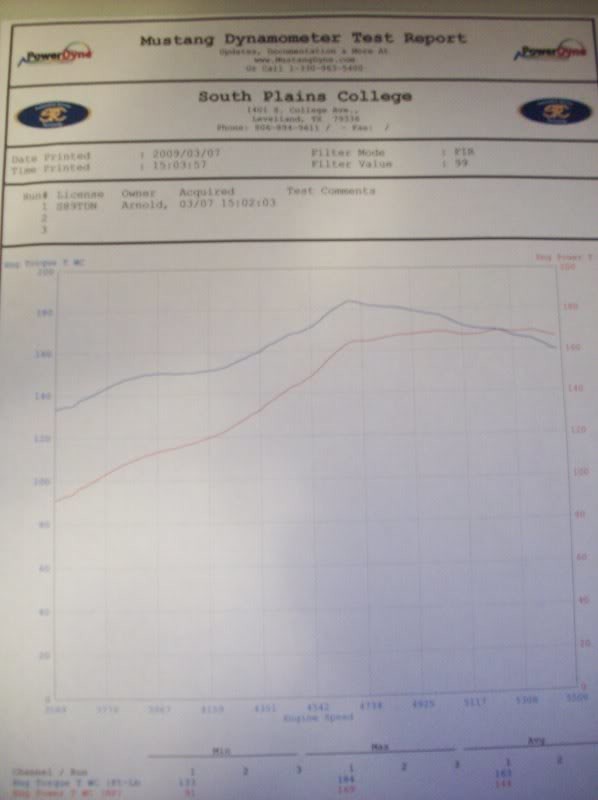
First started the car with the new build on January 26 2010 at 9:00 am. My neighbors had contractors doing work in their garage, and they came out looking down the street wondering where the speedboat noise was coming from...
And so the long road to recovery begins. After over six months of a slumber, it is time to do some physical therapy on the car. Little bits here and there needed tweaking, adjustment, and even replacement due to failure and lack of experience by the builder.
I'll make those posts tomorrow morning.