You must be logged in to rate content!
8 minute read
Rennline Pedal Install 981
Compliments of mcomet @ www.planet-9.com
2-1-2015
KCZ asked my about my pedal install on my 981 CS on the other section... my reply got long so I figured I'd just post it here where it belong anyhow...
SHORT VERSION:
Install was ok but the clutch/brake is harder to install with the nylon locking nuts. I hit some issues but that was mostly due to my not having the right tools (until I went to home depot) mixed with this particular setup of their pedal set... I will explain below. The throttle pedal and dead pedal are easy to install as you just screw right into the stock pedal. Only thing with the throttle was having to dremel a bit and then break off the upper extender backplate. Also had to dremel off the back of the logo. When I tested (just masking-taped the throttle on in the garage to get a feel, I could tell I didn't want the top extender even tho it looks cooler) You have to cut it off if you don't want it. That and any pedal install requires a bit of human contorting to fit in and install.
LONG VERSION:
I had installed a different pedal set on my old 986 and that was a bit of a pain, so I knew what I was in for. The 986 pedals were harder to drill into and was more difficult to install due to previous owner drill holes and the pedal back. By comparison the 981 was a lot better. That said you're still spending time squeezing in under the steering wheel and trying to use force to screw stuff in...
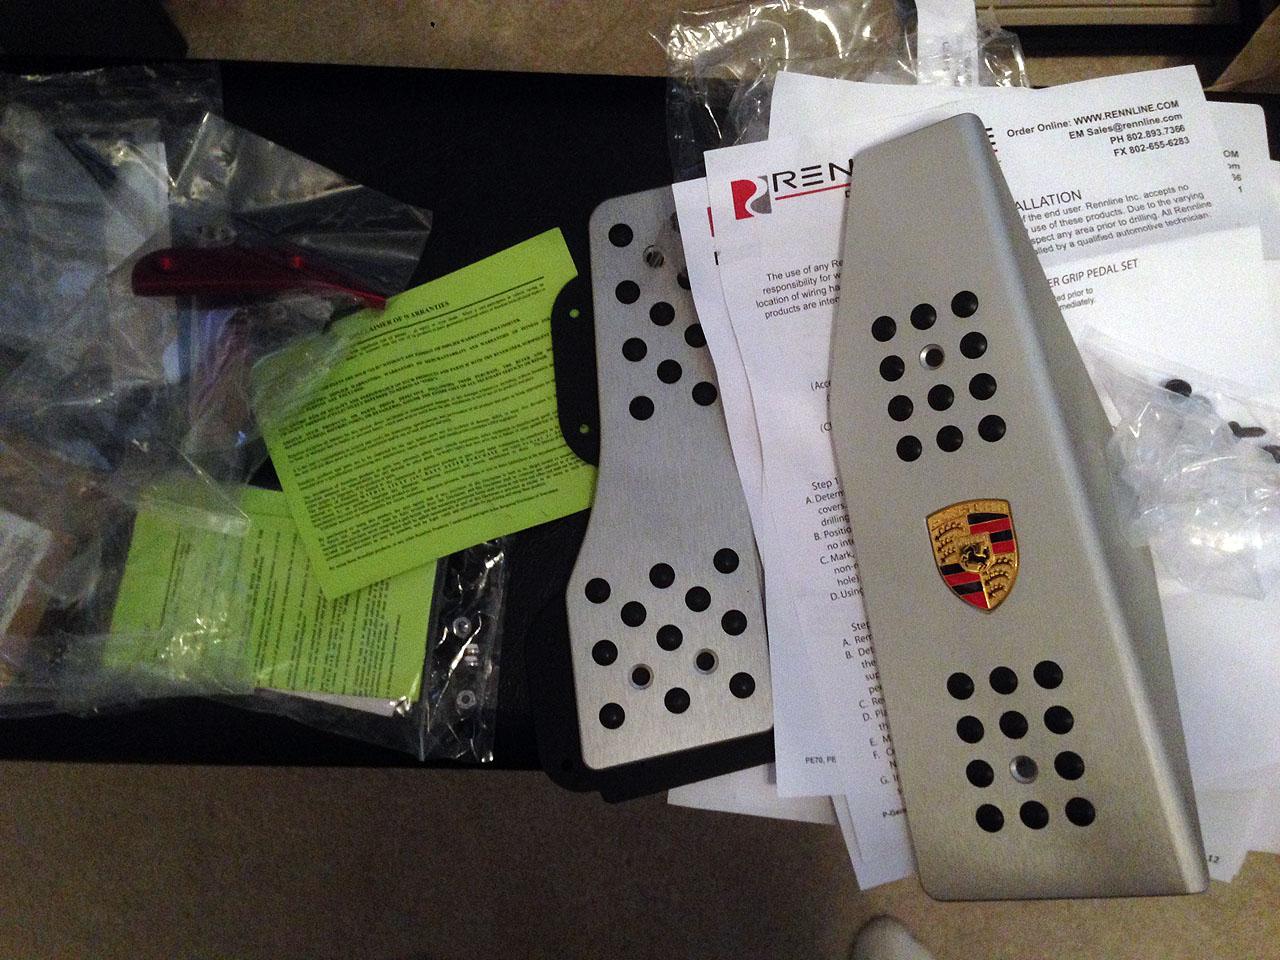
The 981/991 Rennline pedal set by is pretty well made. The instructions are clear and in reality if I had done it with right tools and maybe used my locktite approach I might have been better off. Here's the details:
Throttle Pedal and Extender plate option:
Nicely made, getting the back plate/extender is nice because it has holes so you know from that what black nubs are good to remove for screwing in on the pedal itself. I test fitted/taped bits of the throttle together and just sat in my garage and pressed my brake. I could tell I didn't want the top extender. I had read elsewhere that it's easy to accidentally hit the gas under hard braking if you are not careful. I could see how and I didn't want to risk it.. plus when I have been heel-toe-ing on my car already I am blipping on the bottom with the heel anyhow so I really only wanted the extender on the bottom more for looks than anything else...tho it DOES absolutely make it easier to rev match now. Anyhow knowing that, I took the back plate, and dremmel'd off the top section a bit and bent it off. (I have a vice on a workbench and after dremmel in a little on the each edge just broke it off, then cleaned with the dremmel. The extender plate is already pre-notched so you don't have to cut too much off before removal). After that you just pre-drill thin 1/16" holes and screw in. Easy.
Brake and Clutch Pedal:
The brake and clutch are more difficult to install. The reason is two fold: 1. You need to drill into the brake which is aluminum I think, the clutch was softer I think a hard plastic and 2. You need to install the nut on the backside where you can't easily see. A mirror will help. If you are not careful the nut can be close to the back plastic and be hard to grip while screwing in. Also the nylon nuts I found took a lot of force to screw in. In my case I didn't initially have the proper size crescent wrench to hold the nut. Get one... then this is easy. My life was hard until I went to home depot. 
The first step is to just slip off the current oem brake/clutch covers...they're just a plastic cover and can easily be popped off or on. Then hold/tape on the pedal after taking out 2-4 nubs (I just installed with two screws on each pedal diagonal from each other) and mark where you are going to drill. Then drill the large 3/16" holes. I used a silver sharpie to mark where I was going to drill. You need to be careful when planning this as you want to make sure you are not drilling on the edge of the pedal and are also not too close to the thick back either so you can get the nut to go back there. I used the left hold on the second row down, and then the bottom most right as the second one.
Now like I said I didn't have a proper crescent at first.. regardless getting the nylon nut to engage and then screwing in is hard. I recommend doing it all by hand so you don't strip the screw. My brake pedal went in pretty straight forward. Had I used good wrench on back it would have been faster...I went back and tightened later after my home depot trip. That said I liked the nylon nut on the bottom right but not on the top. On the clutch I tried two different screws and nylon nuts and stripped both screws trying to get the top screw to go in. Probably just me. I finally got my wrench after my HW store trip but even that was still hard and I was worried about stripping yet another screw even with my proper wrench. Before I started all of this my thought originally was to use locktite. On my 986 pedal set...different vendor... the set was just machine screws, regular nuts and blue locktite. When I went to the hardware store I smartly bought some basic nuts of the same size (8/32") to use instead. Sure enough I just got out my blue (semi permanent but still good) locktite, put on the nut by hand and tightened it down very well. If you can get the nylon nuts on, probably better. I managed to use the nylon on the brake, and the bottom clutch screw. I have this single screw with home depot nut with the locktite version on my clutch pedal and I'm just fine with that. I'll check it now and then to be safe but I doubt it is going anywhere.
Dead Pedal:
Like the throttle this just screws right into the stock backing. Rennline offers a plain dead pedal I think, one with a sticker logo, and another with an actual painted embossed logo. I went for the latter, so you take that and pop it into the dead pedal before installation. Slide on the back lock. Then test fit to the car. You'll probably find the nub for the logo sticks out waaaay to far. Dremmel it down. Then pop out the black nubs they show you to screw in at, pre-drill the smaller 1/16" holes and screw in... again easy as it's just a direct screw into the car, nothing behind it to deal with.
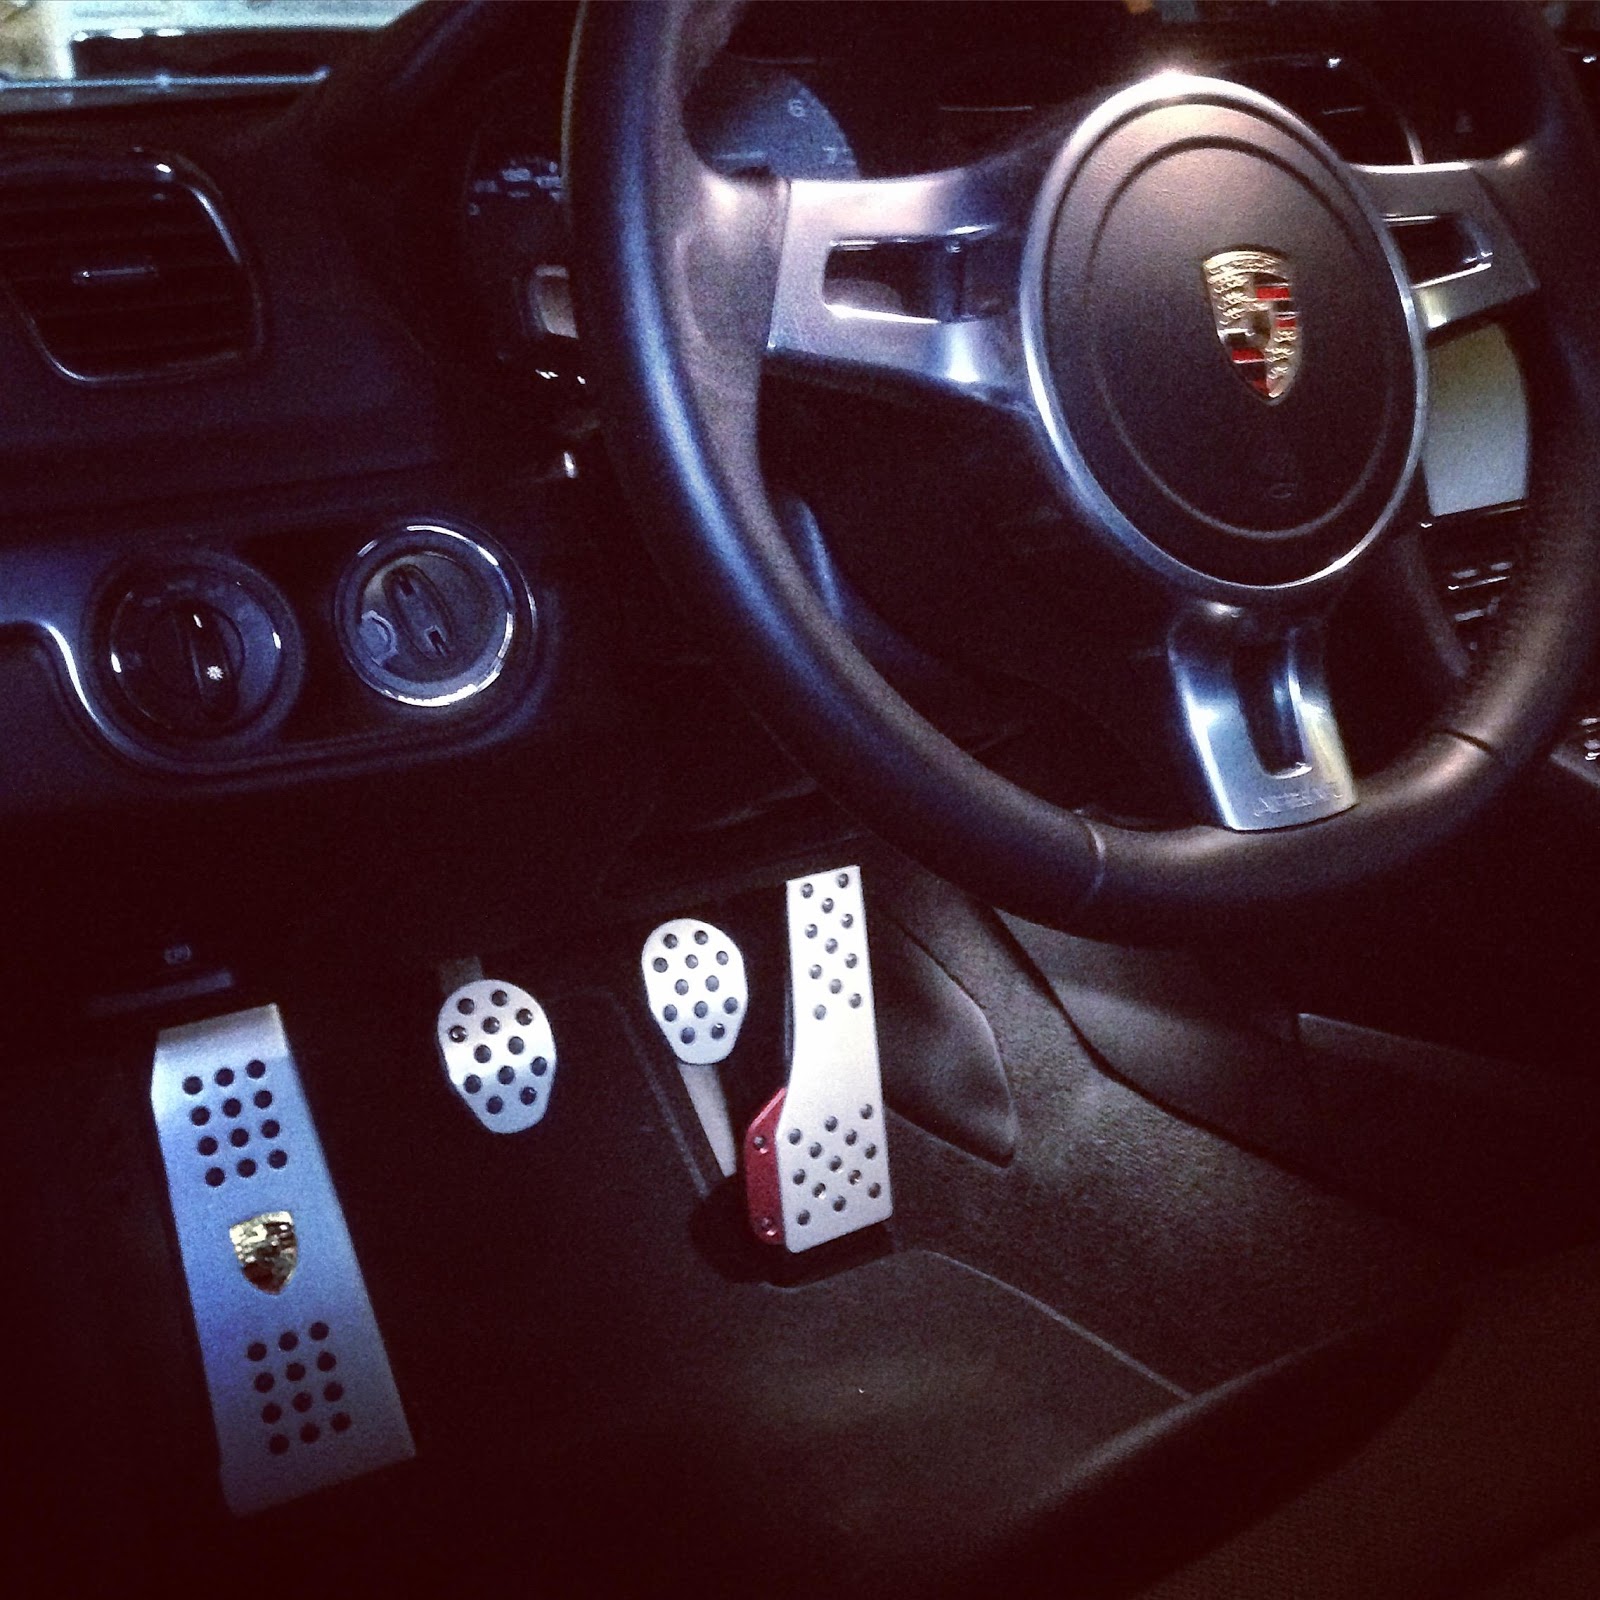
All this said if you haven't done it before it is a bit of a pain. I got fairly banged up just squeezing and contorting to get in and screw everything. If I had to do it again, and had my crescent up front... and if I opted to locktite only it'd be a lot easier. It definitely makes rev matching easier (I don't have sport chrono) with the bottom extender and the red matches my car, so... yeah. Just some interior bling for shows. You're not really gonna see it when driving tho you might notice the pedals feel different I guess. Regardless be careful as you don't want pedals to come loose or have issues when you are driving. Make sure it is done right. If you're not sure have a professional do it.
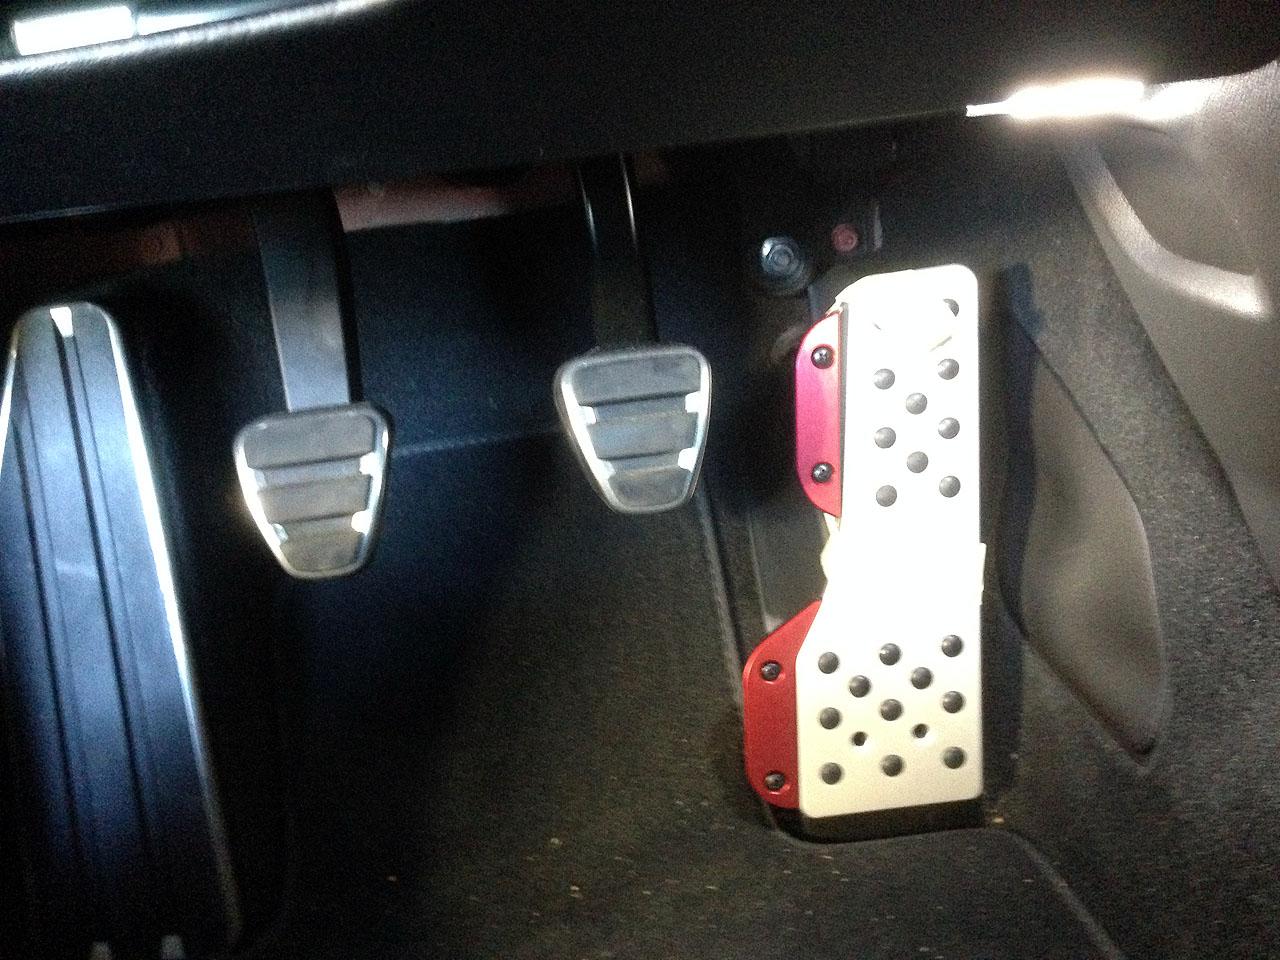
Here are some pics in order from left to right: 1 The good, 2 test fitting extender by taping it on, 3 Parts after cutting off the top extender backplate, 4/5 final installs