You must be logged in to rate content!
8 minute read
Complete Morimoto Bi-Xenon Projector Retrofit DIY
Compliments of hondafan @ www.planet-9.com
1-28-2014
I am new to the Planet 9 Forums as a member, but have referenced them for years and have found many answers to problems I've had. I've decided to make my first post as a contribution to something I feel should be standard on all Porsches anyway.
I recently installed Morimoto Mini H1 Bi-Xenon Projectors in the Boxster, and am very happy with how it all turned out. They are a 2.5Â projector just like the Koito projector that comes from the factory. There were a couple hiccups along the way, and hopefully I can help others make theirs even better.
The Morimotos can be found here:
Bi-xenon Morimoto Mini Stage III Kit (H1) - Complete Retrofit Kits from The Retrofit Source Inc
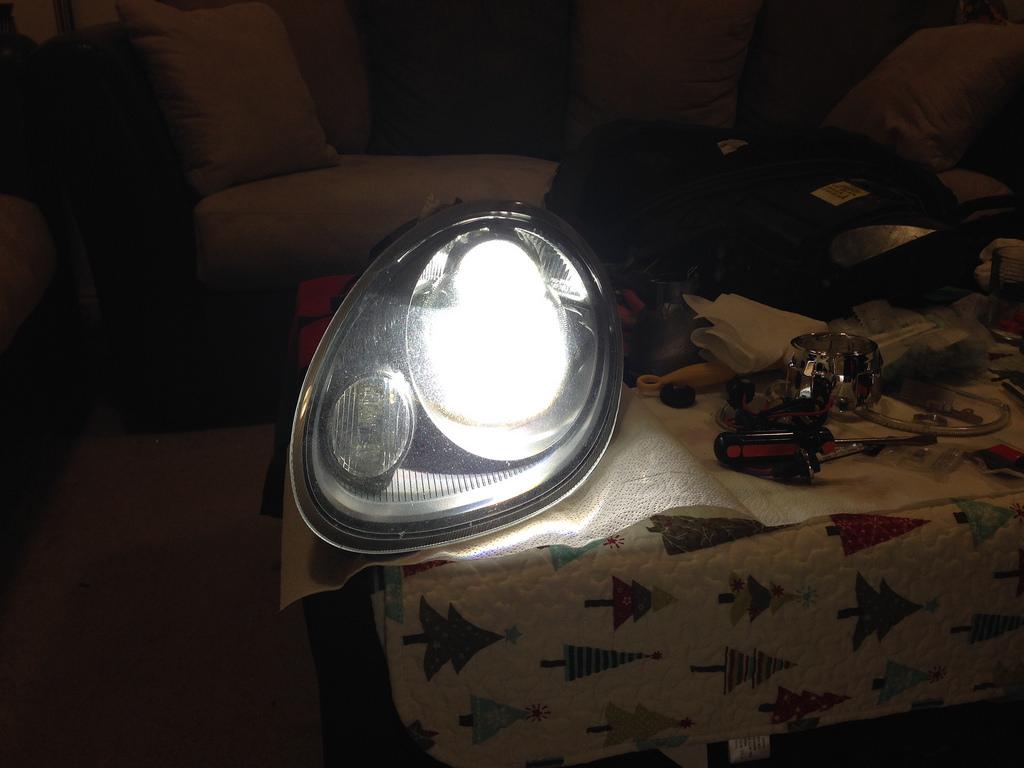
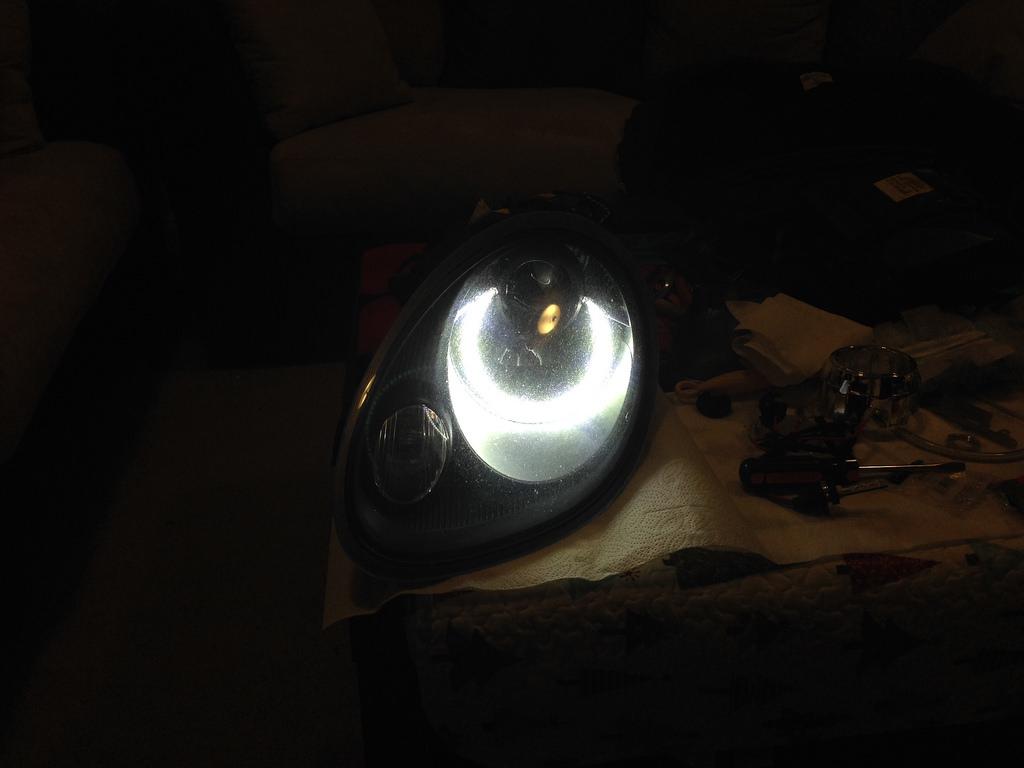
Getting the headlights out of the car was so easy and there are instructions everywhere, so I'll avoid posting it here.
I had installed Morimoto H7 HID bulbs in the factory projector, but I wasn't 100% satisfied with the performance and some hot spots in the beam pattern. I'm sure that the bulbs were seated properly, but the projector was designed for a halogen and not HID so I understand. I had installed the Morimoto H1 kit on my Yamaha R6, and the light output was so far superior to the Boxster that I made up my mind I needed to change it.
First thing I did *before* taking things apart was mark on my table where I sat the headlight down and then turn it on using my drill battery. Once I had the headlight position marked on my table, I put a piece of tape on my wall marking where the beam step (center) and cutoff (height) were. This way, I could aim the lights exactly where they were set from the factory before putting them back in the car. I figured that would be much simpler to manage. It was. I didn't take a picture of that, but I figure the explanation would suffice.
Now on to the tear down and install:
- I began by taking out all of the bulbs and wires that I could. That was no big deal.
- Pull the big rubber surround off of the outside of the housing. Again, no big deal, but a couple of points are adhered in a way that you will need to re-glue (I used a rubber sealant) it afterward.
- Start scraping. This part is not the best. I used a long handled flat head screwdriver, and scraped up my hands pretty badly in a few places if it slipped. Just be patient and keep it focused on the rubber sealant. A heat gun or oven does nothing to this adhesive. I think the plastic honestly will melt before anything happens to the sealant.
- Eventually you'll reach a point where you can start to pull the 2 pieces apart. They start to pry apart more and more easily the further you get through it.
- Now that the front cover of the headlight is off, unscrew the 2 Torx screws on the bottom that hold the whole chrome shroud in place.
- There are 2 black clips that hold the top of the projector mount in place. I used needle nose pliers to pinch the 2 sides of it and the mount slid right out.
- The bottom is held on by a ball joint style bolt. You just need to push the whole thing down to slide it loose.
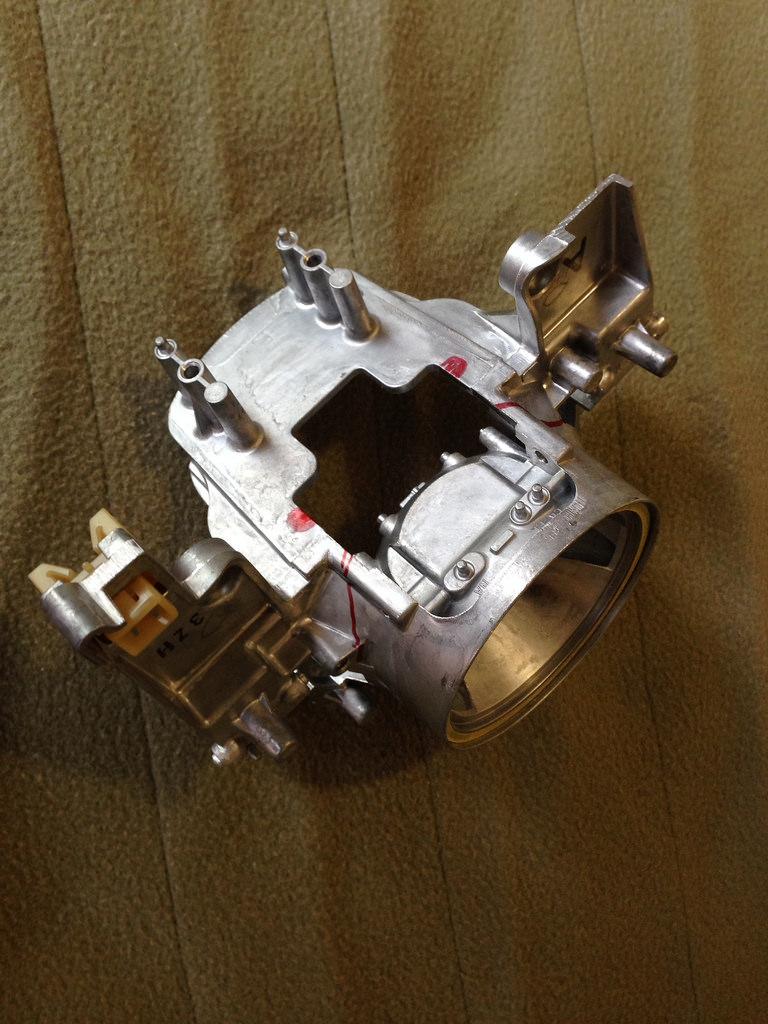
- Here's where the real fun begins. Unscrew the front metal piece in front of the projector.
- Unscrew the back half of the projector.
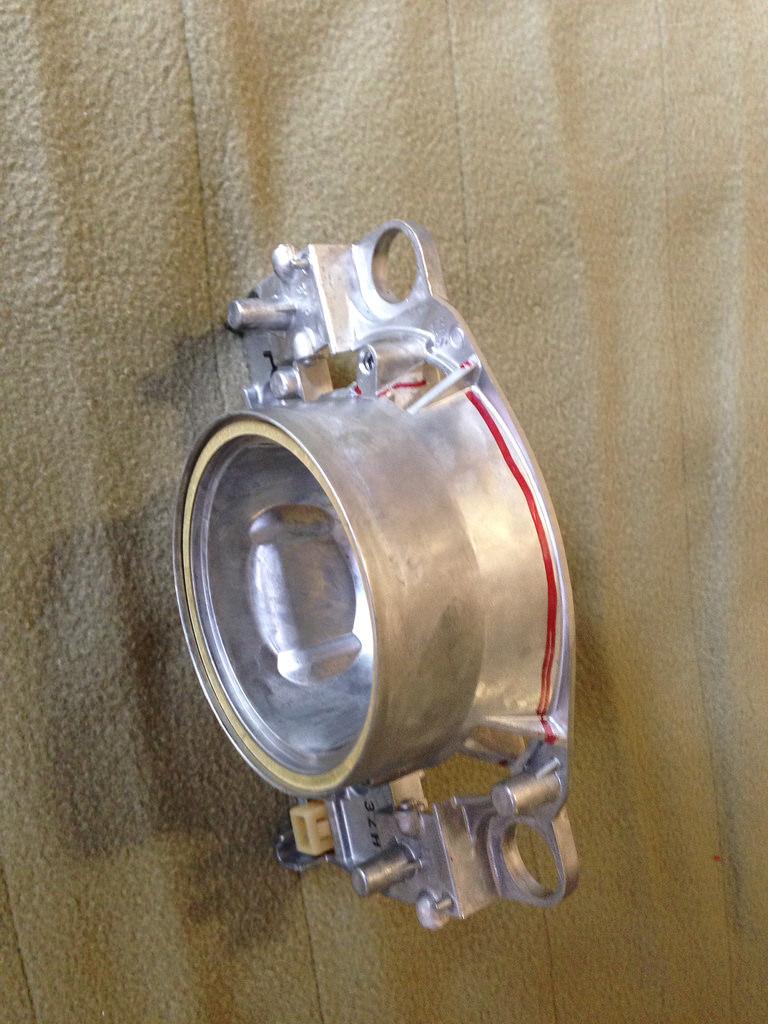
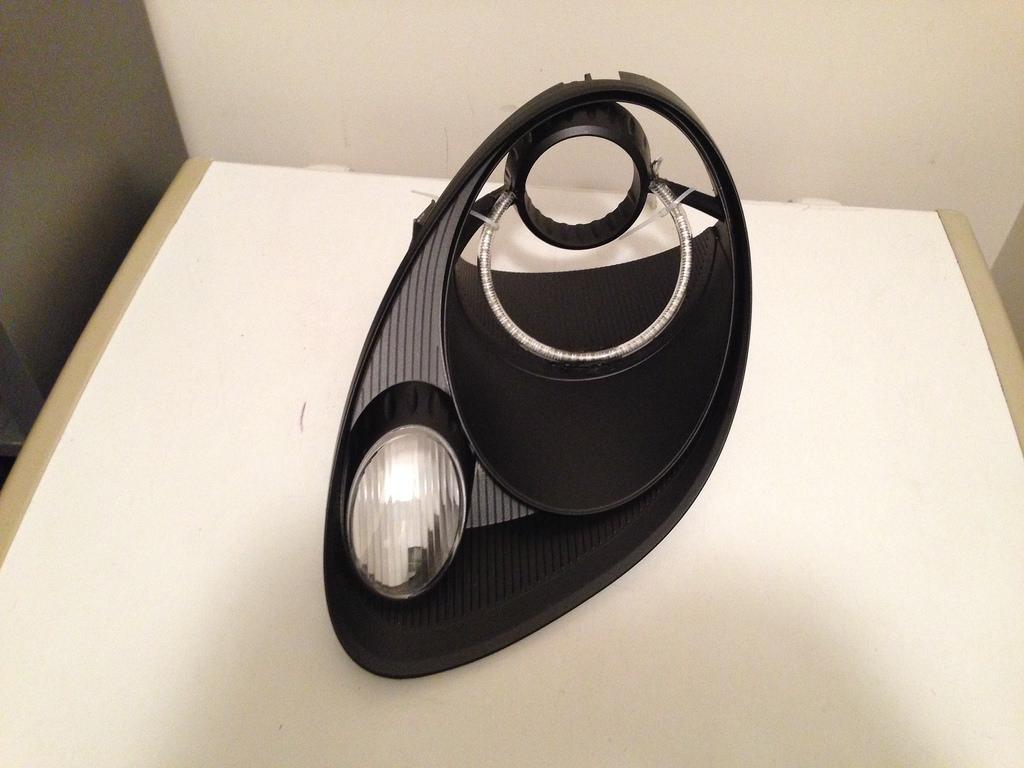
- Unscrew the high beam reflector and what you have left is this: This should make the previous instructions make sense as to how it's held in.
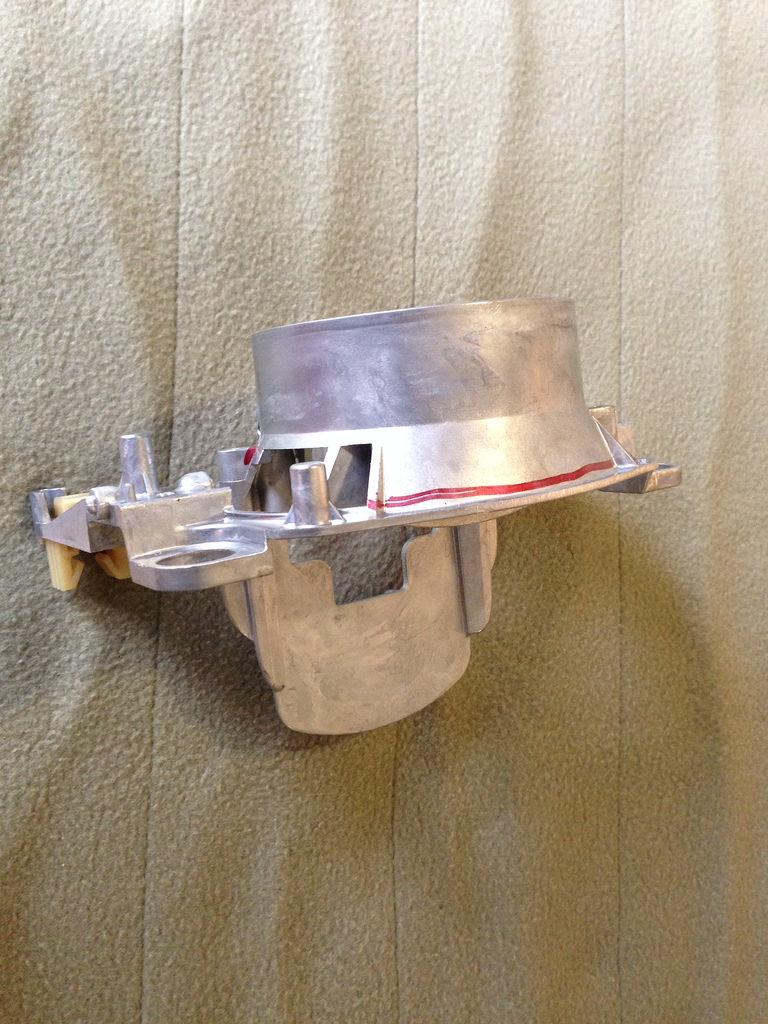
- The red marks are where I needed to cut out to mount the Morimoto projector.
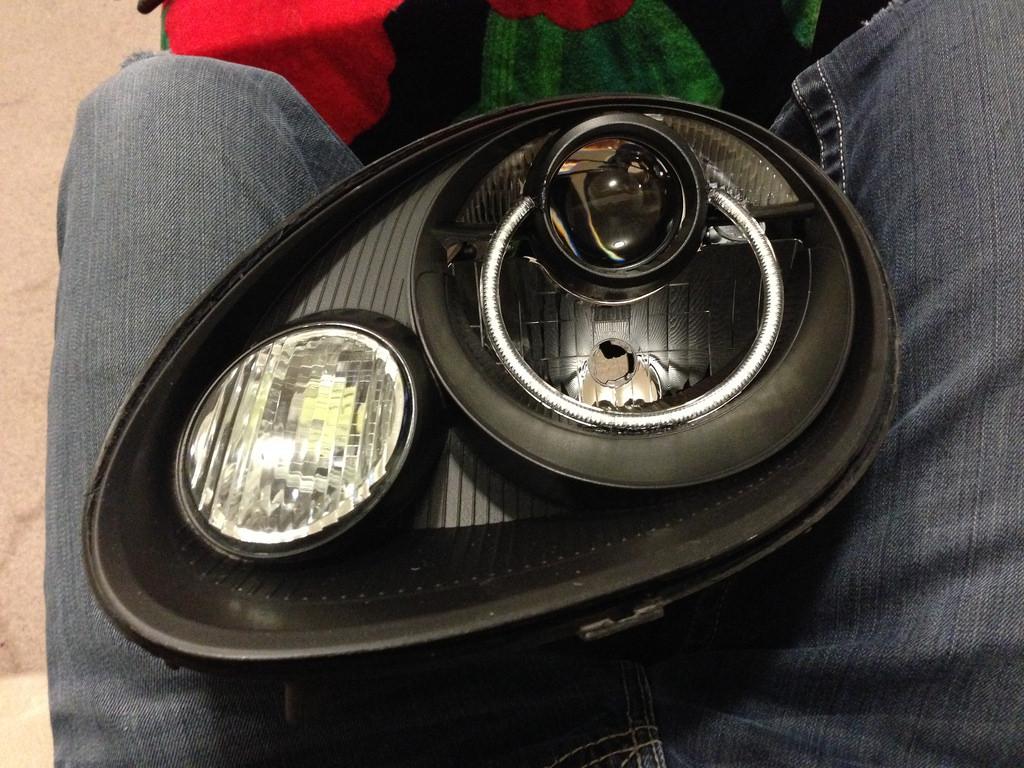
- I now screwed the Morimoto projector into the existing 2 holes on the bottom (it required me separating the 2 halves of the Morimoto, sliding it in, and then reassembling the Morimoto).
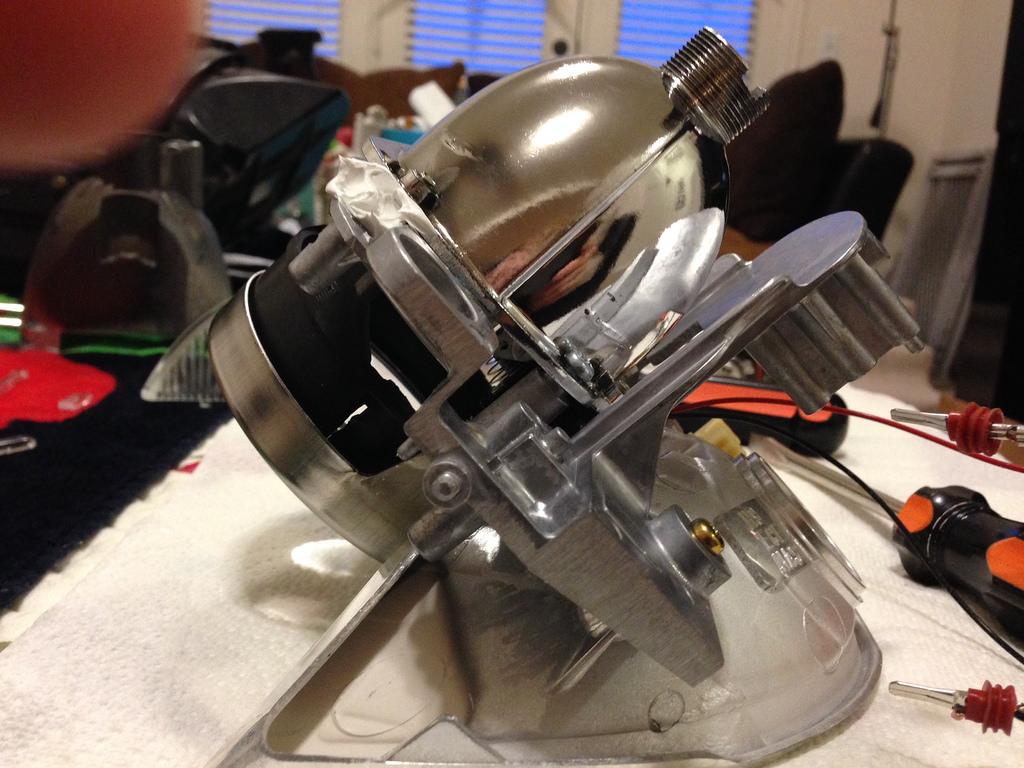
- I used a little bit of silicone to eliminate vibrations that could occur. I had it all apart for a couple days and was able to verify that it cured solid before I went about reassembling the whole piece.
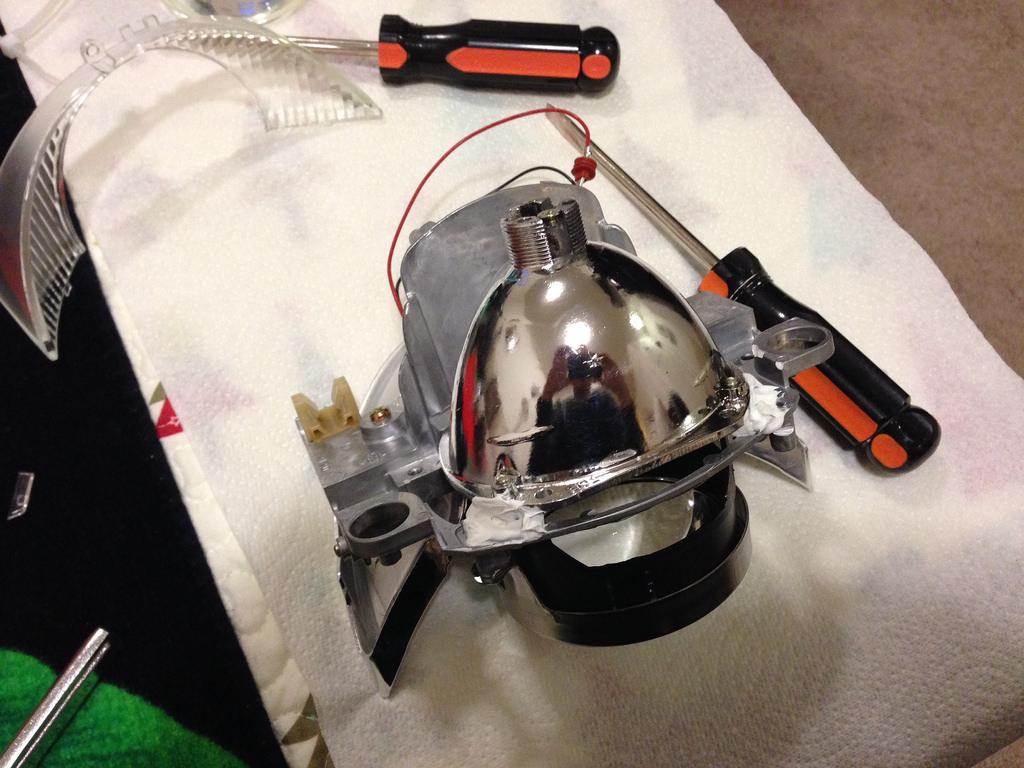
- Here's what it looked like reassembled.
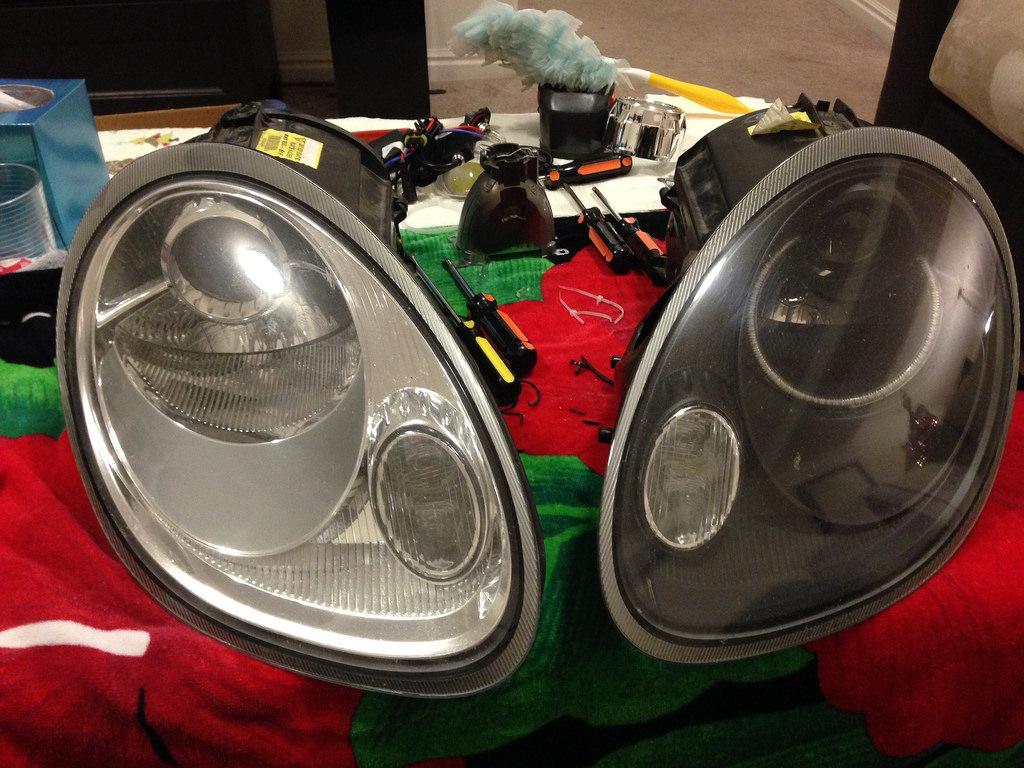
- I Plastidipped the chrome shroud to have a black housing and had the intention of peeling it up just around the projector itself to look like the 981 headlights. That didn't work because Porsche uses a really crummy plastic that doesn't hold the chrome solidly enough that it stayed there when I took up the Plastidip. It looked really bad so I ended up re-spraying over what I peeled up. If you want to keep the shroud chrome, I strongly suggest masking it off with some type of masking tape that doesn't adhere strongly. I don't know if that really exists, for the record.
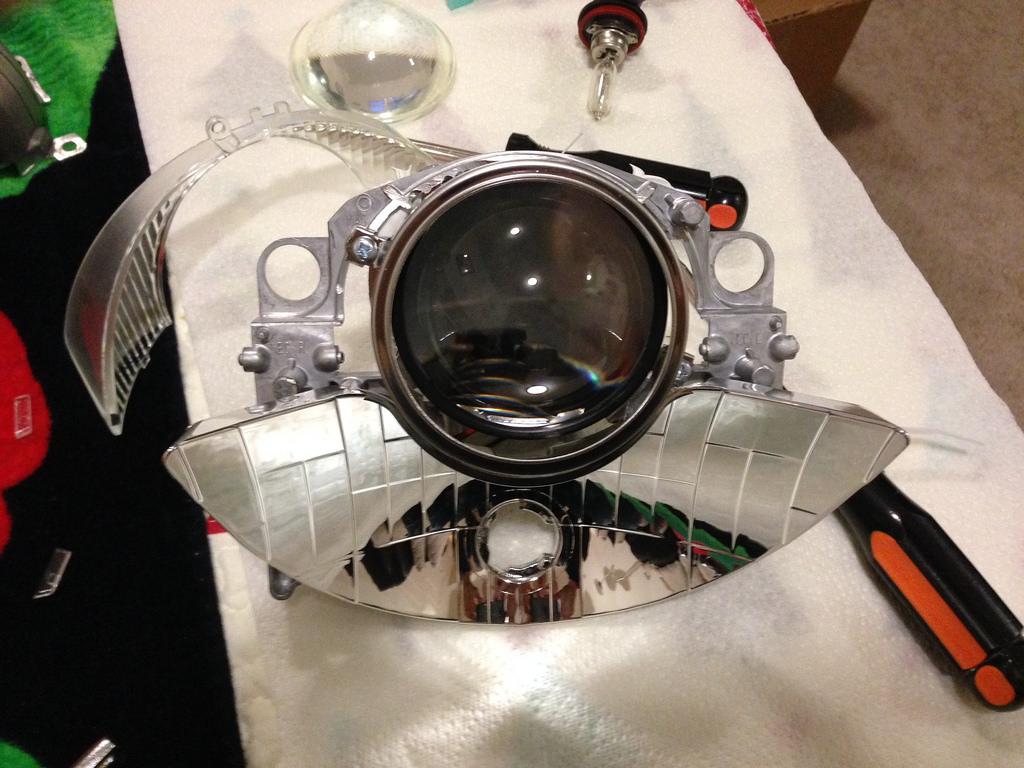
- I also picked up a couple of The Retrofit Sources BMW E46 "Halos" and installed them around/beneath the low beam projector. I had to zip tie it in place until the epoxy was cured, and then I reinstalled the whole shroud again.
- Here's what it looked like all put together again without the rock chipped front cover

- And with the whole thing reassembled.
- Aiming the light afterward was easy with the mark on the wall to do it with.
Wiring was fairly straightforward, as I just spliced into the high beam wires for the high beam trigger on the projector
Good luck. Feel free to message me if you tackle this same project and have any questions!
It's been too snowy so the Boxster has stayed in the garage, but I'll get some shots when it gets out on the road.
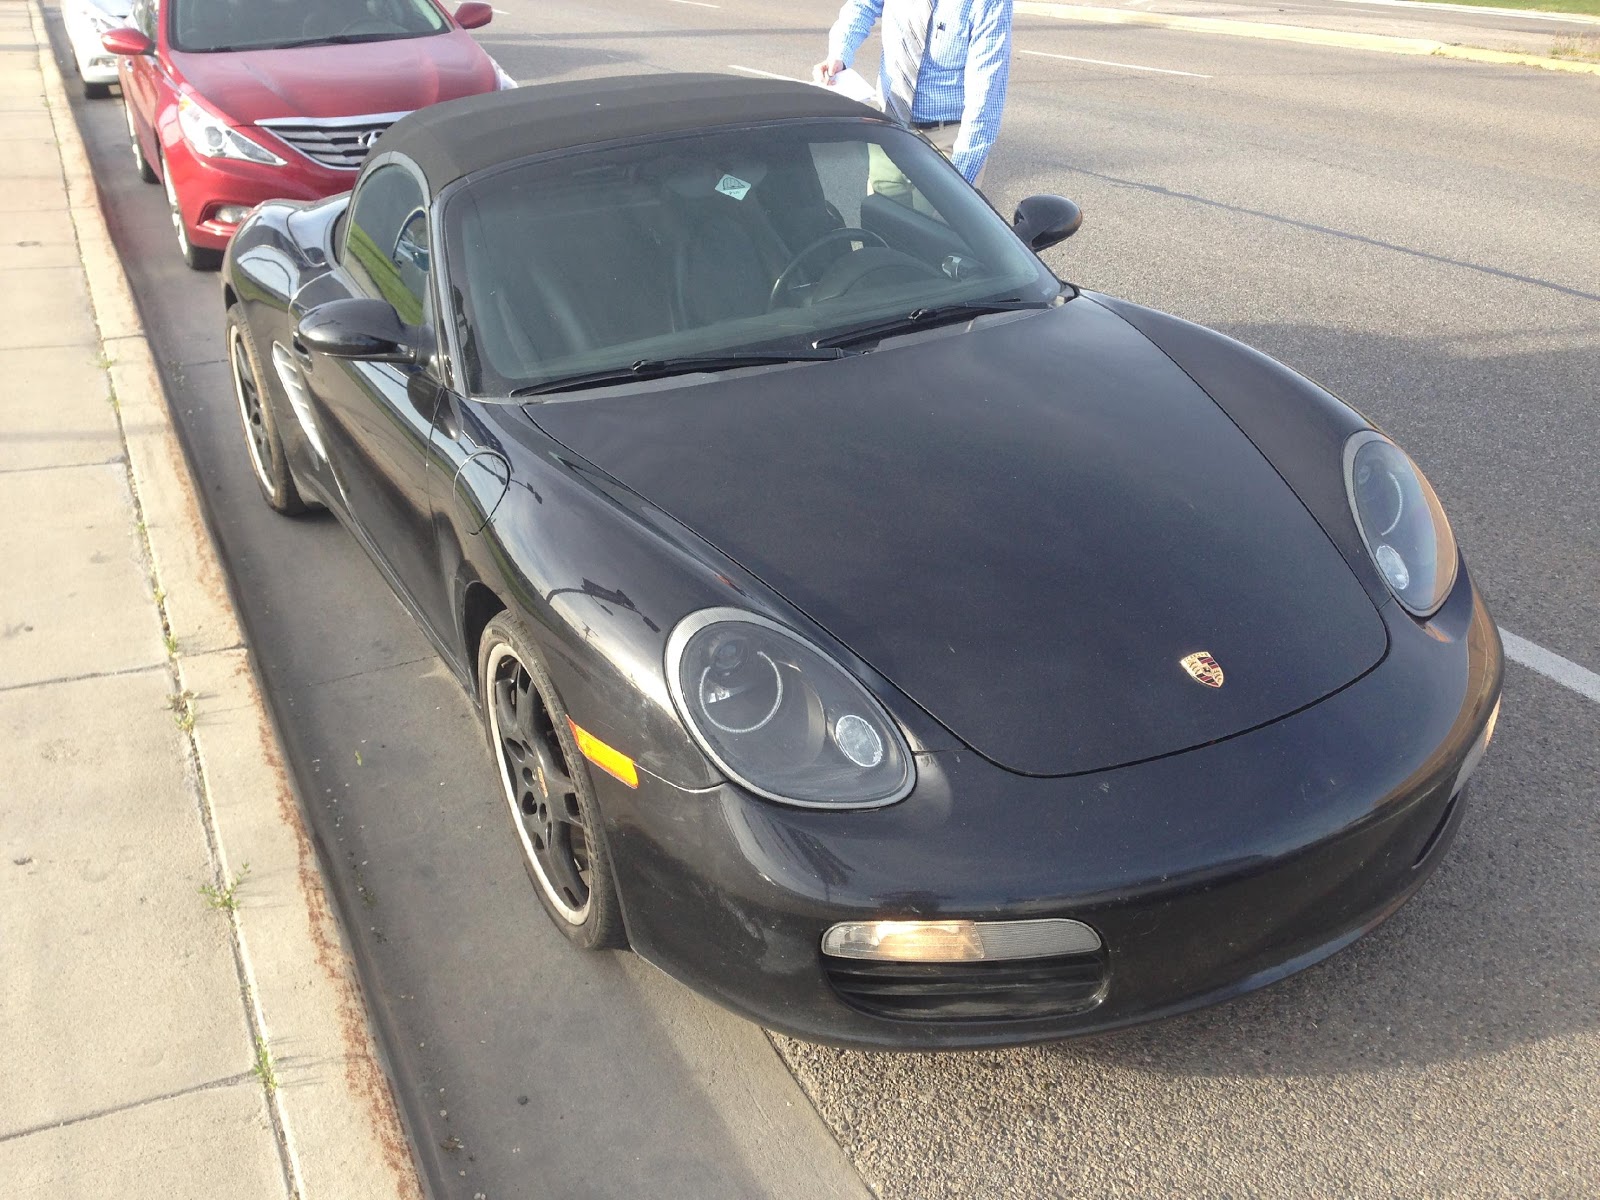
5-21-2014
Thank you! It took some time, but the result was absolutely worth it! I have only snapped one photo of the car, and I still want to get one to show the light performance, but here's what the car looks like right now: