You must be logged in to rate content!
9 minute read

1. Remove shift knob by turning it counter-clockwise.

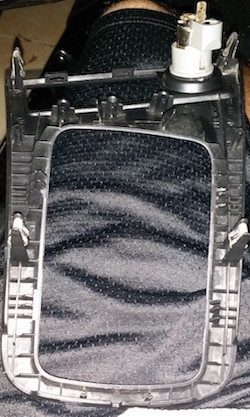
2. Grab shifter surround plastic and gently pull up.
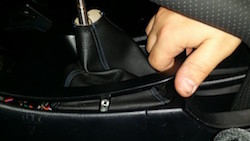
3. Remove shift boot from trim carefully as to not damage plastic retaining pegs.
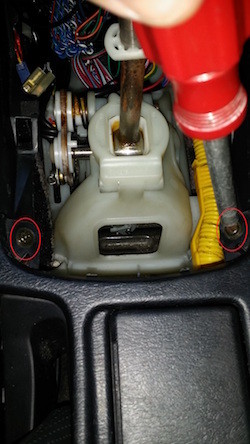
4. Remove (2) Phillips screws circled in red.
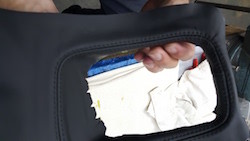
5. Open arm rest and remove cloth cover.
6. Remove (2) 12mm bolts circled in red.

7. Lean console forward to disconnect connector for ash tray light.
8. Lift rear console up and out. Remove (2) 12mm bolts circled in red. Loosen (1) 12mm bolt circled in green.
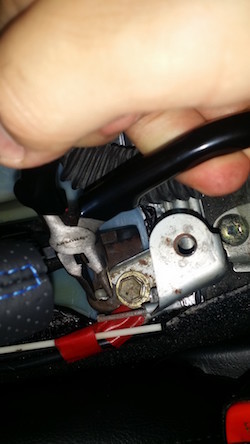
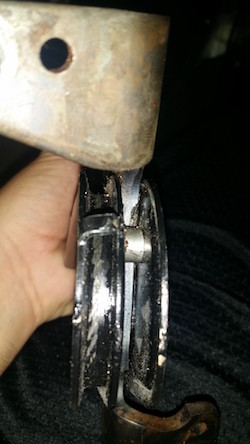
9. With a pair of needle nose pliers depress clip.
10. Remove (2) 10mm nuts circled in red.
11. Slide the e-brake up slowly while the cable slides down and out of the groove.
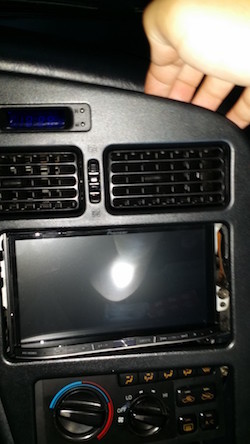
12. Remove the radio surround cover by gently and carefully pulling at the bottom until you feel the clips disengage.
13. Work your way around the cover towards the passenger side of the car...
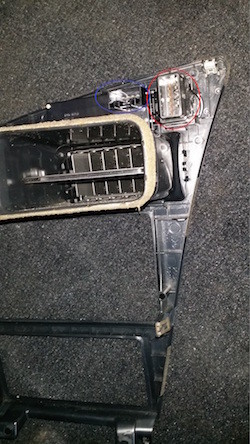
14. ... until everything is loose.
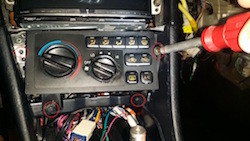
15. Disconnect clock connector circled in blue and hazard switch connector circled in red.
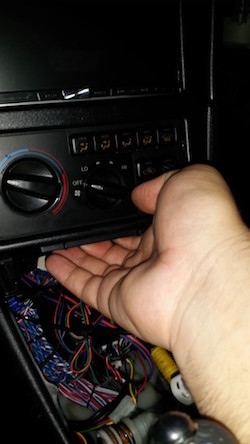
16. Remove (4) Phillips head screws circled in red from A/C control.
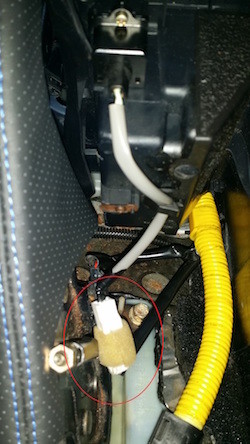
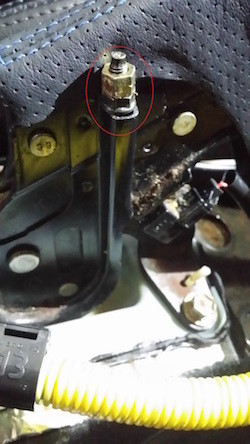
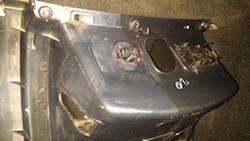
17. You will notice that the unit will not slide out even after the (4) screws are removed. You have to open the hood and locate the black cable located near the driver’s side firewall.
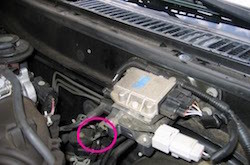
18. Carefully unhook the clip...
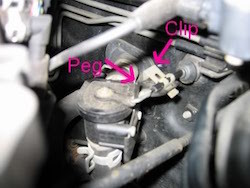
19. ... and lift the peg.
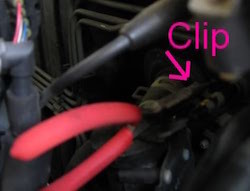
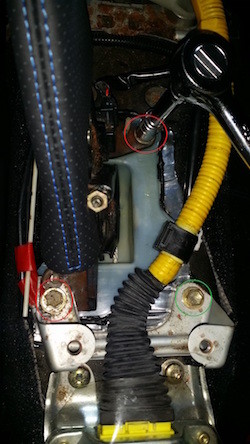
20. Back inside the car near the gas pedal is the 2nd and final cable. It is blue.

21. After the unit is free, disconnect the 3 connectors on the rear of the A/C control unit. The unit will then slide out of the car. Take note of the tube the black and blue control cables are coming out of for ease of reinstallation later.

22. Remove the (2) Phillips screws circled in red.
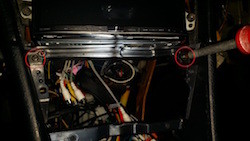
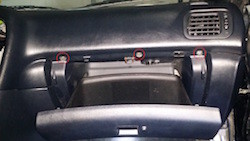
23. Next we have to remove the glove box. There are (2) Phillips screws on the bottom circled in red.

24. Now open the glove box and remove (3) Phillips screws circled in red.
25. Slowly turn the glove box over to remove the glove box light connector circled in red.
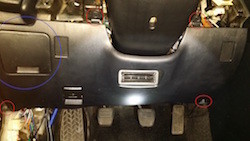
26. Make your way to the driver’s side and remove the lower dash cover by removing (4) Phillips screws circled in red. Then remove the cover circled in blue.
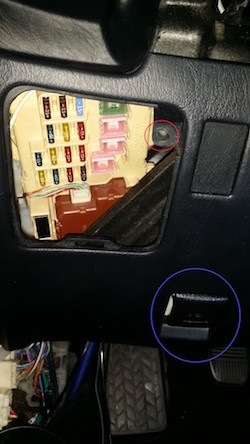
27. Removing the cover reveals (1) final Phillips screw circled in red. There are (2) Phillips screws holding the hood release latch (circled in blue) to the panel.
You can now pull the center console towards you and remove it from the vehicle.
28. Lets start with the SHIFTER SURROUND. This panel is a bit tricky. You want to line up the stitching with the opening in the trim. Apply contact adhesive to the shift bezel and to the bottom of the stitching. Line up both and once they are in place continue to work your way around the panel applying adhesive to both surfaces being mated.
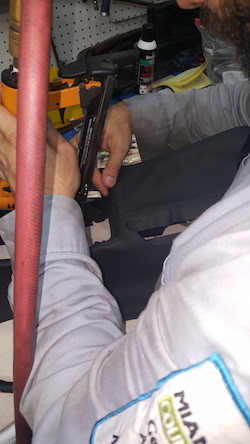
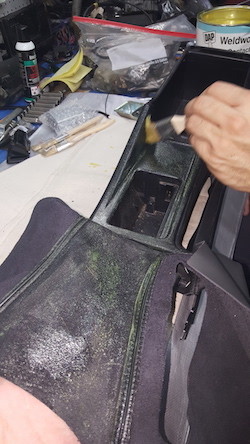
29. Proceed with REAR PART OF CENTER CONSOLE. Start the installation of the leather cover at the front of the panel with the stitching. Line up the stitching with the center of the line of the panel. I used a staple gun and once the stitching and center of the panel were in place would put staples inside the lip where the rear of the shift boot bezel installs.
30. Fold the leather over the panel to expose the bottom of the leather and apply contact adhesive to both the panel and leather. Allow to dry to a tacky state.
31. With firm pressure glue both surfaces together ensuring that you continue to follow the lines of the panel with the stitching. Once that is in place proceed to apply contact adhesive to the bottom of the leather and to the OEM rubber e-brake boot.
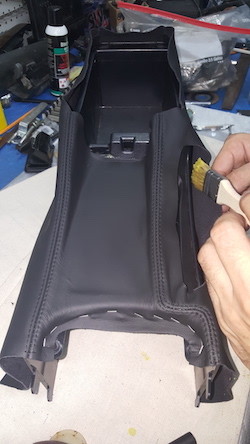
32. Continue working your way to the bottom of the panel by applying contact cement to the sides of the panel and applying pressure in a downward motion to remove any air that may get trapped between the panel and the leather.
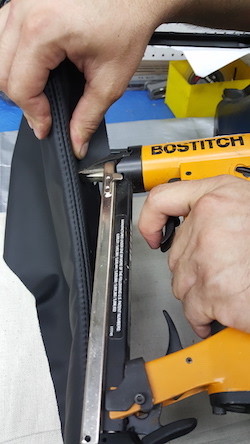
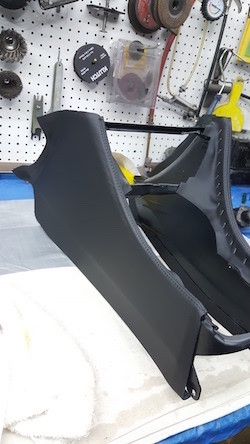
33. Now for the FRONT PART OF CENTER CONSOLE. Start by lining up the stitching of the leather with the line of the panel. Working slowly line up the stitching with the center line of the panel. Now either glue from the inside (making sure the stitching comes out on the very edge) OR pinch the leather in place with 2 fingers and put in a staple with an air gun (if you have one) on the lower inner channel of the panel. Do this with both covers for the front panel.
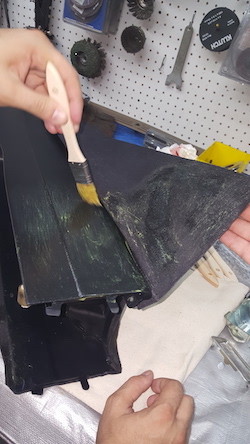
34. Once the leather cover was held in place by the staples we turned the panel over and applied contact cement to both the panel and rear of the leather.
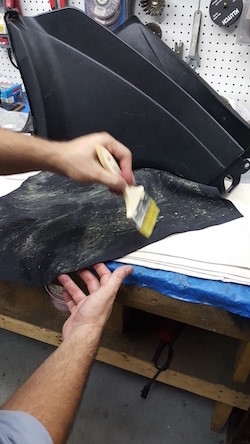
35. Make sure to allow the glue to get tacky so that it actually works! :)
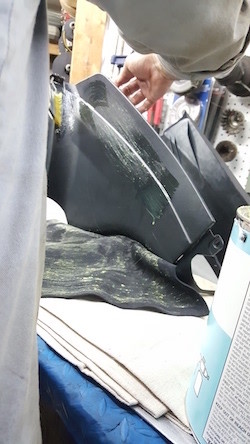
36. Once both surfaces are tacky pull the leather tight towards the bottom edge of the panel and apply medium pressure working your way towards the bottom of the panel to remove any air bubbles.
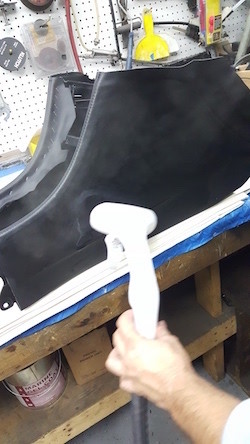
37. With a steamer ensure that all air bubbles are removed and that you have a smooth finish. Cut off excess leather trim.
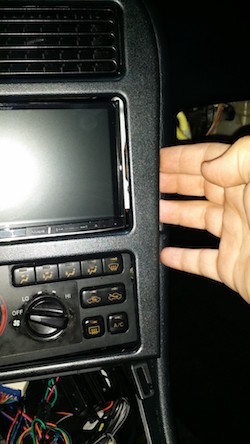
Reinstall everything in the reverse order of removal. I guarantee you will LOVE the outcome!
Useful tip
You have installed a product made out of genuine leather. As you know, to maintain a leather product in good condition, you should take care of it. We suggest occasionally (every 4-6 week for example) applying some leather conditioner/UV protector to keep your leather from drying up in the sun and cracking.
Redline Automotive Accessories Corp. will not be held liable for any labor, incidental or consequential damages of any kind. Proceed at your own risk.