You must be logged in to rate content!
27 minute(s) of a 41 minute read
1-12-2013
My DD Lovin K24
Compliments of SuperDougy @ club4ag.com
1-12-2013
February 1, 2011
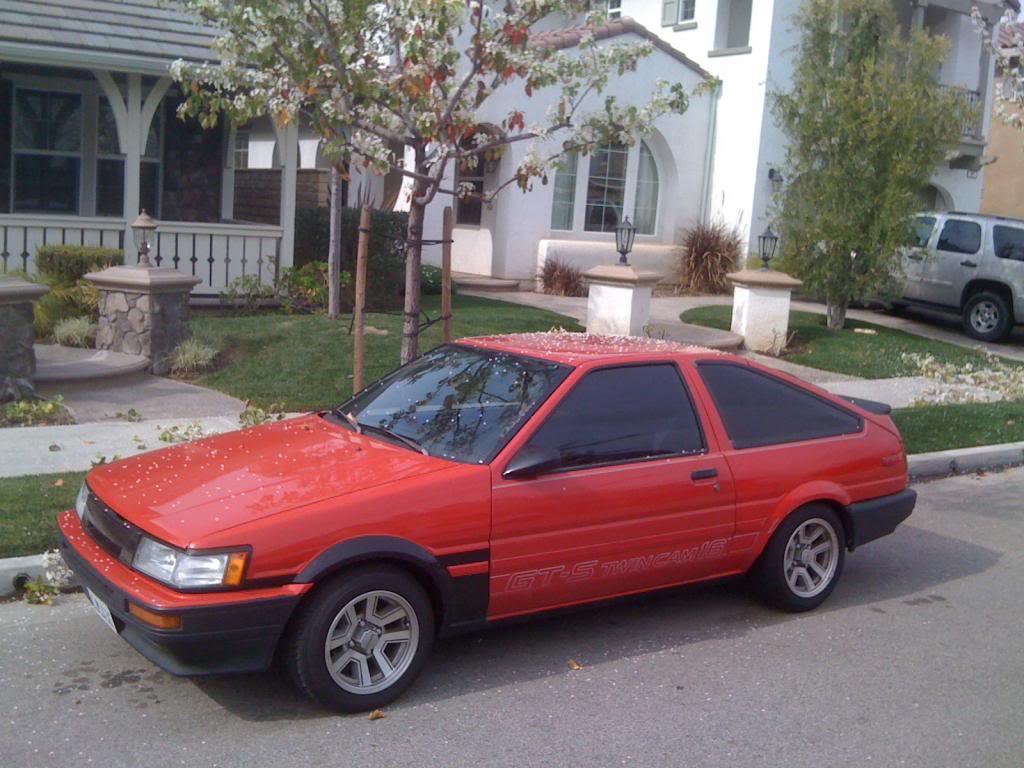
I picked up my first Corolla to build a daily driver that I can also do some lite track days. I bought it off another member on club4ag. His post read, "I'm contemplating on selling my car after almost 3 years of ownership. Looking to get rid of everything I have with the car. Everything was purchased brand new and installed unless other wise stated." The price seemed steep up front but after I ran the numbers on the inventory list the Levin was basically free with the purchase of all the parts. It's an 85 Toyota Corolla GTS Hatchback converted to a Levin with 265,000 Miles. Even with all the miles the body was super straight, clean and rust free.
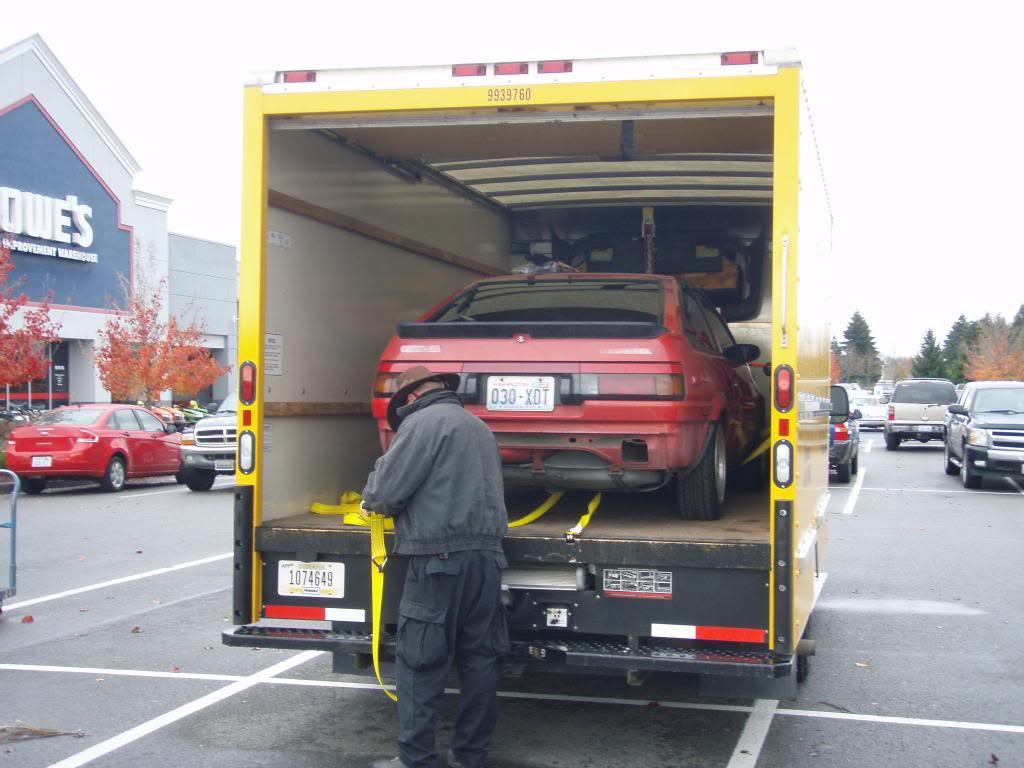
So with my dad's help we loaded up the Levin and drove south.
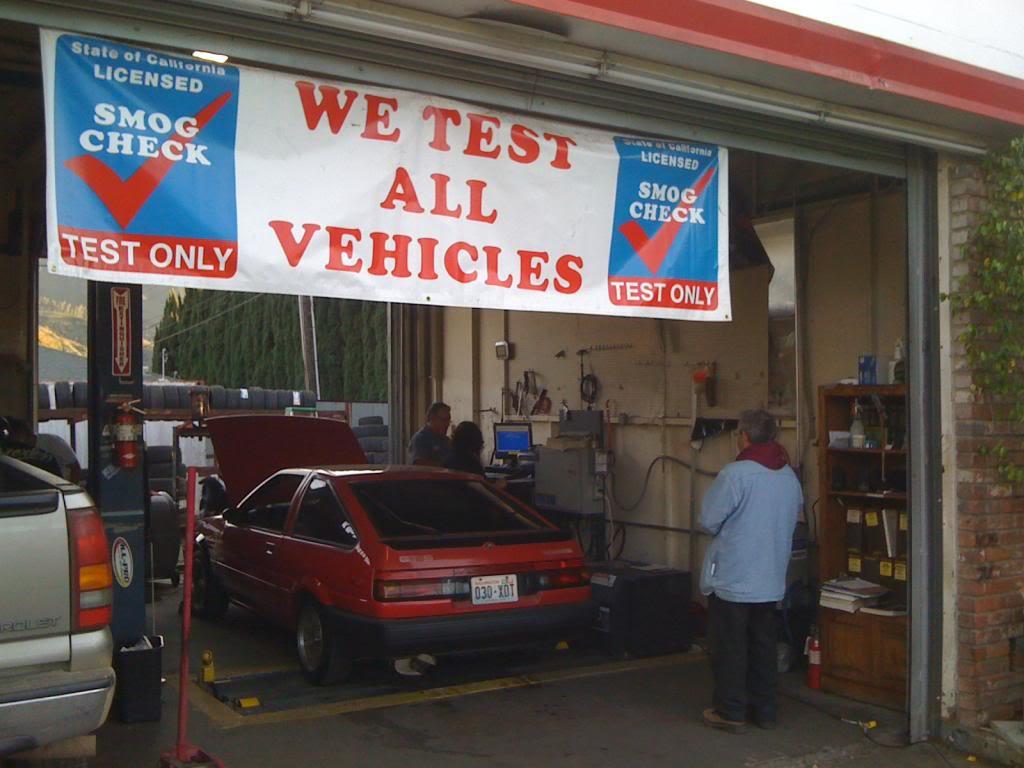
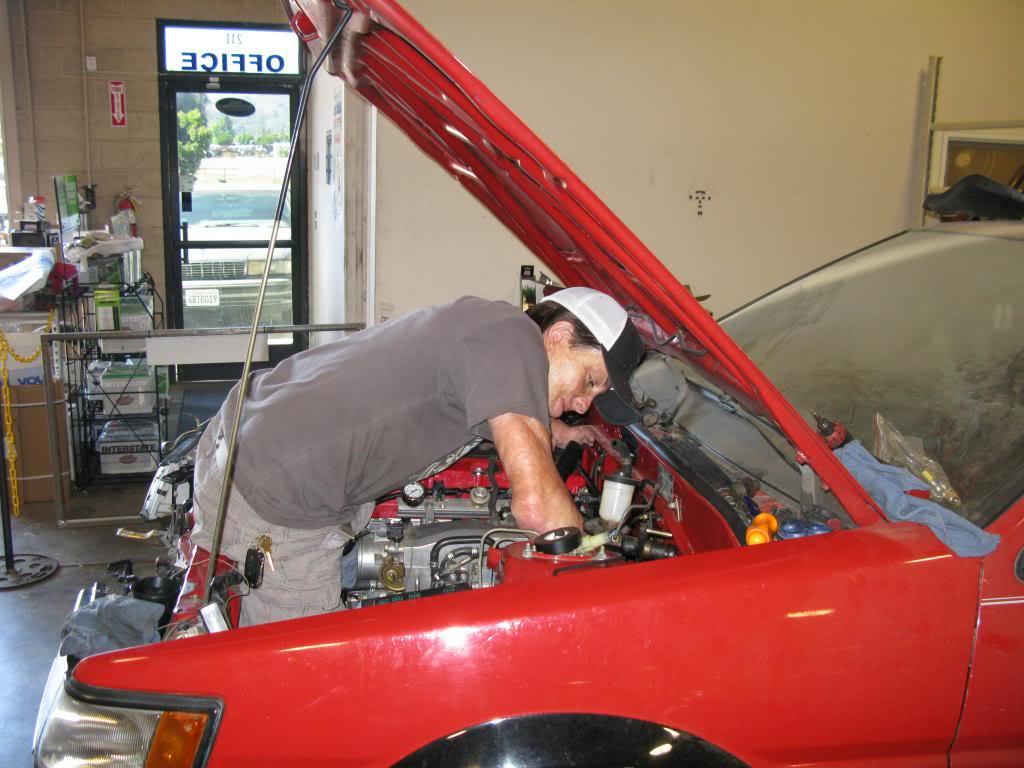
I took to my buddies shop to have it prepped for smog. It ended having an exhaust leak plus need a new cat and the timing set. After two attempts it passed.
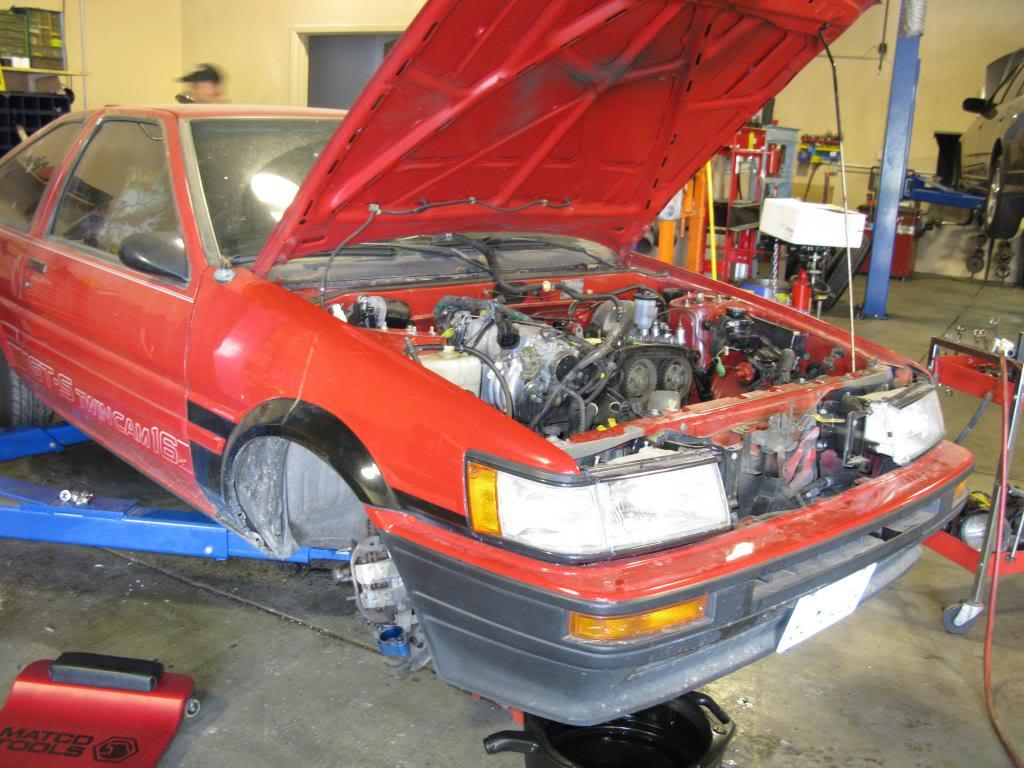
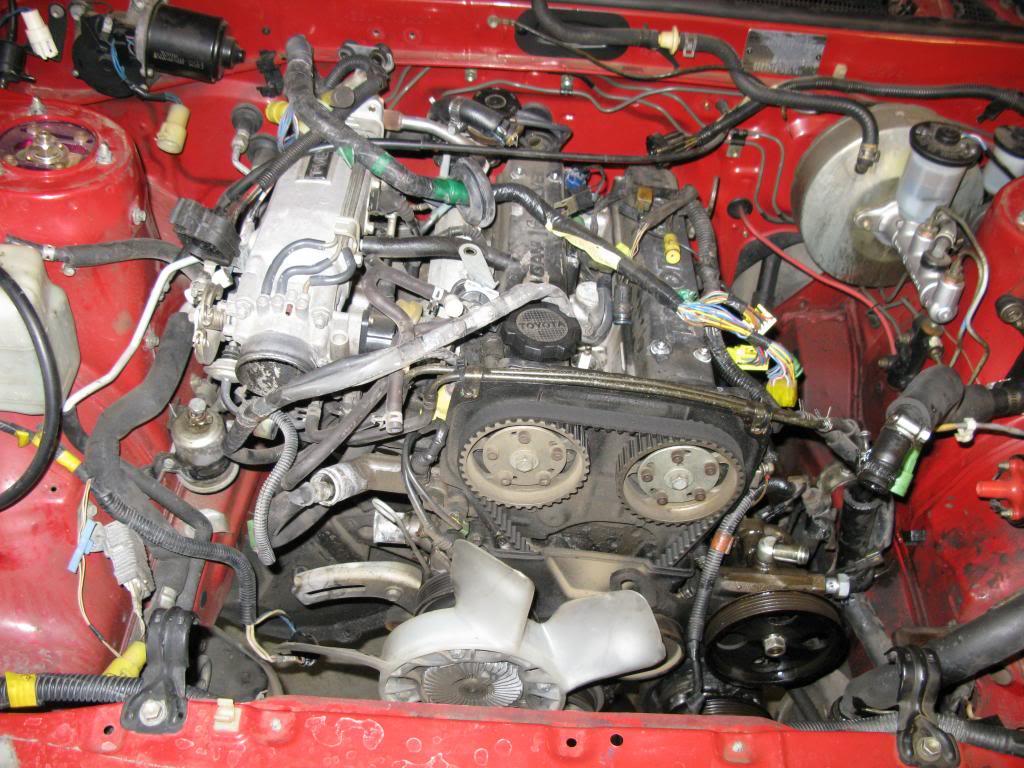
After three months of driving it around town the Corolla converted itself to steam powered. I had blown a head gasket plus had some major oil and power steering fluid leakage.

Pure nastiness!
I had planed to drive the Corolla for a year with the stock 4ag before I did any kind of major engine work. Since this is my daily driver and will be used to transport my kids on rare occasions it needs to be reliable but performance oriented. So out with the old and in with the newer, bigger, better, shinier.
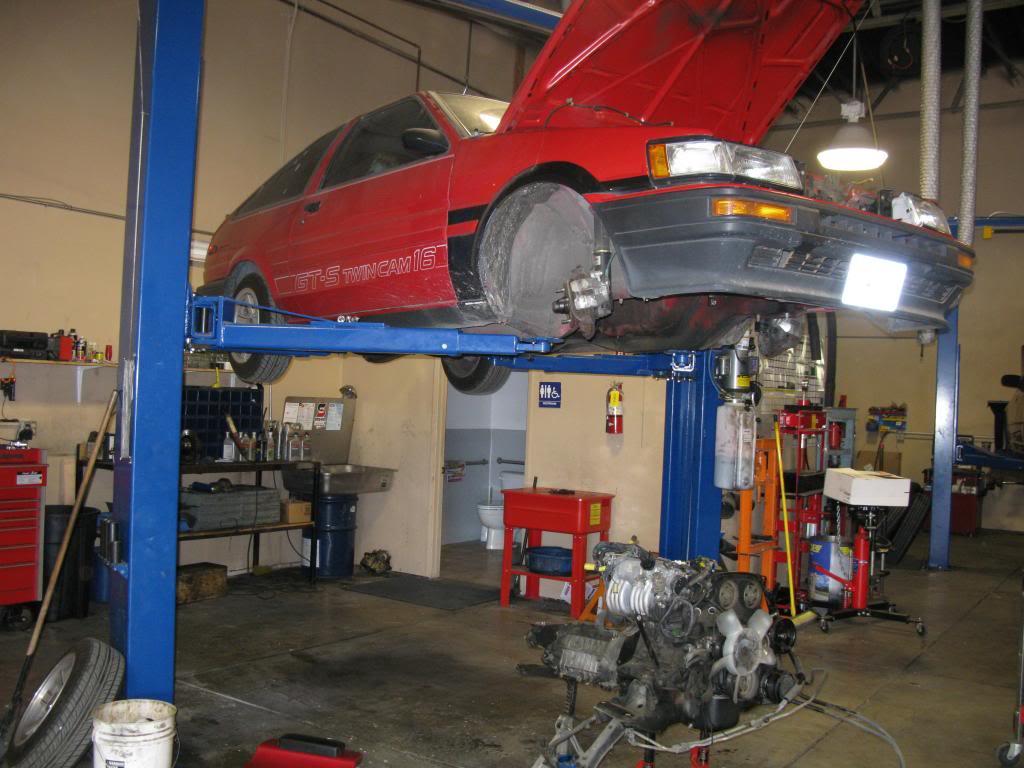
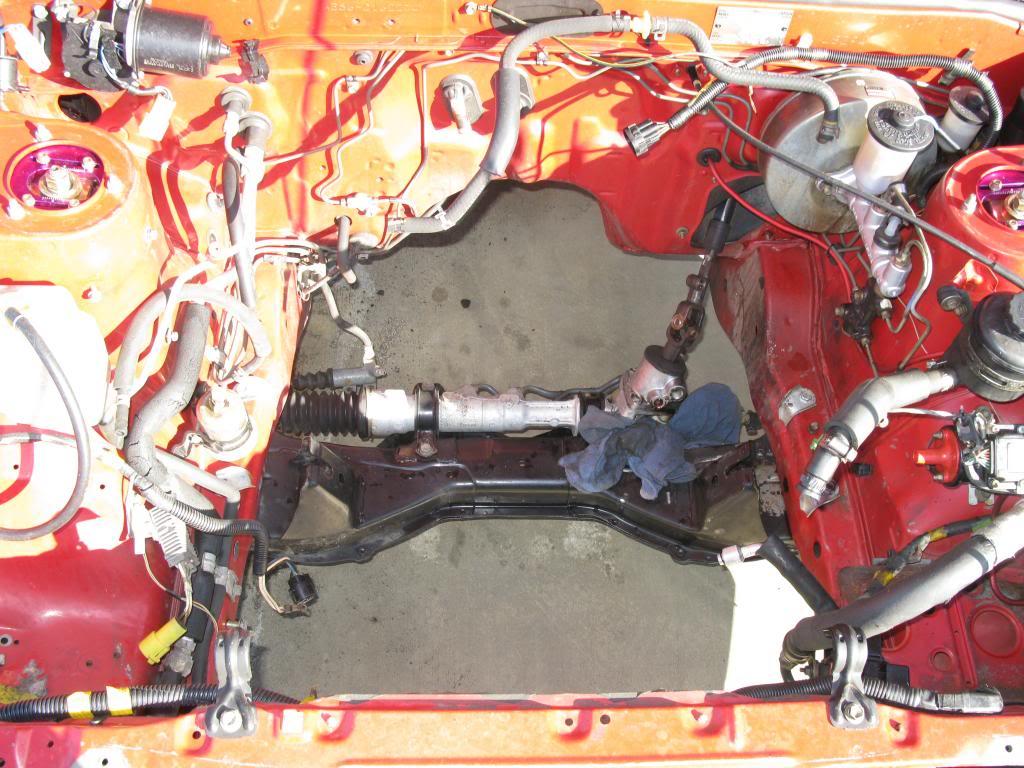
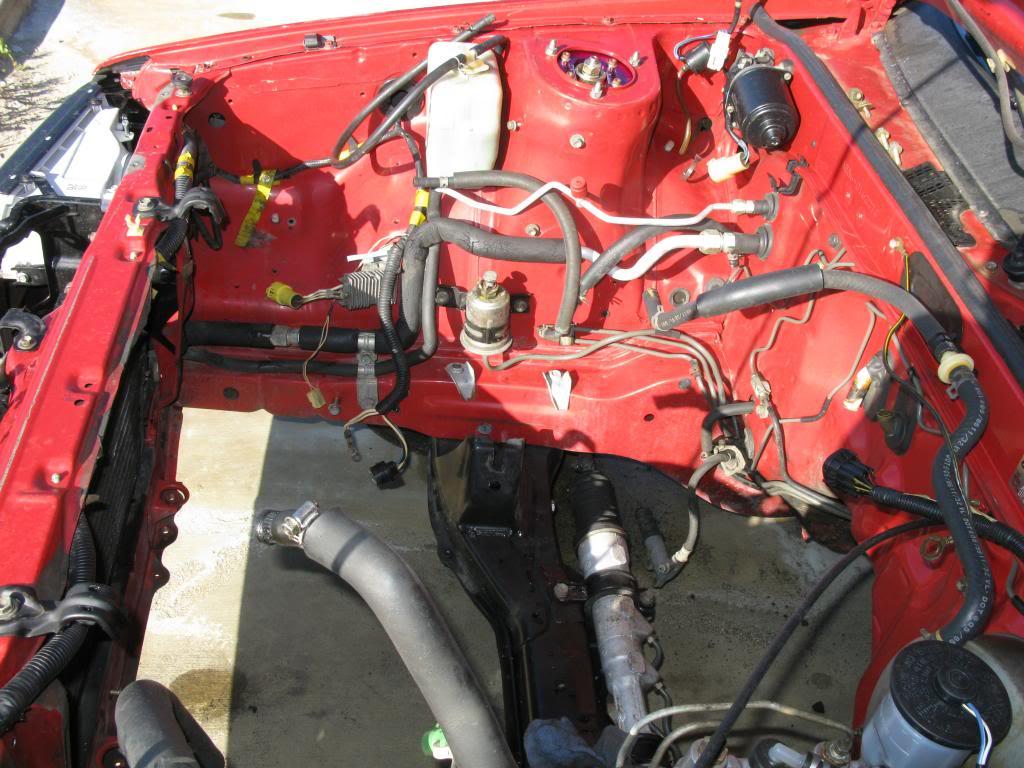
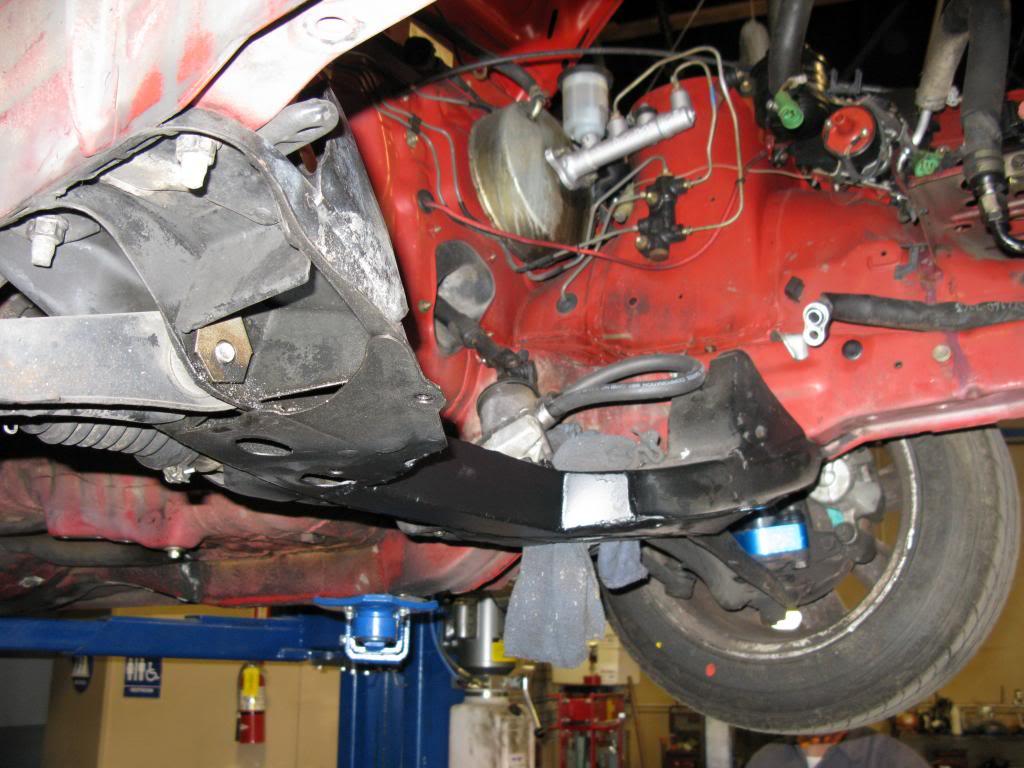
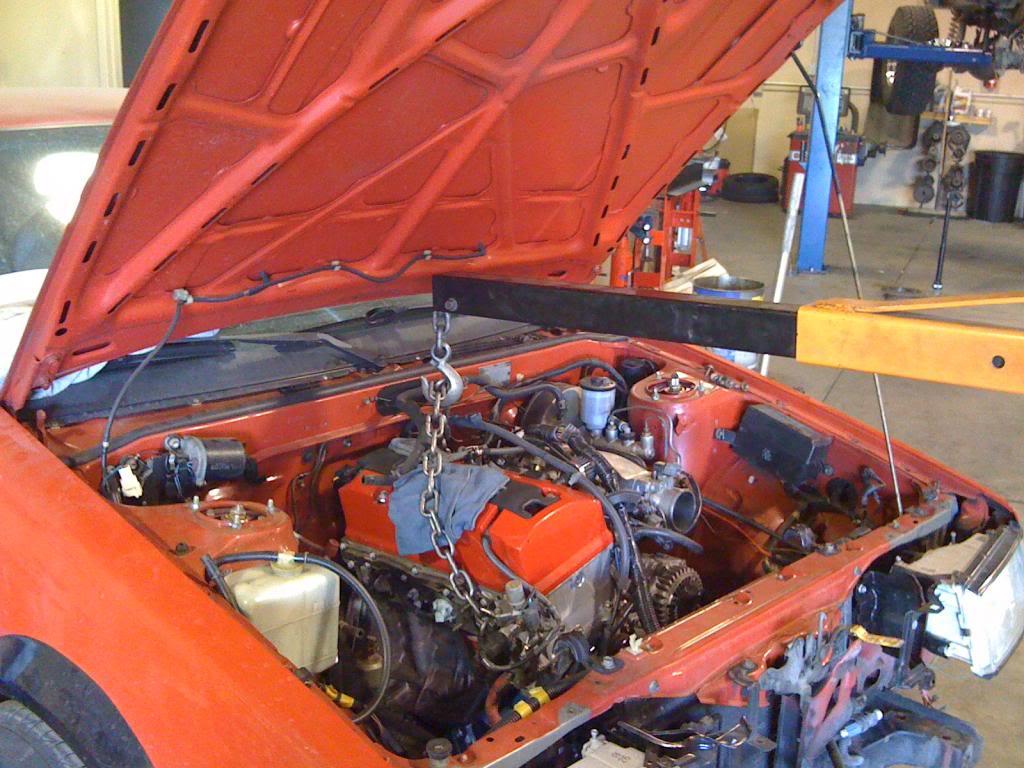
Disconnecting everything for a clean drop.


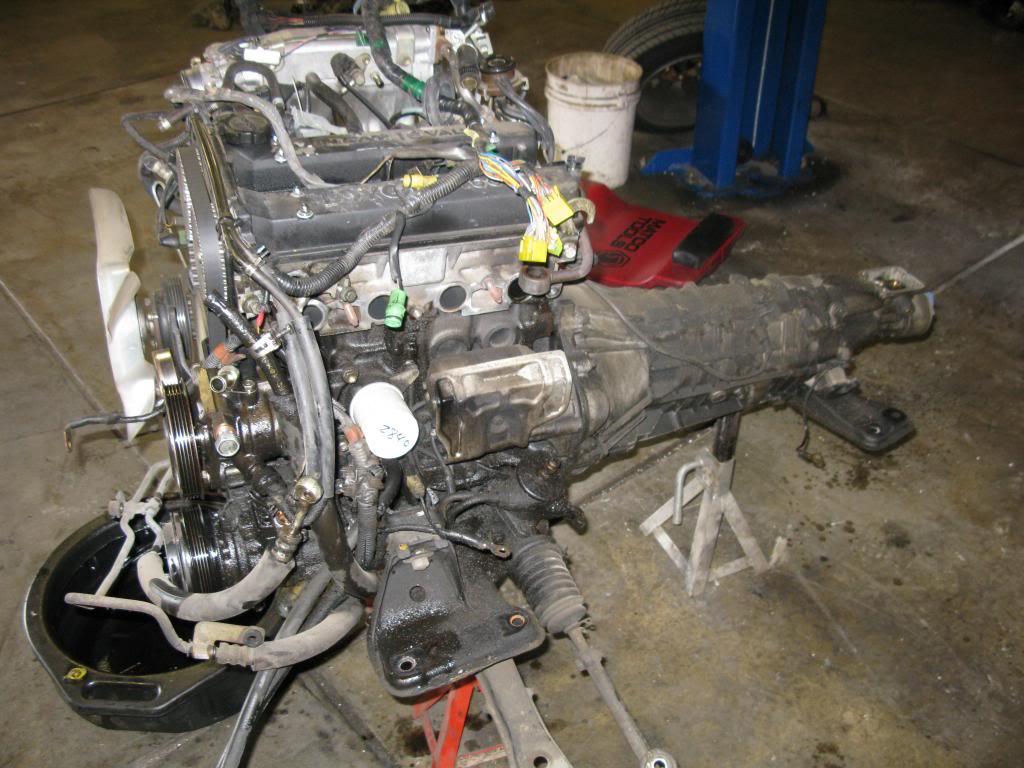
Renew, Reuse, Recycle. Sold the engine tranny with everything bolted on except the subframe to a local club member. He stripped it down and did a complete rebuild on the engine.

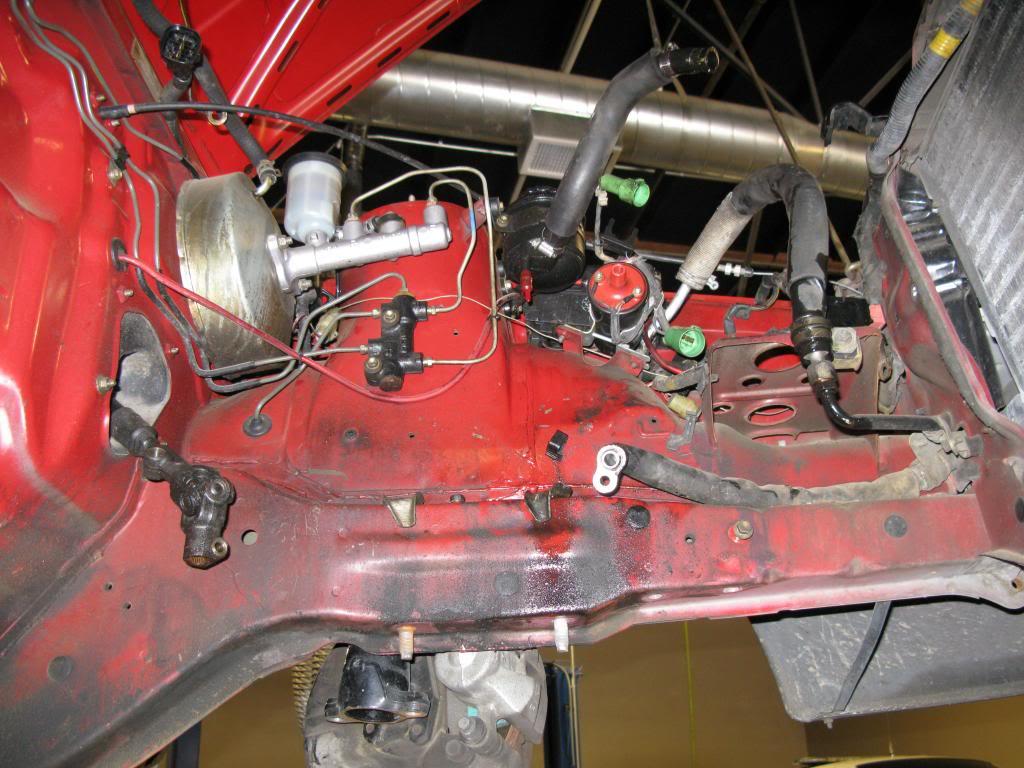
The engine is out and the bay is covered in oil and power steering fluid. Time to roll up my sleeves and start pressure washing.

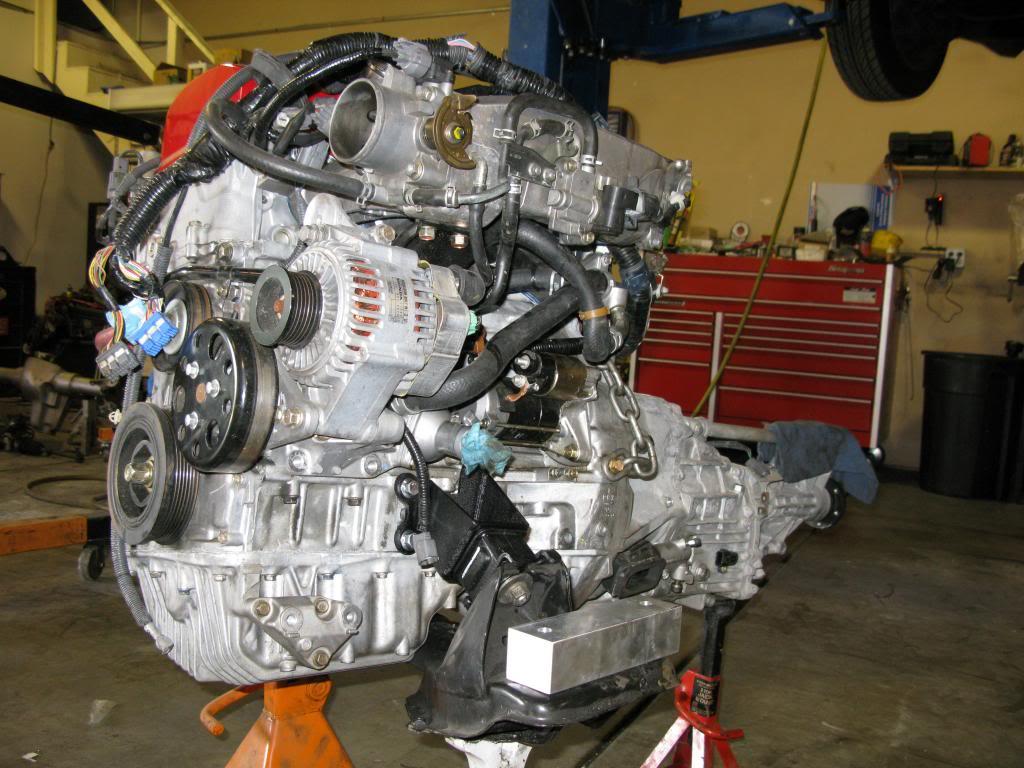
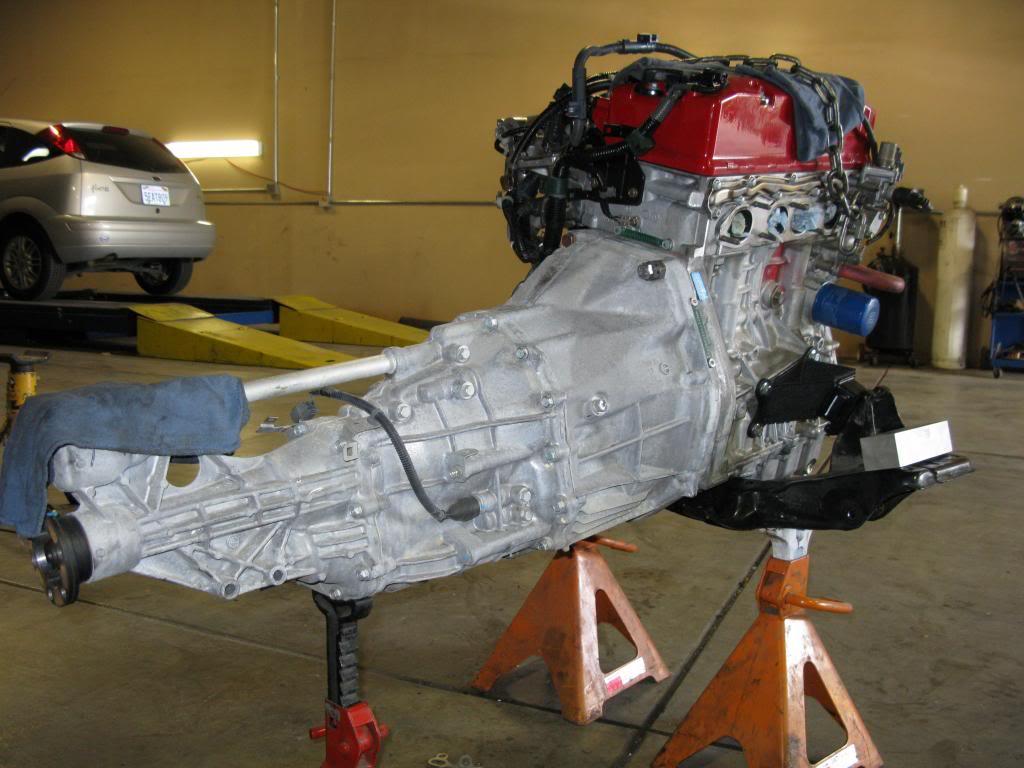
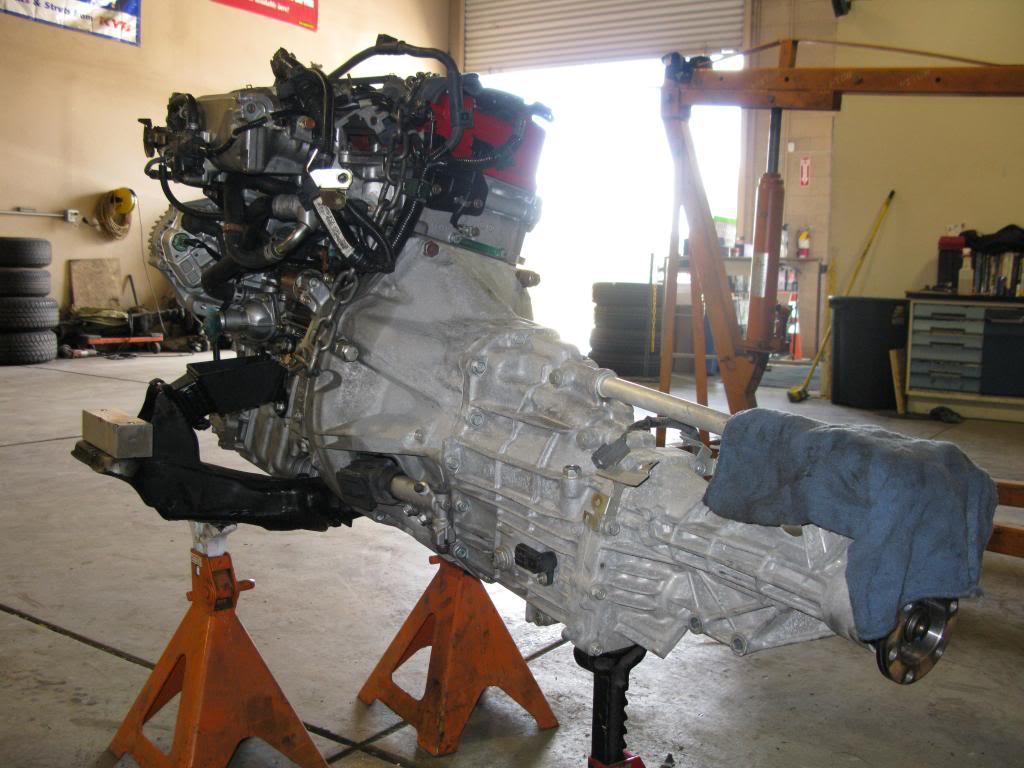
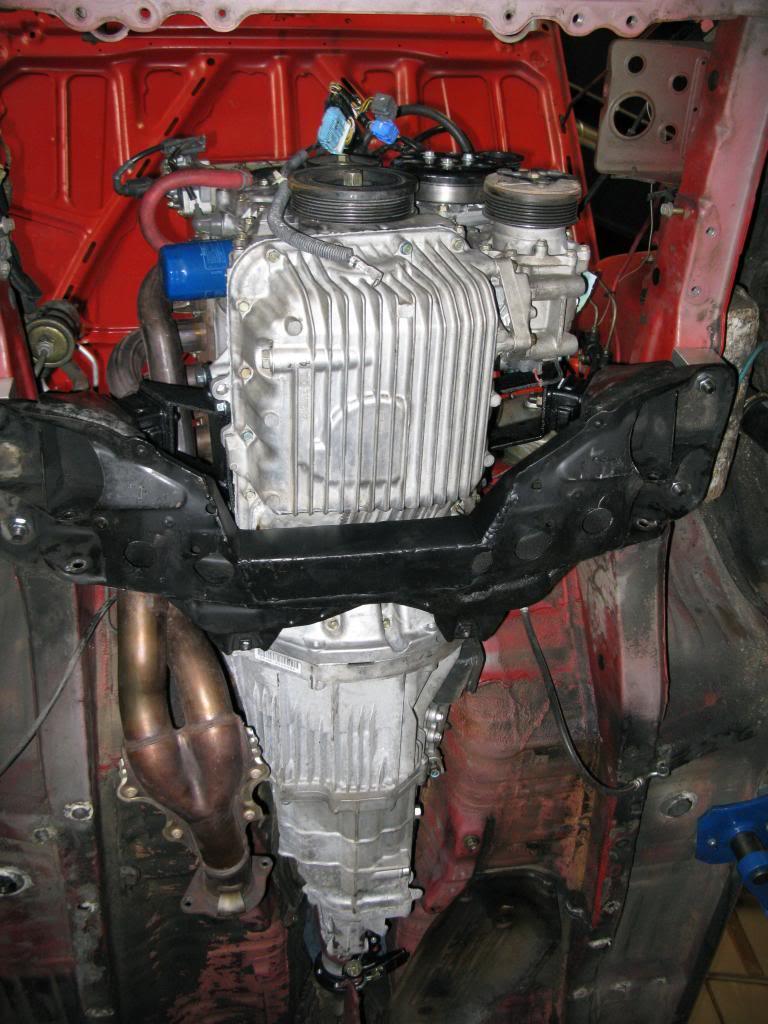
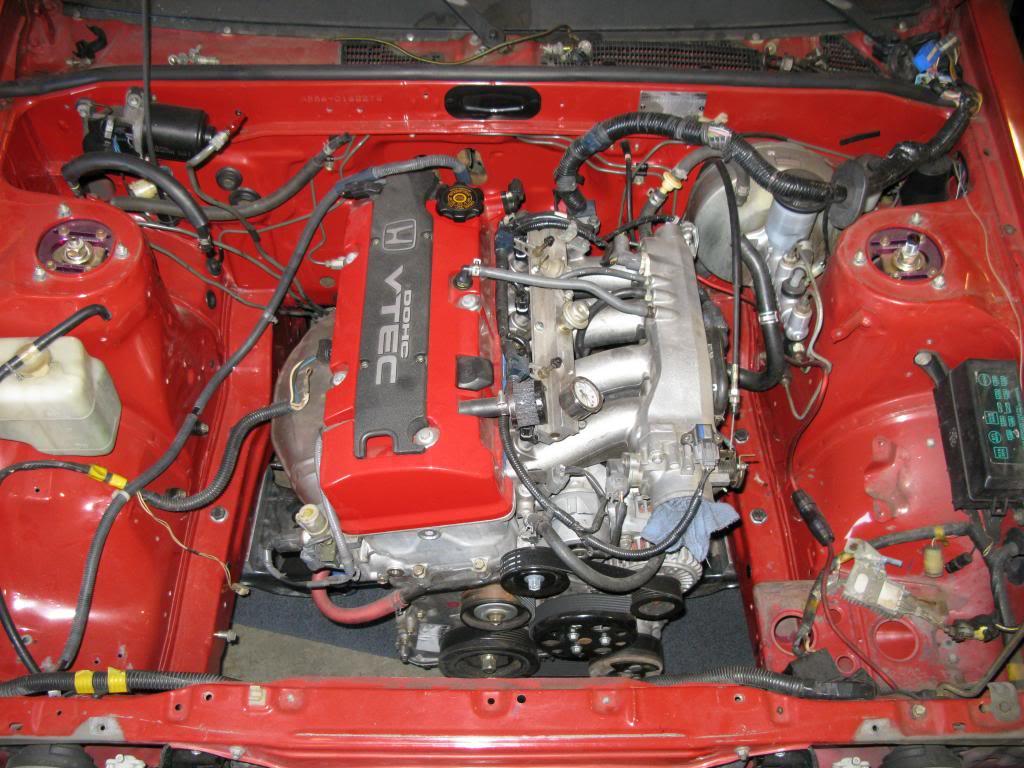
People always say nice things come in small packages, then I retort "Really Bitchen things come in BIG packages!"
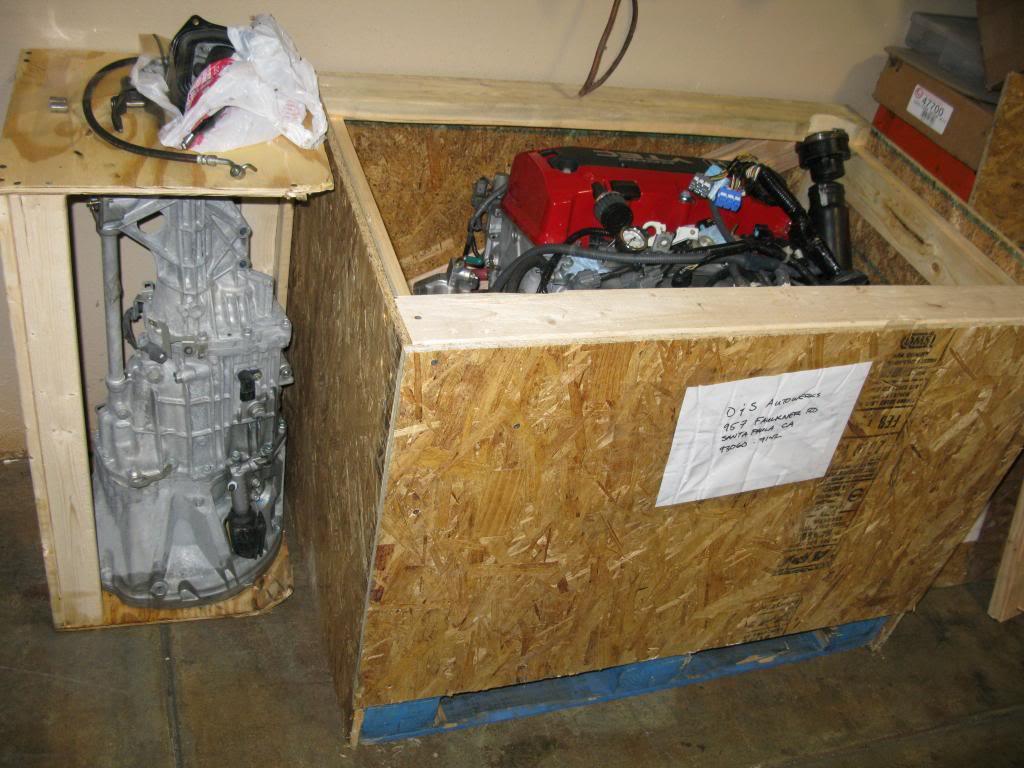
I sourced out an f22c off of s2ki for the Corolla. It only has 6k miles on it and came with an Alaniz ported and polished head, Hondata intake gasket, Toda lightened flywheel, Clutchmasters stage 3 or 4 PP & disc, AEM serial data gauge and an oversized throttle body port matched to the manifold.

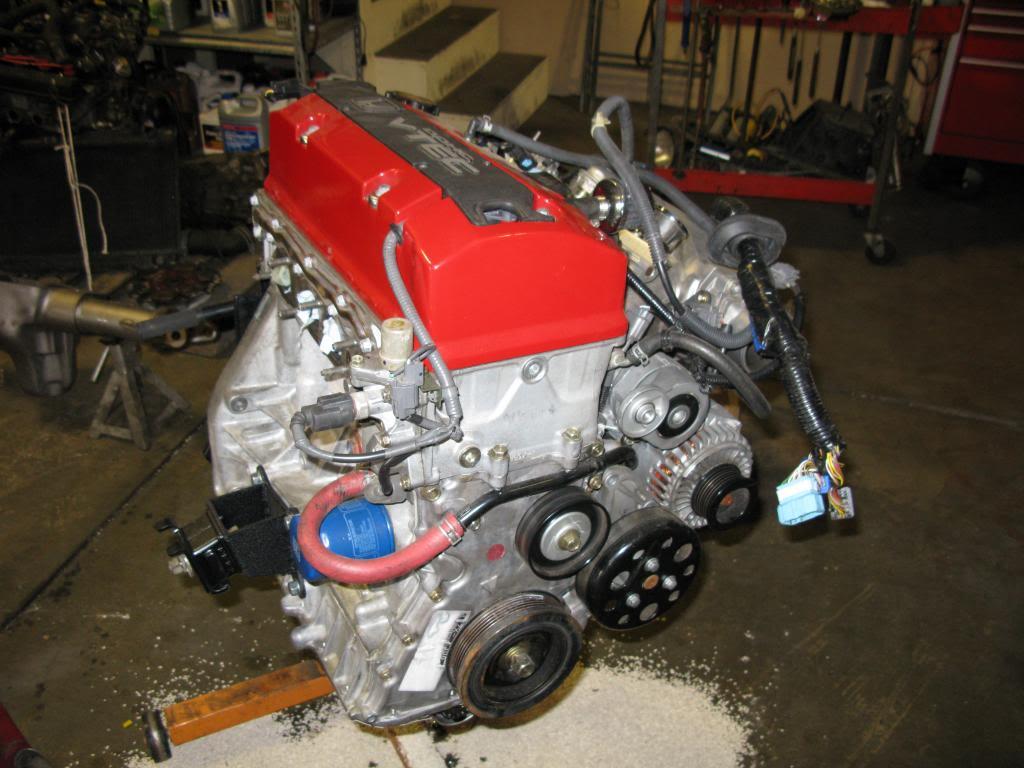
Here kitty kitty kitty...
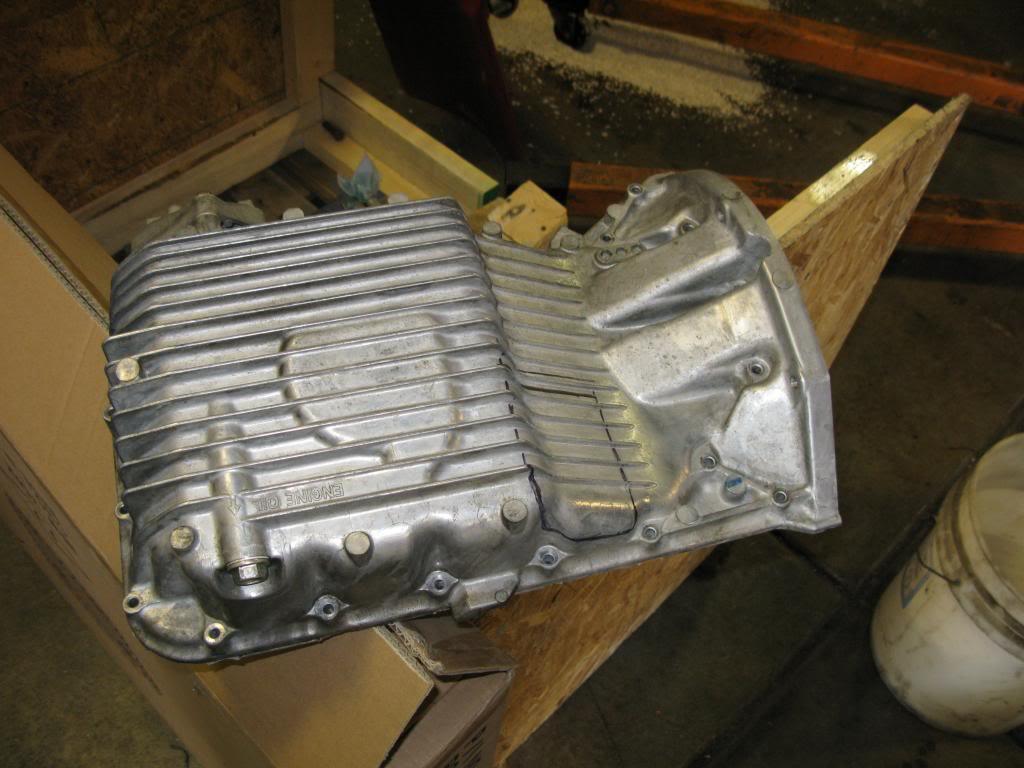
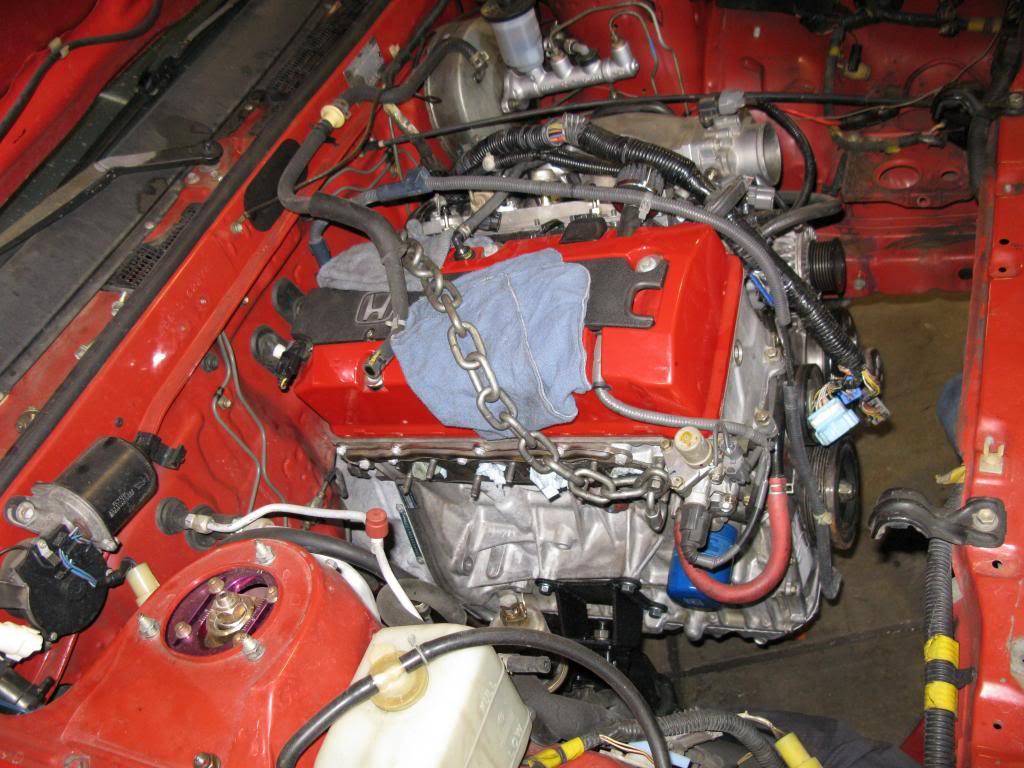
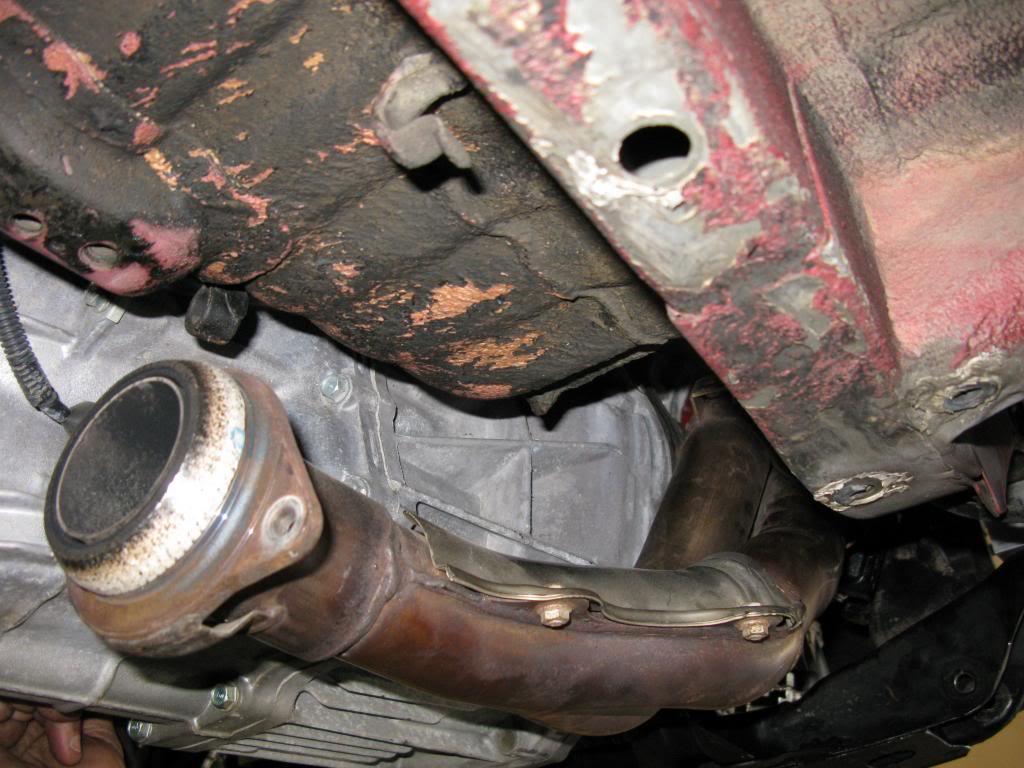
Ordered a swap kit from JSP. Notched out the subframe and oil pan.

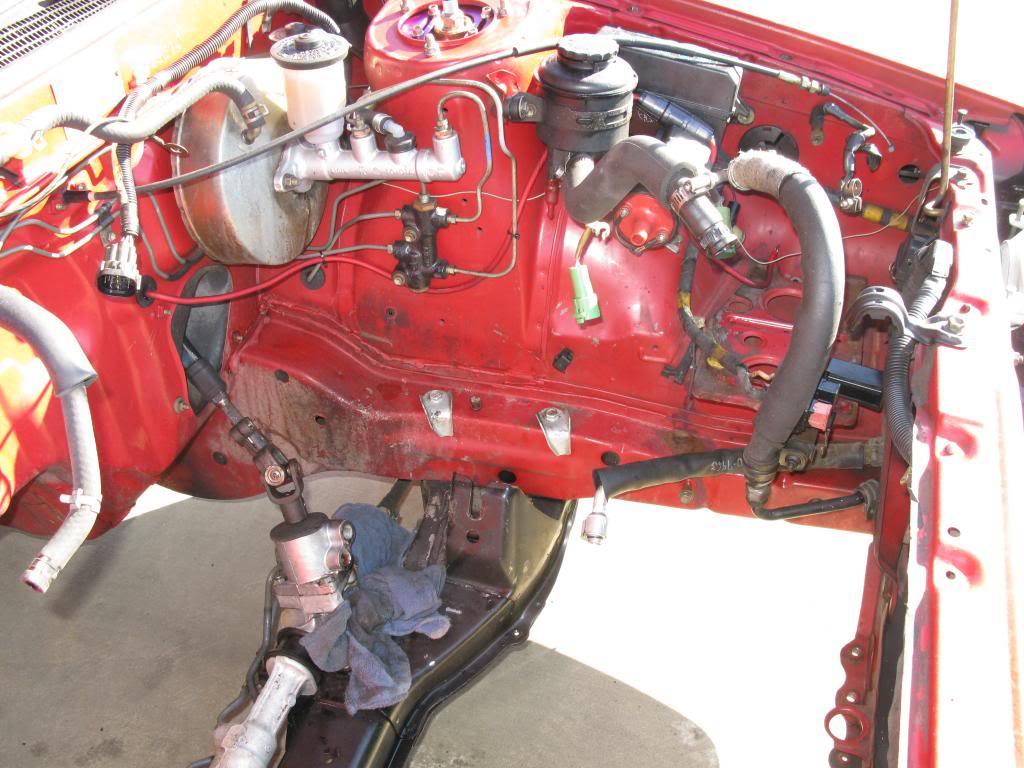
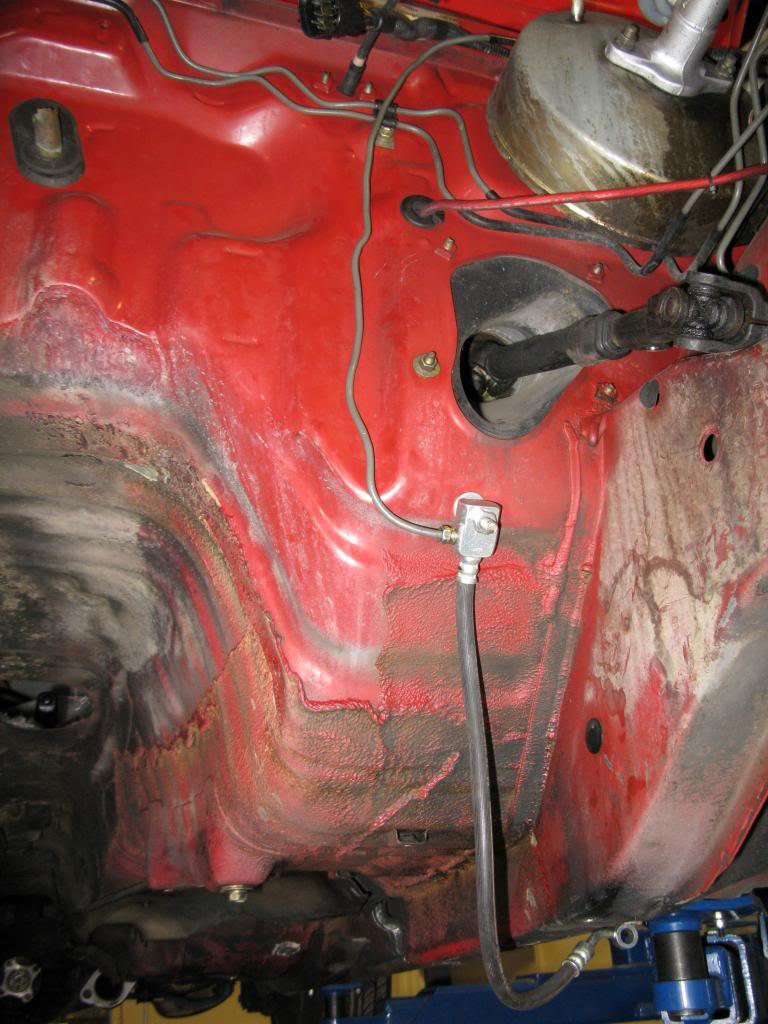
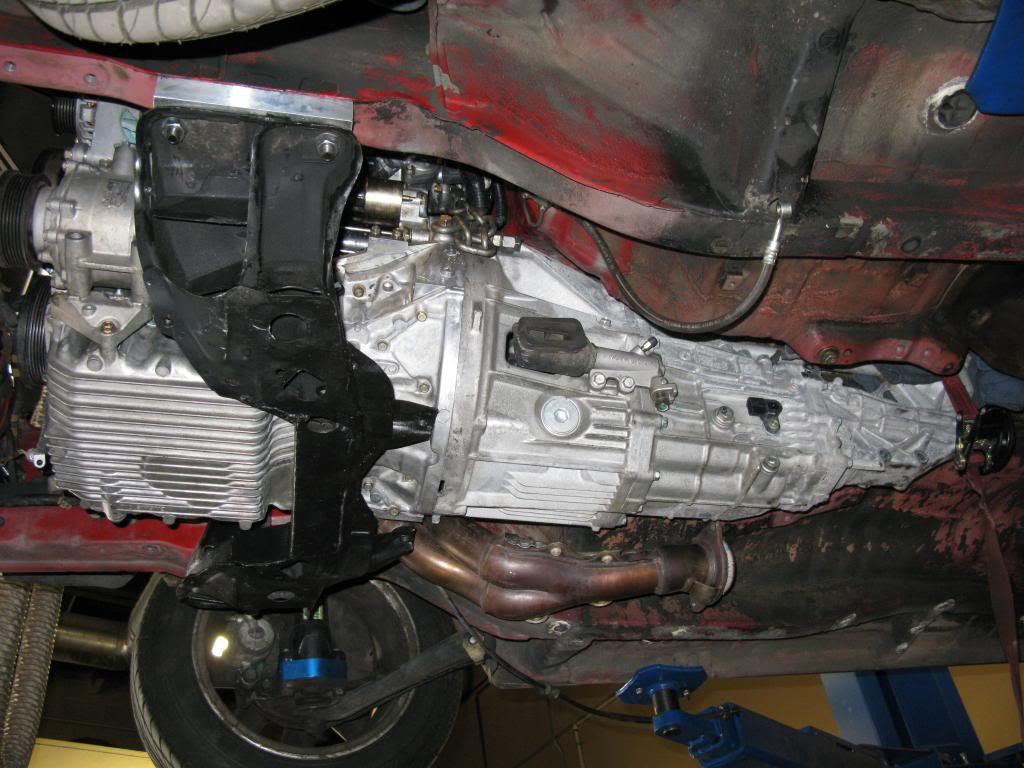
Relocated the clutch slave cylinder line to the other side of the engine bay.
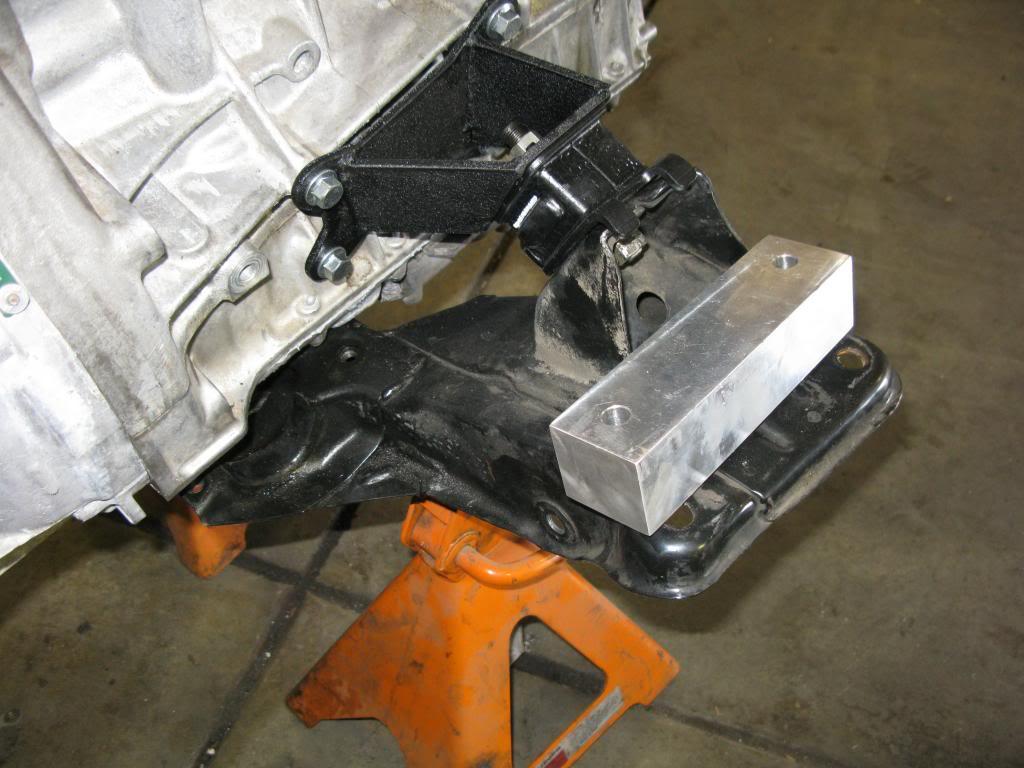
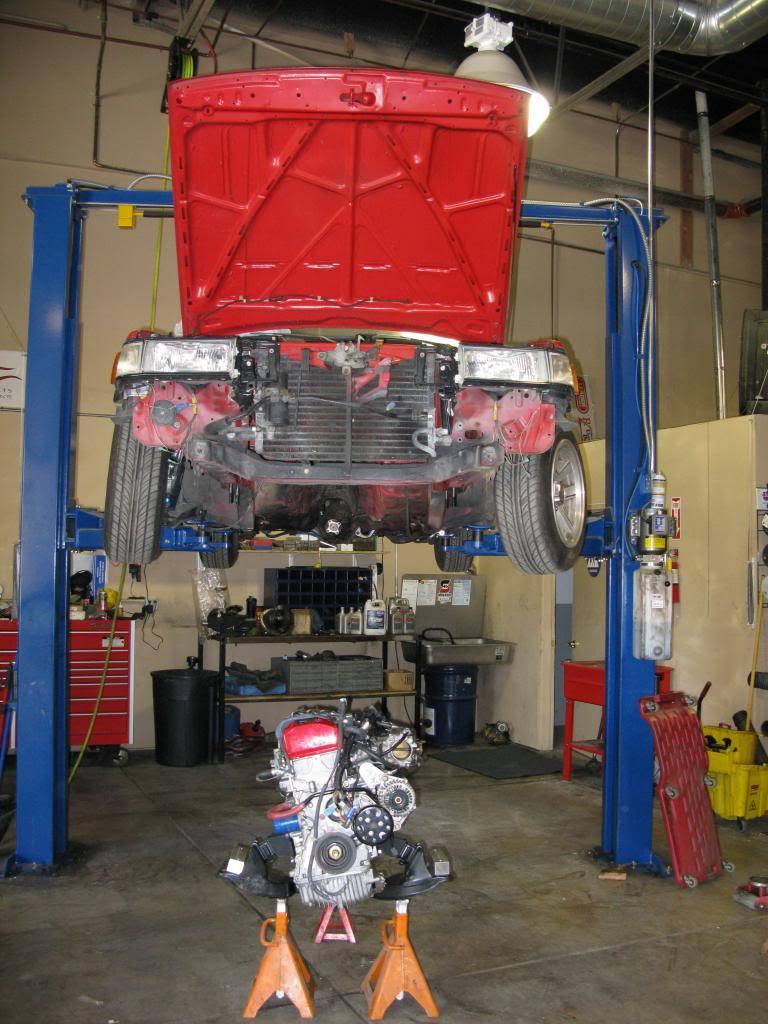
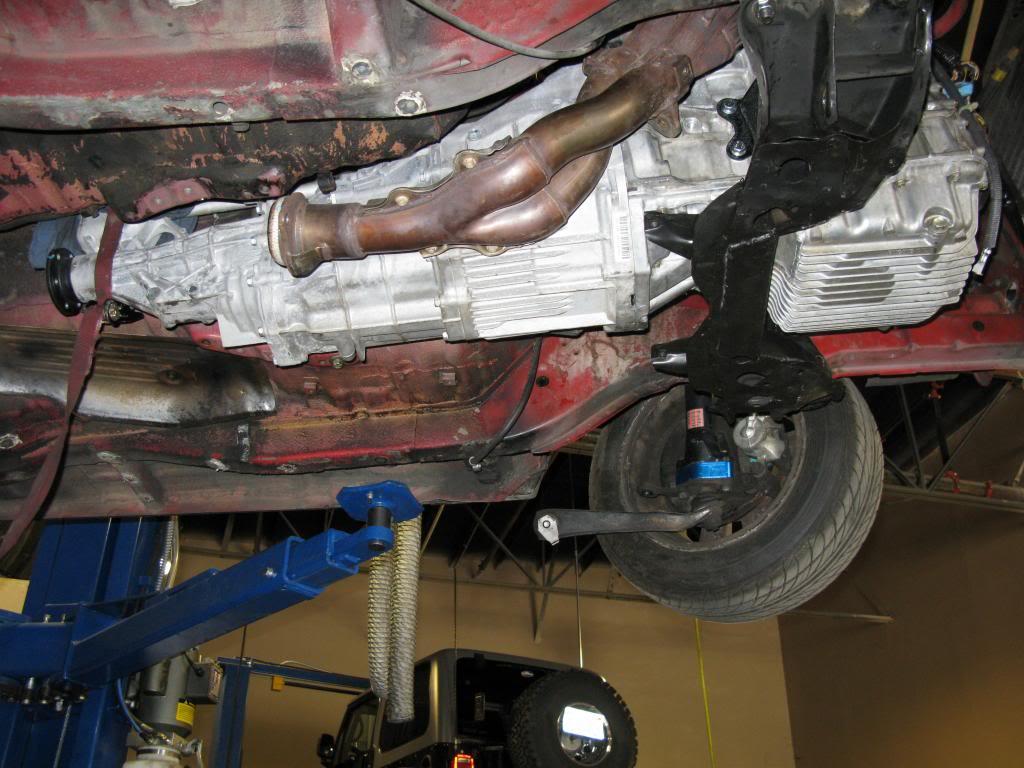
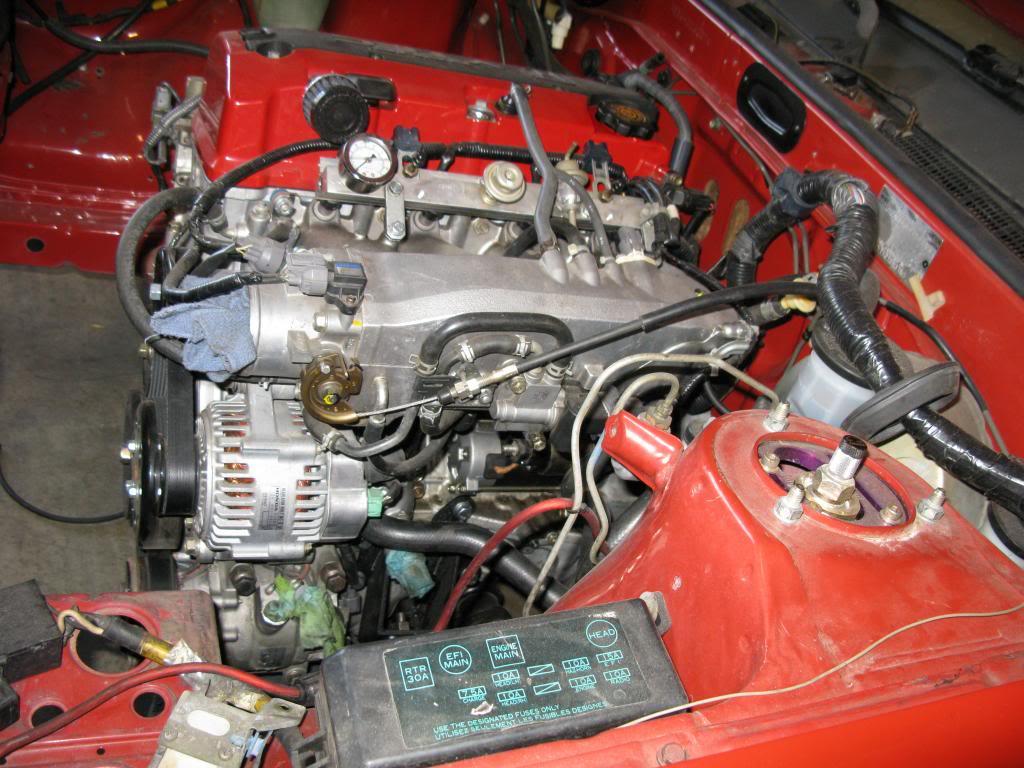
The first of many test fits.
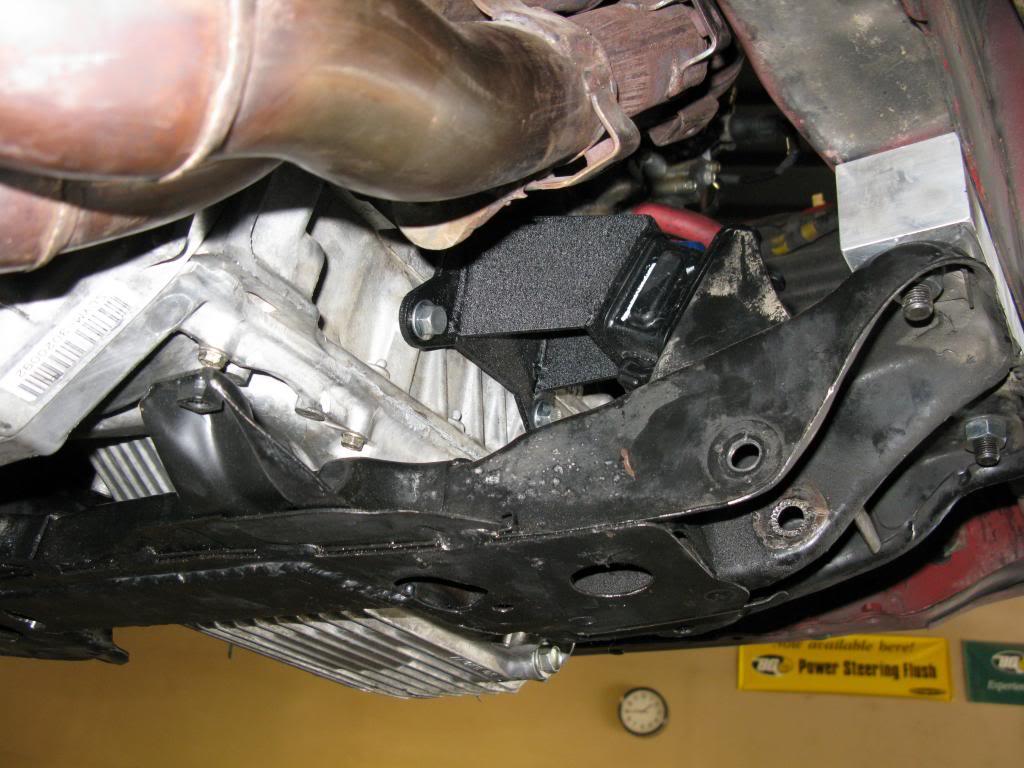
Quick Rondell Bar fitment. I was having a few issues with it fitting in the Levin bumper.
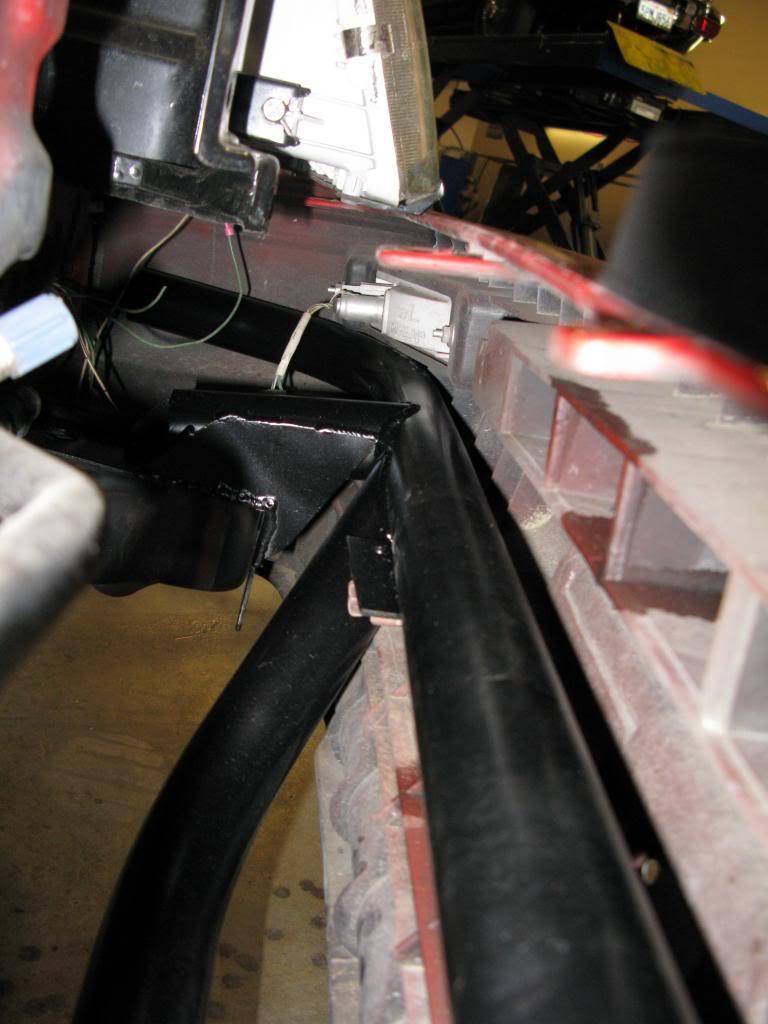
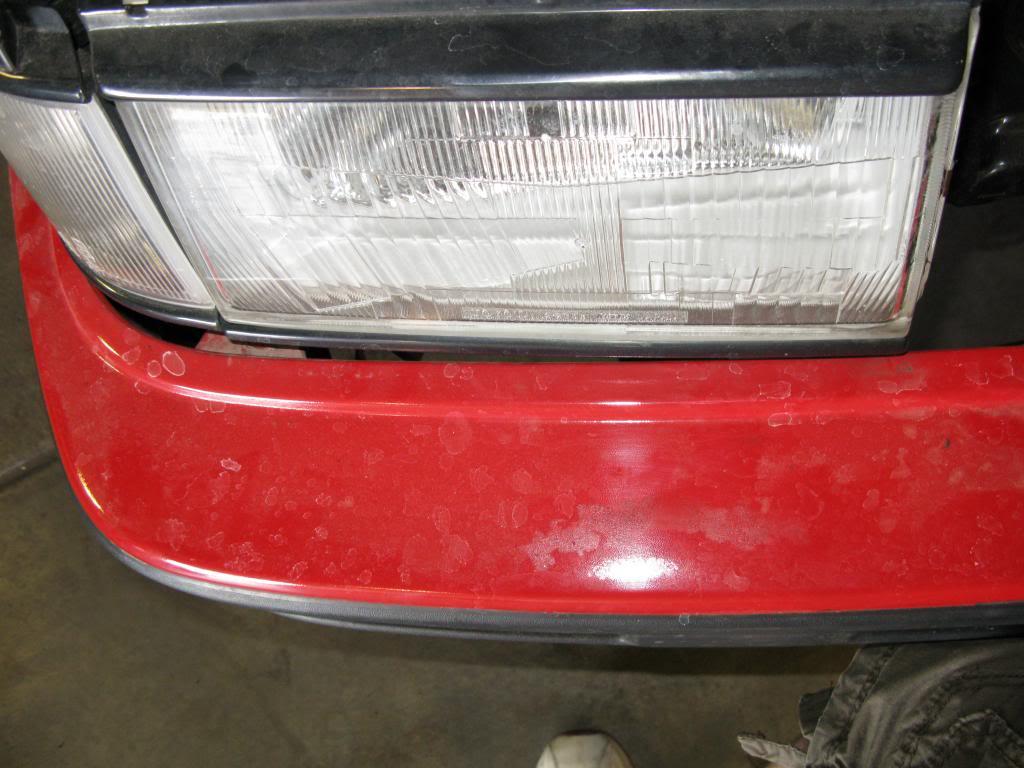
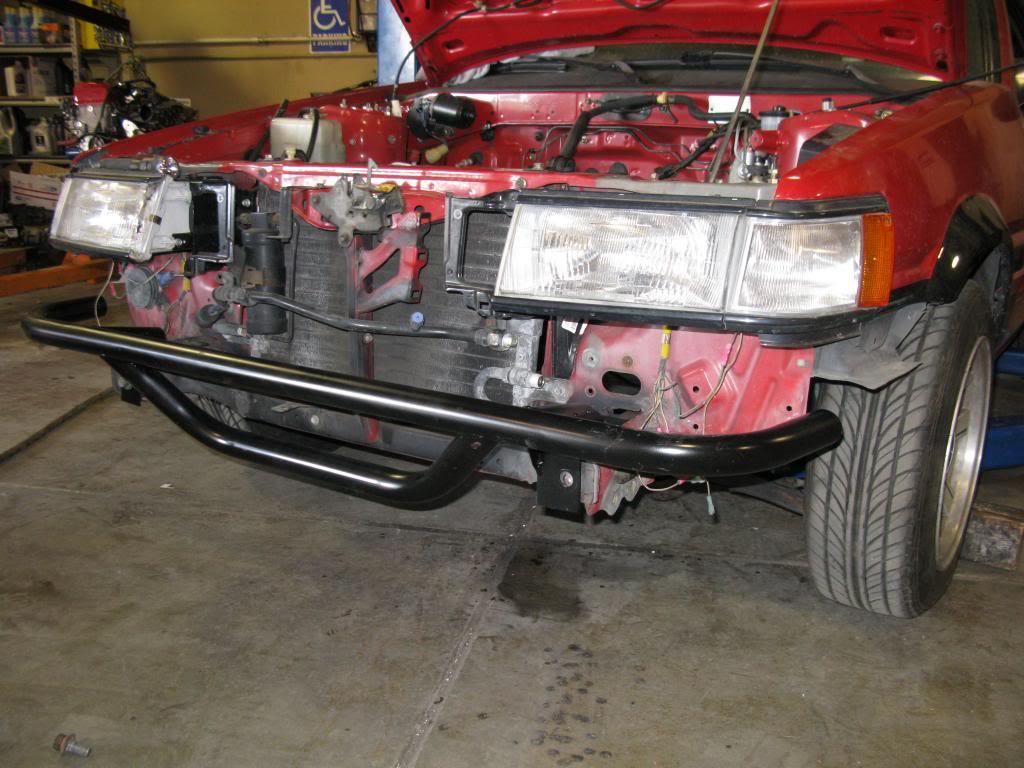
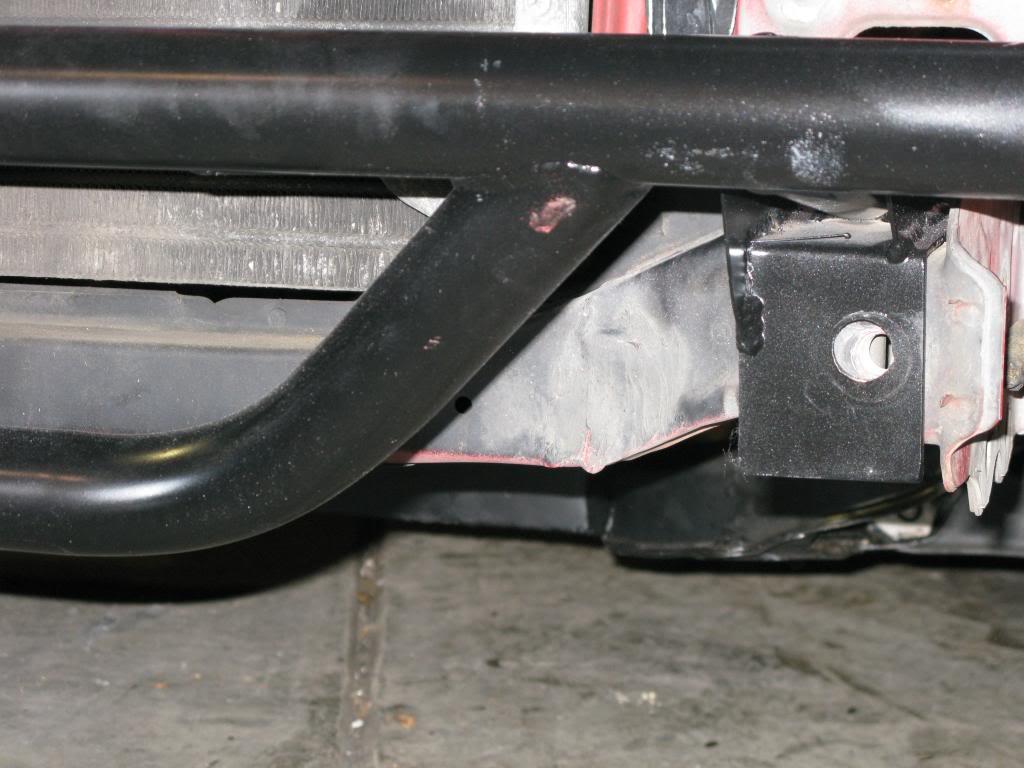
The red mark is where the bumper is hitting. Might have to do a little bending.
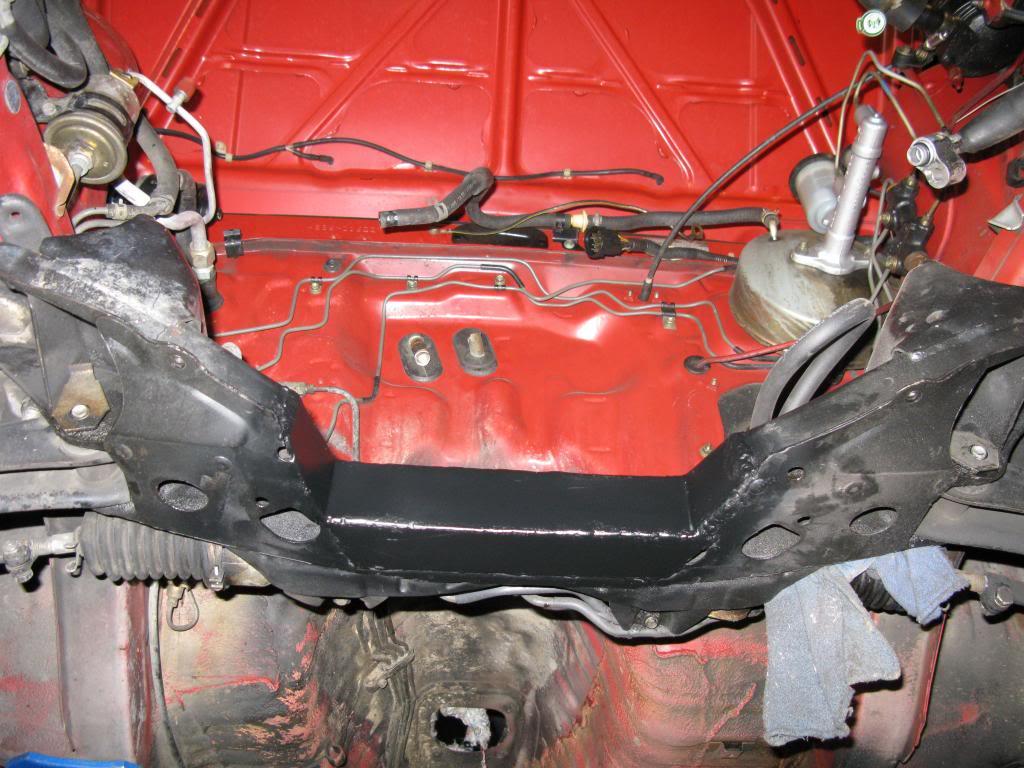
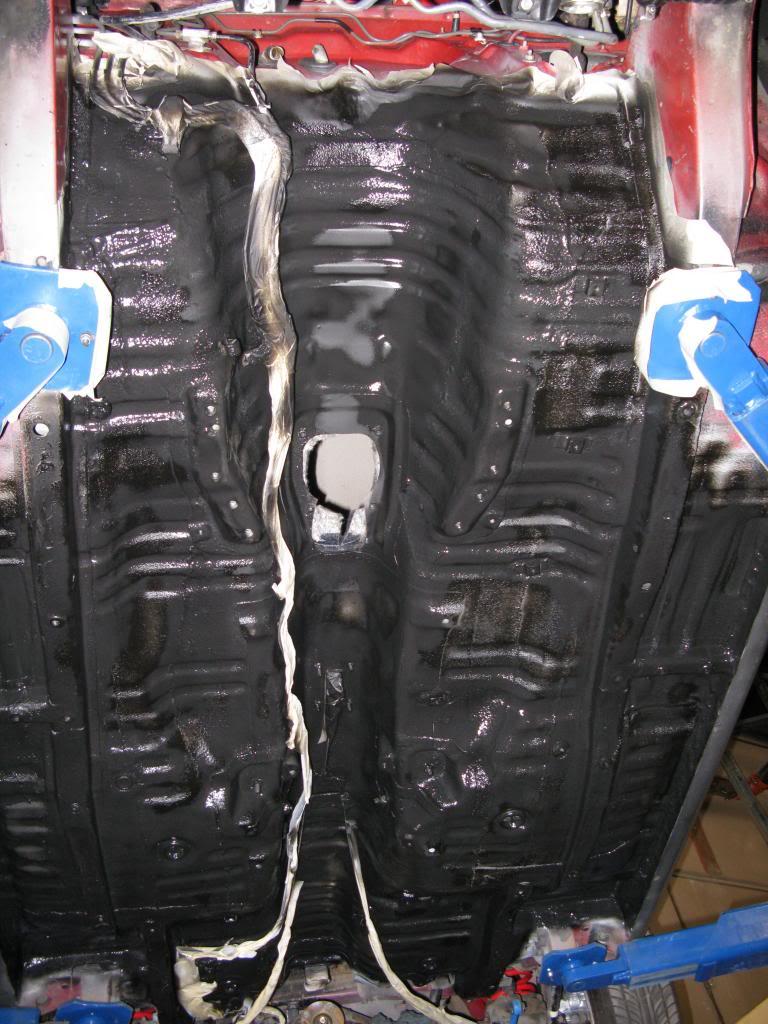
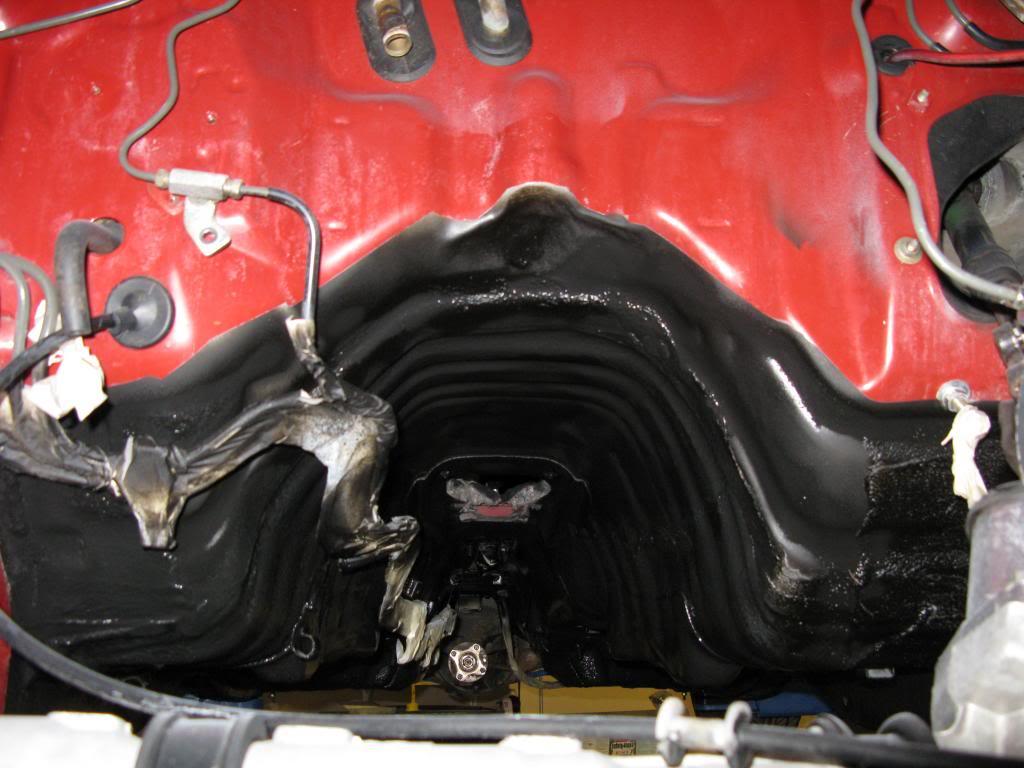
The f22 came out to make way for some tunnel massaging. While it was out I went to work at cleaning up the under body and engine bay. I plan on painting the Corolla in the future once the swap is sorted and I've played with it a bit. So for now I'll just try to make it look decent.
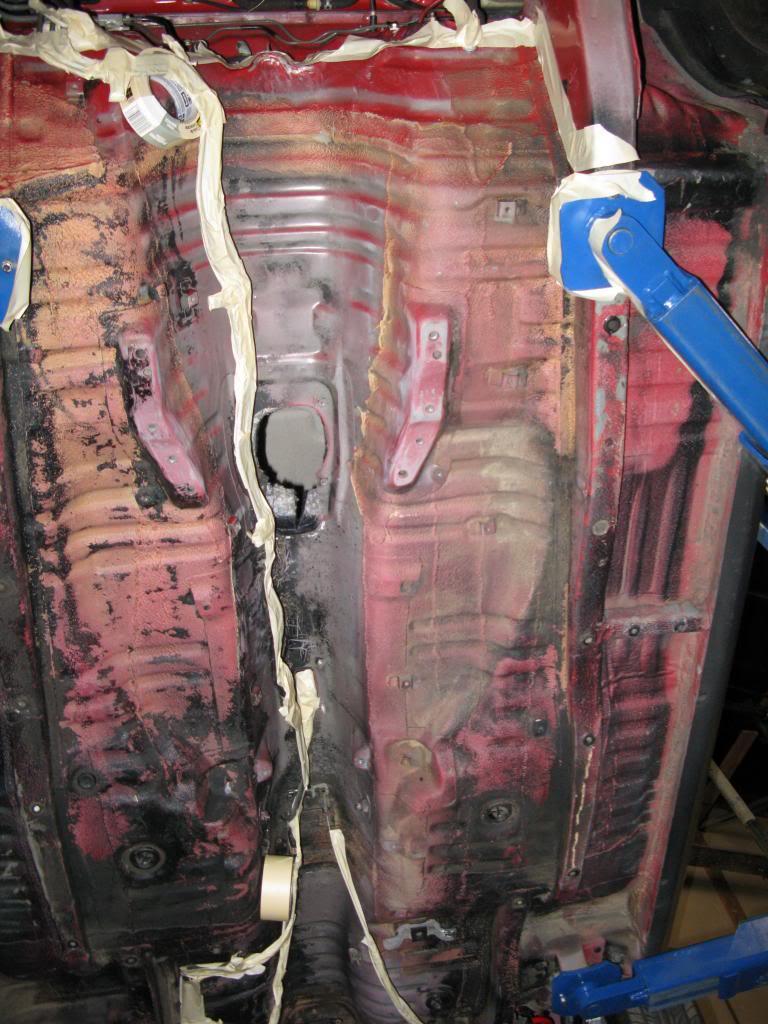
Still a little wet.
"Wax on wax off, Wax on wax off, Good job Dougy-san."
Back in and fitting very nicely.
Still have a bit more waxing to do.
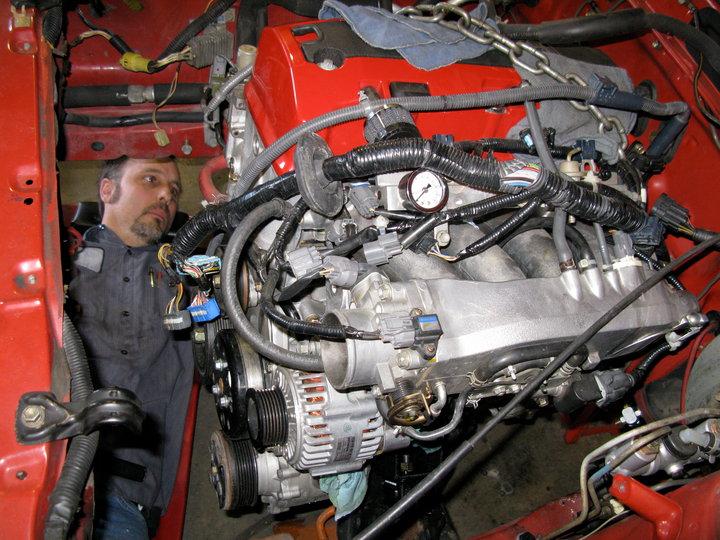
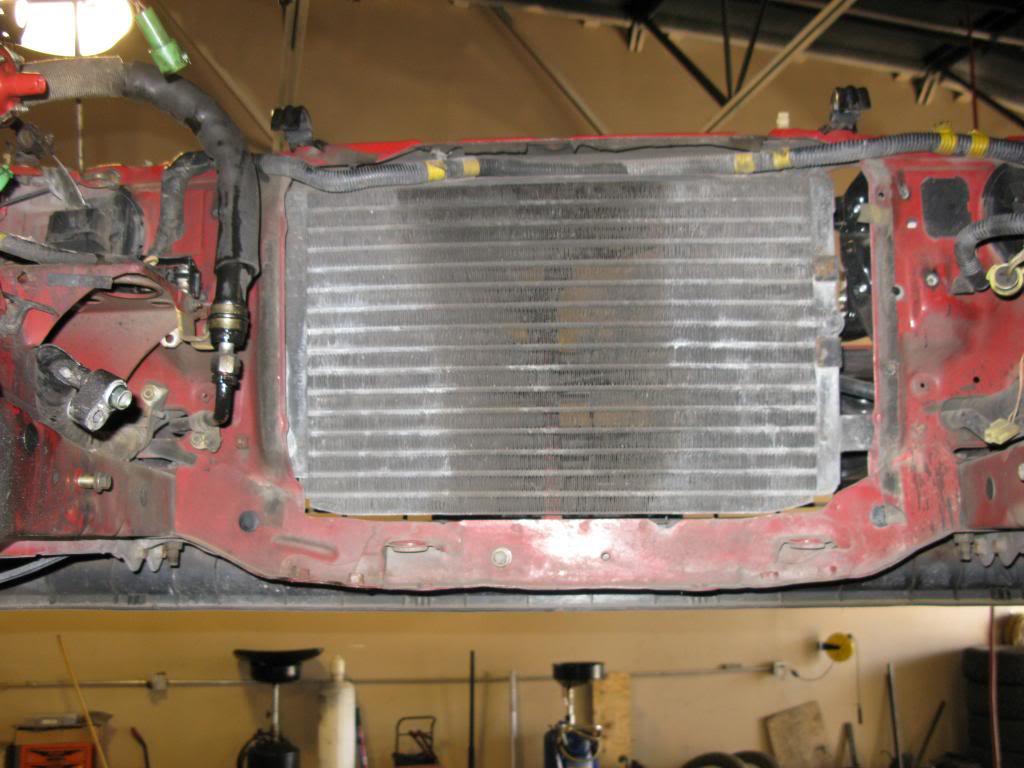
Plenty of room for a fat little 3 inch thick Scirocco drag racing radiator and twin fan set up.
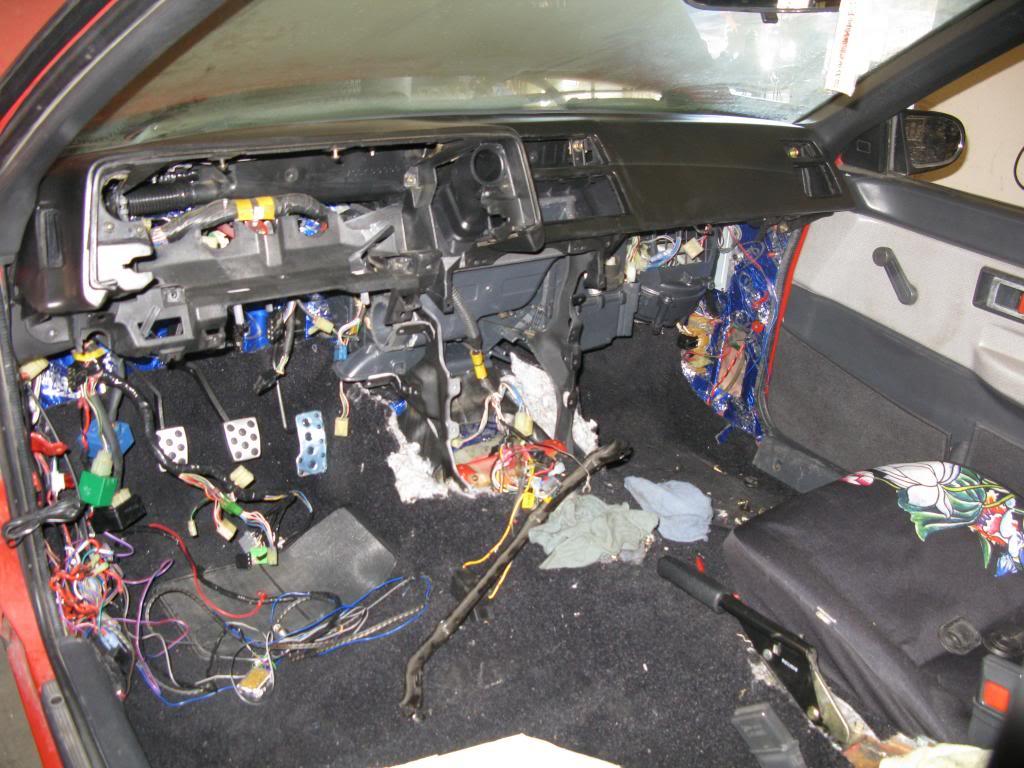
I'm not much for wiring so I decided to leave it up to the pros and pulled my dash and engine harnesses and sent them to Phoenix Tuning and have them build me a turn key harness.
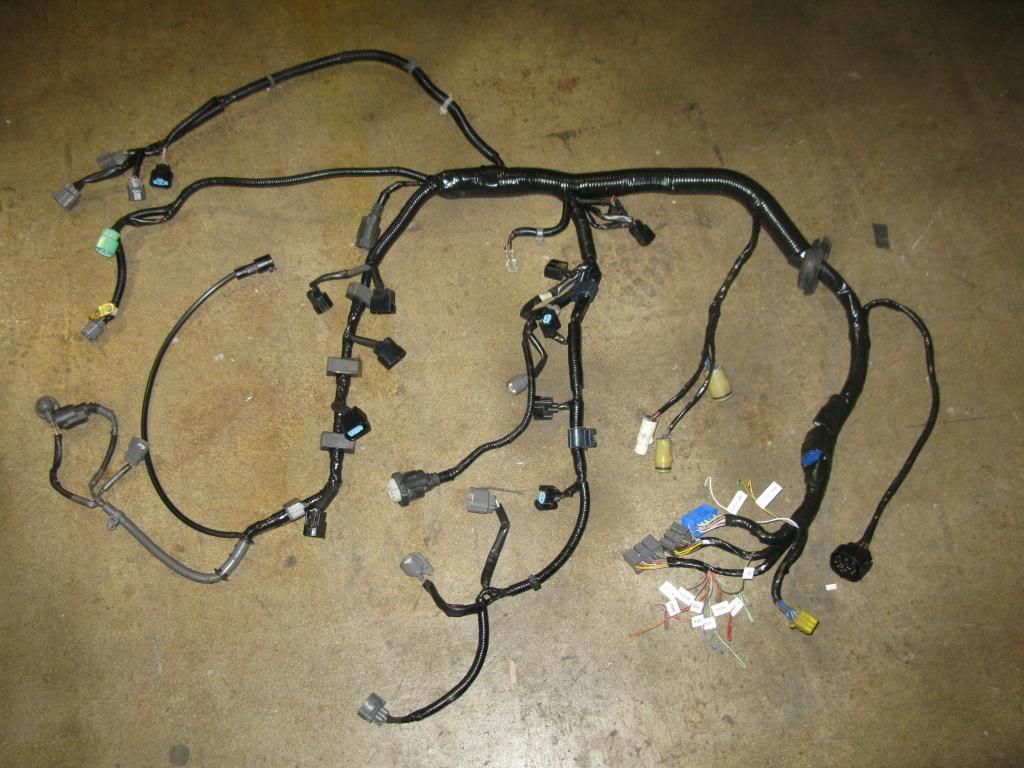
Here is the finished result. A Corolla and S2000 harness beautifully married together.
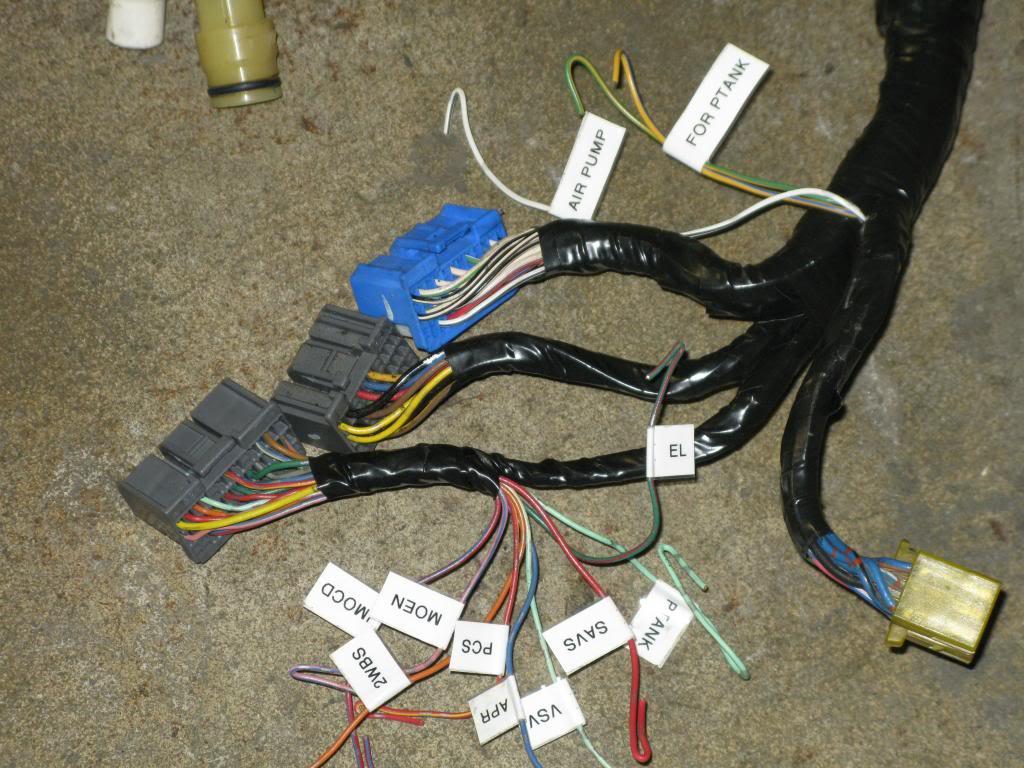
I was having some fitment issues with the engine harness till I figured out two different bundles were swapped on their exit points from the main loom. So cut, tape and repeat.
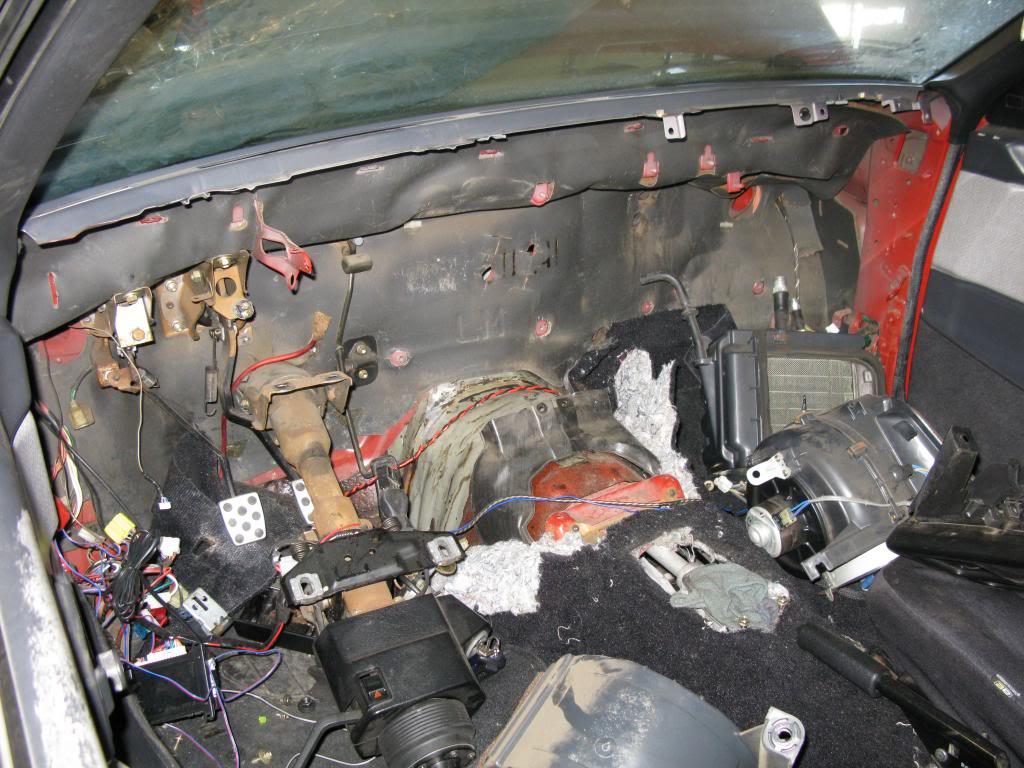
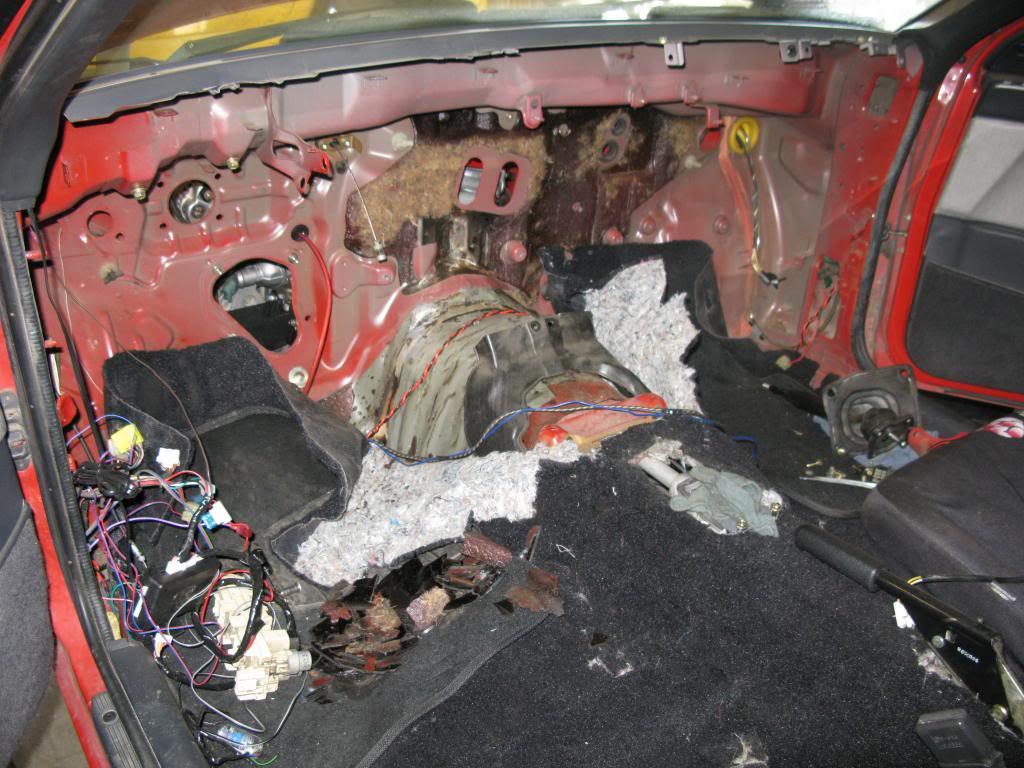
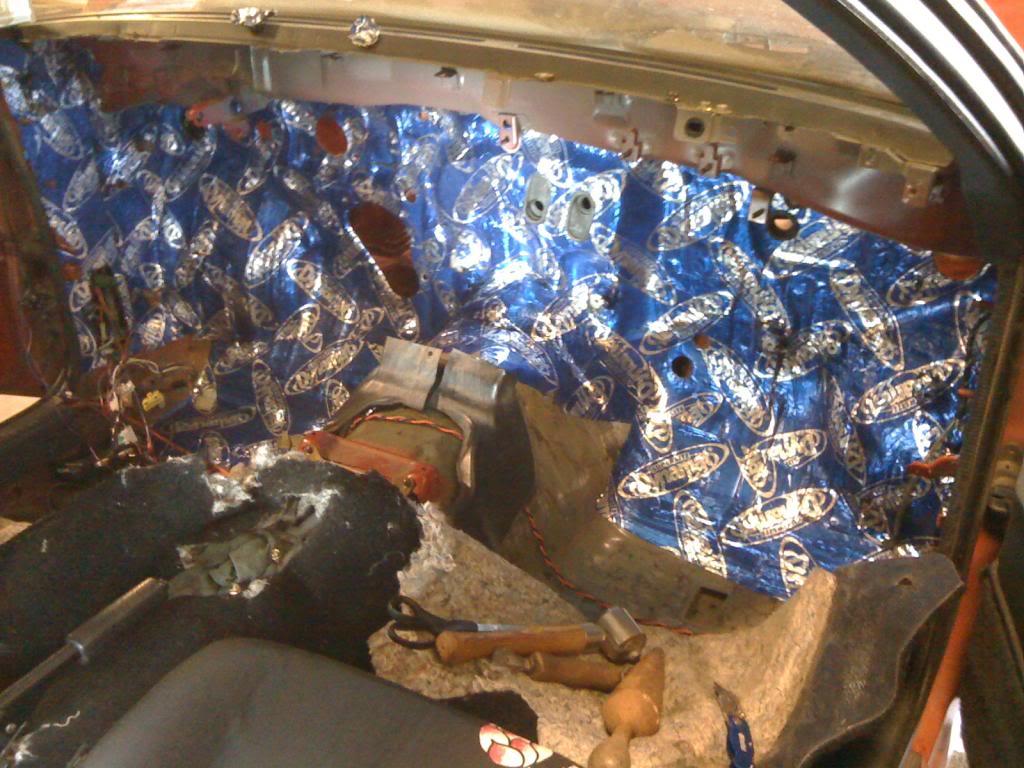
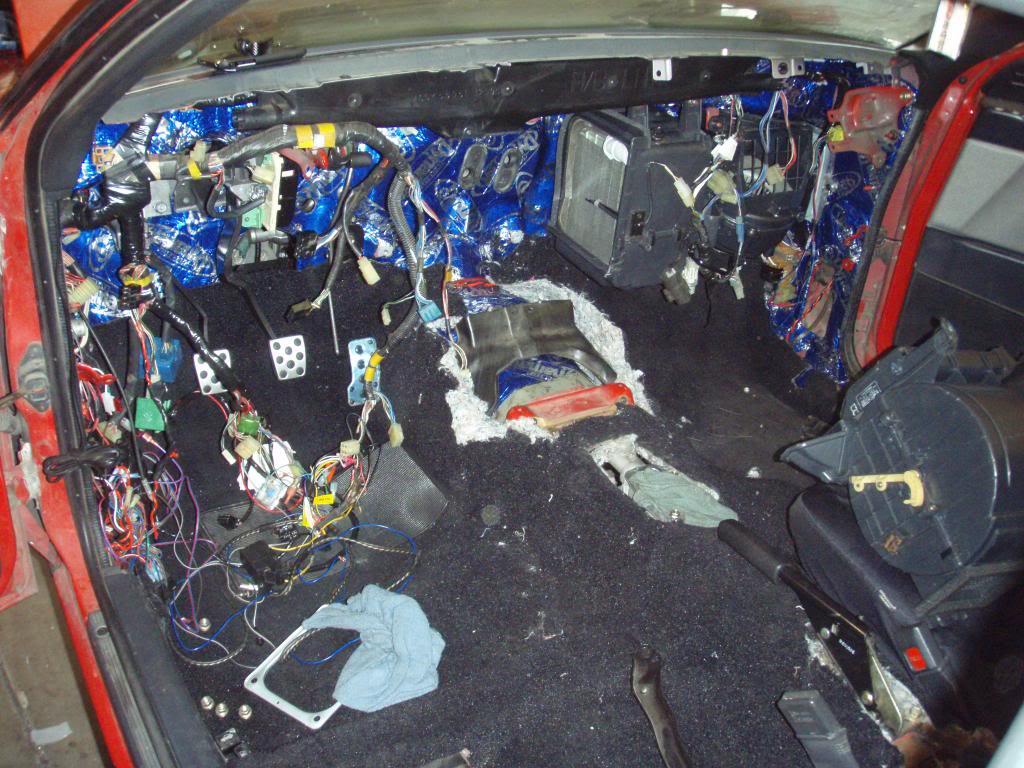
Since I had the entire dash out and was waiting for Phoenix Tuning to complete my harness I removed the sound deadening and replaced it with Dynomat SuperLite. Since this is my daily drive I want to retain a certain level of comfort and refinement. Plus with the f22 I just doubled my horse power so it's all good. I also cleaned all of my AC/heating system and ducts plus replaced all the foam gaskets and siliconed all the seams for maximum airflow.
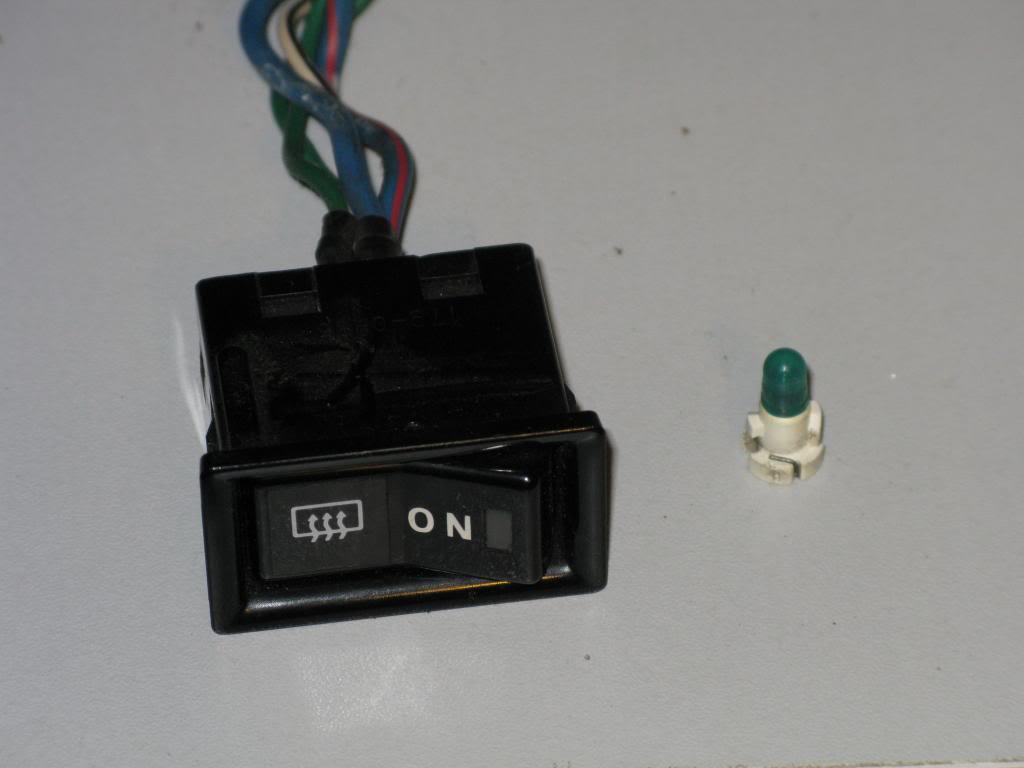
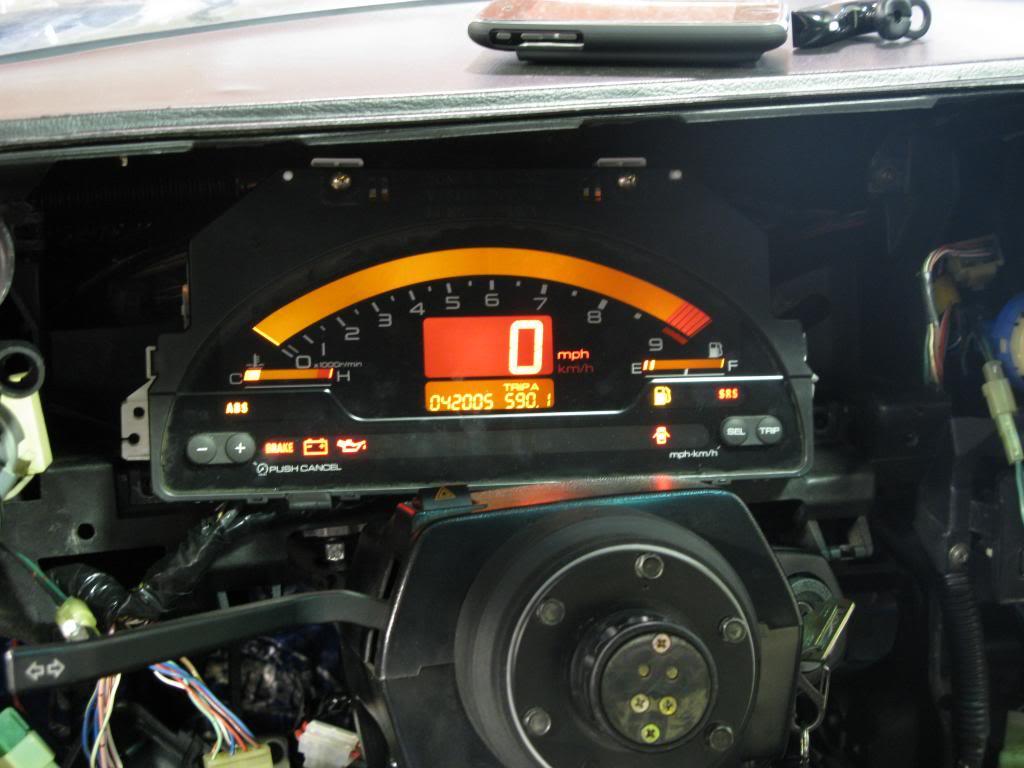
I also replaced all the dash light with LEDs. I found the 74-xHP3 worked the best for the push in bulb housing. It fit firmly in the socket with out cracking the housing. There are three bulbs, one pointing forward, left and right creating the maximum spread of even light distribution.
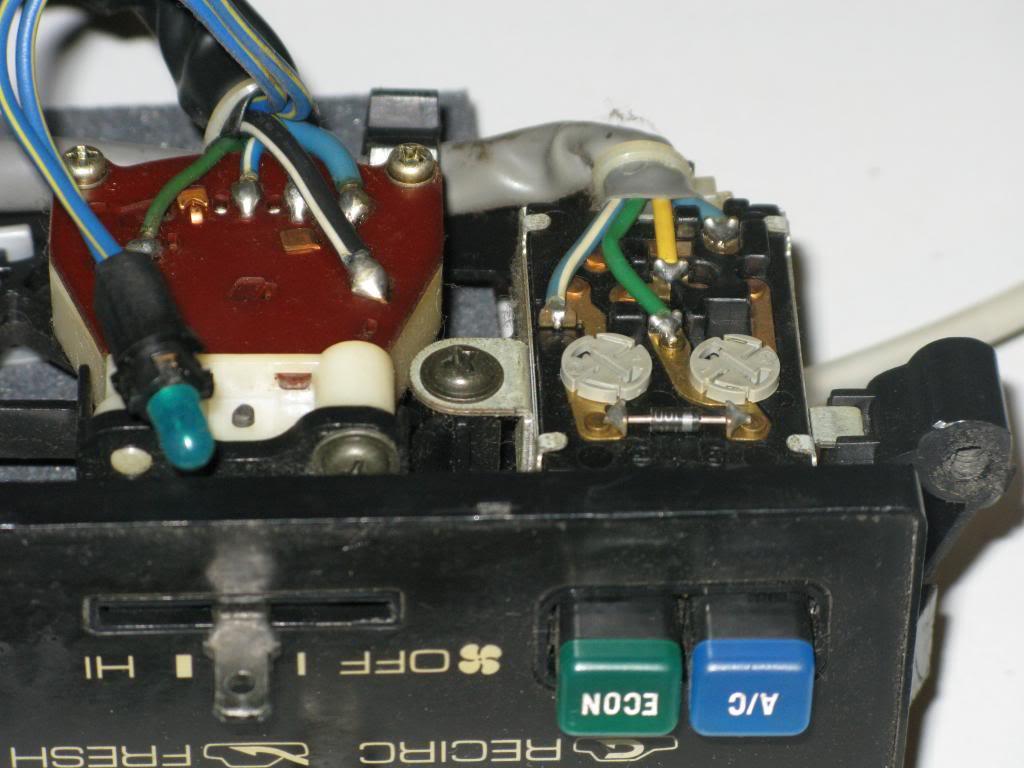
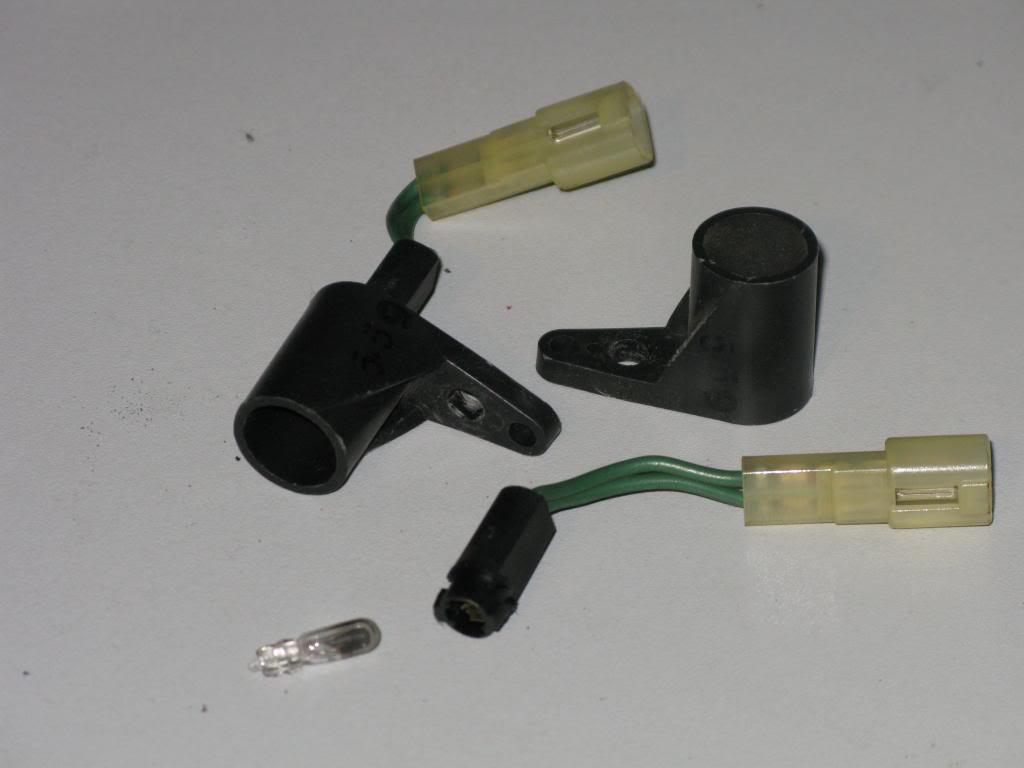
For the twist in bulb housing I used NEO5x wedge dash light, 5mm.
Once I got the harness back from Pionex Tuning I went about putting it back in and tiding up anything that was going back under the dash.
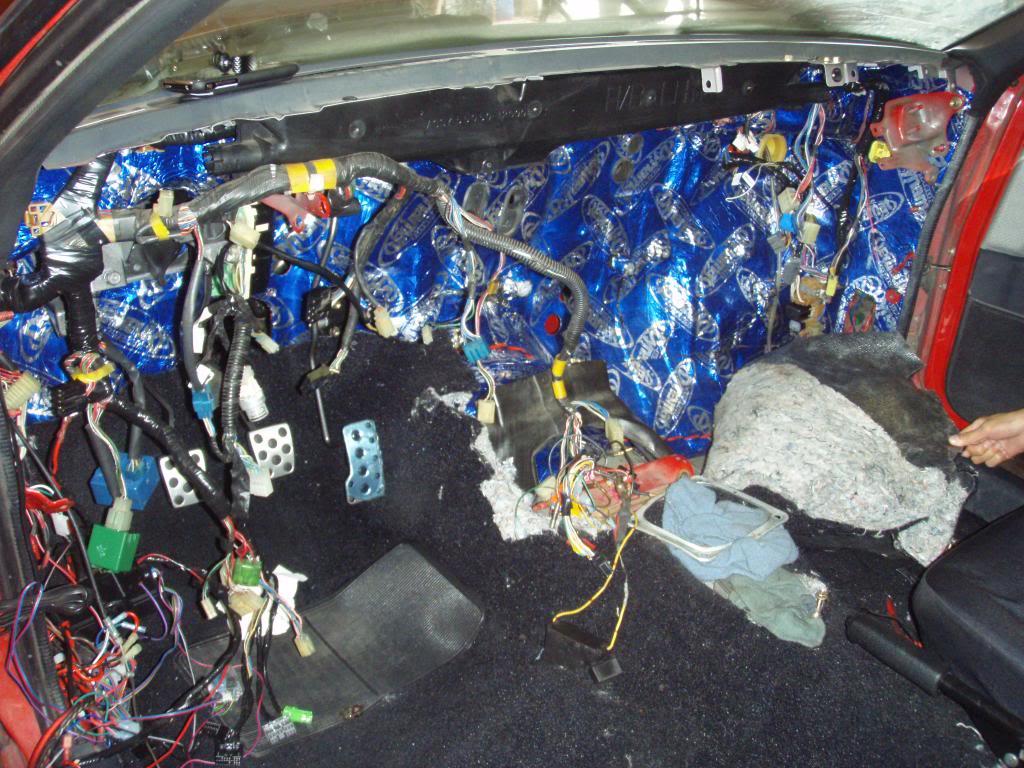
The blower fan for the heating is back in nice and tight with it's new sills. No more dirt in the face when I need a little climate control.
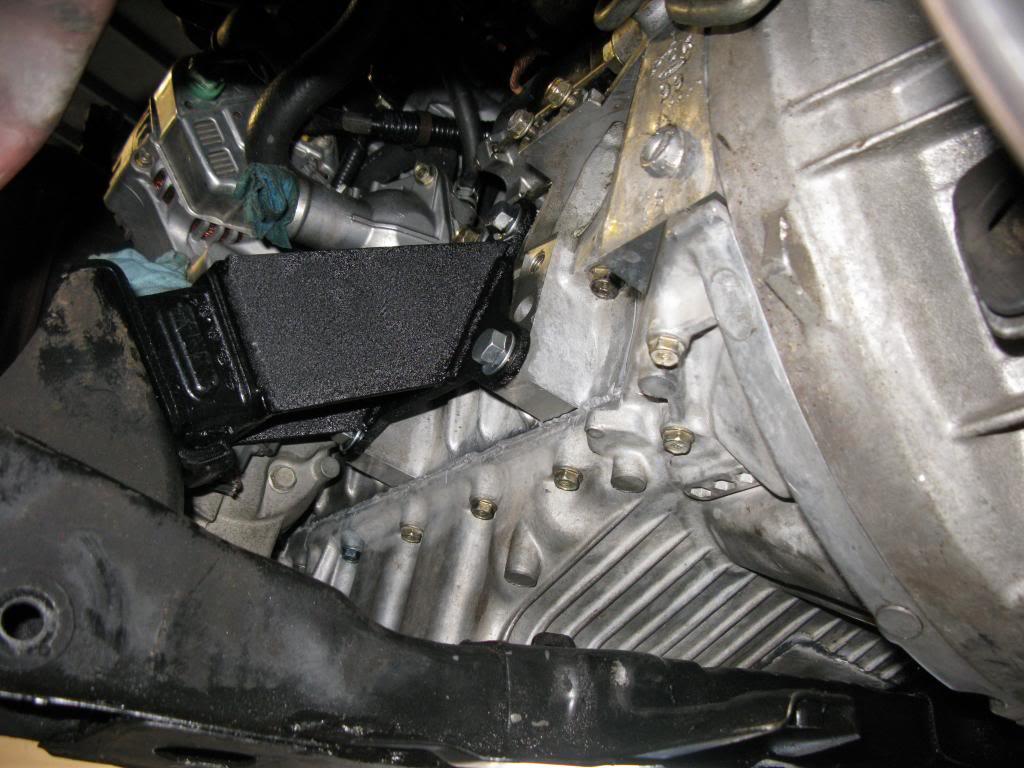
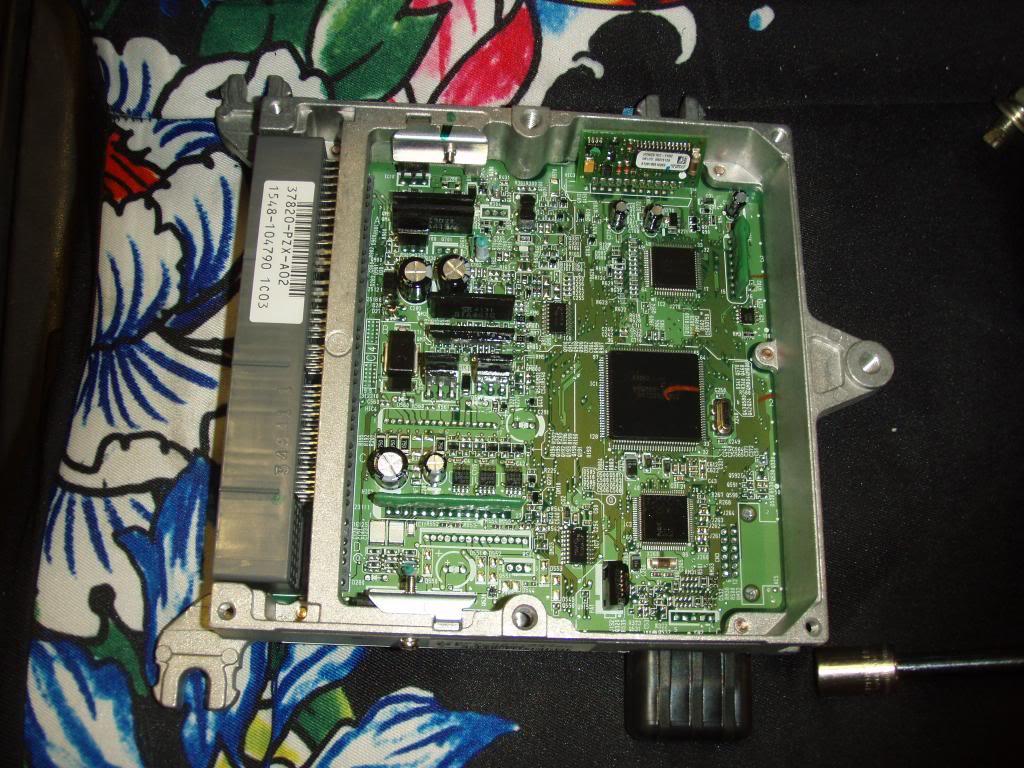
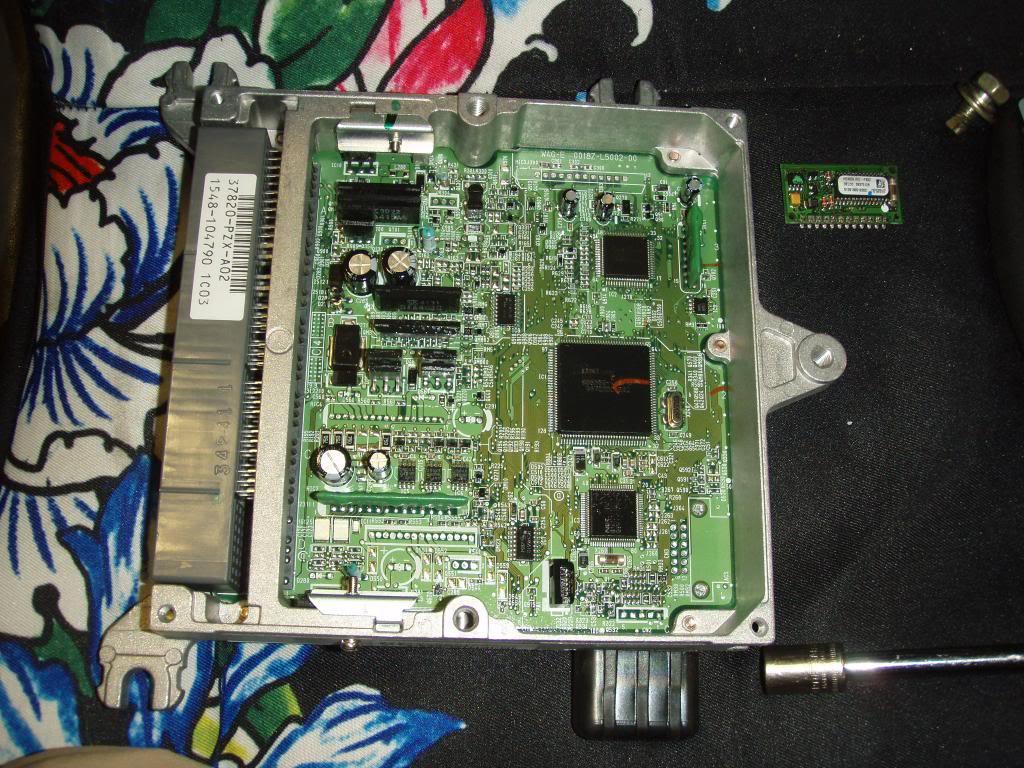
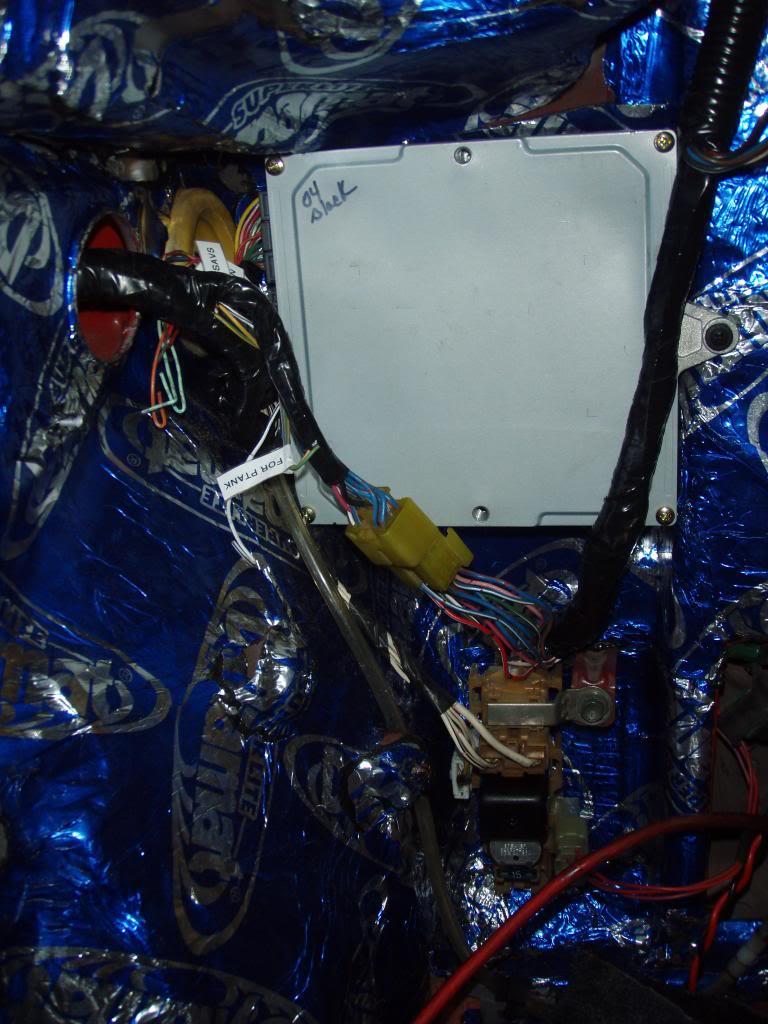
Removed the immobilizer from the stock ECU. I'm not really sure where most people are mounting these so I cut off all the tabs except the one that takes a screw and put it in about where the stock one went. It was a really nice fit.
Once the harness was in I began reinstalling all the creature comforts. The fan box and AC box are in and fitting nice and tight.
The heater box is in along with dash and most of the ducting.
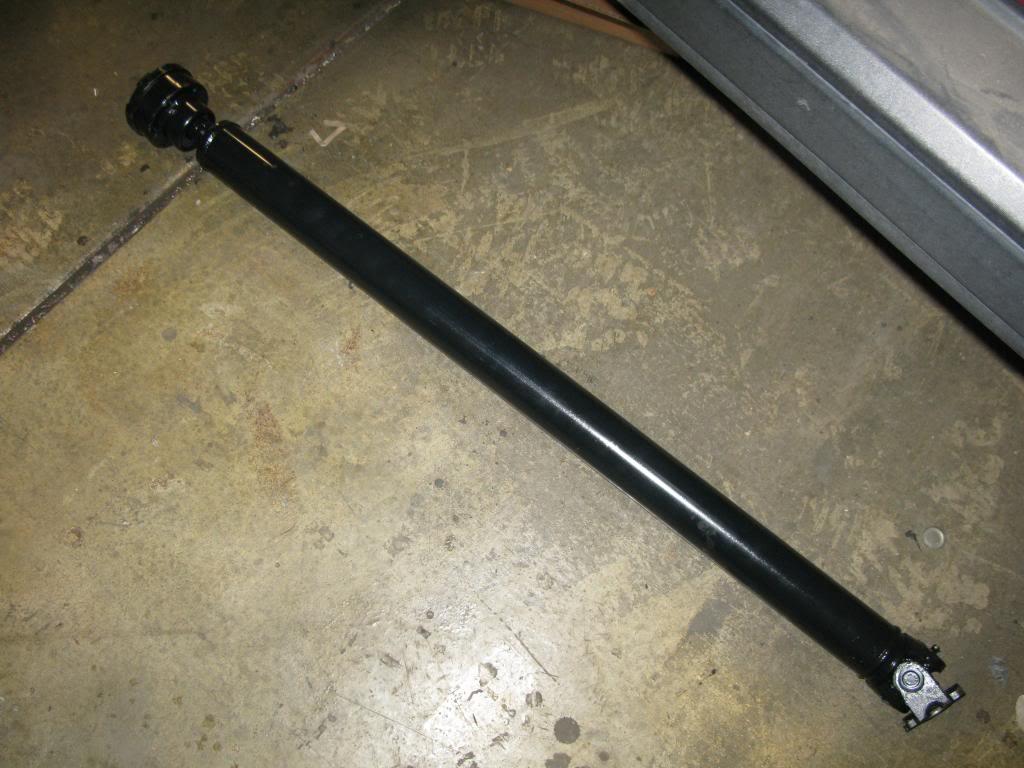
The custom straight shaft arrived.
IT'S ALIVE!!! All the electrical works like OEM. Pure AWESOMENESS!!! Thanks Phoenix Tuning.
I've put most of the trim back. I also ran heavy gauge wire for speakers and an amp. I've got the gauges in but still need to sort out the mounting plate.
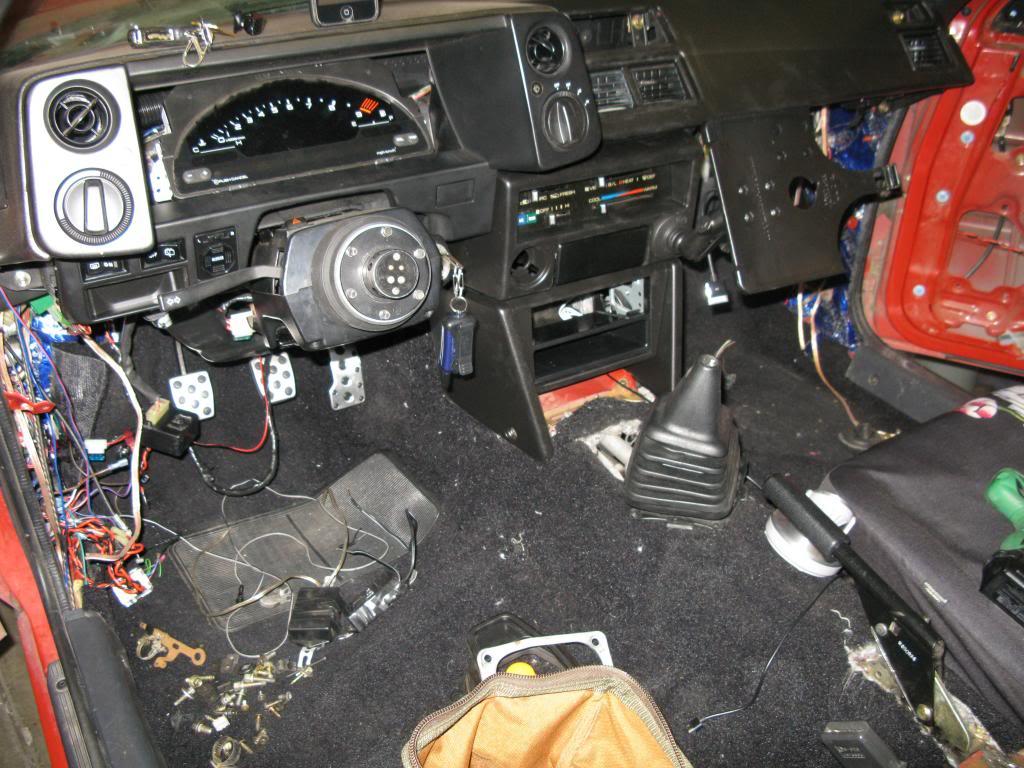
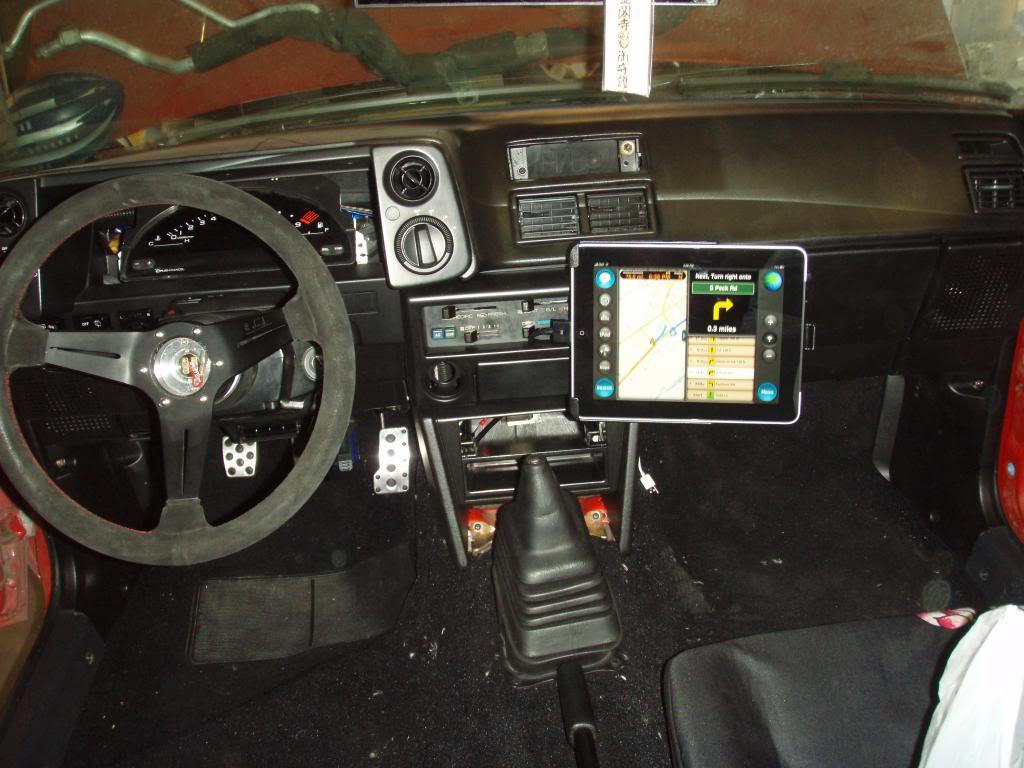
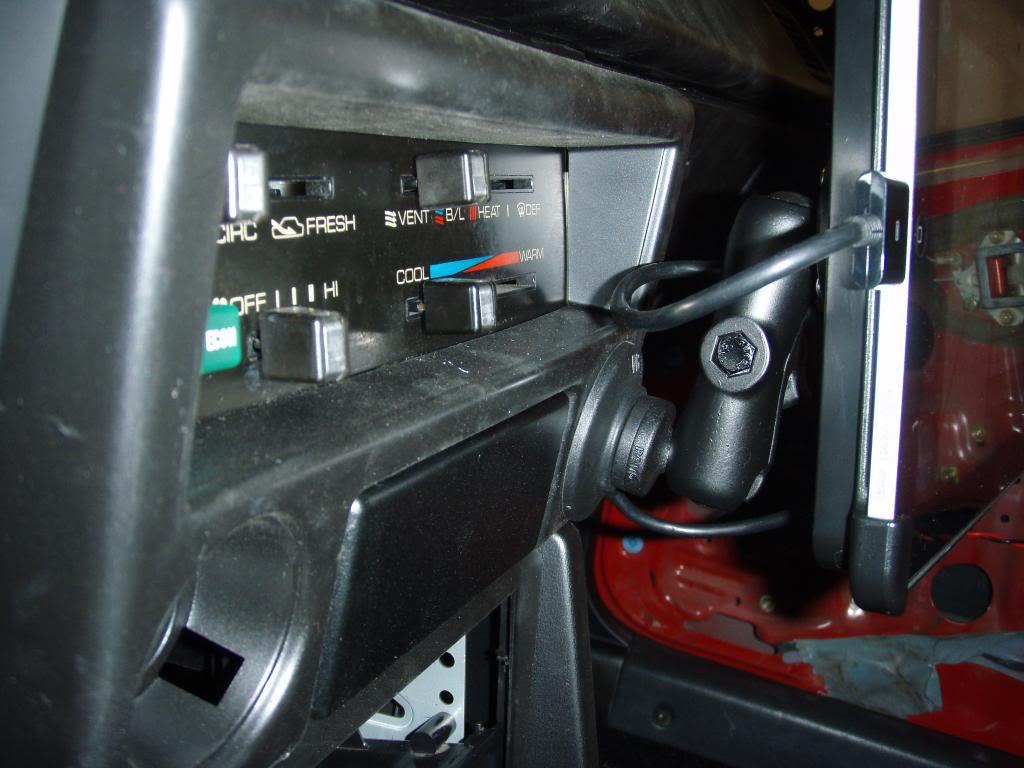
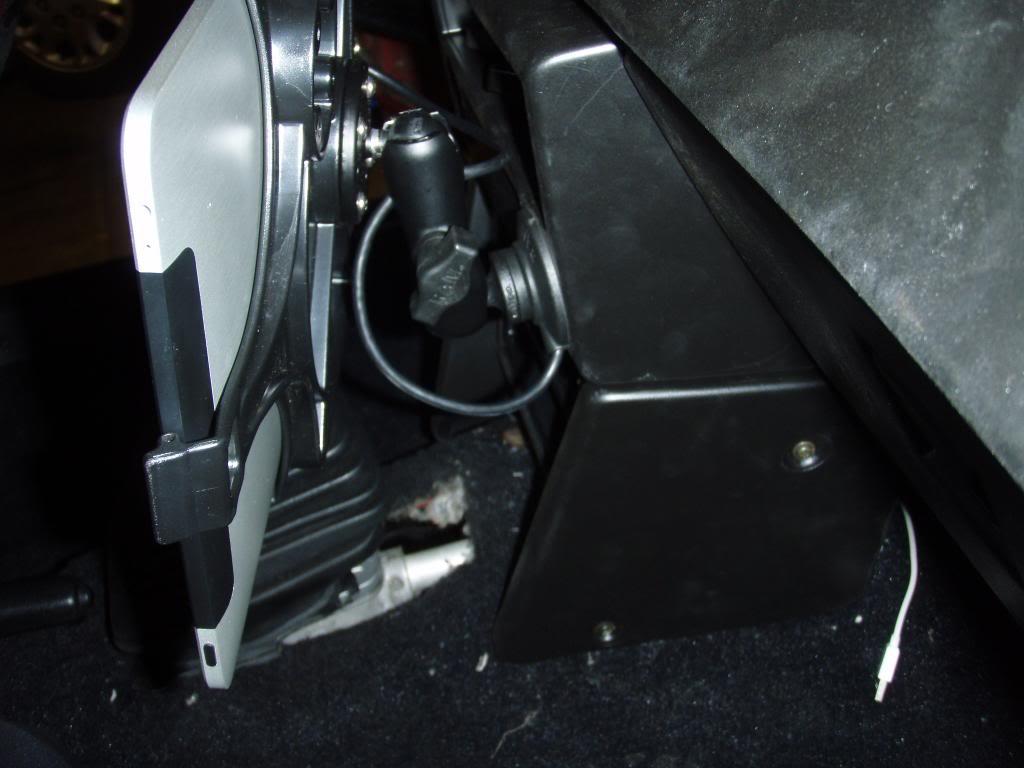
Everything is in except for a few small pieces. I also installed a mount for my iPad and wired directly into the amp to be used as my head unit/GPS. I fallowed the DIY by Sound Man on how to wire up the iPad.
I purchased the mount from Ram Mount. I used parts: RAM-B-166-AP8U, RAM-114FMTU and RAP-B-354-75U. I had to lightly dremel the hole that the cigarette lighter socket fits in. I relocated the cigarette lighter socket behind the stereo din and plugged in a Scosche reVIVE II car charger so I can charge my phone at the same time I power the iPad.
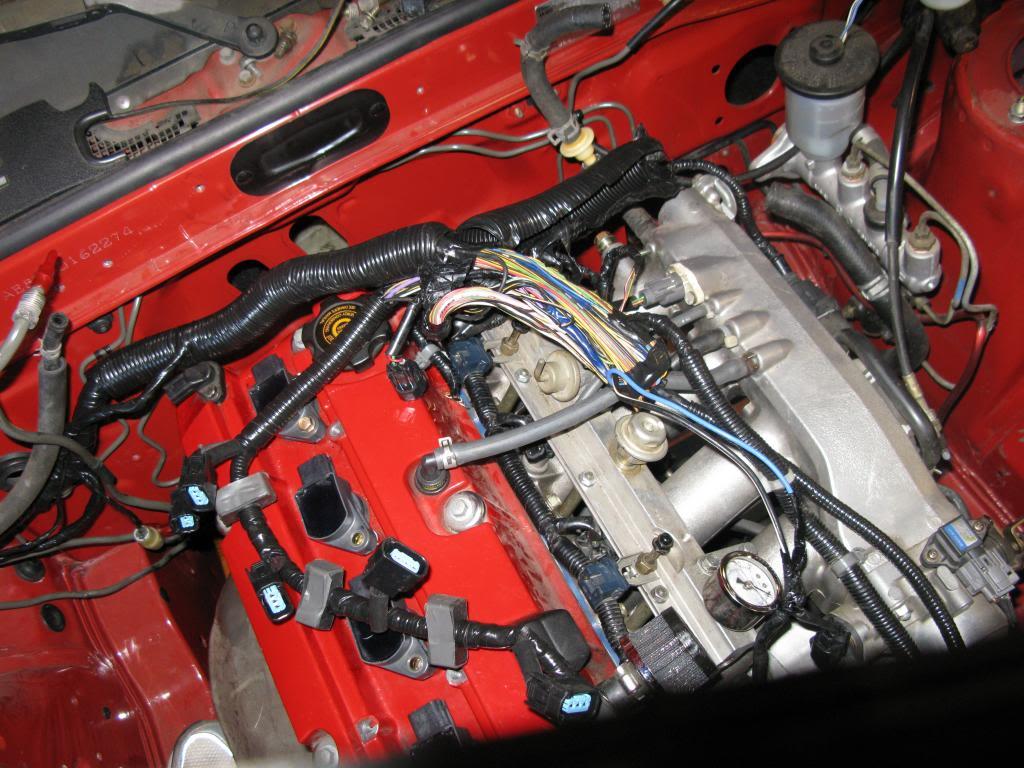
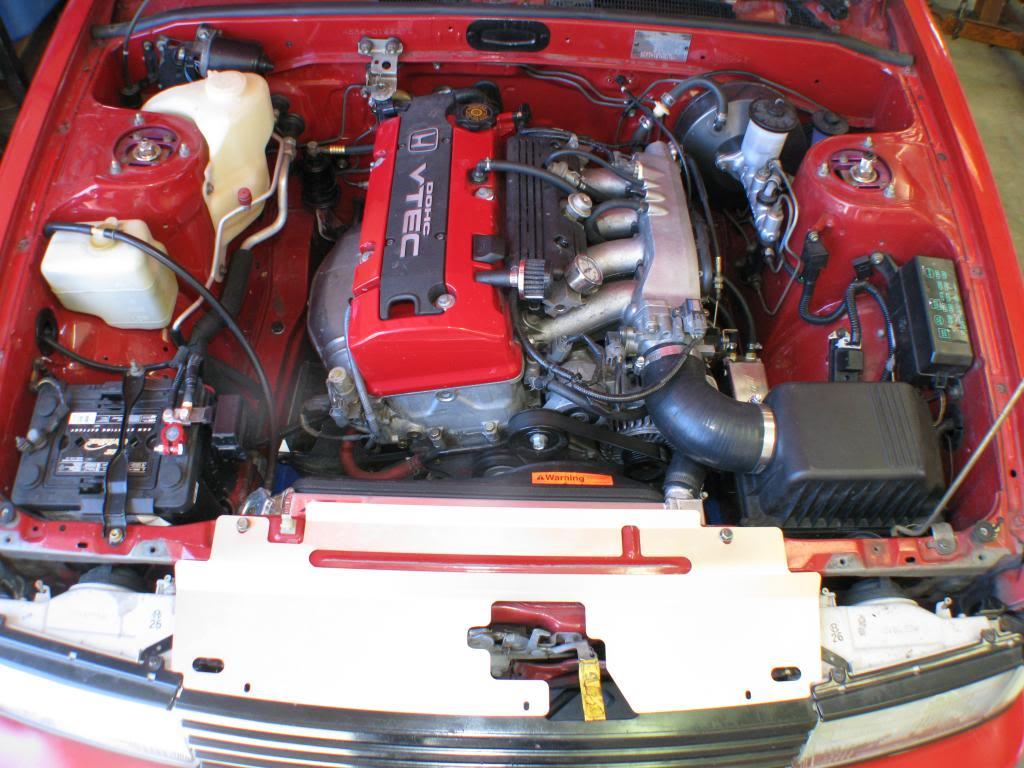
Now that the interior is mostly sorted I went to work under the hood.
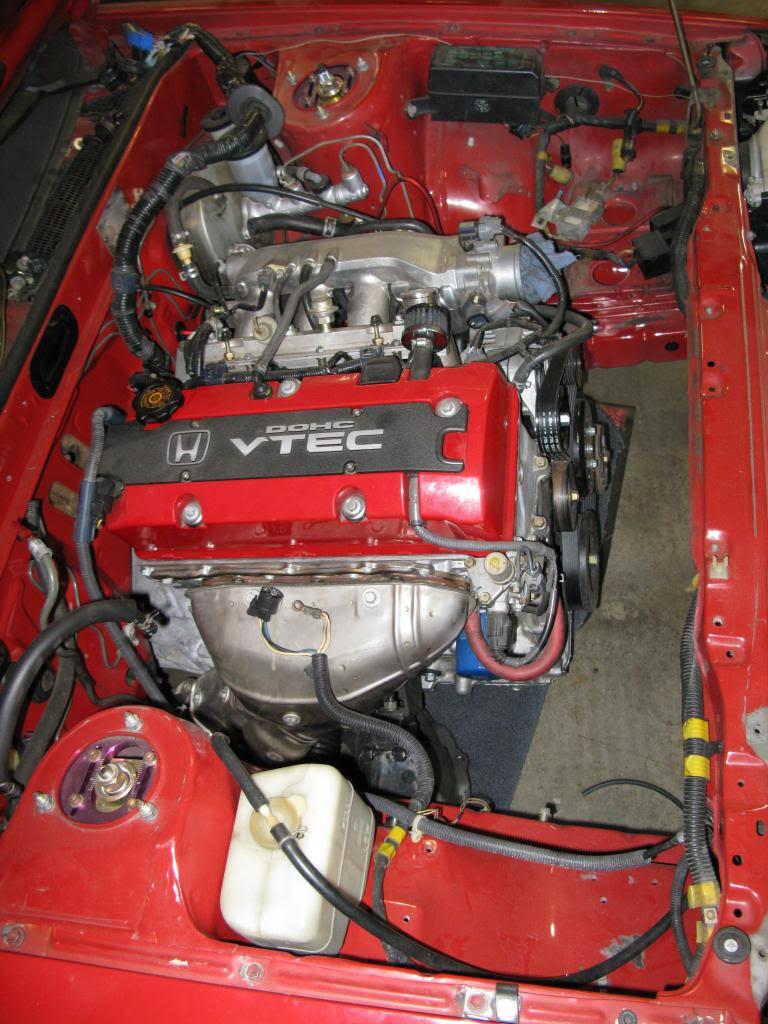
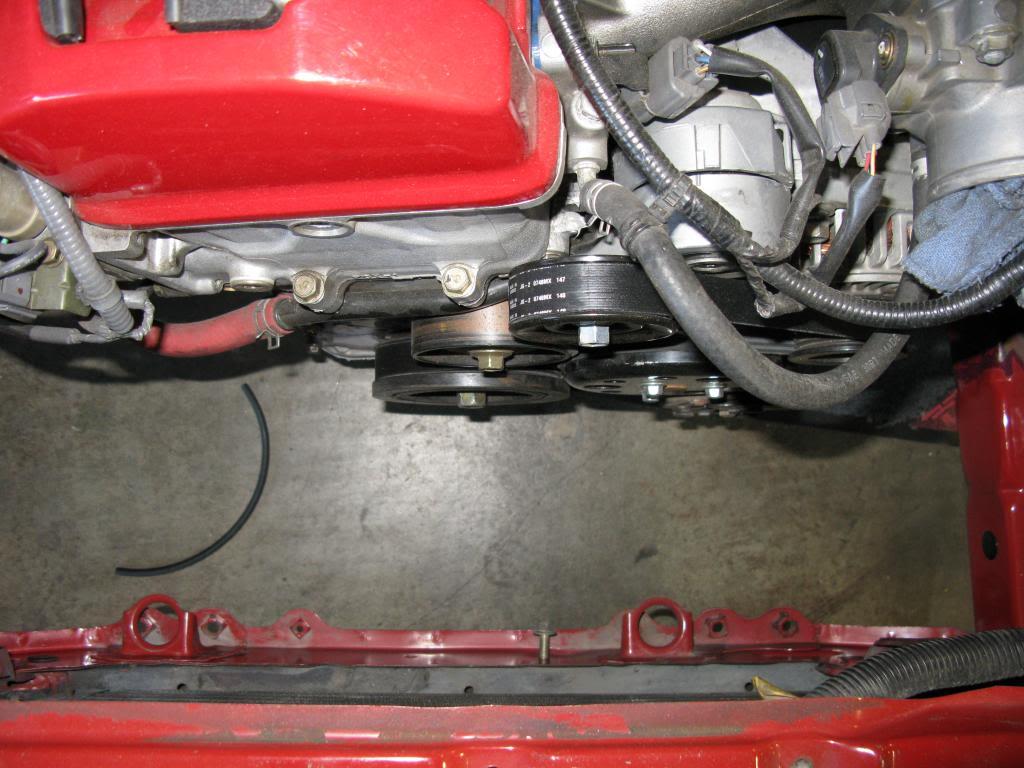
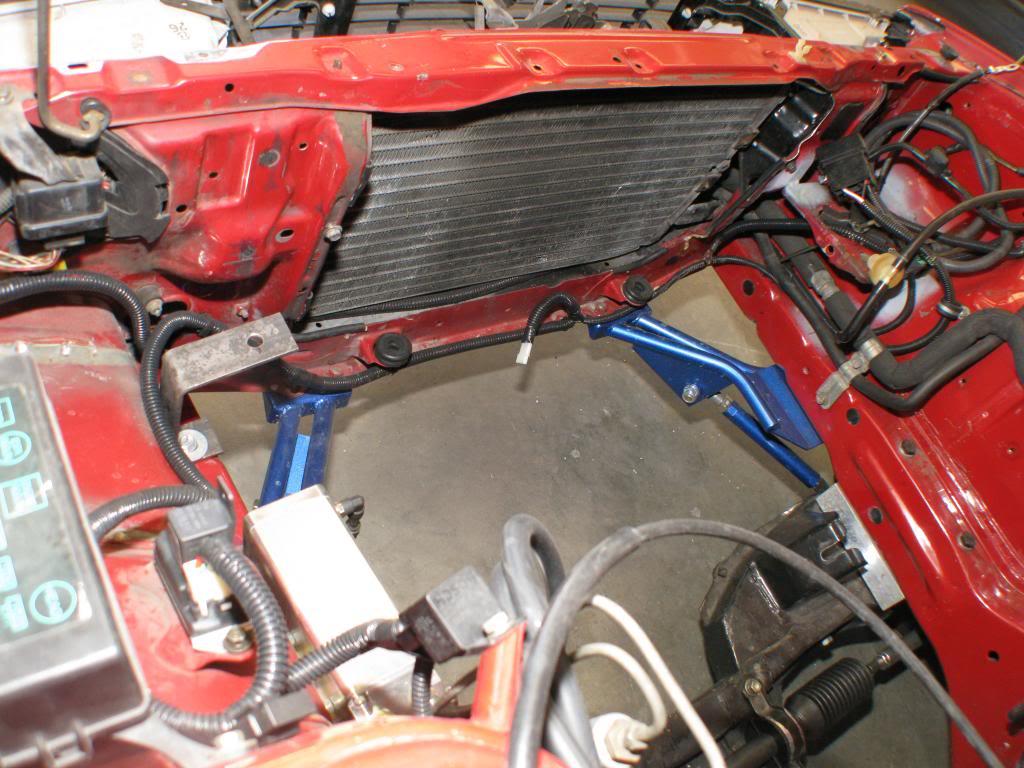
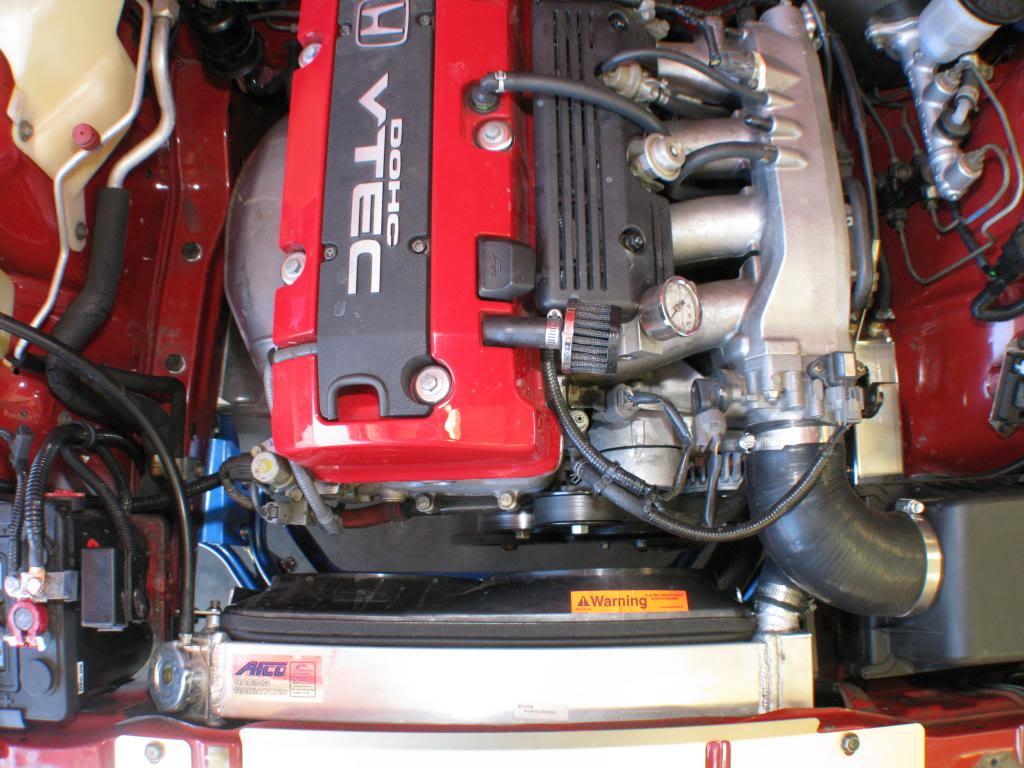
The engine bay is done. I took inspiration from Mr John trying to look OEM as possible. Even went with the same MINI Cooper S air filter box. Also relocated the battery to the passenger side. The 3 inch thick Scirocco drag racing radiator (AFC-80105N, FLX-365 m http://www.summitracing.com m ) is installed and plumbed with the in and out on the driver side. There is plenty of clearance the intake elbow for the water hose. The Scirocco twin fan shroud is tightly fitted to the radiator for maximum air pull. I tucked some of the harness but will do more as I work on the Corolla in the future.
March 10, 2011
So as soon as we got the Levin back on the road we discovered a noise coming from the transmission. Dan pulled the motor/transmission and sent the tranny to a shop to be cracked open for inspection. It turned out to be a bad bearing that developed some rust on it from sitting dry for so long. All the gears are in great shape so I had the tranny shop drop a new bearing kit in. Also picked up a new Exady clutch and pressure plate and had the Toda flywheel resurfaced. While in the process of sorting the tranny my buddy Dan moved his shop, D&S Autoworks, to a new building to cope with his business growing. This postponed the Levin's reassembly. I figured since the Levin was in pieces I would post some detailed pictures of parts that were modified or sourced for the build.
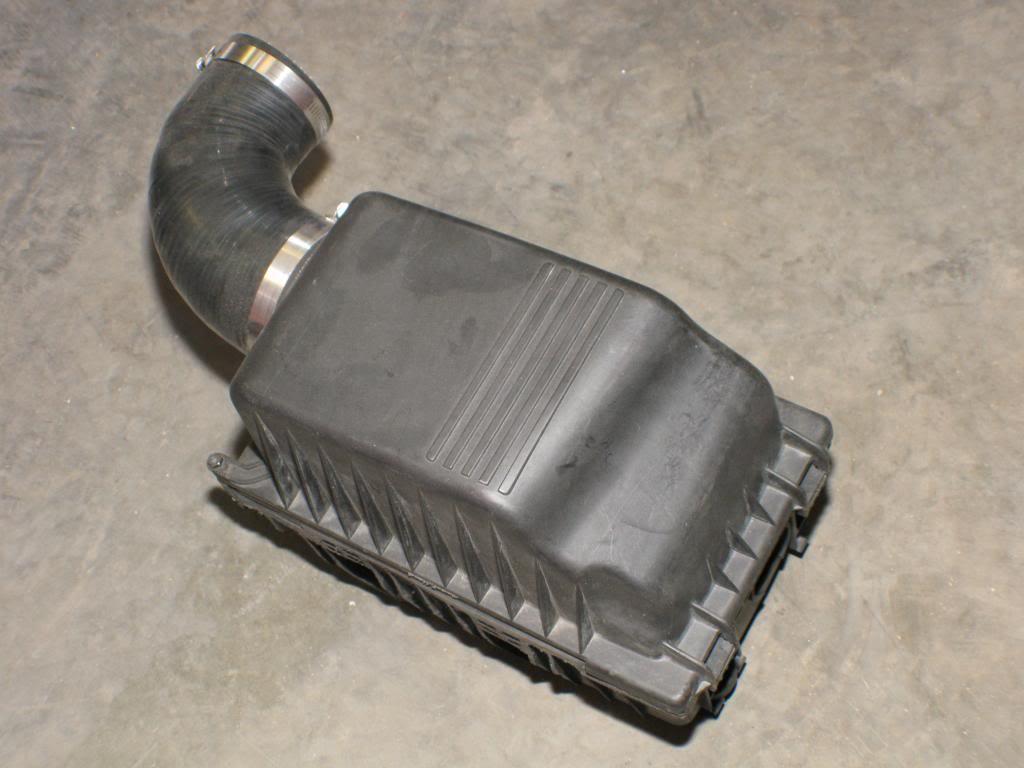
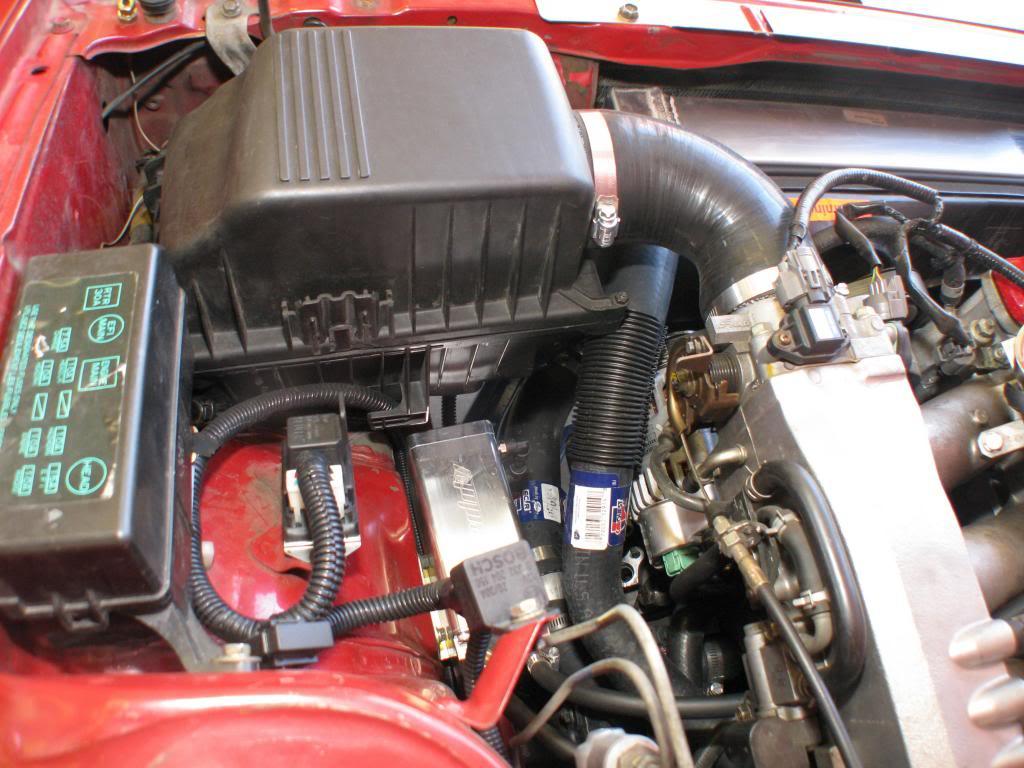
Mini Cooper air box. There was a small compartment on the side that was trimmed off to make it fit. I also opened up the outlet of the air box to make it match the f22 throttle body to reduce air flow restriction.
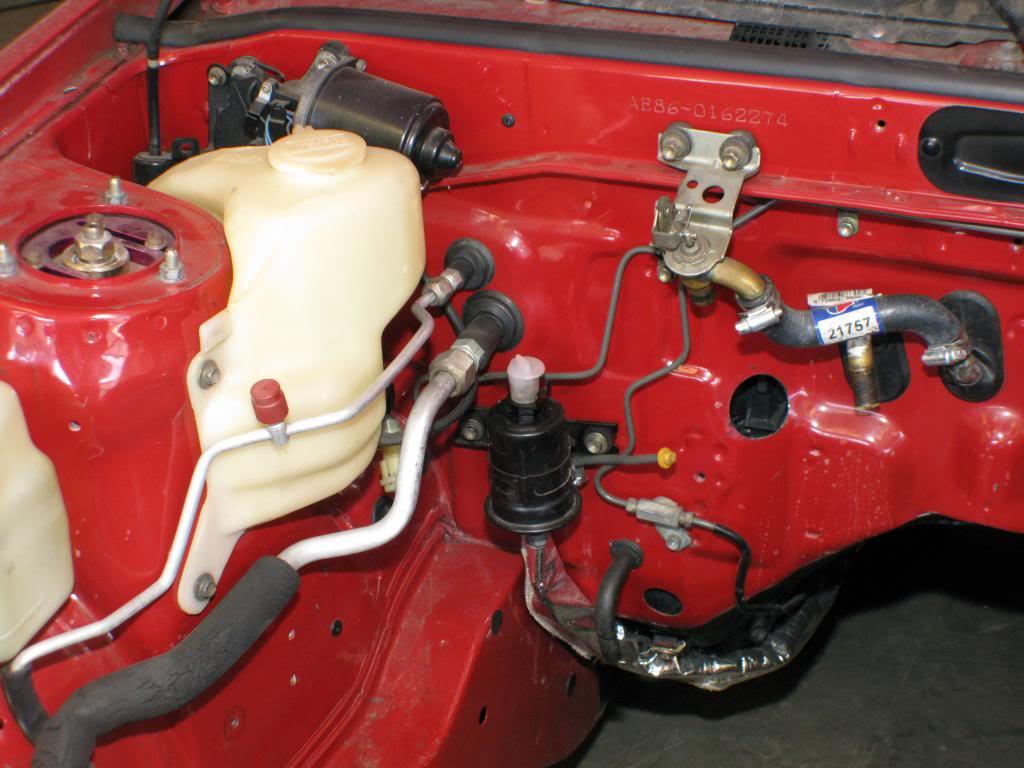
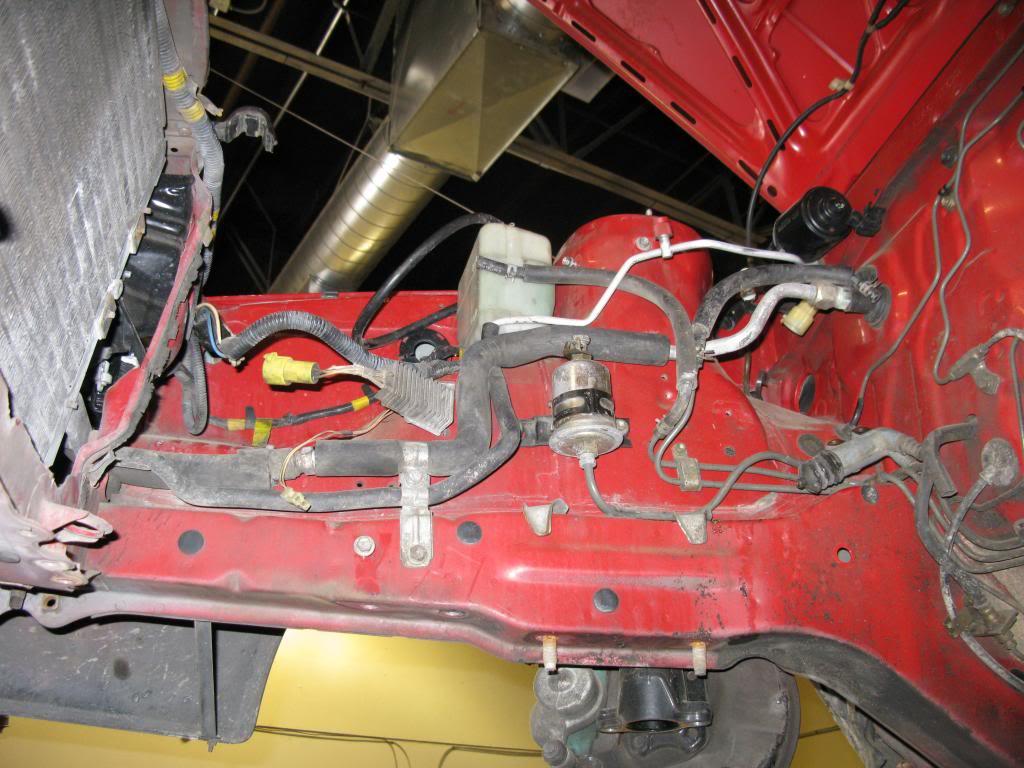
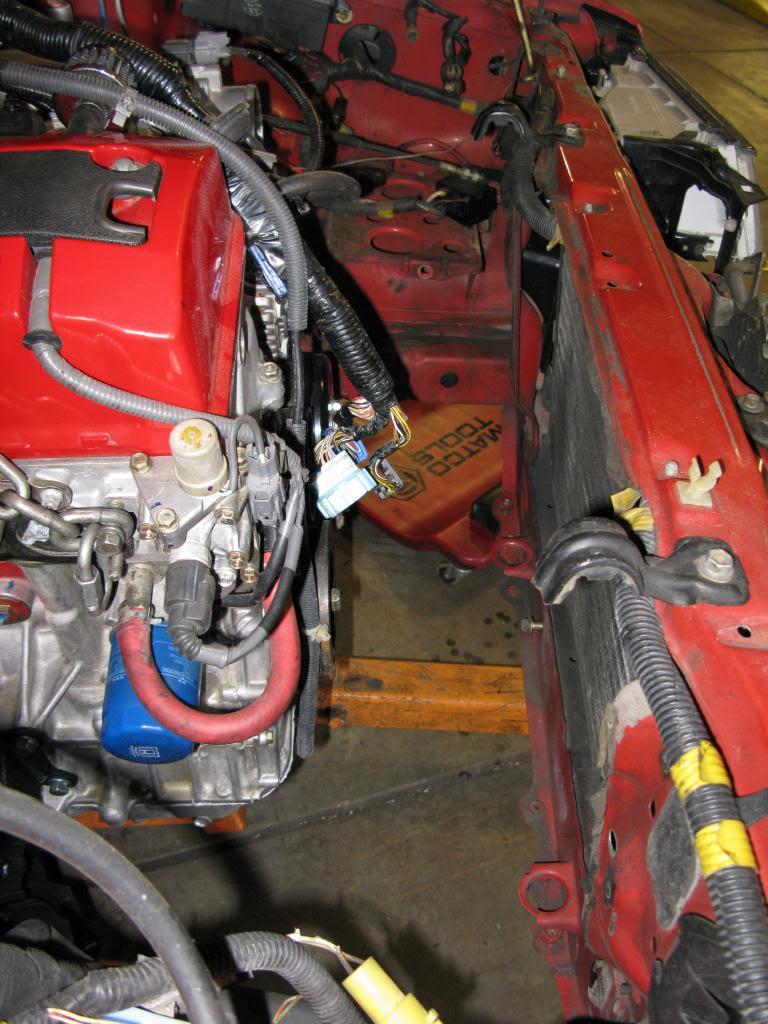
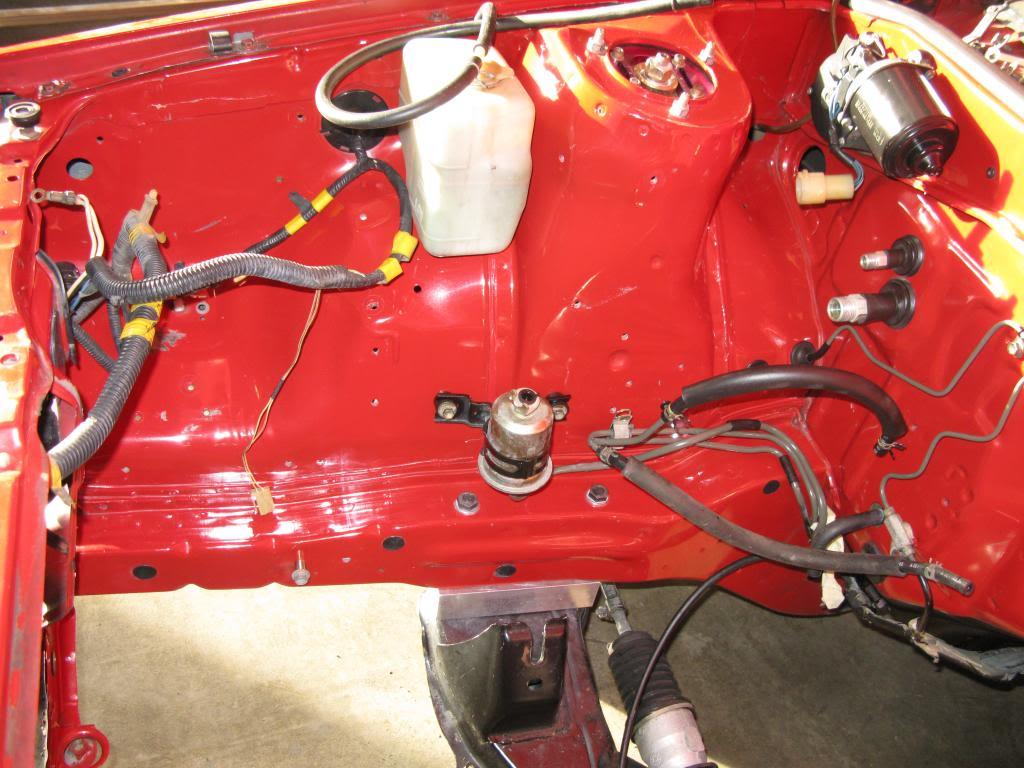
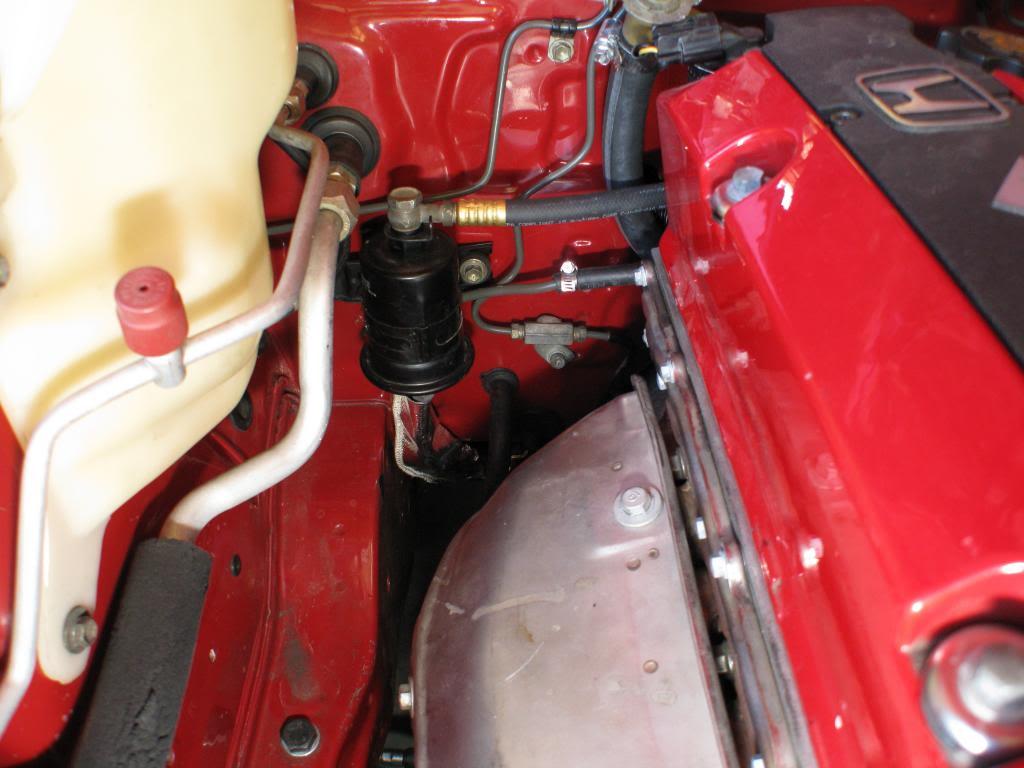
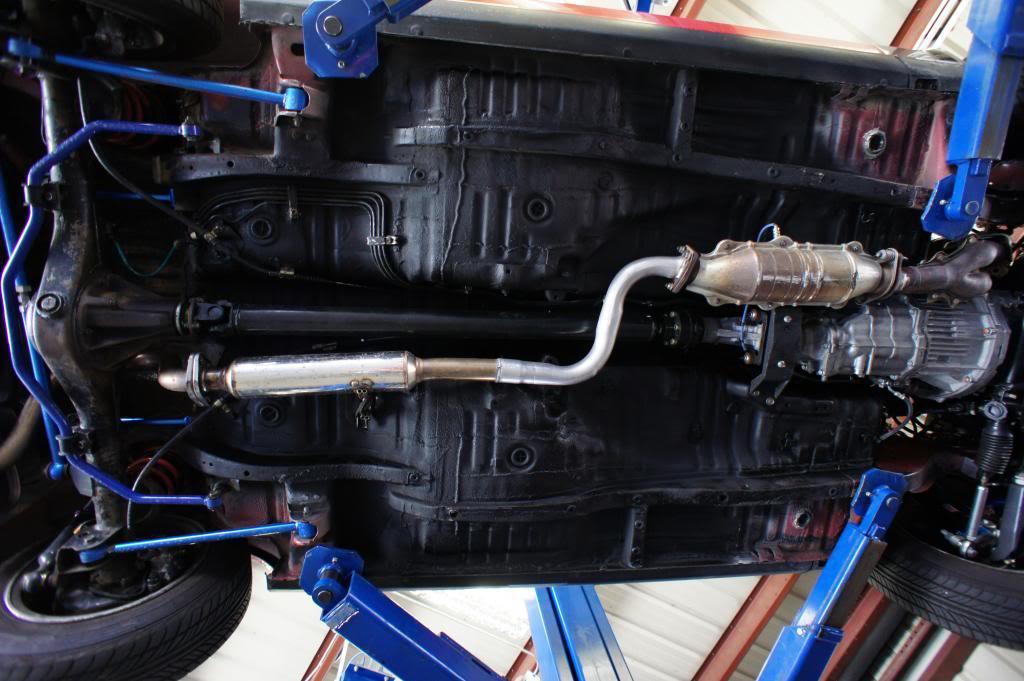
Here is the new location for the fuel filter. Added a heat shield for the fuel lines to prevent vapor lock. You can also see the new hole in the firewall for the wire harness.
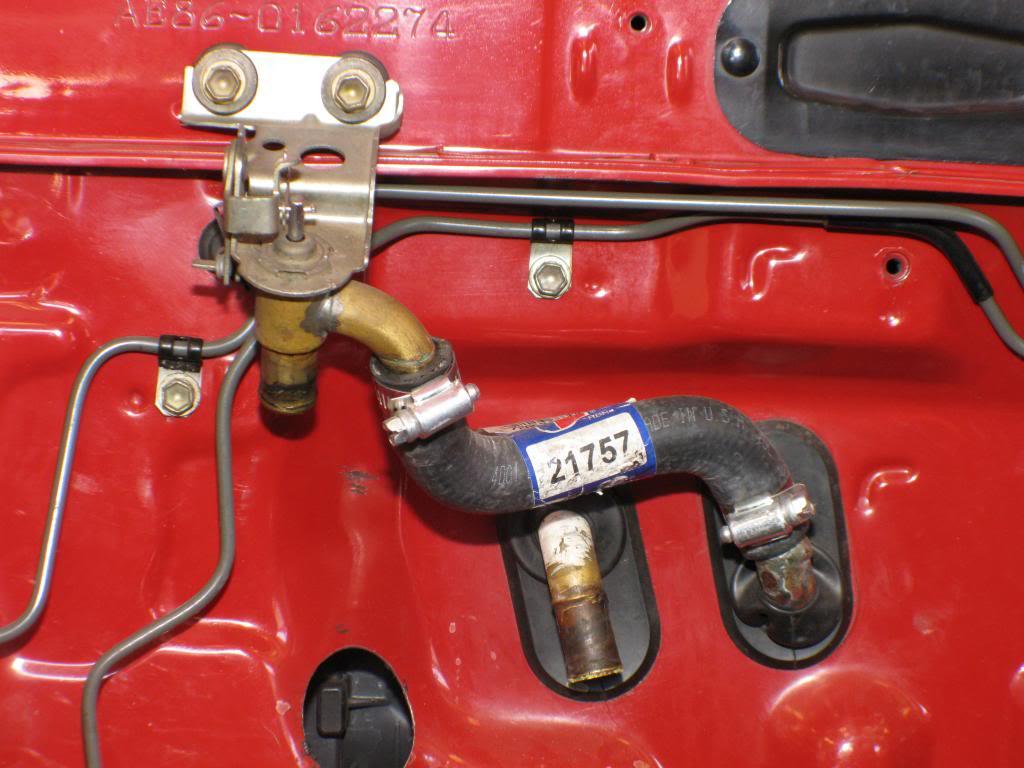

The heater valve was pushing up against the valve cover so I disassembled it and rotated it counter clock wise 90 degrees.
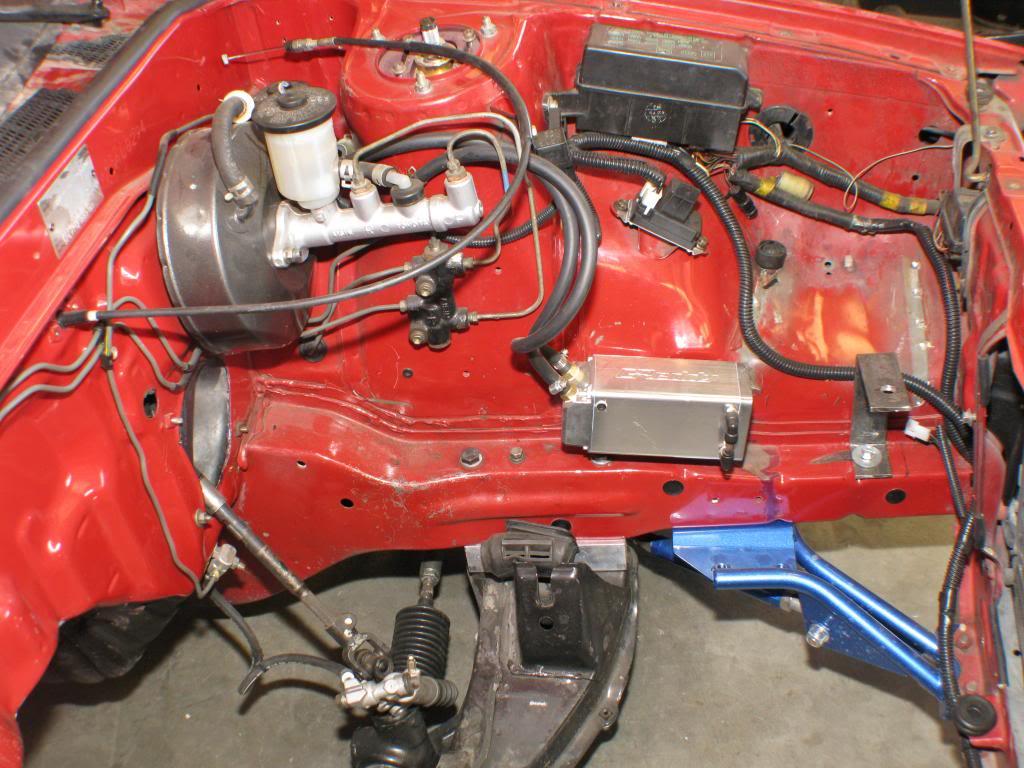
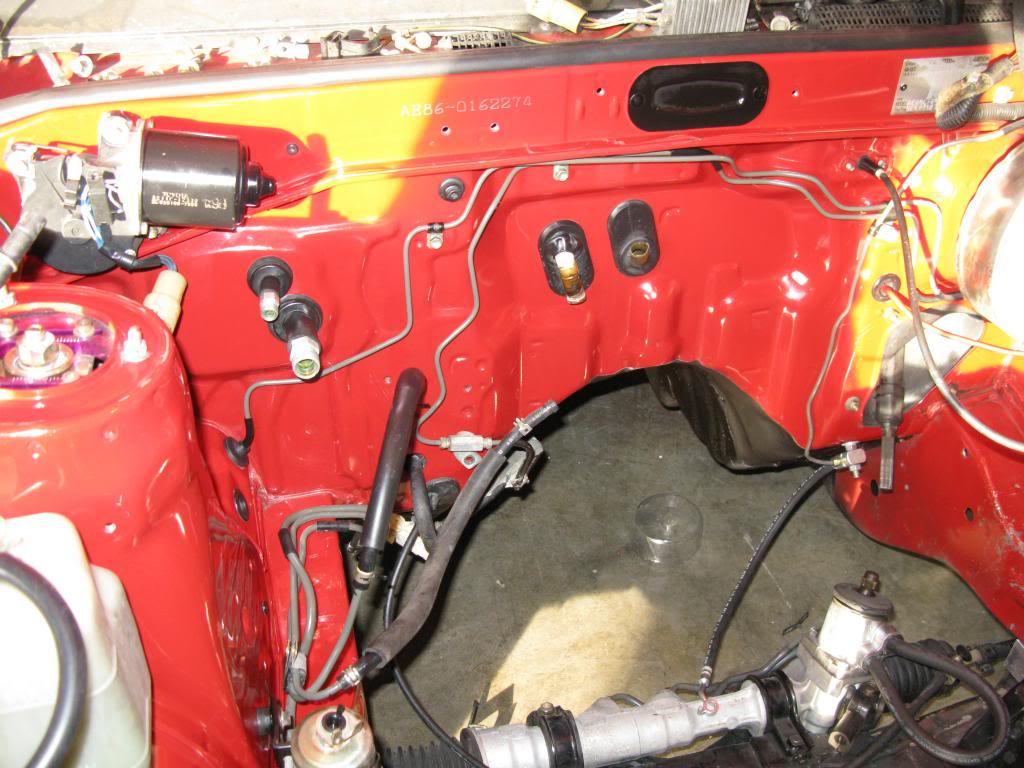
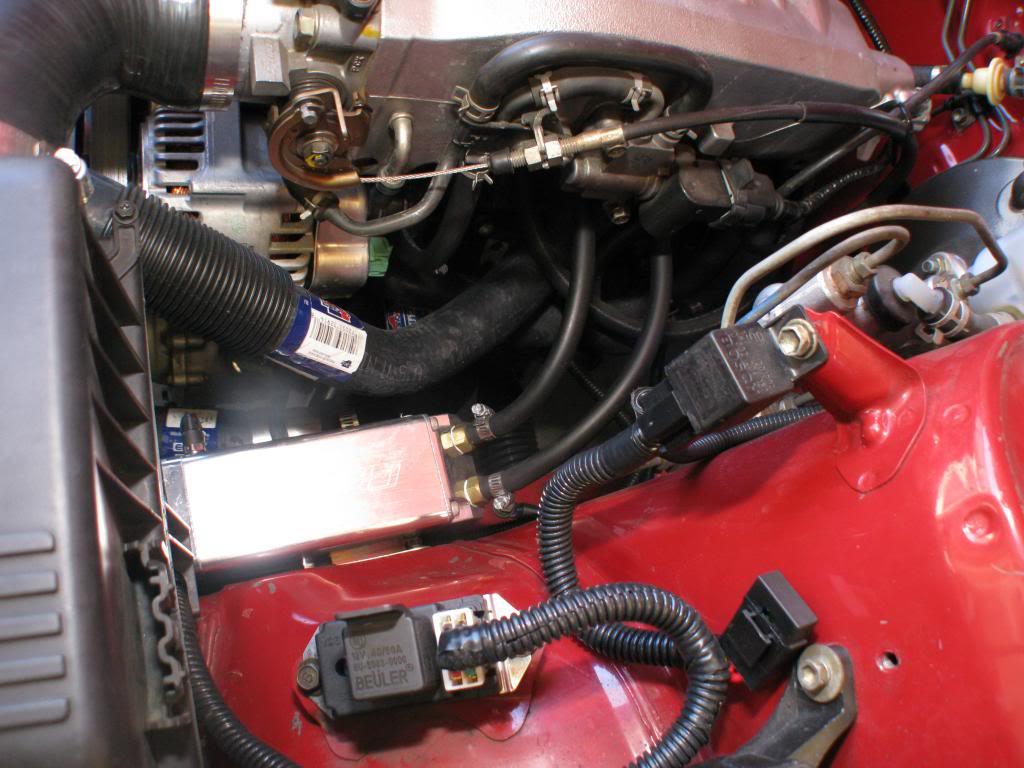
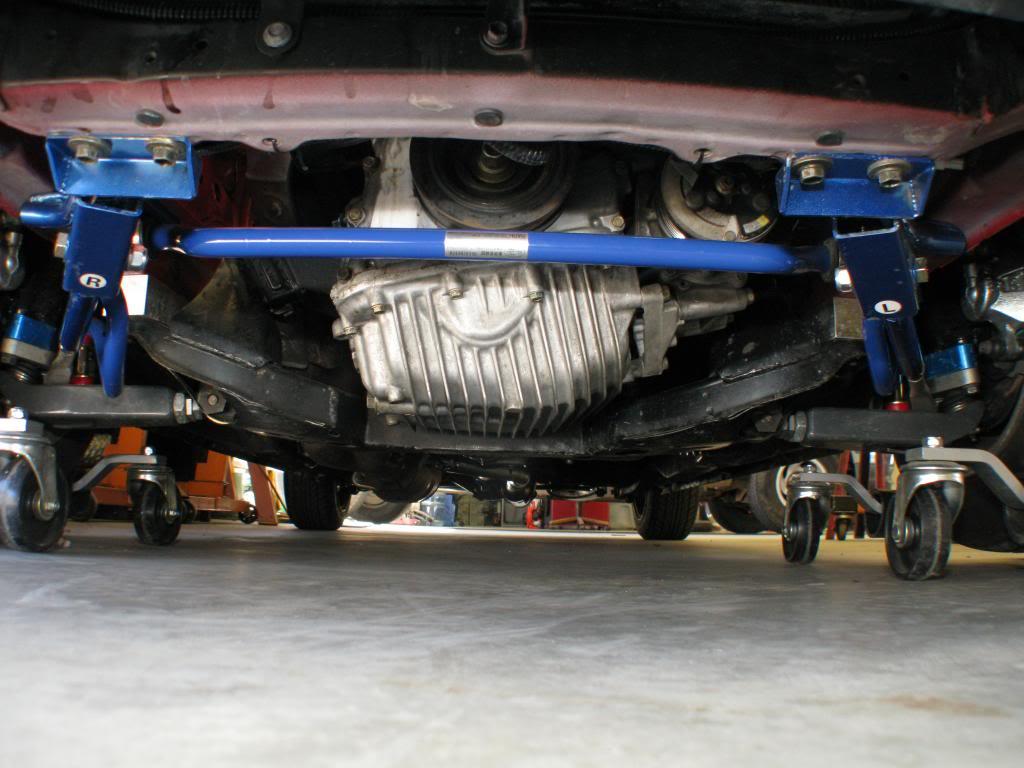
The battery shelf was removed and relocated to the passenger side. The clutch line was moved from the passenger side to the driver side of the tranny tunnel. You can see the S2000 slave cylinder still attached and sitting on the new manual rack. The Supra intermediate shaft is installed. I even copied Mr. John's Greddy oil catch can but I did not black it out for the full JSP stealth mode. Plus installed some new Cusco parts as well.
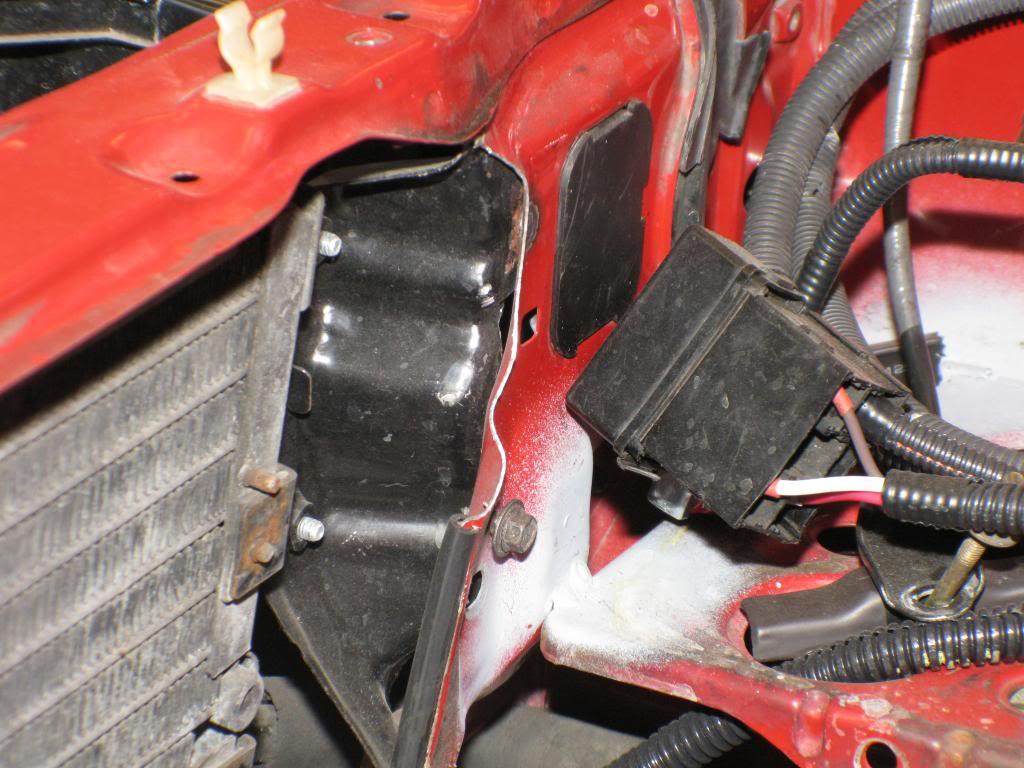
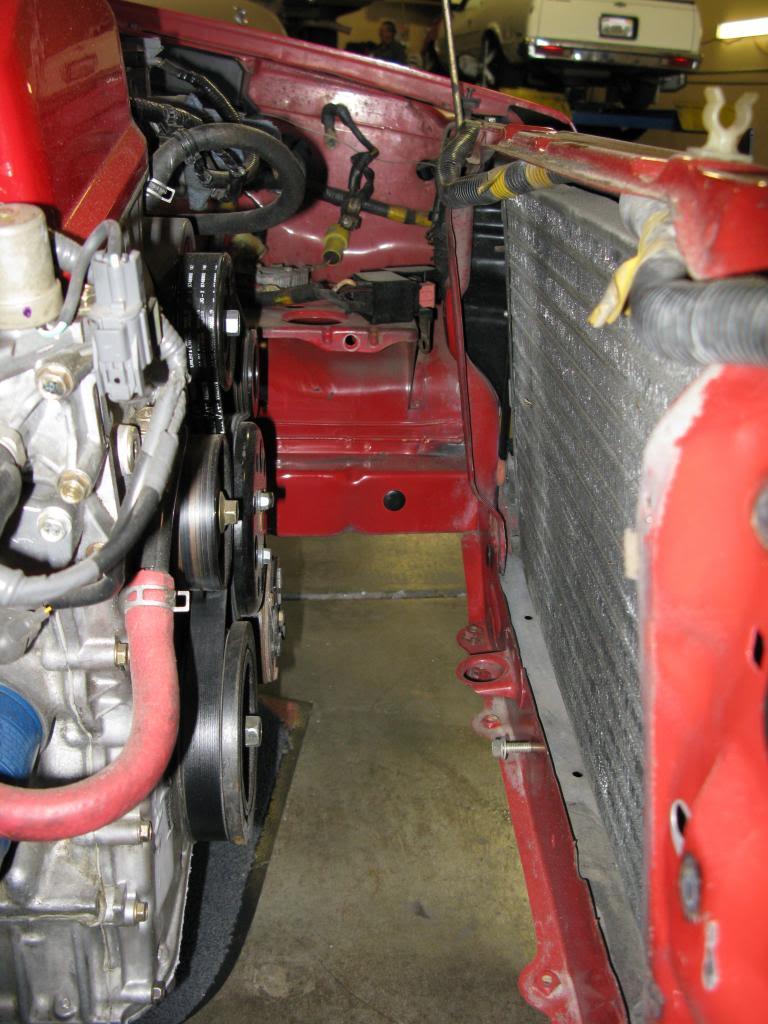
The radiator is so small it fits in the core support opening with just a little trimming for the filler neck and cap to clear.
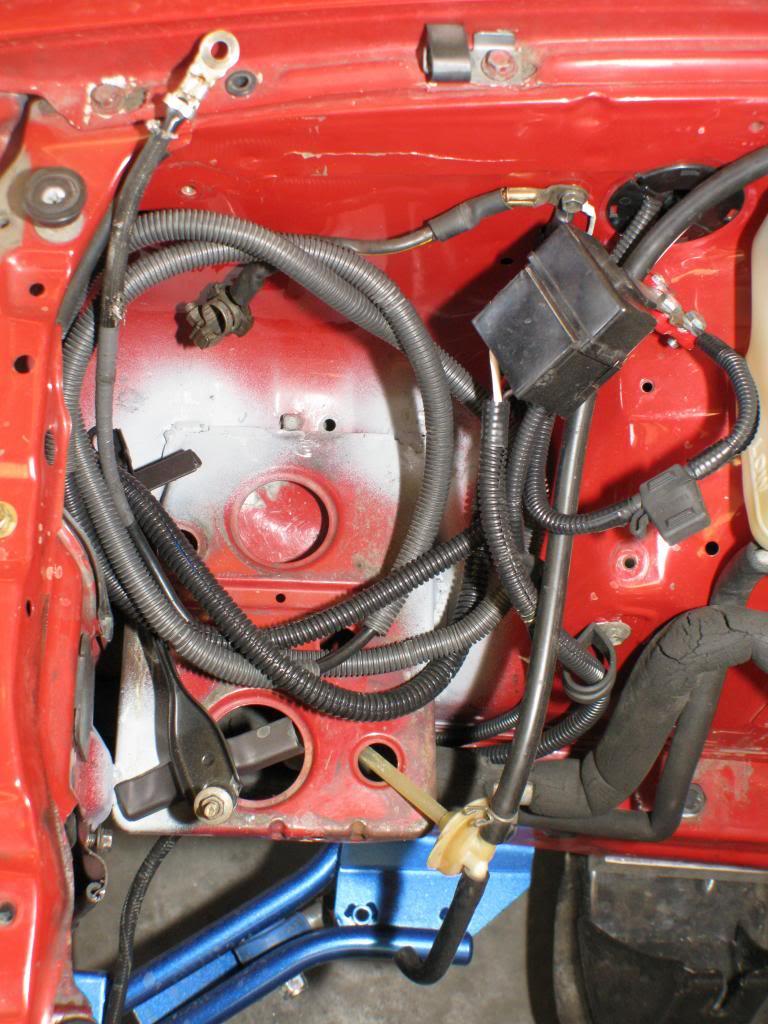
The battery tray's new location.

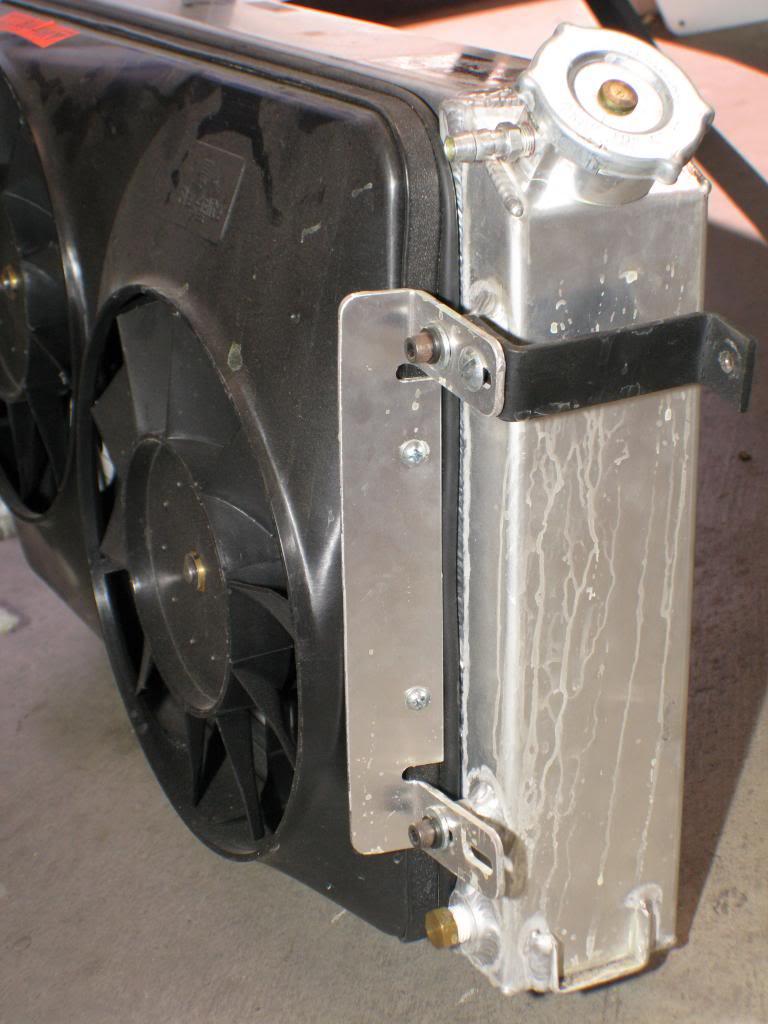
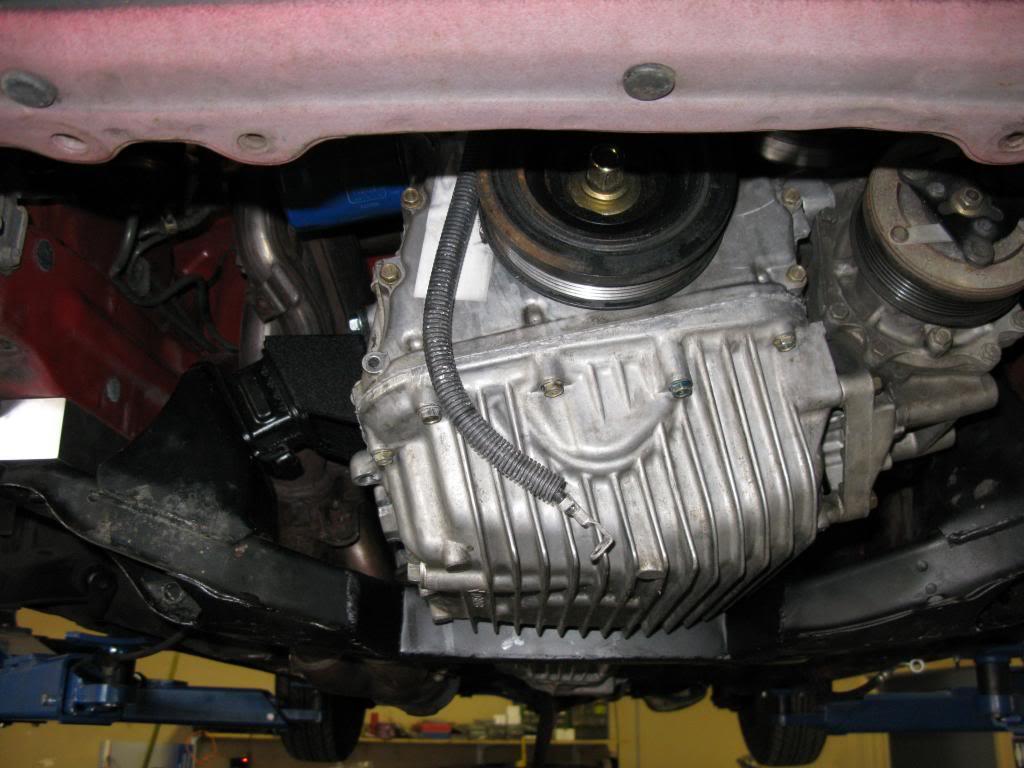
The Scirocco drag racing radiator and fans are very compact.
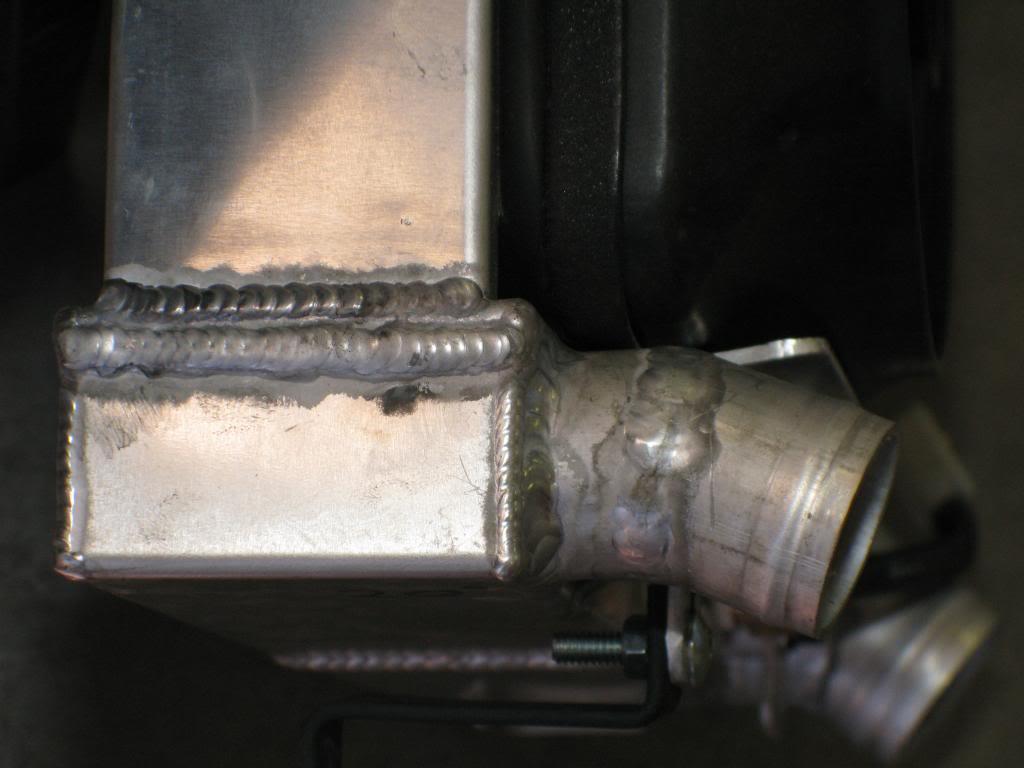
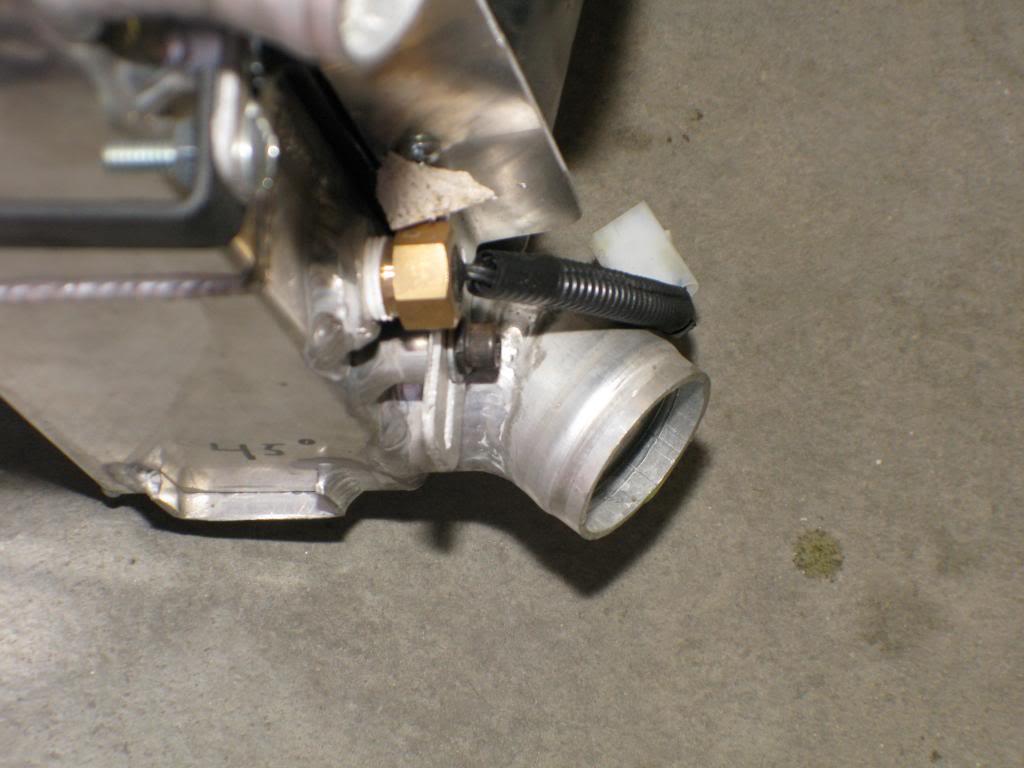
The in and out pipes had to be angled to clear the alternator and AC pump.
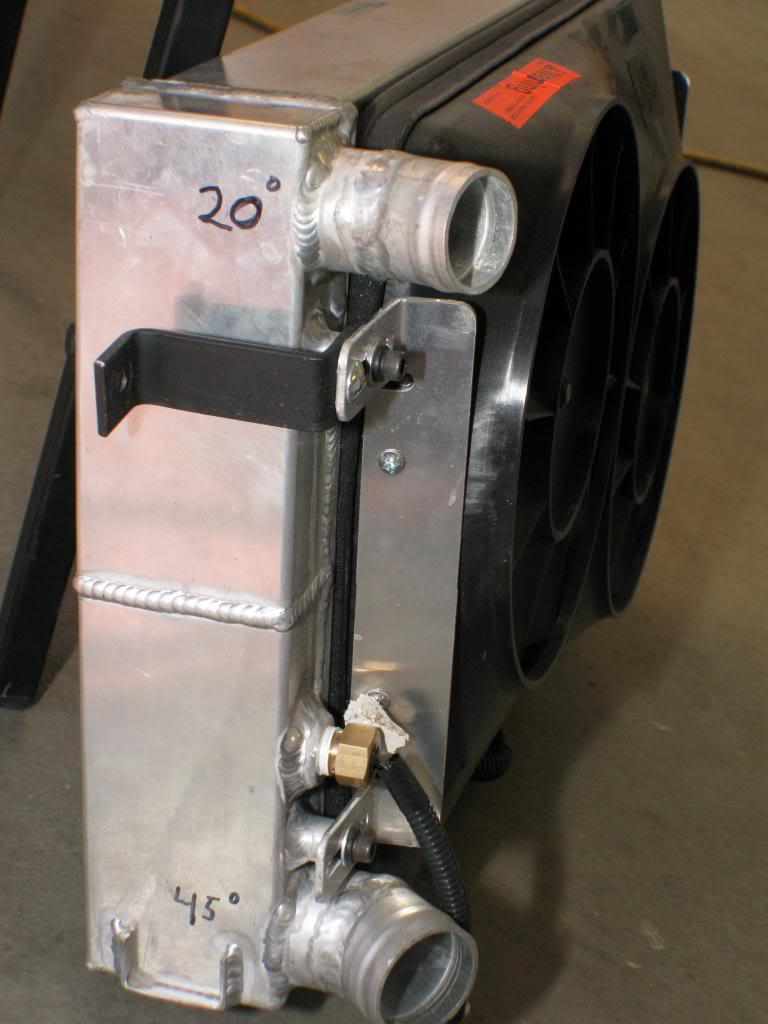
The top was angled 20 degrees and the bottom 45 degrees.
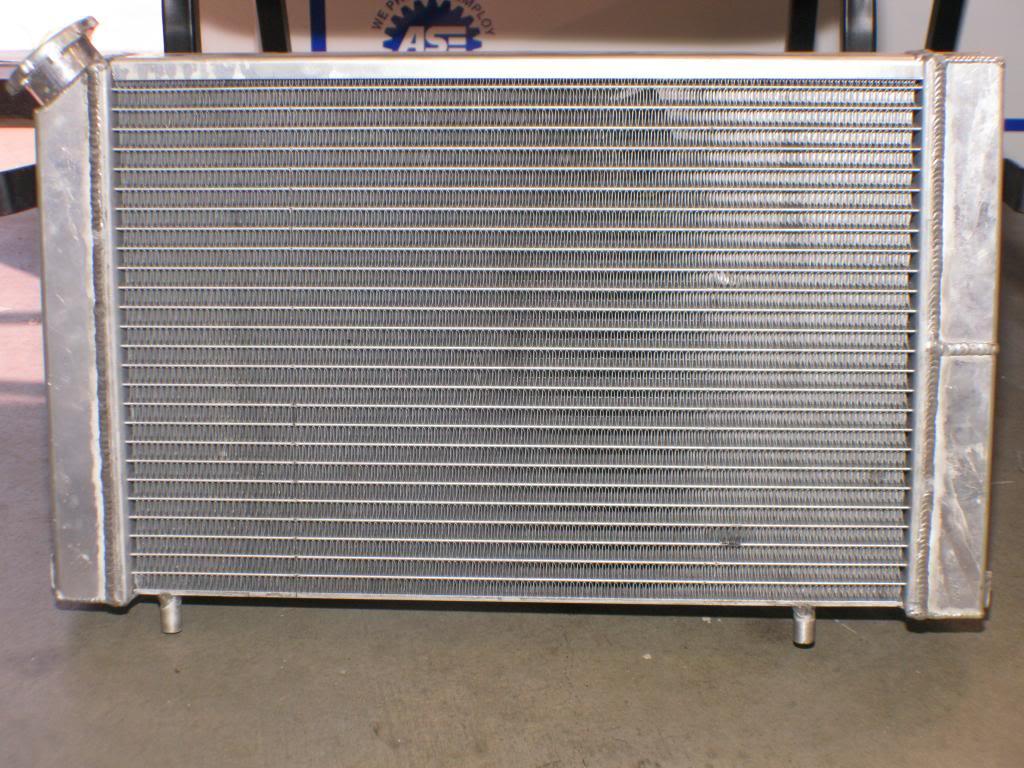

Also had two post tacked to the bottom of the radiator to fit in the OEM mounting brackets.
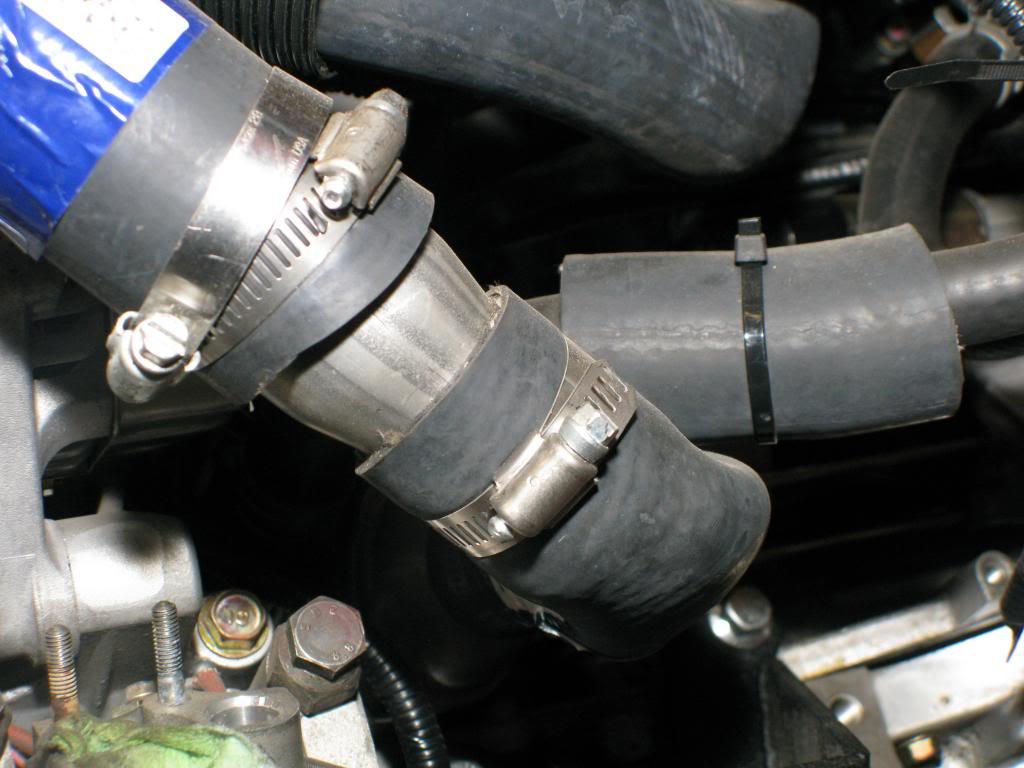
Needed to use a reducer to connect the radiator hose to the f22.
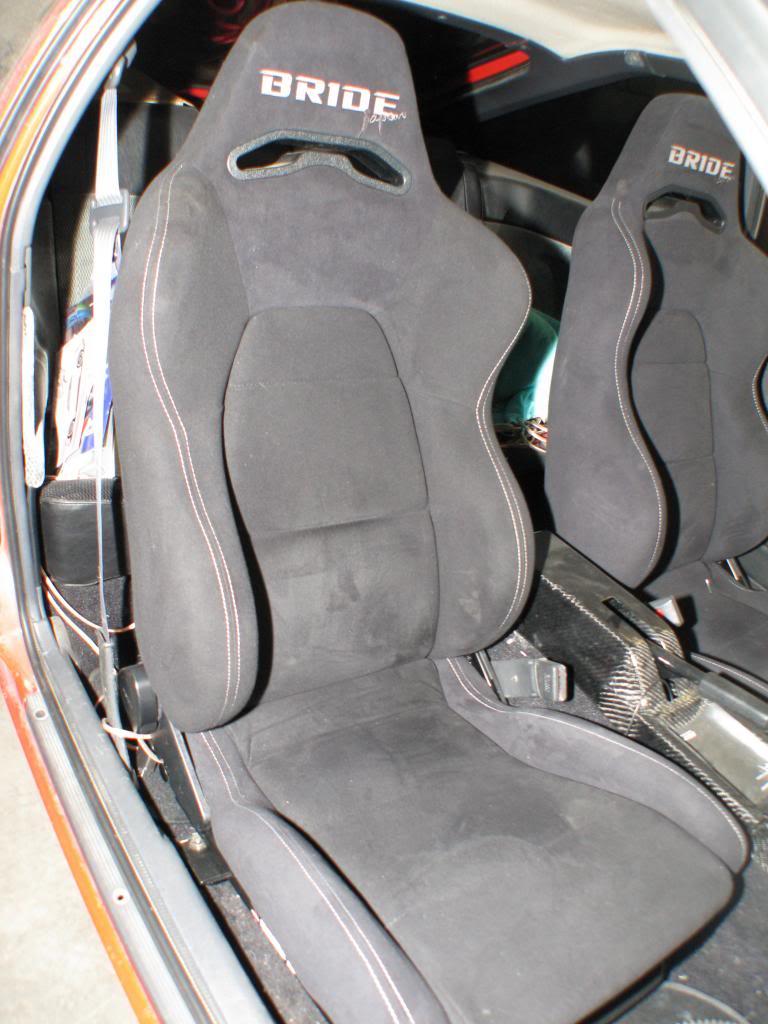
Picked up a used set of Bride seats to freshen up the cabin plus increase rear accessibility once the car seats go in. ![]()
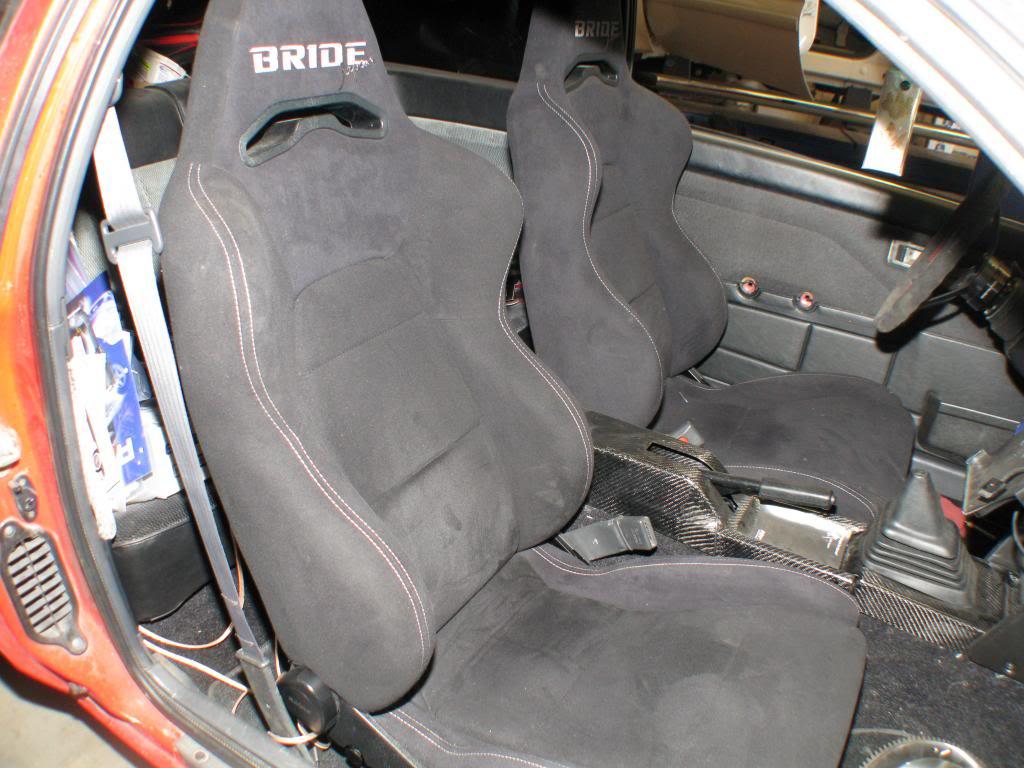
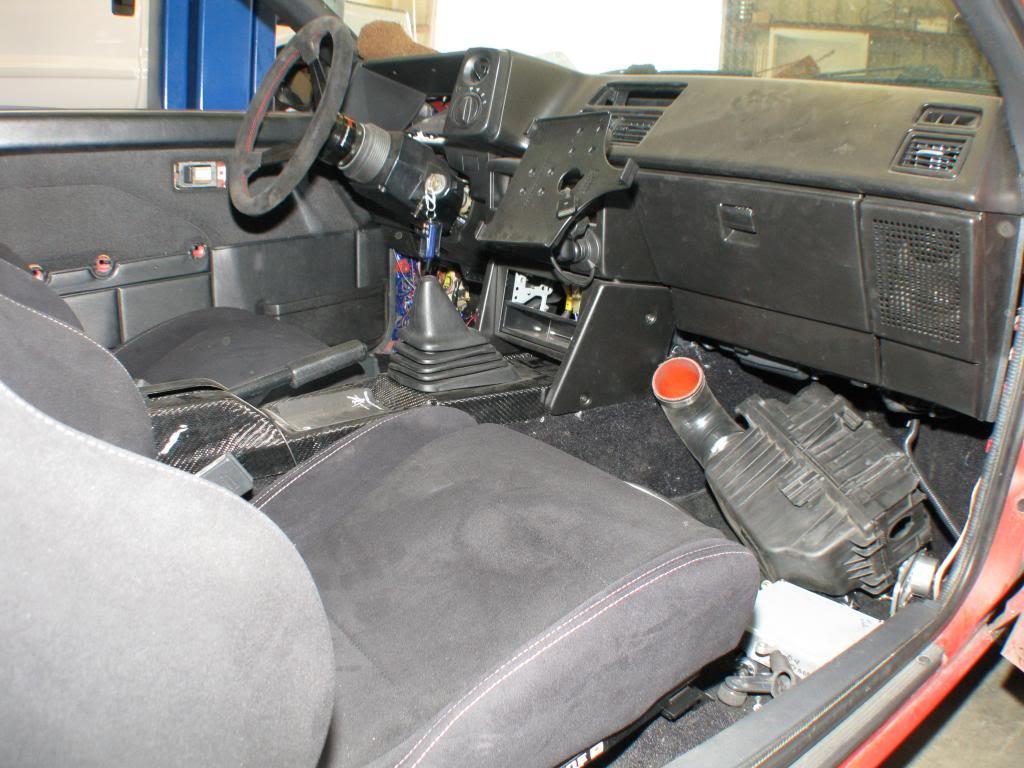
Also put the carbon fiber center console in. Plus hung the door cards.
March 30, 2011
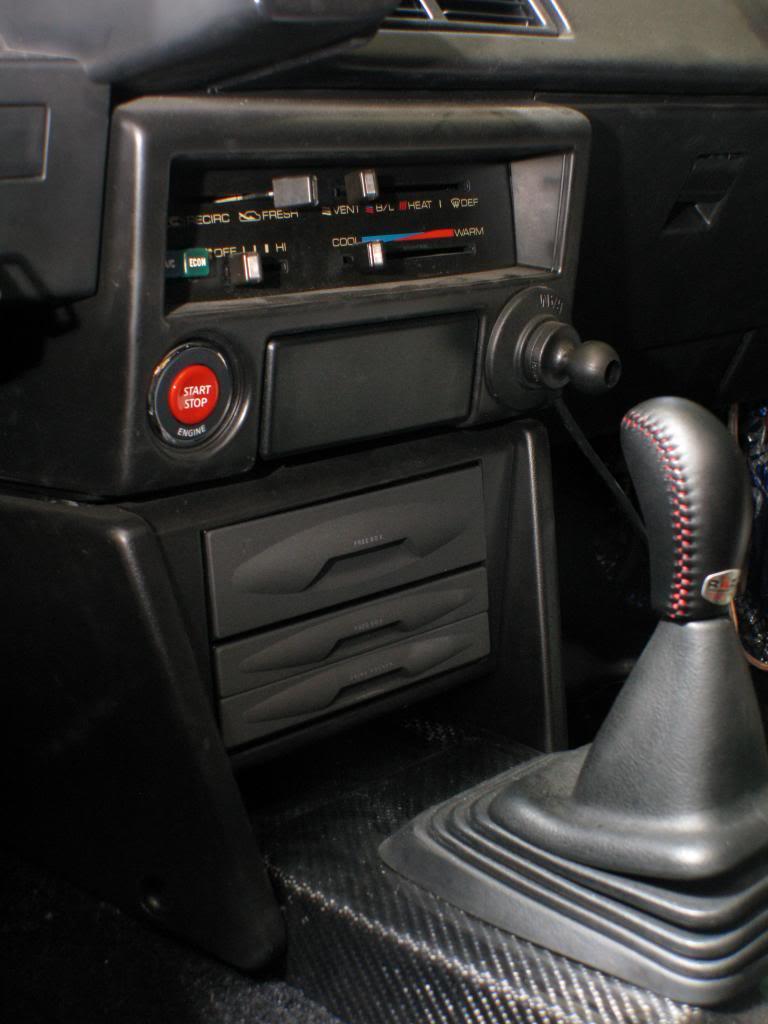
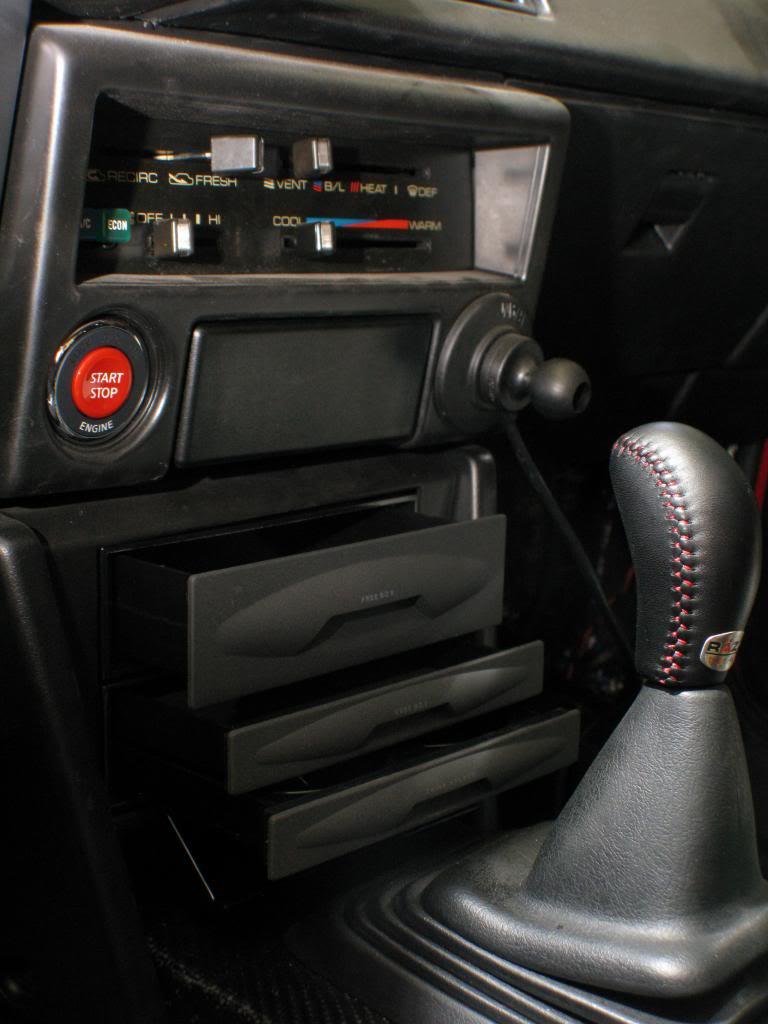
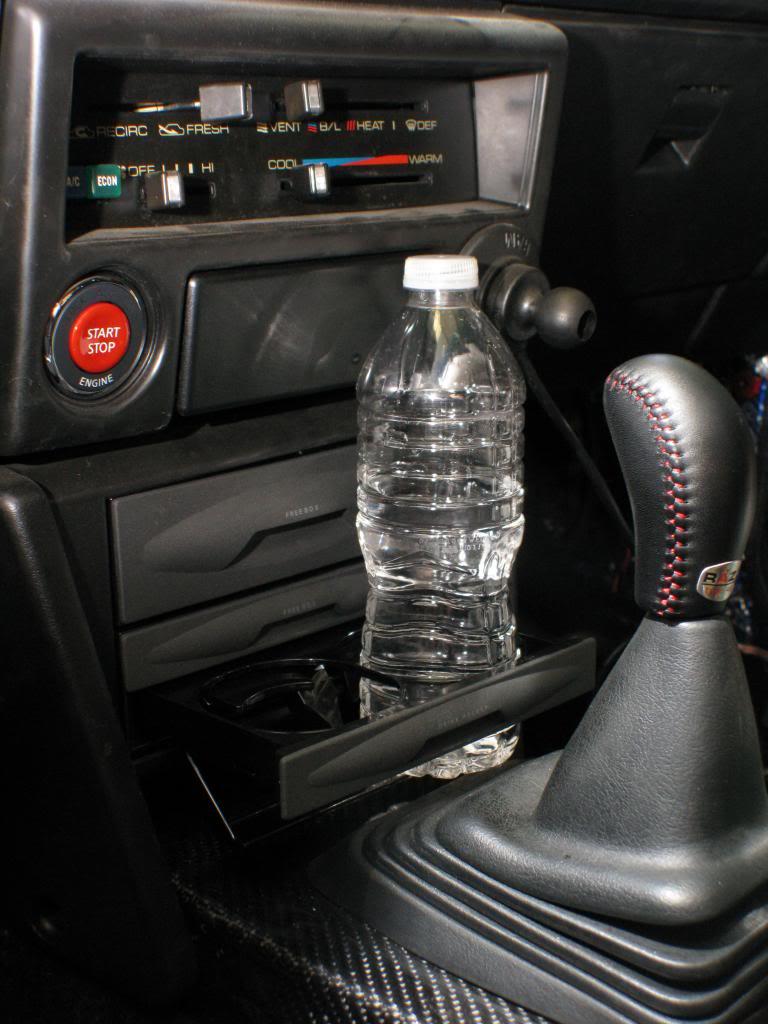
Finally got some time to put in my JDM cup holder and 400 gram shift knob.
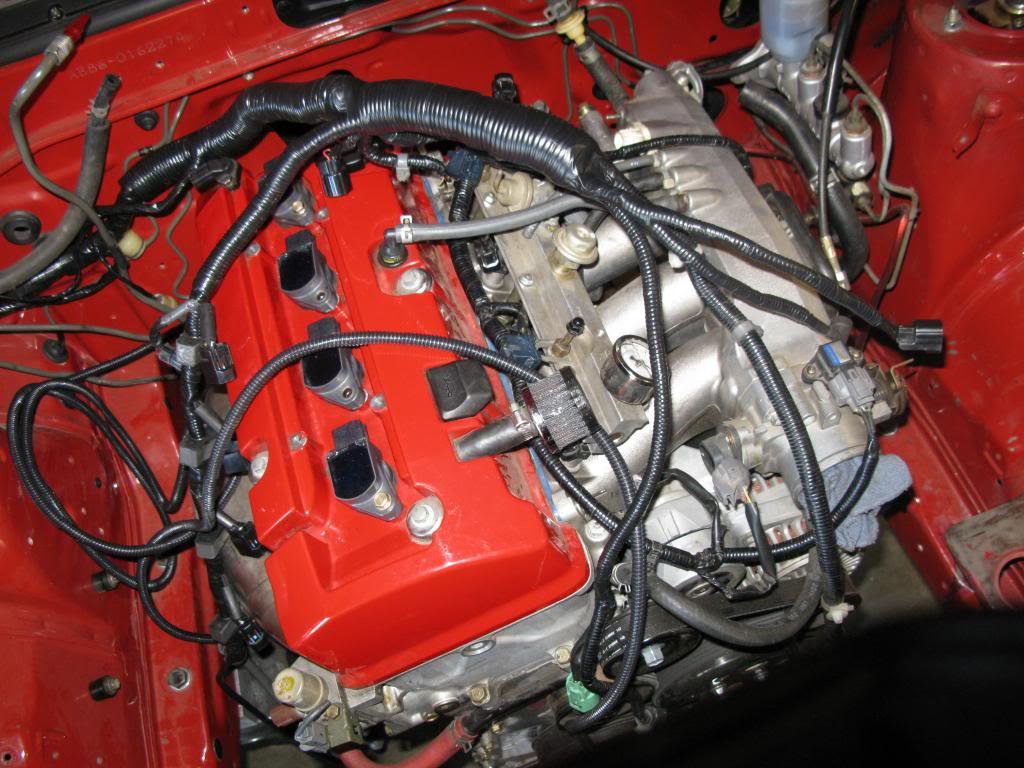
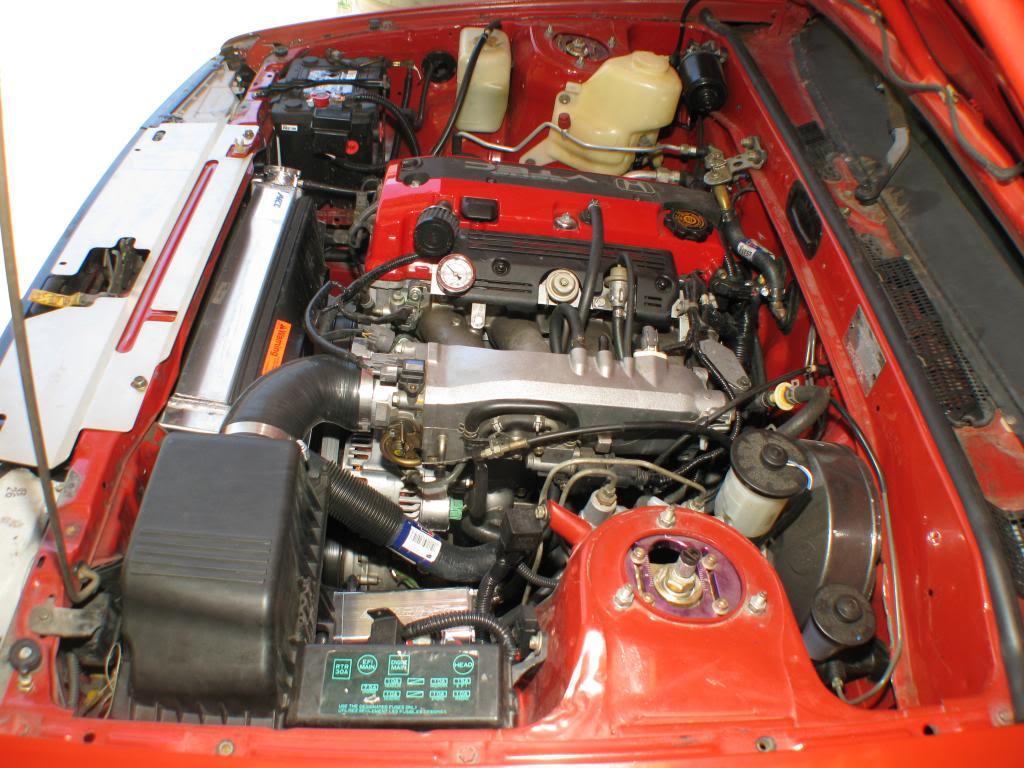
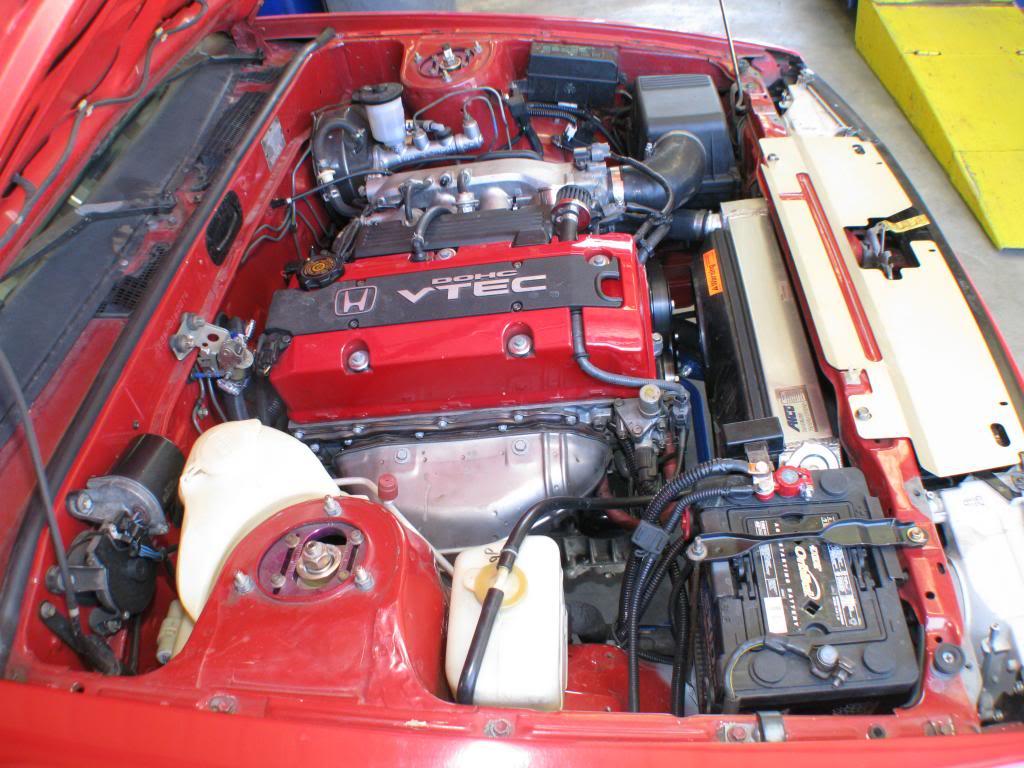
Here are a few detailed pictures under the hood. Was able to tuck the rest of the harness behind the firewall the last time the engine was out. It still needs to be wiped down but here you go.
Also put in a Beatrush radiator cooling panel.

Most of the suspension is sorted but I still need to dial it in. Currently it is set close to stock specifications.
May 26,2011
My most recent mod is more for the daily driver side of my Corolla and less to do with performance.
I purchased Audi's LATCH retro kit to add a child seat LATCH system ("Lower Anchors and Tethers for Children") to the Corolla. We mounted mine in the center of the rear seat since I don't plan on taking two kids in the Corolla at on time. The center position is also the safest for a child in a side impact accident. Plus the center seat position gives my kids a direct view out the front window which should limit the amount of car sickness induced by the Corolla's suspension.
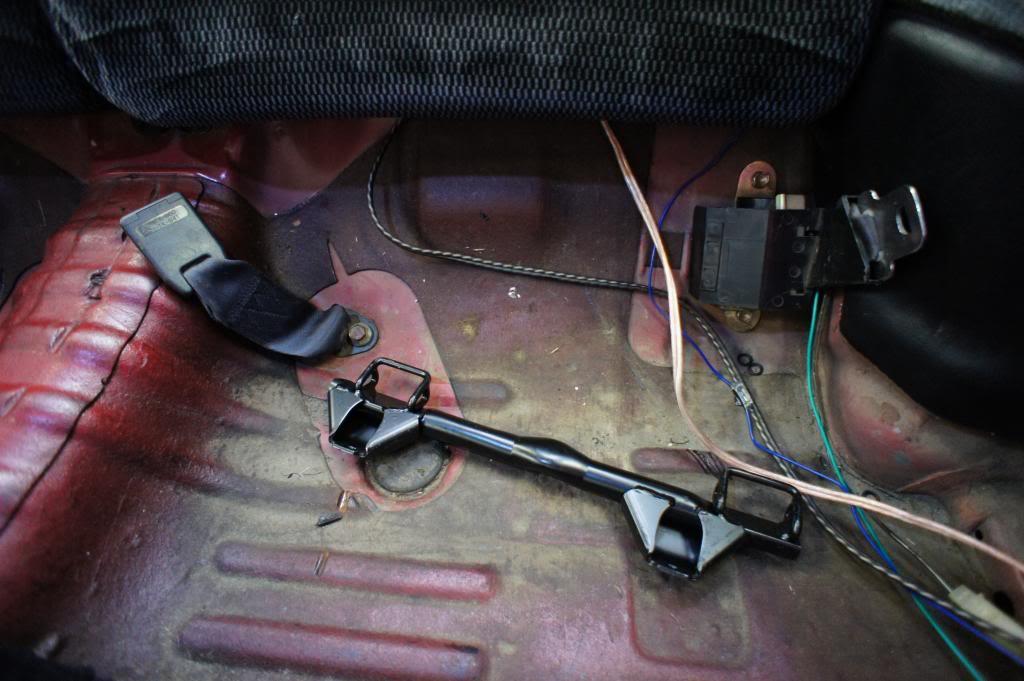
Audi Latch bar. There are two different part numbers. The one with the wider mounting brackets is the one I used.
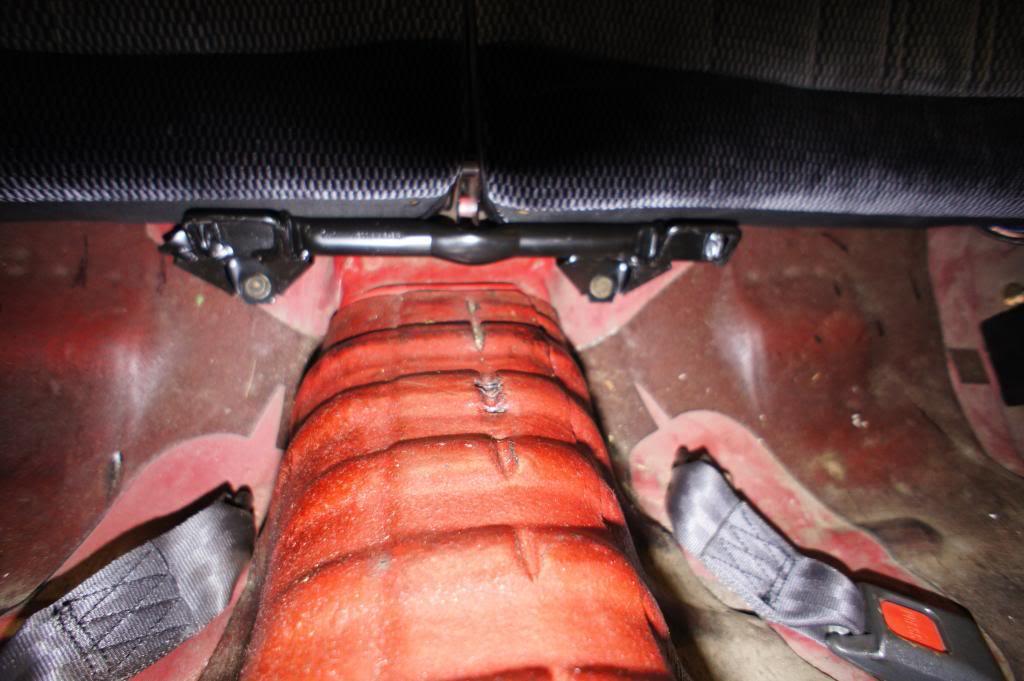
Looks OEM baby!!!
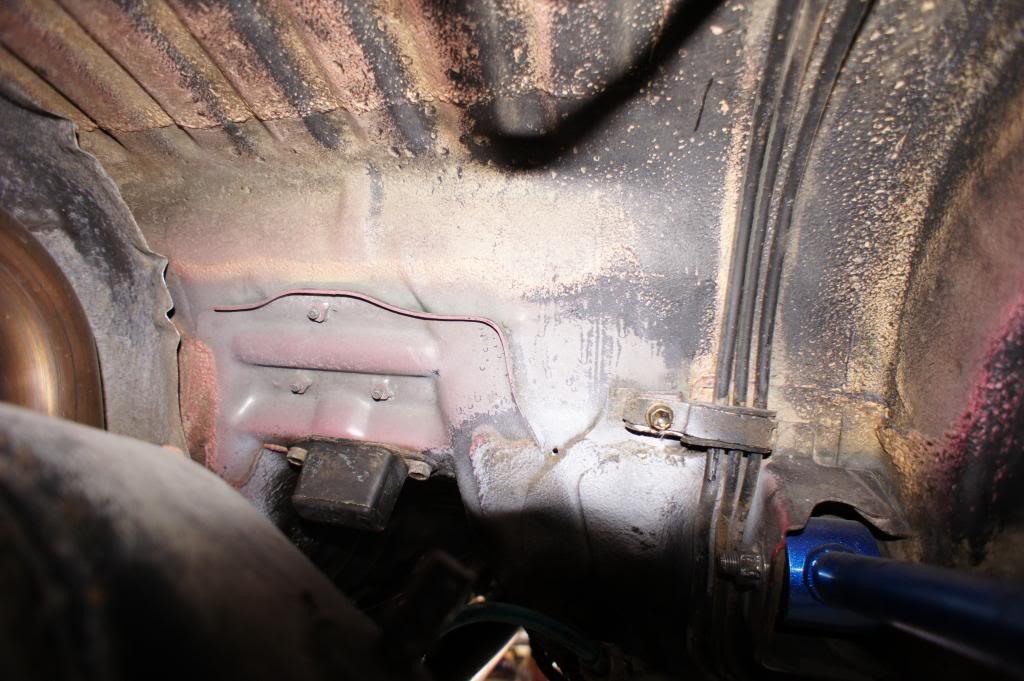
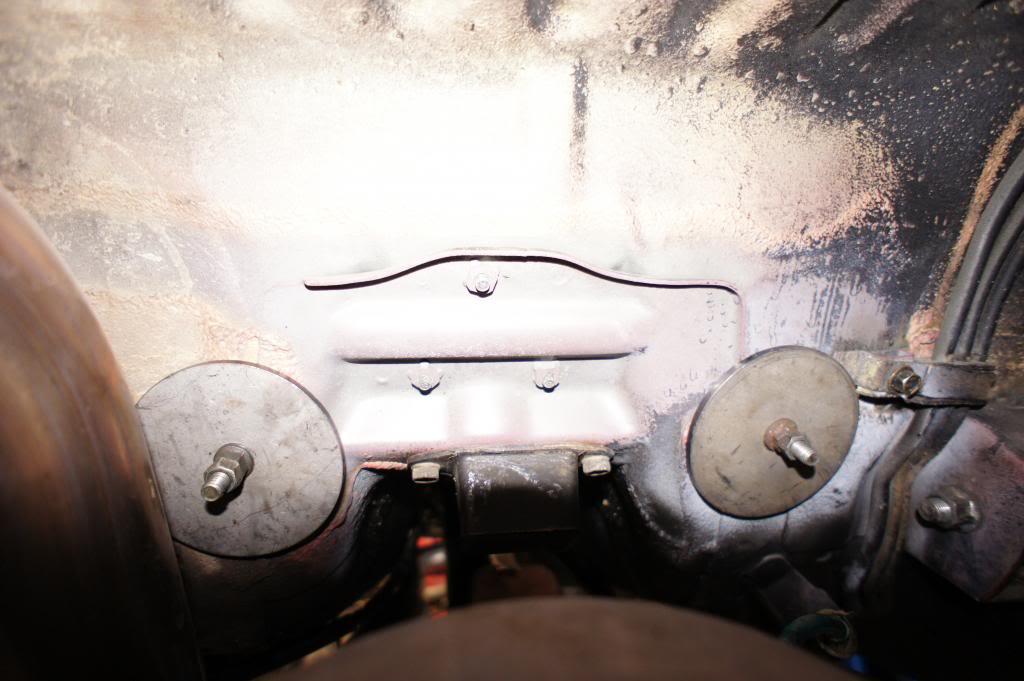
Underneath the floorpan both holes clear everything. One of the holes comes out behind the heat shield which is no big deal. My buddy Dan helped me with the install and used some three inch washers to help distribute the force in the event of an accident.
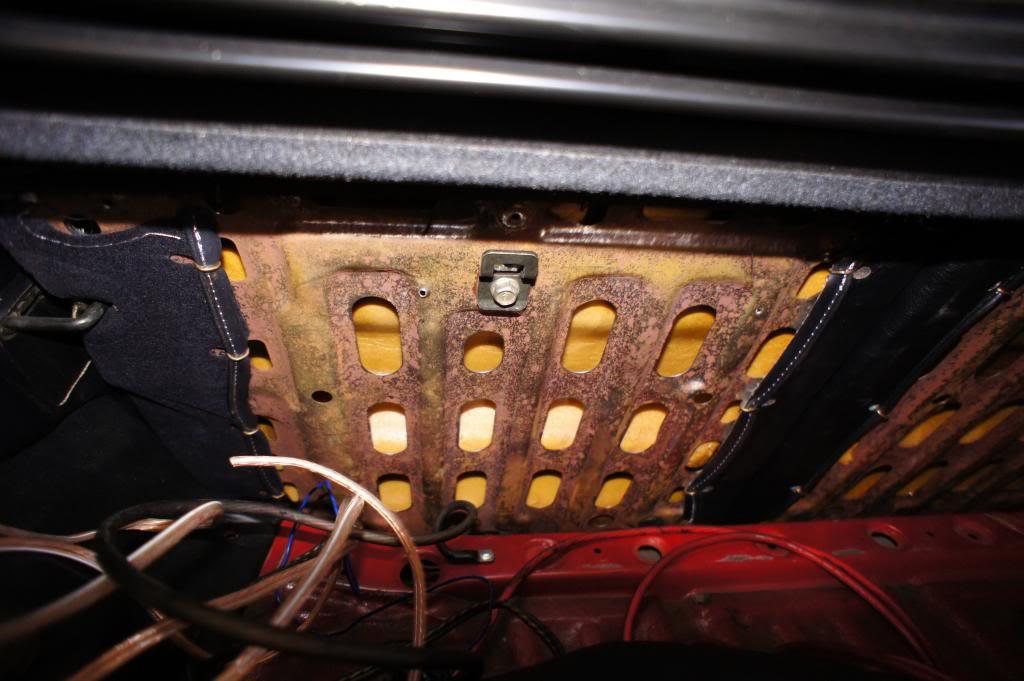
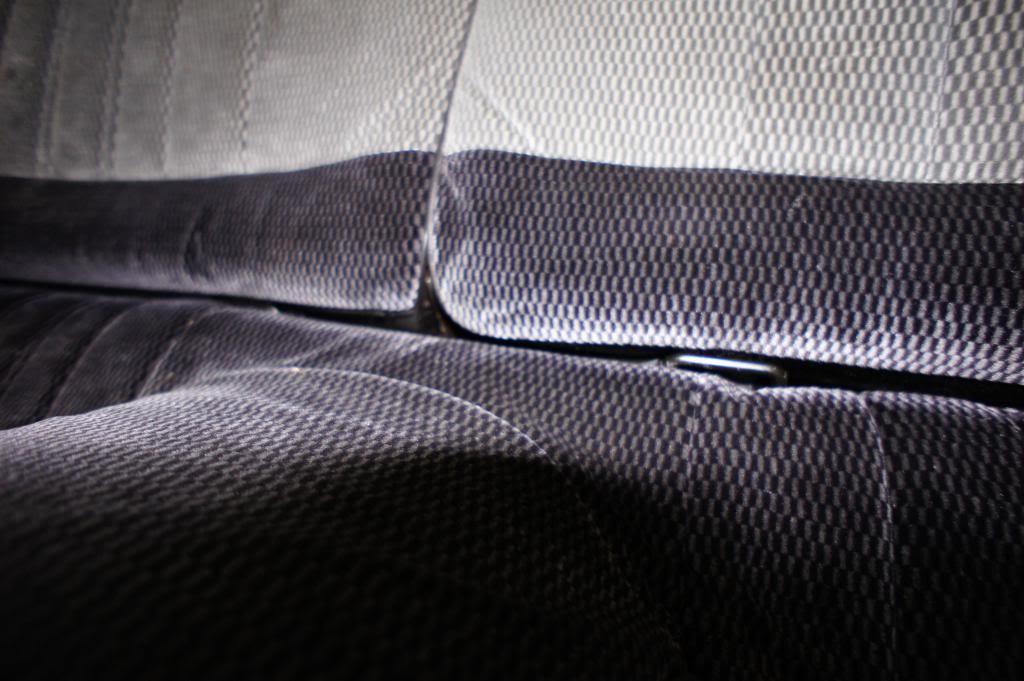
I mounted the top latch tether mount off to the side since the seats split 50/50 and the tether wants to slip between the seats. I may change this in the future but it works fine for now.
This setup works so much better then the seat belts. I could not get the seat belt to tighten down enough to hold the car seat securely. Plus the LATCH system makes it a lot easier for me to swap car seats from car to car if need be. The end result came out very nice.
July, 8th 2011
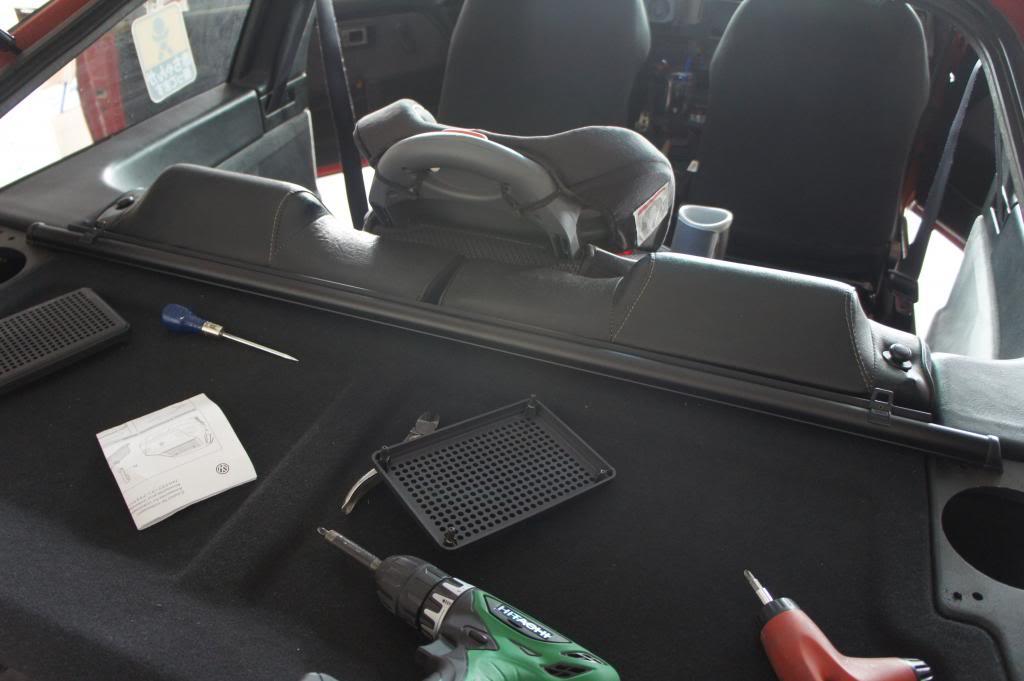
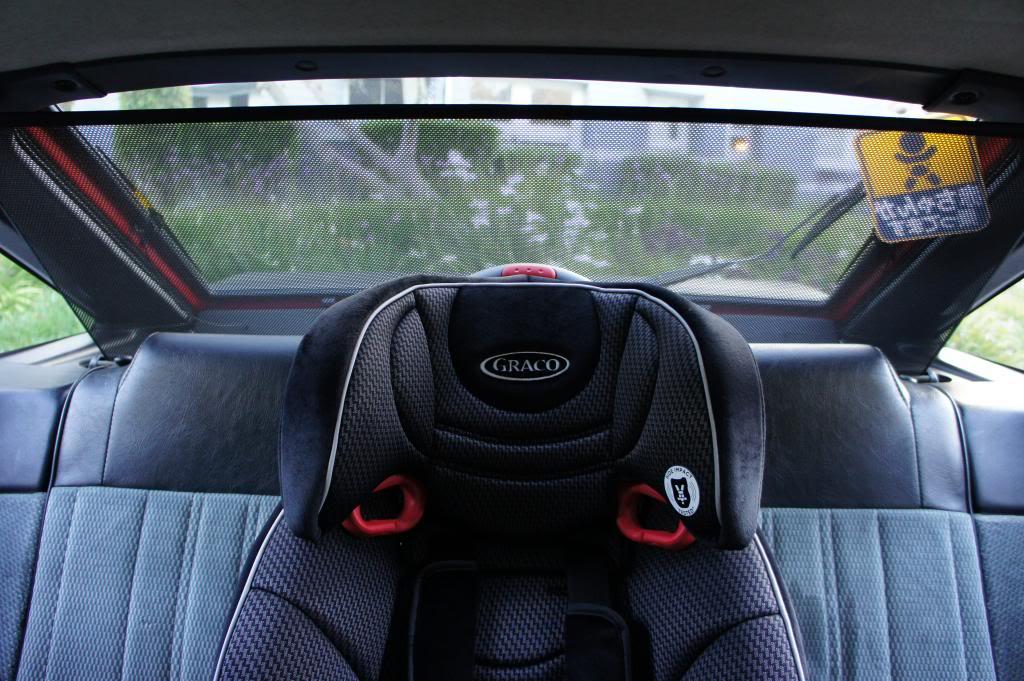
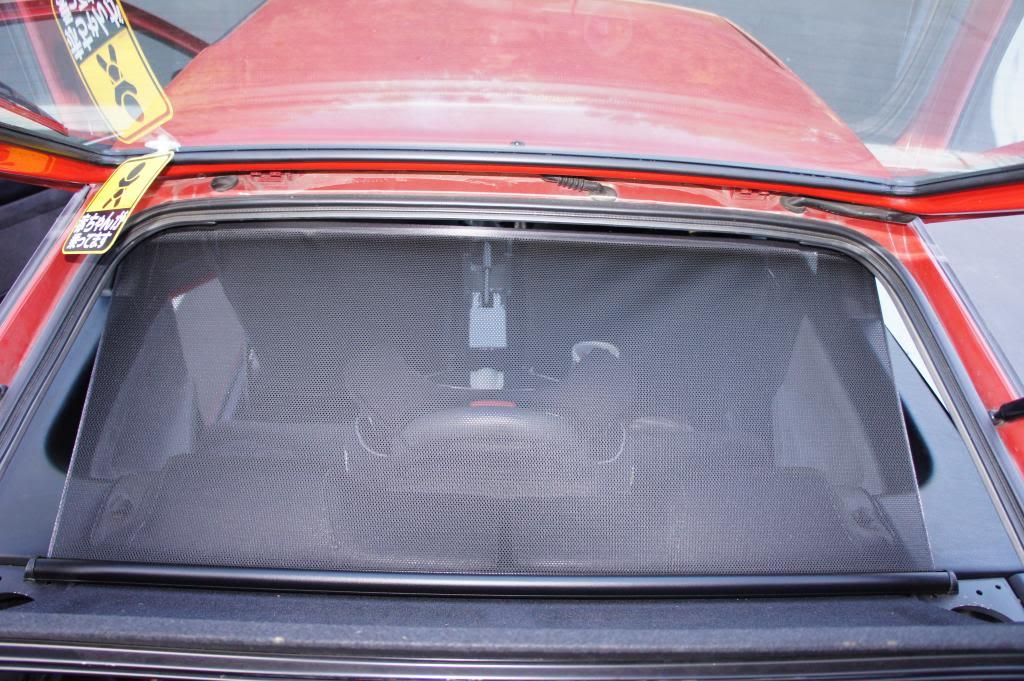
My Corolla is my daily driver. That also means driving the kids around town. At the moment I'm running tint free to keep the police less suspicious of my Levin but I had to find a way to keep the sun off the kids while sitting in the back seat. I tried a set of sun shades from BabiesRUs but that was a big fail. I ended up finding a sun shade for a 2006 VW Passat part# 3C0 064 036 that worked. The original price was $90 but now you can pick them up from any VW dealer for $13. The quality is very nice and looks very OEM and is pretty much fully extended. It was easy to install. Just two screws mounted into the rear speaker shelves. If your worried about the holes they are hidden under the rear speaker grills if you ever decide to remove the sun shade. Plus two hooks that slip behind the upper hatch roof molding. It took me five minutes to install. My cargo cover still has freedom of movement and can be removed. But the sun shade will come in contact with the average height adult passenger's head in the back seat due to the angle of the sun shade. So I would only recommend it for short passengers and car seats.
Retracted.

Extended
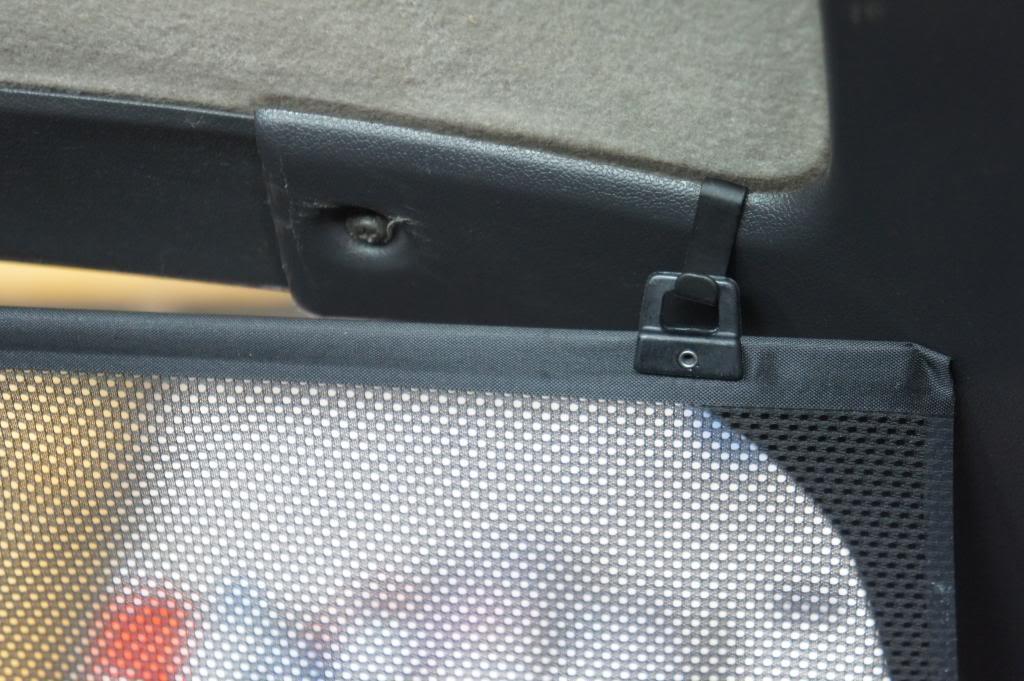
Hook
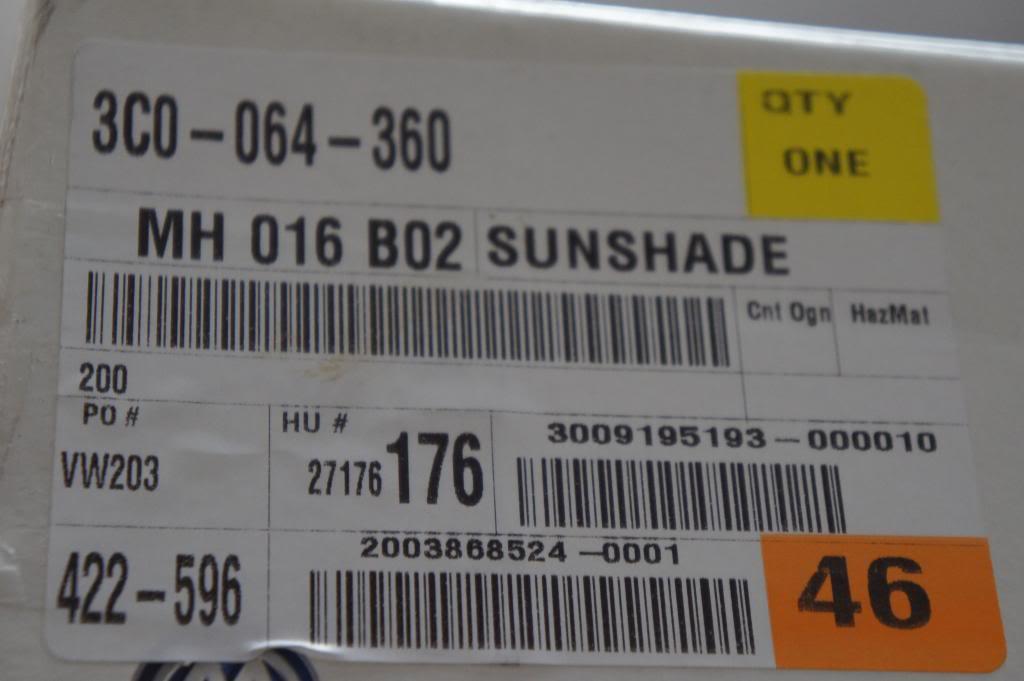
Part number
July 13, 2011
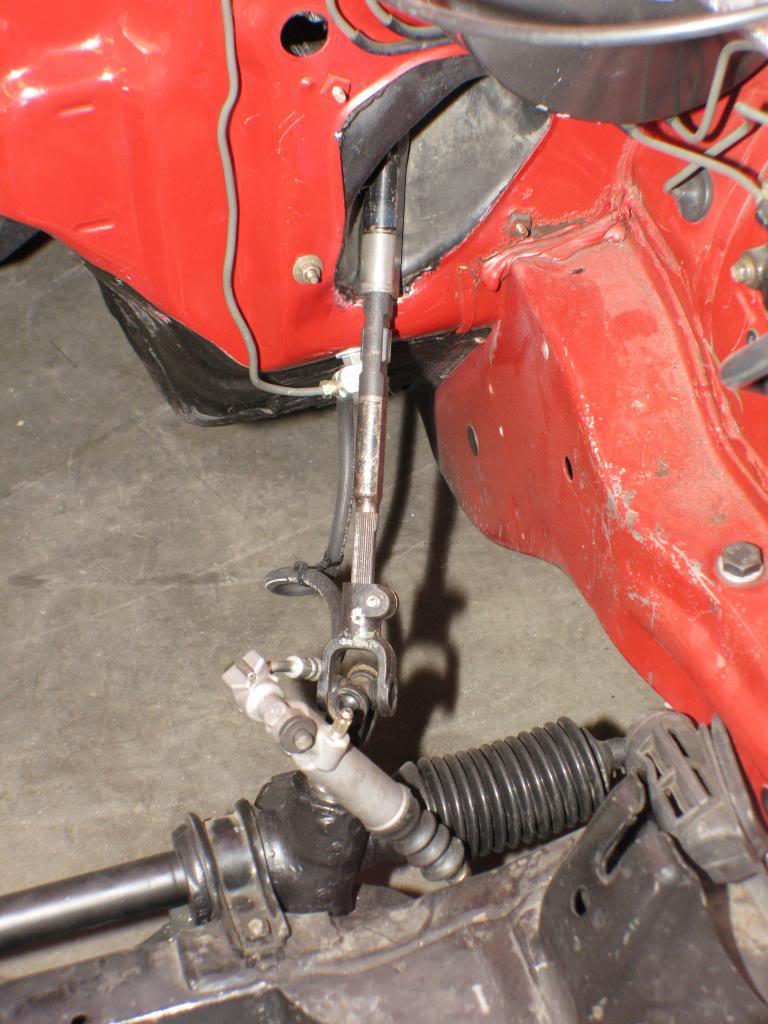
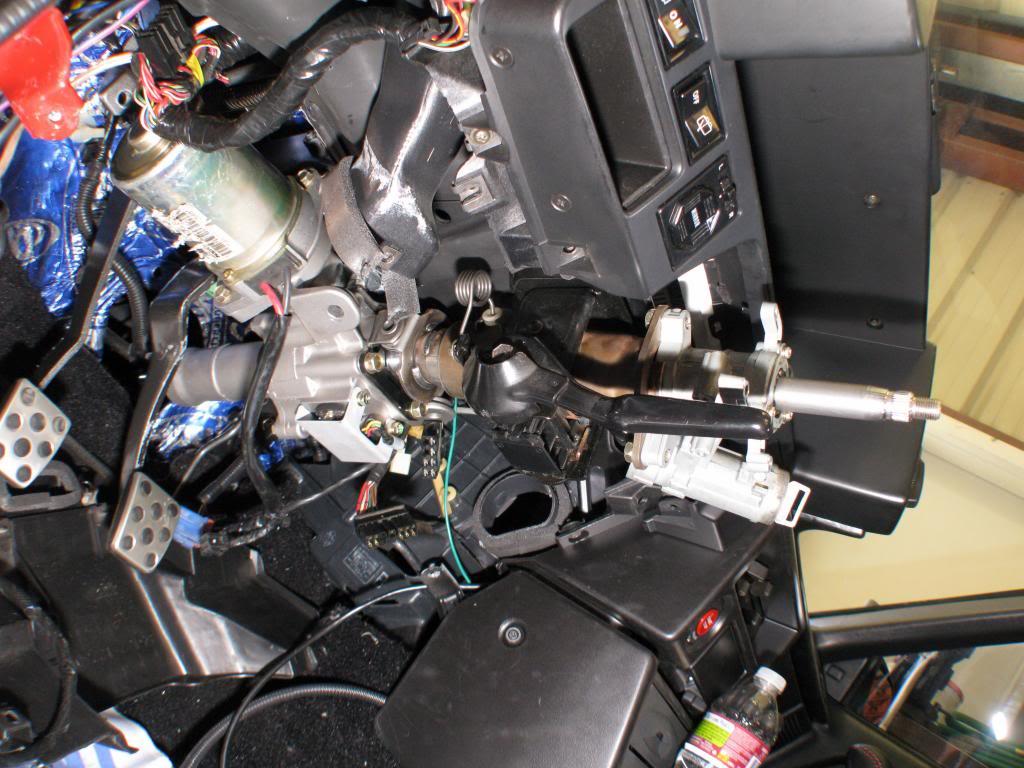
Here is my Corolla/Corsa electric power steering column after it was finished. The first pic sucks since it was with a phone. The rest are the column installed. From the hub to the tilt is Corolla. From there to the spline is a Vaxhaull Corsa C electric power steering column. The upper part of the u-joint is Corsa and the lower part is Corolla which attaches to the manual rack with a Quaife QSR quick steering rack and pinion. Most of the two columns were disassembled and put together. It was crazy how close most of the tolerances were between the two different columns. Most of the inner shaft is Corsa except the the Corolla spline that was welded on so It would accept the Toyota steering wheel. It has a control module to adjust the weight of the steering from one finger parallel parking to pull out the big guns no assist track days.

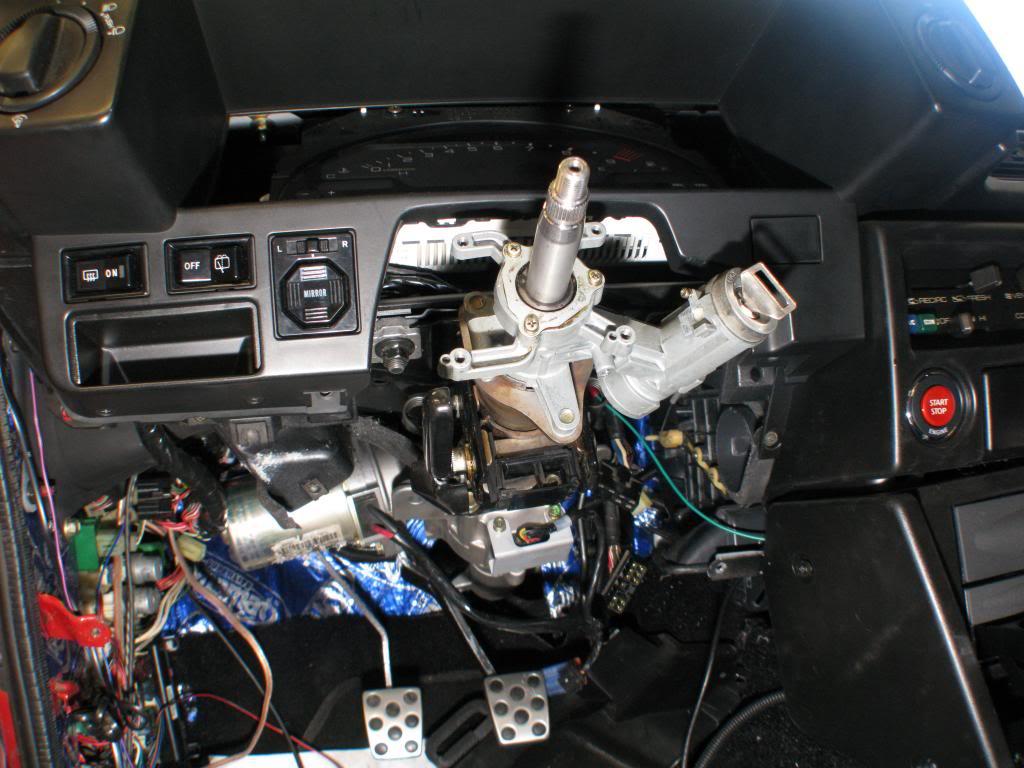
Finished Corolla/Corsa electric steering column.
The electric motor makes for a tight fit. The vent housing under the column had to be modified with a hammer.
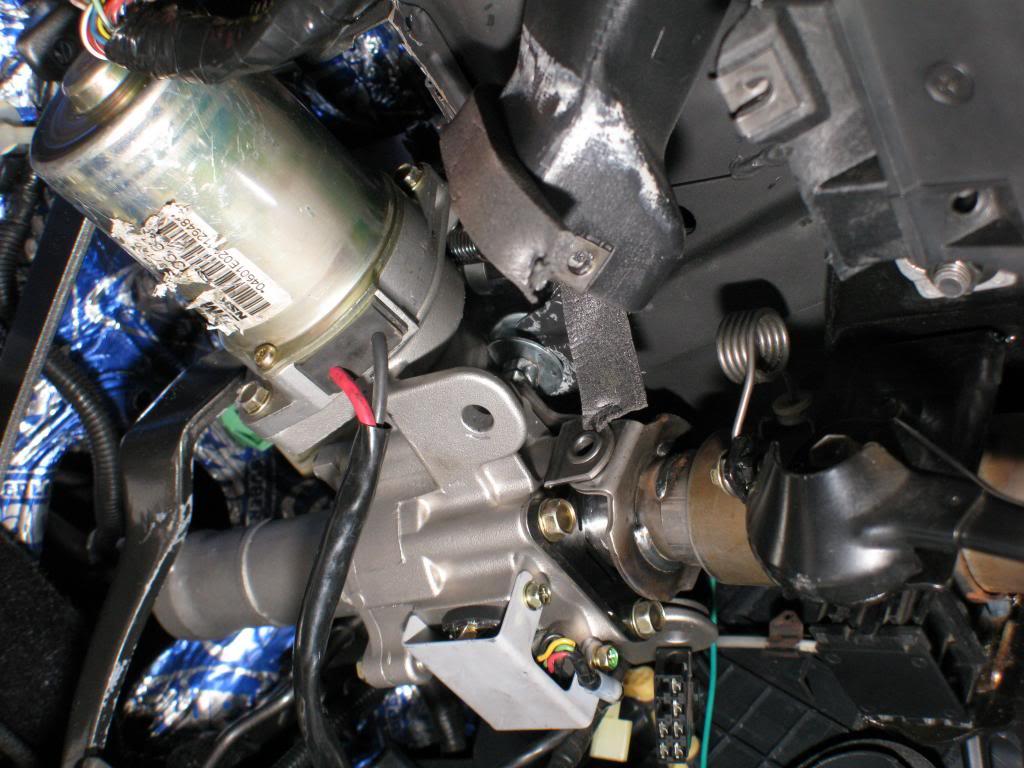
The Corolla ignition, signal arm and trim all keep the interior looking OEM.

The Corsa spline that slides into the Corsa u-joint

Supra intermediate shaft leading up to the modified Corsa u-joint.
My Corolla/Corsa electric power steering column turned out really nice. I can use the OEM steering wheel, column cover and signal plus a Supra intermediate shaft on the opposite end. There's no draw on the engine and I can still run a manual quick rack. I have not track tested it to see how it holds up but a lot of guys use this Corsa column for rally. All in all it's the second best mod in my Corolla, f22 still takes first.
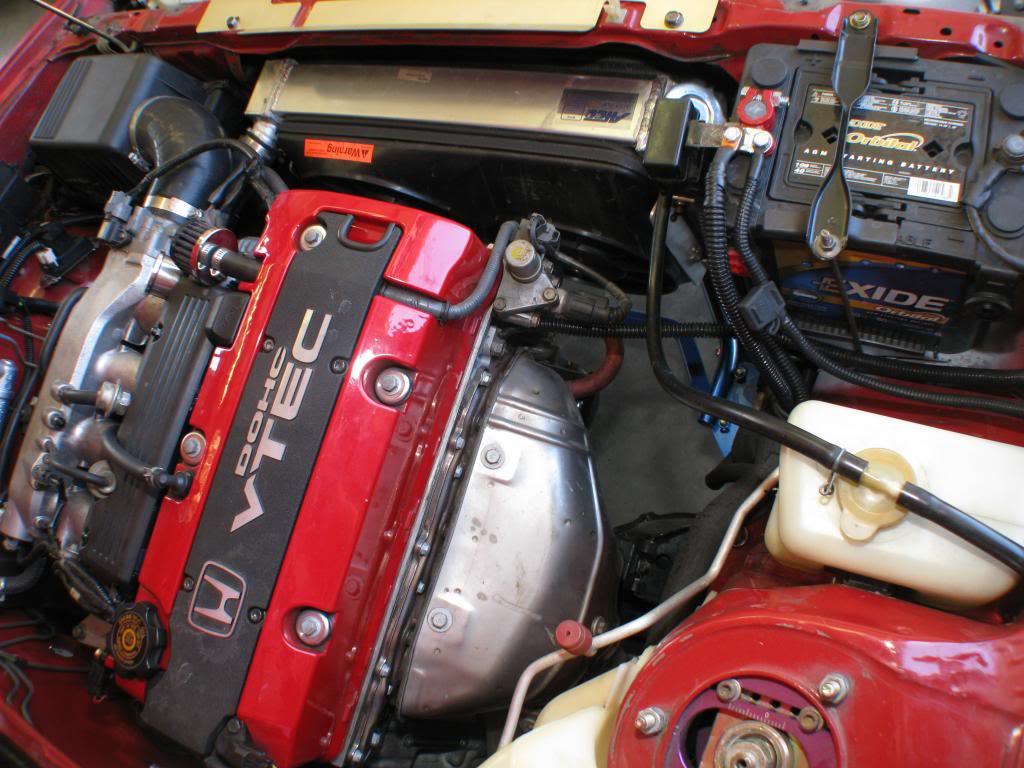
S2000 motor in a Corolla, very nice!
Posted by MPower on 4/13/21 @ 2:55:02 PM