You must be logged in to rate content!
8 minute read
DIY: Re-cloth the stock front speaker grills
Compliments of bitshftr @ www.supraforums.com
1-19-2015
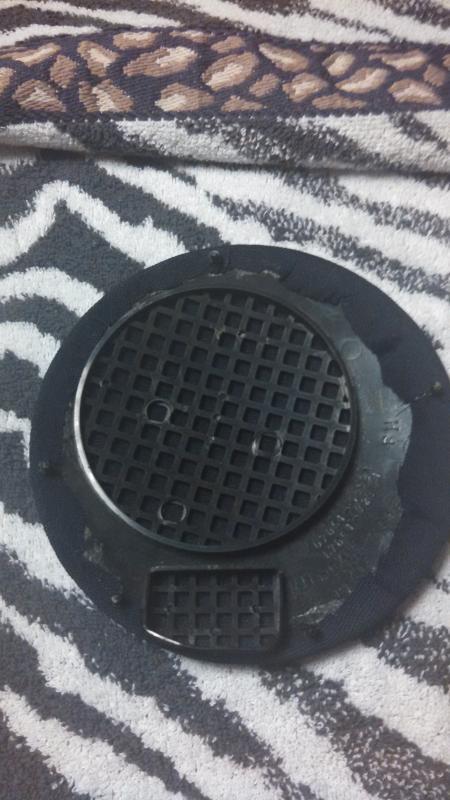
After 20 years (but only 90k miles), the cloth on my front speaker grills had faded from original black to a translucent purple-like color. OEM Replacements are about $60 each, so I decided to recloth them myself with new speaker cloth.
Sidenote: I replaced the stock speakers many years ago with stock-sized Infinitys. If I had gone with 6.5" speakers, I would have also drilled more holes in the plastic grills. And yes, I know you can replace the stock grills with the grills off a new set of 6.5" spearkers, but I'm a purist, so I wanted to keep the OEM look on the door panels.
Parts required:
New speaker grill cloth, about 8 to 9 inches wide by 17 to 19 inches tall. Get some high-quality stuff from your local car audio shop (one that makes speaker enclosures).
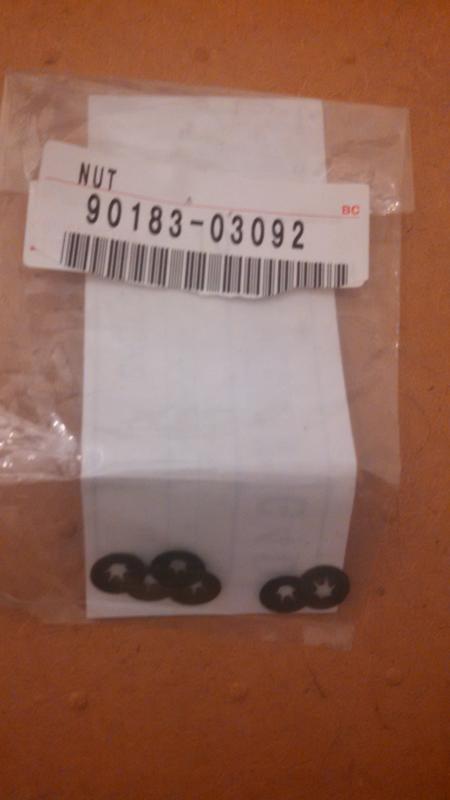
New "star nuts", Toyota part # 90183-03092, quantity 8. These hold the grill to the back of the door panel.
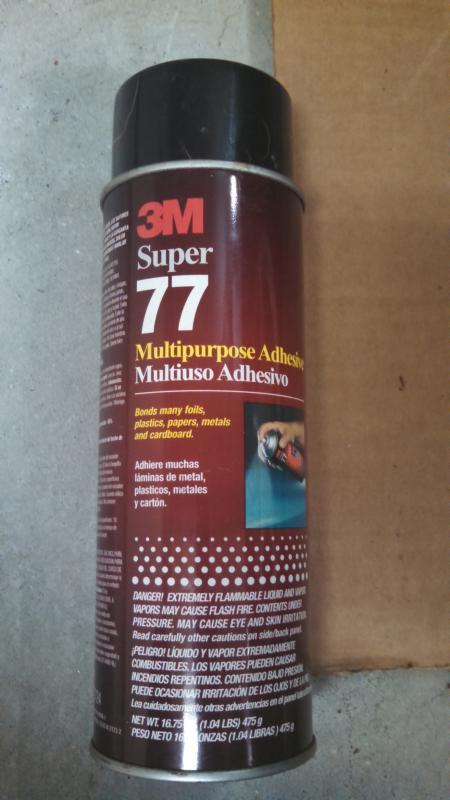
Fast-drying glue or adhesive. I used 3M Super 77 Multipurpose Adhesive.
Tools requried:
Dremel with thin cutoff wheel
Flathead screwdriver
Zebra-print towel
Cigarette lighter
Sharp scizzors
Sharp knife (Exacto)
Needle-nose pliers
Procedure:
Remove the front door panel. I assume you know how to do this, or can look it up.
- Lay the door panel face down on a carpeted floor (so you don't scratch the door panel).
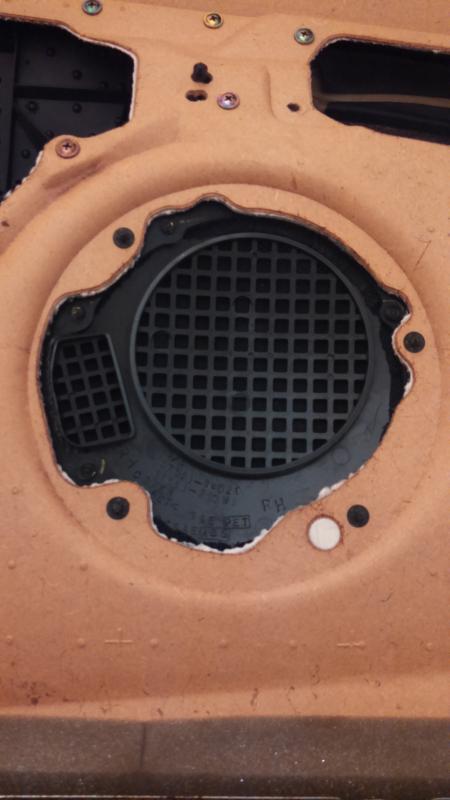
Using the Dremel and cutoff wheel, carefully slice through the 4 "star nuts" that hold the grill to the door panel. Cut them off close to the plastic pegs, but don't harm the pegs. Use pliers or a small screwdriver to pry the cut nuts away from the pegs.
Now you have the grill free of the door panel.
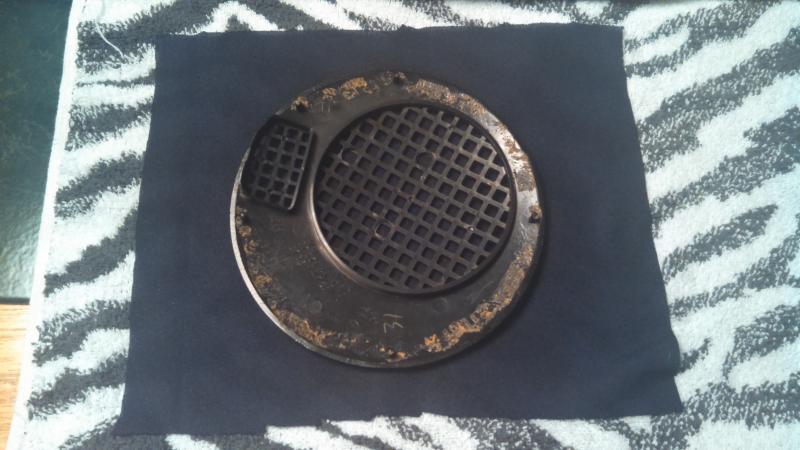
Take the grill to your kitchen table, where you've already layed down the zebra-print towel (folded in half) to protect the grill while you work on it. Place the grill face down on the towel.
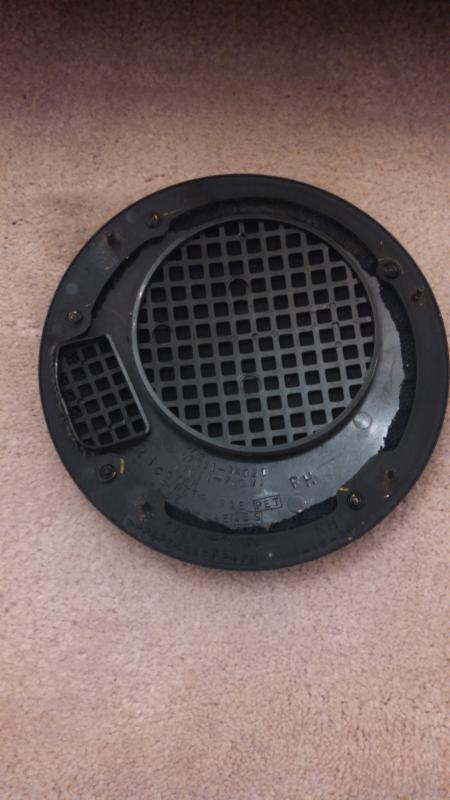
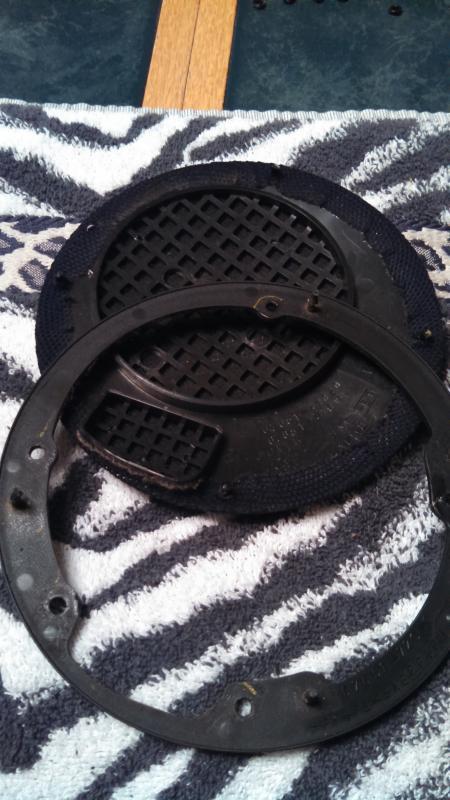
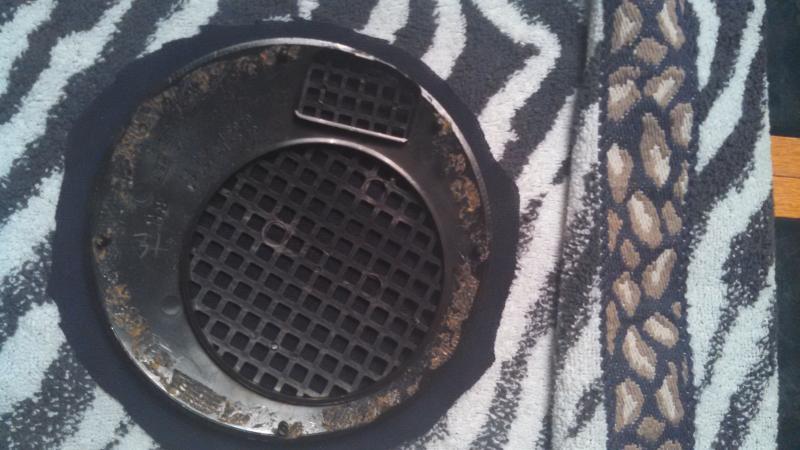
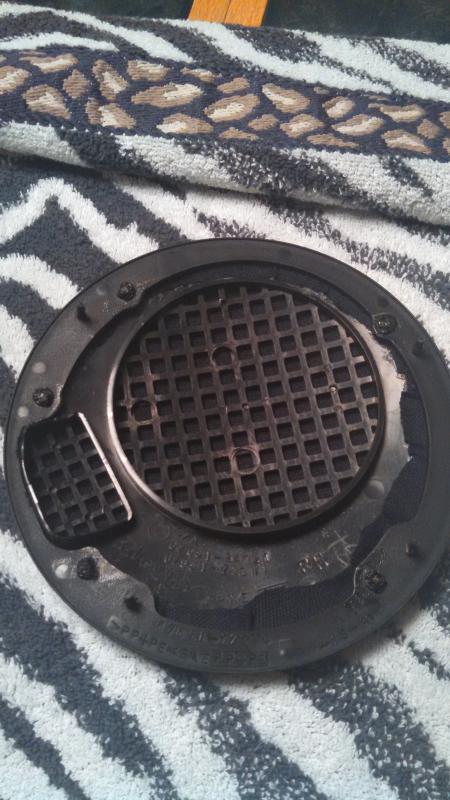
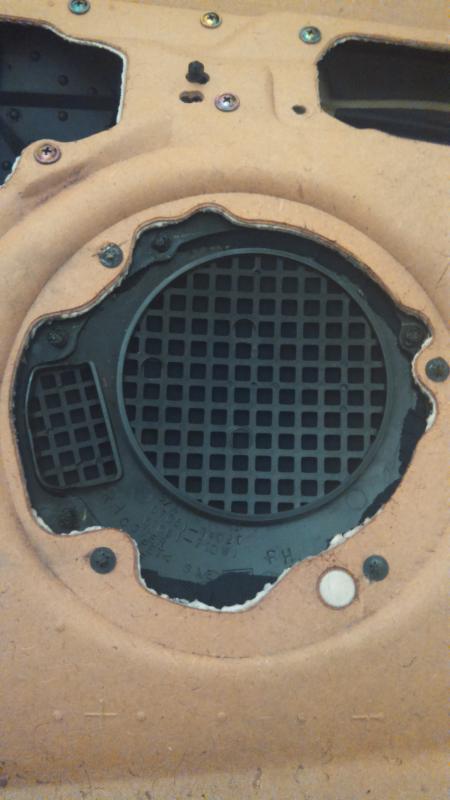
There are 6 (I think) little plastic grommets (see picture below) holding the backing plate to the grill. You need to melt these very slightly (a few seconds should do it) with the cigarette lighter and pry them off their pegs with a flathead screwdriver. Don't burn yourself, melt any other plastic, or catch the cloth or towel on fire.
Separate the backing plate from the grill. Now you'll have this:
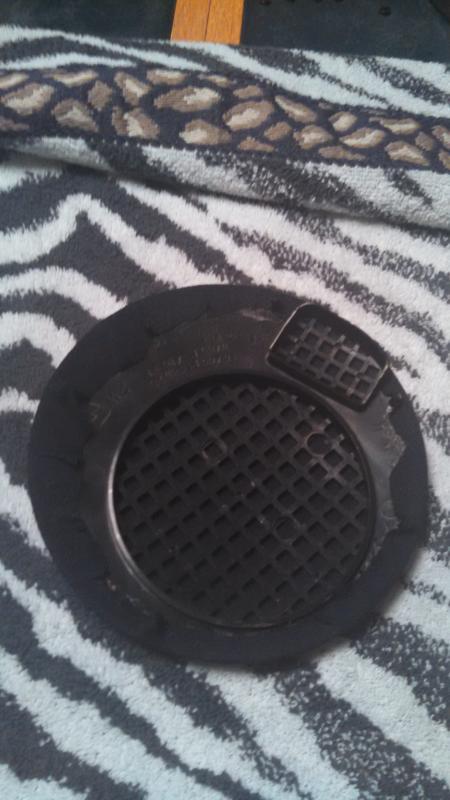
Using a flathead screwdriver, pry the old cloth from the back of the grill. It's held on by adhesive which has probably dried up by now.
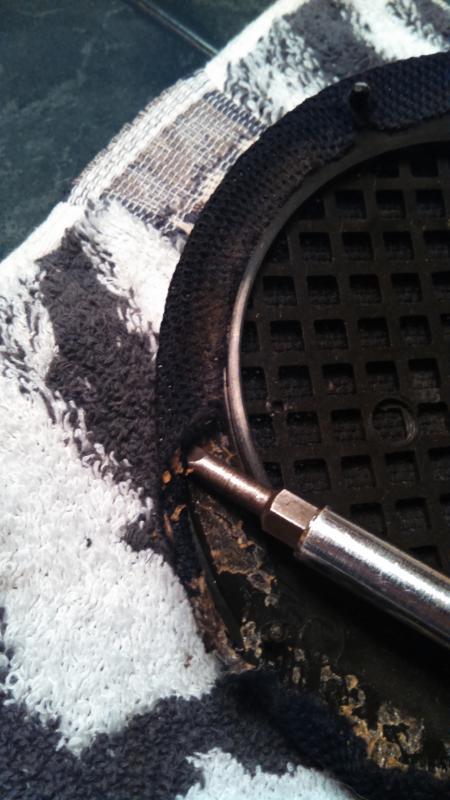
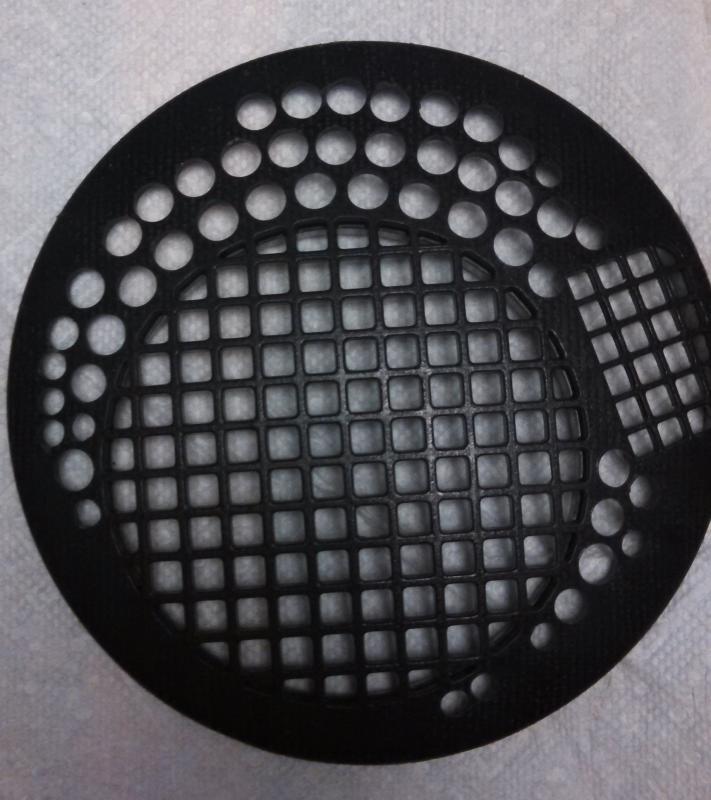
Now you have this:
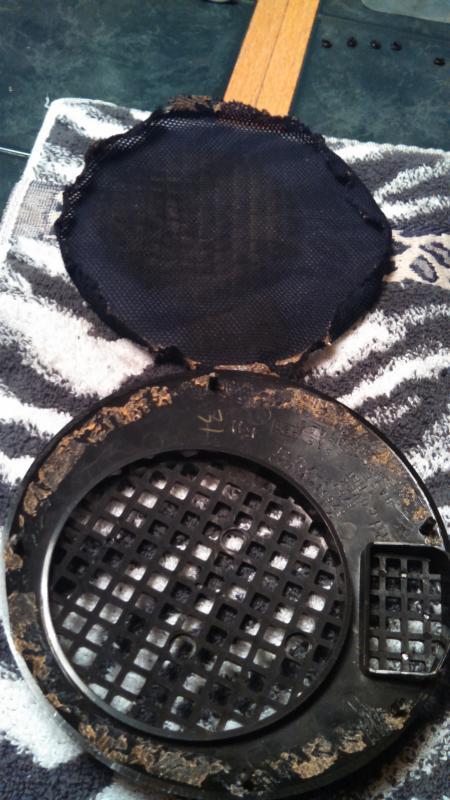
Throw the old speaker cloth away.
Cut a square of new cloth a little larger (at least 1/2 inch all the way around) than the speaker grill, and place it on the zebra-print towel, under the grill (keep the grill face down).
Carefully trim the cloth to a circular shape, keeping it at least 1/2 inch larger than the grill all the way around. It doesn't hurt to make it a little bigger...you can always trim the excess later.
Apply a small amount of adhesive to the top edge of the back of the grill, right on top of the old adhesive. Fold a few inches of the cloth onto the adhesive and hold it there for a few seconds while it grabs hold.
I sprayed some of this stuff into a Dixie cup, and used a q-tip to dip and apply the adhesive:
Apply a small amount of adhesive to the bottom edge of the back of the grill, right on top of the old adhesive. Pull the cloth tight and fold a few inches of the cloth onto the adhesive and hold it there for a few seconds while it grabs hold.
Turn the grill 90 degress and repeat the last two steps, pulling the cloth tight each time, effectively securing the left and right edges. Make sure to get some adhesive outboard of the pegs and pull the cloth tight against them. You should have the cloth entirely glued down now:
Carefully cut the cloth away from the sides of the pegs, so that the backing plate will sit flush when you reinstall it.
Place the backing plate over the grill.
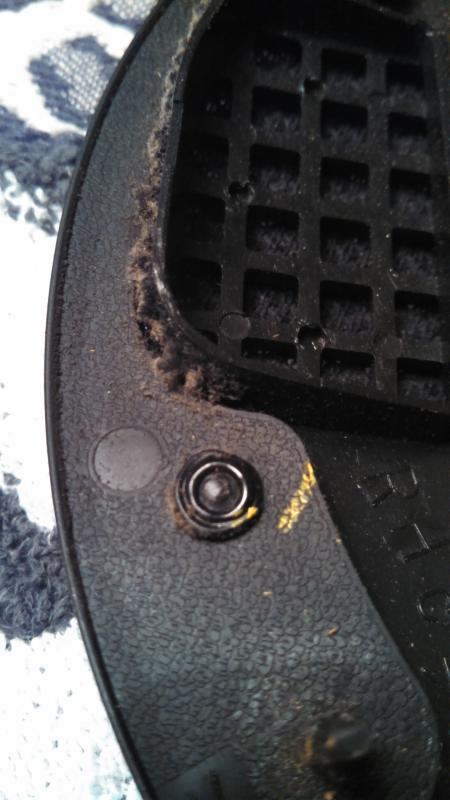
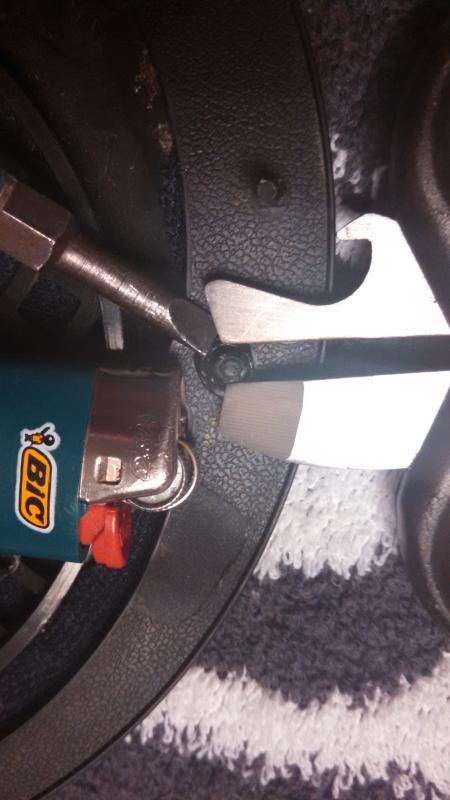
Now you need to secure the backing plate to the grill pegs by re-melting the plastic grommets onto the pegs. In the picture below, I've got some metal tools pressing down on the grommet while I heat up the grommet with the cigarette lighter (just a few seconds at a time) and use the flathead screwdriver to press the melted grommet down and around the base of the pegs. Then let it cool for a few seconds before releasing the pressure.
Now your backing plate is resecured to the grill.
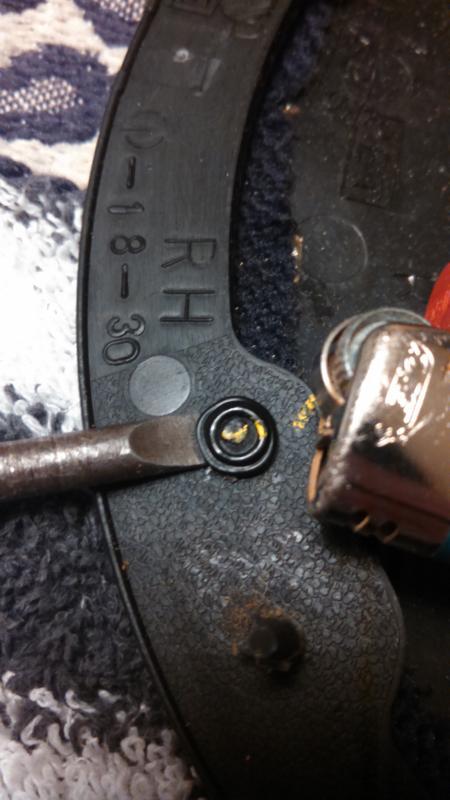
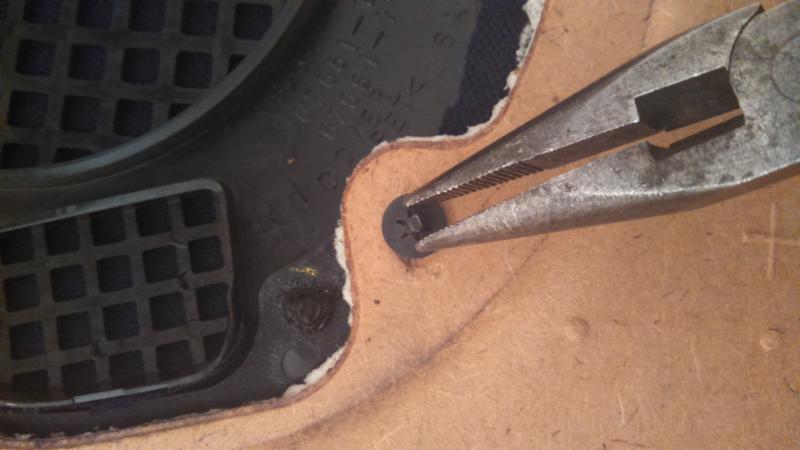
Time to put the grill back onto the door panel. Grab your bag of new star nuts, and take your newly-reclothed grill back to the door panel:
19. Using needle-nose pliers, push a new star nut onto each peg. You might have to use a slight rocking motion to get them nice and tight:
20. All done!
21. Reinstall the front door panel (I assume you know how to do this too).
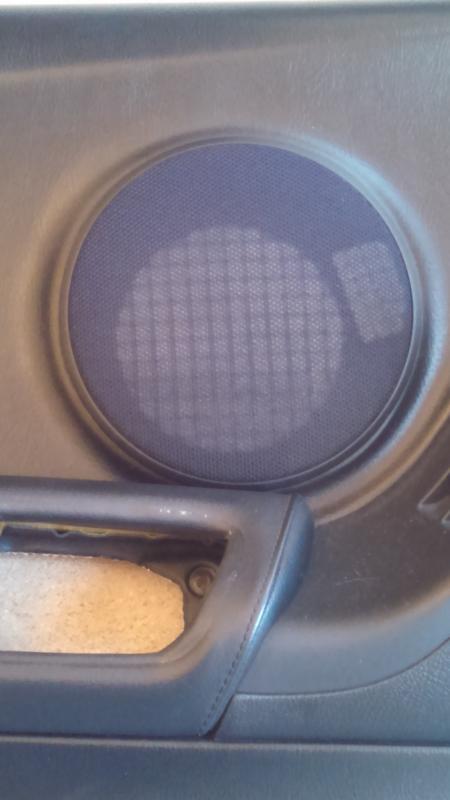
Before:
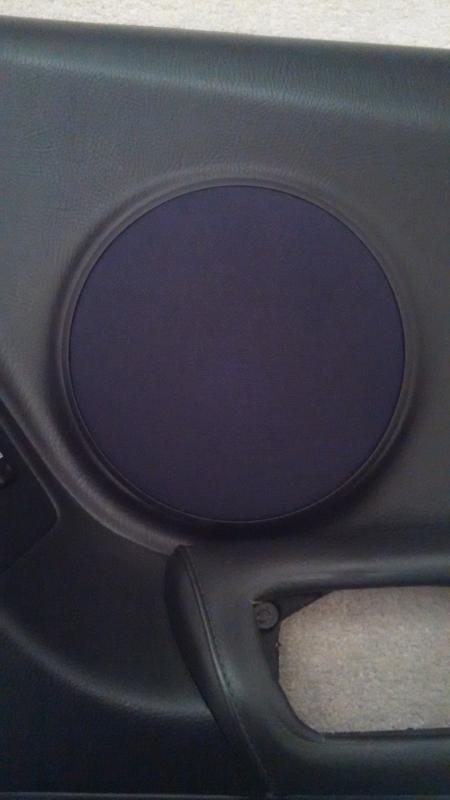
After:
2-15-2015
I just redid the speaker grills on my TT, which has 6.5 speakers up front. So I'm adding a step 8.5: Drill holes in the plastic grill to open it up for more sound (inspired by 94JZA80 in this thread):