You must be logged in to rate content!
6 minute read
TRAC Pump and Actuator Removal
Compliments of 94Canuck @ http://www.supraforums.com
1-30-2010
I recently removed my TRAC Pump and Actuator and thought I would make an updated How To Thread. I realize there is already one of these floating around the forums and MKIV.com, however I was unhappy with the mis-information and format it holds in the initial write up. I've consolidated the proper steps here.
Tools required:
Jack
Sockets (10, 12, 14mm)
Plugs
Toyota Part # 90344-51005 (Optionally a 10mm x1.0 pitch x 10mm length bolt)
x2 10k Ohm 1/2 Watt Resistors
Line Cutters
Brake Fluid
Shop Towels
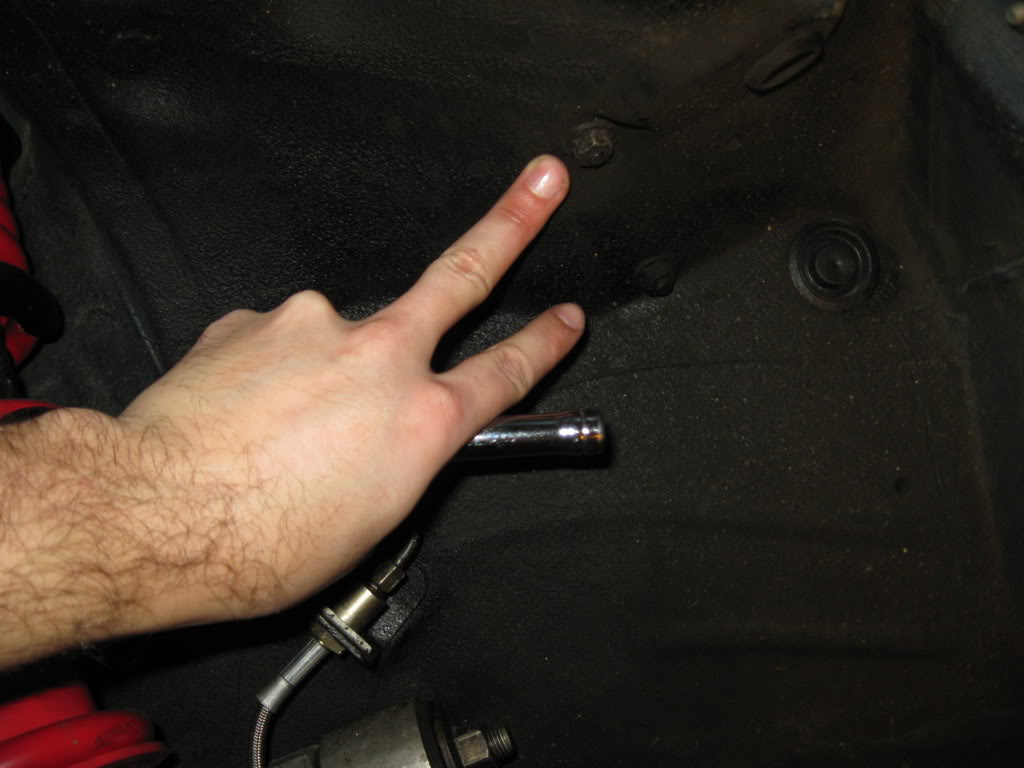
The first thing you will want to do is jack up the car to remove the drivers side wheel, and inner fender wells. You want to expose the bottom of the wheel well so that you can get to the two nuts holding down the components.
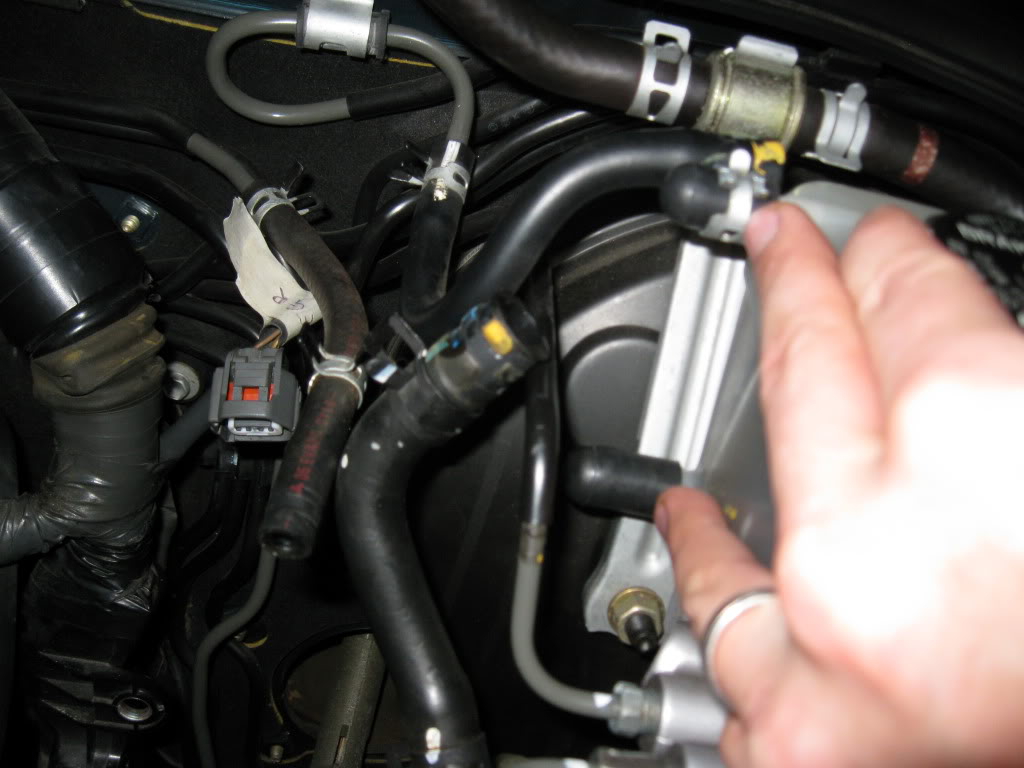
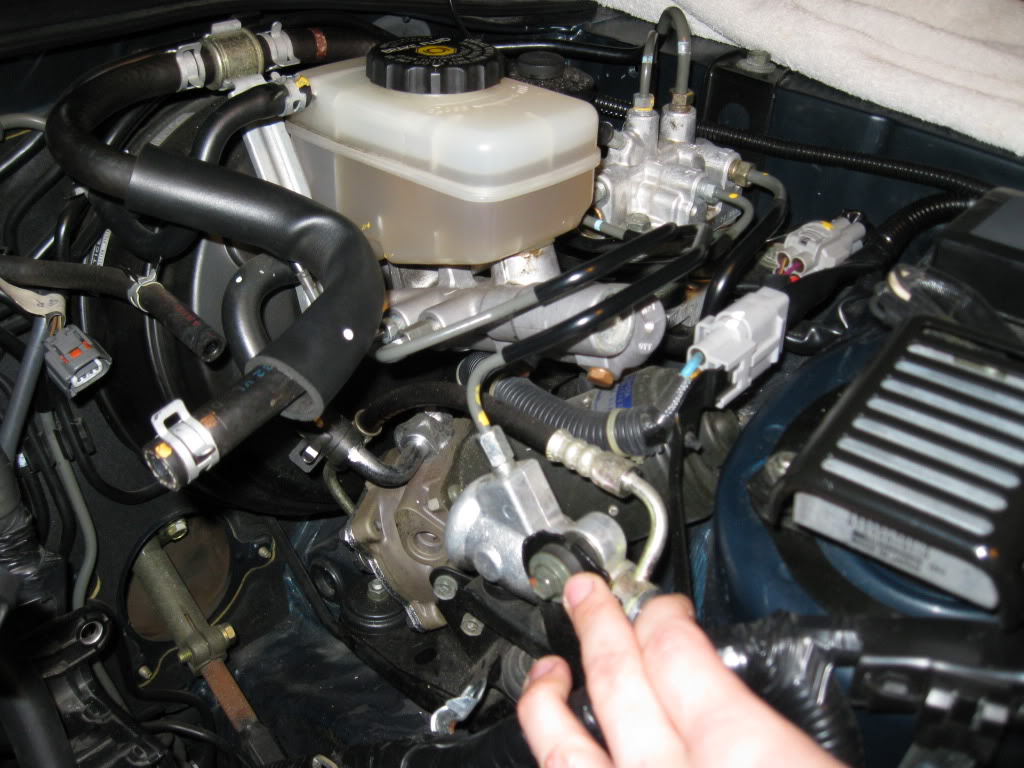
From here we move into the engine bay. Locate the components you will be removing on the drivers side, connected/adjacent to the brake fluid reservoir and master cylinder.
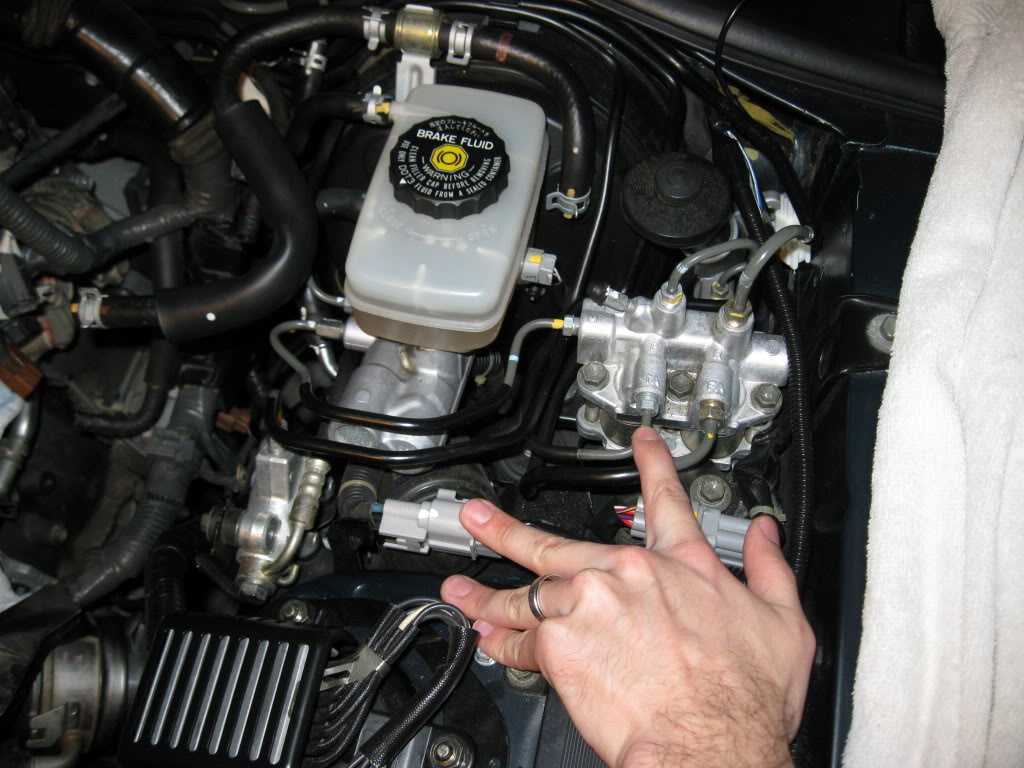
I dealt with the removal of the lines before tackling anything else. With them removed they are easier to move out of the way for the nuts/bolts holding things together. Here is what you need to do with the lines:
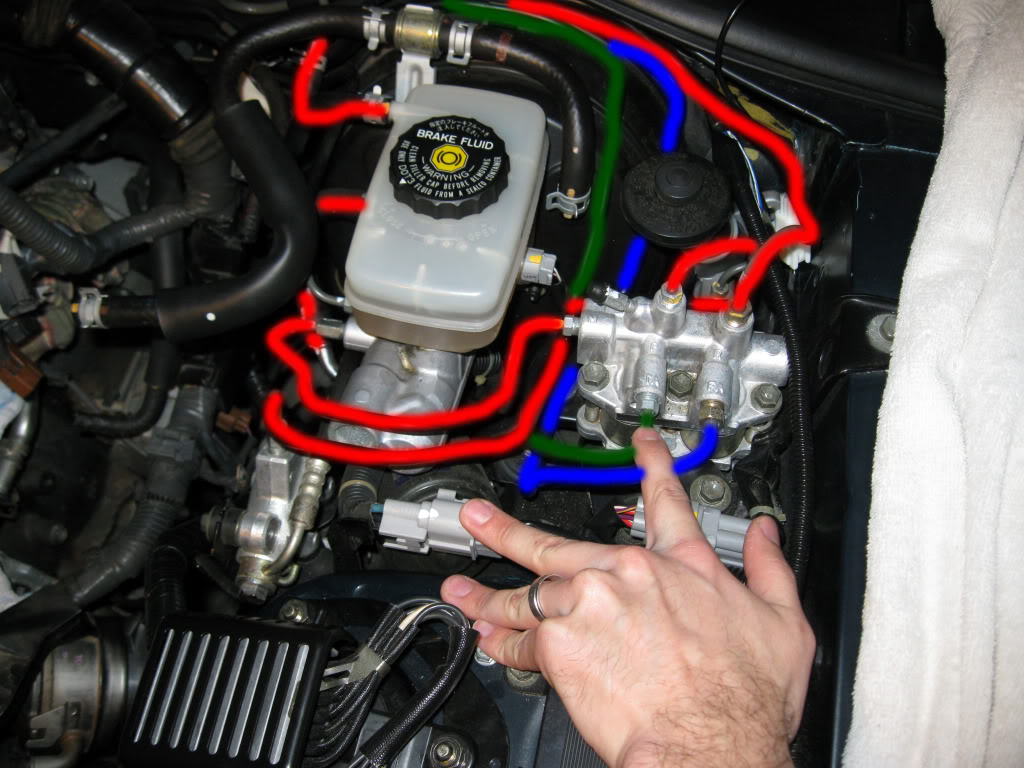
Red lines get removed completely. Disconnect both ends and get them out of there.
Green line will be routed from the front, left most position to meet up with the front position on the master cylinder.
Blue line will be removed completely. This line makes it's way to the ABS unit on the passenger side.
NOTE: Have shop towels ready to catch any fluid from all the lines from this point forward.
There are two ports on the back of the brake fluid reservoir which will be capped off upon removal of the hard lines. When you remove them have a shop towel ready to catch any fluid. Get the bottom cap on quickly:
Some of the lines are connect with brackets, simply remove them from them. You will have to unbolt one from the chassis.
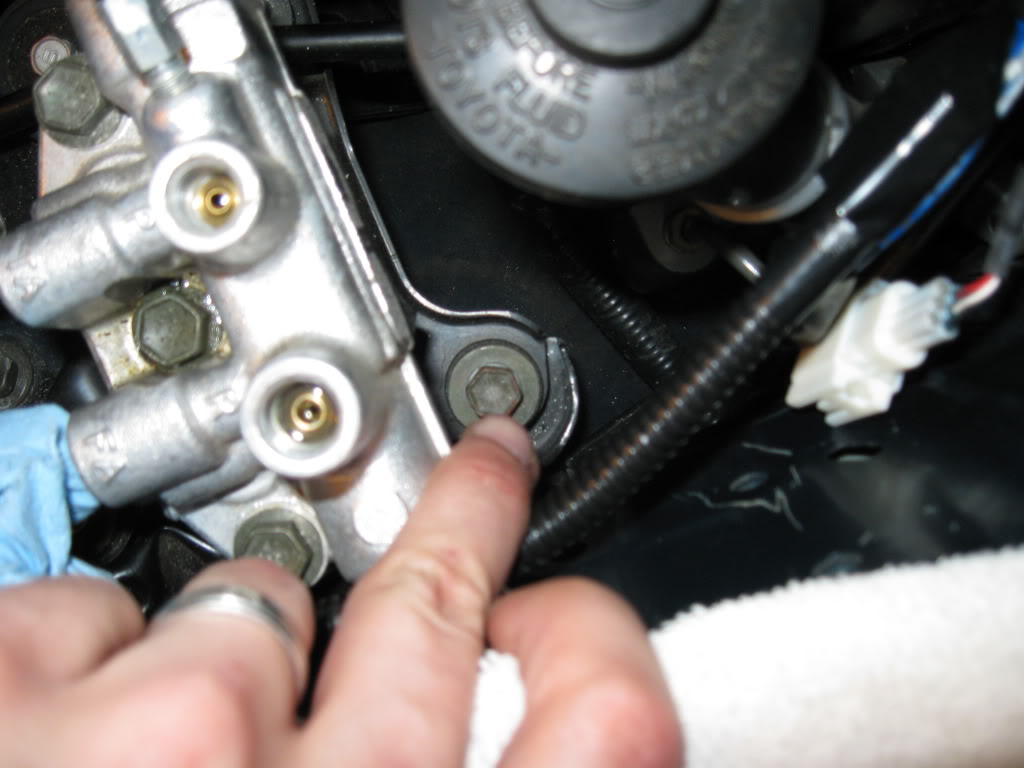
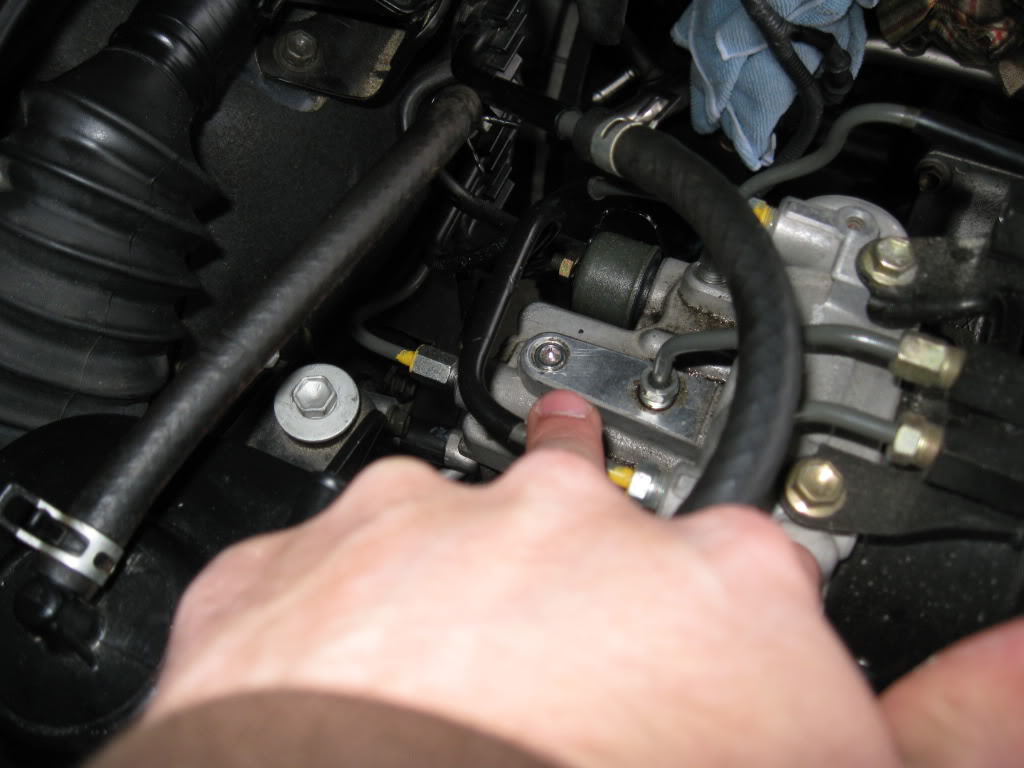
Once the lines are gone you remove the bolts/nuts holding the components down:
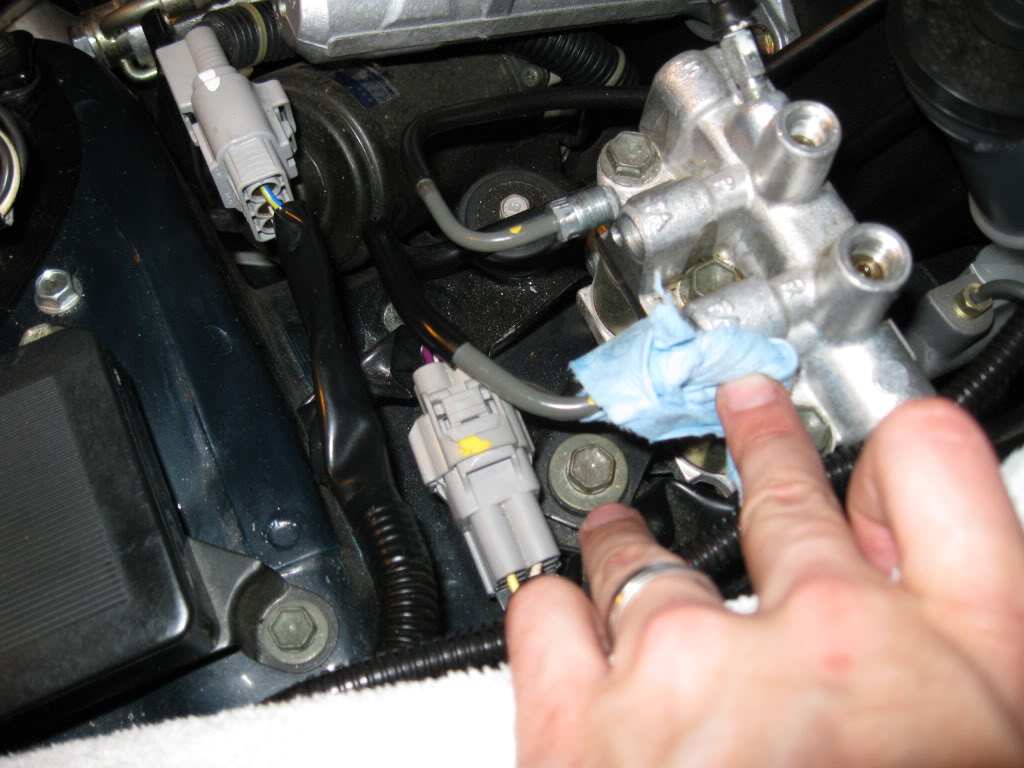
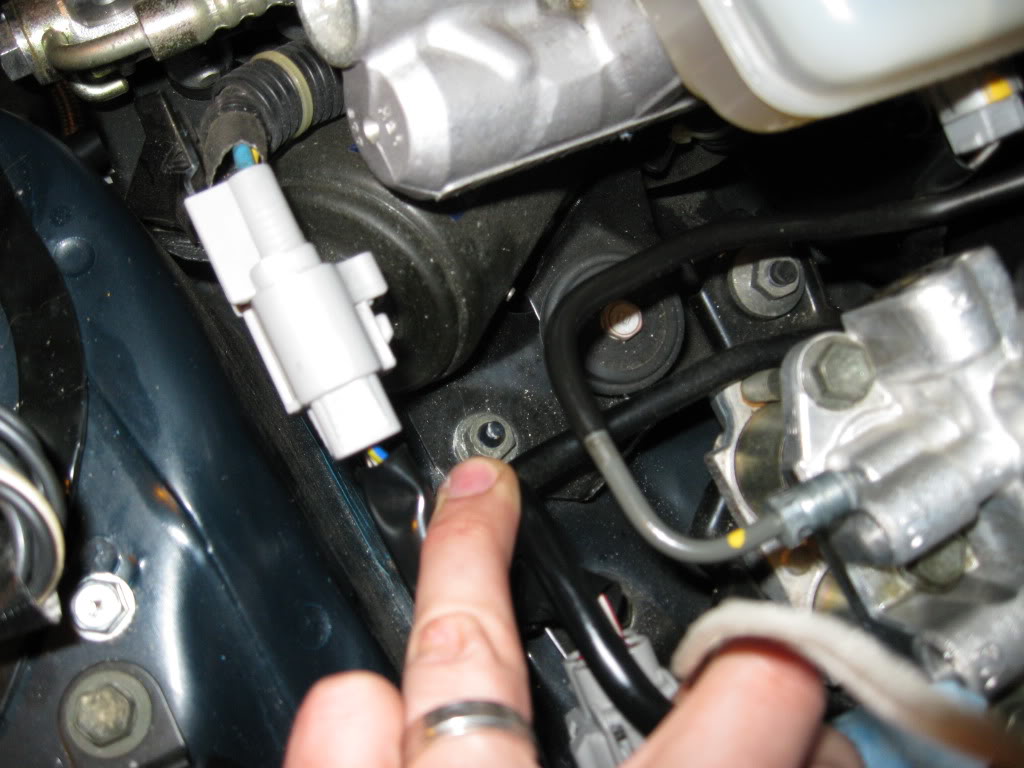
Once all those are done (there are a couple more not shown in the pictures, just look around, they are easy to find) Unclip the wiring harnesses:
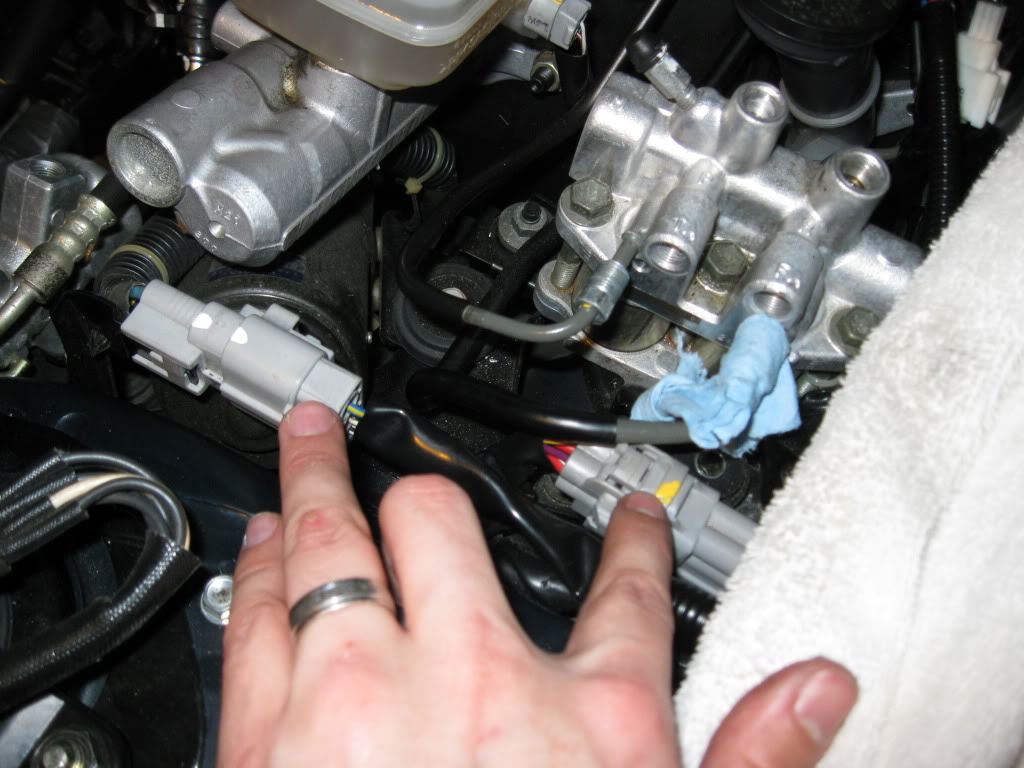
You can now slide the complete unit out in one piece. You'll be left with a nice space in your bay:

Next we deal with the re-routing of the hard line to the hard line to the master cylinder:
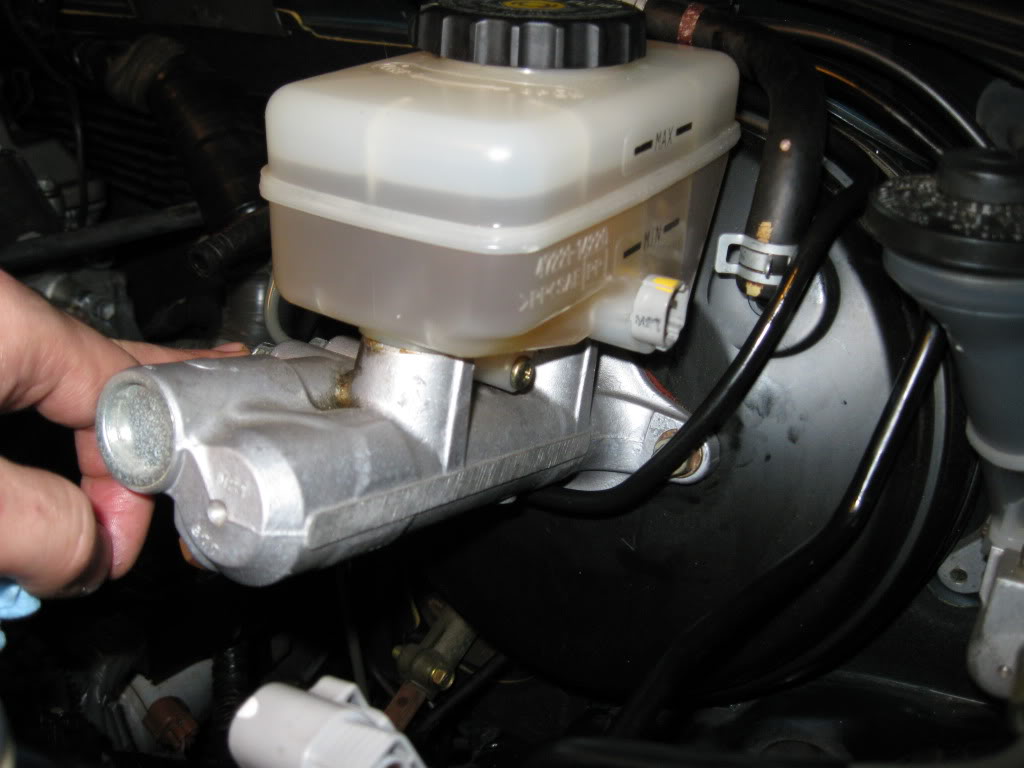
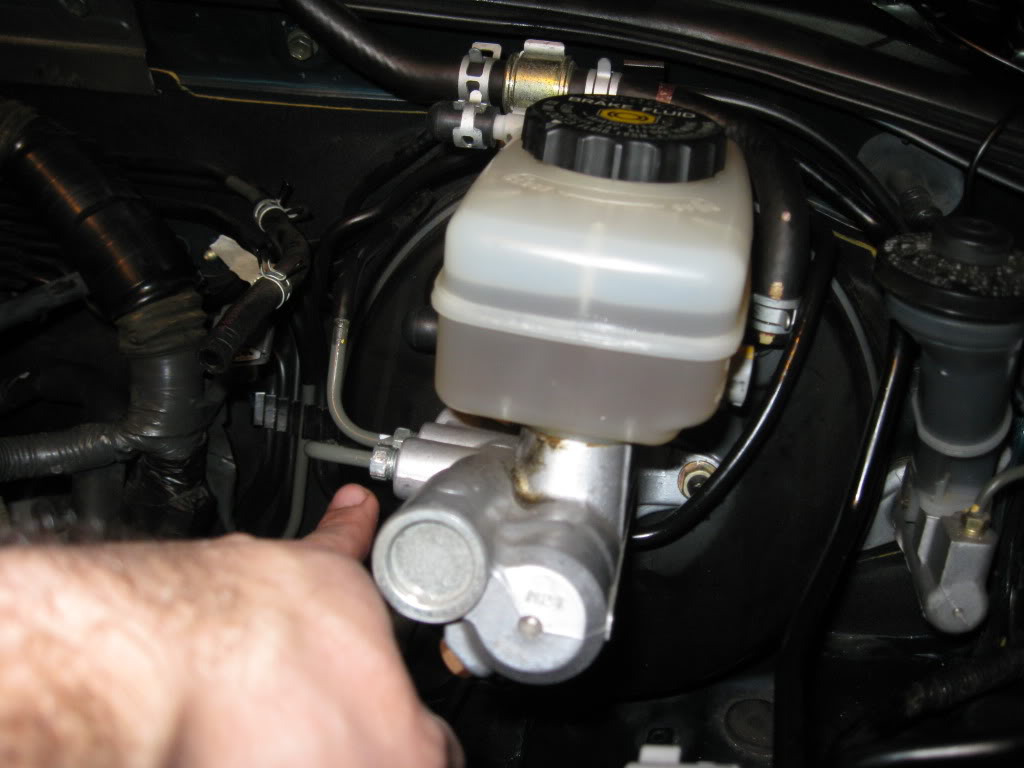
For this part route it under the brake booster. Unclip it from the chassis up top to allow for a few extra inches of flex. It will easily route. Make sure you don't crimp the line! Also, before you start to thread back in ensure you are 100% parallel with the master cylinder. Don't thread in on an angle, not good.
We then chop the last line up across the engine bay until we get to the ABS unit. It is the 5th line from the bottom on the way across the bay. I chopped it up into 4 parts for easy removal.
NOTE: Before doing anything trace the line across to ensure you are dealing with the proper line.
When you get to the ABS unit your line should be matched up with the farthest connection on the top, and meet up with the left most port.
With the line gone you fill the hole with the OEM (optional bolt). The plug looks 100% better.:
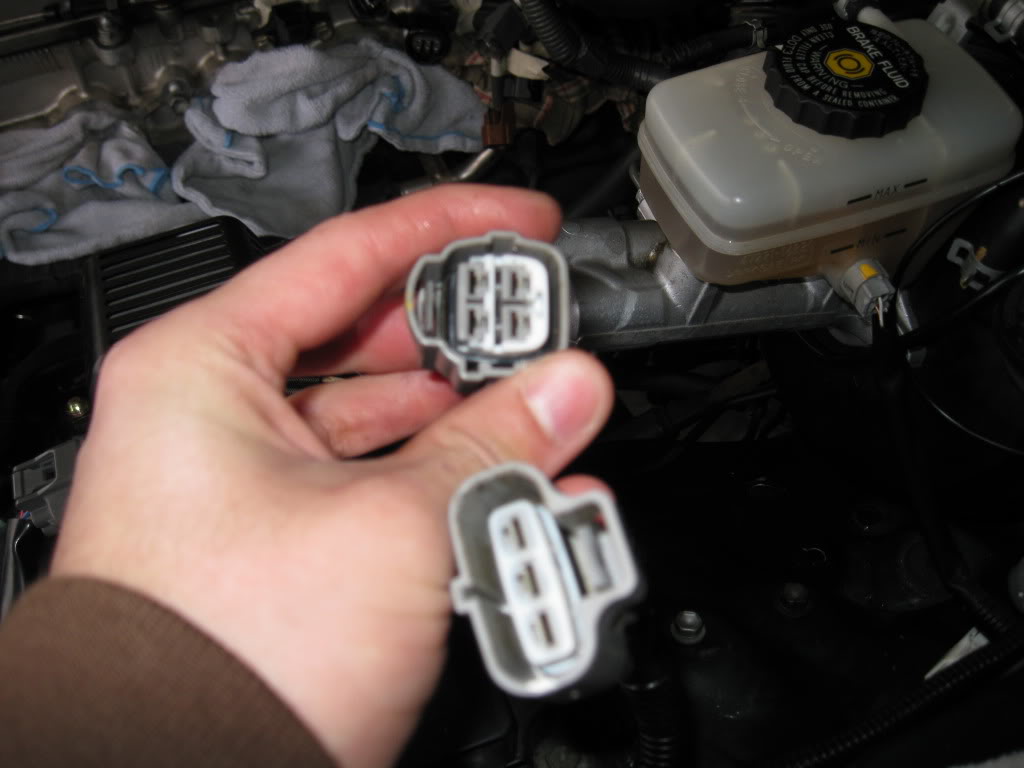
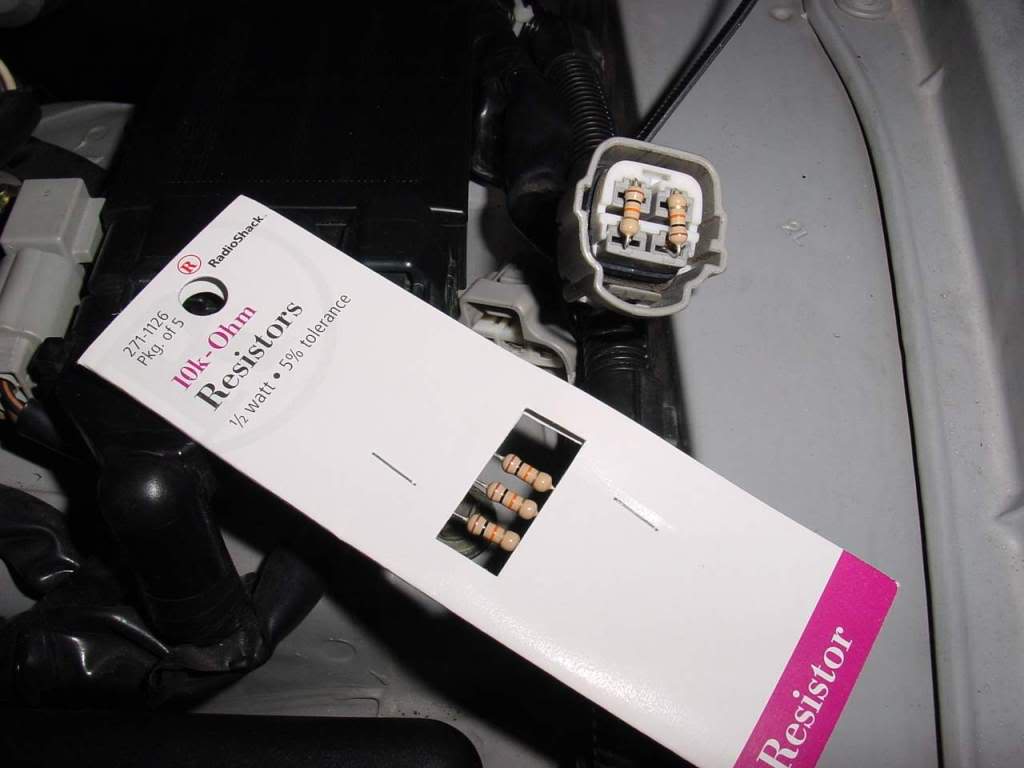
You will need to add the resistors to this connector:
My resistors aren't here yet, but this is what it should look like:
Given that we are dealing with brake components and removing lines I would highly recommend bleeding the brakes before driving. I've read you don't have to, but why take the chance since it's a 10 minute process to bleed them. The reservoir was never emptied so you won't have to bleed the master cylinder which adds extra time.
Keep in mind, removing these components MIGHT throw a /!\ indicator light. I can't confirm/rebut that at this time as I'm in the middle of a build and won't be turning my car on for a while. Any updates to that effect will be added in time.

Great DIY
Posted by Diggymart on 9/23/19 @ 1:25:12 PM