You must be logged in to rate content!
7 minute read

Engine Bay LED Install
Compliments of Benson X @ www.tacomaworld.com
9-16-2012
Here's my LED install for the engine bay. I wanted to illuminate the whole engine compartment and separately light up the winch area using one discreet switch.

PARTS USED:
(2) 12" Cool White Waterproof ribbons from Ozium.com (found HERE)
(1) 6" Cool White Waterproof ribbon from Ozium.com (found HERE)
(1) On-Off-On SPDT Rocker Switch (I used one exactly like THIS)
(1) Add-A-Fuse (I used one like  THIS)
THIS)
TOOLS NEEDED:
Wire-Strippers / Crimpers
Philips head screwdriver
Flathead screwdriver
10mm wrench -or- socket
12mm wrench -or- socket
Soldering Iron / Solder (optional)
Butt Connectors
14-16awg Wire (2-colors recommended)
(1) Quick-Splice connector
(1) 1/2" Ring terminal connector
(1) 1/4" Ring terminal connector
(3) .187" Female Quick-Connect terminals
Heat-Shrink tubing
Electrical Tape
Coat Hanger / Wire-puller
Zip-Ties
Drill with 3/4" drill-bit -or- hole-saw
LIGHT!!!
STEP 1: Mount The LEDs
!!!Disconnect the Battery!!!
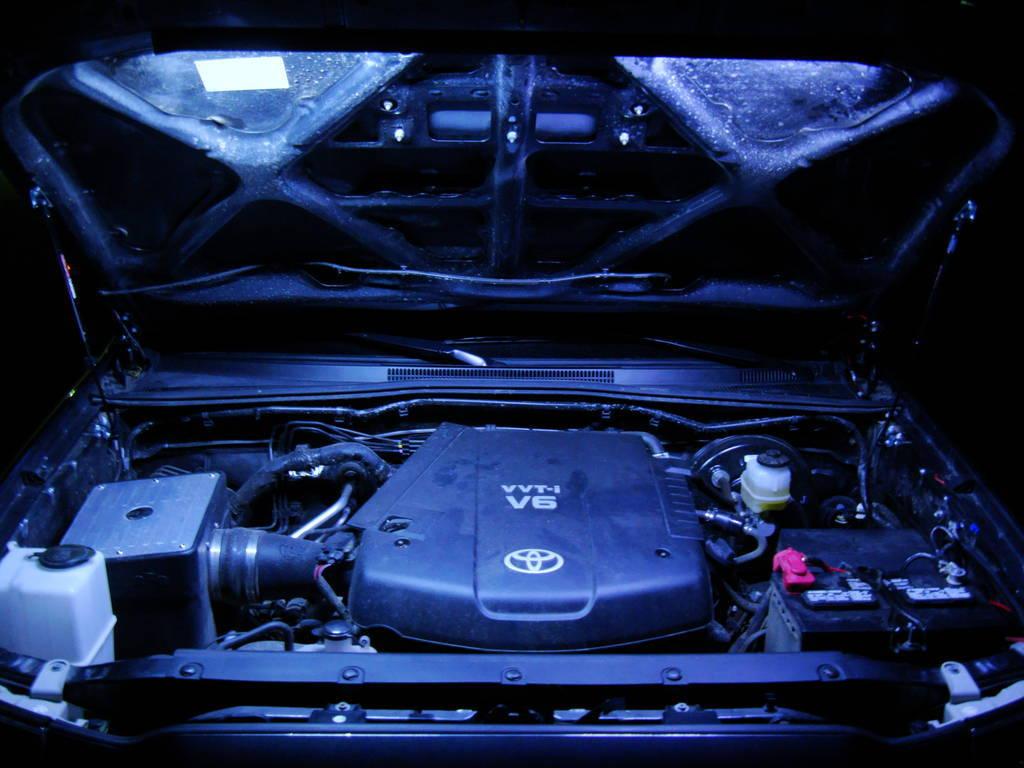
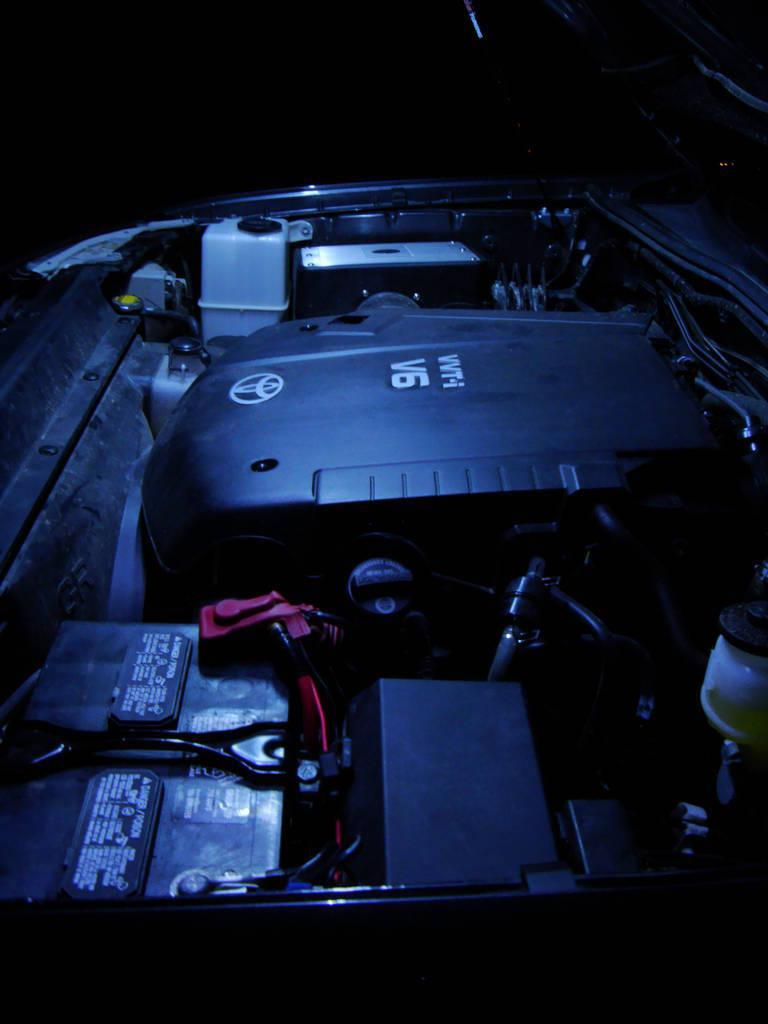
I mounted the (2) 12" LED strips on the underside of the hood (First, clean the mounting area with water and/or rubbing alcohol, let dry)
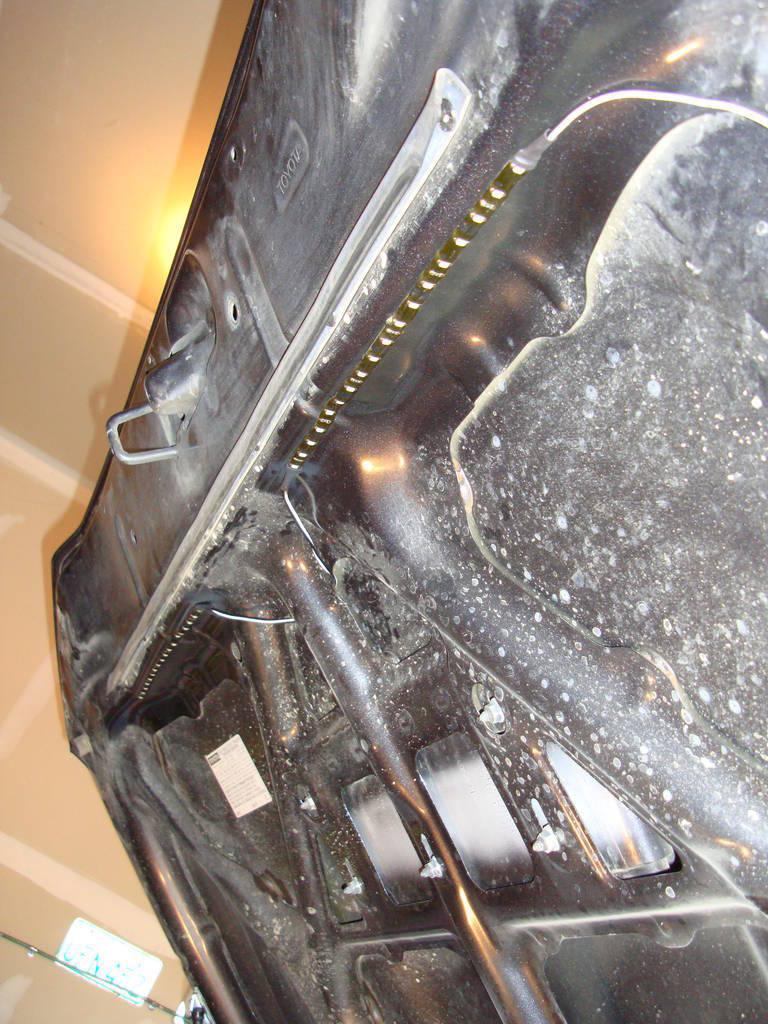
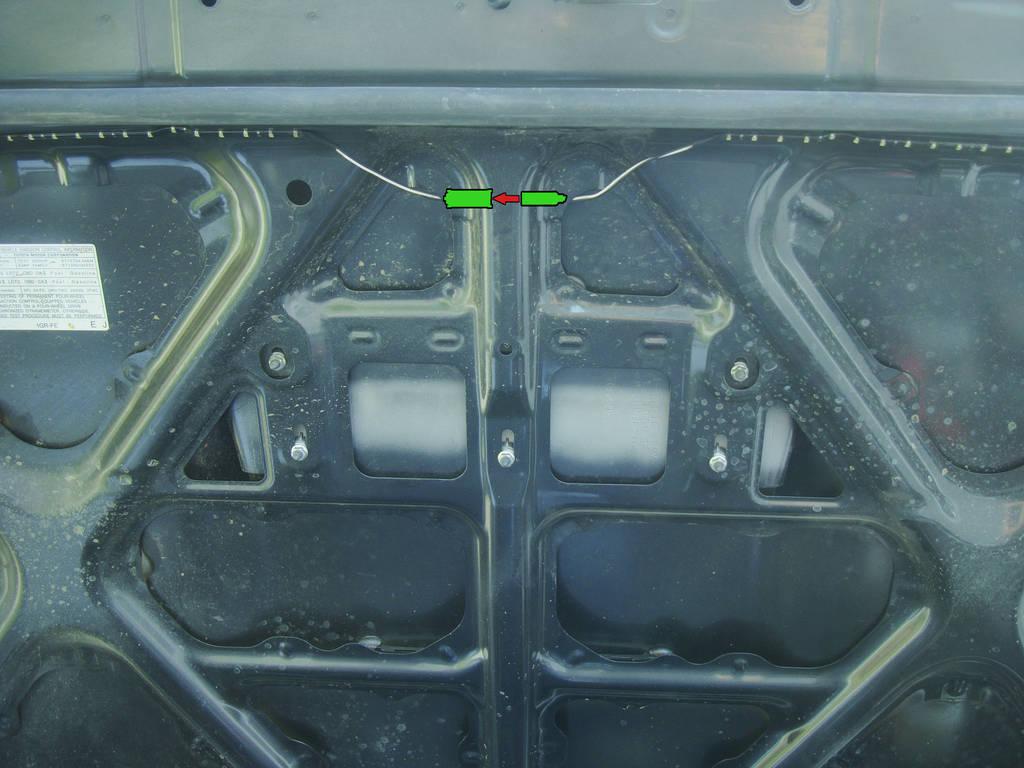
Connect the (2) 12" strips using the pre-wired pigtails. You can clip off the last pigtail on the passenger side, as it will not be used.
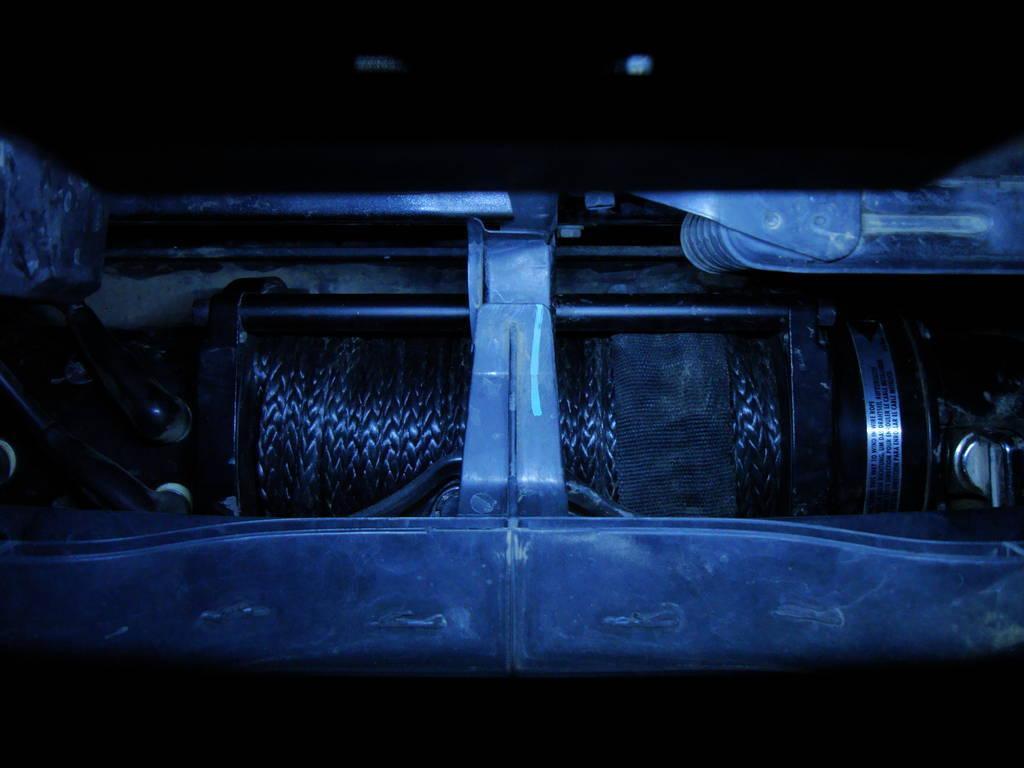
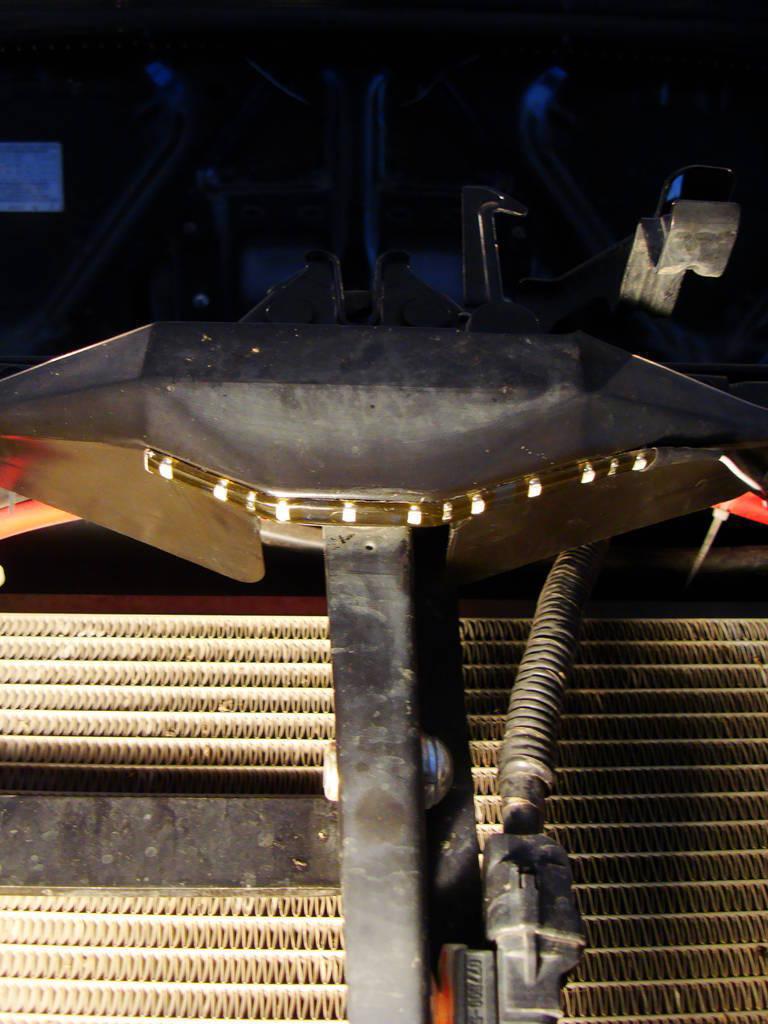
I stuck the 6" strip on the underside of the hood latch shield thing. Again, clip off the passenger side pigtail, and leave the driver's side.
STEP 2: Install the Switch
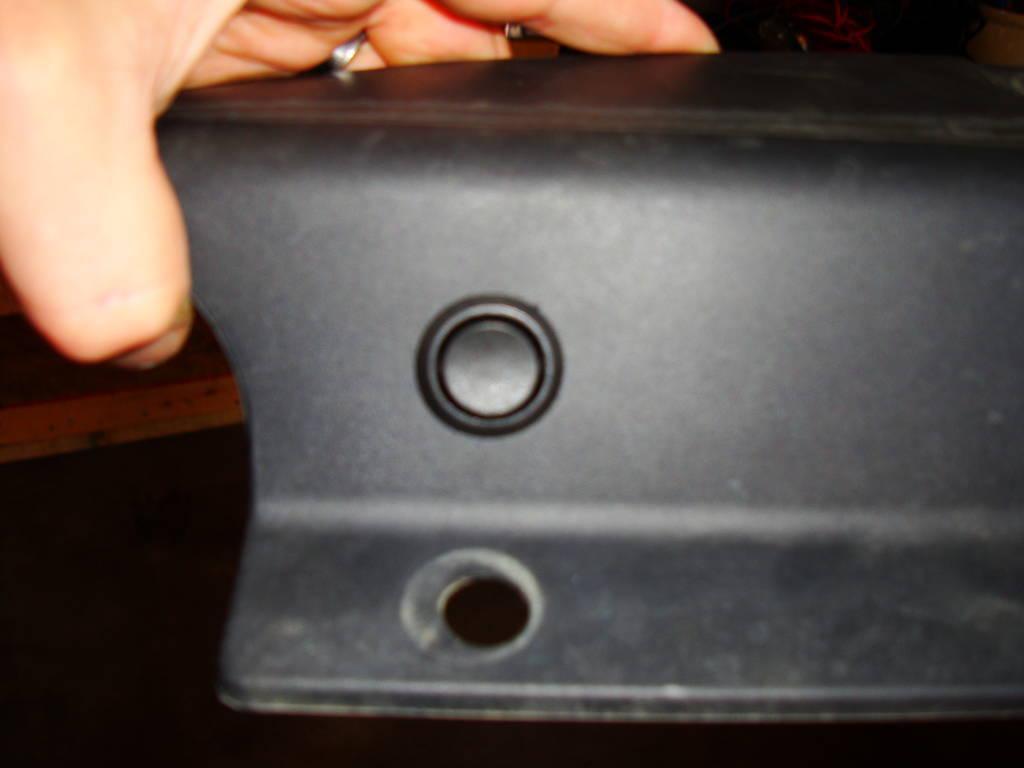
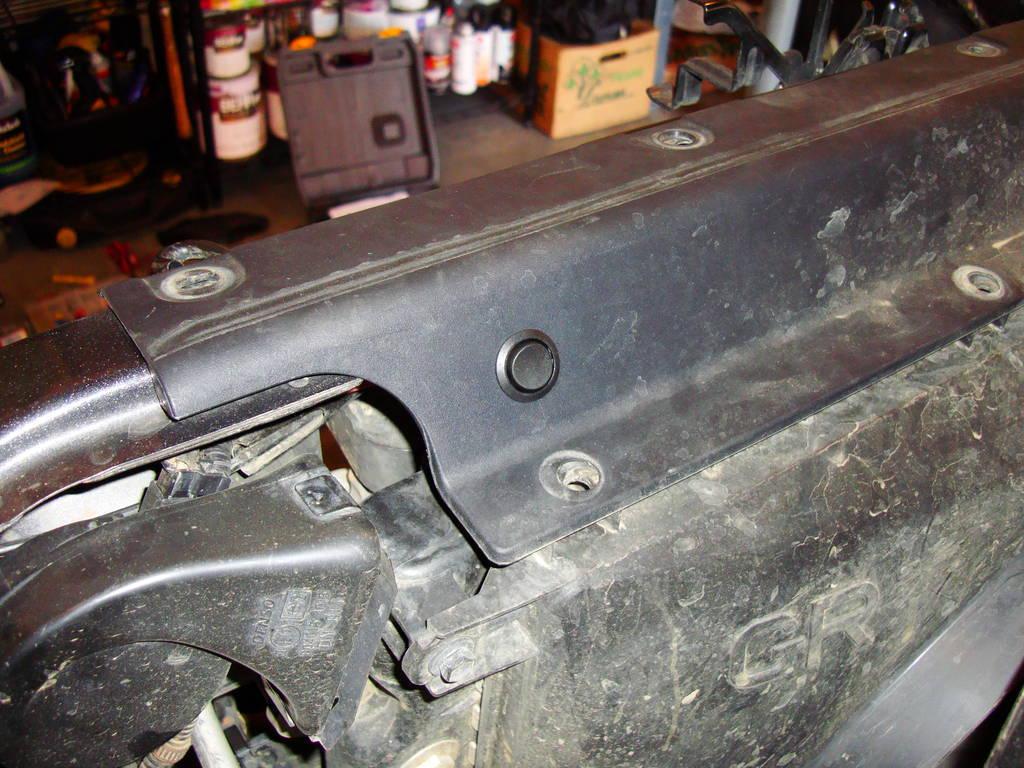
Using a skinny flat head screwdriver, remove all the clips on the top plastic cover above the radiator.
Drill a 3/4" hole on the driver's side of the plastic piece, centered above the last hole.
NOTE: I had to make small notch at the 9 o'clock position of the hole (driver's side). Test fit the switch
STEP 3: Wire it up
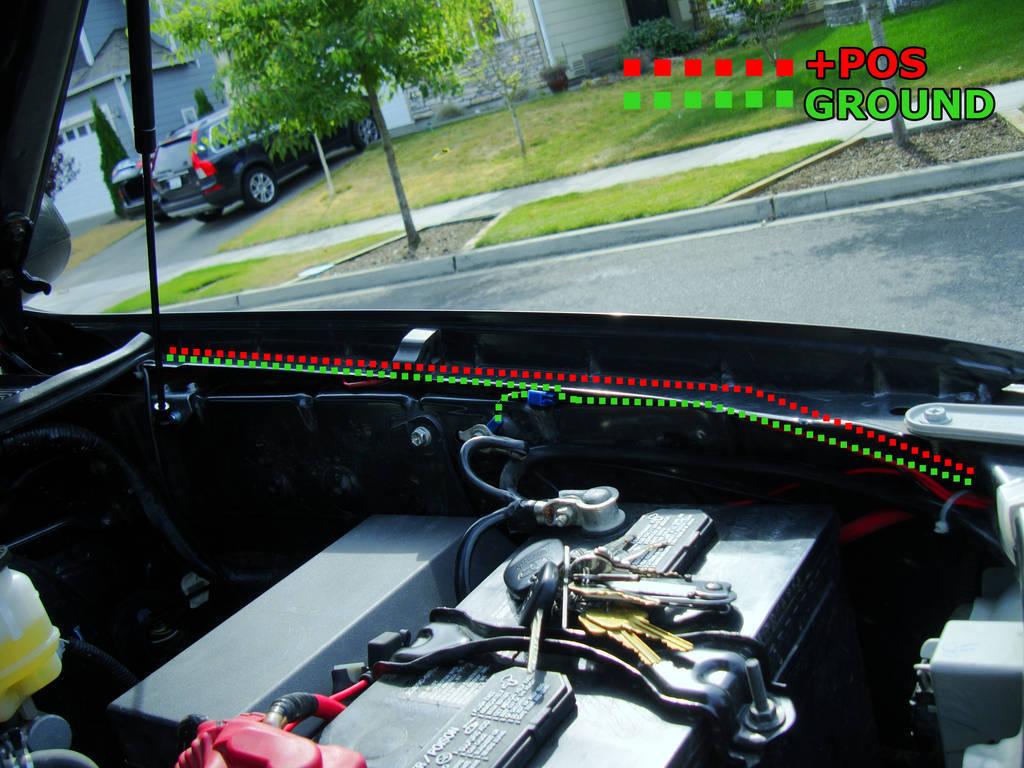
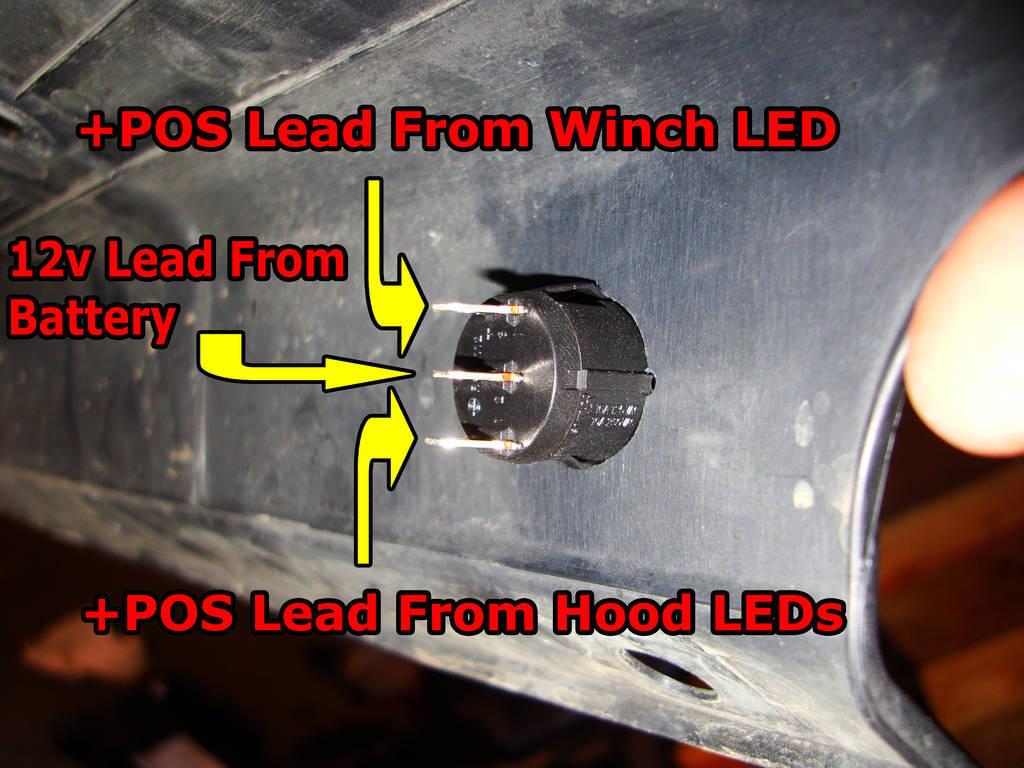
*I used (2) Male pigtail plugs that came with the LED strips. The WHITE is the +POS and the BLACK is the GROUND
For the hood LEDs:
I soldered my +POS and GROUND wires to the male pigtail that came with the LED strips and heat shrinked them. Run the +POS wire until it reached the switch. I then measured the GROUND until it reaches the common ground by the battery (near the fusebox).
Leave yourself a few extra inches and trim the wire.
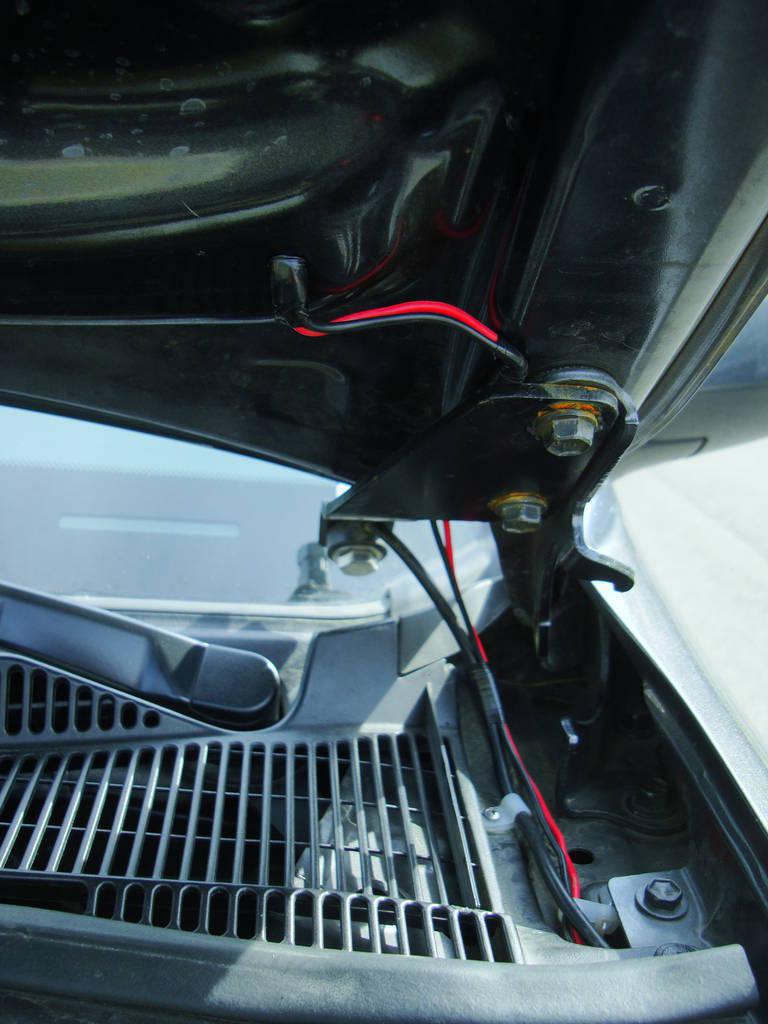
After you have your wire lengths measured and cut, run them through the recesses of the hood, and out the hole in the bottom corner near the windshield on the driver's side.
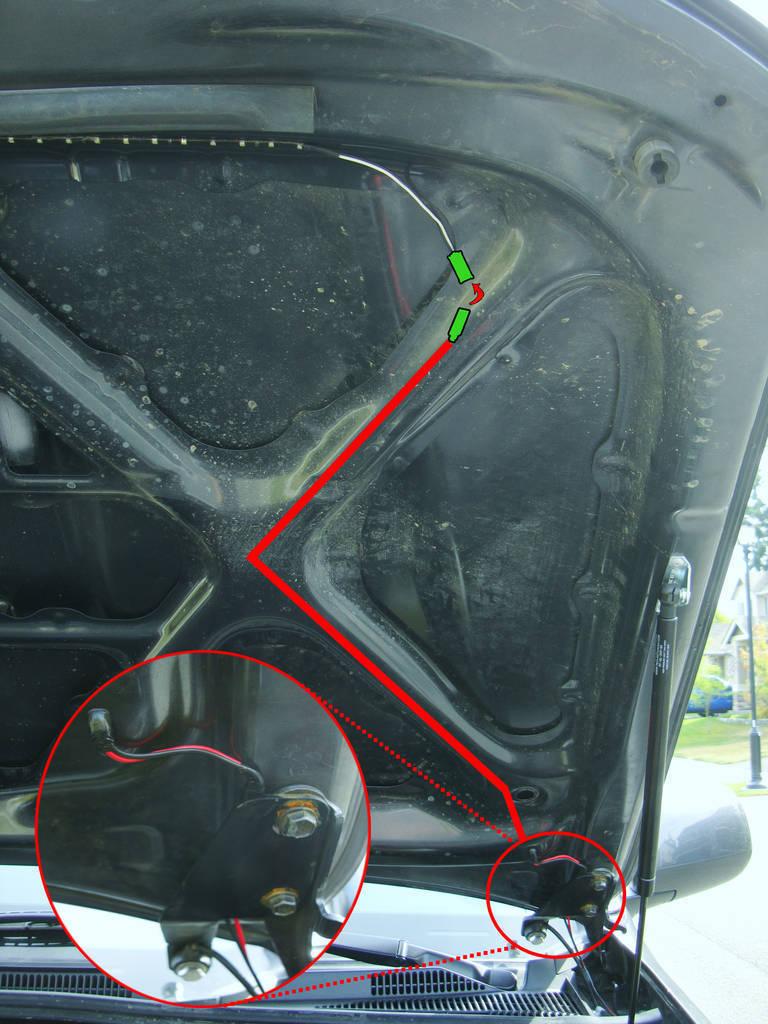
I wrapped the wire in electrical tape near the hole, and pulled it back through to insulate it and keep it in place. I also used my Relentless CB mount to keep the wire from getting pinched in the hood and insured it wouldn't move.
After insuring the +POS lead reaches the switch, crimp on a .187" female quick-connect terminal.
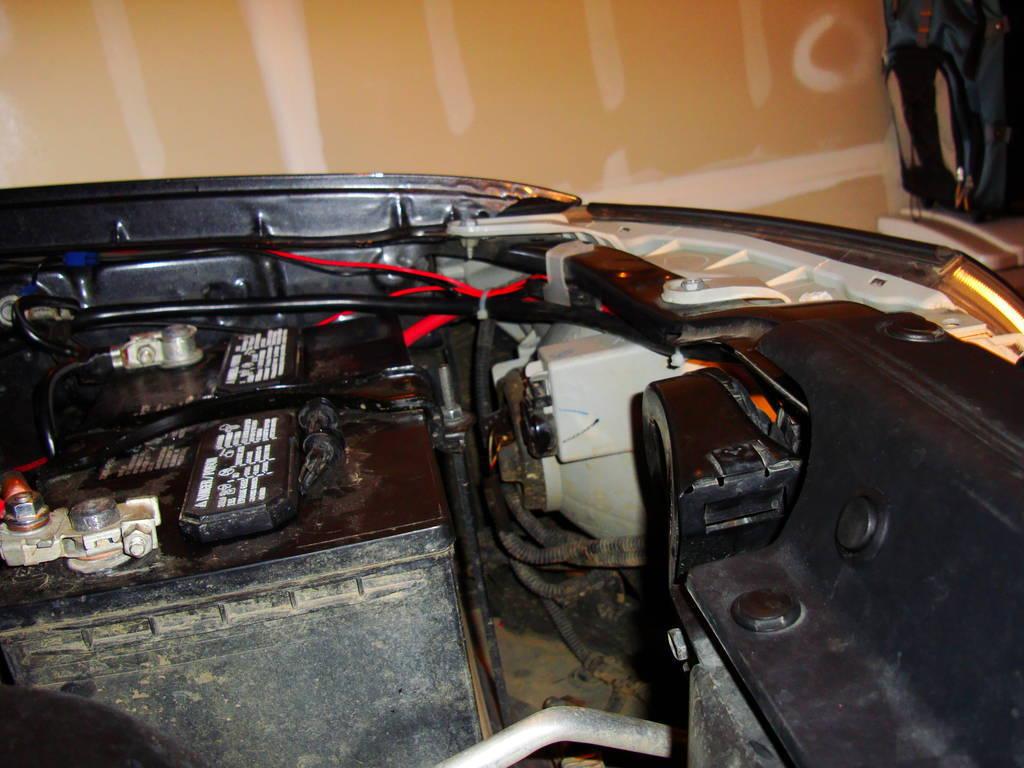
For the winch LED:
I plugged in the other pigtail and soldered a length of wire for the GROUND. This is going to the same ground point as the hood LEDs. Measure it and trim the wire.
I crimped on the 1/4" Ring Terminal and connected this GROUND wire to the Hood LED GROUND using a Quick-Splice connector. Now all the LED strips share the same common GROUND point.
On the +POS lead (white wire), I crimped on a .187" female Quick Connect terminal for the switch.
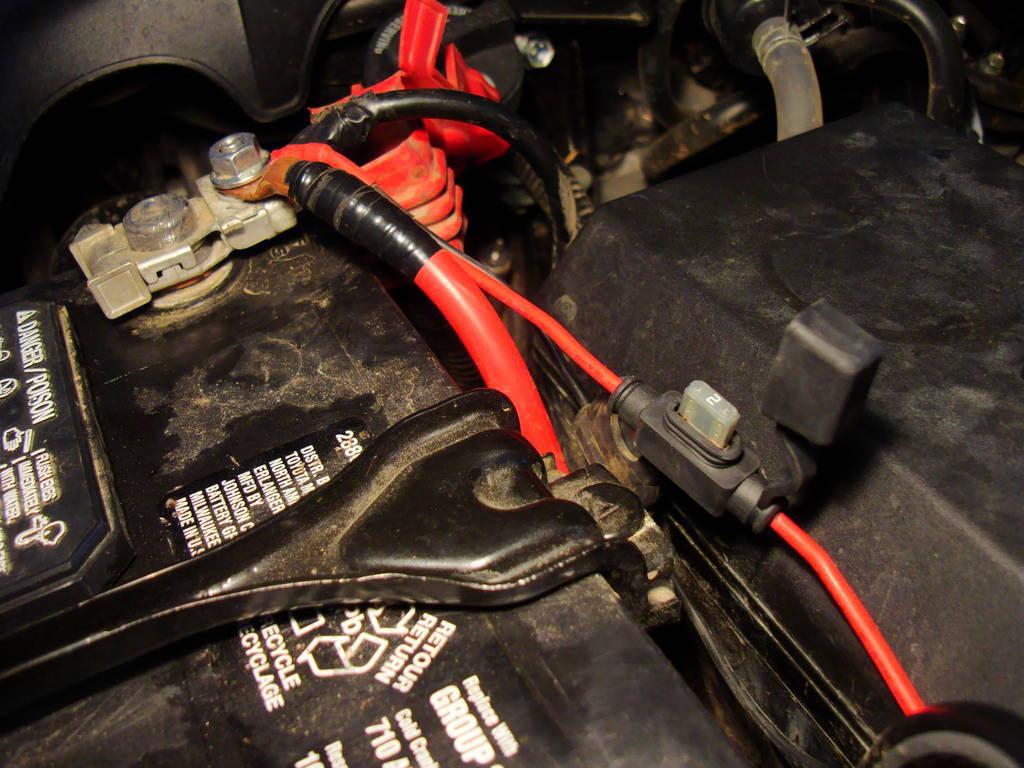
For the 12v Battery Lead:
I crimped on the 1/2" ring terminal on the in-line Add-A-Fuse and soldered an extension wire to reach the switch. Then I crimped on another .187" female Quick-Connect terminal to connect it to the switch. I used a 2 amp fuse.
STEP 4: Clean it up & Plug It In
After checking that all the wires will reach the switch and ground point, start tucking them in and cleaning them up with zip-ties, electrical tape etc.
I tried to tuck the wires up into the fender area as much as possible, but be careful to avoid sharp edges and pinch points. Zip-ties and electrical tape came in handy here.


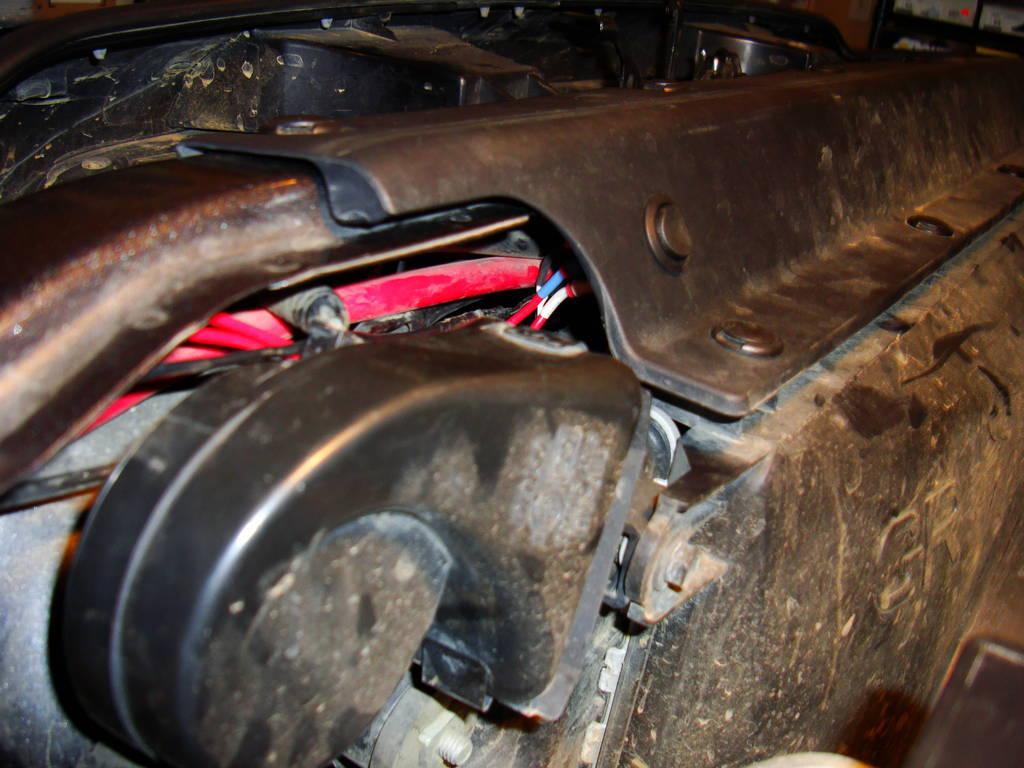
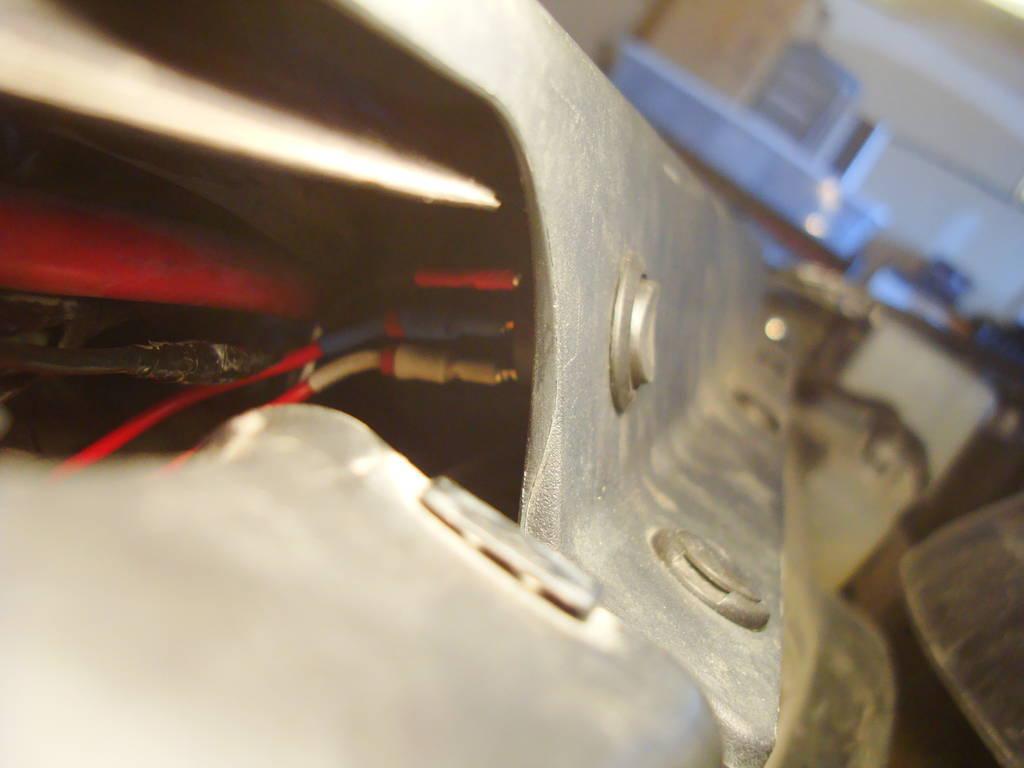
Give everything a once-over and plug it all in. Don't forget to put a fuse in.
STEP 5: Turn Them ON!!!