You must be logged in to rate content!
15 minute read
My Satoshi Grill write-up
Compliments of FlawedXJ @ www.tacomaworld.com
3-2-2009
After seeing these Satoshi (deep dish) grills showing up, I decided to do one myself and make a write-up following it. I owe my thanks to a member off XRU (Shook) who has a similar write up.
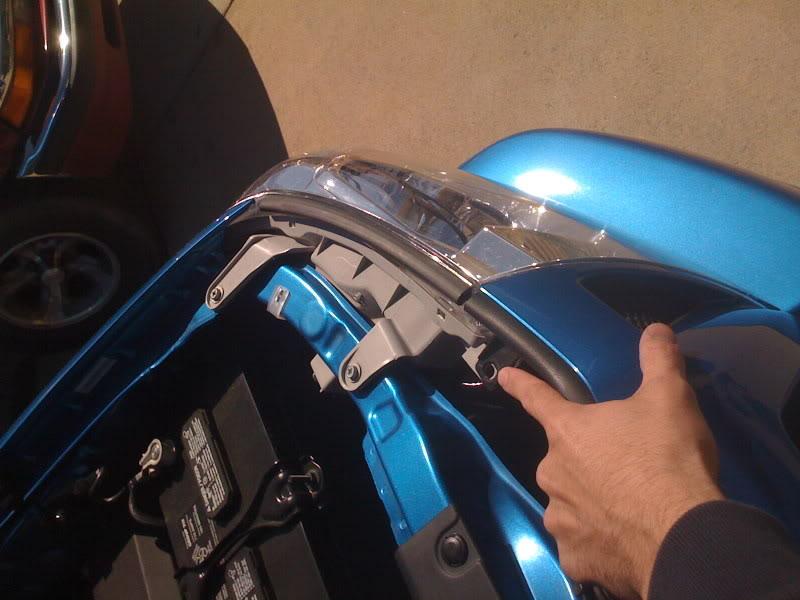
Start by removing your grill assembly off the truck. To do so you need to pull two plastic tabs and 2 bolts.
you can remove these tabs just by prying under them with a flat head screw driver.
Left tab:
right tab: (sorry i hadn't rotated it)
then remove the two screws. Just a phillips head will do.
Now, you just need to pull up on the whole assembly and it should pull right out. It's only held in now by two clip as shown:
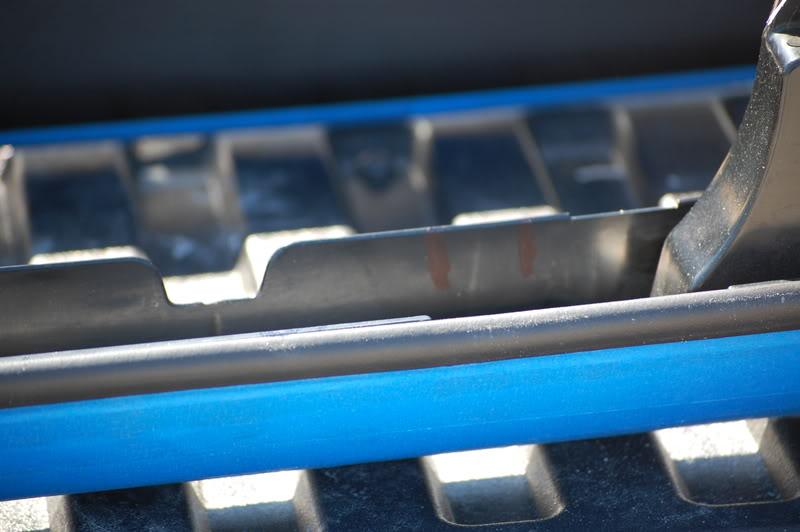
The next step begins the fun part. I have no pictures of the actual process, but you need to cut out the center part of the original grill as shown:
I used a dremel with a drill bit and just cut it out like a mill. I was left with small piece of plastic that need to be sanded down to make it flush.
In the previous picture you can kind of see the tabs left over. I then went over those pieces with a dremel and a sanding bit to get it as close as i can. Then i followed with 60 grit sandpaper, 220 grit sand paper, and then 400 to make it smooth.
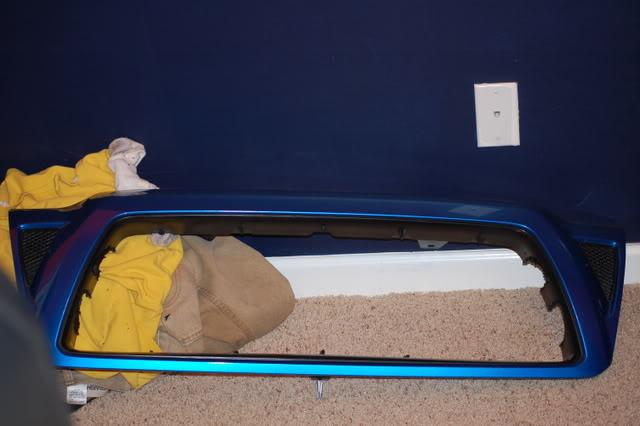
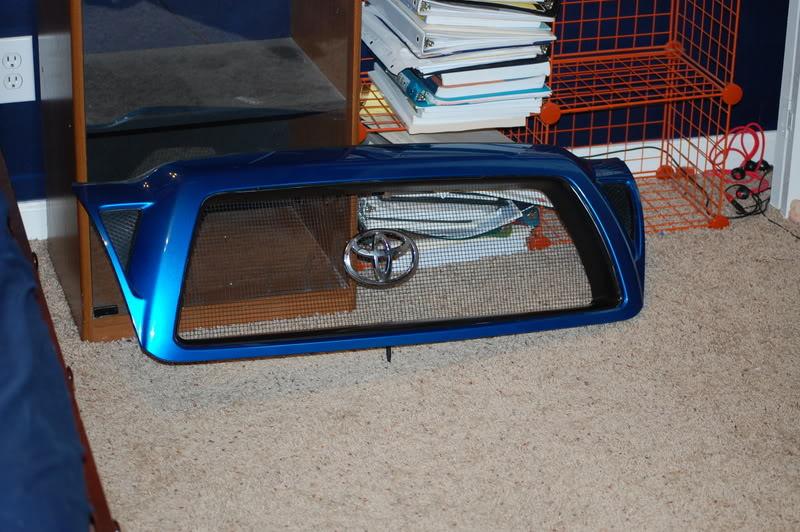
Here it is in my bedroom with the preliminary sanding done.
Close up of the sanding:
Here is a test fit back on the vehicle:
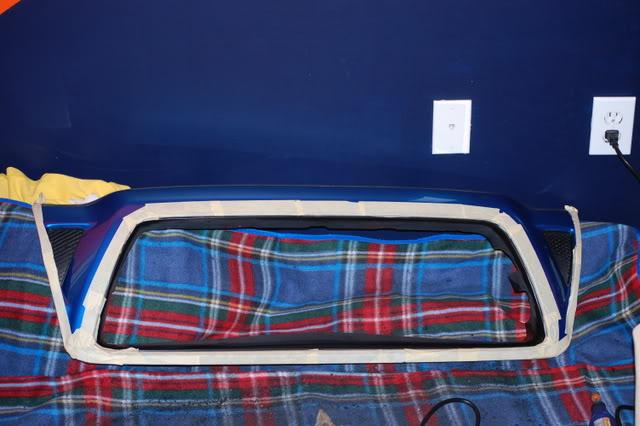
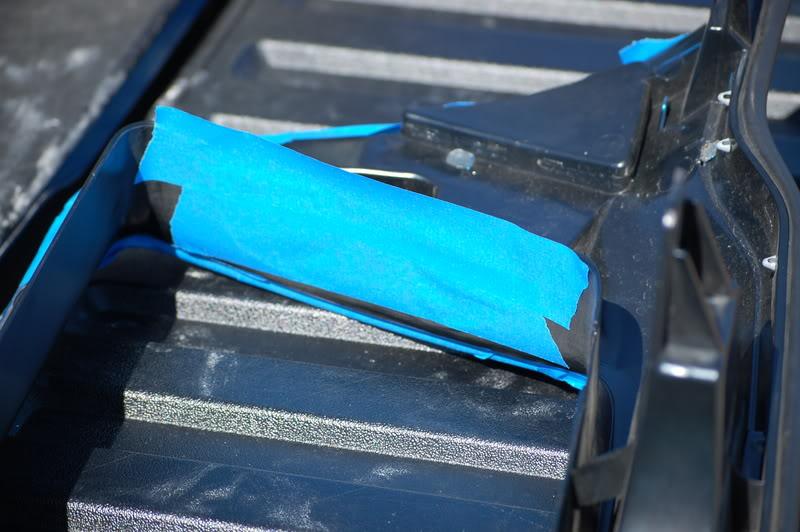
I took the grill back off and taped it up extremely thoroughly so no damage would be done to the paint. I just used 3m painters tape.
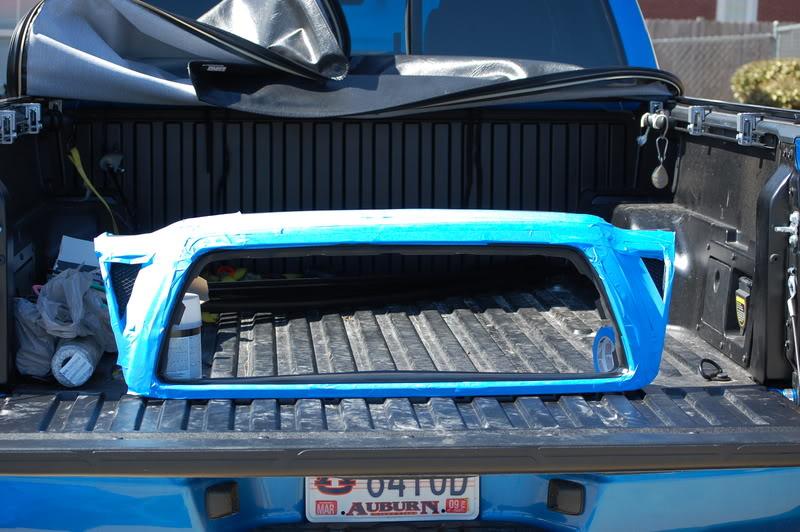
Now, Get yourself a fiberglass repair kit from a store like autozone or advanced autoparts. I have never done fiber glass before so this is where my write-up gets a little messy.
The kit should come with everything you need. Stirring rod, plastic tray, fiberglass cloth, and hardener. Cut out strips of the fiberglass cloth to match the size of the missing slots on the side of the grill like so:
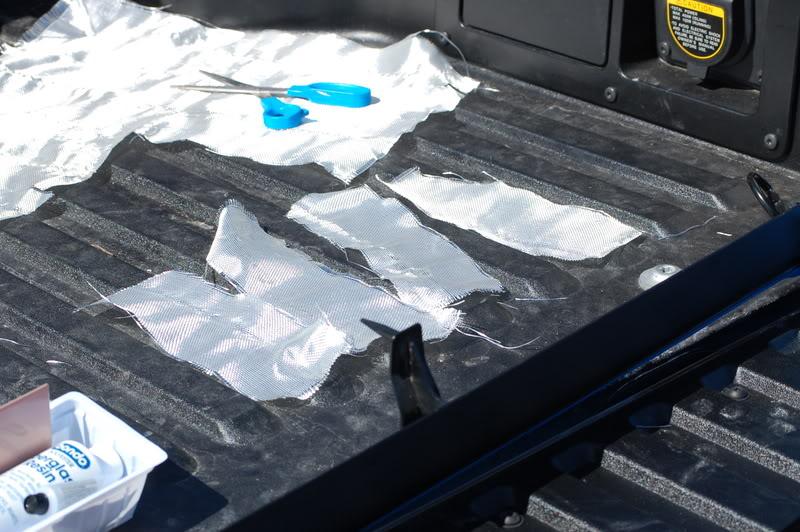
There are only four in the picture but i ended up having 6, 3 for each side.
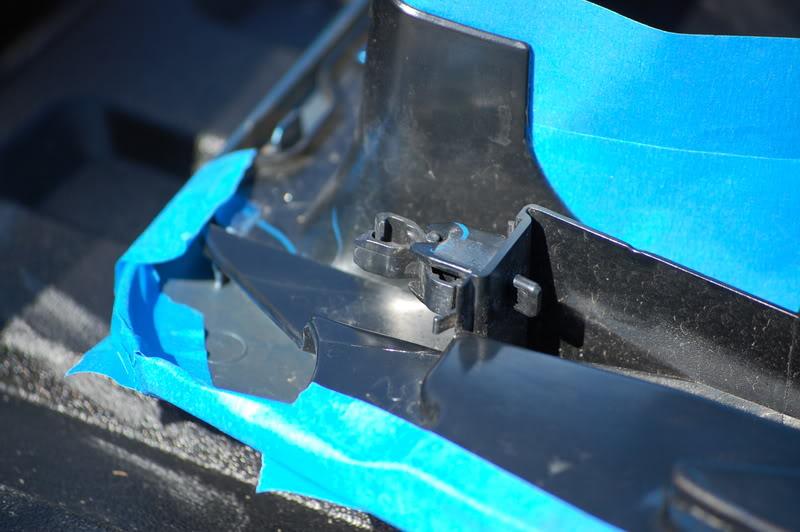
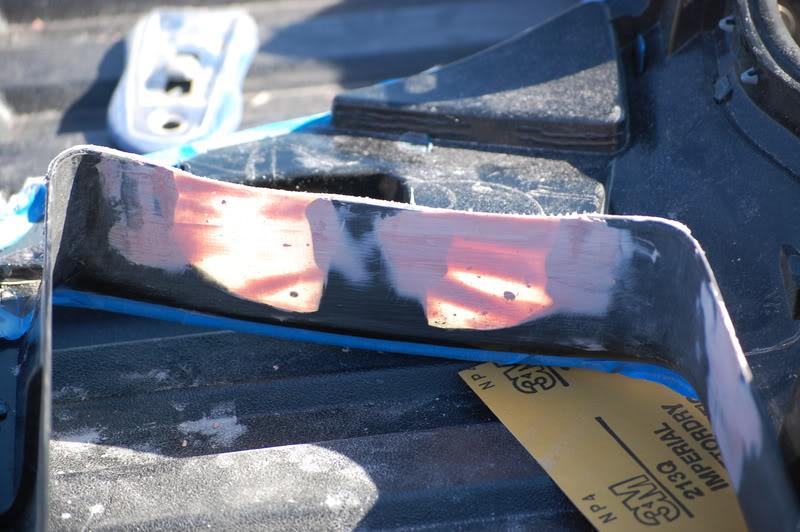
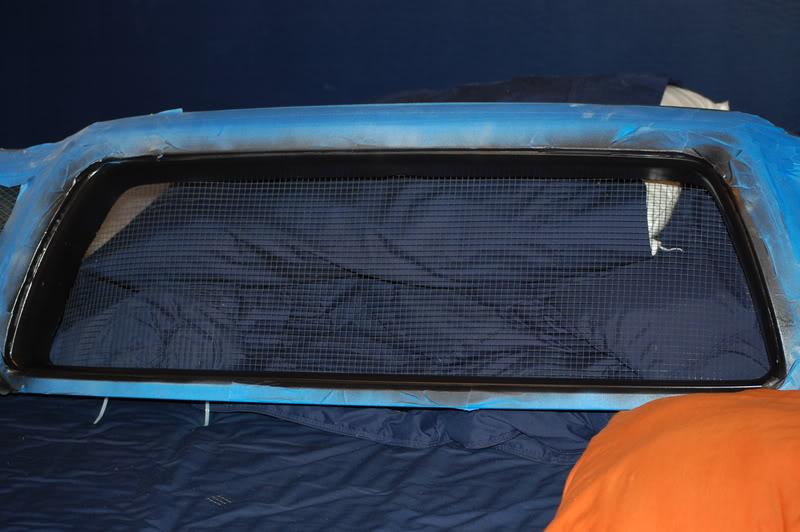
before you start applying the fiberglass, I suggest taping over the inside of the cuts on the grill so the solution doesn't spill over onto the grill:
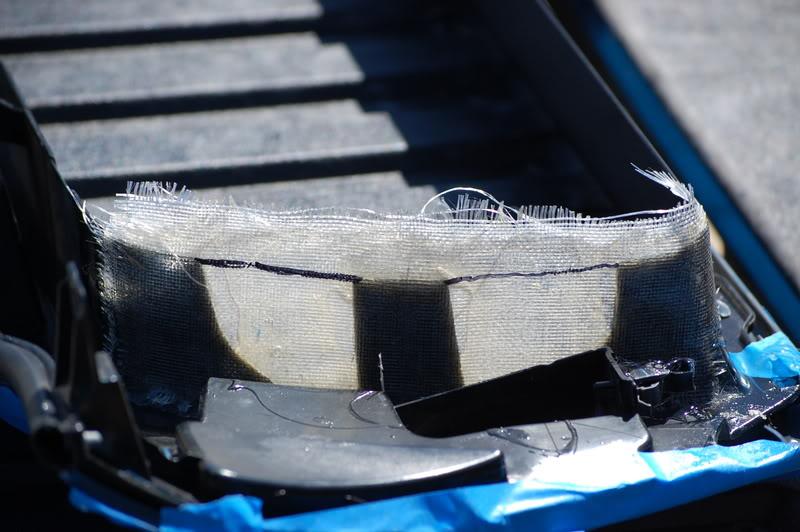
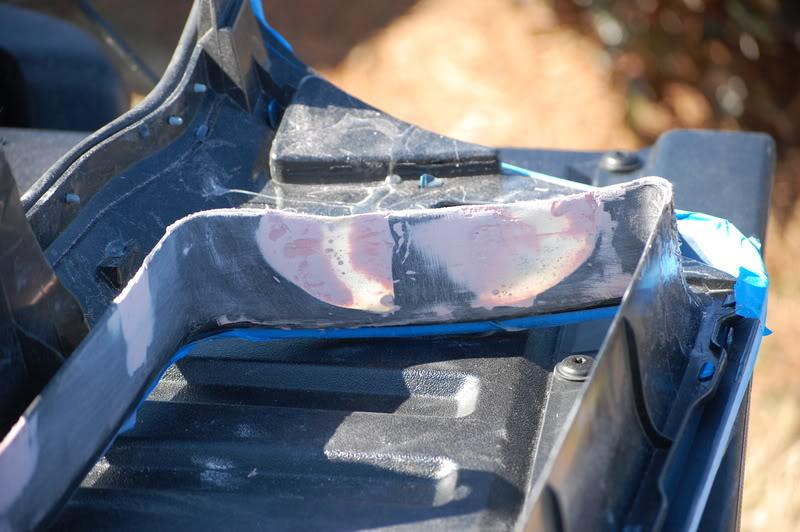
Now, the fun part. Follow the instructions on your fiberglass kit to cover up the slots. I have no need for my kit after this so i just made up a whole batch. Here's how it should look with the fiber glass put on:
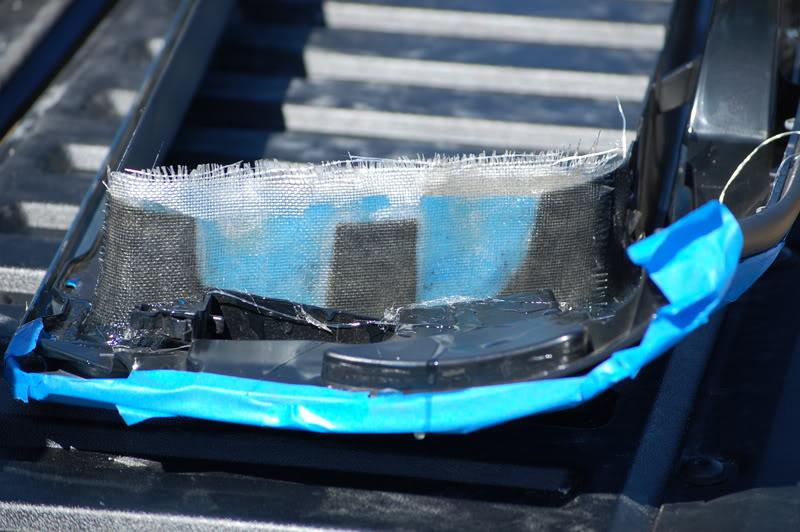
After it has sat for about five minutes, remove the tape you put on the inside of the grill so that the fiberglass can dry (mine said wait 90 minutes so thats what i'm going to do.)
Now I am waiting for it to dry (killing time by posting this). Expect the next steps of bondo, sanding, priming, and painting.
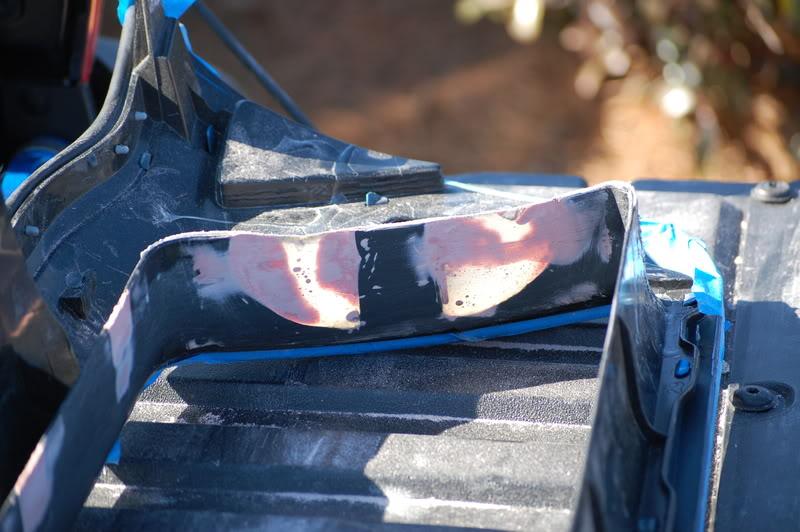
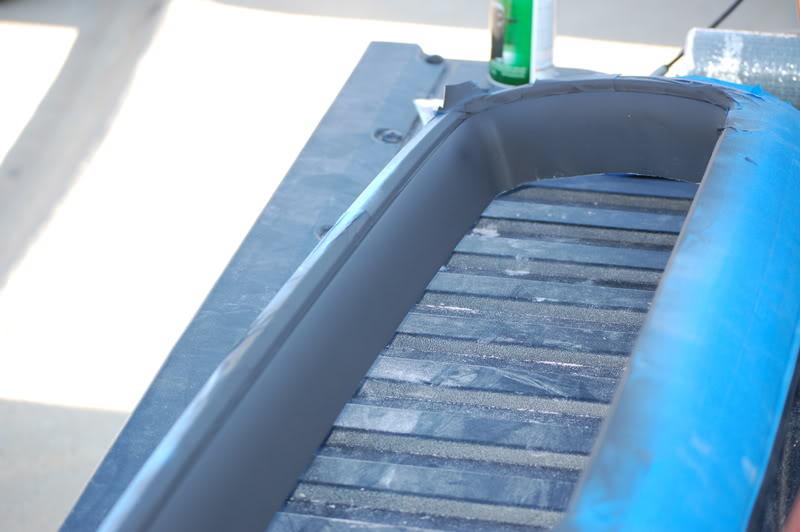
Once it's getting closer to drying, trace a line that you will cut the fiberglass to. This step is basically to make the sides of the grill flush as if it came that way.
While waiting i decided to relocate my horns.
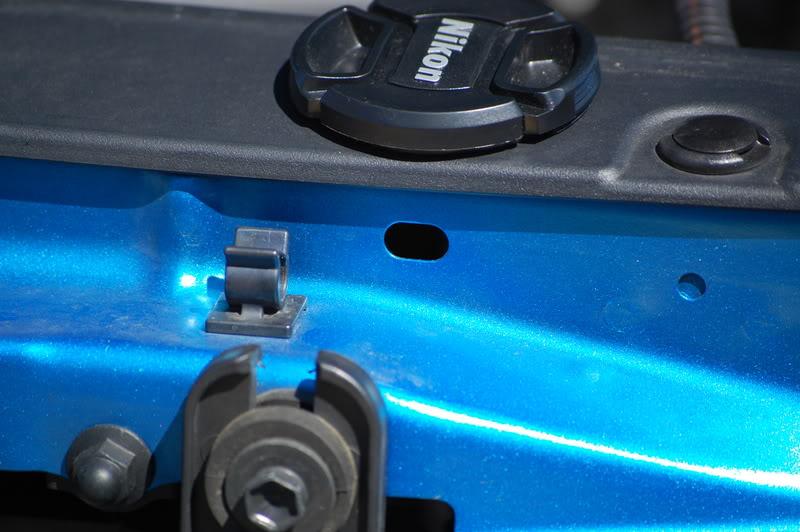
Here is the stock location for the horns, they are held on by (2) 12mm bolts.
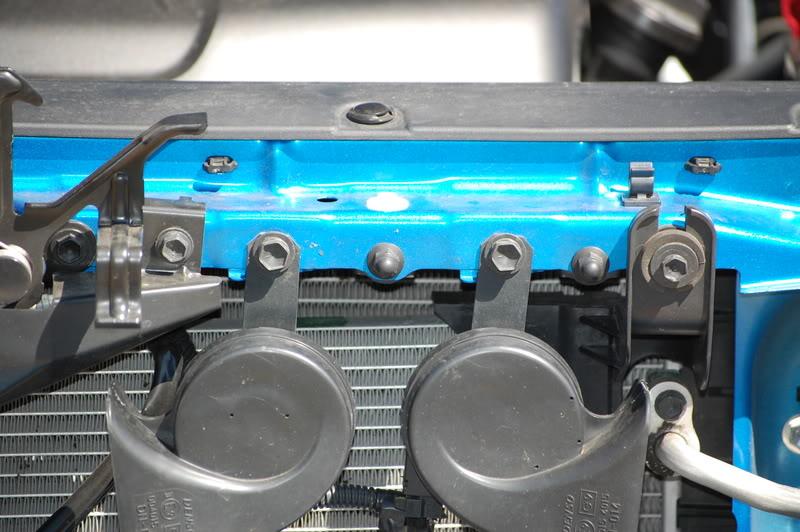
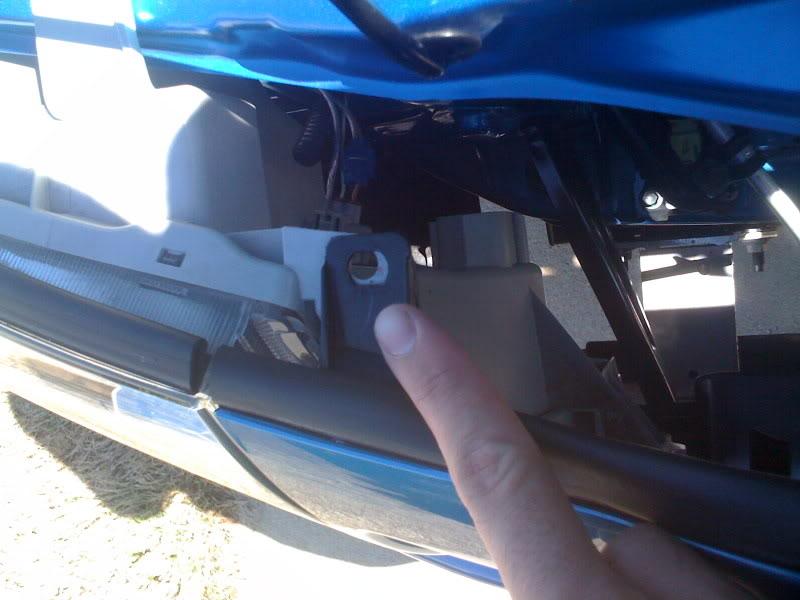
remove these bolts like so, and they will hang freely from the wires (theres some other plug ran with the horn wires, and i'm guessing its the thermometer for the overhead console, if anyone knows please tell me).
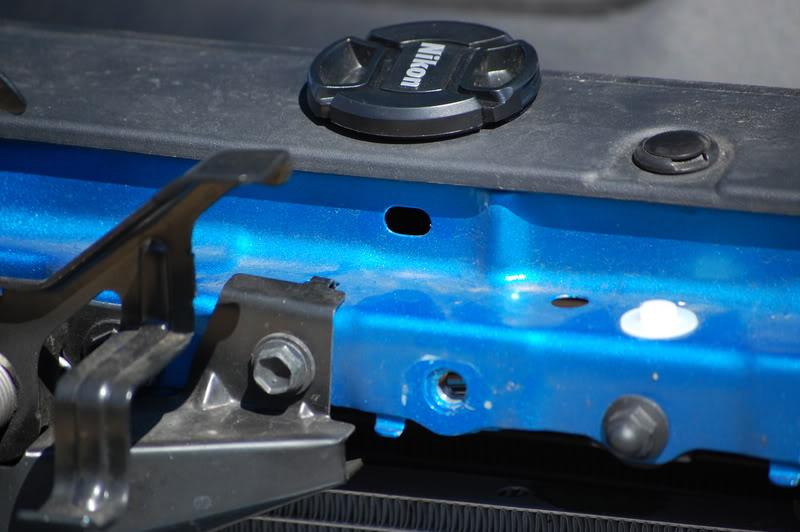
This wire can be traced easily through the engine compartment. there are tabs holding the wiring harness in place. I removed them already, but in the pictures below, i placed my lens cap above the whole where the tabs where. Just pop these tabs out and the wiring harness can be moved to over by the battery.
to the right of the other tab
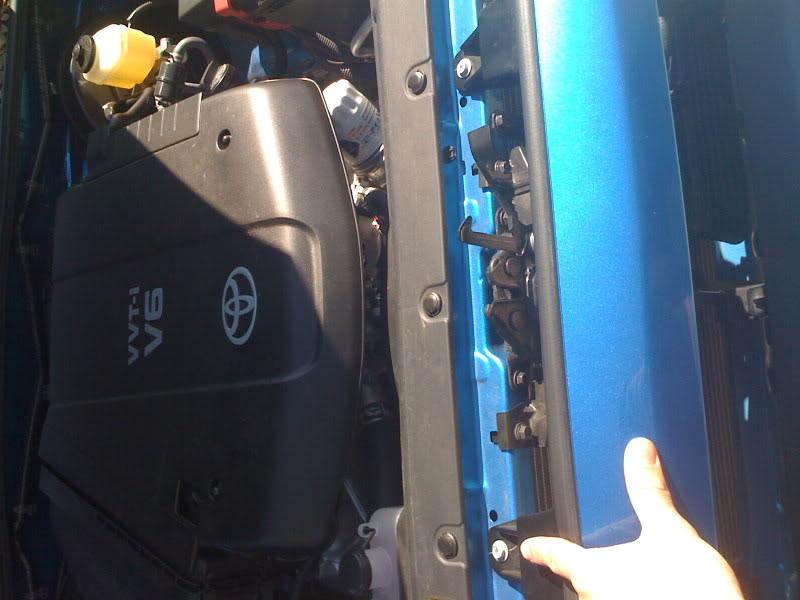
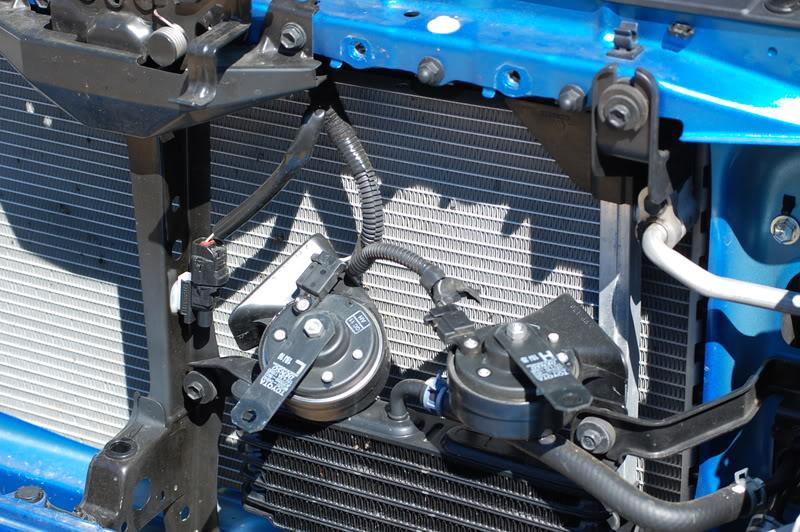
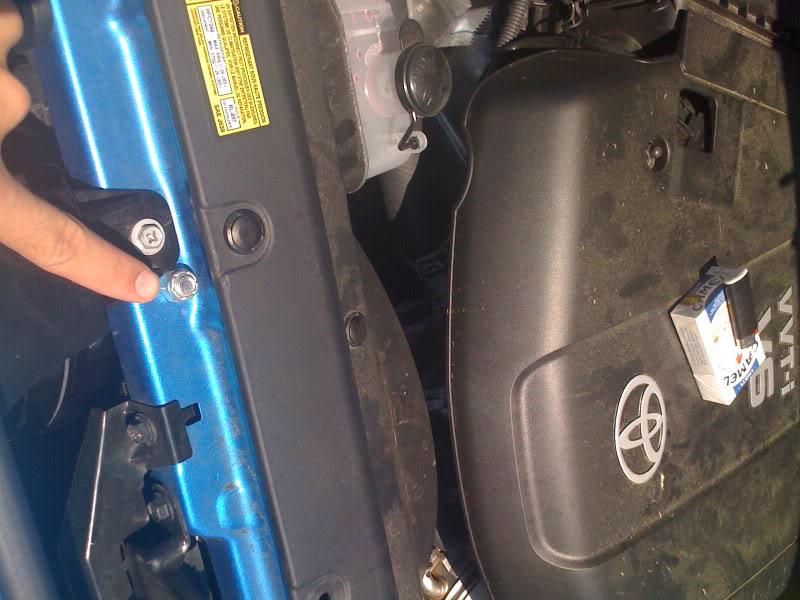
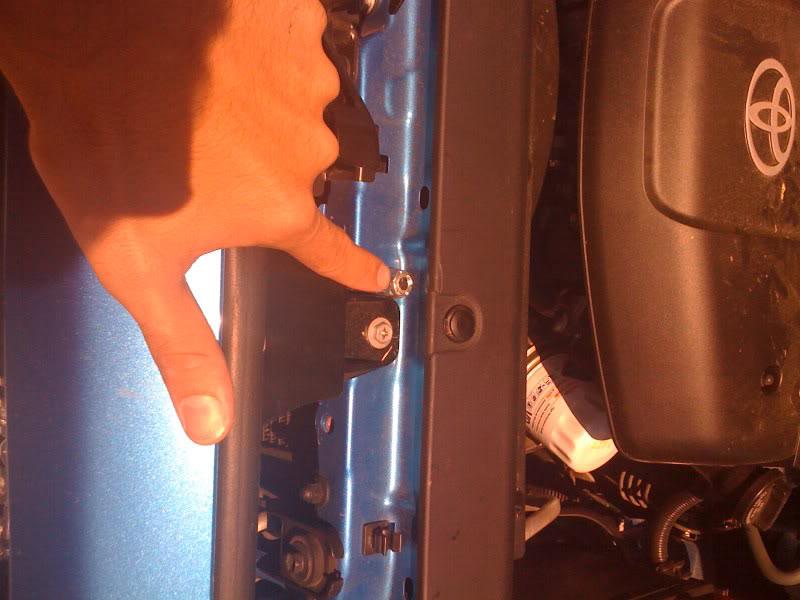
After doing this i sat there thinking, I don't have a hex nut for these or anyother mounting hardware to utilize other holes in the engine compartment. As i sat there scratching my chin i looked over by the battery and saw to predrilled and threaded holes. guess what, same threads as what the horns were originally mounted with. Heres how i mounted the horns now.

For now this will work, but like i said earlier, if that other thing on the wire harness is the temp sensor, i'll probably have to reroute the wiring and i will let you know how to do that.
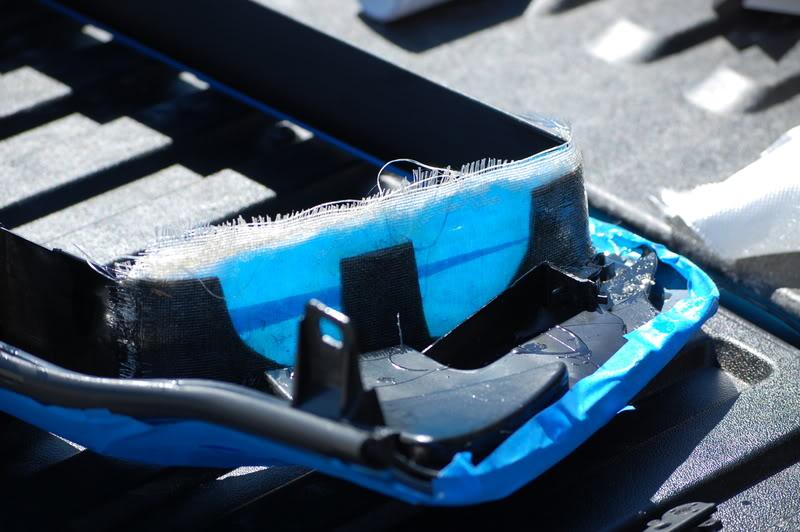
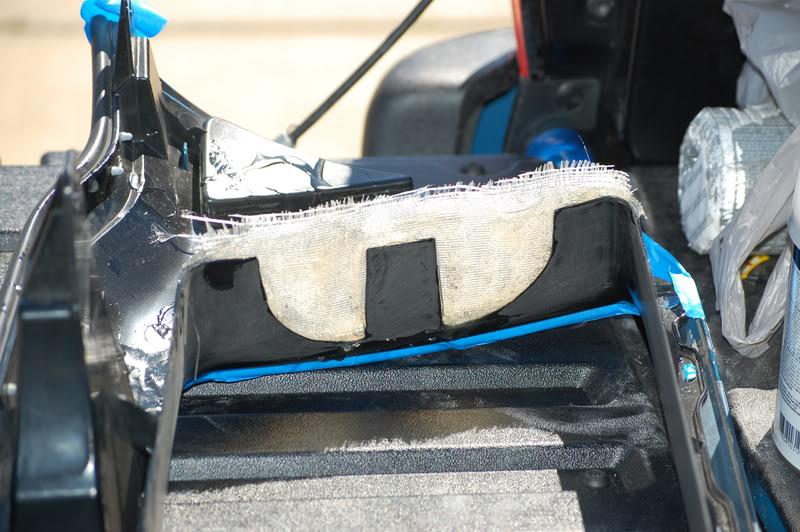
the fiberglass is dry!
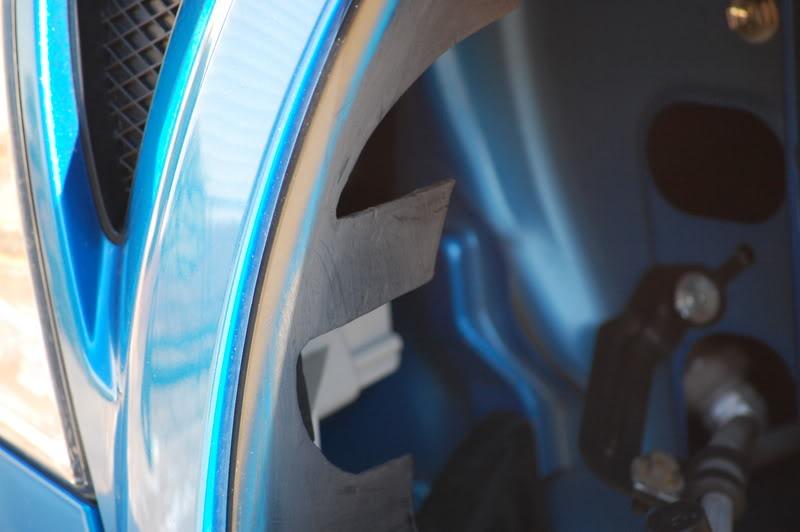
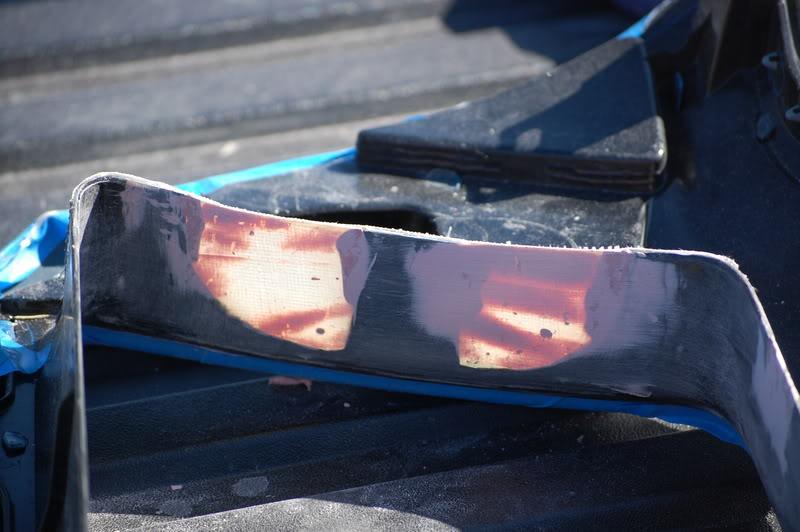
I started by trimming the fiber glass to a contour similar to that of the grill. I used a rotary tool with a tip made for cutting metal. I made slow cuts so i didn't tear or crack the fiber glass.
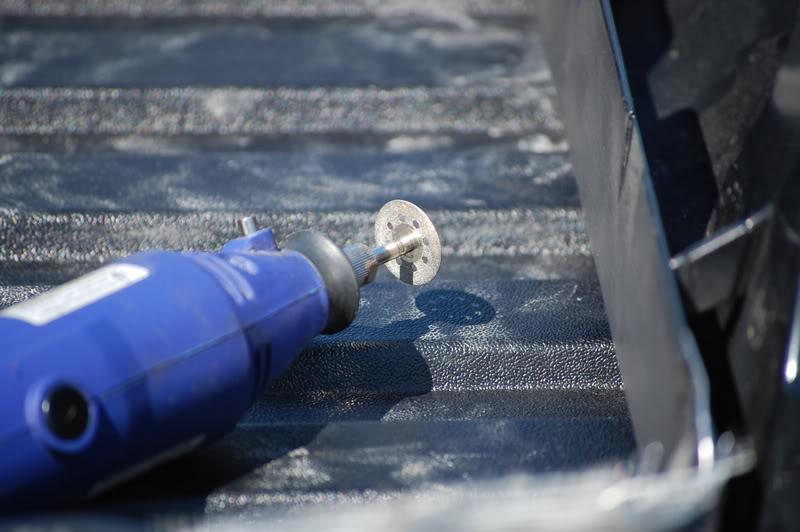
Here are the cuts.
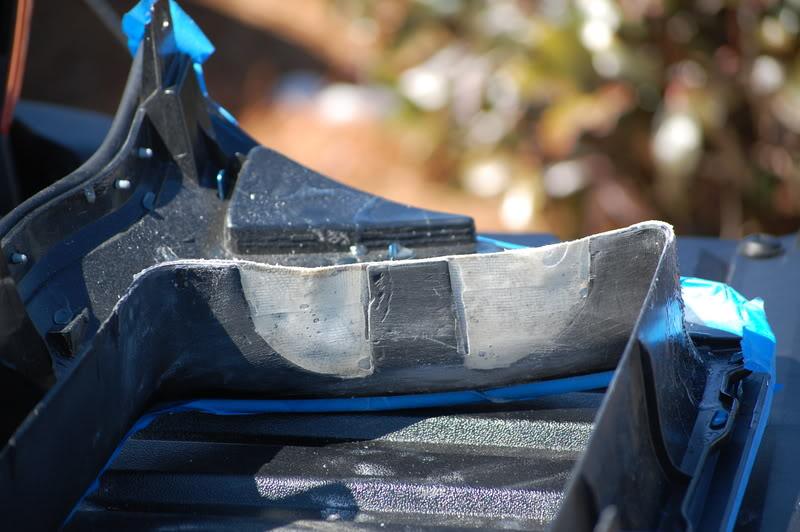
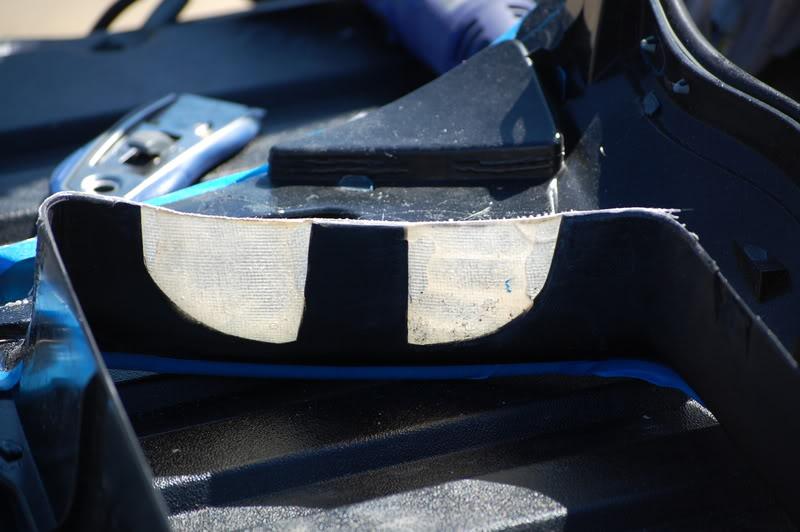
I did another preliminary test fit back on the track and noted that the hood release would be covered by a full surround. Note in the picture below the sharpie marks on the grill where i am going to make a new cutout to be able to reach the release lever.NOTE: I DID NOT MAKE THIS CUTOUT, YOU CAN STILL REACH THE HOOD RELEASE LEVER WITHOUT A CUTOUT.
and now i'm going to give bondo a shot!
well...just did the bondo and waiting for it to dry. The instructions were terrible on how to mix it but i ended up getting it....messily. here we go.
Here is my first attempt after mixing bondo for the first time.
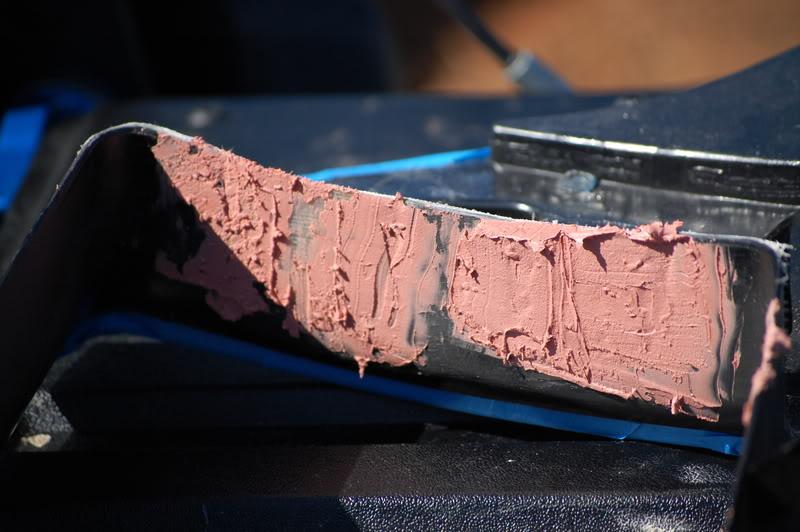
It looks pretty bad but luckily you sand it all down flush anyways. its a pretty thick consistency if you haven't ever used it
Here is the other side.
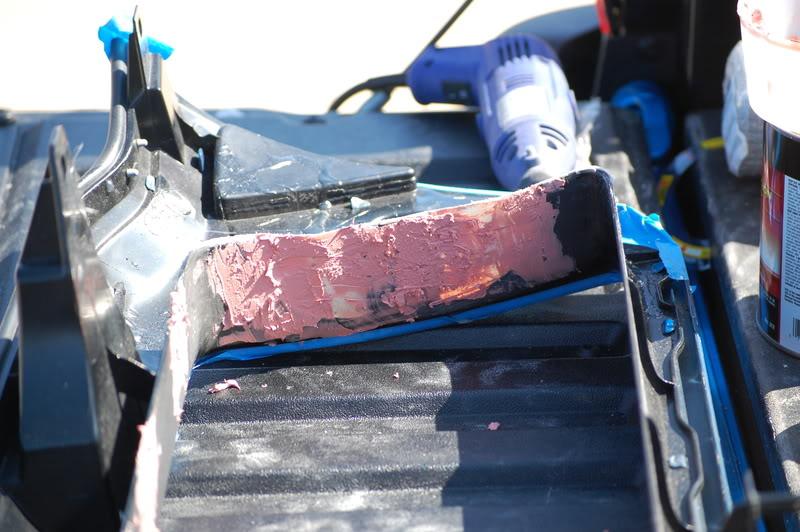
still messy.
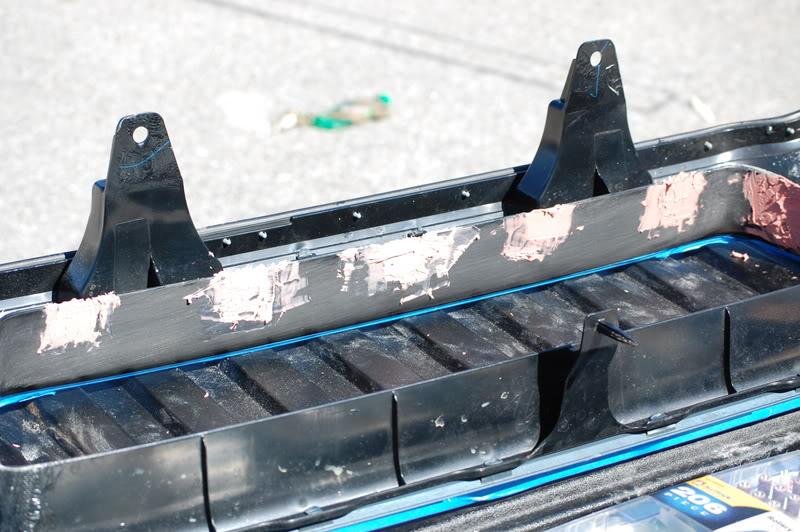
and the top of the grill where i filled in a bunch of divots that were there from factory.
I'm off to go sand and bring back more pics!
ok. ROUND 1: BONDO vs PAUL
Bondo: 1
Paul: 0
Turned out my first time around at bondo i was using too much hardener and it wouldn't spread cleanly. I used less the second time around and it was easy as cake.
Here is my sanding after first round (I used 60 grit)
I'm off to go sand again, and if satisfactory, i'll then sand usings a 220 grit piece of sandpaper, then followed by a wet-sand using 400 grit. I would suggest using one more step such as 800-1200 grit wetsand, but i don't have any and couldn't find any at lowes. After that its prime time!
alright. everything is ready for primer. I sanded using 60,220, and then 400 wet. I'm off to the store to get primer because i forgot to earlier.

got the primer. Make sure you get a type of primer call filler primer. Its a thicker primer that fills in any scratches that are left. Here is my first coat of primer:
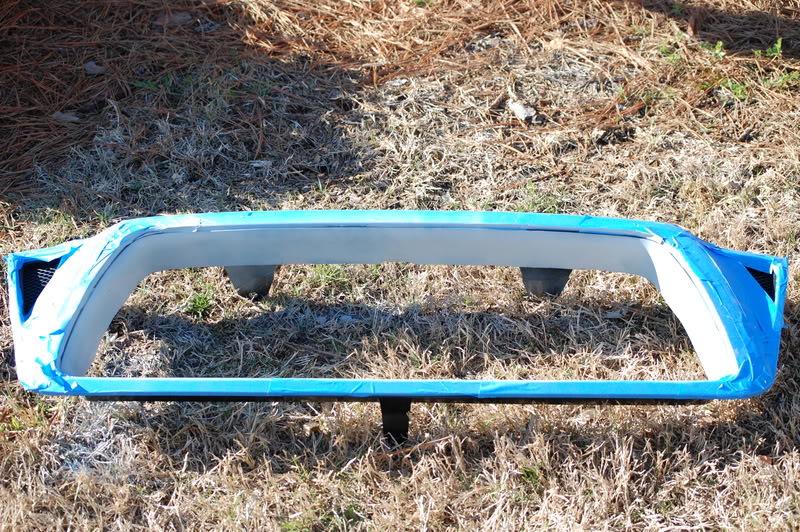
Unfortunately they were out of black and this was called "gray" even though it was white.
I suggest doing at least 3 coats. I did three coats and it turned out alright. Unfortunately a bit of the fiber glass cracked and it shows through a bit.
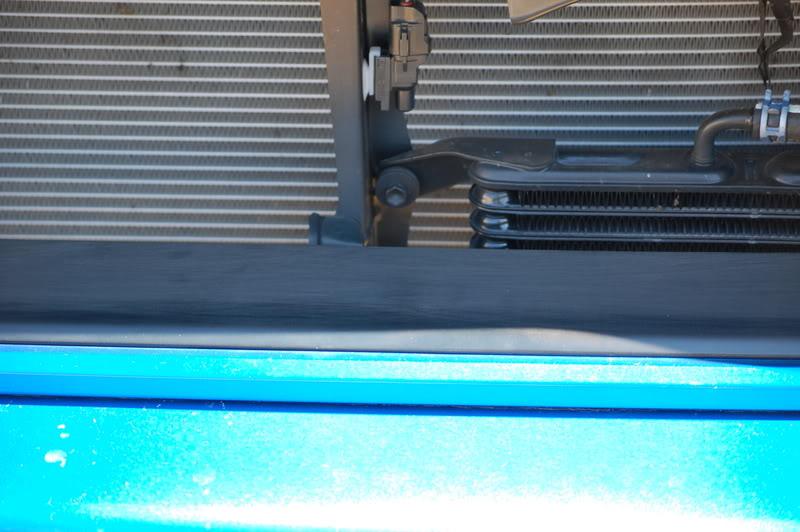
While waiting for the last coat of primer to dry, i decided to paint my radiator. I suggest using a high temp grill paint (black):
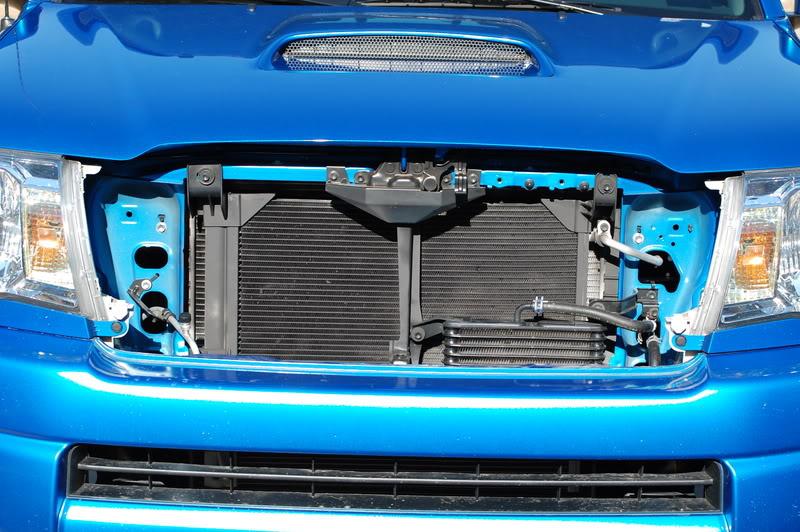
Pretty simple and easy to do. I lightly misted it with 3 coats. Didn't worry about taping it up cause i'm pretty accurate with spray paint.
Now back to the grill. After the primer was finished, I decided to paint it black. I just used the same high temp paint cause it was already out. It's not as black as i'd like though so i suggest using something else.
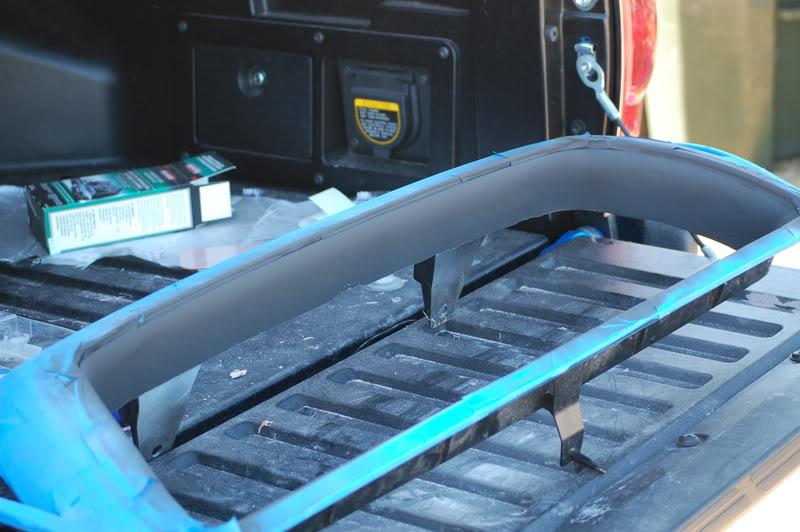
Unfortunately the roommates got home before the painting and i totally forgot to repatch the sides again on top of the filler primer with some bondo (they had to ask a million questions about it and i got distracted). O well. If it looks that terrible installed i'll go back and fix it.
and now i'm off to working on mounting a mesh. Unfortunately lowes didn't have the mesh i wanted so i had to settle for something else temporarily. I'm probably going to order a grill off the internet anyways but i gotta travel next week so this will have to do.
Update:
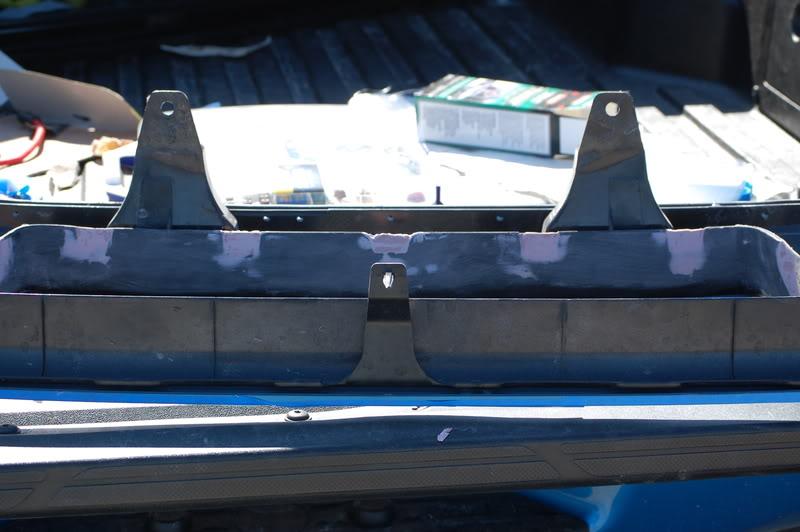
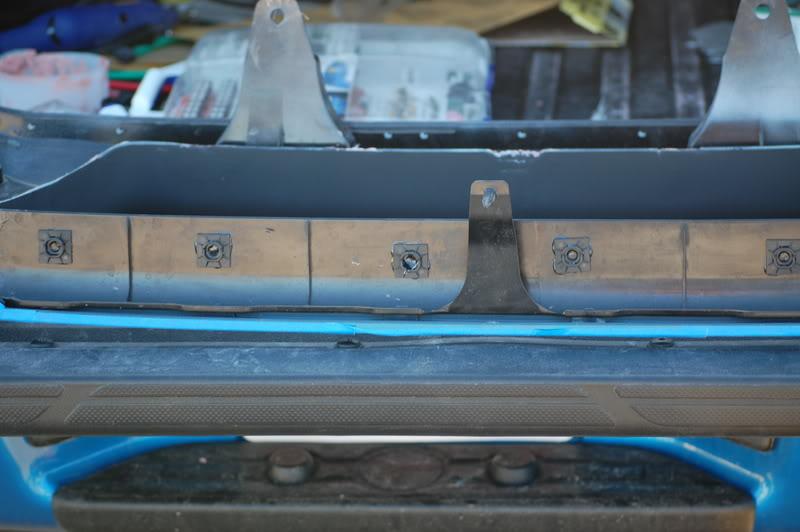
Here is how i plan on mounting the grill itself. The little squares are little mounts where zip-ties can slide through, which will then be attached to the grill.
If it seem hard to understand, I'll post a better picture once the epoxy dries that i mounted them with.
I would almost be done now, but I put on a clear coat and when i went to go check on it, a piece of trash blew by and stuck in it.
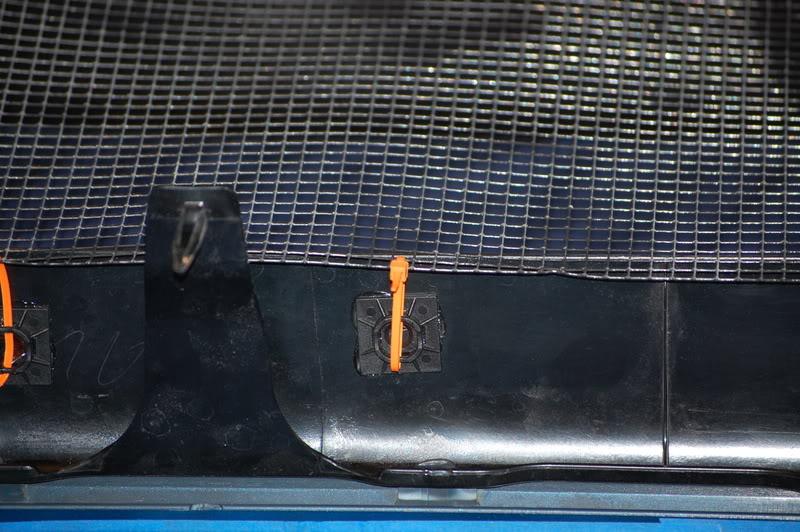
heres how those clips work with zipties.
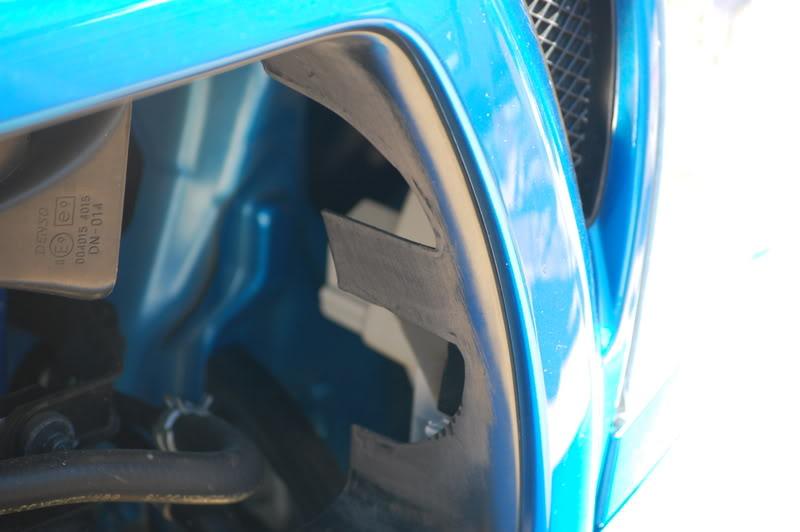
Heres the best pic i can get of the actual grill material, the flash is washing it out and making it hard to see.
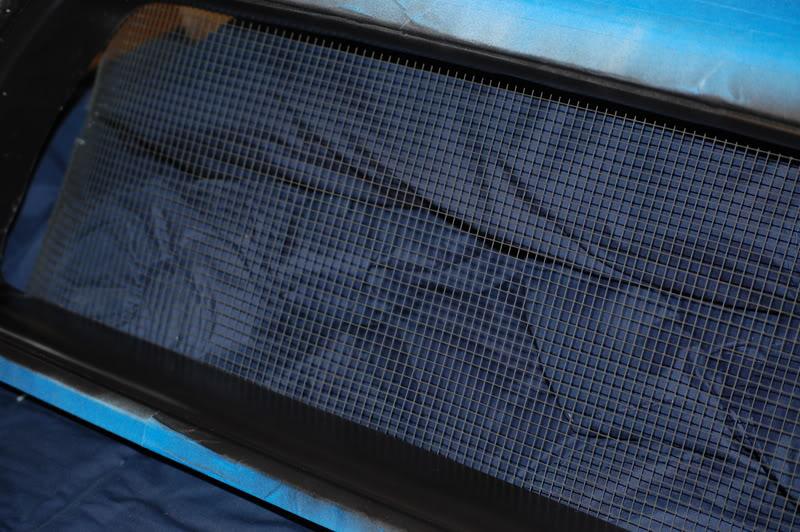
heres the whole thing
Untaped and ready for installation: (Note: I added a clear coat to the black part of the grill)
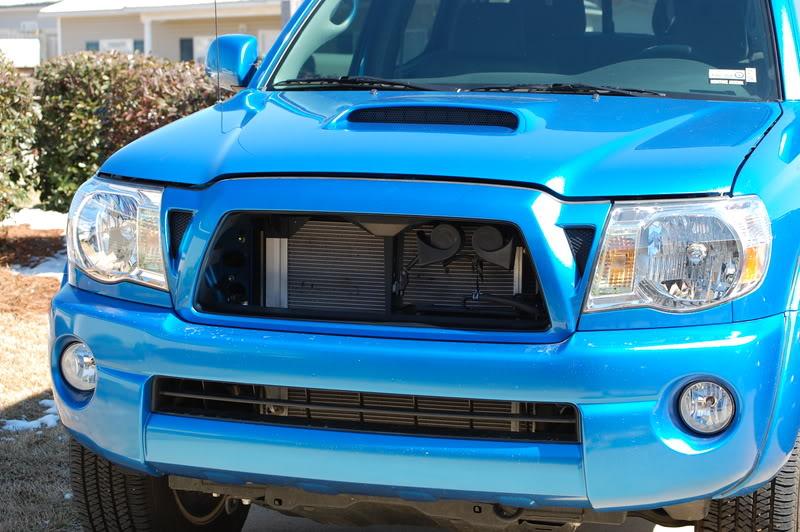
IT'S FINISHED!
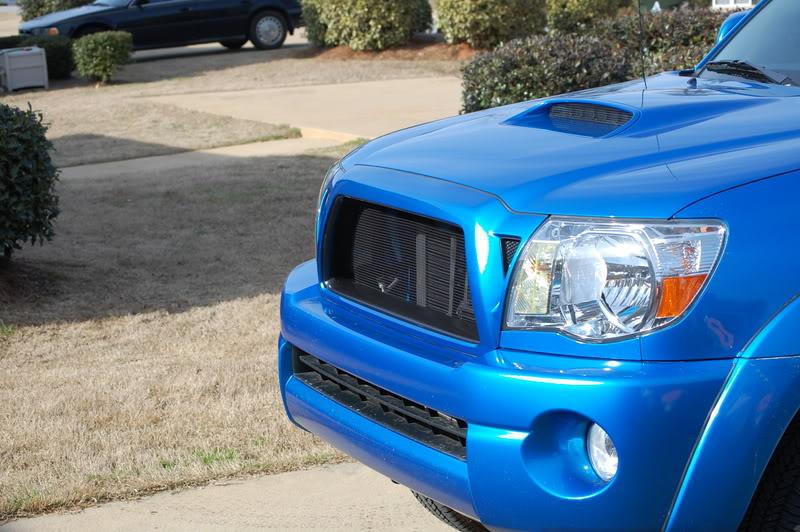
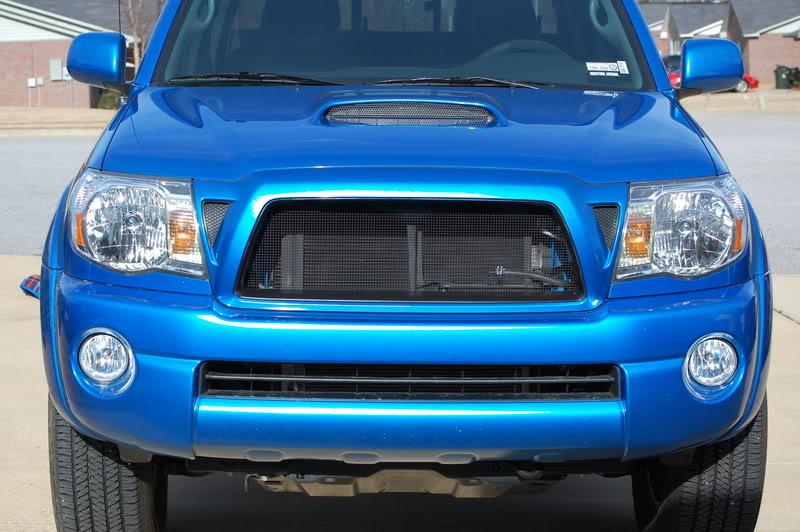
as you can see, the mesh is a little bit more revealing than I had originally wanted, but thats what you get with about 50 bucks worth of a mod. I'll probably get a new grill soon and put that on and post a picture of it, but for now this will have to do.
Thanks everyone for the props and rep. Makes me feel good!
EDIT:
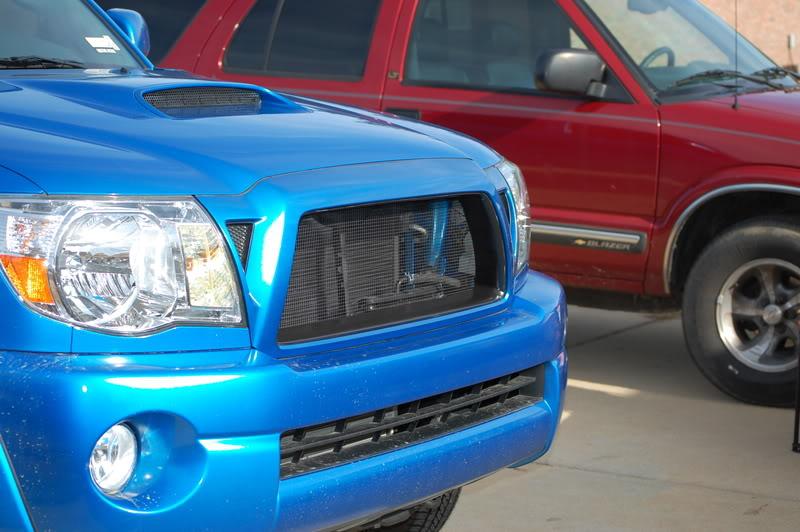
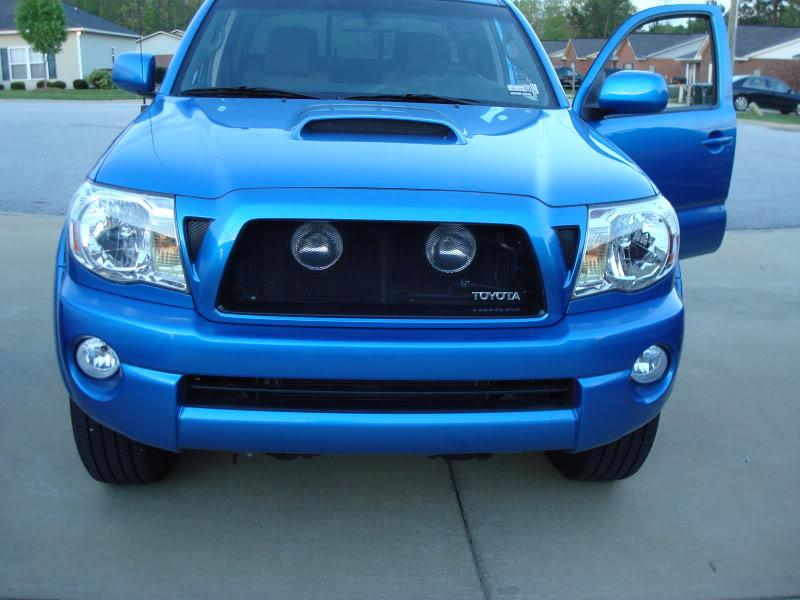
100% complete with the front end of my truck. The grill i want is put in now and i have an emblem put on....and most importantly....KC Slimites behind the grill!!!
THE GRILL IS MATERIAL FROM WWW.CUSTOMCARGRILLS.COM
MY GRILL IS THE BLACK SMALL HEXAGON PATTERN.
Let there be light!!!!
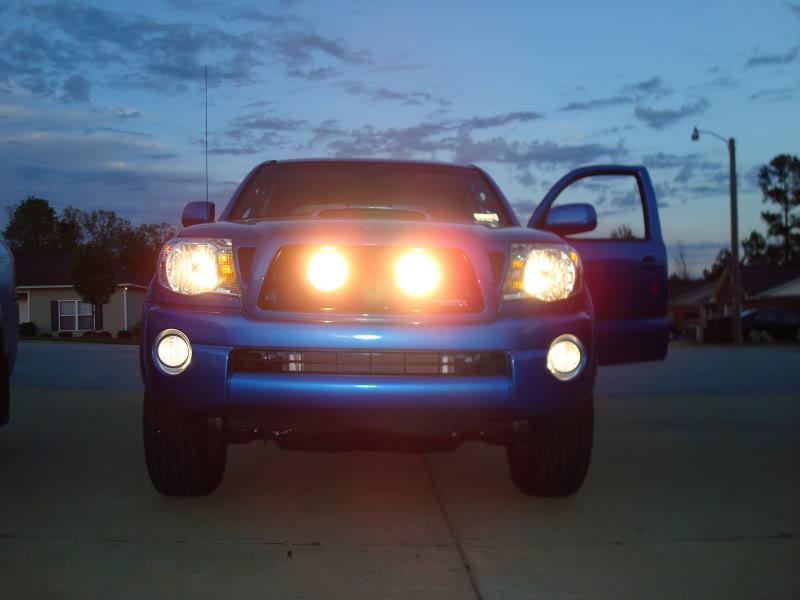
Anybody needing help mounting lights behind there satoshi, let me know....I'll be glad to explain what i used to do it.
For those of you asking how i mounted the lights, I would like to go in to explicit detail, but all lights are different. I'll just show you the holes i utilized to mount the lights.
Sorry, I don't know how to rotate the image on photobucket, i rotated it on my computer before hand but it didn't stay that away on photobucket.
and the other side
I took the mounting screw that it came with and went to lowes and got a longer one with the appropriate hardware to go a long with it to lower where the light sits.
I ended up getting a 1.5 inch screw because that was the longest i could go and have the screw still have threads all the way down the shaft of the screw. I then used to Lock nuts on the top so they don't move around.
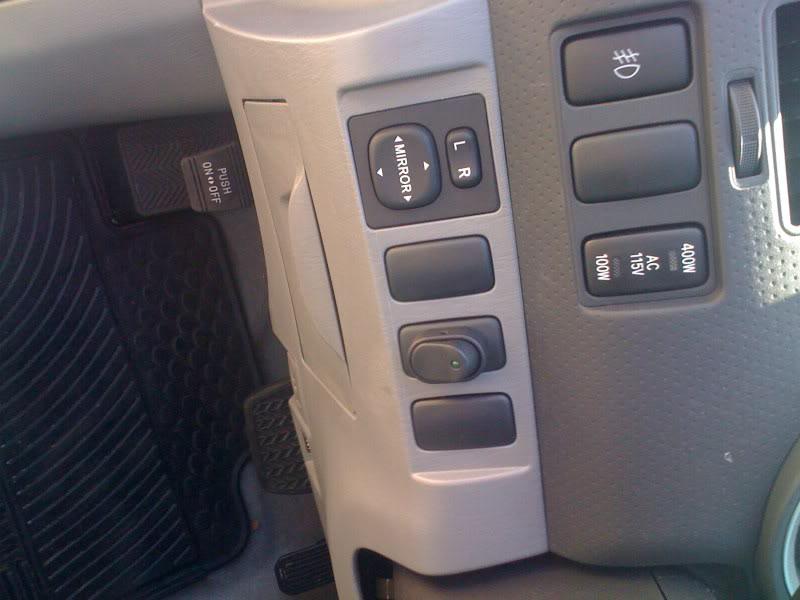
Here is where i mounted my switch for the lights:
Powered by Froala Editor