You must be logged in to rate content!
8 minute read

How to perform a voltage drop test
Compliments of burn_your_money @ vwvortex.com
12-4-2009
Below I am going to explain how to properly perform a voltage drop test on your car.
A voltage drop test is a way of measuring the health of wires and connections in an electrical circuit. It is especially useful when troubleshooting hard or no start problems. The test should be performed on a yearly basis, preferably before the cold winter months.
The reason why you can't use the ohm setting on your multimeter to determine the health of a connection or wire is because the connection or wire will not be under any load. The thinnest wire you can imagine would show virtually 0 resistance but it would not be able to carry the amperage required to turn your engine over.
The most important thing to remember when performing a voltage drop test is that you do not want the engine to start. Luckily this is as easy as unplugging the stop solenoid on the injection pump.
TOOLS REQUIRED
Digital Voltmeter or Multimeter
A helper
Battery Charger
Your helper won't need to do anything more then crank the engine over using the key in the ignition. No prior experience is required 
Here is a diagram that I stole and modified in Paint. You can see that I have numbered the key connections (1 to 6) that we will be focusing on. You can click on the image for a larger view.
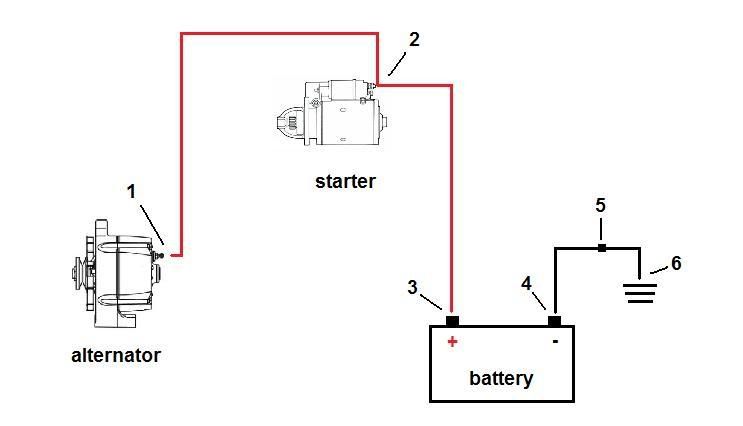
Step 1 Disconnect the stop solenoid

Step 2 Set parking brake and put transmission in nuetral.
Step 3Turn your multimeter on and set it to DC 20 V (or whatever option is closest but greater then 12V on your multimeter)
Step 4Place one of the leads from the multimeter on the positive battery post (Location #3) (please excuse my poor excuse for a multimeter lead)

Step 5Place the other lead from the multimeter on the starter stud (Location #2)
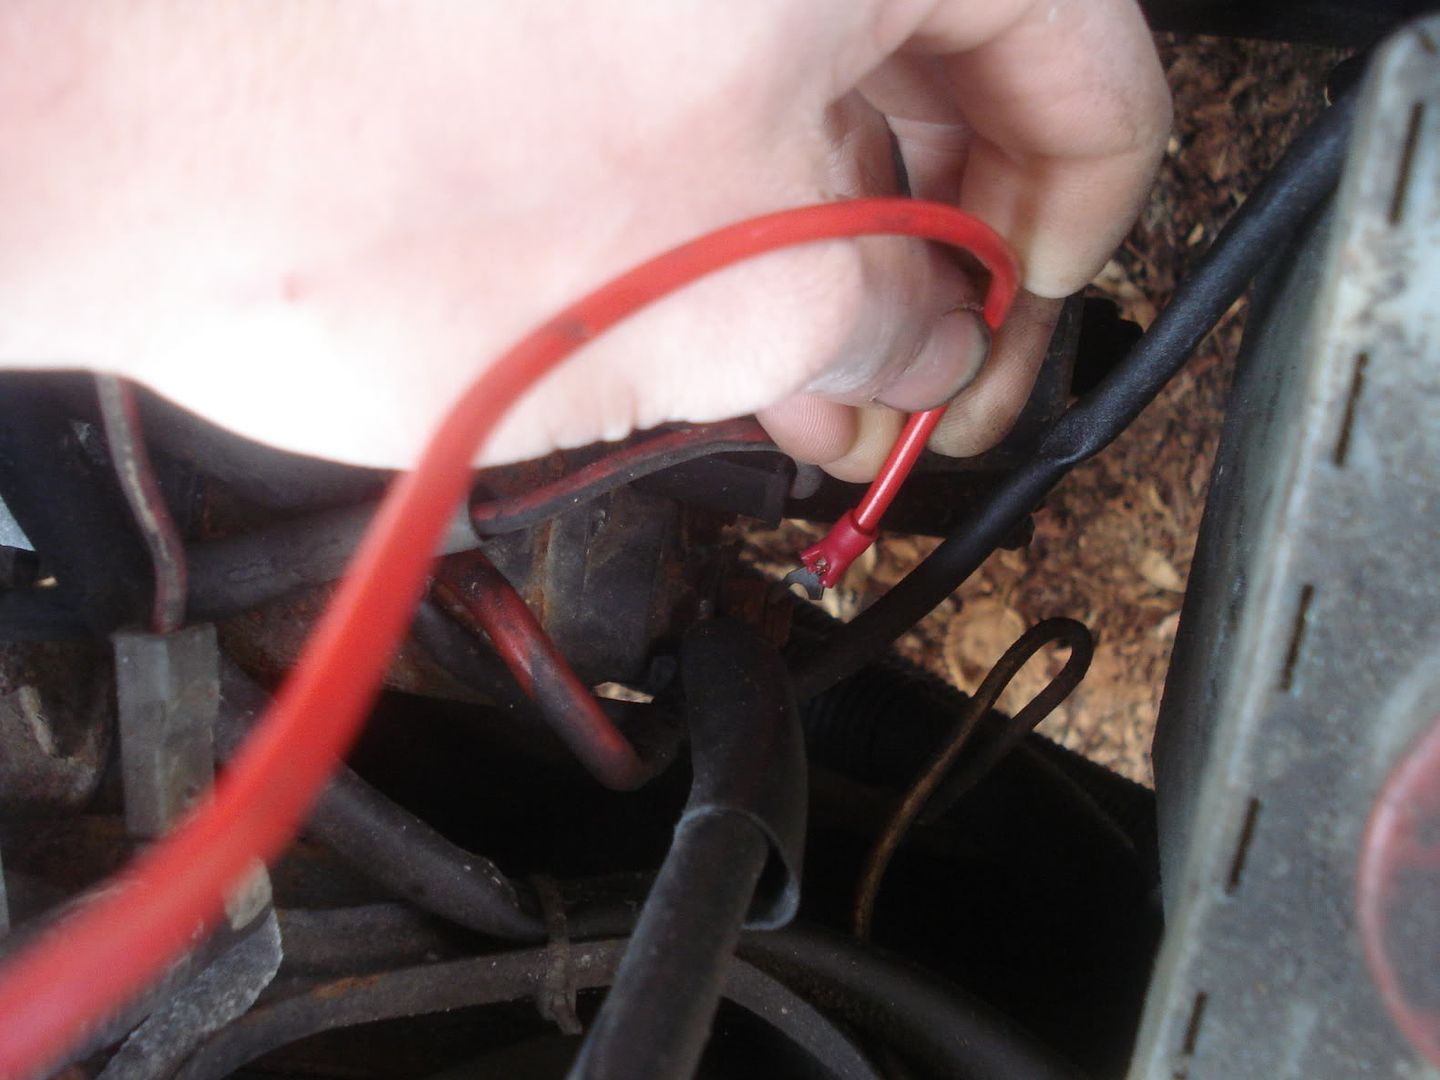
Please note that it is important to make sure that you have a good connection between the location you are checking and the end of your multimeter lead
Step 6Instruct your helper to crank the engine over until you tell them to stop.
Step 7While the engine is cranking over take a reading from your multimeter
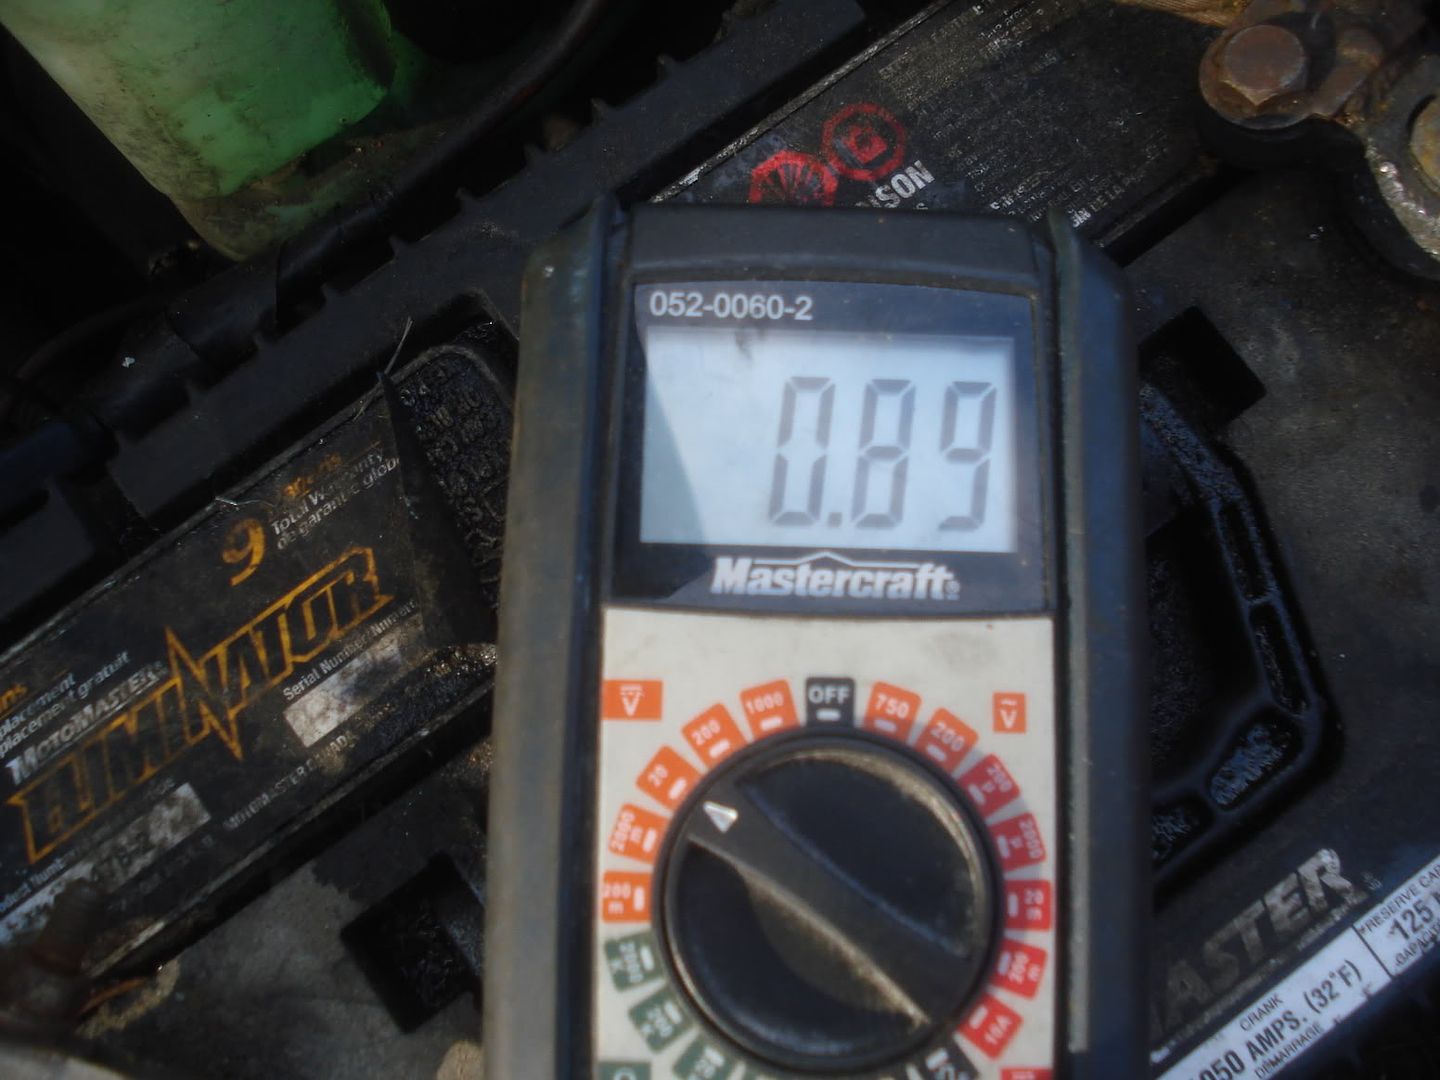
Here you can see that I have a reading of 0.89V. What this means is that between the two ends of my multimeter leads (Location #2 and Location #3) 0.89V are being wasted. They are being converted into waste heat energy. Anything over 0.5V is considered excessive but I prefer a maximum voltage drop of 0.1V. What we need to do now is to determine exactly where those volts are being wasted. In this portion of the circuit (between the multimeter leads) there are 3 things we need to check. First is the connection at location # 3, the battery post. Second would be the wire that runs from locaton # 3 to Location #2. The final connection to test will be at the starter post, Location #2.
Step 8Tell your helper to stop cranking.
Step 9Tell your helper to stop cranking.
Step 10Throw something at your helper and tell them to stop cranking.
Now we are going to find out exactly where these volts are being wasted
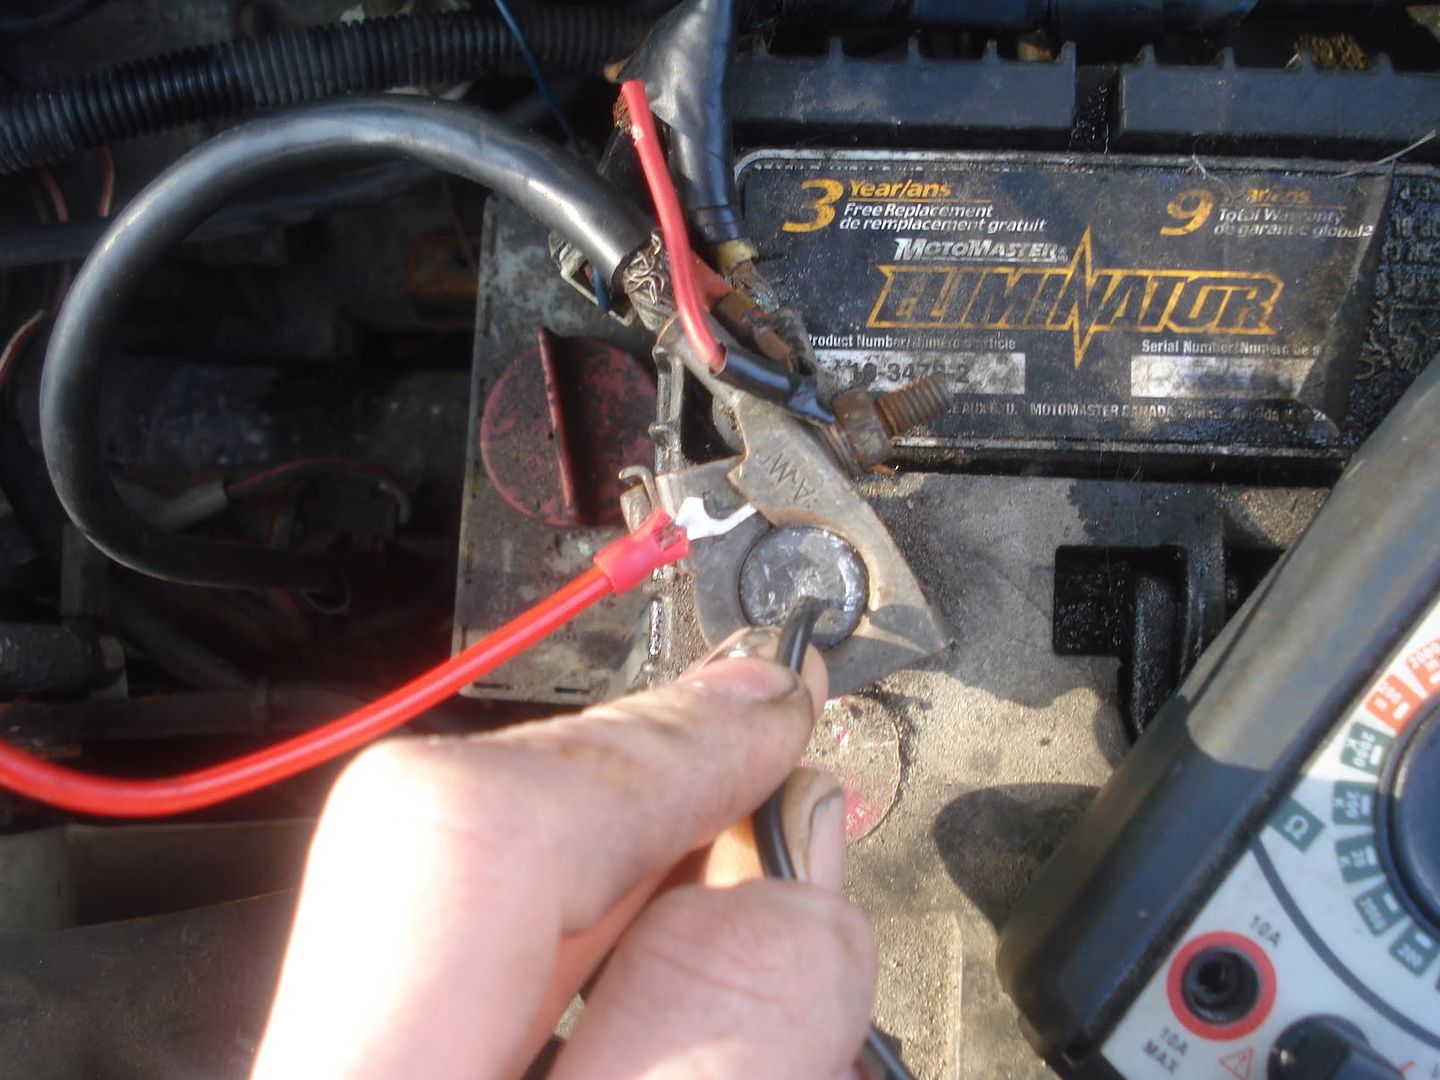
Step 11Place one of the leads from the multimeter on the positive battery post (Location #3)
Step 12 Place the other lead from the multimeter on the clamp around the battery post (Again, please excuse the leads on my multimeter)
Step 13Instruct your helper to crank the engine over until you tell them to stop.
Step 14While the engine is cranking over take a reading from your multimeter
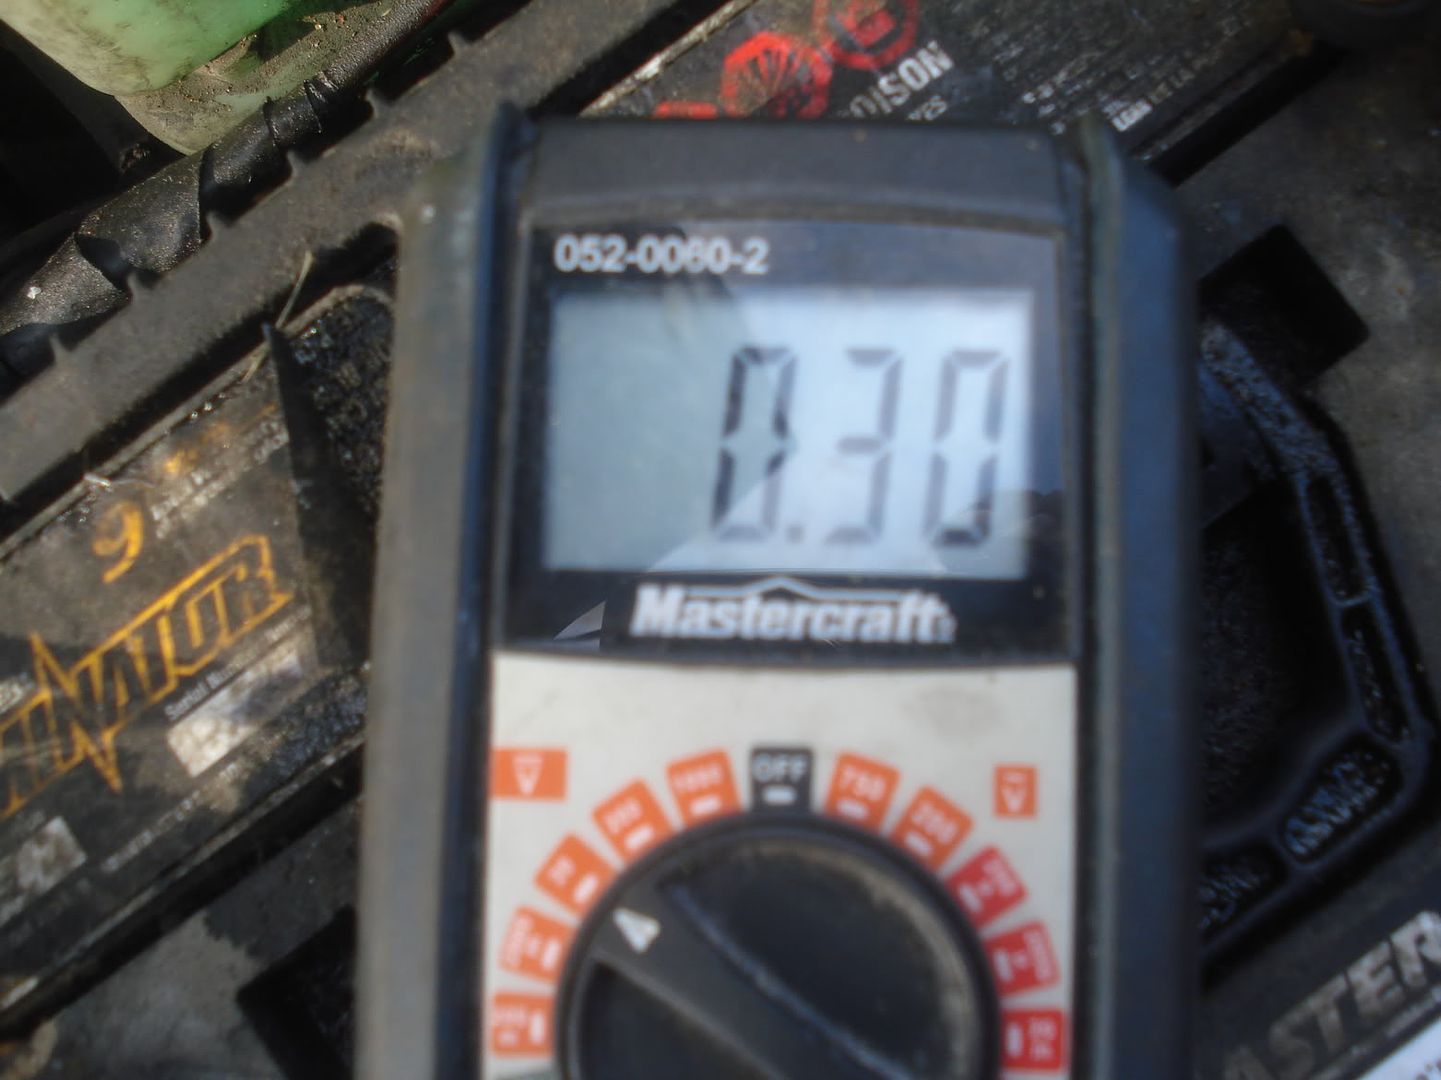
Ah ha! A loss of 0.3 volts. The connections around the battery terminals should have a voltage drop of 0.0 volts. Remove the connector from the batterypost and clean both the battery post and the connector. Tighten the connector back up and repeat steps 11 through 14 until you are satisfied with the voltage drop.

We now have taken care of 0.3 volts of the original 0.89 volts that we measured. Now check the wire between the battery and starter (Location #3 and Location #2). Remember to place your multimeter leads on the ends of the wire and not on the battery post or starter stud. Finally, measure the voltage drop at the Starter stud connection. One lead will be on the stud, the other on the connection around the stud. The total voltage drop from the 3 locations should add up to the 0.89 volts that we got in step #7
Perform the same tests on the ground side.
In order to test the alternator portion of the system (location #1 to Location #2) the engine needs to be running with the alternator charging. The charging of the battery will place the load on the wire. Cranking the starter over is not necessary (or recommended). It is best to do this test last because the battery will be discharged and the alternator will be working near capacity to recharge the battery.
I also like to test to make sure that the alternator mount is not causing a voltage drop. Again with the alternator charging put one multimeter lead on the casing of the alternator and the other lead on the engine block. You are looking for 0.0 volts. If you do have a voltage drop I found that the simplest solution is to run a ground strap from the alternator to the engine block.
When checking the ground for the starter remember to test from the starter housing (the flange that bolts to the transmission) to the end of the ground cable. MK1 folks will probably notice a good sized drop here.
If you do find that your battery cables need to be replaced MK3 battery cables make an excellent replacement. They are abundant in the junkyards and have terminals built into the tops of them for adding extra wires.
Remember to reconnect the stop solenoid when you are finished and to tell your helper to stop cranking. It's also a good idea to charge your batterywith the battery charger.
Enjoy quicker and easier starts, better fuel mileage, and less wear and tear on your battery, starter and alternator.
Remember to keep your hands clear of the rad fan as well as the alternator belt. I like to unplug the rad fan while working in the engine bay if I am leaving the battery connected.