You must be logged in to rate content!
14 minute(s) of a 720 minute read
4-19-2010
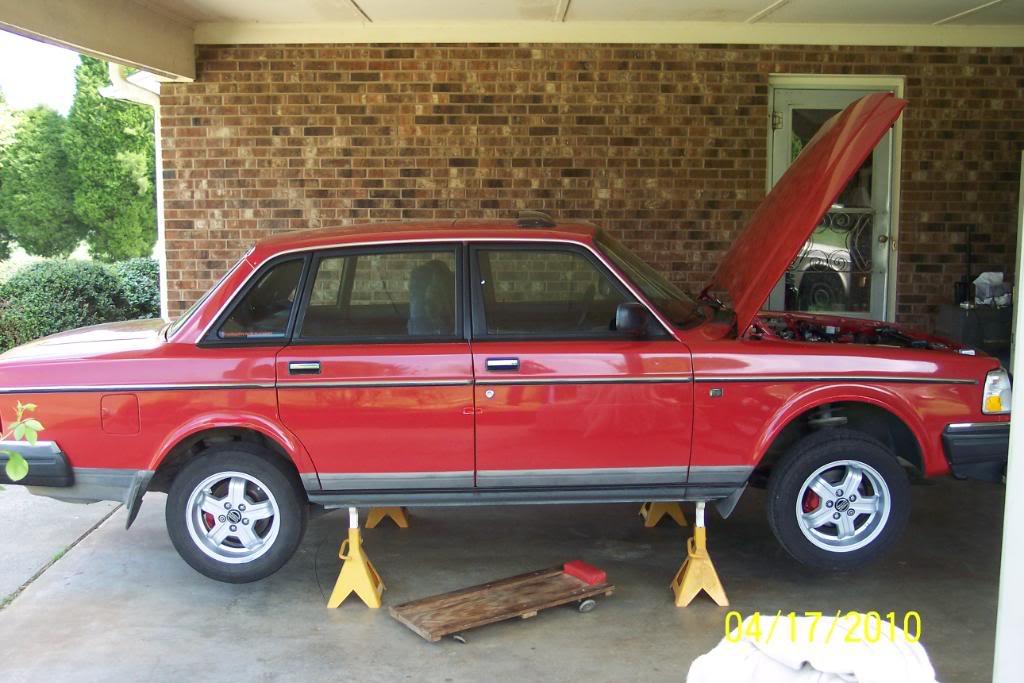
1991 244 Build Thread
Compliments of Smokeyfan1000 @ www.turbobricks.com
4/19/10
This is a 1991 N/A B230F with LH 3.1 244 car. It will remain N/A , much to the dismay of many here on TB. I apologize. But it's too good a car to +Turbo IMO. I want it to run for many, many years to come.
OK, here's the plan.
This build includes: Replace Clutch & PP,CPSensor, flexdisc,universal joints in D Shaft,new header pipe, with 2.50" collector mod to it. And 2.50 MagnaFlow cat and 2.50" pipe to the 2.50" MagnaFlow straight thru, or DynoMax Super Turbo muffler, and a 2.50" L pipe tailpipe with a nice SS tip.
Also..Painting the engine block, & peripherals, while it's still in the car.And refurbishing all/anything I can for appearances sake. I plan a cam change for a little added performance at a later date All show & kinda slow. It's N/A after all.
All four new Brembo brake rotors and EBC Green Stuff pads, IPD SS brake lines, all of them. And possibly a Mstr. Cyl. plus I will bleed brakes with ATE Super Blue Racing Fluid.
Also inspect & repack F wheel bearings. New Bosch Fuel Filter. Also installing all new VDO Vision 52mm gauges. OT,OP, VM, WT , Vacuum gauge..
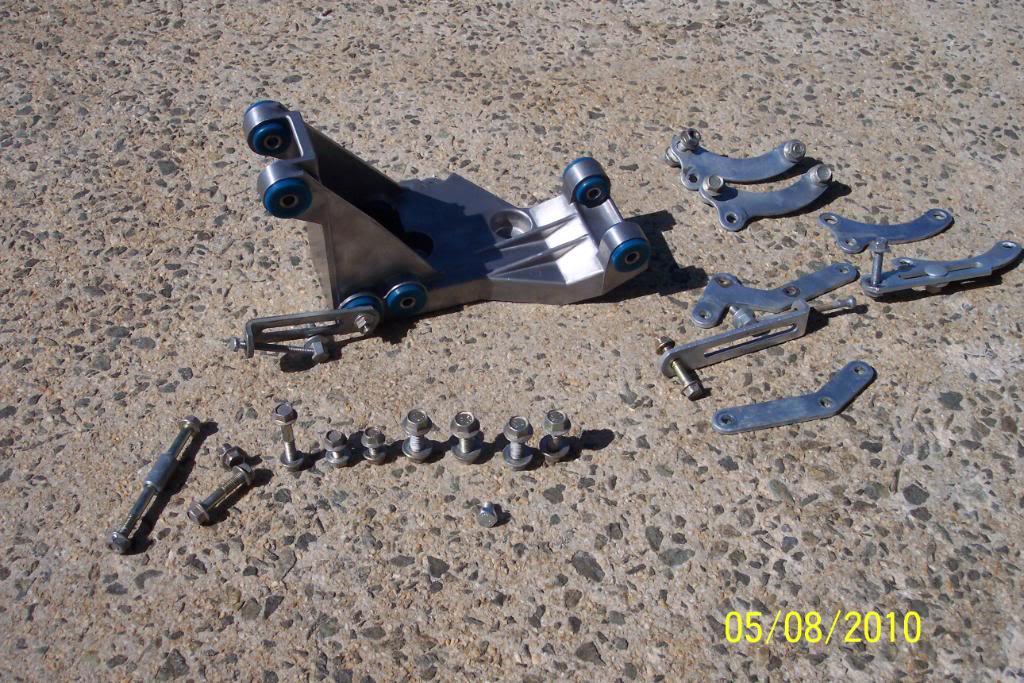
All Super-Pro poly bushings F & R, Four (F & R) Bilstein HDs strut & shocks, IPD S to S brace,the new style IPD lowering springs, IPD Lower Chassis Brace,YoshiFab Firewall to Strut Braces(very nice pieces I might add!) IPD Adj. Upper Torque rods, IPD adj. panhard rod, brace the front lower control arms, and brace the rear trailing arms, then repaint my older IPD 25/23mm Sways to match the rest of the IPD blue susp. parts.
Also Upper Strut Mts.,Lower ball joints,outer tie rod ends, inner tie rods & boots,
Also, install new Hepu WP, a new Scantech Harmonic Balancer, new cam/timing belt & all the other belts, all the accesories bushings with IPD poly bushes, new Bosch Voltage Reg., & Turbo MM heat/oil shield.
New OEM Volvo Diesel MMs, new trans mount(MTC), and hopefully the new IPD blue silicone hose kit for 240s, as soon as they are available.
Also, drill & tap 2 drain plugs for Oil Temp senders(one for a spare)
Also,finally, install leather shifter boot, and a new leather steering wheel cover, and new replacement HL lenses.
And whatever other mods cross my mind during the build. I'm sure there will be plenty of these.
YEP! Let the wrenches fly...
Tranny's out now.
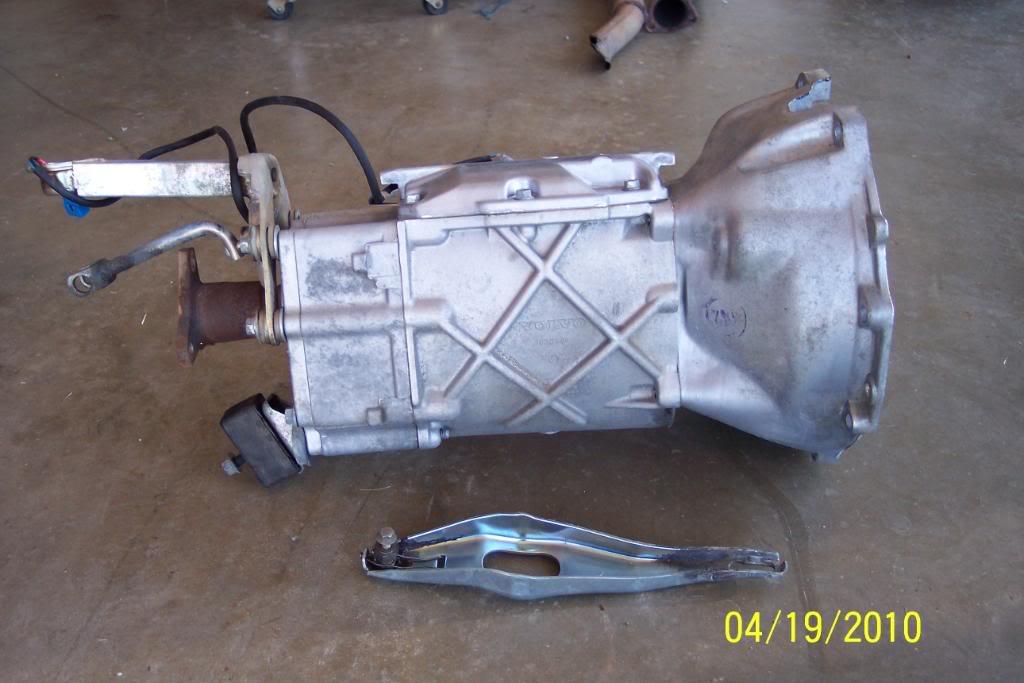
The DS and Ex. System.Check out what was "left" on the exhaust system.

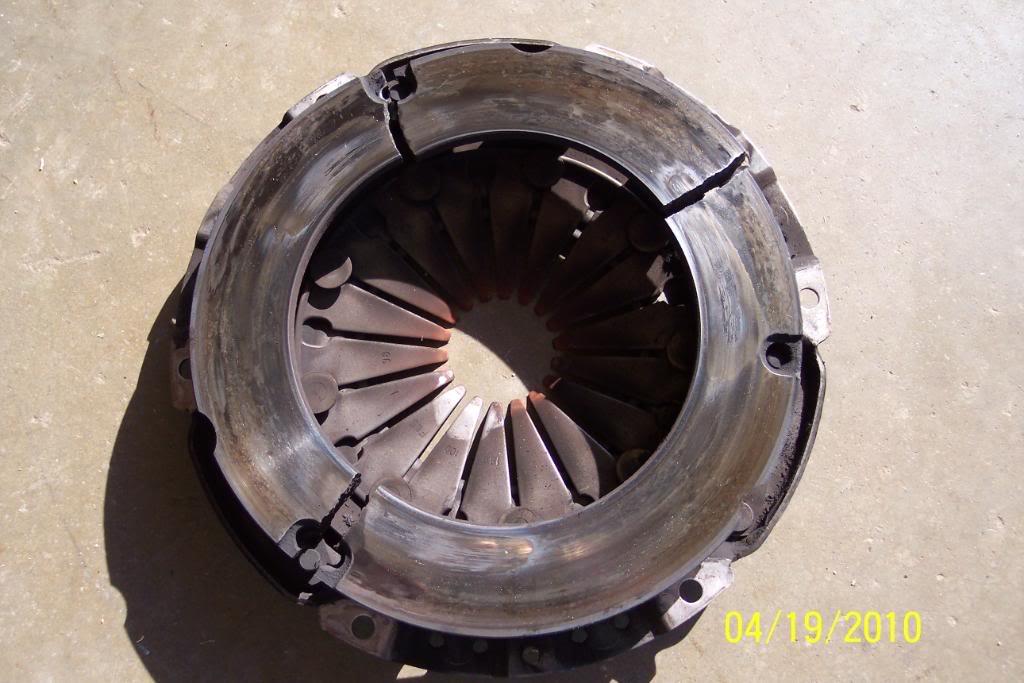
I pulled the Clutch & PP. This is what I found after inspecting it. I suppose the results of overheating the clutch & PP when I was stuck in snow this winter. Believe it or not, IT NEVER MADE A SOUND!! The clutch was slipping bad though.
Ever see a PP do this? In 3 places no less!! Maybe I need a scattershield.
Had the flywheel resurfaced today.I also cleaned , with a stiff brass brush,the outer circumference of the FW, where the CPS "reads".
Cleaned ALL bolts removed thus far too, as well as all the holes where bolts go.
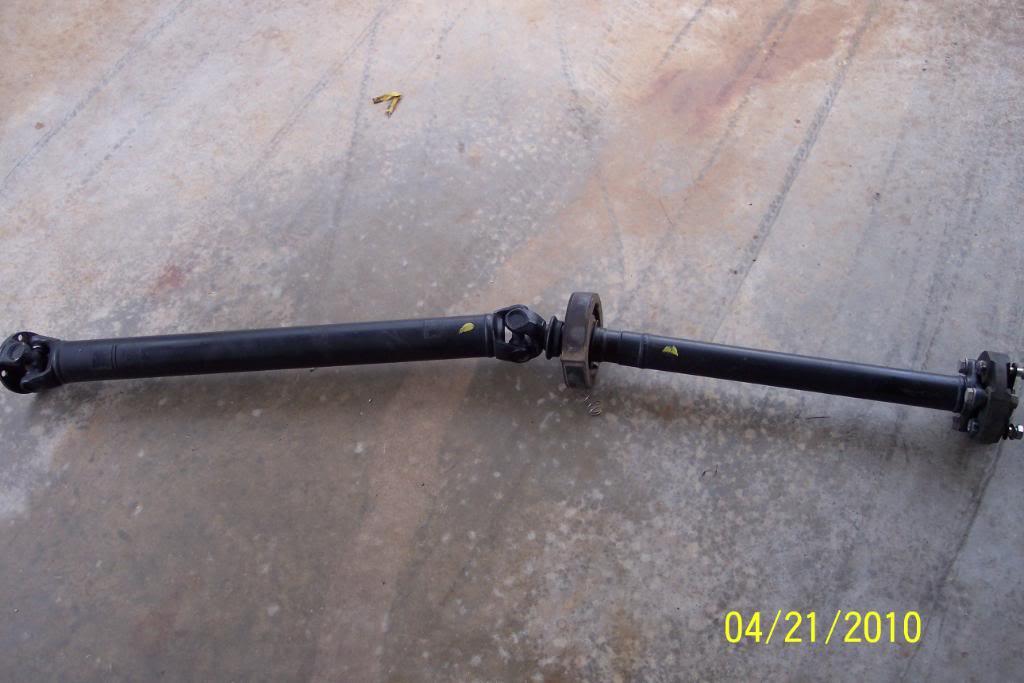
Cleaned up the driveshaft(notice the OEM Volvo alignment marks STILL on it.
Cleaned (with GUNK & CRC Brakleen & a plain & a vibrating toothbrush!)the back of the engine & cylinder head, pass. side of eng. block,oil pan,bottom of frt. engine cover,frt. crossmember,& CAM rack & pinion steering assembly,and bottom parts of subframe too.
All from UNDERNEATH the car. Oh, what fun it was! Pics below:
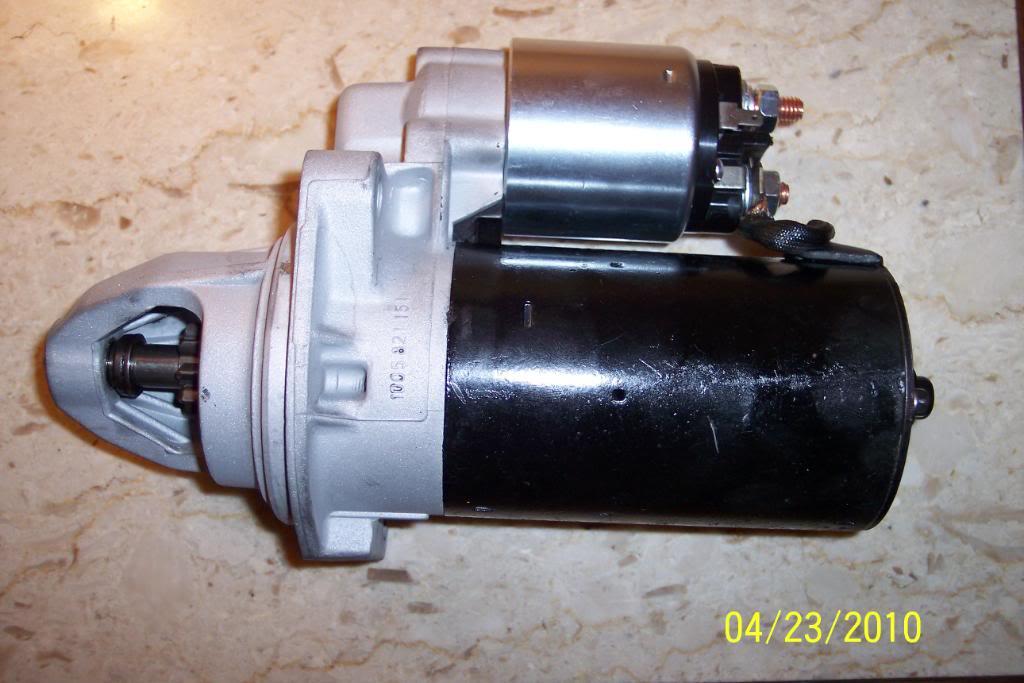
I took the starter motor to the starter & alt. rebuild shop today for a refurbishing, so did this tonite.
OK, I have a "Volvo clean & shiny fetish", I admit it.
I cleaned the driver's side of engine block, cylinder head on exhaust side & intake side, with Gunk & CRC Brakleen. Then.....
I removed the Cat. con. heat shield, cleaned it on both sides ,THEN I cleaned the driveshaft tunnel (underneath the car) perfectly clean.
Then reinstalled the Cat Heat shield. I'm beginning to think I have OCD .
With the cat shield back on.

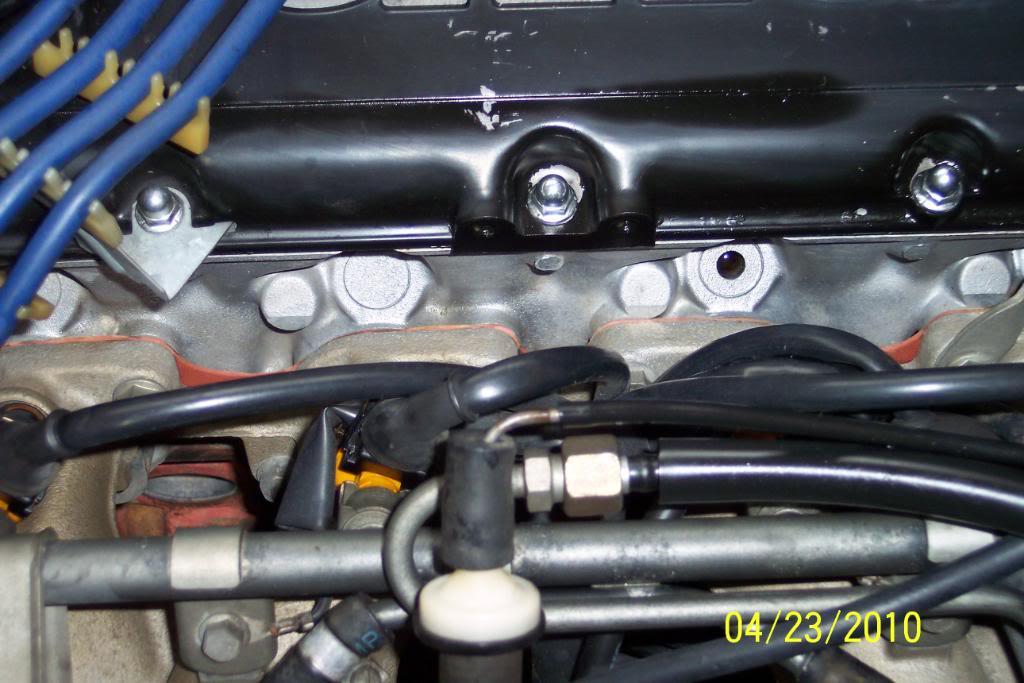
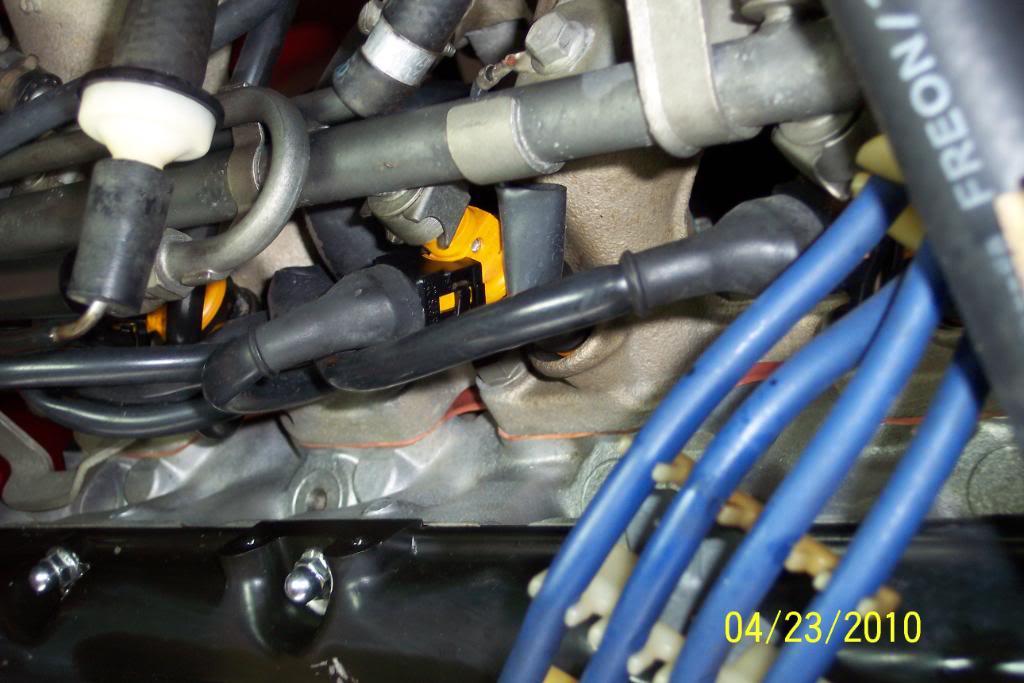
I took some old spark plugs,hammered away the porcelain,& cut the metal post off, and used them to keep dirt & cleaners out of the cylinders while cleaning the area around the S plugs on cyl. head. Cleaned it spotless.Also sprayed down & cleaned the intake/F.injectors & rail . Now that I have everything cleaned on engine, time to continue with the build.
Pics:
Had the original starter motor rebuilt today. It's nice & clean to go along with the rest of engine & engine compartment.
Redid the wire from OP guage to OP sender. Covered with sheathing,to where it gos under Oil pan, covered with shrink wrap, then used shathing again to the sender.
Hoping to make OP sender wires last longer/look neater.

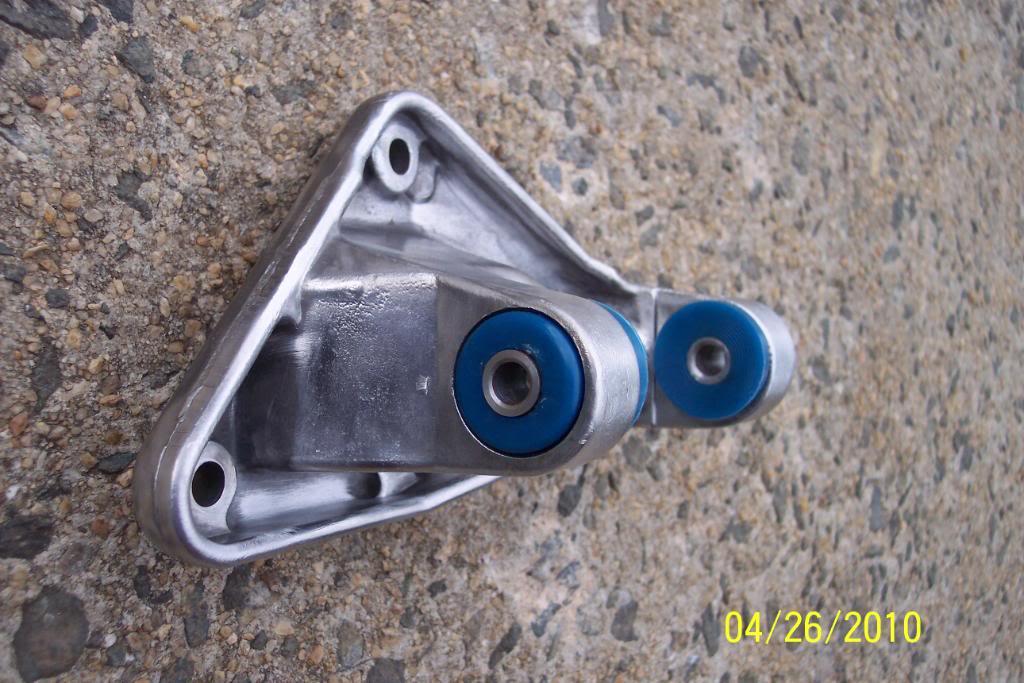
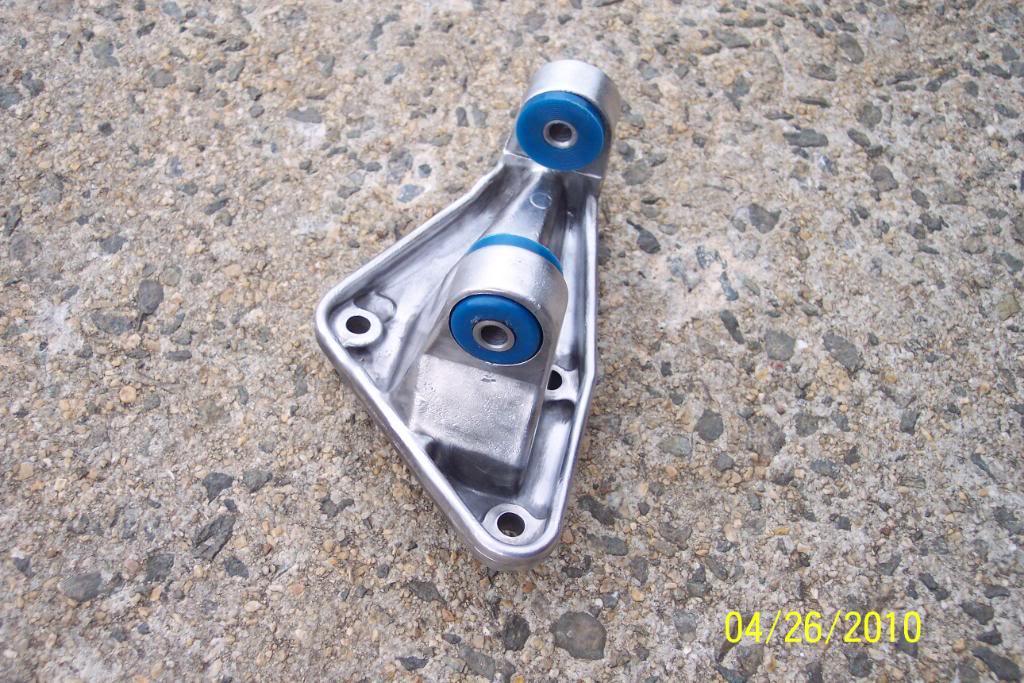
Pressed in poly bushings in alt lower mount & adjuster mount. They are a pretty snug fit. Used C clamp & vise with wood & large sockets to seat them properly. Should make for firm mounting of alt.A few pics of them:
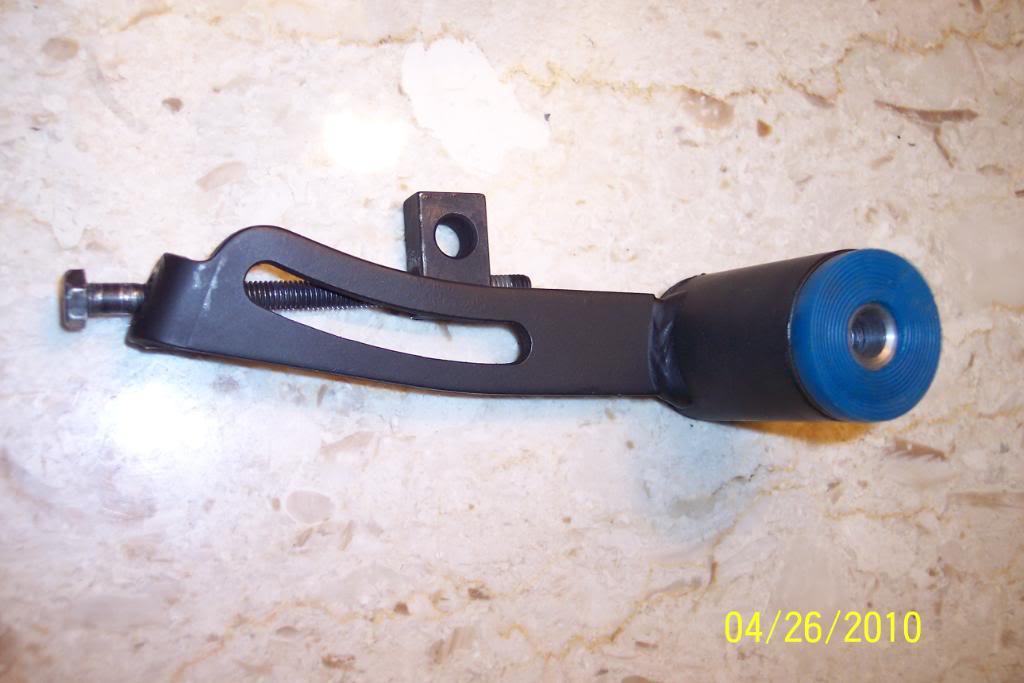
Gonna replace the P/S and A/C compressor BUSHINGS today. Looks like it's gonna be a bit of work.
Wasn't too bad. Cleaned all the brackets & bolts up while I was at it.
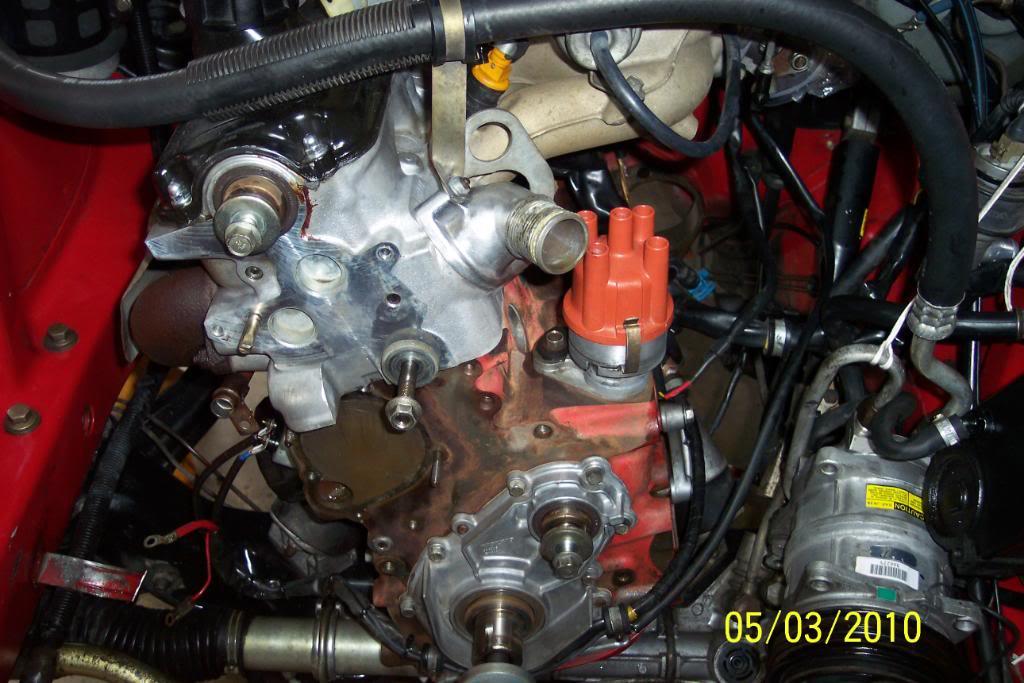
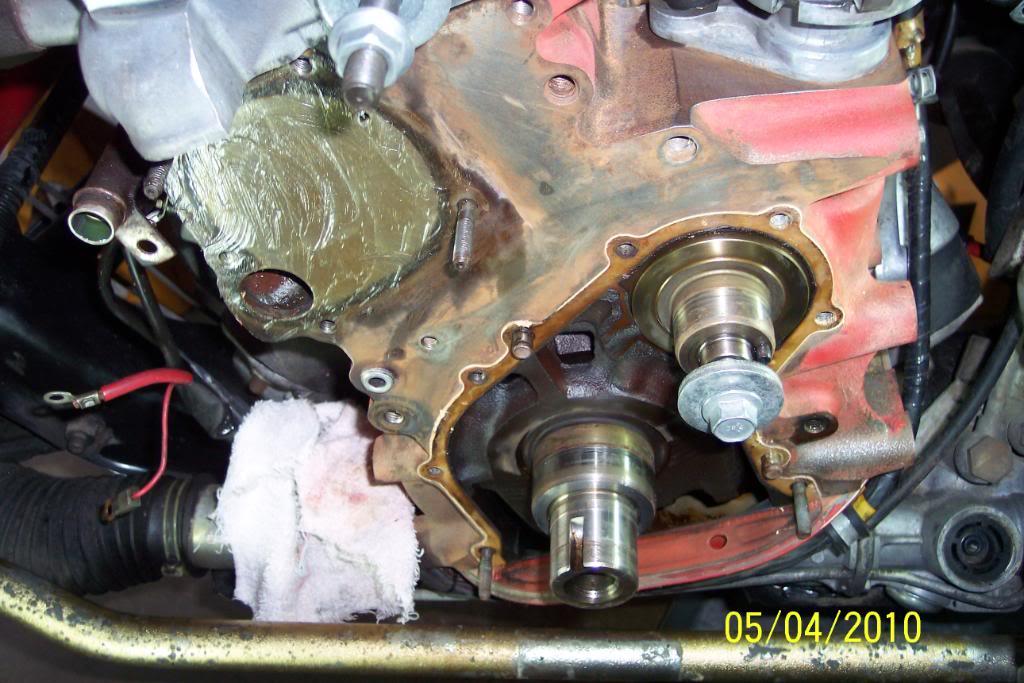
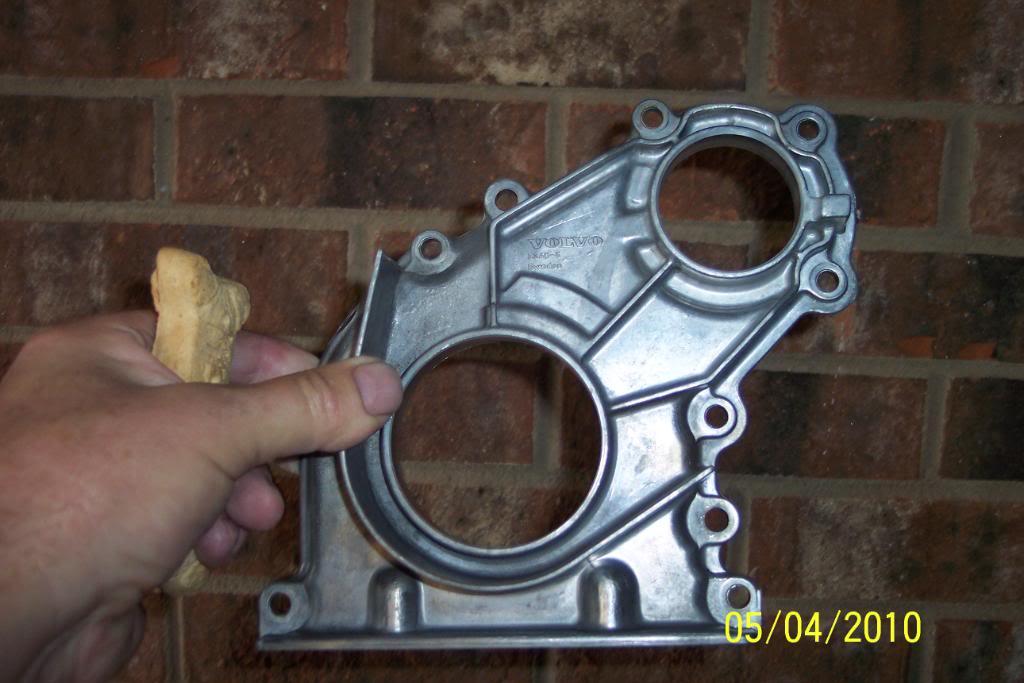
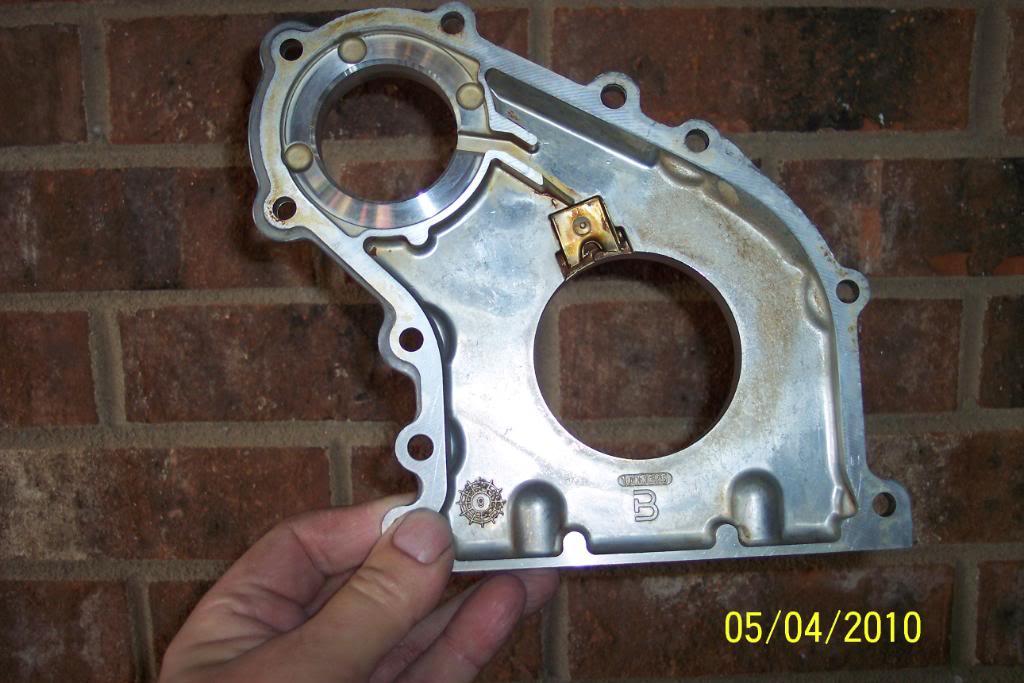
Figured might as well replace the frt. cover gasket too. Will paint engine after getting FC gasket off, and masking all non painted items.
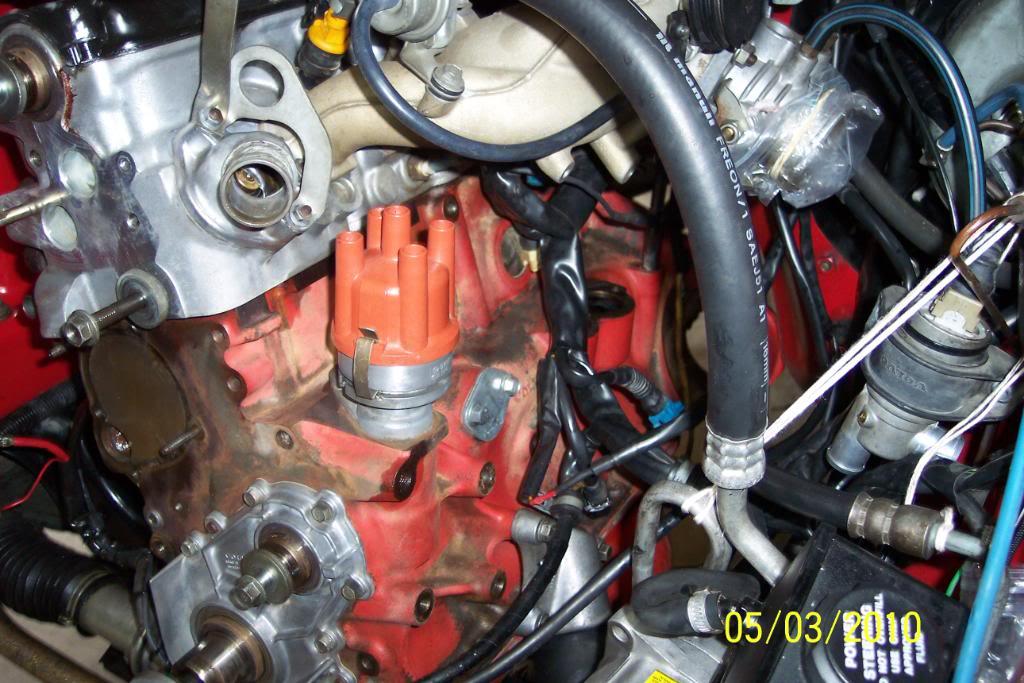
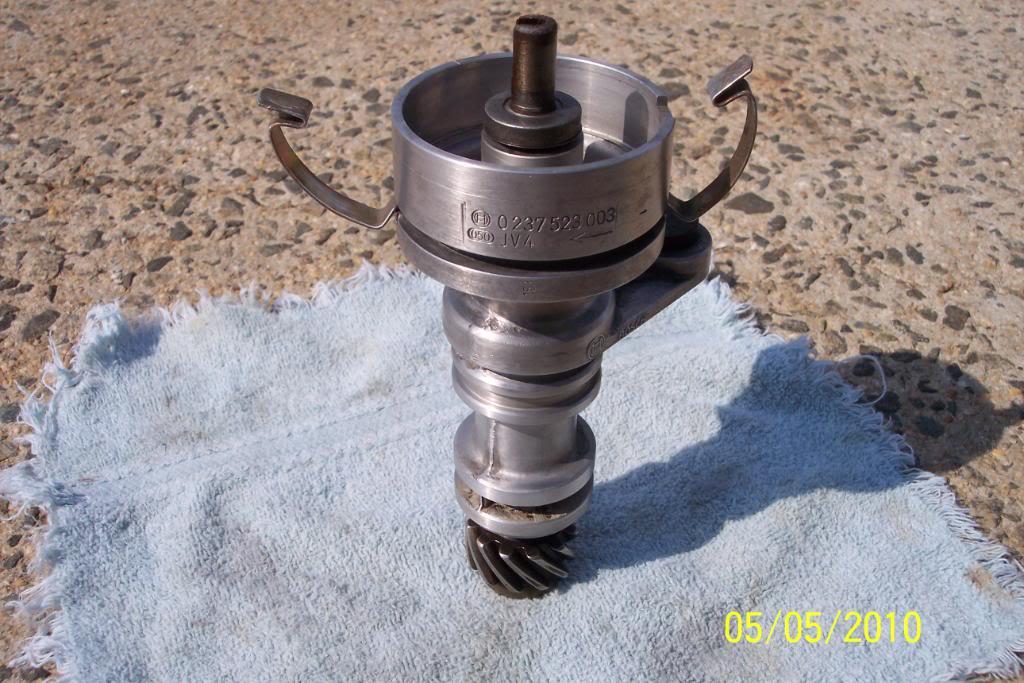
Had to pull dizzy, so I cleaned it and installed new oring on her. Scotchbrite pad did wonders for looks.
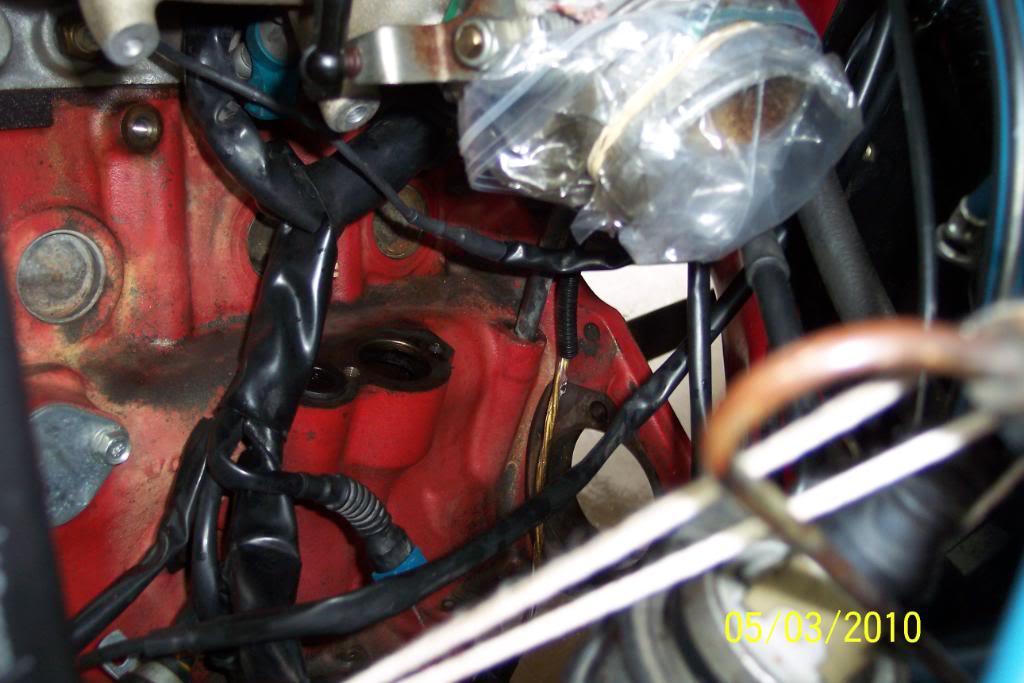
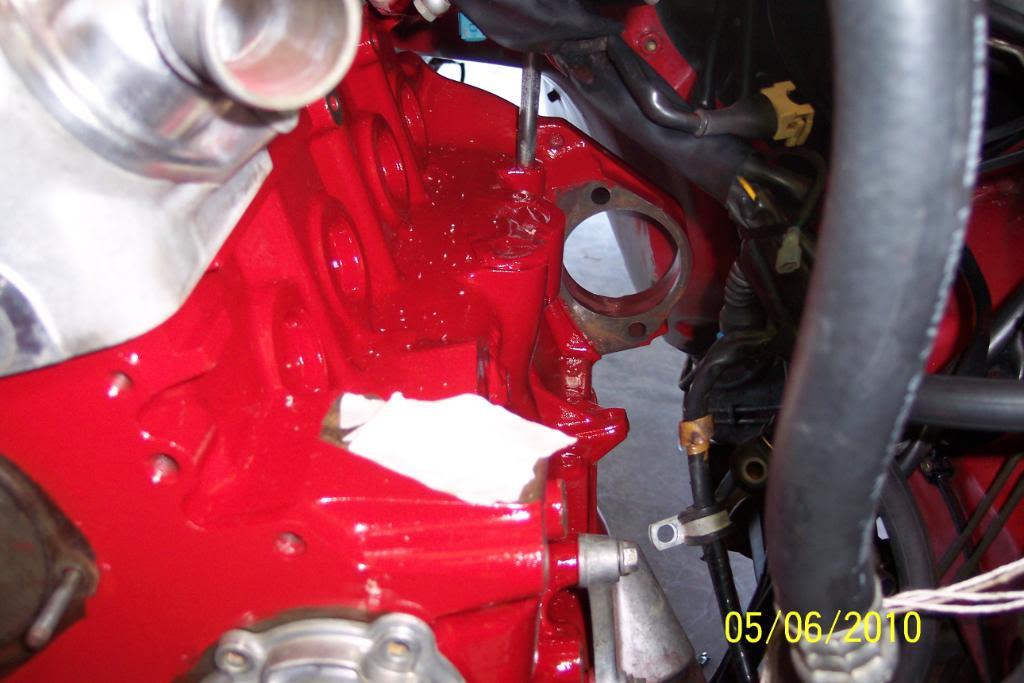
OK, After removing everything but intake & exhaust Manis and after wallowing on carport cement floor in Gunk , CRC Brakleen and grease for a week & half, I finally got the block cleaned up nicely and decided to paint the engine block.
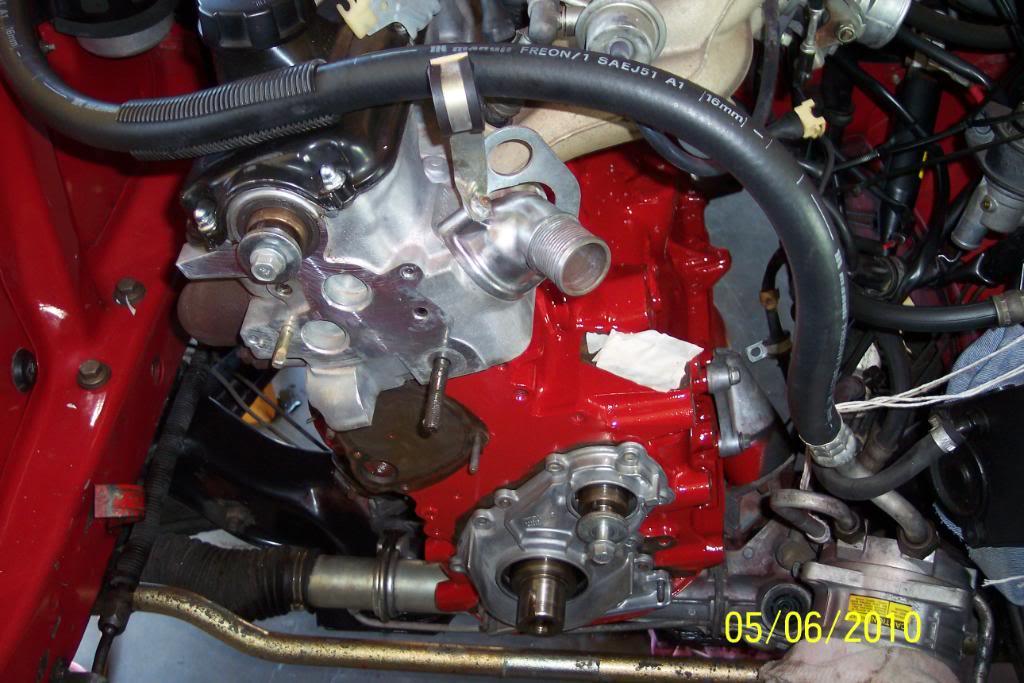
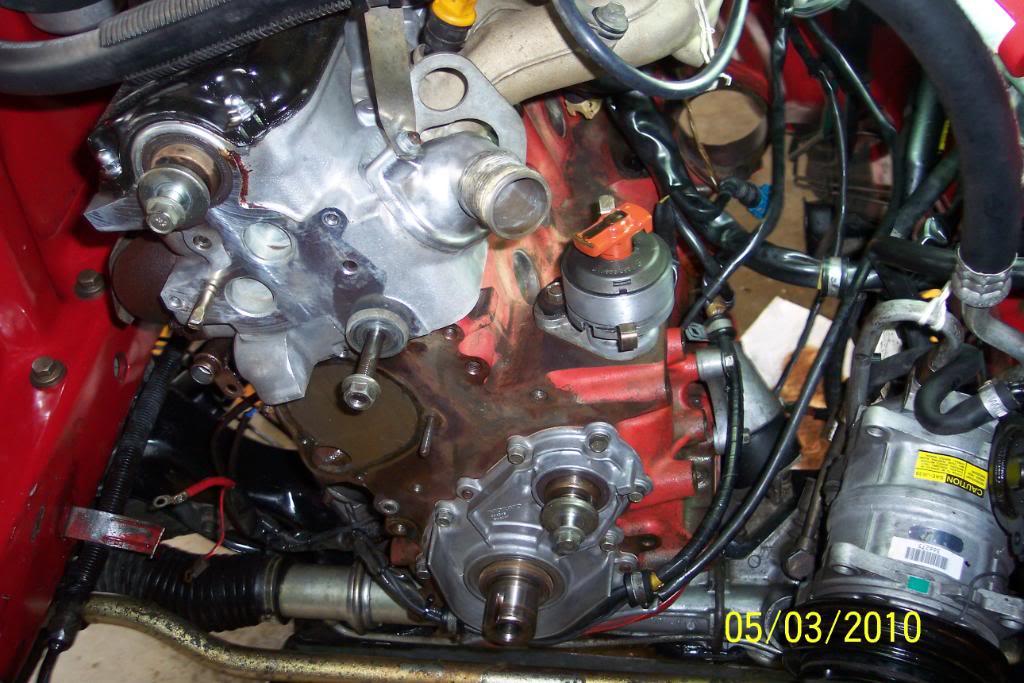
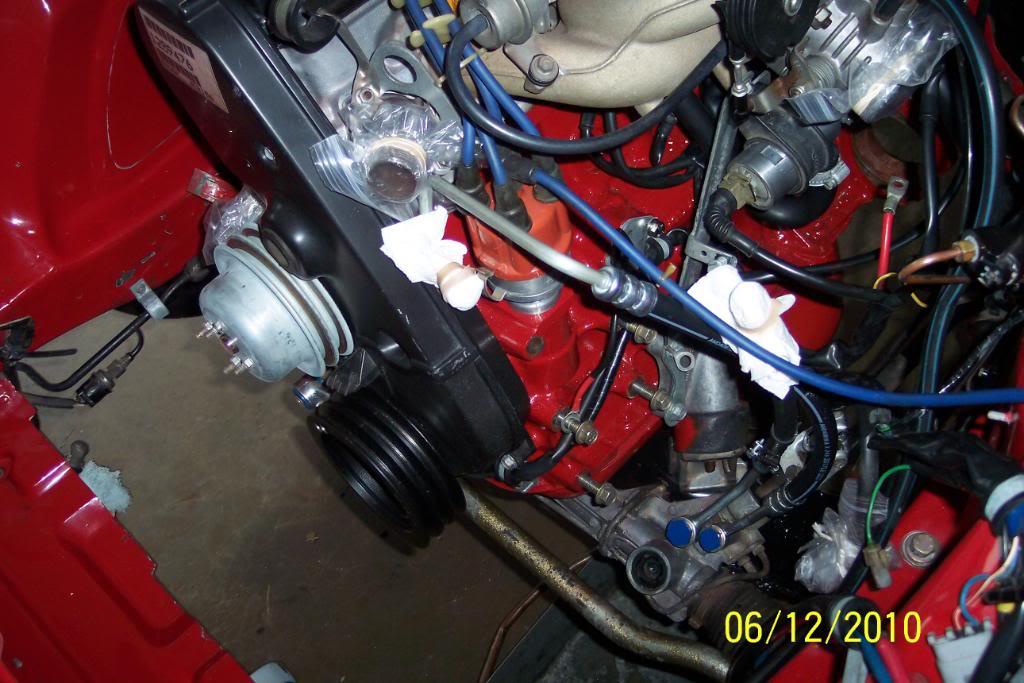
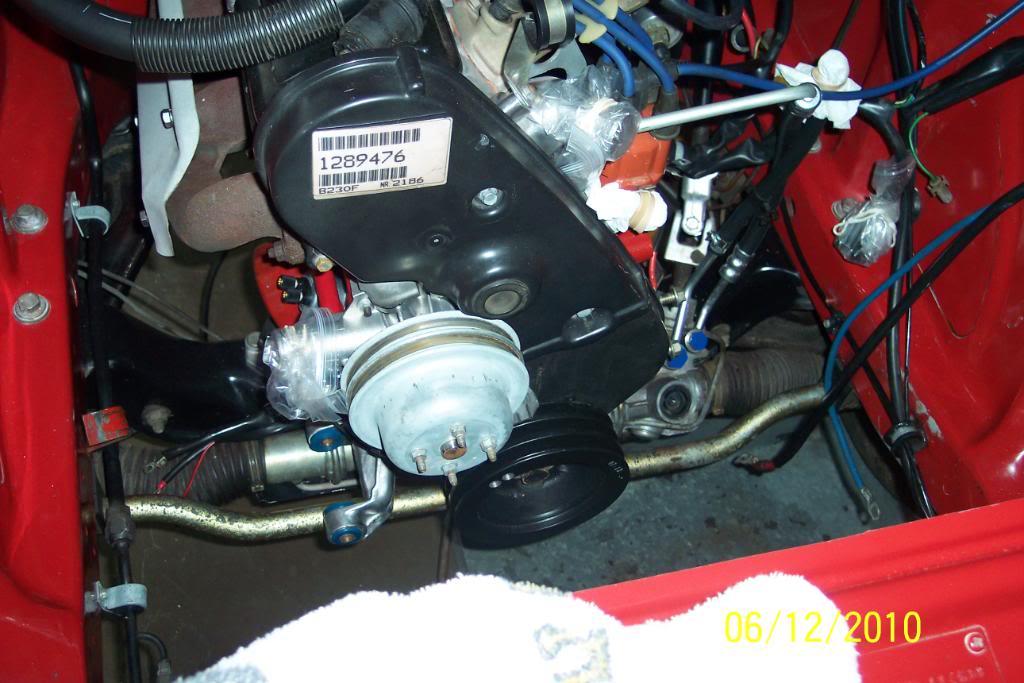
OK, got this far, Box,WP and front cover & seals.
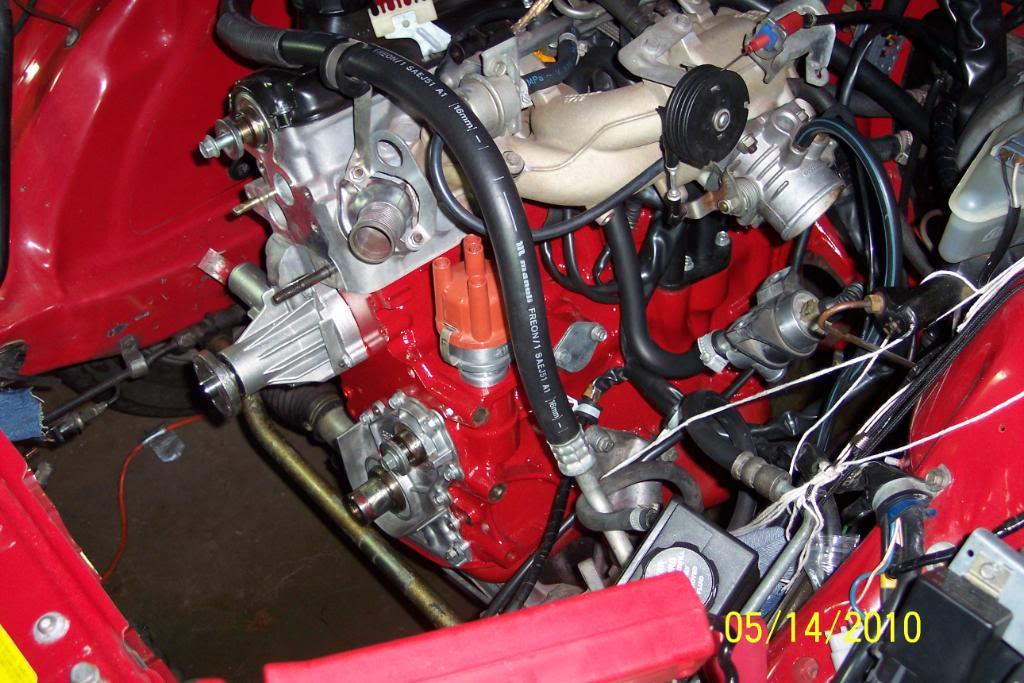
Got the frt. cover,Tbelt,& covers,new Scantech HB & dizzy back on.
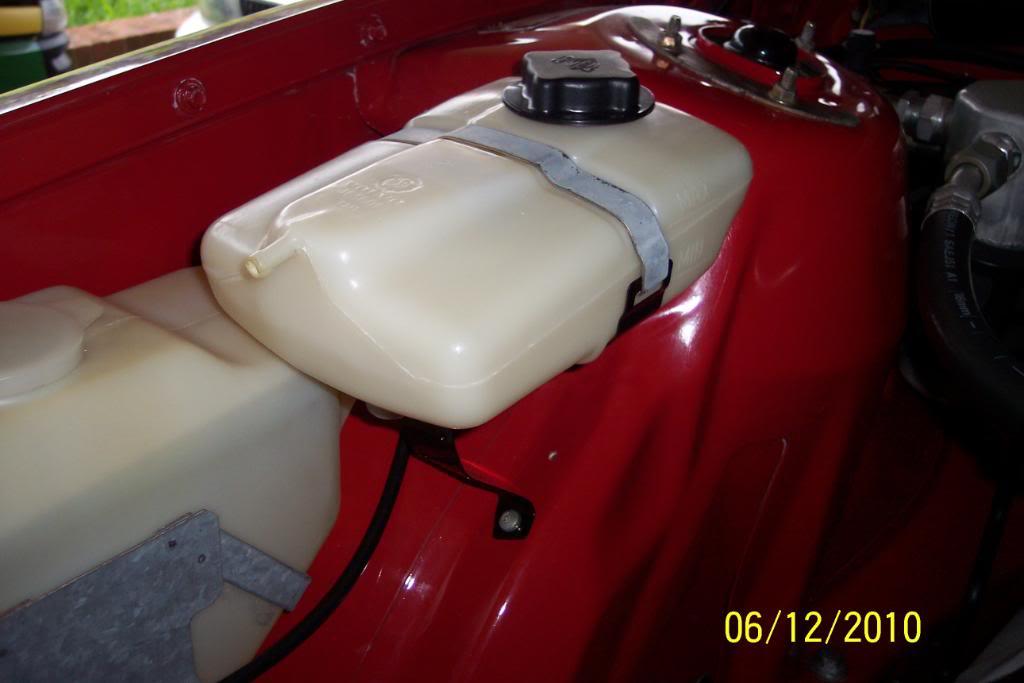
Also installed new Gates P/S hoses, cleaned P/S pump's pulley, repainted P/S pump & rad. overflow reservoir's bracket, and cleaned inside of reservoir, and painted P/S hose's banjo bolt heads blue(they were a little tarnished).
Also cleaned the WW bottle 's bracket & WW bottle. Trying to be thorough.
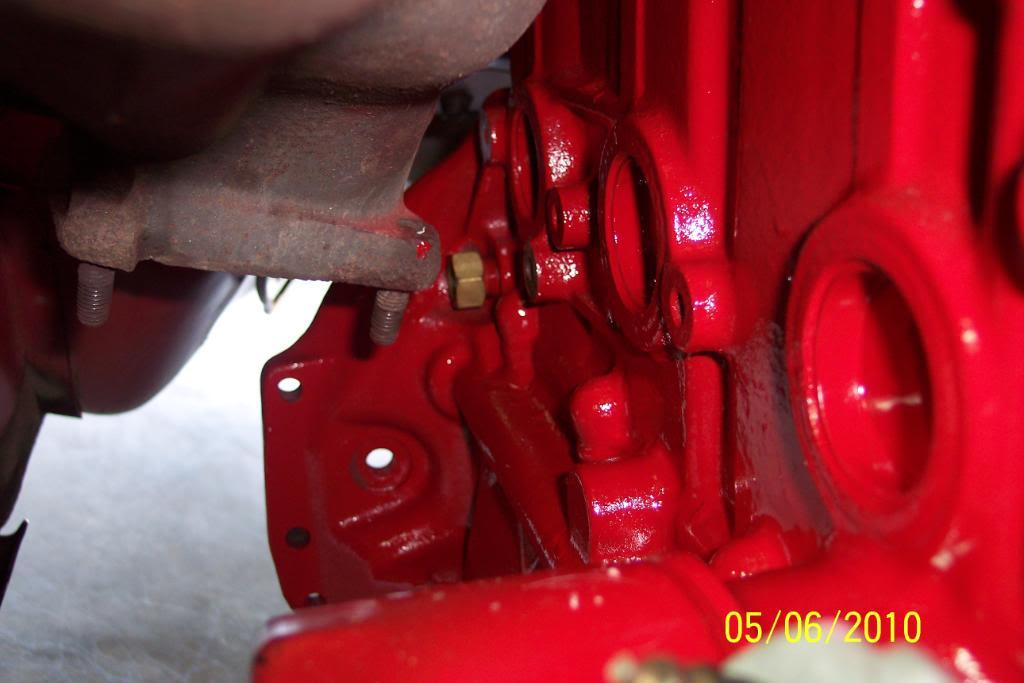
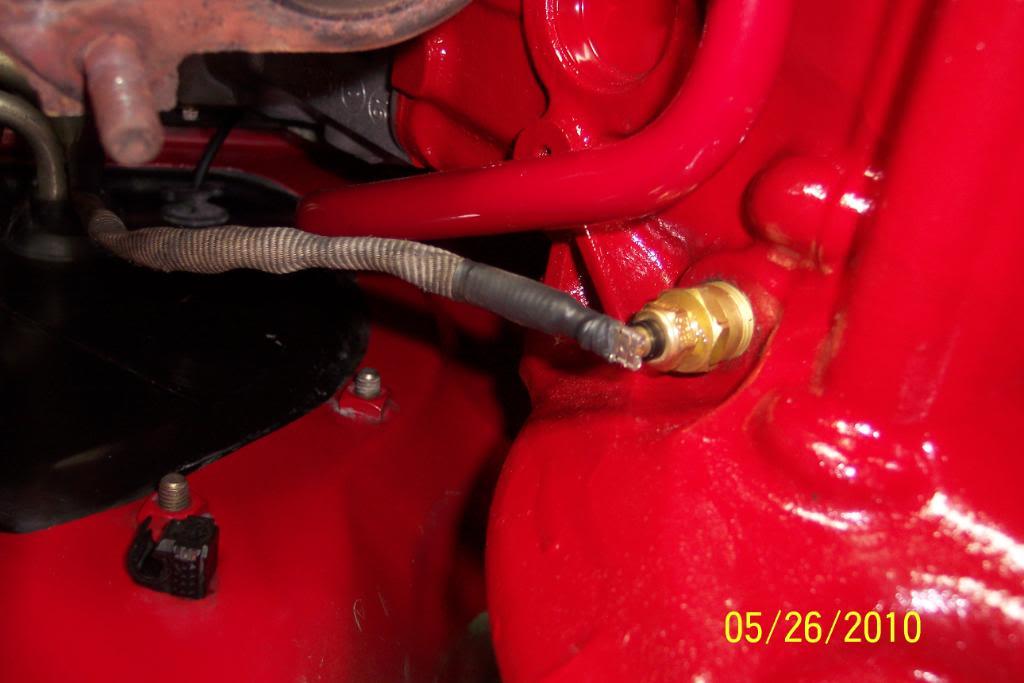
Also got the VDO Vision's WT sender (p/n 323-095), installed, sheathed & wired. BTW the block drain hole, in the block, is 3/8-18 NPT, in case anyone wanted to do the same mod.
This allows ya to keep the OEM "no numbers" gauge in the IC, still working, & it's sender in cylinder head,but still have a VDO Vision WT gauge to read actual temp.
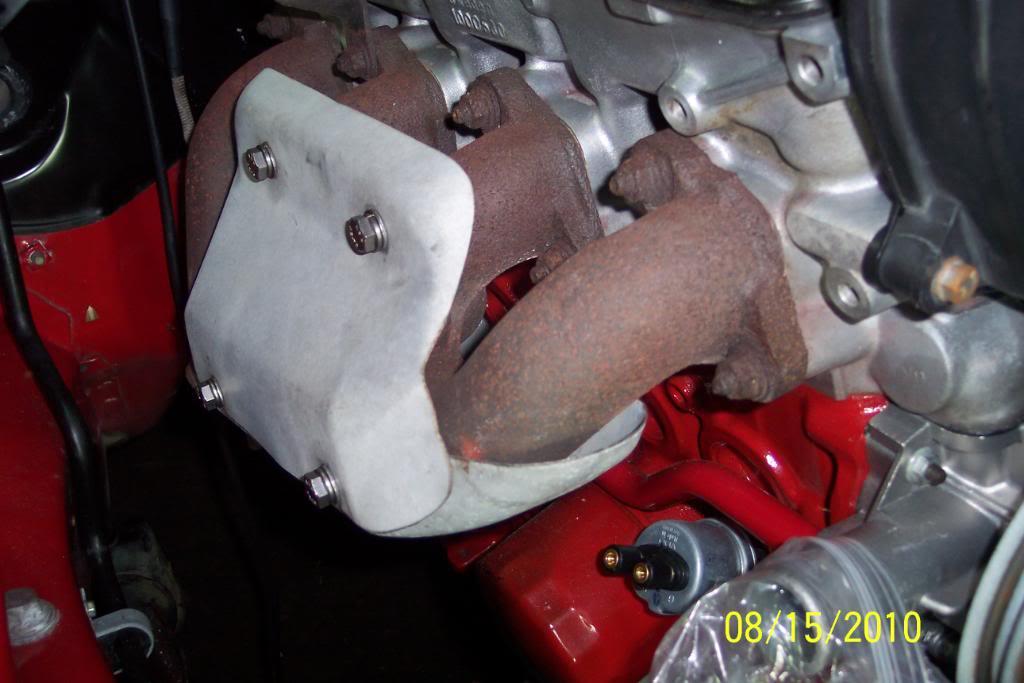
Ok, been wanting to reinstall the lower heat shield. But due to fact I used preheat hose for an additional cold air intake to airbox, said lower shield had the metal pipe still on it, looked bad.
So, I took it off. Used a donor upper heat shield to cut a cover fro the hole left. Used SS bolts to bolt in place.
And installed on ex. mani. with SS bolts for good looks for a long time.
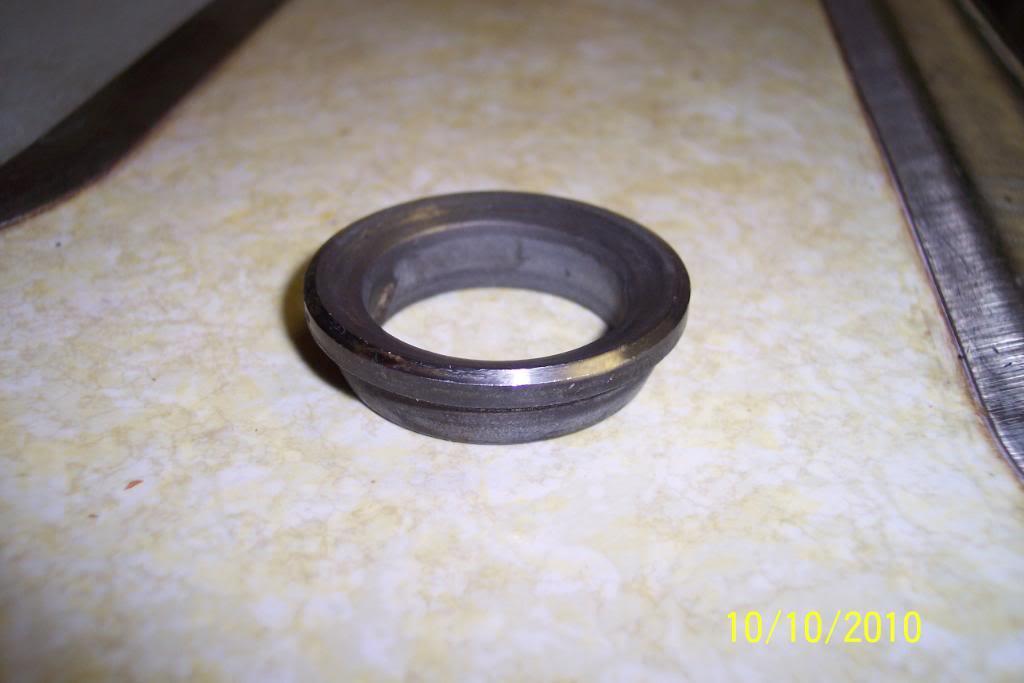
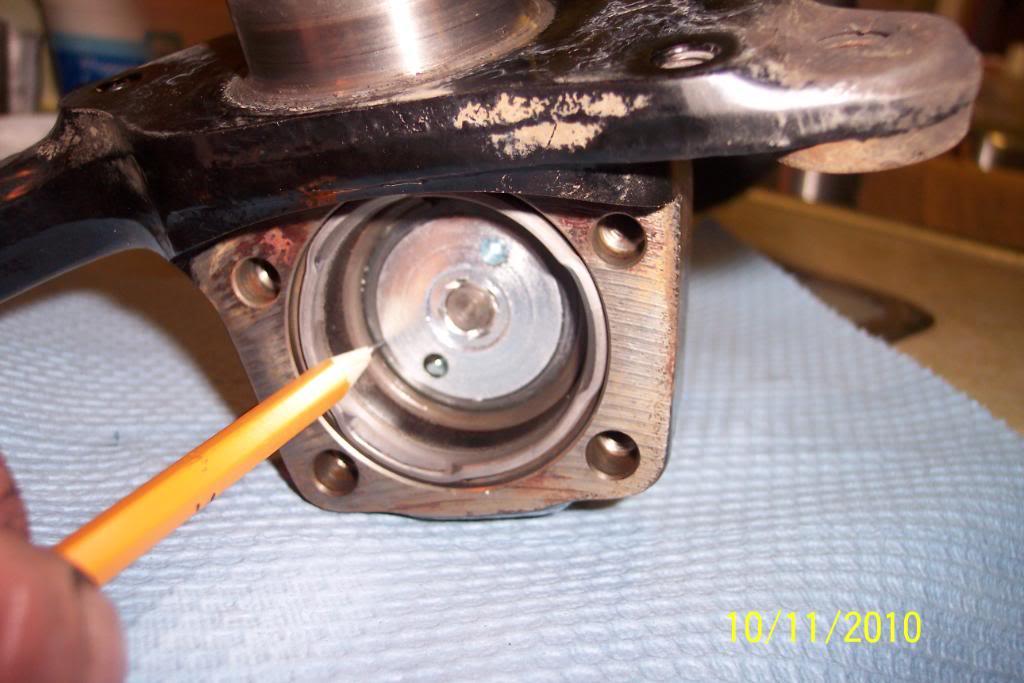
I found this lurking at the bottom of the 1986 strt hsg. tube. The removable spacer on the early tubes. This being out,should give me a lot more gland nut thread engagement. For sure & FTW.
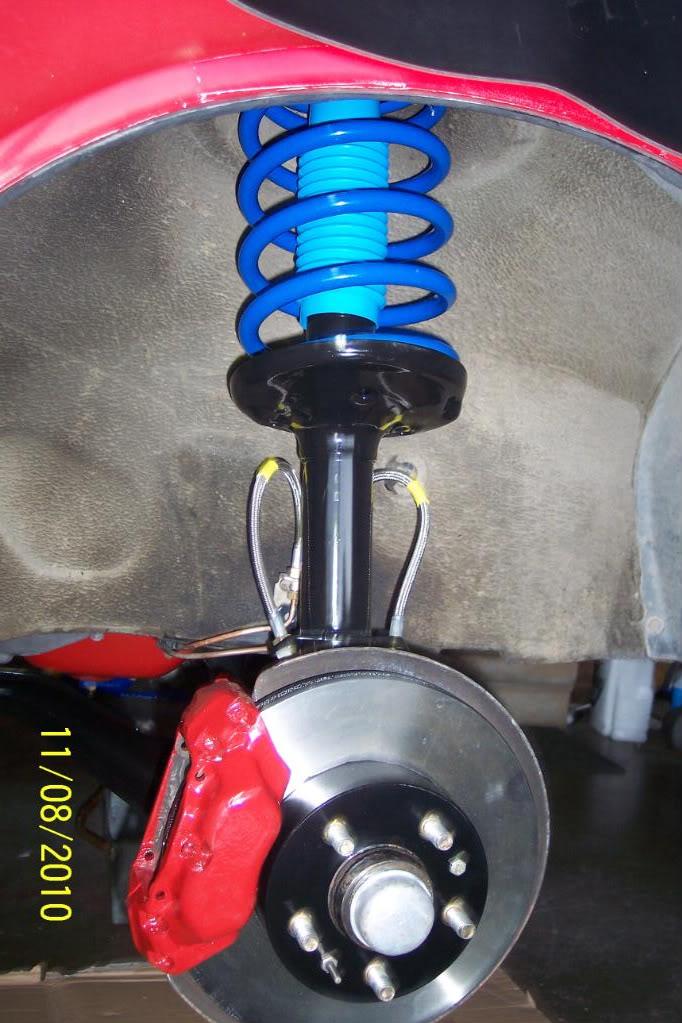
Well I got the Billy in the pass side 1986 stut hsg. Thinks look a lot safer/better to me. Hopefully I did this correctly.
No threads showing at all.
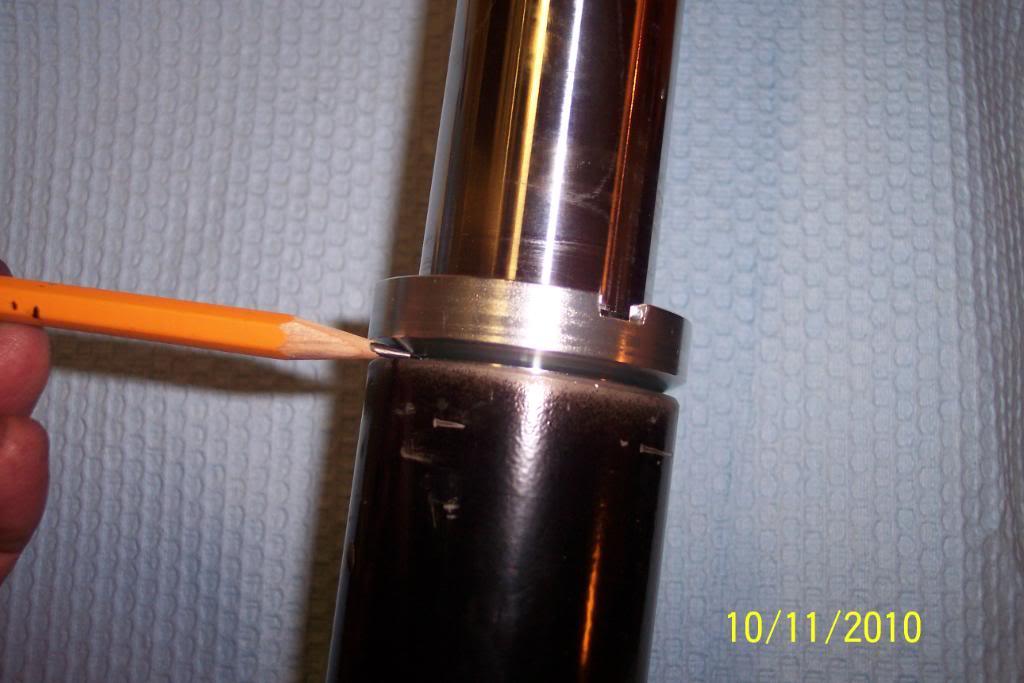
1986 srut hsg's spacer removed and showing the Billy fully seated in the strut hsg tube.
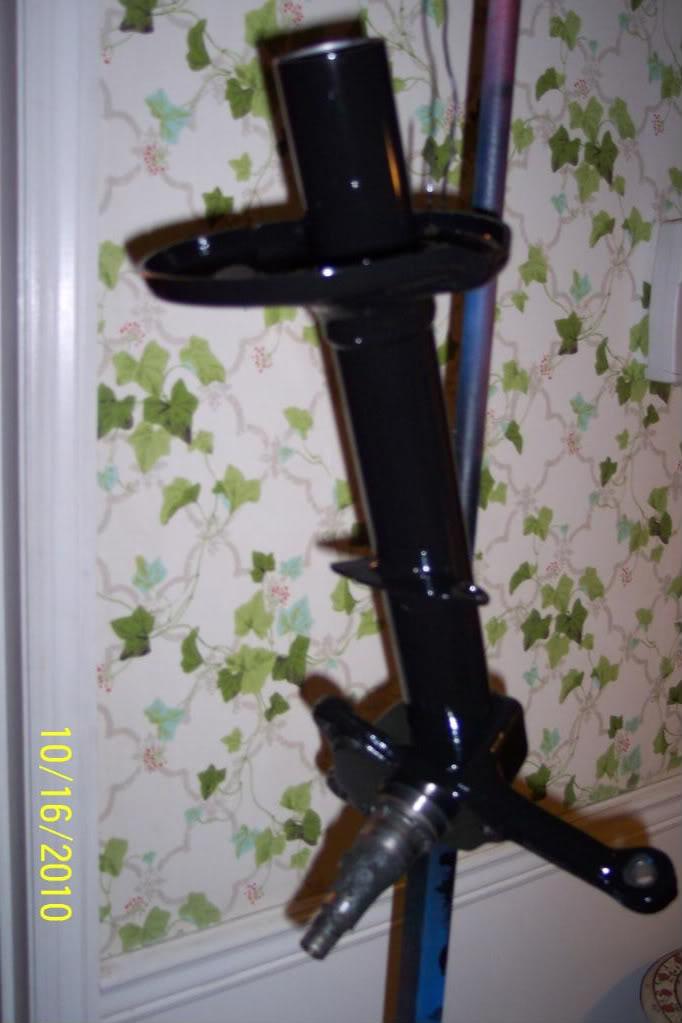
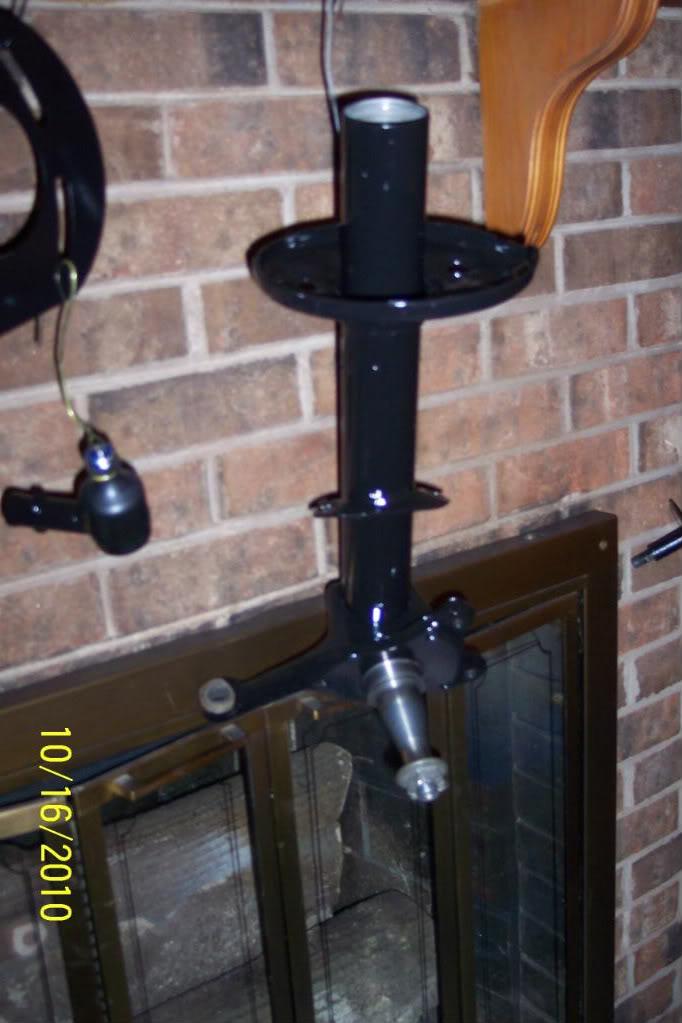
Now tomorrow I'll buff the small amount of rust in certain areas on the 1986 strut hsg, and paint it with Rustoleum Black. Pics soon.
Ok ,I dug all the dirt & gravel stuck between/in the "spring plate" and tube,then I cleaned the hella out of them with gas & CRC Brakleen, dried them down, masked off the bolt holes & tube & painted the strut hsgs, Rustoleum Gloss Black.
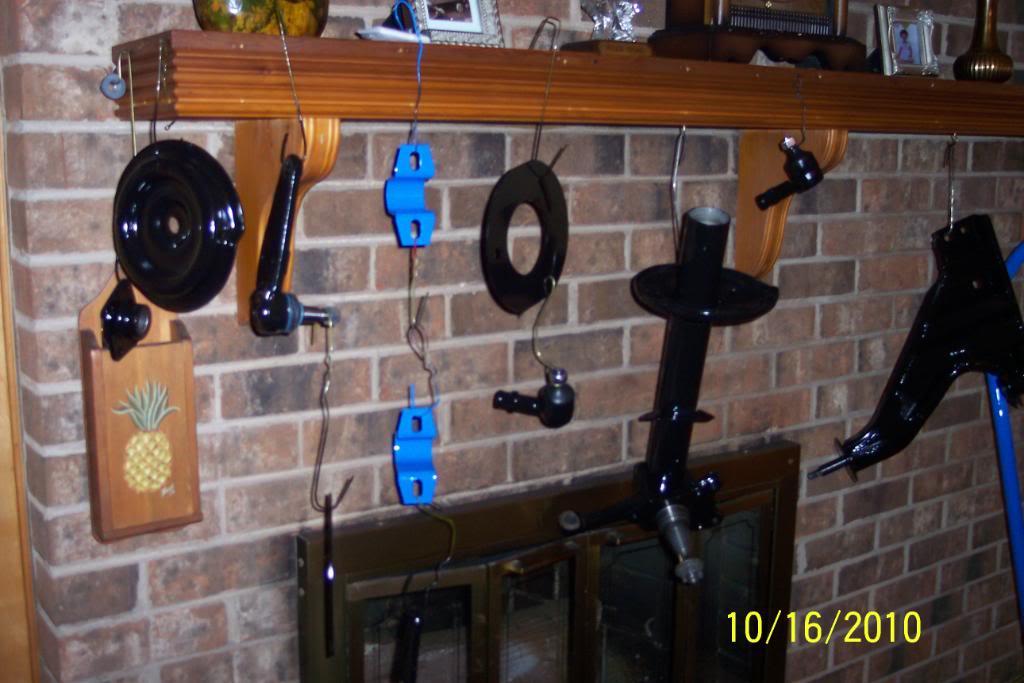
And painted the new tie rod ends, lower ball joints, GT plates, braced lower control arm and some bolts.
So I found the pass. side outer wheel brg blued a bit, so bought new Timken frt wheel brg kit, tapped old racess out, new ones in, greased the brgs .
Then cleaned off the hub on a wire buffer motor,masked it off & painted the backside of hub with Rustoleum 500*F Engine Paint(dark blue), it's drying now. This is passenger side hub,& I'll do the driver's side the same way.
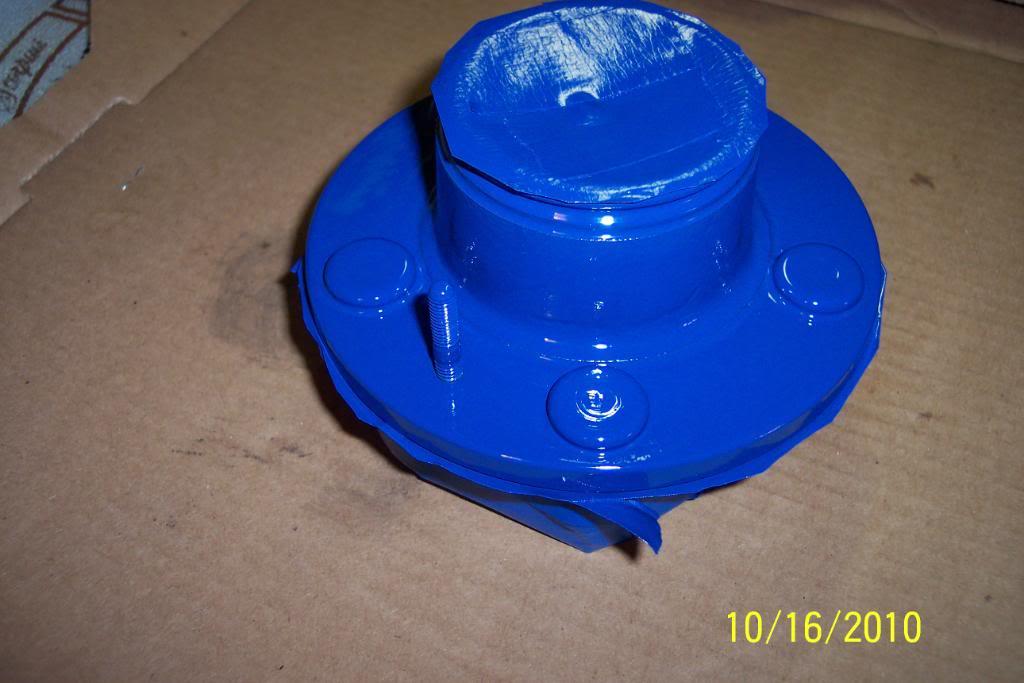
I got the painted hub on, and...
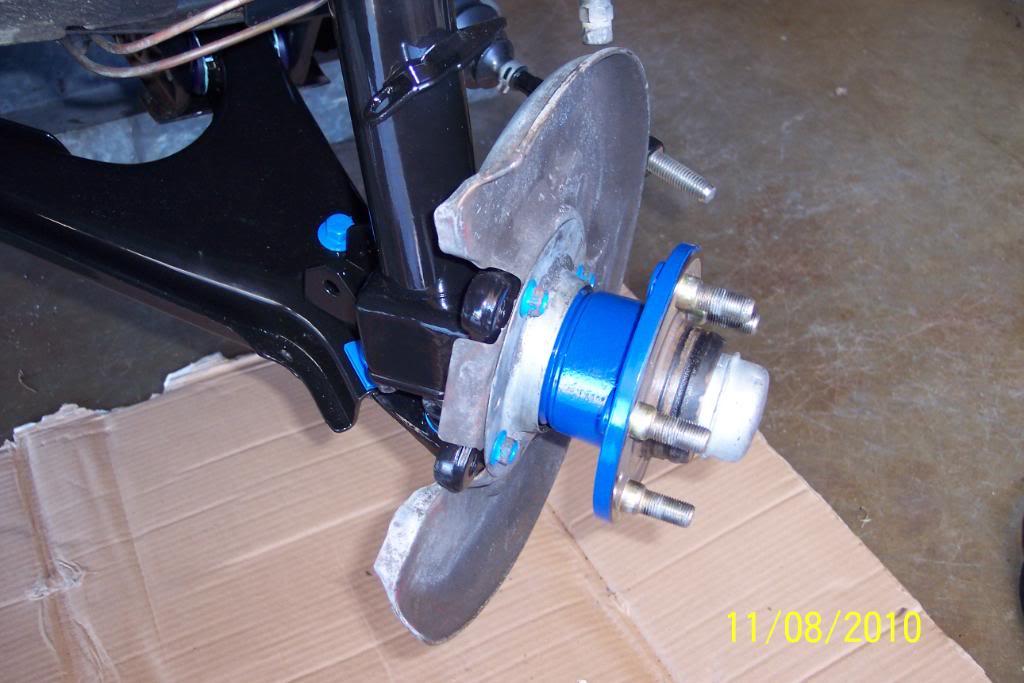
OK, except for the brake pad backing shims, which I realized I had not yet ordered, I have the rest of the pass. side done, minus putting on the tie rod end. Wheel brg is now adjusted also.
Now, I'll do the driver's side the same way.
OK, here lately the weather has been bad, and not much progress.
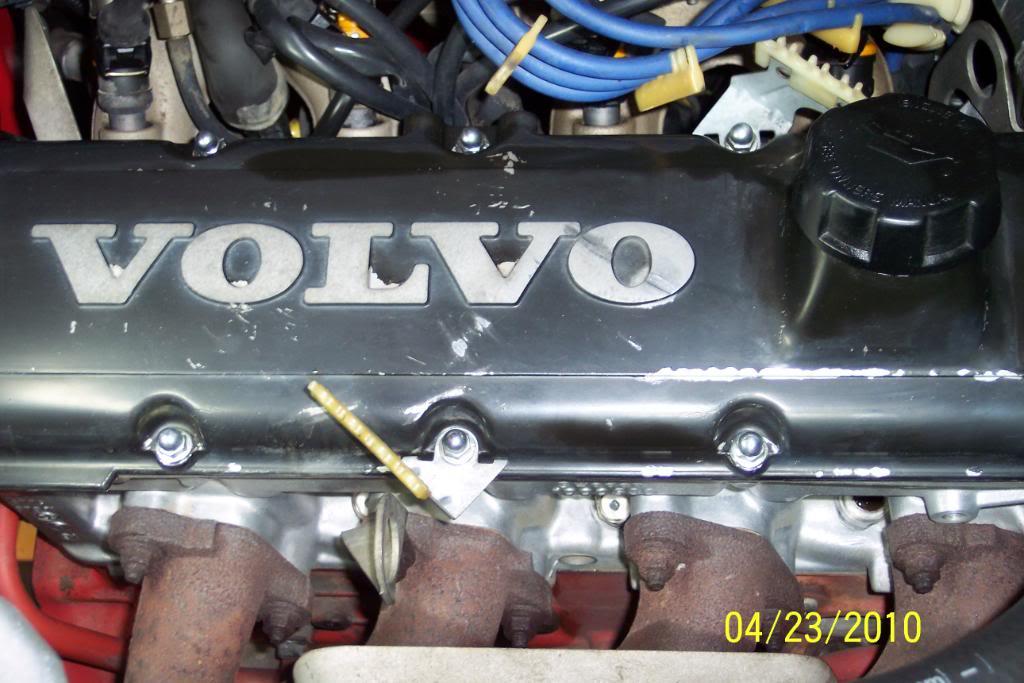
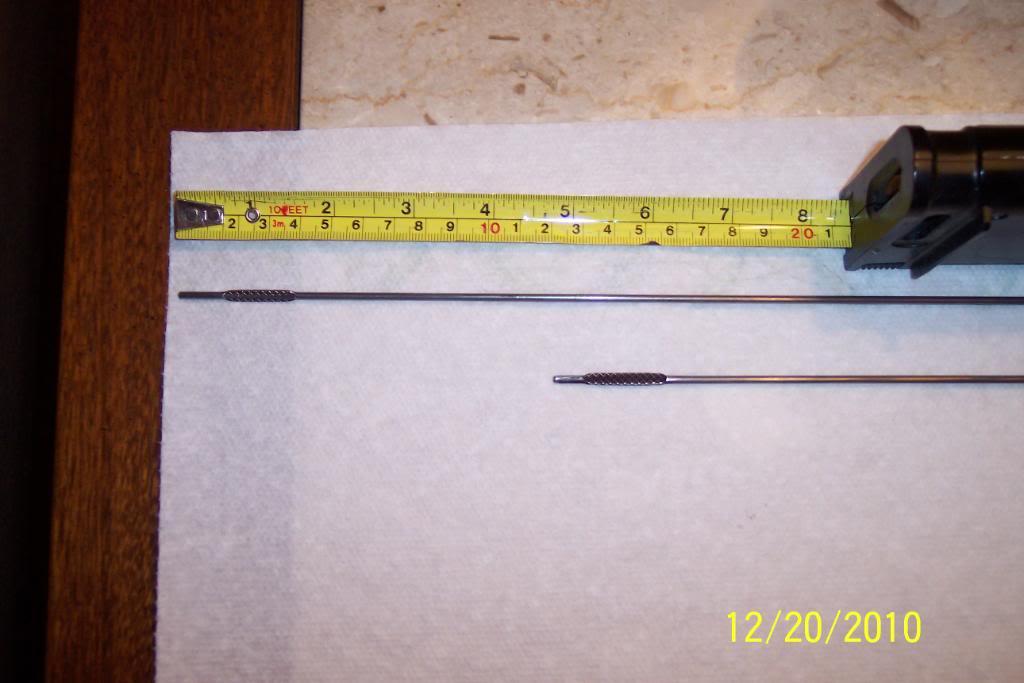
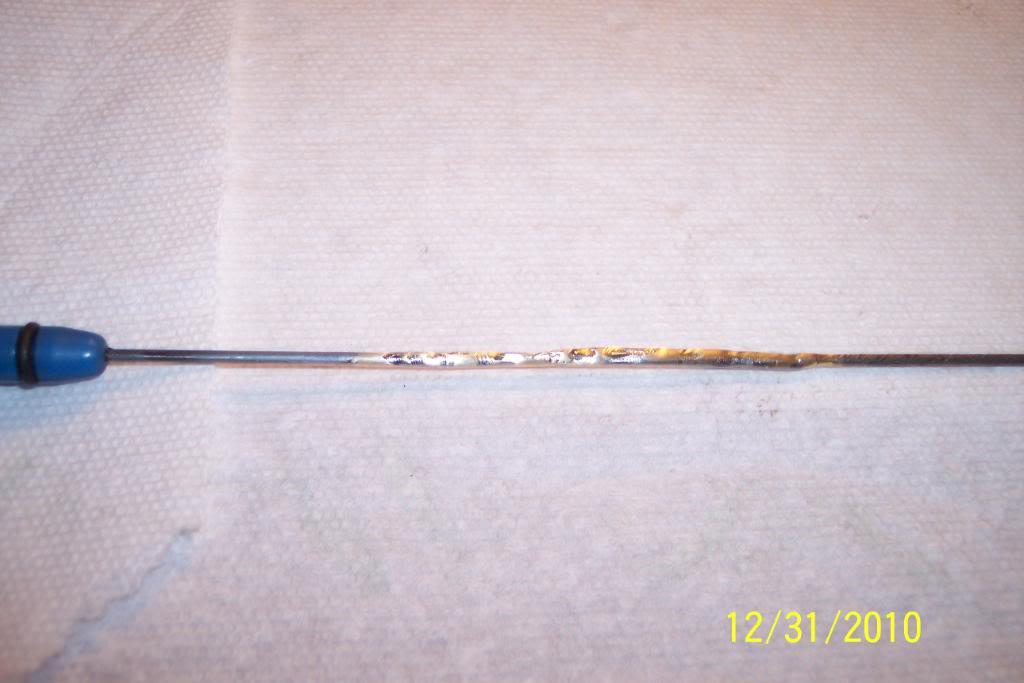
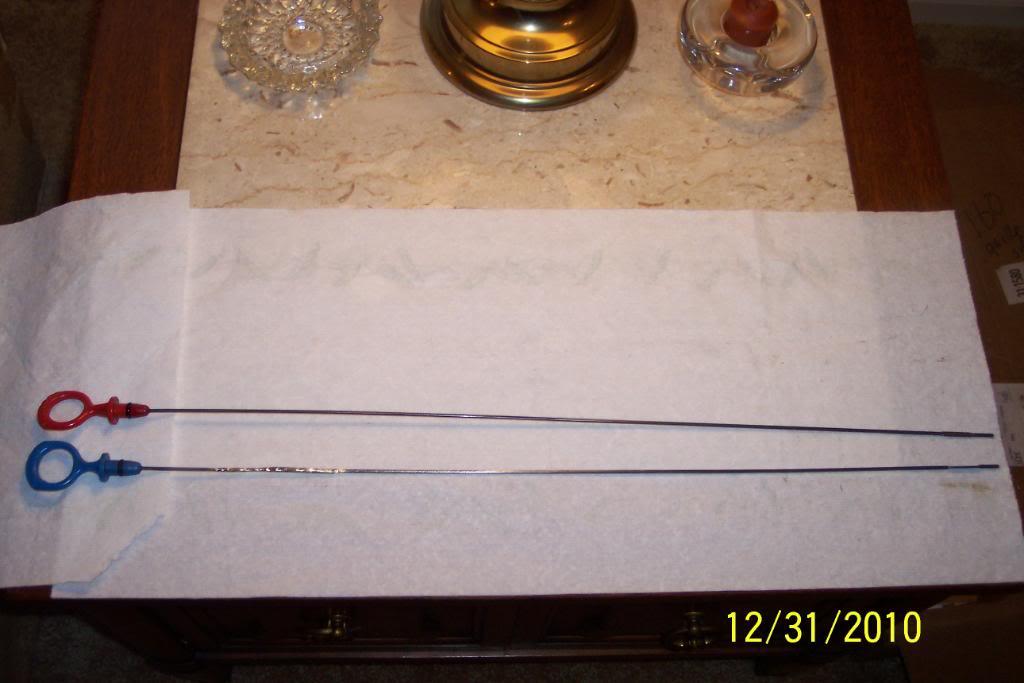
I did manage to score a 240 diesel engine's Oil dipstick, and it has a blue handle on it, instead of a red handle like a normal B230F gasoline engine has.
Only problem is it's about 4 3/4" too short. Since I wanted to use the blue handled dipstick, I modded it.
I took a spare dipstick from a B230F, and cut it off about 3" from the top. Didi same to blue one.
Figured out just where to cut both so they'd overlap about 2". Ground the 2" area on both flat, so they'd mate together and have a smaller overall OD.
And then I brazed them together. Pics below.


Nice build!
Posted by Diggymart on 3/30/20 @ 2:45:08 PM