You must be logged in to rate content!
9 minute read
Timing Belt replacement steps (updated)
Compliments of shadowlord @ forums.swedespeed.com
12-21-2001
Today i decided to replace timing belt on my 2005 S40 T5 with 130k miles. I also replaced water pump, timing belt idler pulley, timing belt tensioner, and 2 accessories belts. cost was $300 for parts at autozone. Job was 6 on scale from 1-10. pretty much straight forward and no special tools needed.
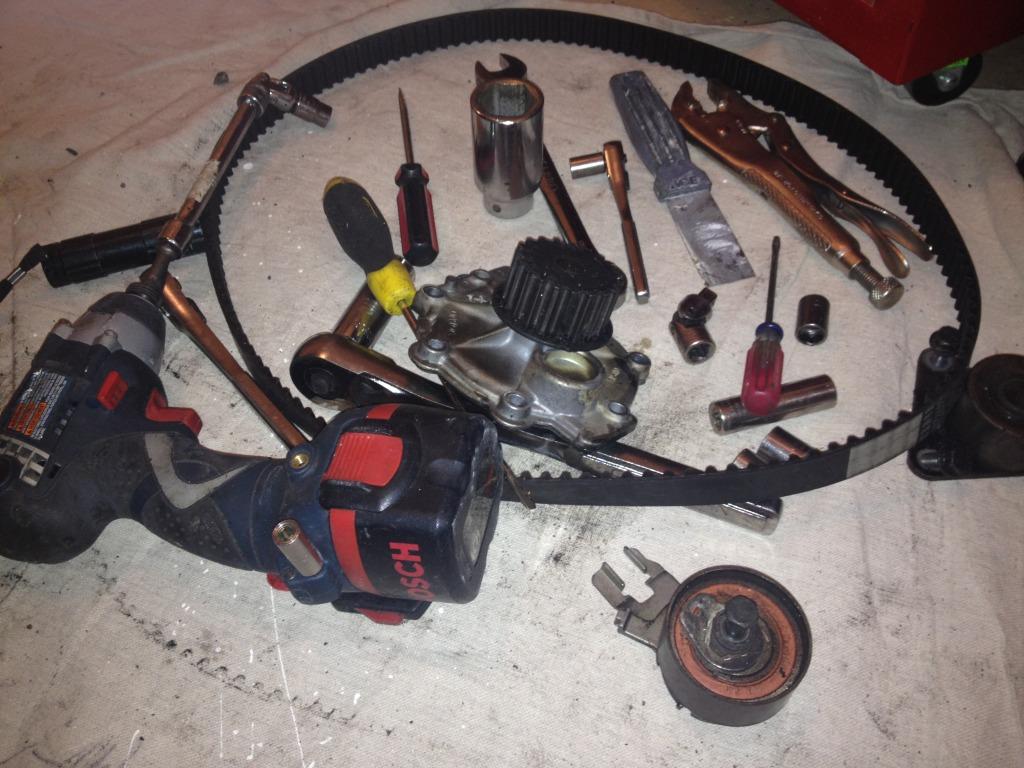
these are 95% of tools used:
Fisrt sep was removing the inner wheel well shield which has about 6 torx and 2 10mm plastic nuts:
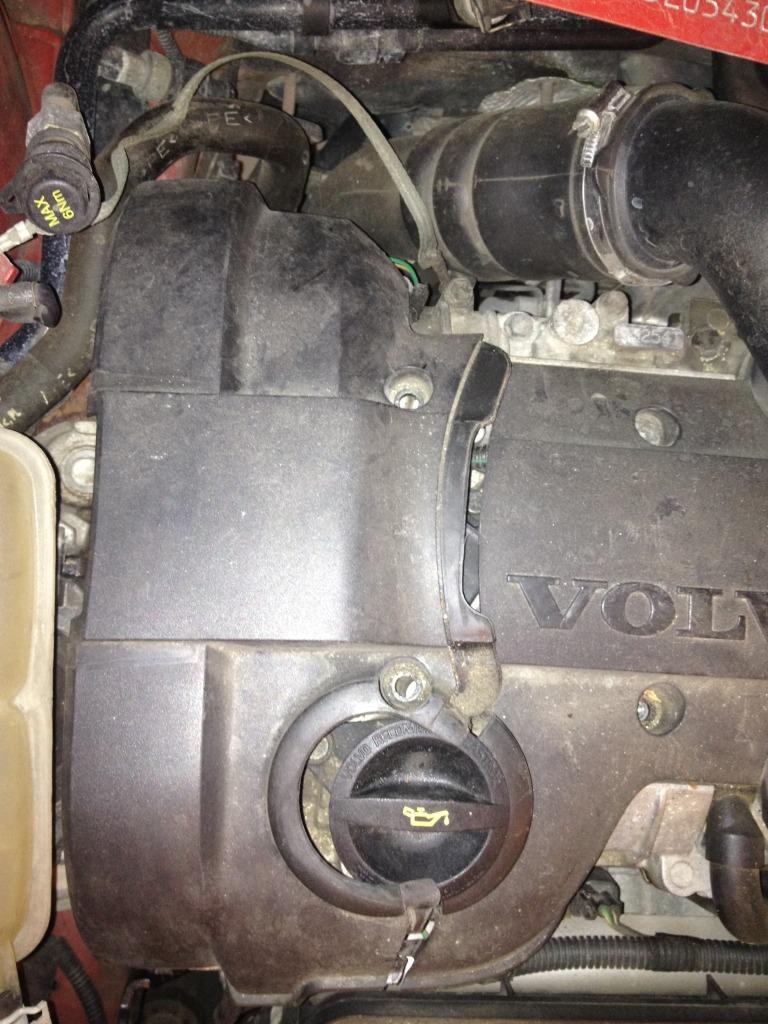
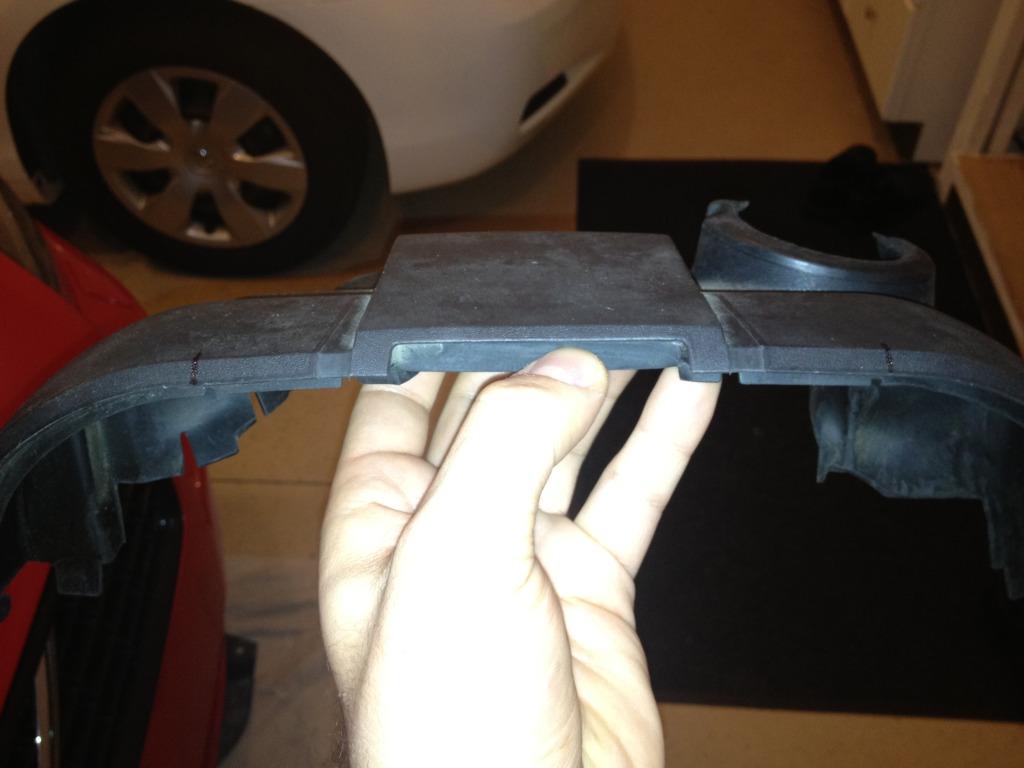
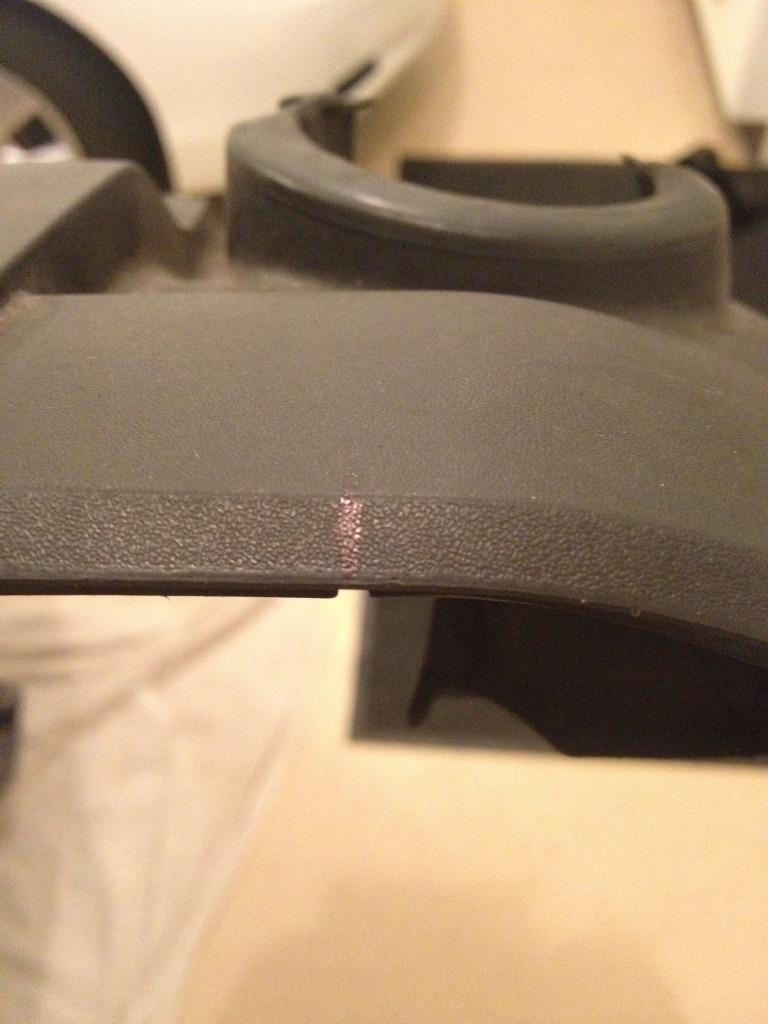
Next step was removing the 3 piece timing belt plastic cover. first top piece has 2 torx bolts, second piece just comes out by pulling it and 3dh piece has one torx bolt in the middle of it which can be reached after removing the side engine mount and plastic clips along the both sides of it:
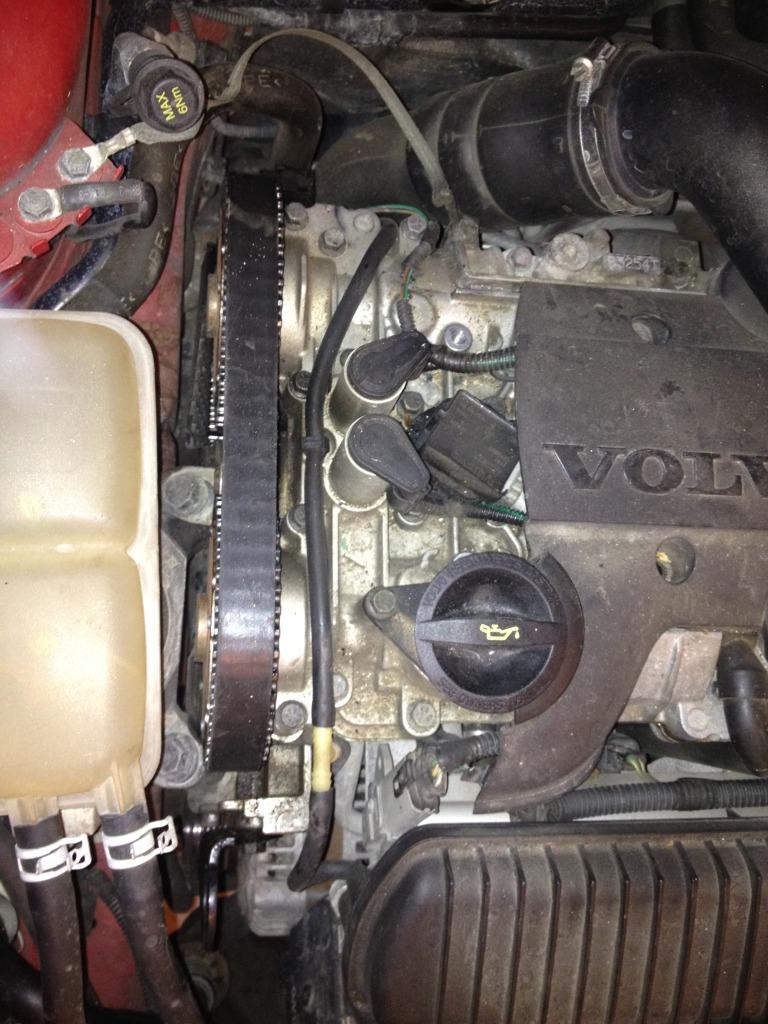
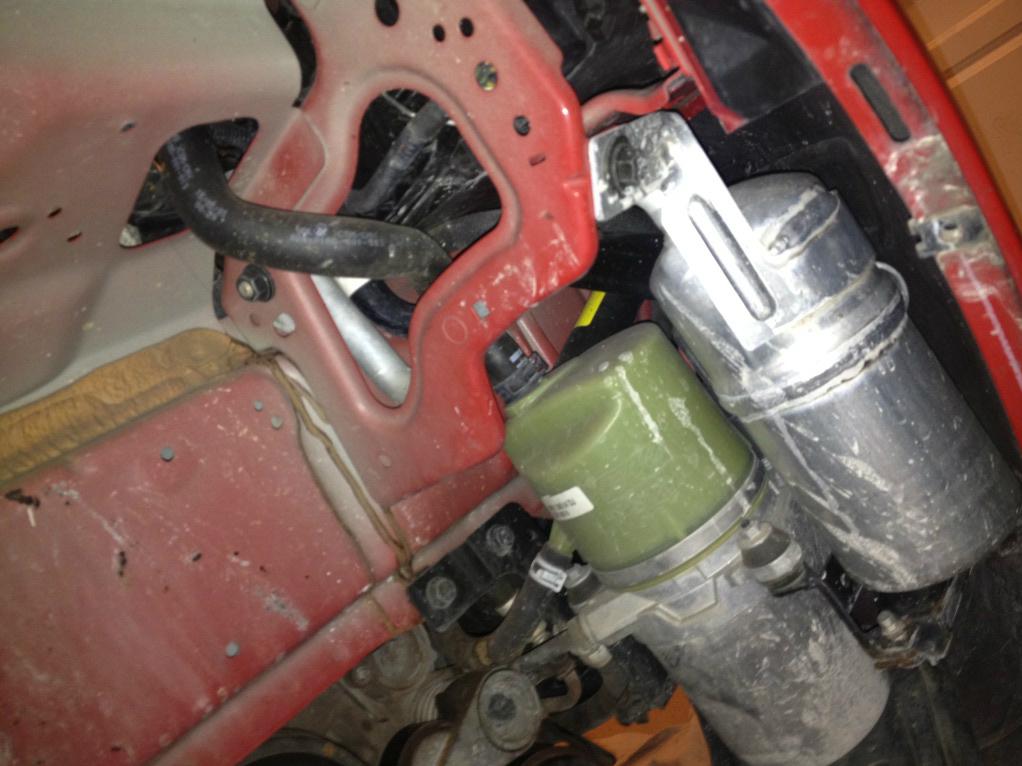
Next step would be removing the coolant reservoir so you can gain access to side engine mount by wiggling it while pulling up as its not secured by any bolts and it just slides on 2 pieces of aluminum:
Next step is removing the bottom engine shield ( and putting a jack and a foot long piece of 2x4 under oil pan to secure the engine when you unbolt side engine mount)

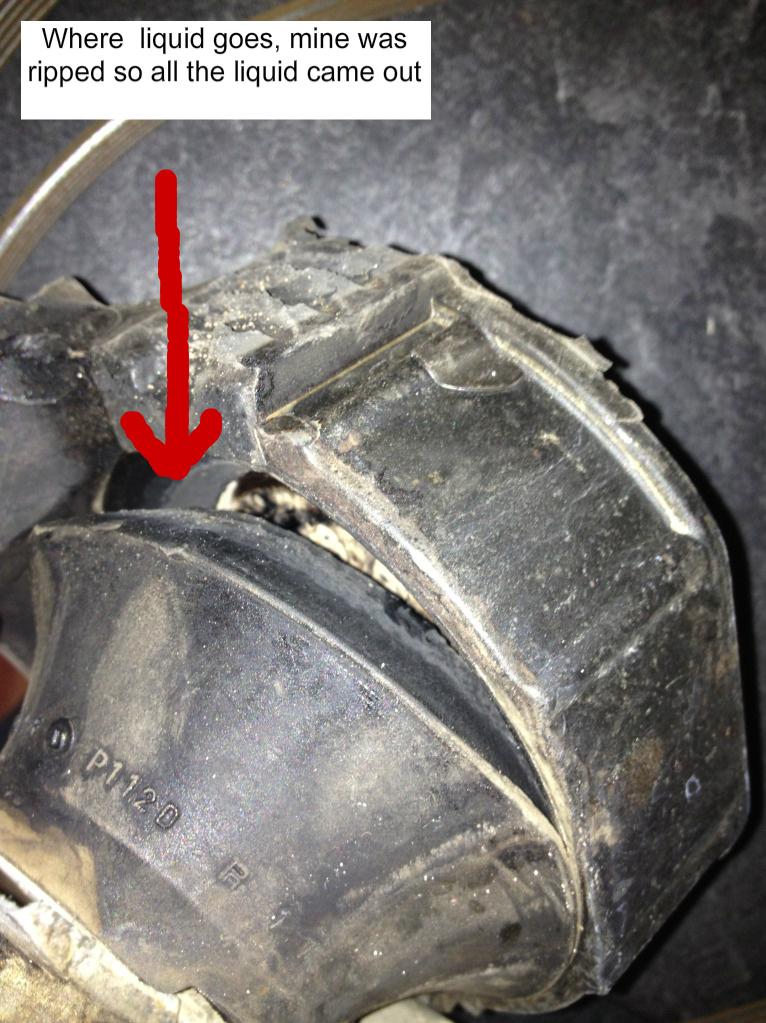
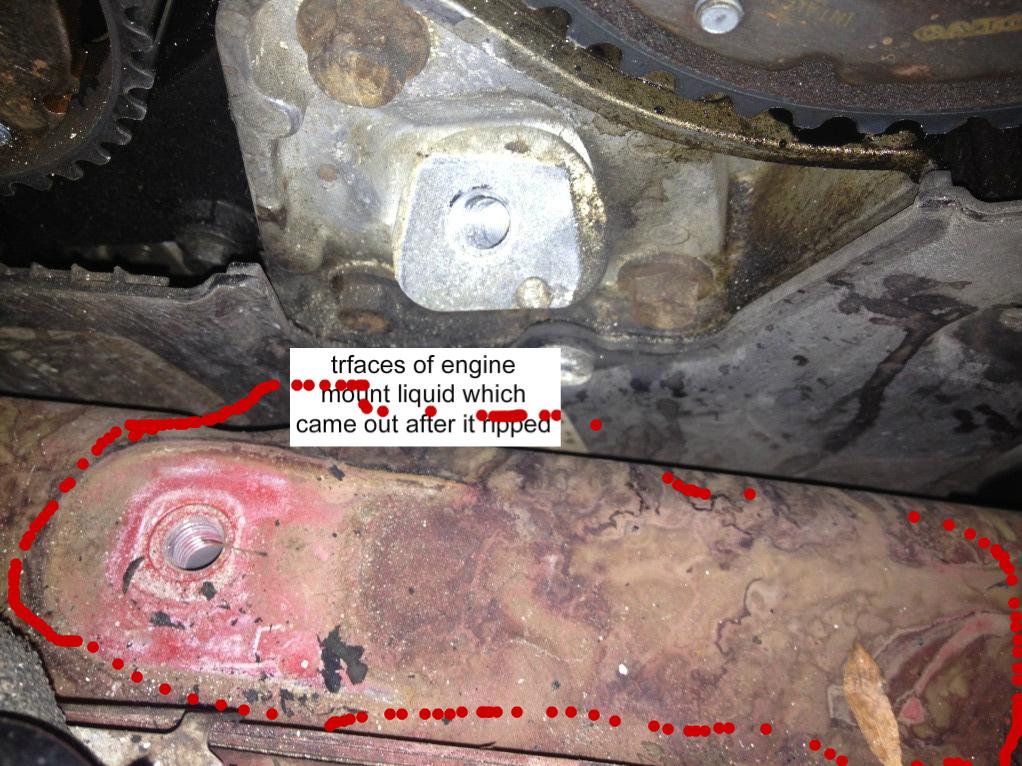
next step is to remove the side engine mount, after taking oit off i realized that mine was completely torn and all the liquid oil out of it drained so i ahd to order a new one at the dealer:
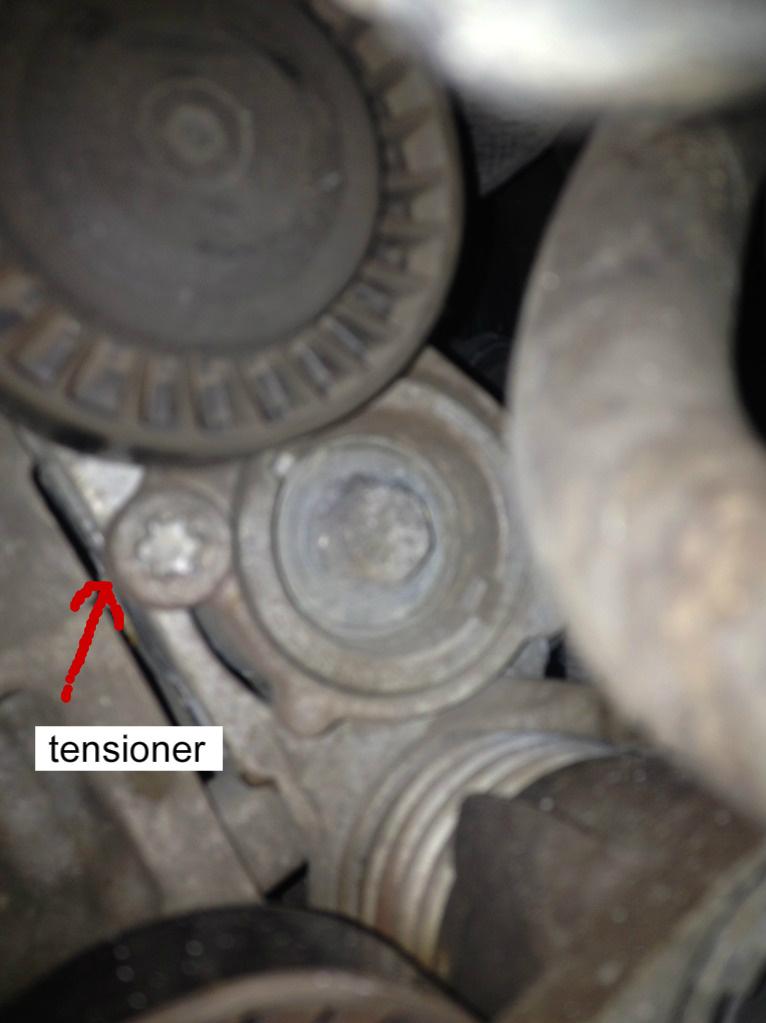
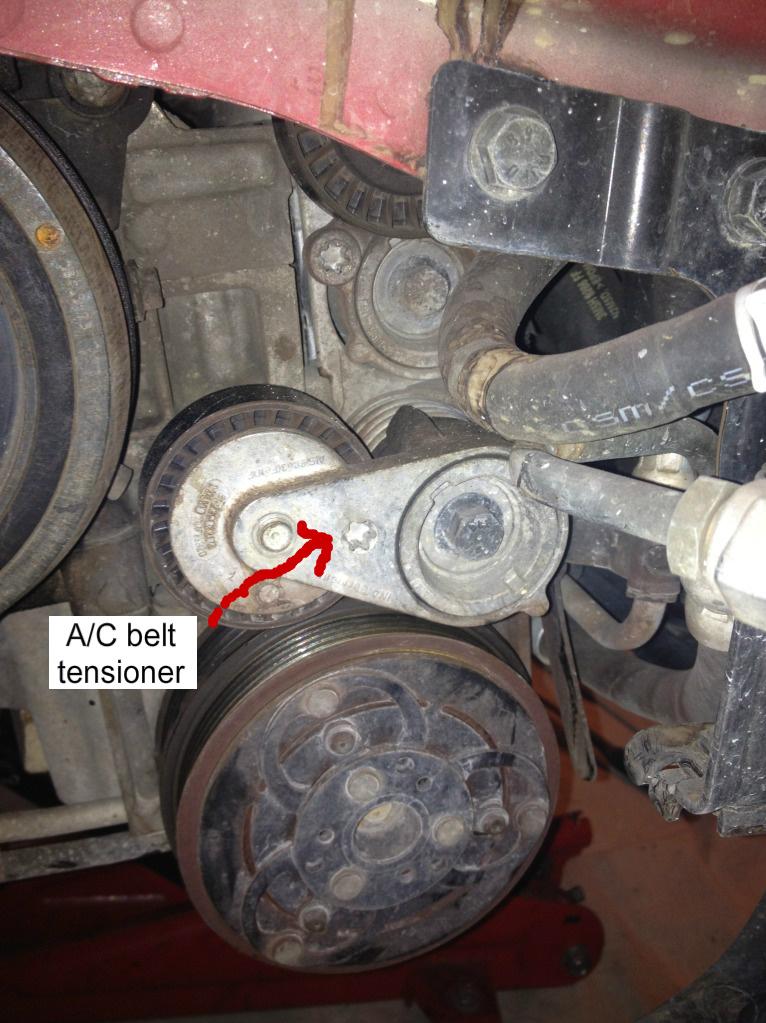
Next step would be removing the accessories belts which is very easy by releasing the tension from two seperate pulleys:
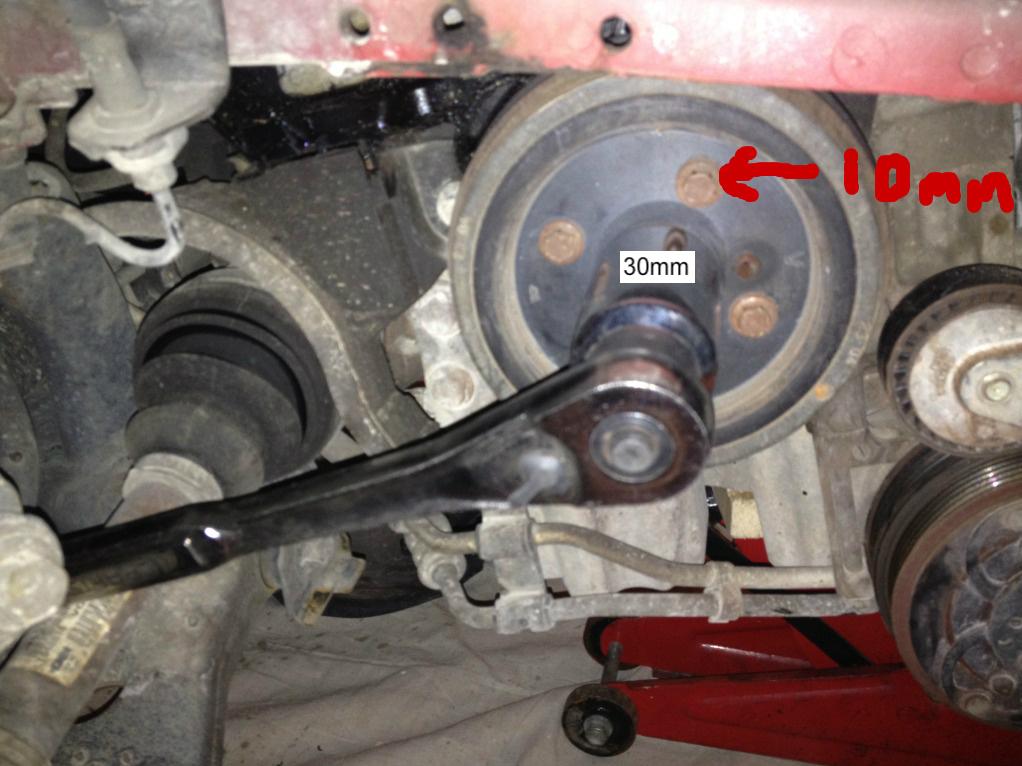
Next step is to remove the 4 x10mm bolts on crank pulley and to remove 30mm crank pulley nut. I dont have air tools so I used infamous starter method. Took 1/2 inch drive positioned it so it rests against the frame towards the front of the car next to the power steering pump, in reverse and cranked the car quickly... ![]()
![]() it broke loose!:
it broke loose!:
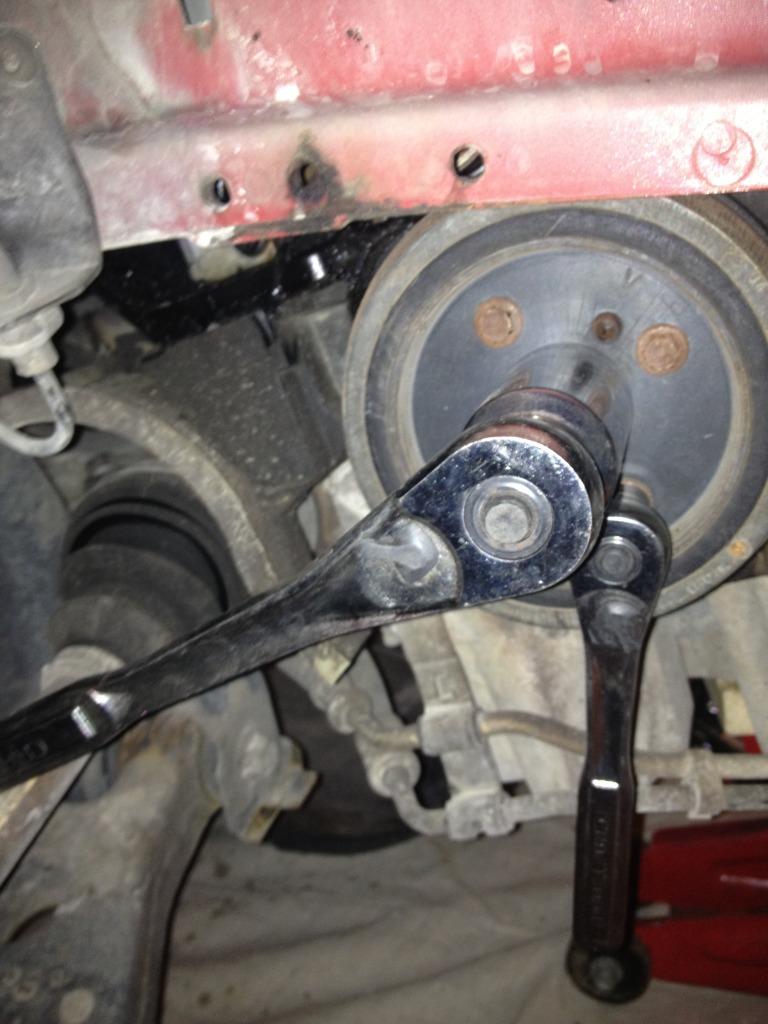
ready to crank the starter:
now since the nut is loose, turn the crank 1/4 forward and than 1/4 counterclock-wise so VVT locks and it stays positioned in reset mode "read about this on this forum a while back"
after removing the 30mm nut just put a big scredriver between pulley and block and wiggle it out little by little... be patient it will slowly come out!
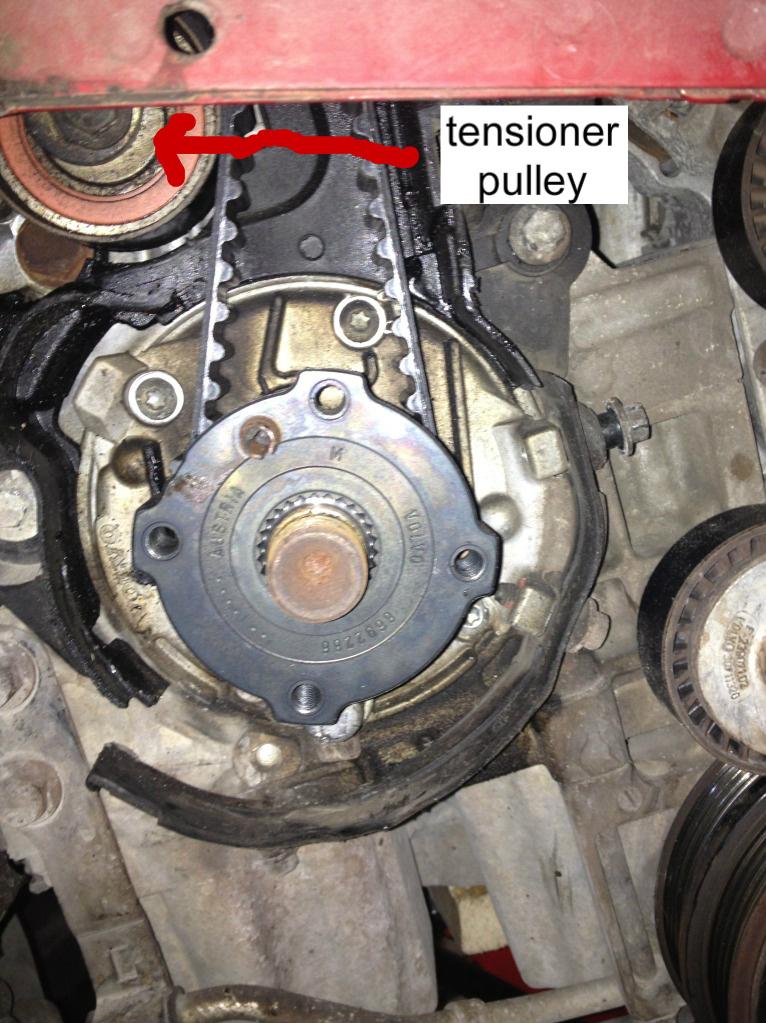
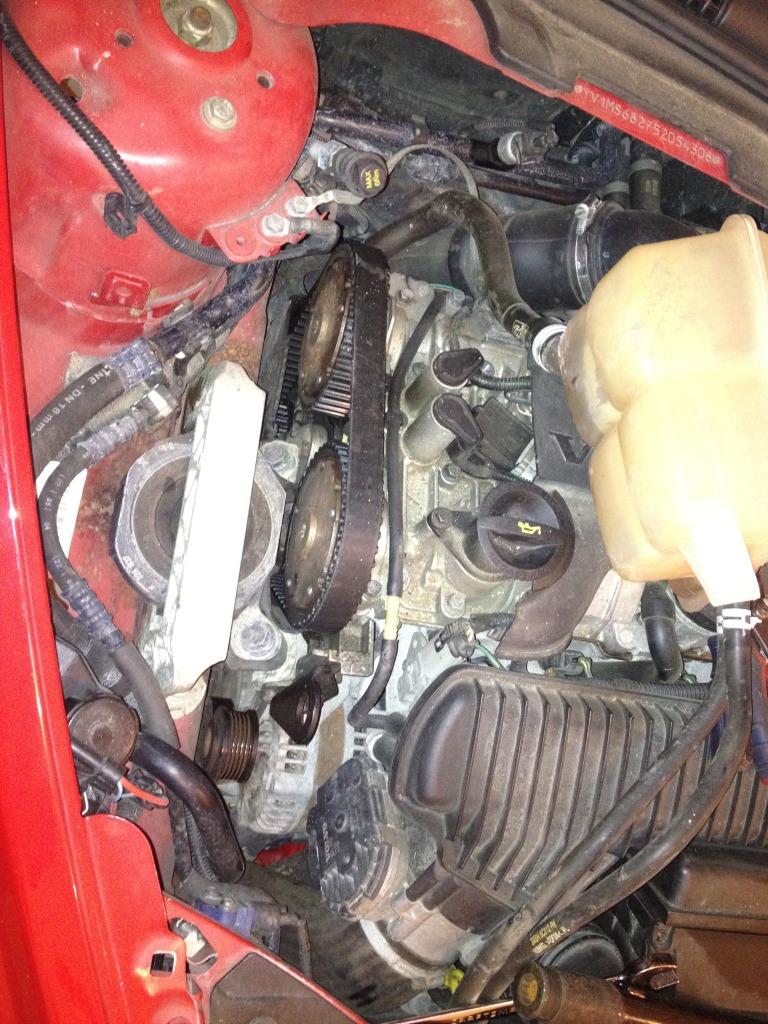
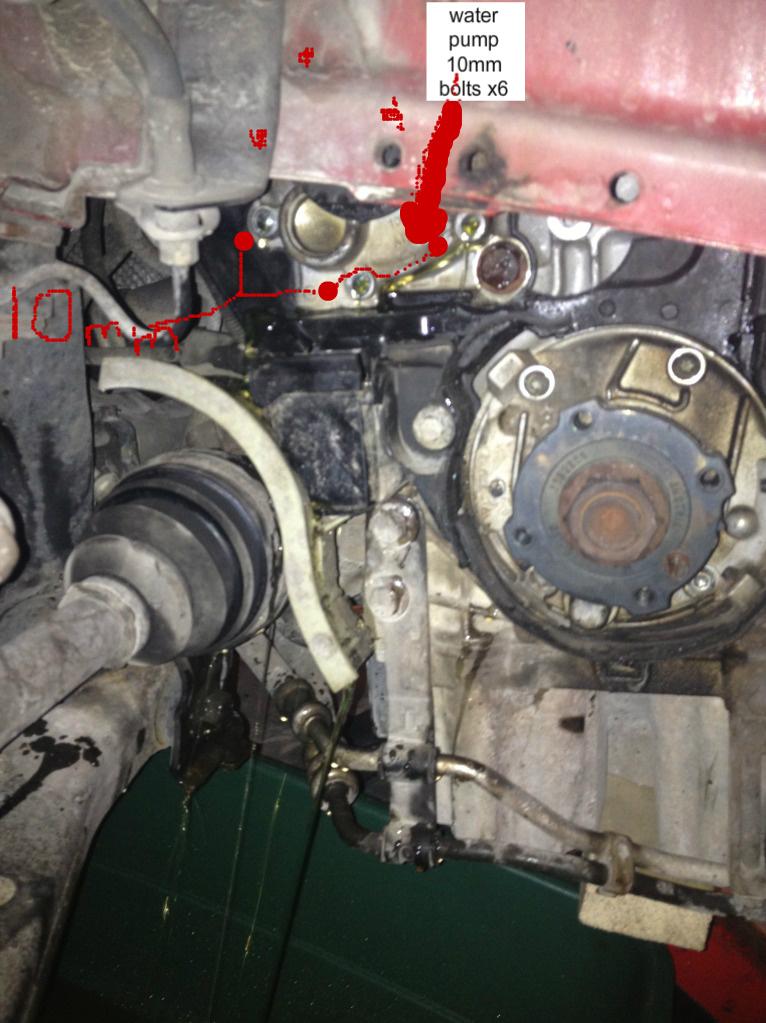
Now mark the cam gears with marker and mark the crank sprocket with marker just to make sure nothing moves. loose the tension on the tensioner and remove the belt. remove the tensioner( one center bolt on it). Remove the idler pulley, it has 2 bolts underneat it. Remove 10mm bolts on water pump and let the coolant drain out in wide bucket before completely removing the pump.
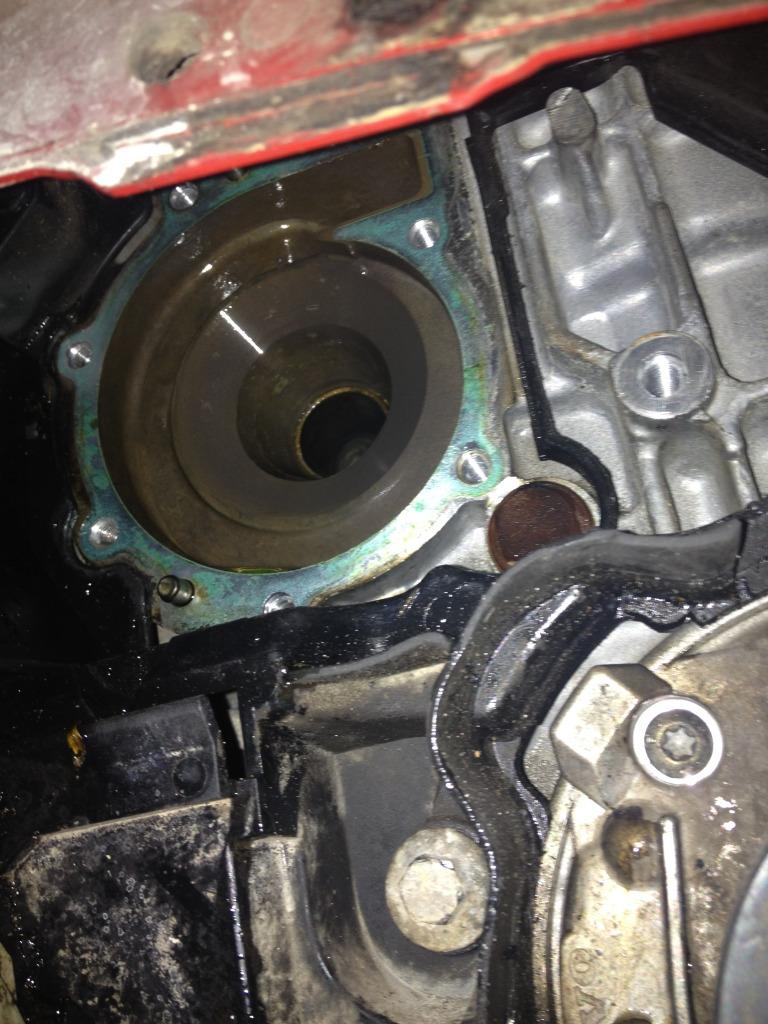
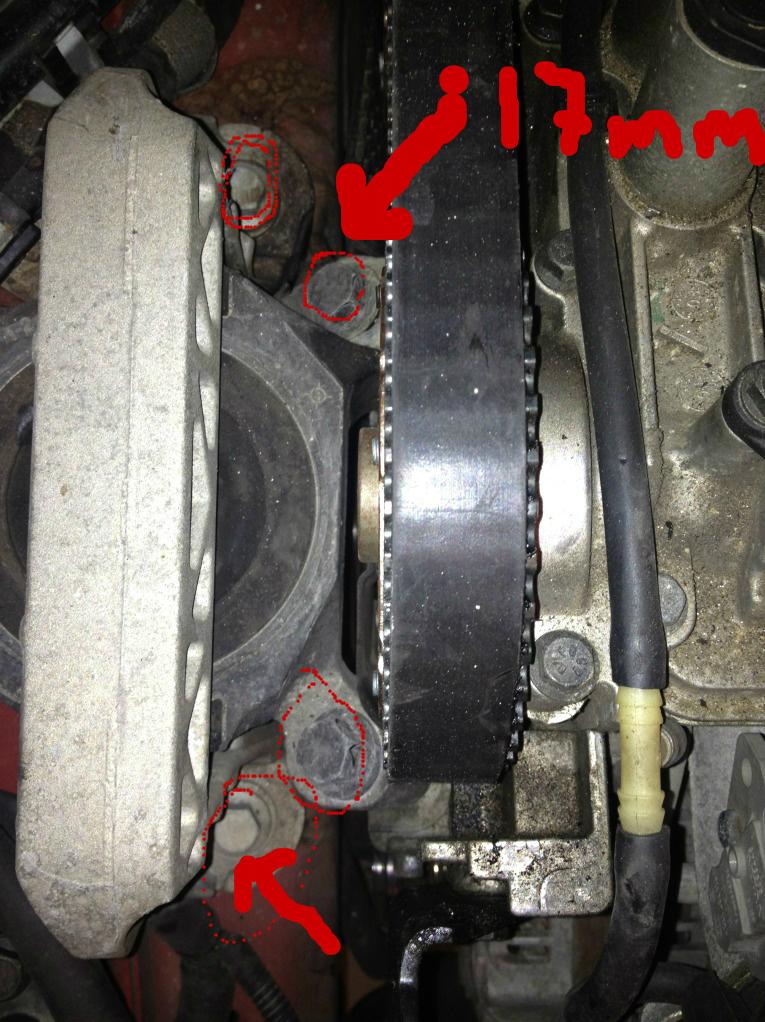
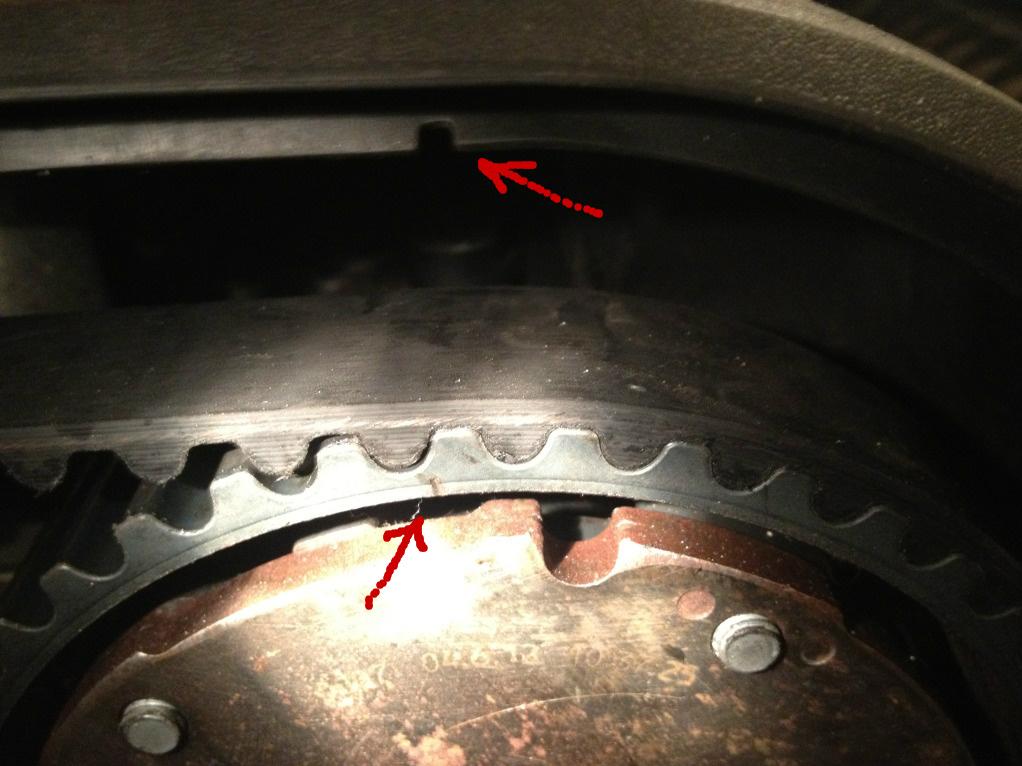
factory markings on cam gear and upper timing belt cover:
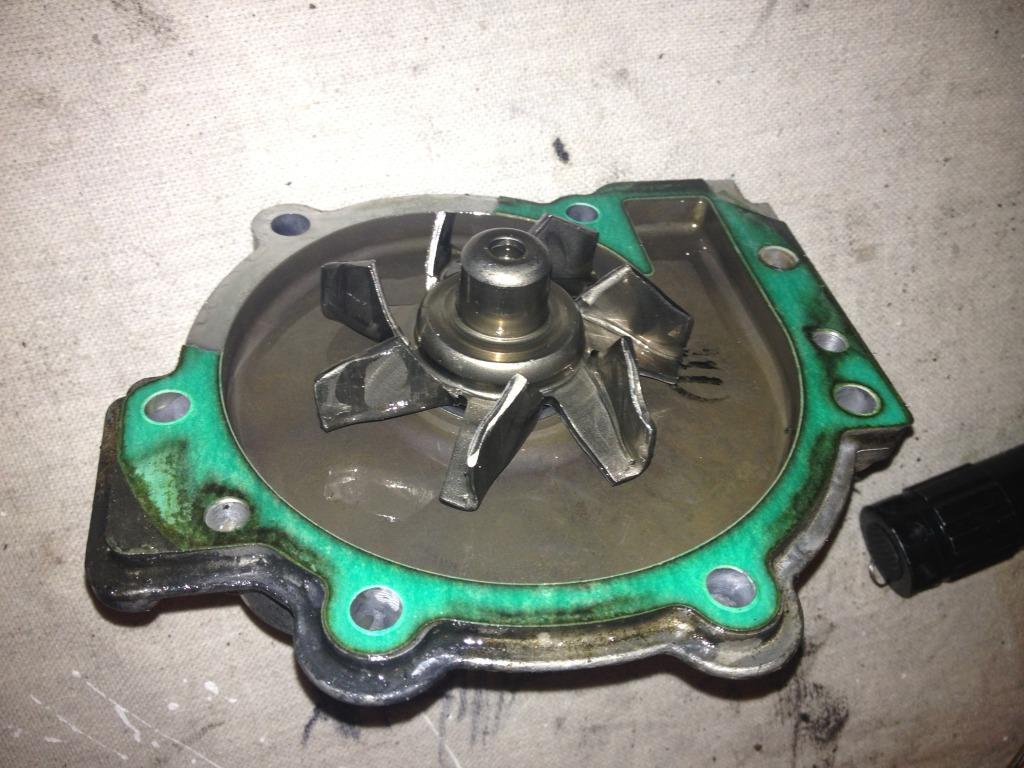
dont forget to cleant the block prior to installing new water pump, sometimes pieces of old gasket stay on. install new gasket and bolts with water pump. remember lightly torque the water pump bolts with 1/4 drive or best if you can find proper torque specs ( i couldn't get them).
reverse the procedure for assembley ...
For all the bolts, except the 30mm crank pulley nut i approximated the torque using some experience. i probably over torqued the water-pump bolts which are suppose to be 10ftlb, i probably torqued them down to 20-25ftlb. If you wanna ue the specs i suggest getting 1/4 torque ratchet because thats the only thing that can fit in tight space between the engine and the frame.
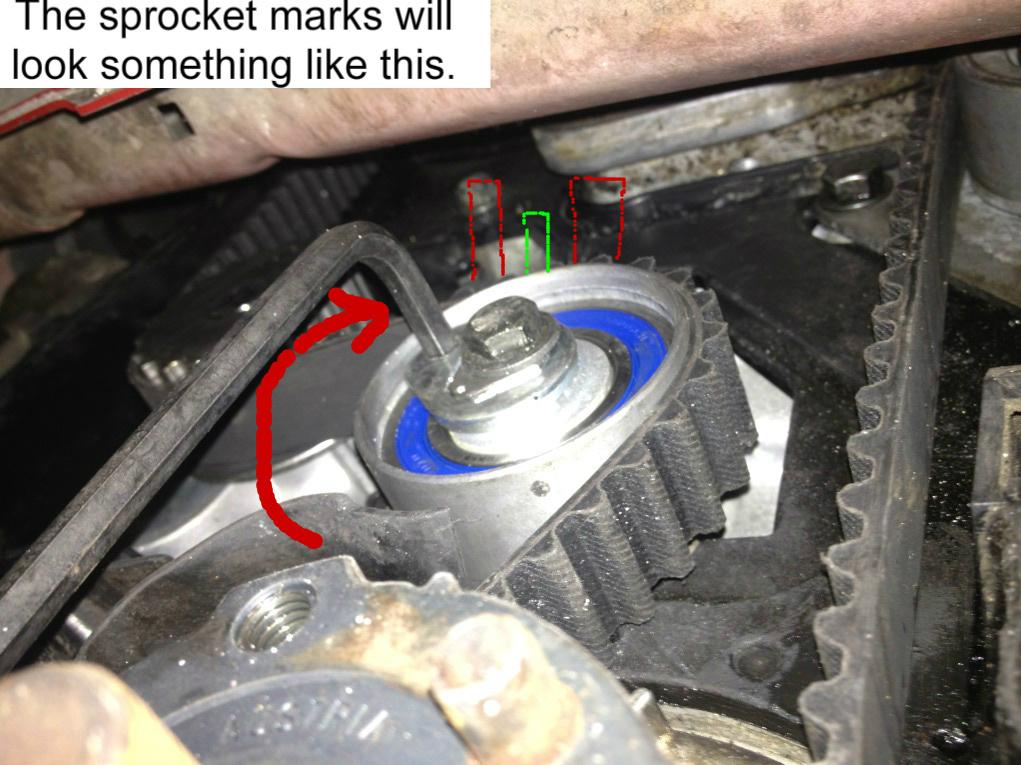
after not doing the procedure where your suppose to turn crank 1/4 clockwise past marks than 1/4 counterclockwise i was kinda afraid that i might get checkengine light or something else but car fired up perfectly fine and it runs and drives great. One tricky thing was installing and setting the tension on timing belt tensioner. its done by tightening the bolt that holds it just a little bit maybe around 5ftlb and then using allen key turn the tensioner so the needle gets in between to marks. Once you see the tensioner this will make perfect sense. Also, you will have to raise and lower your engine using jack thats already under neat it to be able to access bolts and see the proper position of the tensioner "needle". Here is the shot i took:
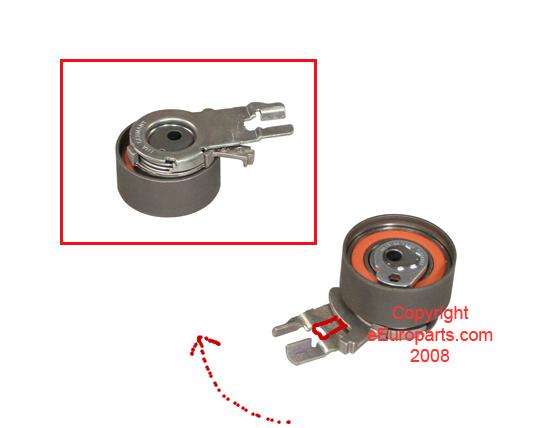
found a pic of it online:
anyone feel free to update and modify this post!![]()
![]()
![]()
![]()
Befor taking the timing belt off, rotate the the crank few revolutions by your hand so you get a feeling of how much resistance you are suppose to get from compression, so when you change the timing belt and when you rotate the crank by your hand to test everything out you will know if you did something wrong if the resistance your getting is higher than before.


I give 3.5 stars.
Posted by wemialakija on 8/19/21 @ 11:48:02 PM