You must be logged in to rate content!
5 minute(s) of a 22 minute read
4-8-2009
67 hits and no comments. Somebody musthave aboat trailer!
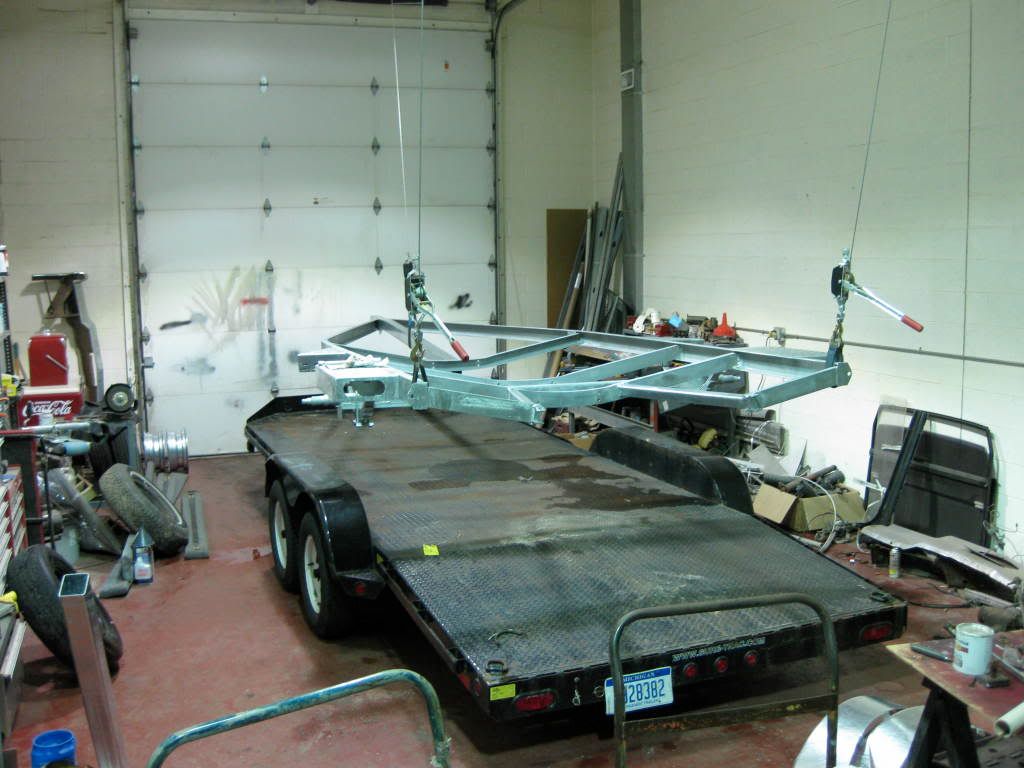
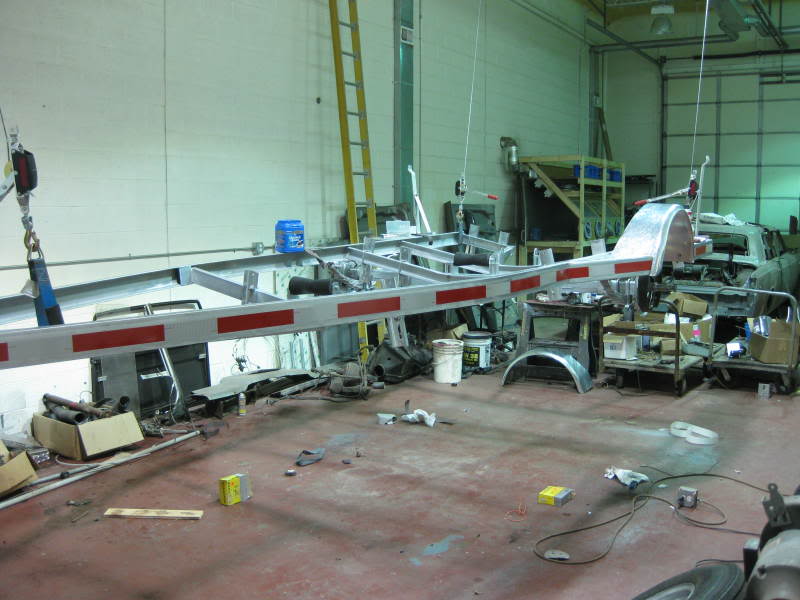
Got the chassis and pile of parts back from the galvanizer. Backed the trailer up and hoisted the frame up to a comfortable working height for me. Used the car trailer as a workbench to install the springs and axle, then pulled the car trailer out.
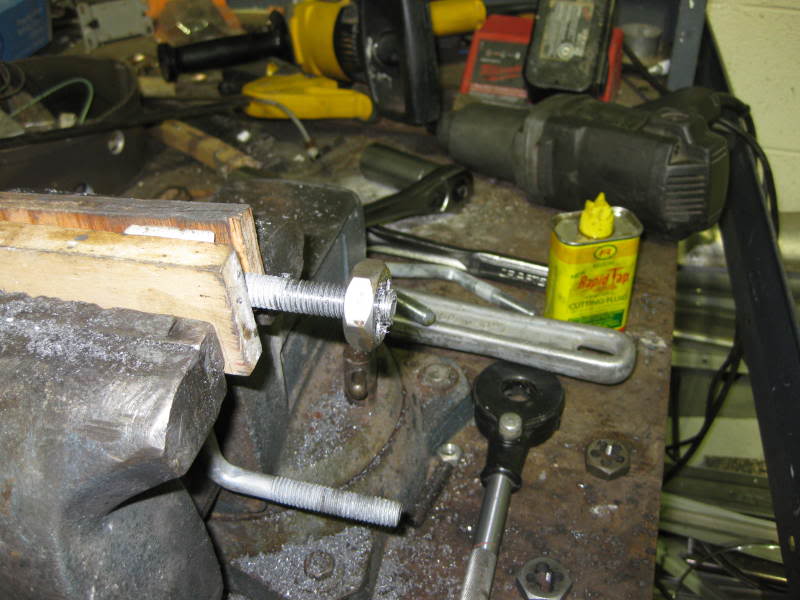
I very quickly learned the downside of having everything galvanized. Holes got smaller and threads got bigger, requiring a lot of drilling and tapping. My wife got me the world's best birthday gift 20 years ago, a large Craftsman rethreading tap & die kit. I have used it extensively over the years but it came in most handy with this project.
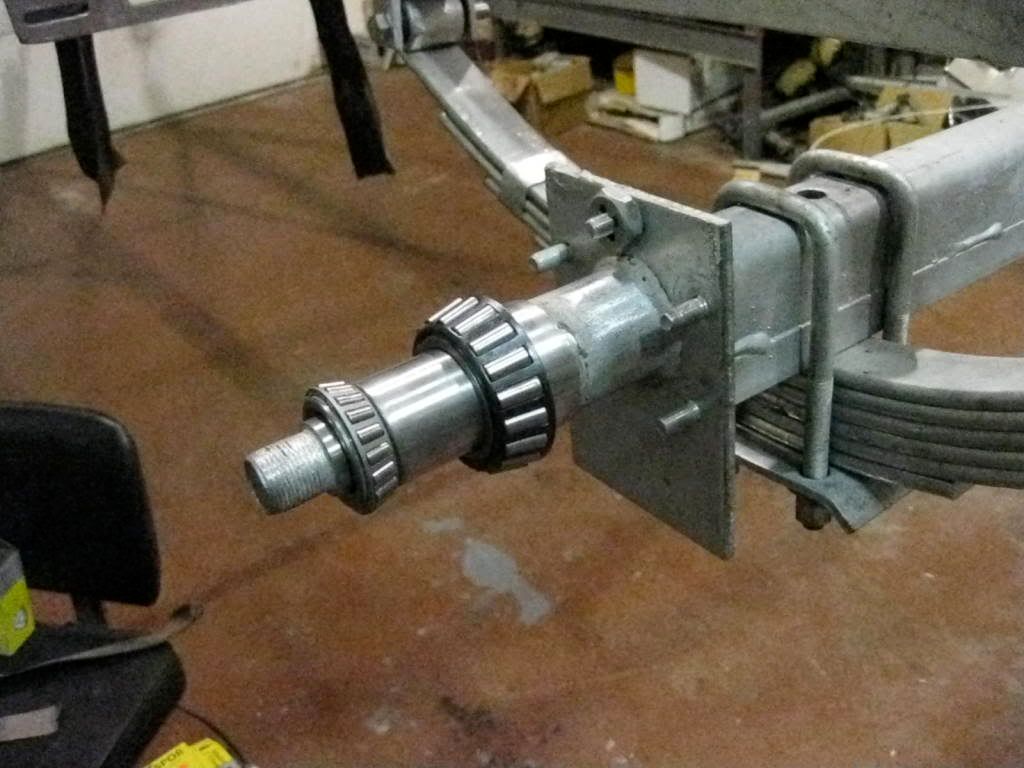
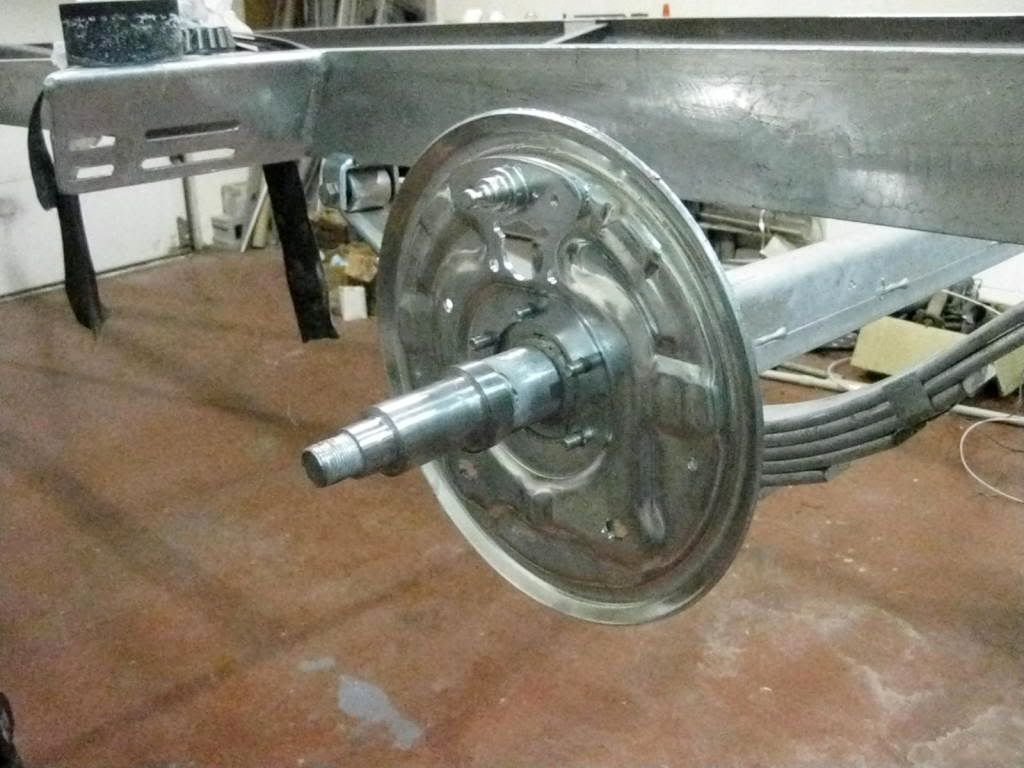
Since everything has a nice heavy coat of zinc, all of the surfaces were covered. The axle spindle has one wear surface and two bearing carrier surfaces that the bearings have to slide over. That meant that all the zinc had to be removed. Luckily the zinc shows white against the steel spindle so I was able to carefully sand it off using strips of sandpaper from sander belts. Tedious puts it mildly.
After many hours of hand sanding I was able to slip the bearings over the carriers.
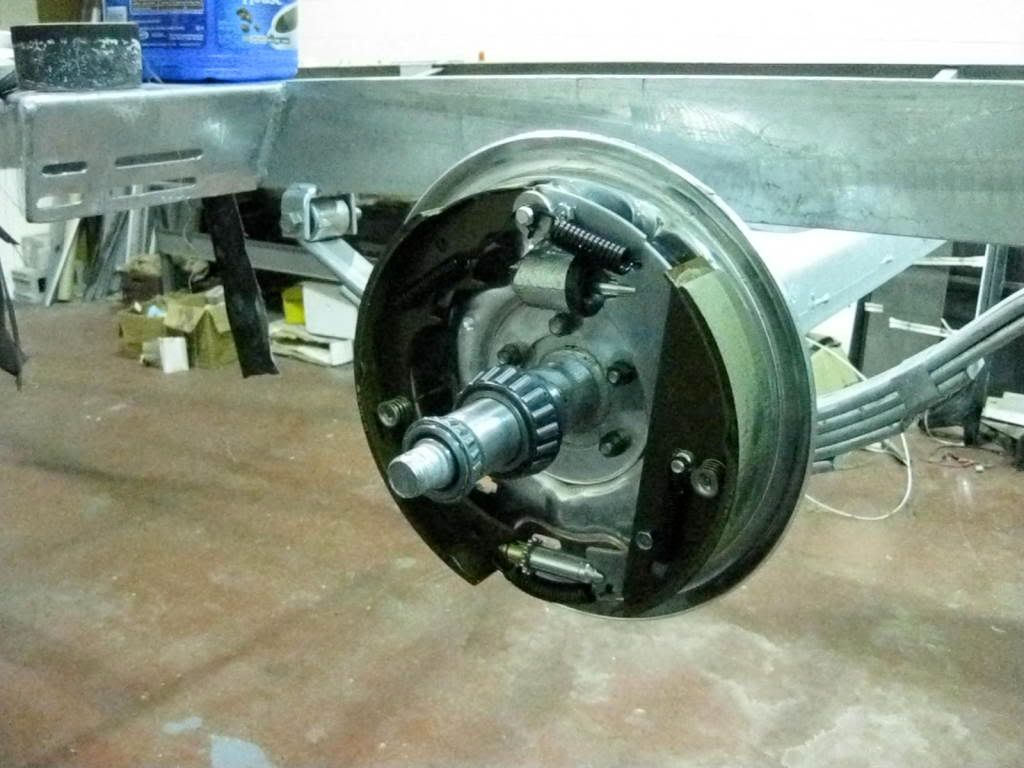
I then realized that my tap and die set did not have the 1"-14 die I needed to clean up the axle nut threads. I called a number of mechanic friends and no one had one. $55 and two days later one arrived from Graingers. In the mean time I installed the backplates.
Then I reinstalled the brakes I installed last season. Unfortunately, I found that the machine shop that back and installed the bearings didn't use marine grease and water got in. I should have noticed, but I didn't. The bearings and races were ruined. I only used it once last year.
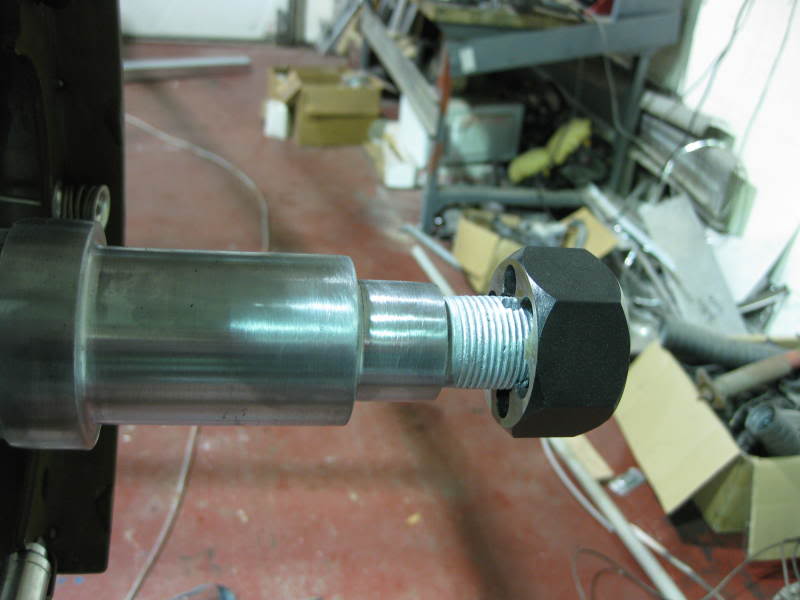
The die came in so I cleaned up the threads and drilled out the cotter key hole.
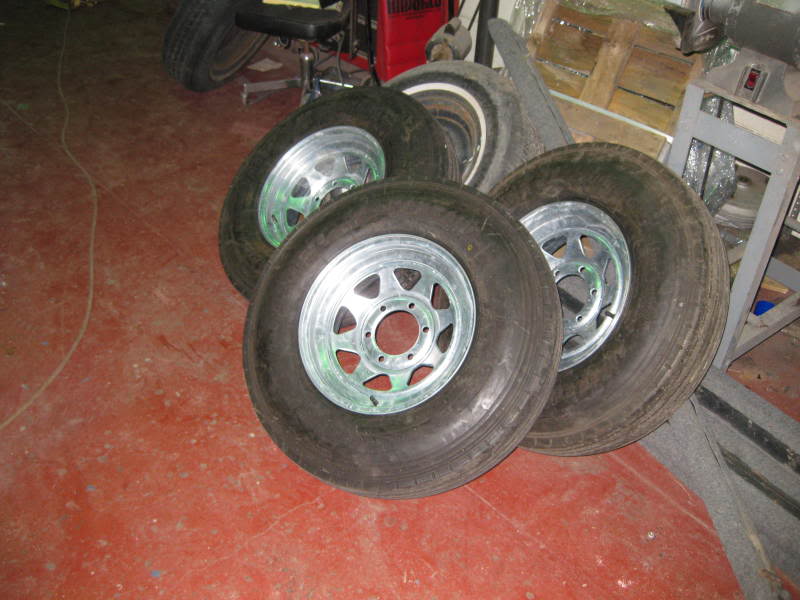
Got the tires remounted on the galvanized rims. When they pulled the rims out of the molten zinc it pooled on one side leaving a noticable mass. That mass had to be counterbalanced by a combination of stick-on and clip on weights.
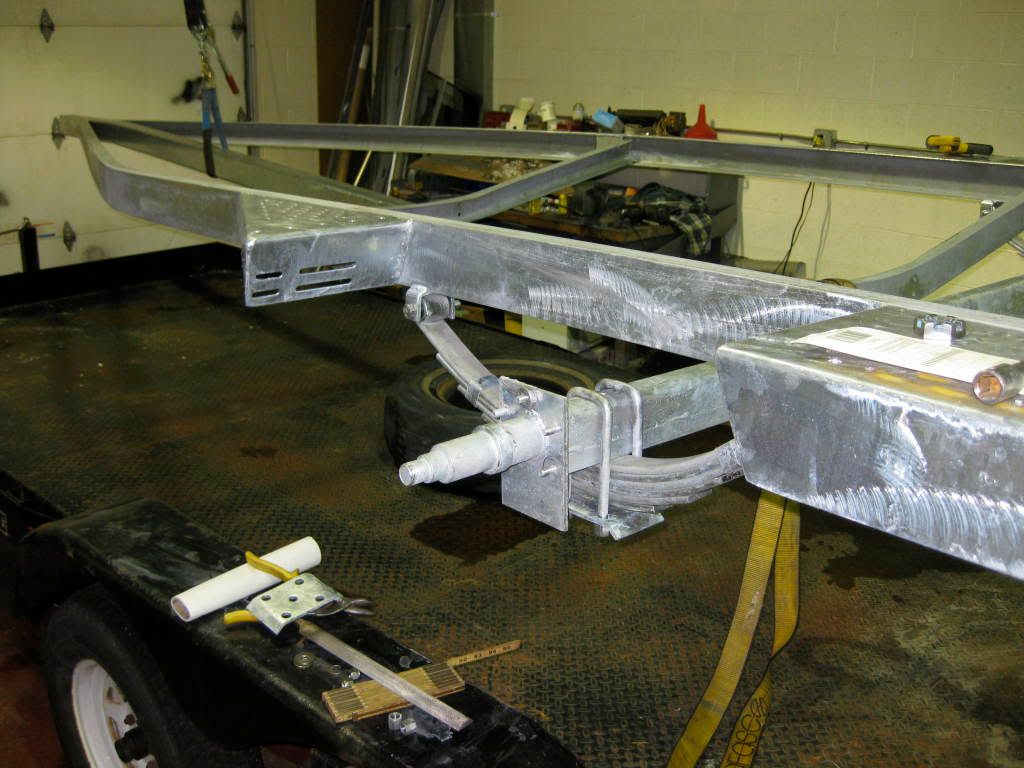
I went with all new stainless brake lines and fittings. InLine Tube is fairly local so I picked them up at their fab shop. Every place that the stainless might get damaged I installed a stainless spring wrap. The rest of the piping is secured to the frame with stainless clips and screws into tapped holes. I took great care to physically protect the brake lines.
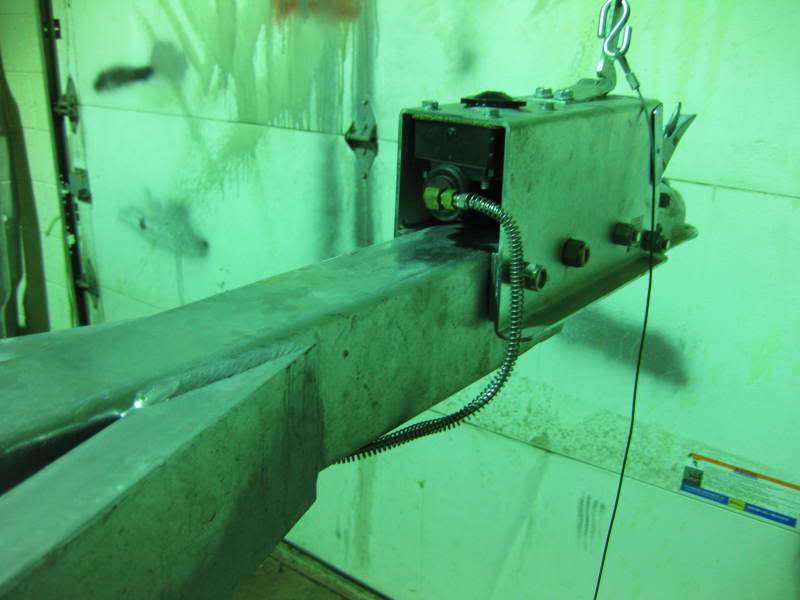
I reused the brass T-block and rubber hose installed last year. I was very careful duing assembly to try and not disrupt the zinc surface. Did I mention I hate rust?

Using a 3M grit pad I worked the surface of the zinc, smoothing and polishing it where it shows on either side of the conspicuity strip and on the top rail. You can see that most of the galvanized hardware is back in place. All of the U-bolts were galvanized but the rest of the nuts and bolts are all new stainless. I used nylocks instead of lockwshers. Metro Bolt is directly behind my building. He sometime sees me 2-3 time a day.
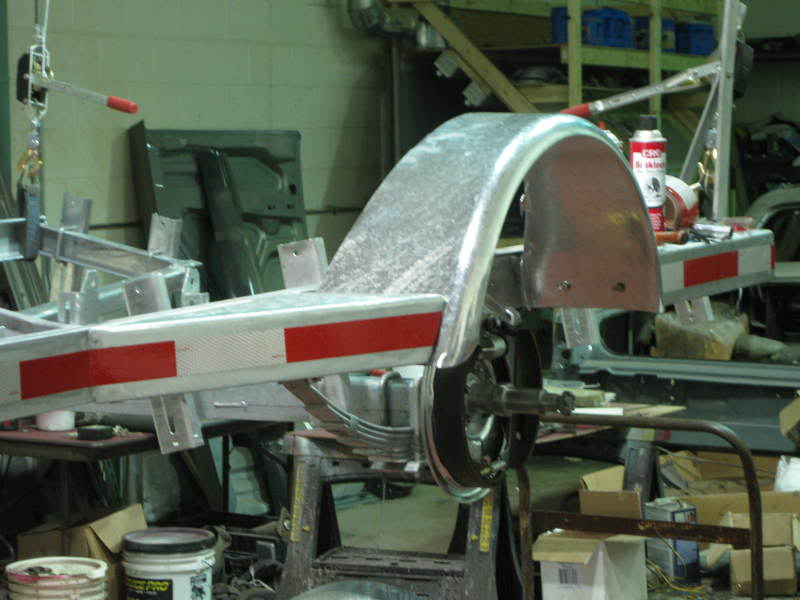
The fenders turned out great. They have that typical galvanized crackle finish, but they're shiny.
Another couple of days and I'll be test fitting the boat.