You must be logged in to rate content!
11 minute(s) of a 27 minute read
1-29-2013
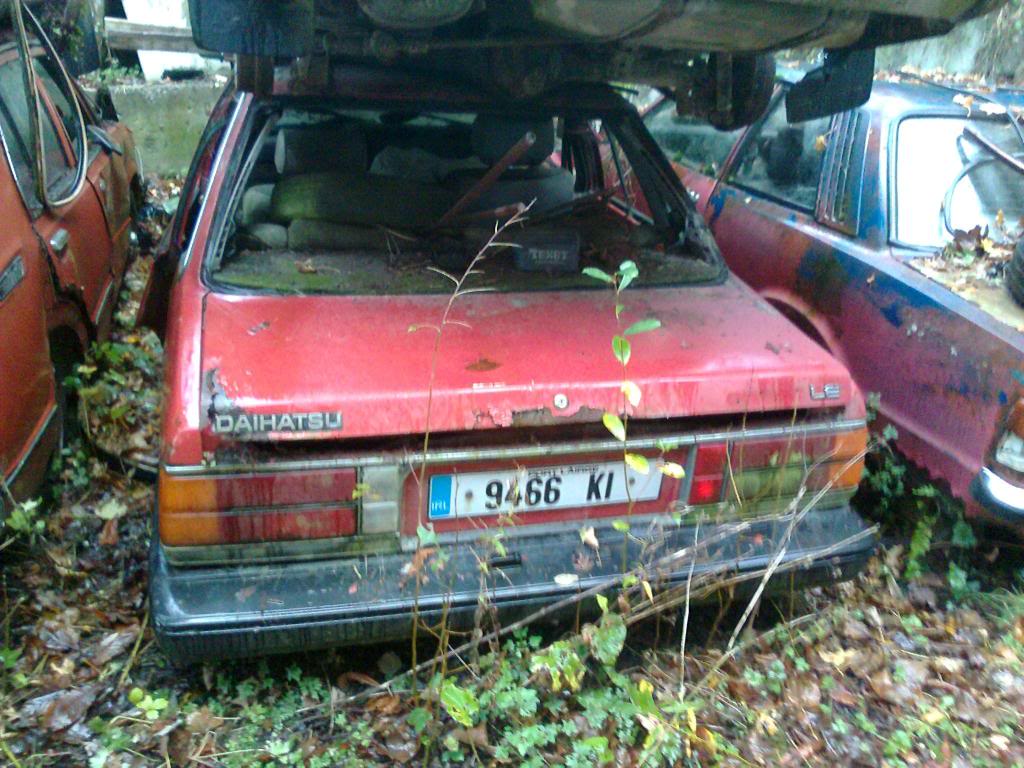
Daihatsu Charmant
Compliments of jdm86gtz @ http://club4ag.com
1-29-2013
I bought this early in 2010 with the intention of building a car to stop me doing something stupid to my '87 Trueno.
Still not quite finished but close now ![]()
Copied from http://www.ae86irl.com/ and yeah my hand usually wobbles just as i take a photo so you'll have to excuse the blurry photos
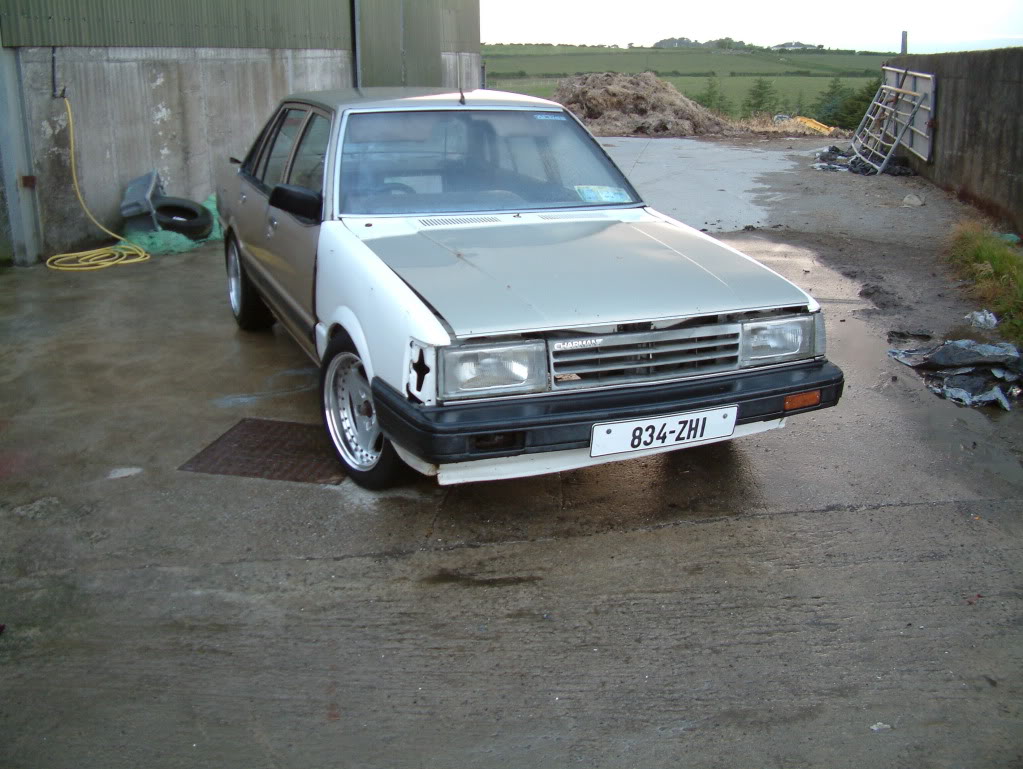
Finally picked up the Charmant yesterday and fitted my spare set of Advans to it. Good points are that there's AE86 fuel lines and hydraulic clutch fitted already and a complete late spec Levin wiring loom
She was green so gave it a good power hosing (cheers Kev:p) and then inside also as it was manky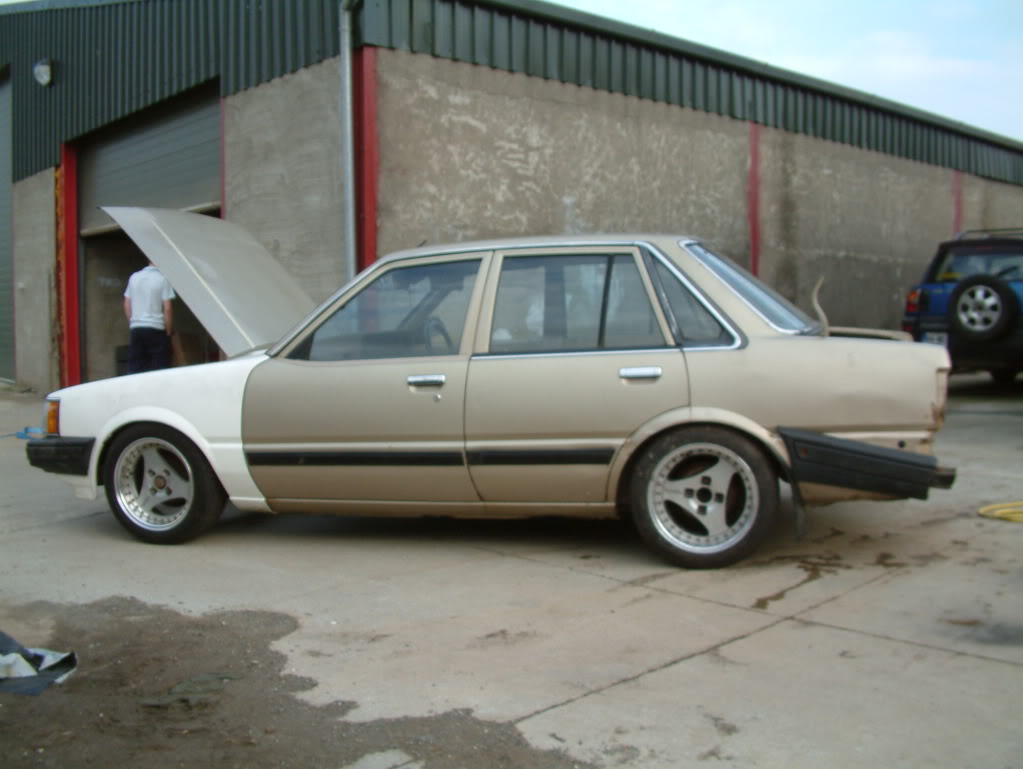
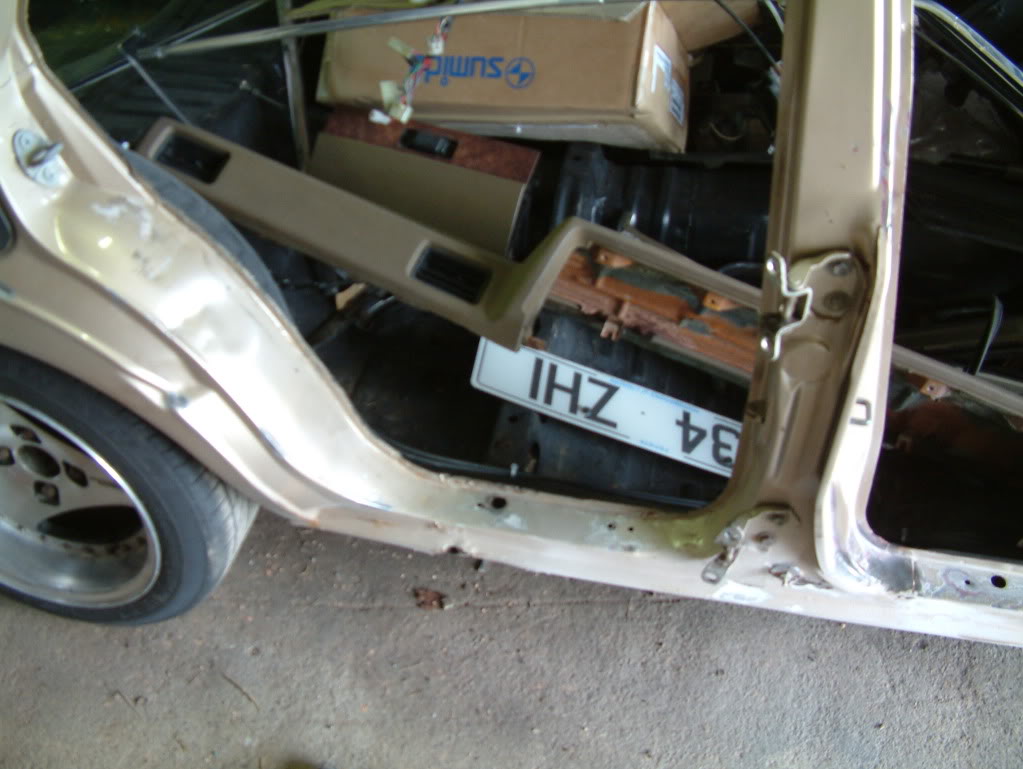
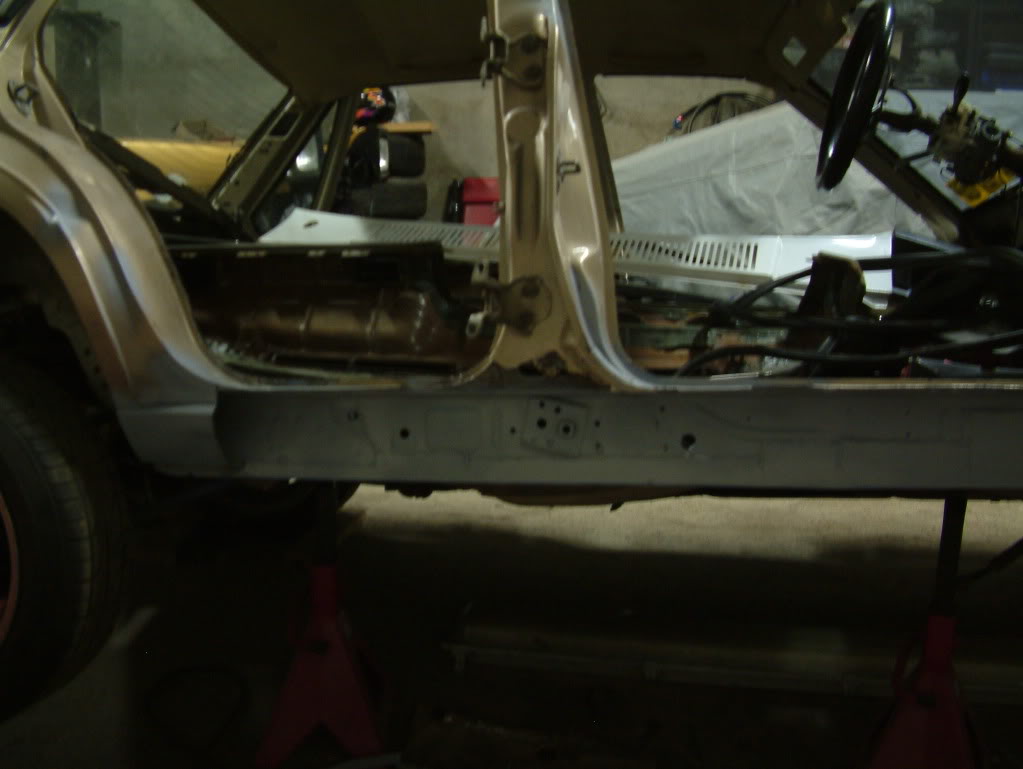
A fine hole in the sill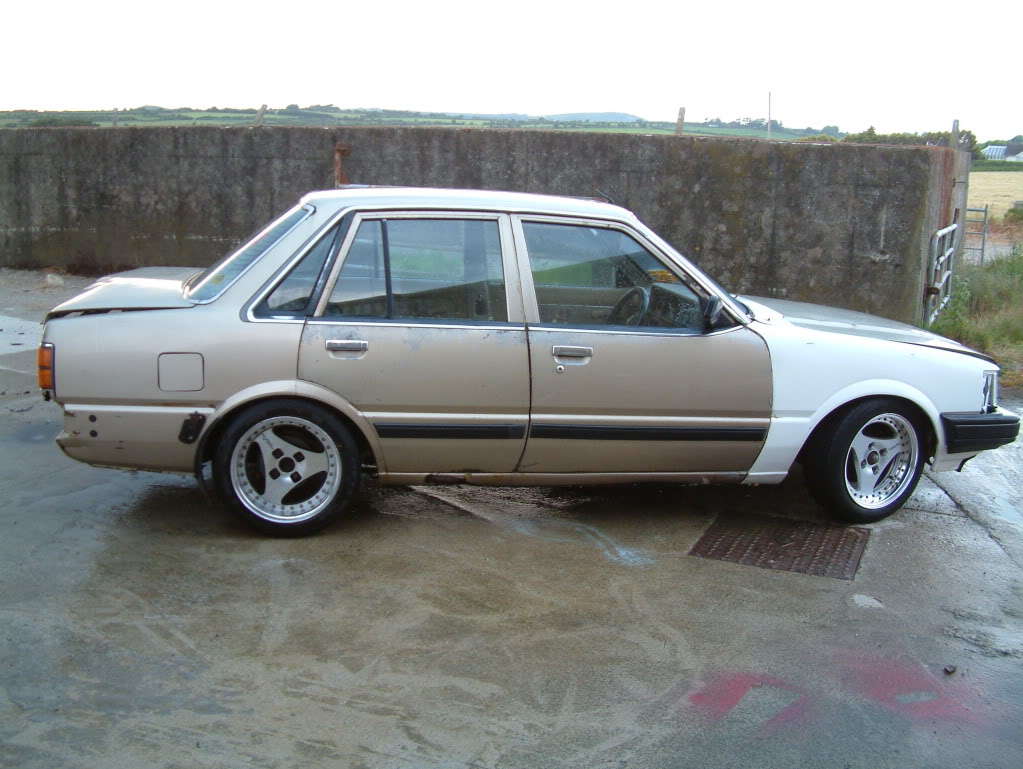
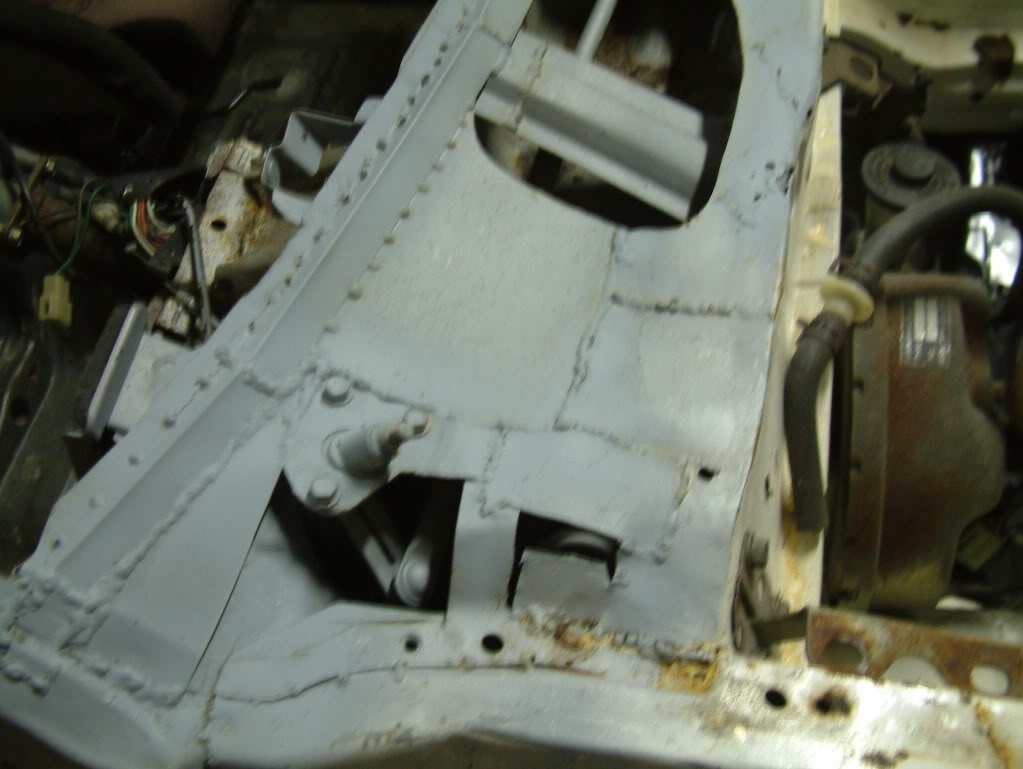
I think there's a few bits missing back here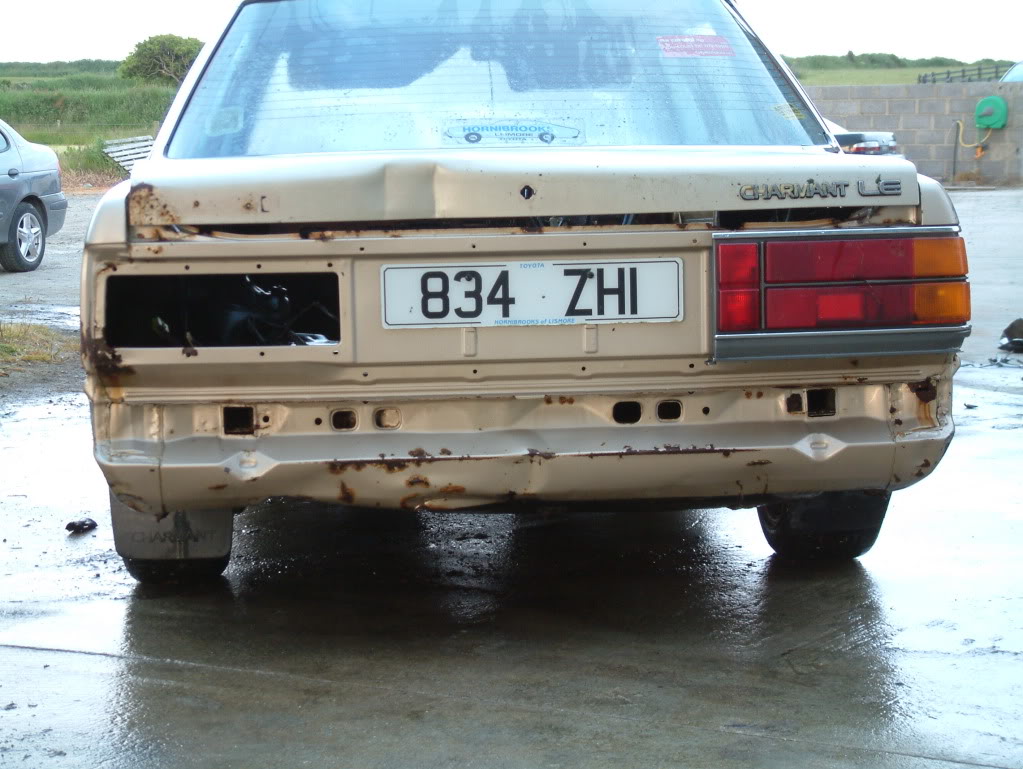
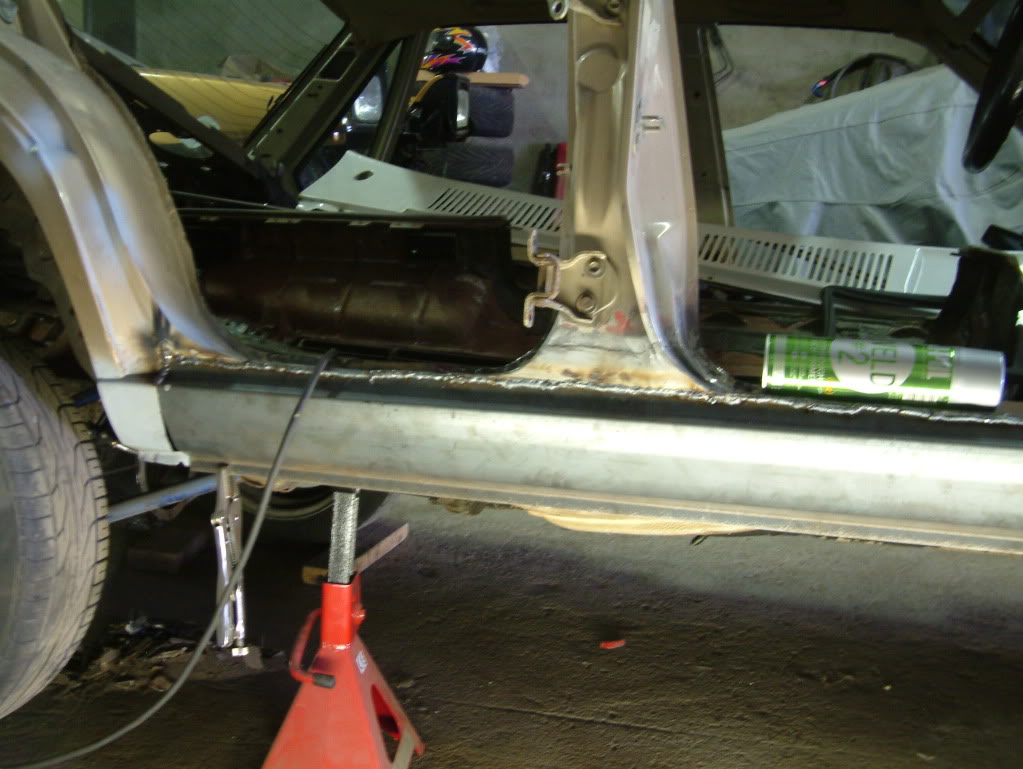
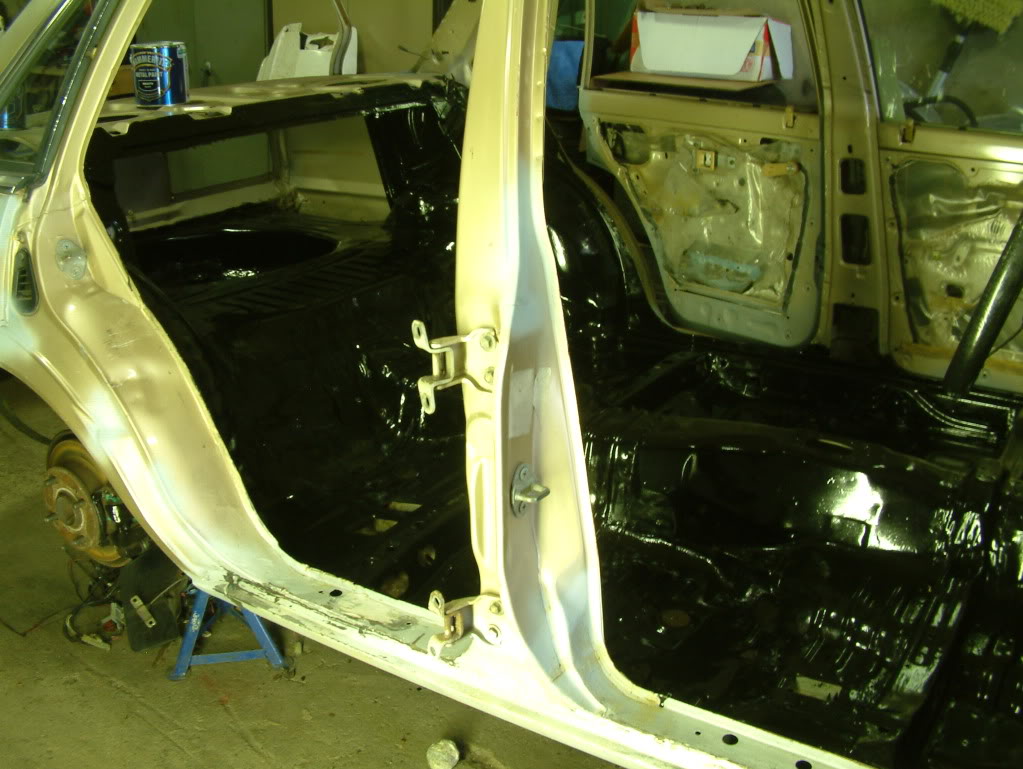
Good bits shell seam welded and painted black inside and white under the bonnet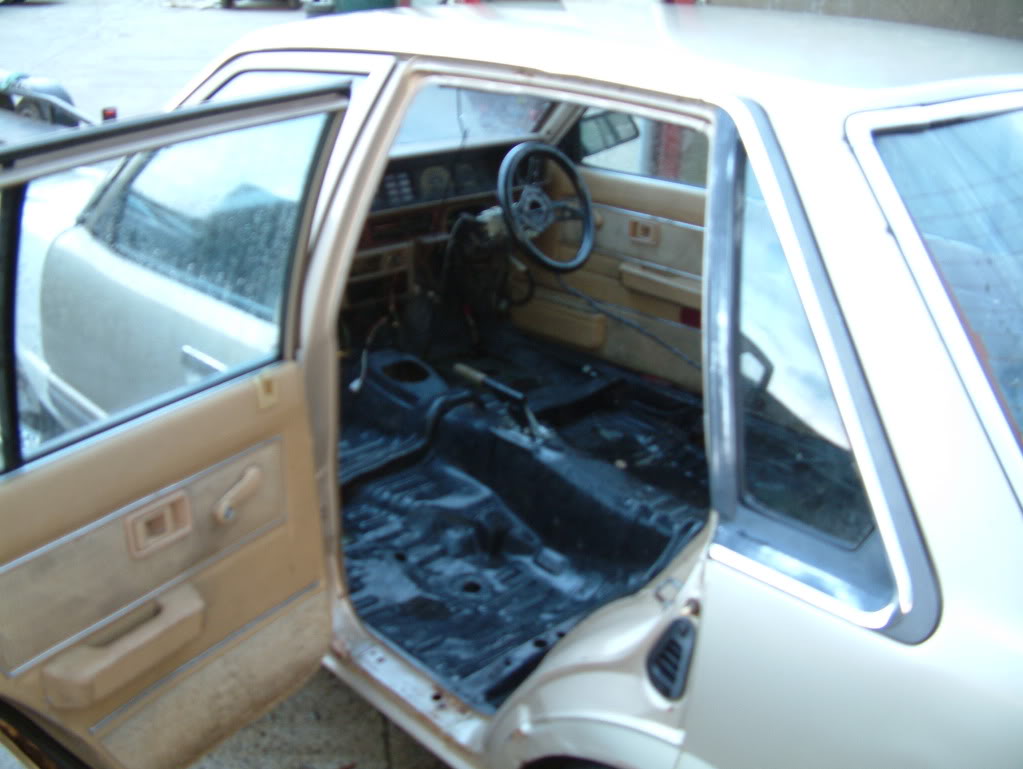
Fitted the front end yesterday but blinked and lost the NCRAs and got RCAs in their place
If I can get the rear Cusco RCA welded to the axle that will be fitted today.
D1 spec rear pads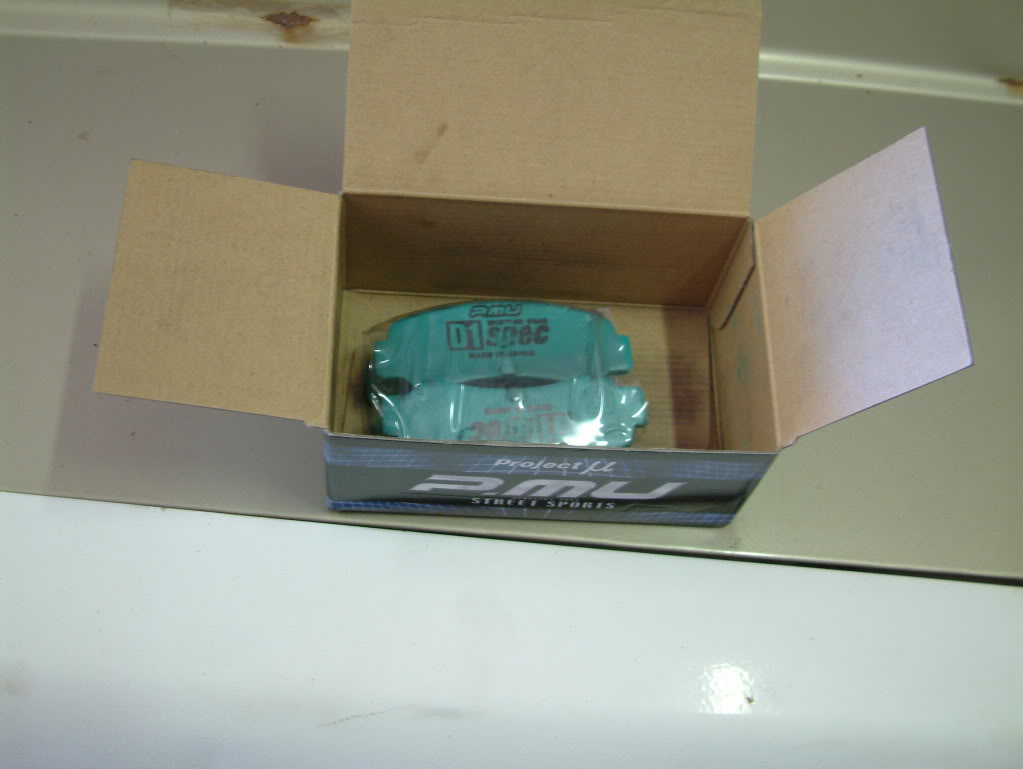
The mintest spot on the car
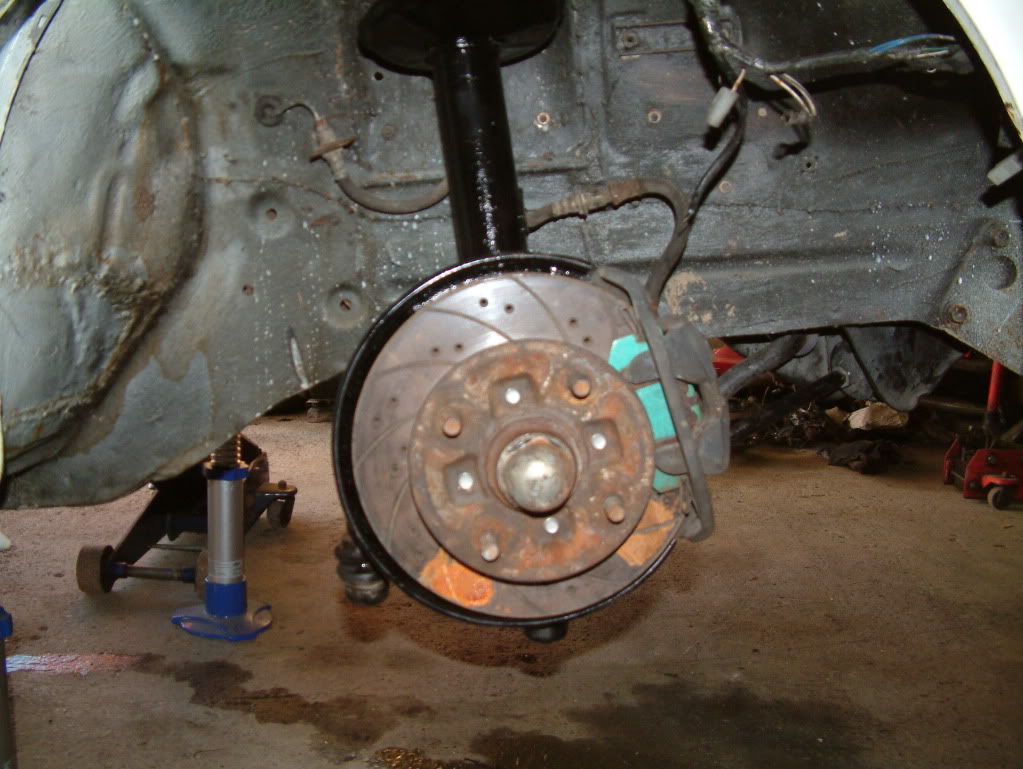
Rear axle with Cusco bushed trailing arms and pillow ball panhard rod and you can see the Cusco rear RCA below the original panhard mount on the axle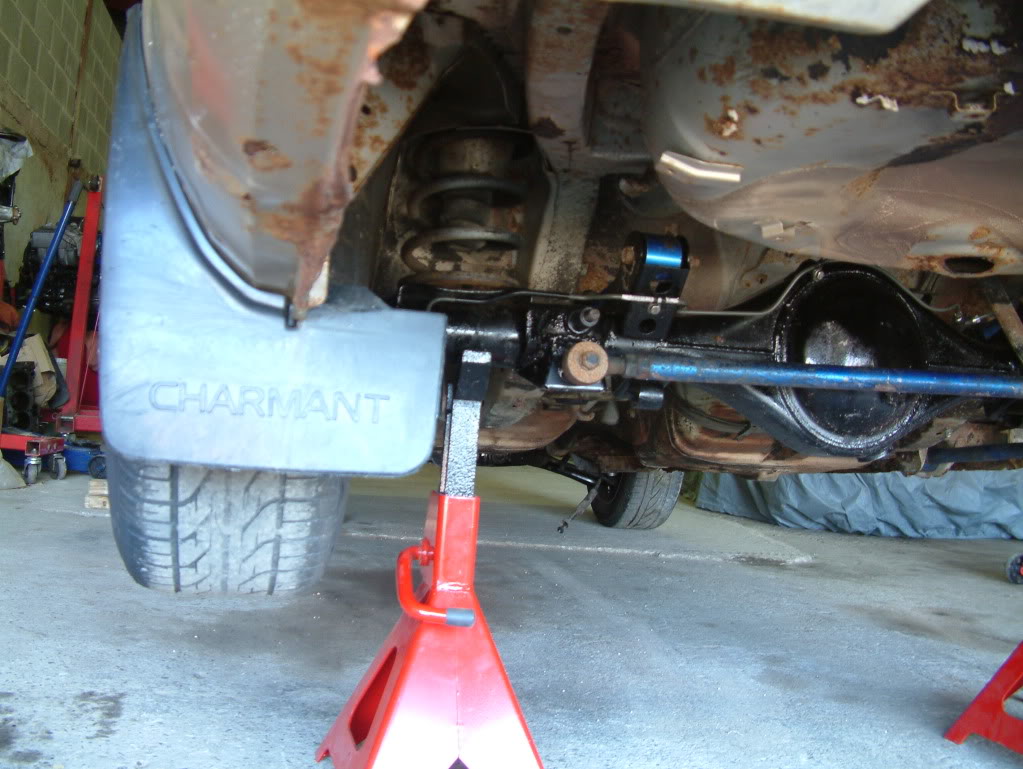
She's not mint, but she's rusty :dft003: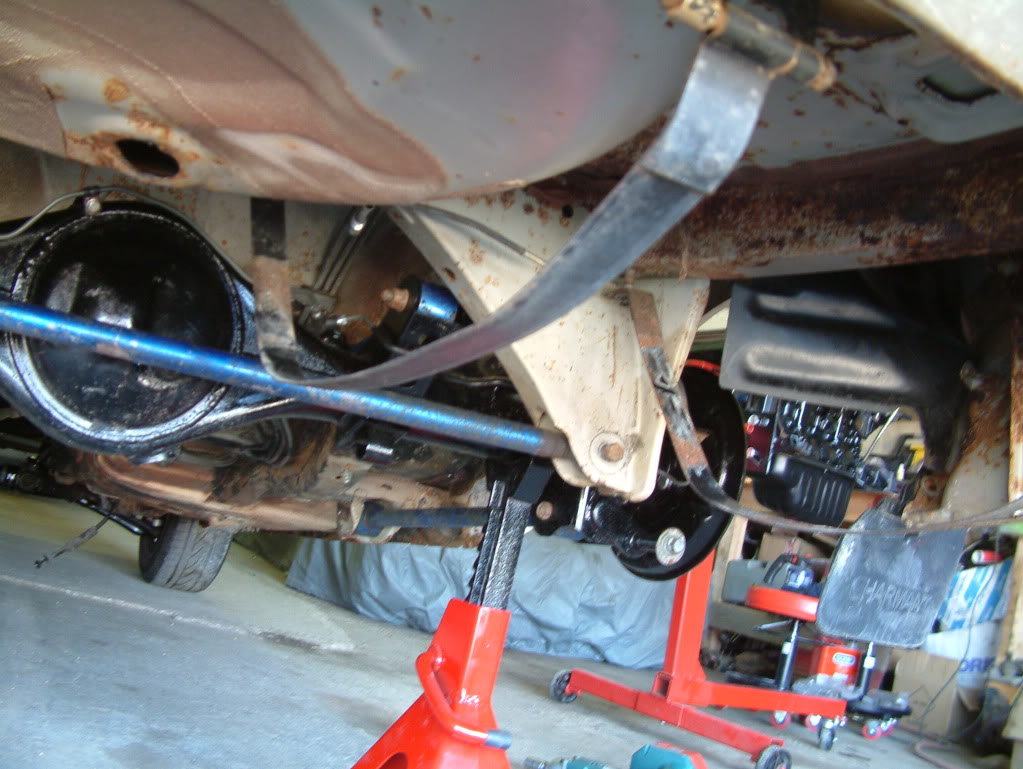
A previous seamless repair job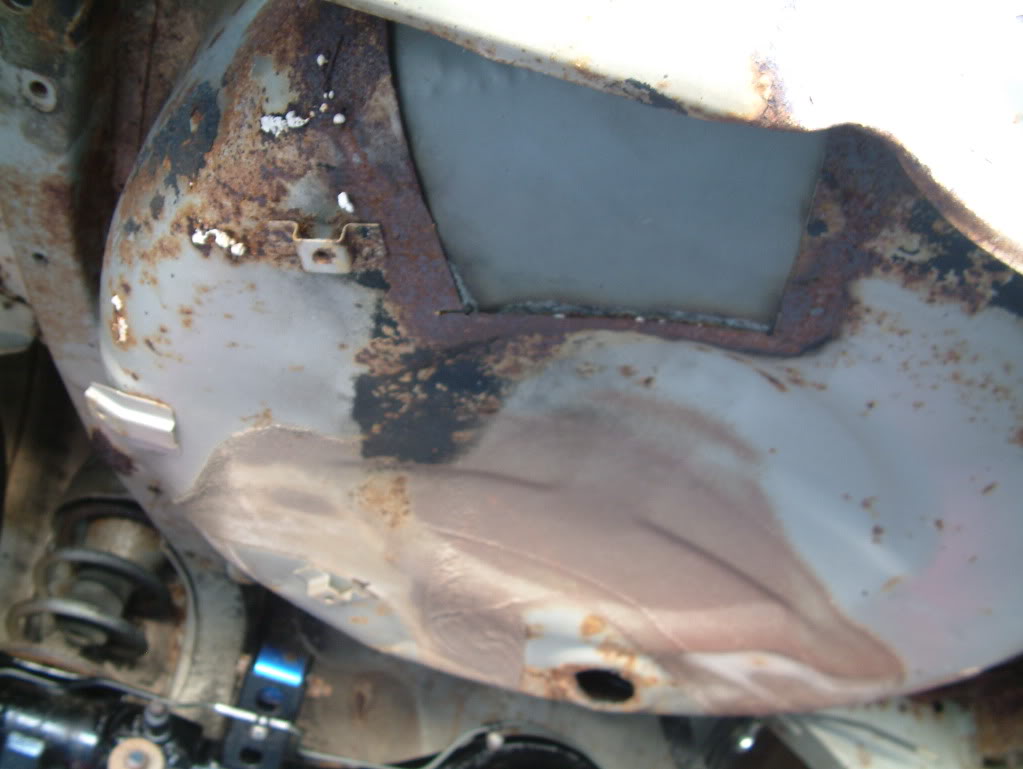
She got a bit of grinder and welder attention last night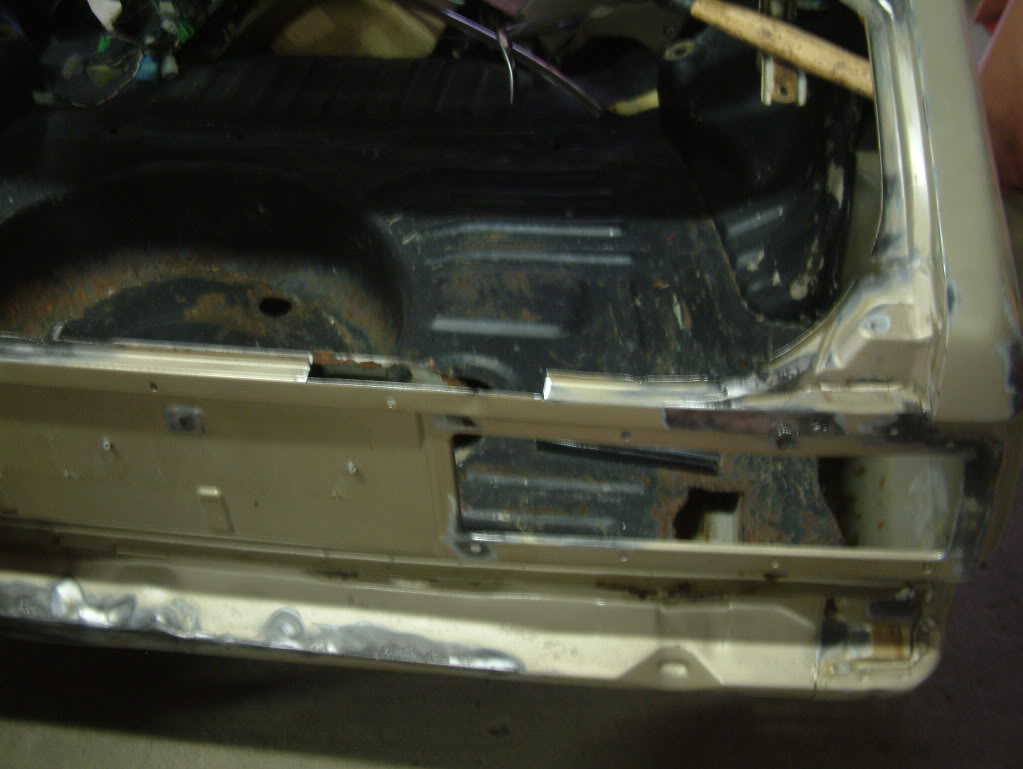
And I did a bit of wire brushing this afternoon to small rusty spots
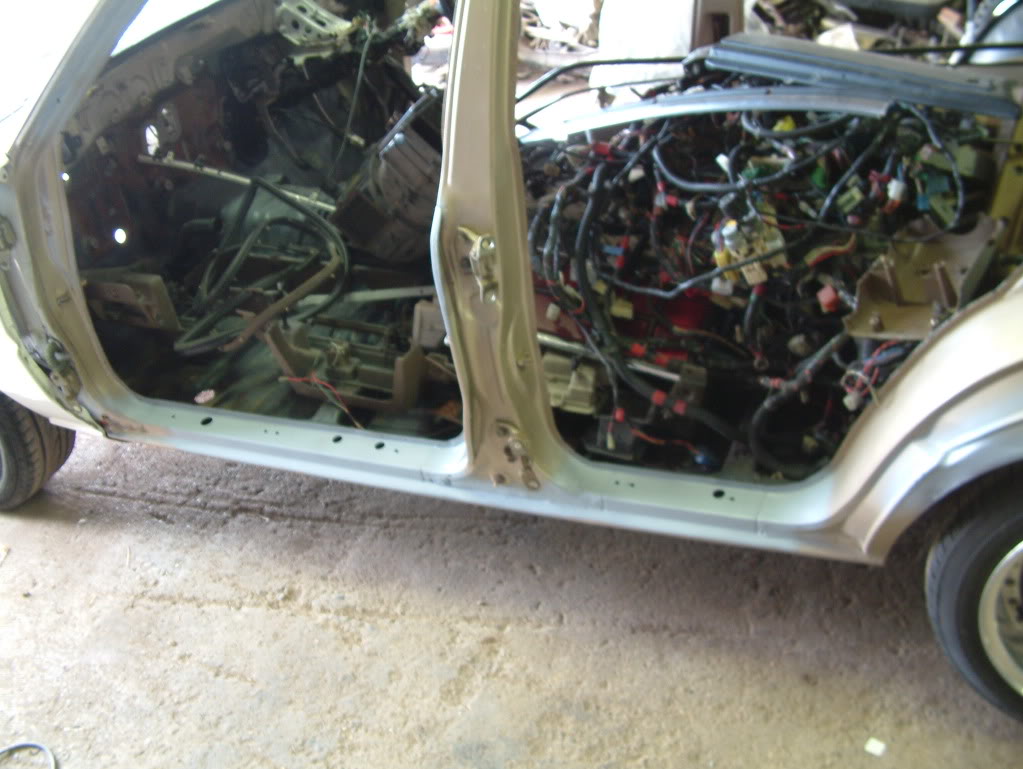
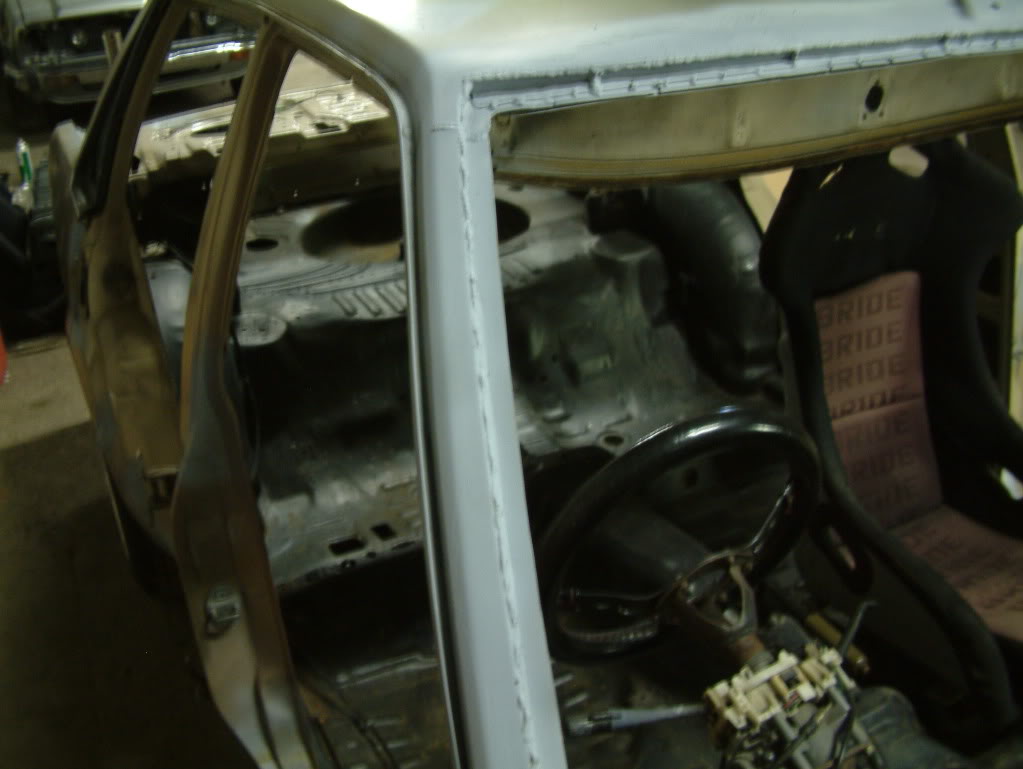
I've sort of gutted the inside now oops and the front and rear windows will be getting cut out for rust repair. 2 of the doors have been repaired with fiberglass so far also.
a friend was doing the metal work for me and I came out after work one day to discover all this ![]()
Back turned out nice :nod: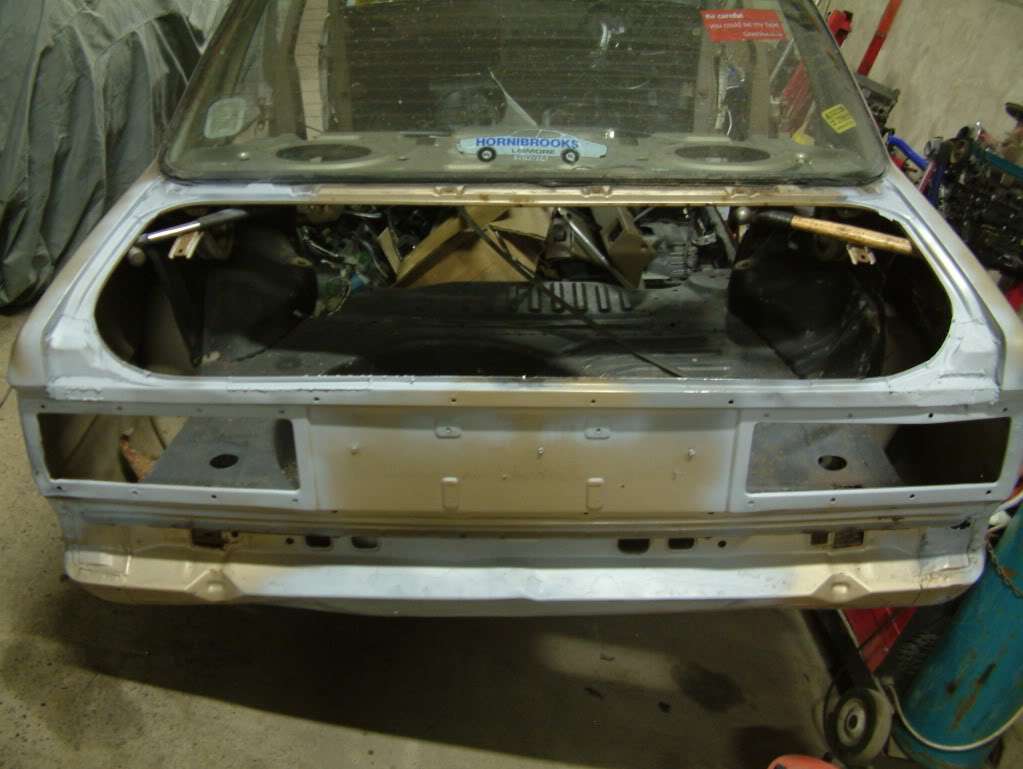
Where's my sill gone?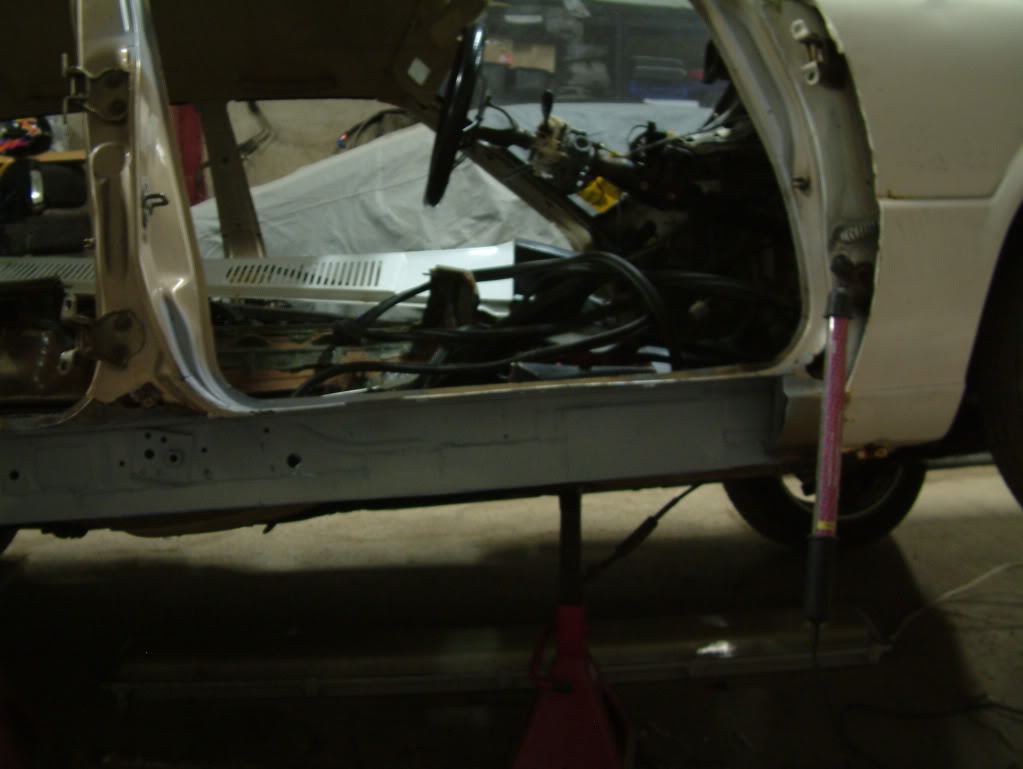
Ahh new steel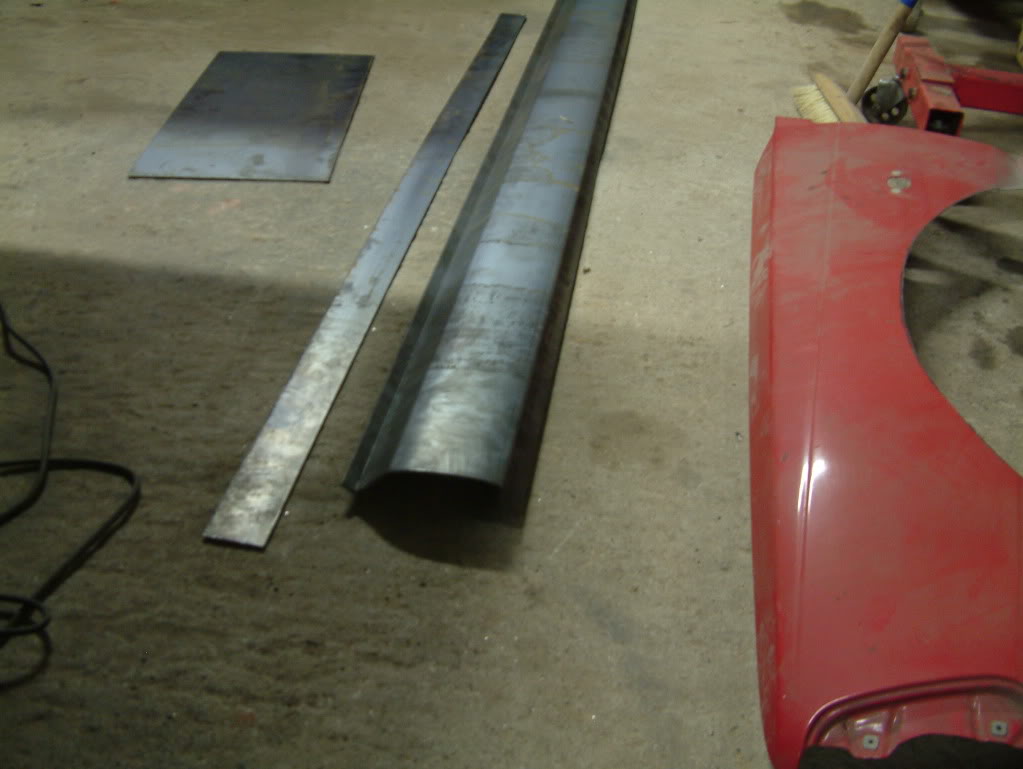
My friend Gerry that had the blue Charmant took it on himself to cut out the sill and pressed these repair sections :huh: I would have been happy with a patch up job![]() I think the sill was replaced before as there is red paint under the gold (you can see some under 1 of the rear hinges) and a ball of filler.
I think the sill was replaced before as there is red paint under the gold (you can see some under 1 of the rear hinges) and a ball of filler.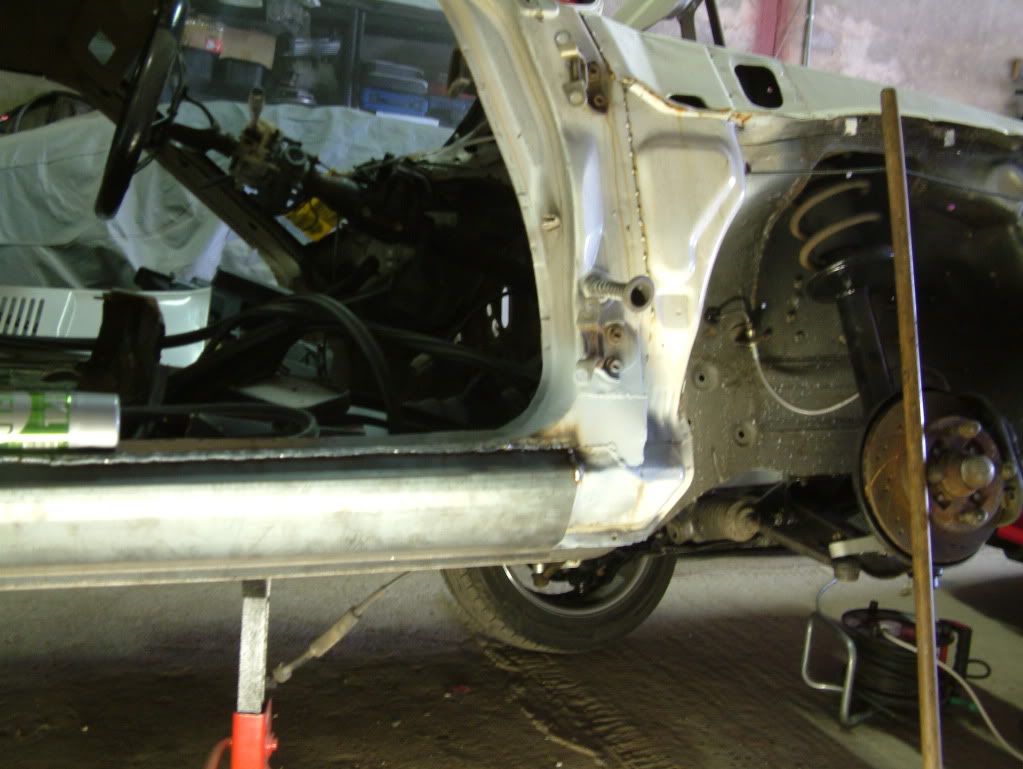
No hammer going through this at NCT![]()
The poor Charmant body has lost out on the priority game, but I've collected a few engine parts:
I got a stripped small port 4A-G from Burner and got the crank polished and collected the following: TRD 0.8mm gasket, ARP head studs, ARP rod bolts, OEM rings, ACL bearings and Toda 256,264 7.9mm cams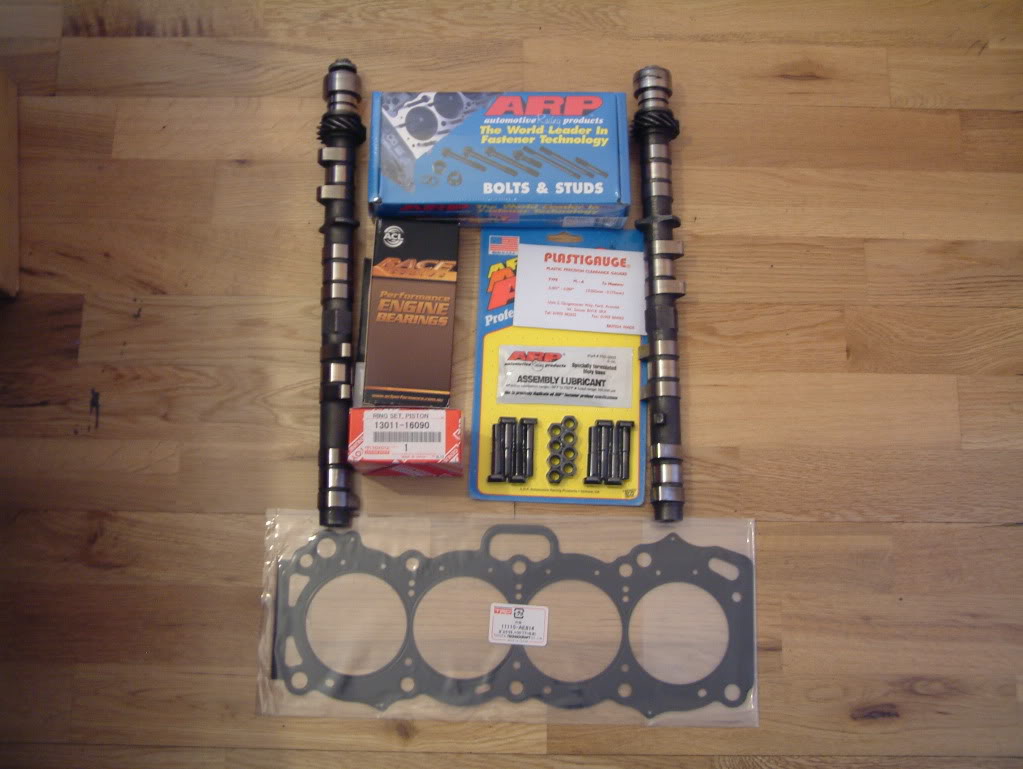
Next have to get block skimmed and start building the bottom end and then rebuild the head.
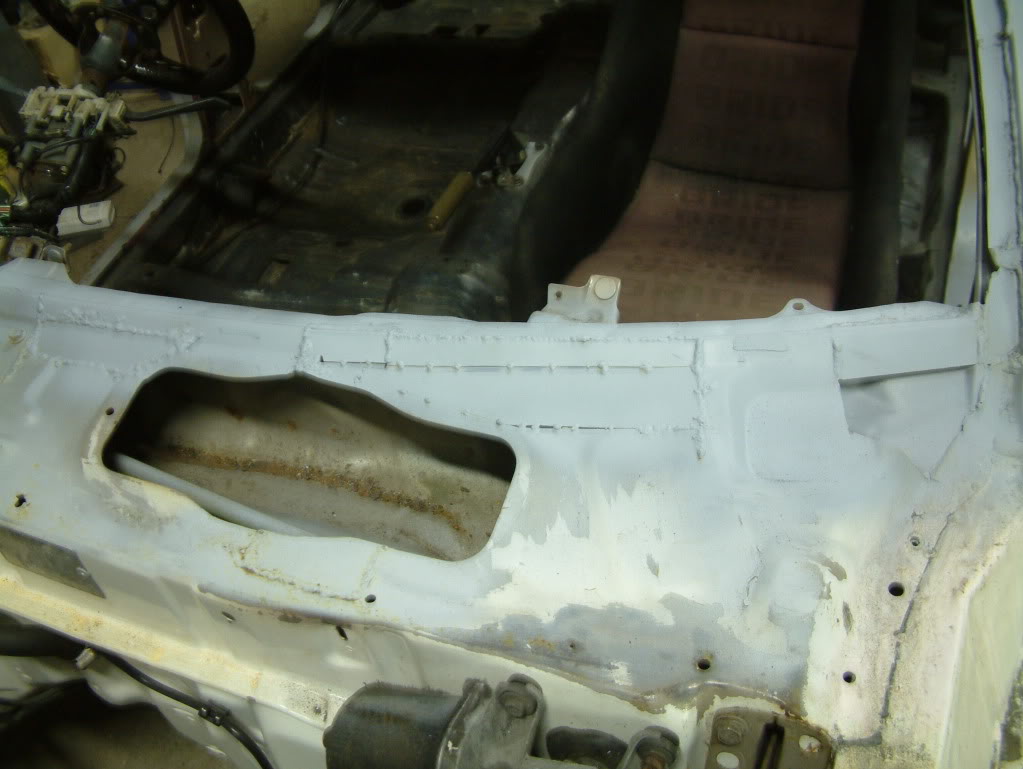
Some pictures of the repair done around the windscreen and wiper panel, I'm surprised the windscreen didn't fall out![]()
Far from it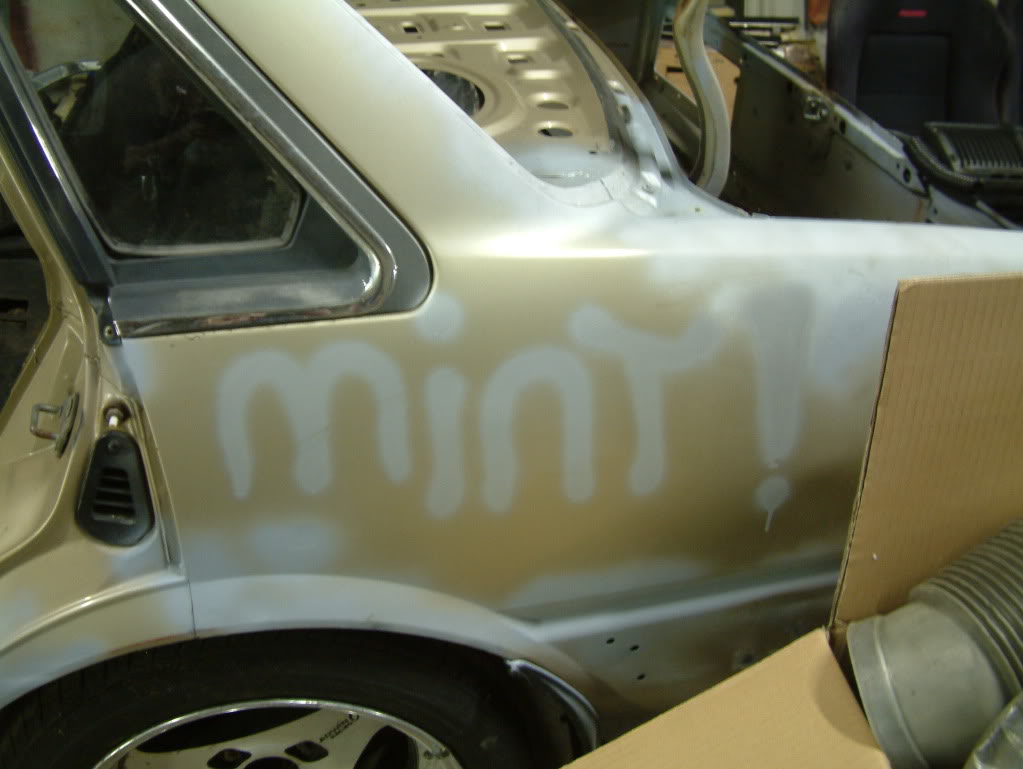
What it was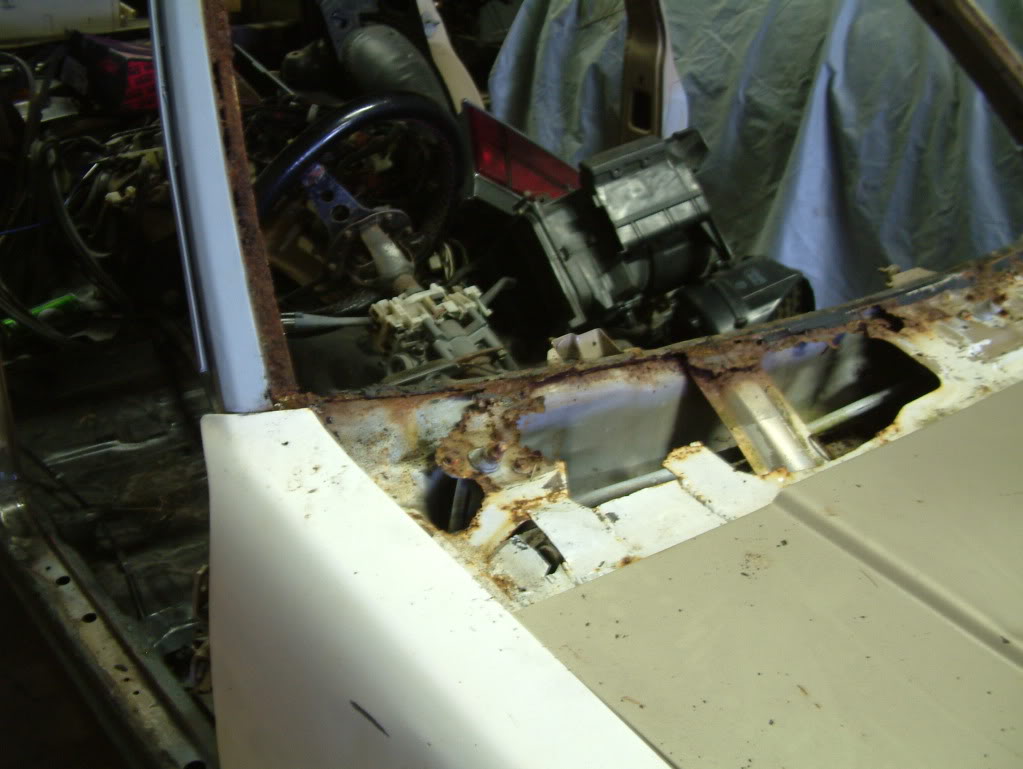

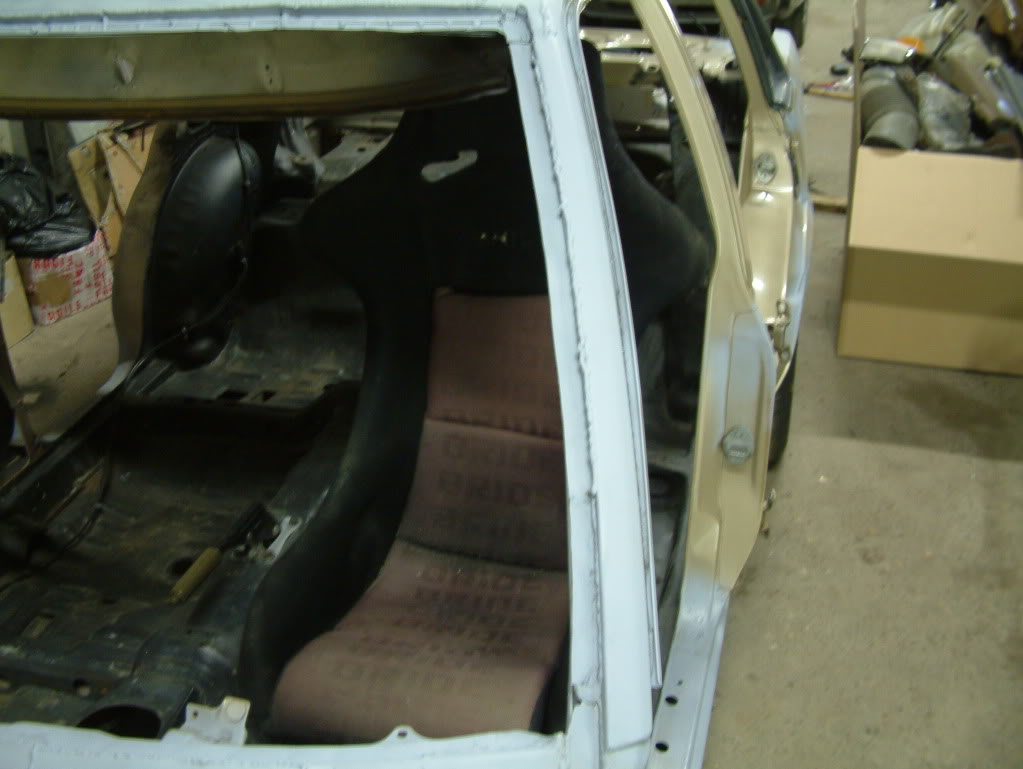
How i expect the inside to look 2 seats and a steering wheel and handbrake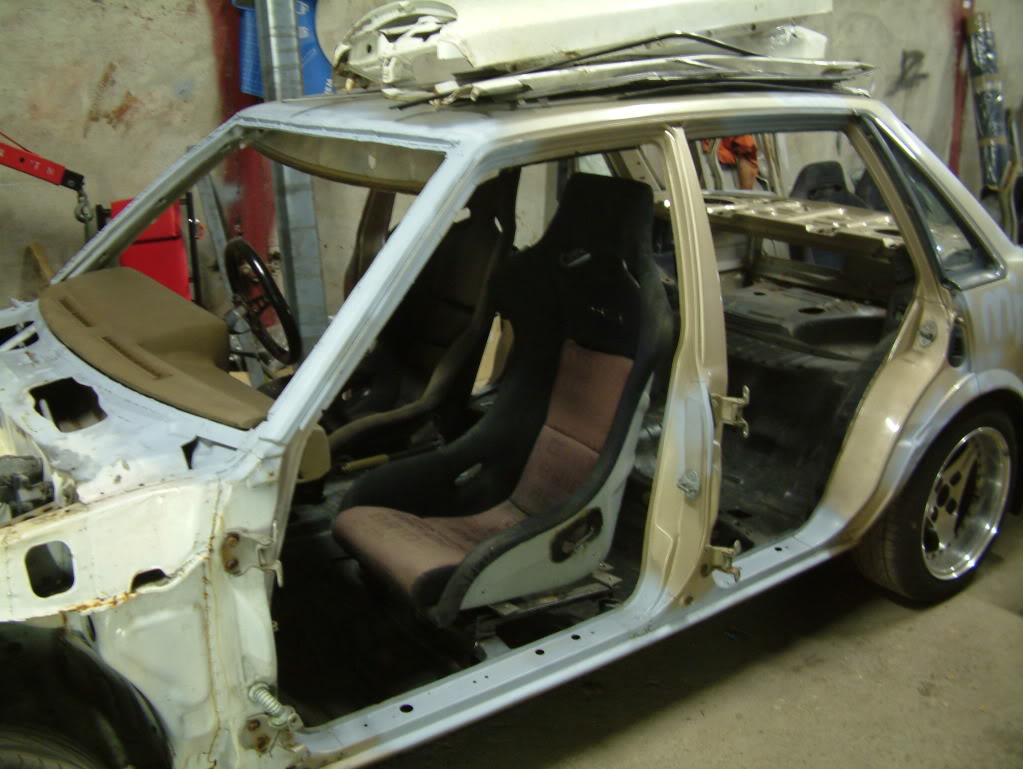
Coated the front end on both sides with 3M aerosol schutz tonight. The underneath will get something a bit thicker than this stuff though.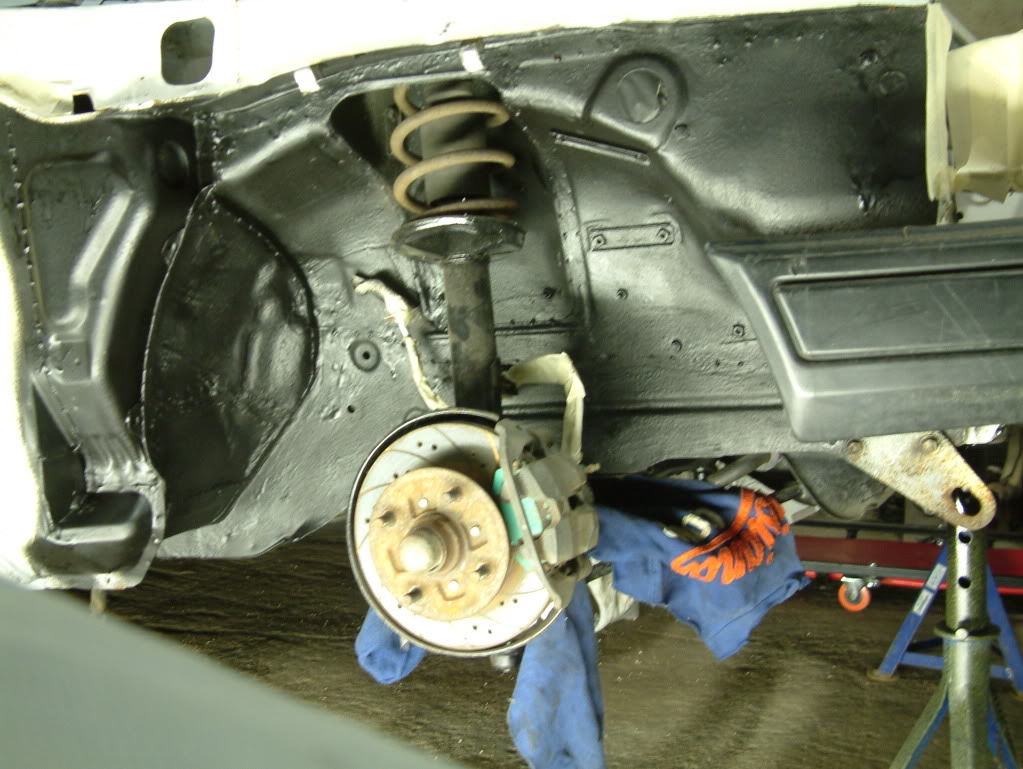
Painted the whole floor the other day with Hammerite smooth black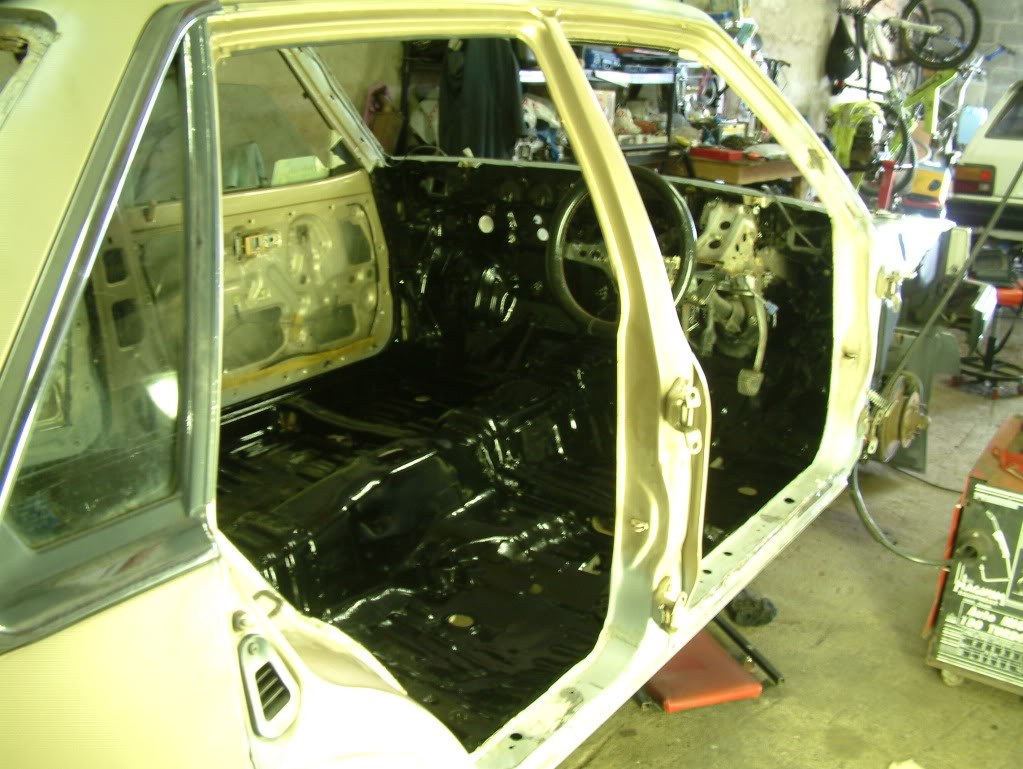
Tried on Kev's 9.5" and 8.5" Wats for the Padiflush fit, but the 8.5" on the back fit nicely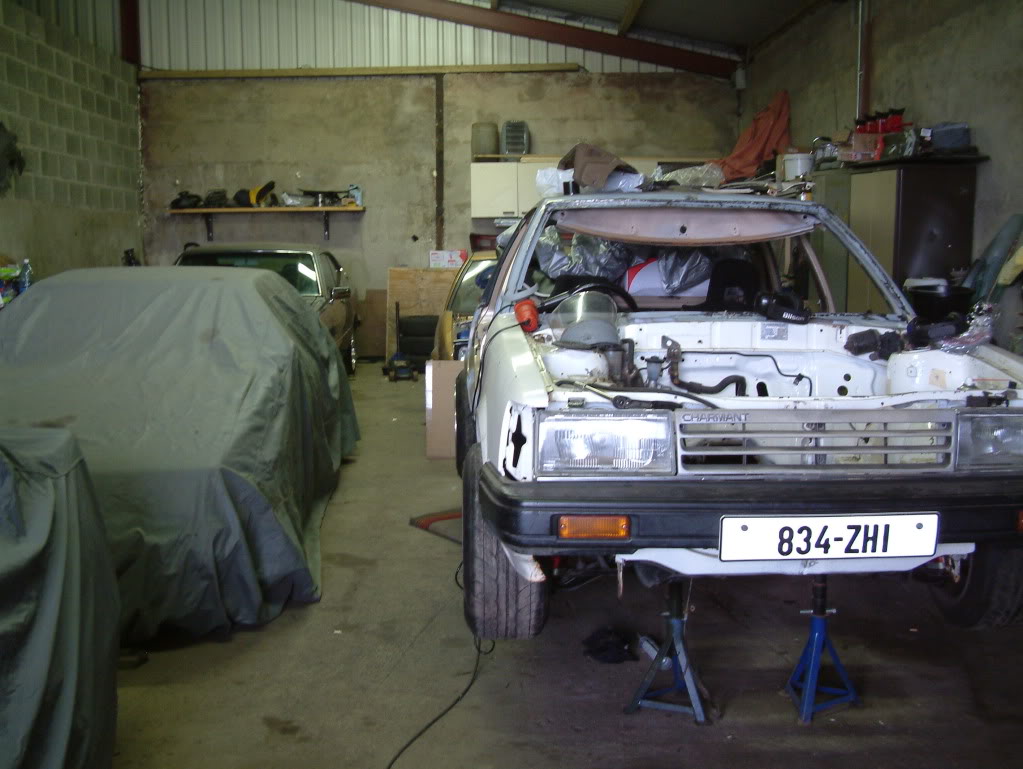
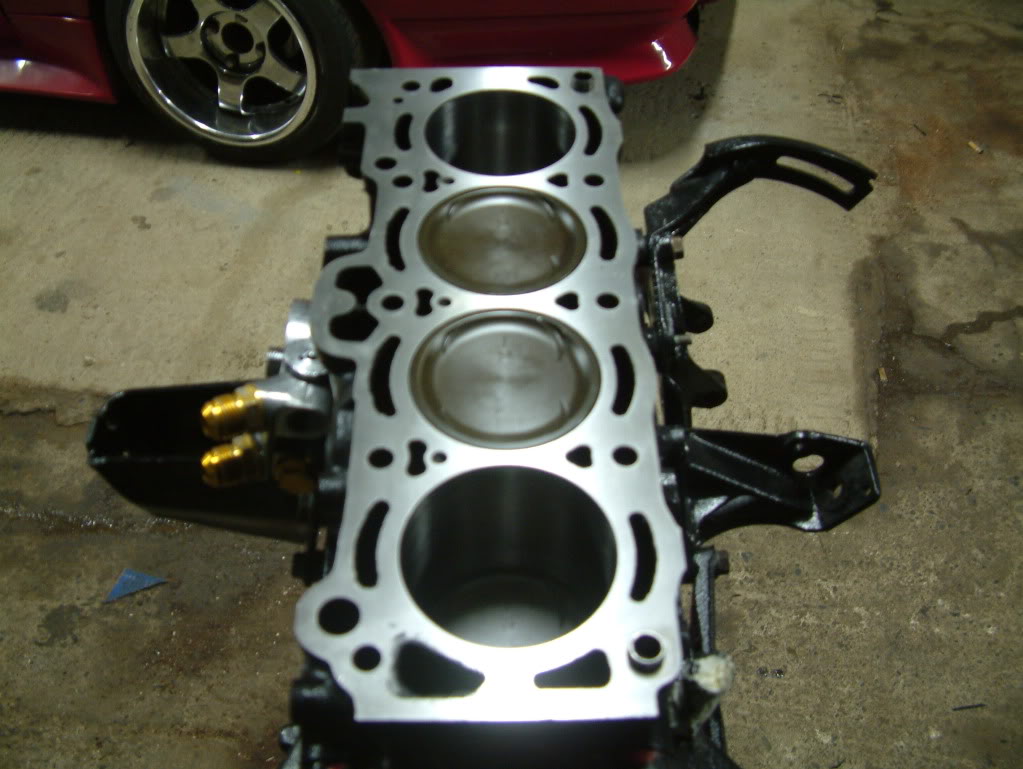
Fitted ACL Race main bearings and the crank tonight, I have the oil returns tidied up and ground a bit out of the bottoms of the bores as I found before that AE92 rods with ARP rod bolts touch the bores :thumpsdown:
Ran into a snag fitting the rod bolts to the rods though as there is one odd size rod nut in the pack and I have these about 3 years so I doubt I can make a claim :doh: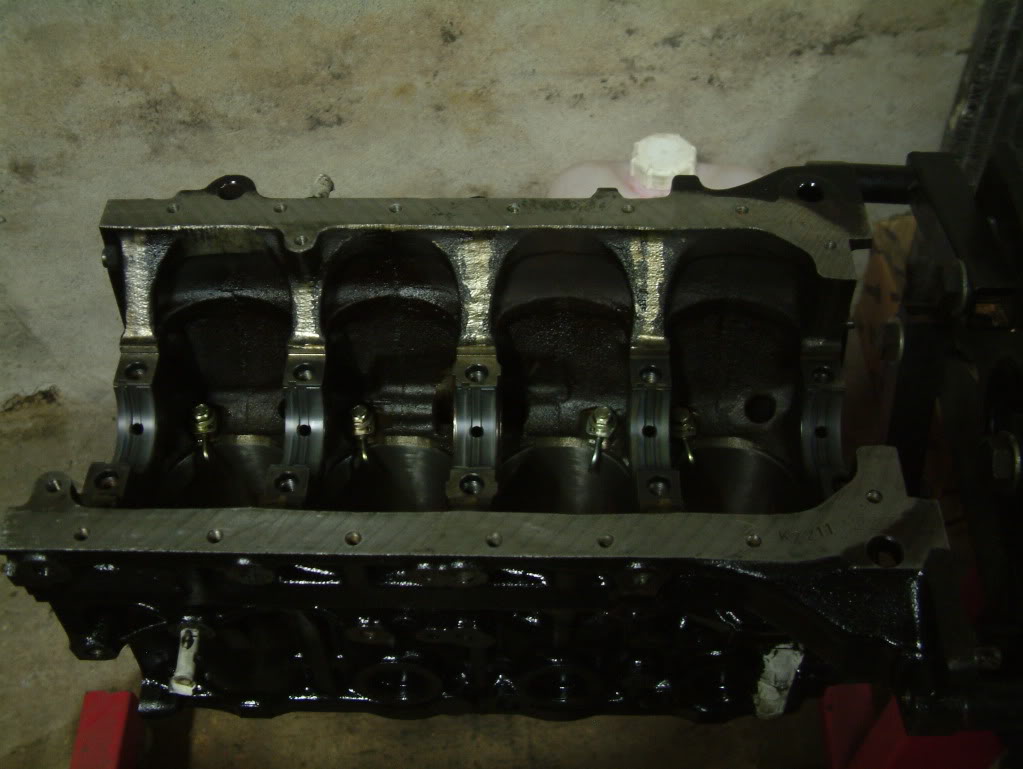

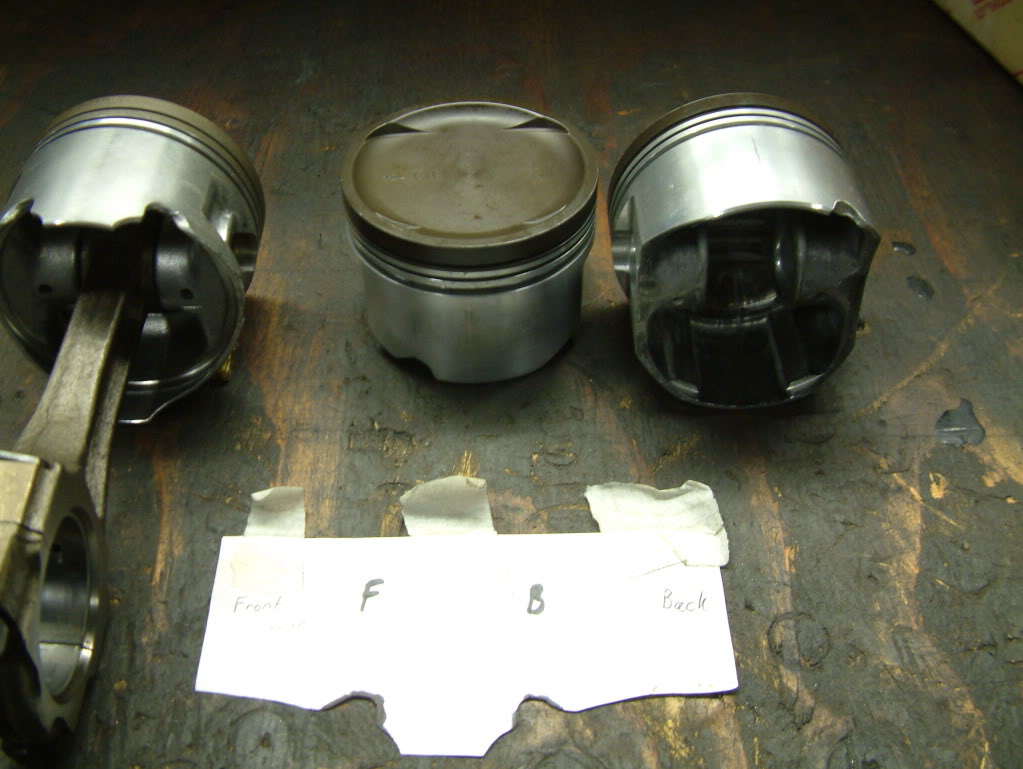
Had to mod the pistons to clear the oil squirters.
Left is OEM small port pistons and the other 2 are mine, and my template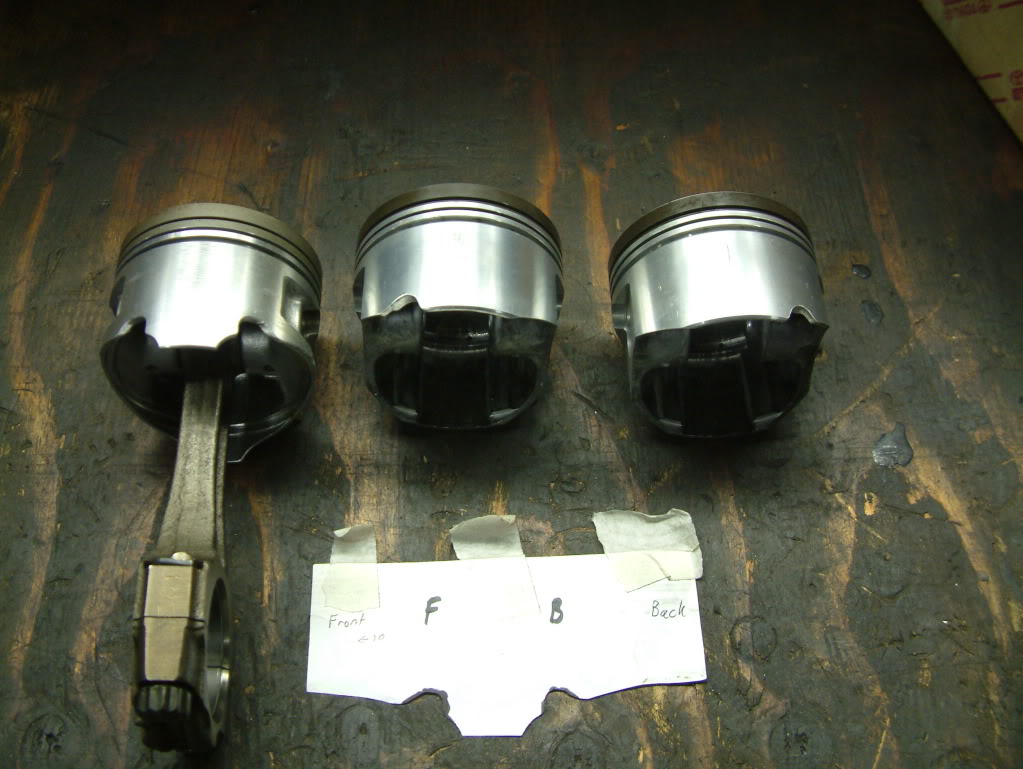
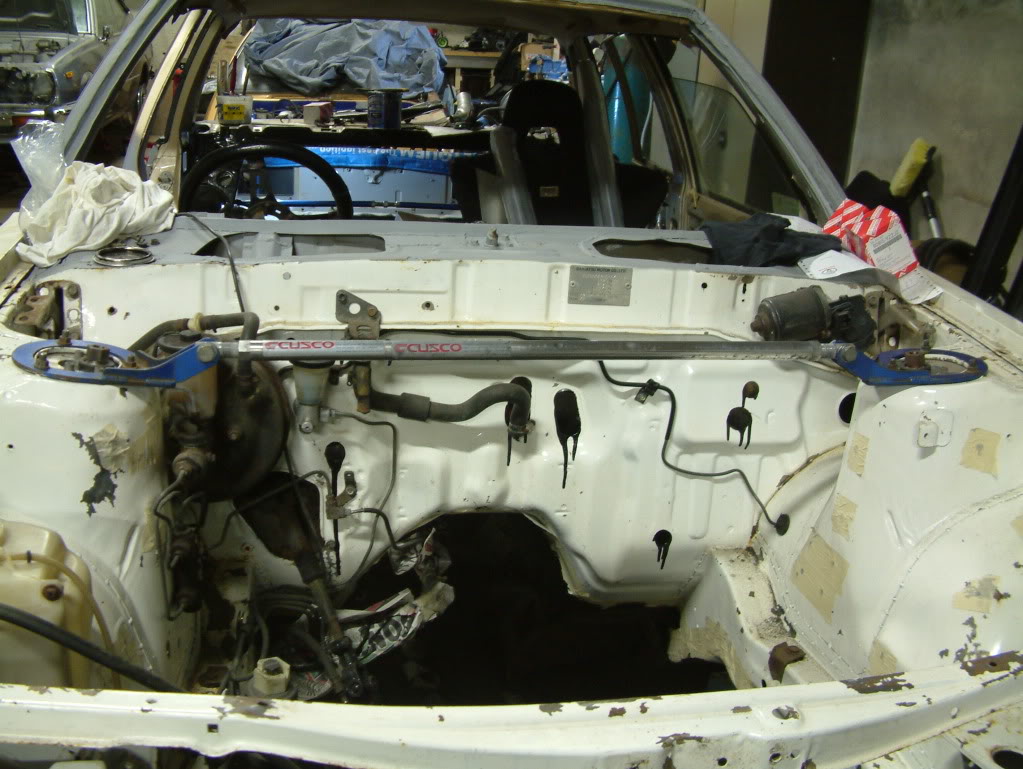
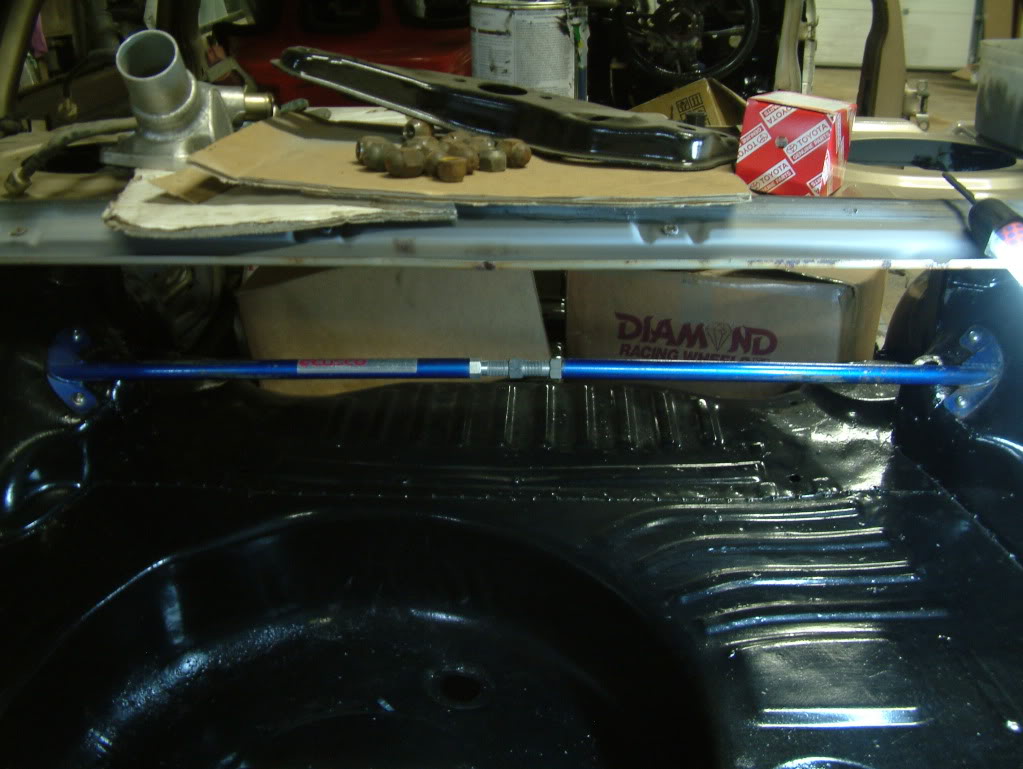
Fitted front and rear Cusco strut braces tonight.
Nice Hammerite dribbles on the bulkhead![]()
Rear is 15 X 8 -12 or 4" backspacing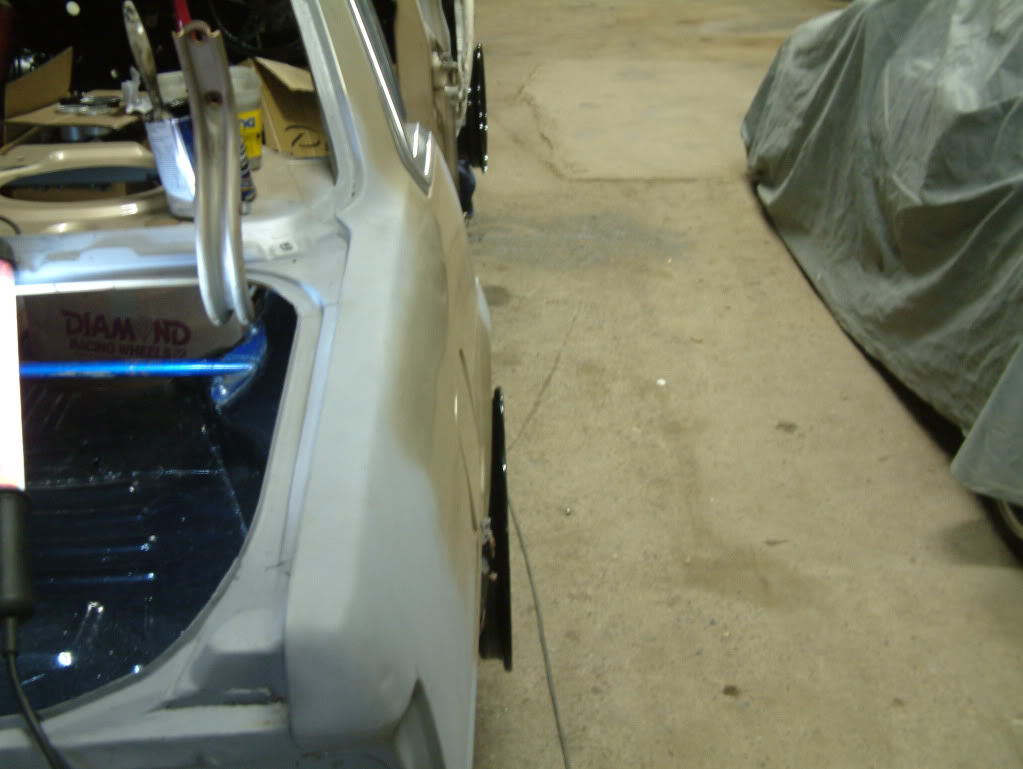
Front is 15 X 7 -12 or 3.5" backspacing
They are too shiny for good pictures and they are heavy as hell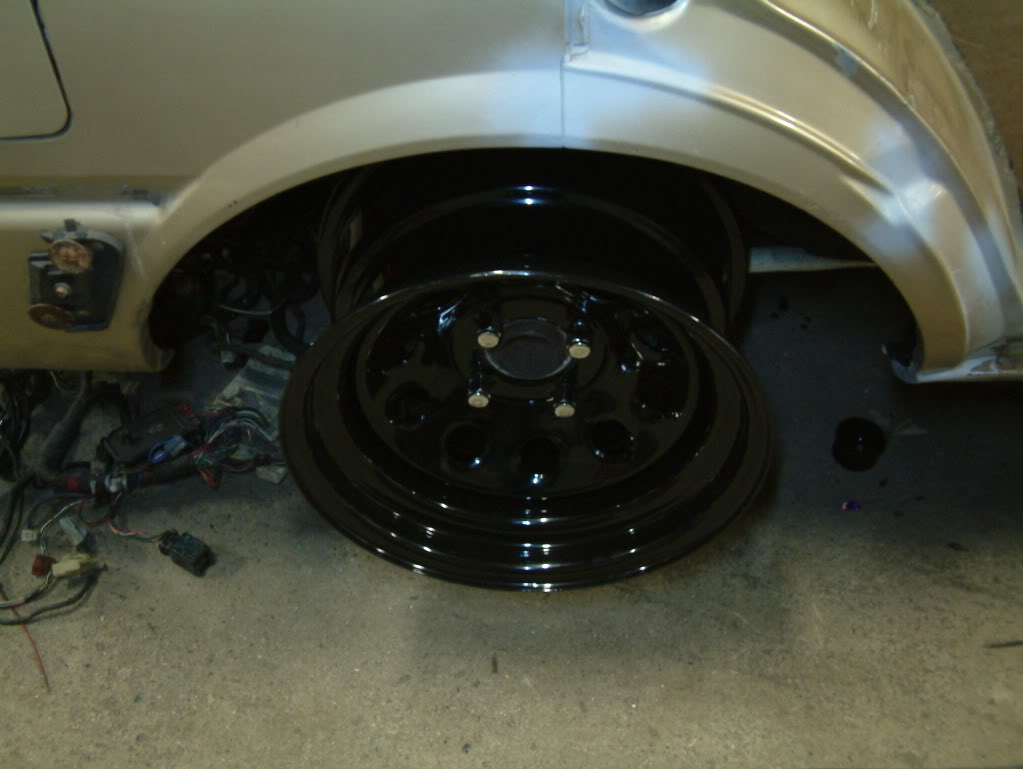
ot a load of parts today that I was missing
Wiper arms, bootlid seal, sill trims, door surround rubbers, LH tail light, RH front corner light, mirrors and bonnet stay. I'll have to go for another raid some other day.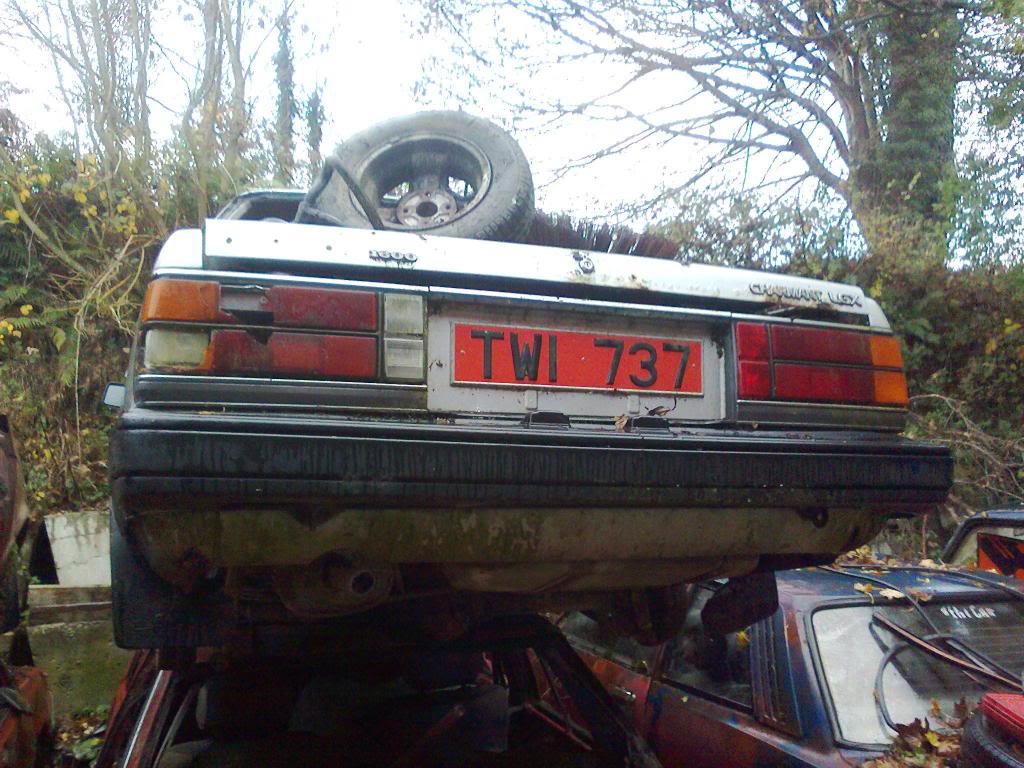
Got tyres today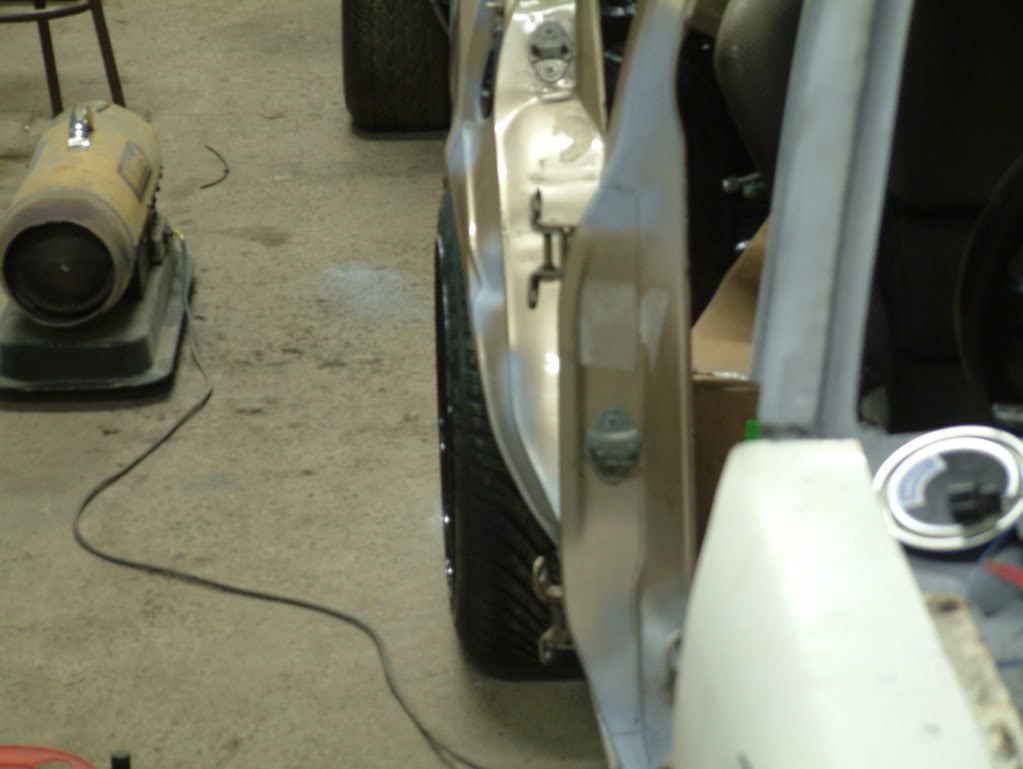
Gonna hide the balance weights with black paint, it was either a few grams outside or 185g stacked inside so I went this way.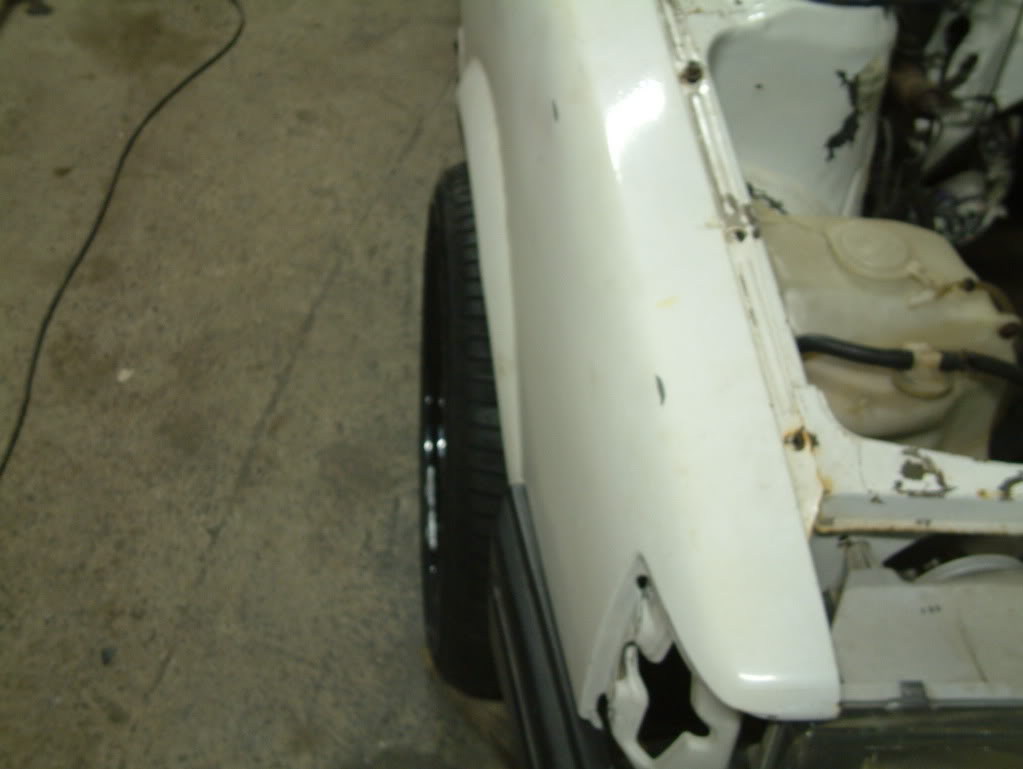
Got my new front windscreen and the original rear screen fitted tonight :dft003: Just a good boot lid and it should be watertight and ready to get painted.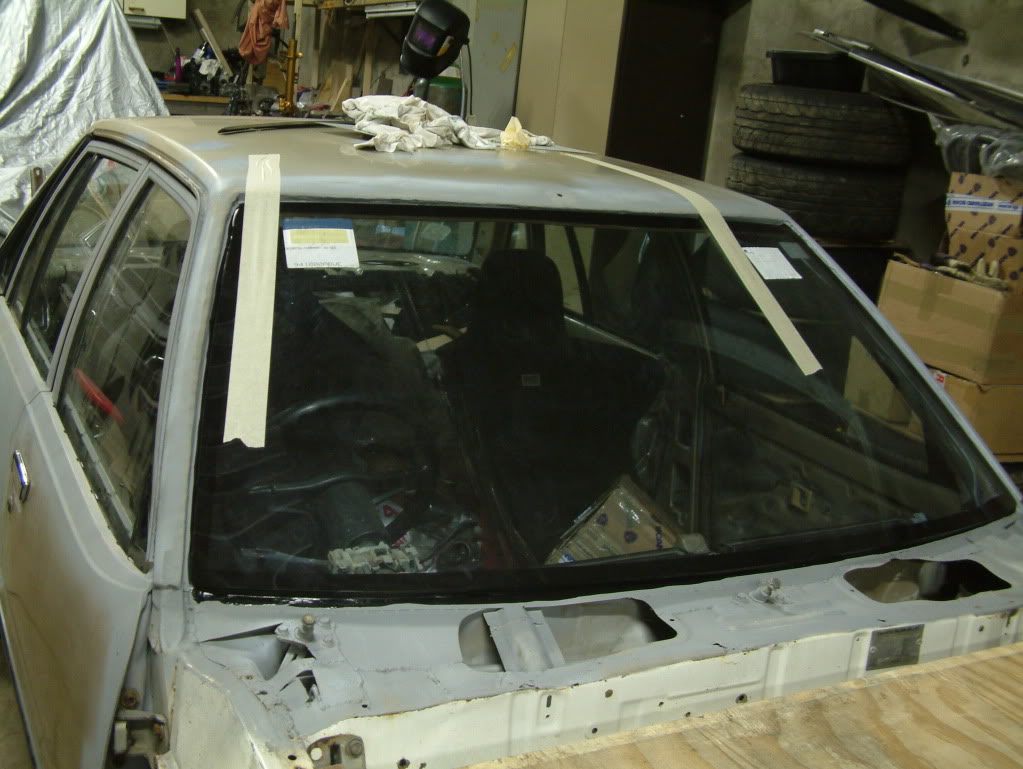
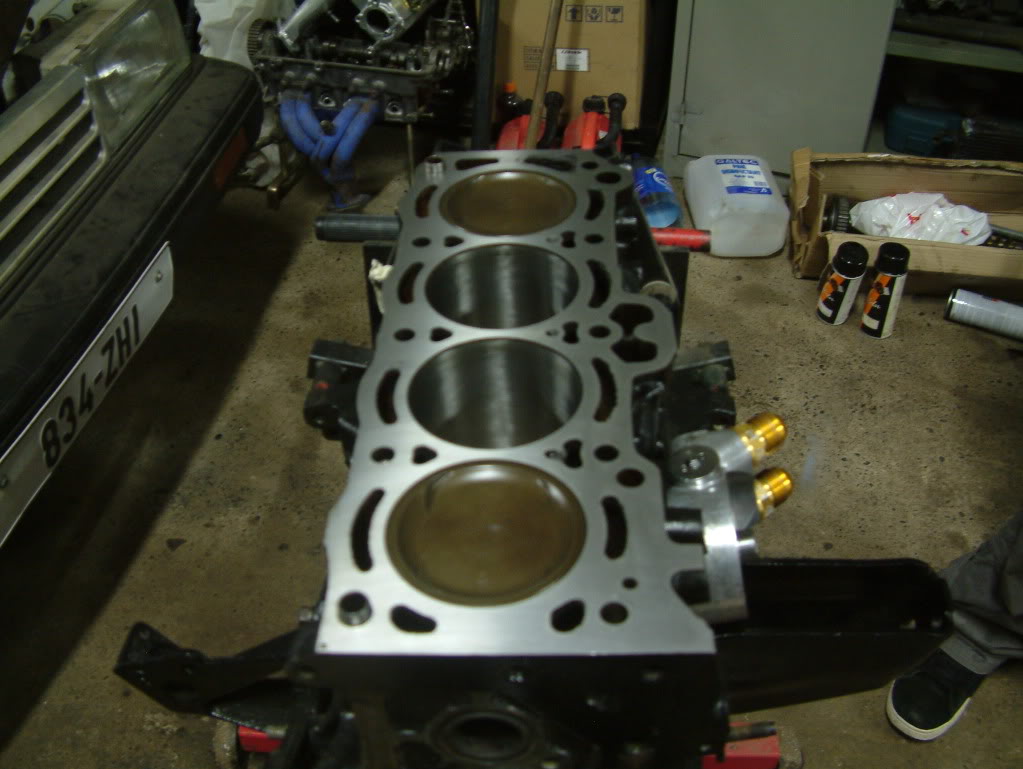
Also got the new gudgeon pin circlips I ordered so assembled the bottom end.
With my super trick ARP piston sleeve, I love how easy it makes the job :dft003: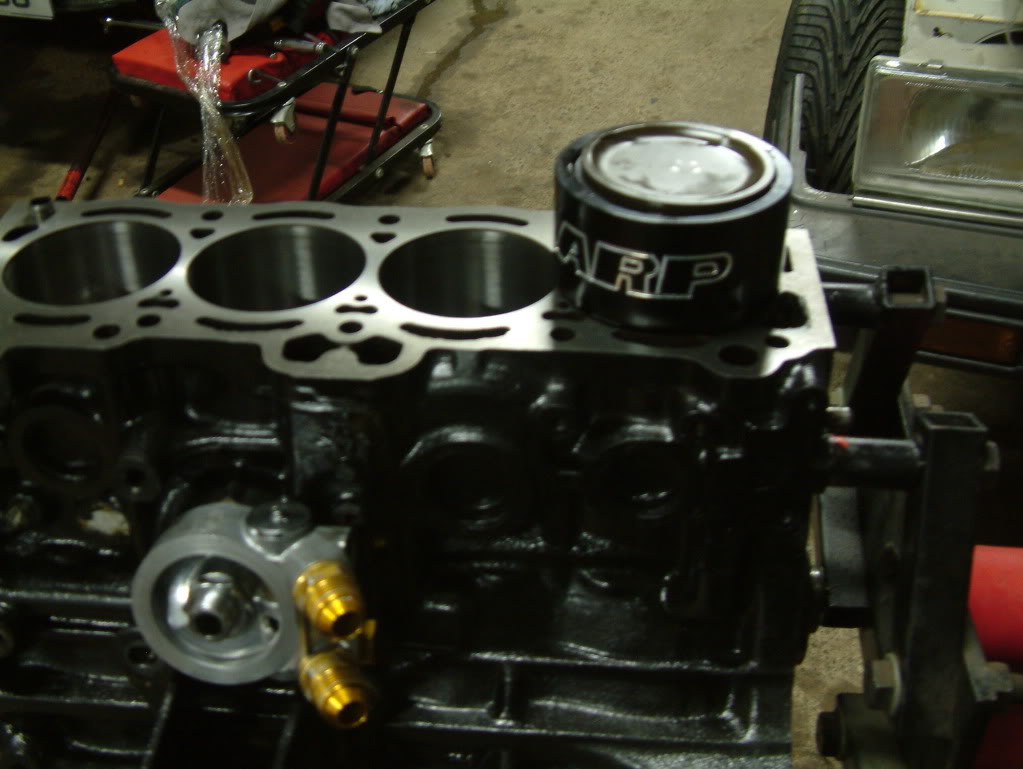
Wow a lot of work
Posted by Diggymart on 4/10/20 @ 4:08:28 PM