You must be logged in to rate content!
16 minute(s) of a 27 minute read
1-30-2013
Got some more parts yesterday : rusty straight bootlid, RH taillight, LH door mirror bracket:nod:, and some black dash bits
Original dented bootlid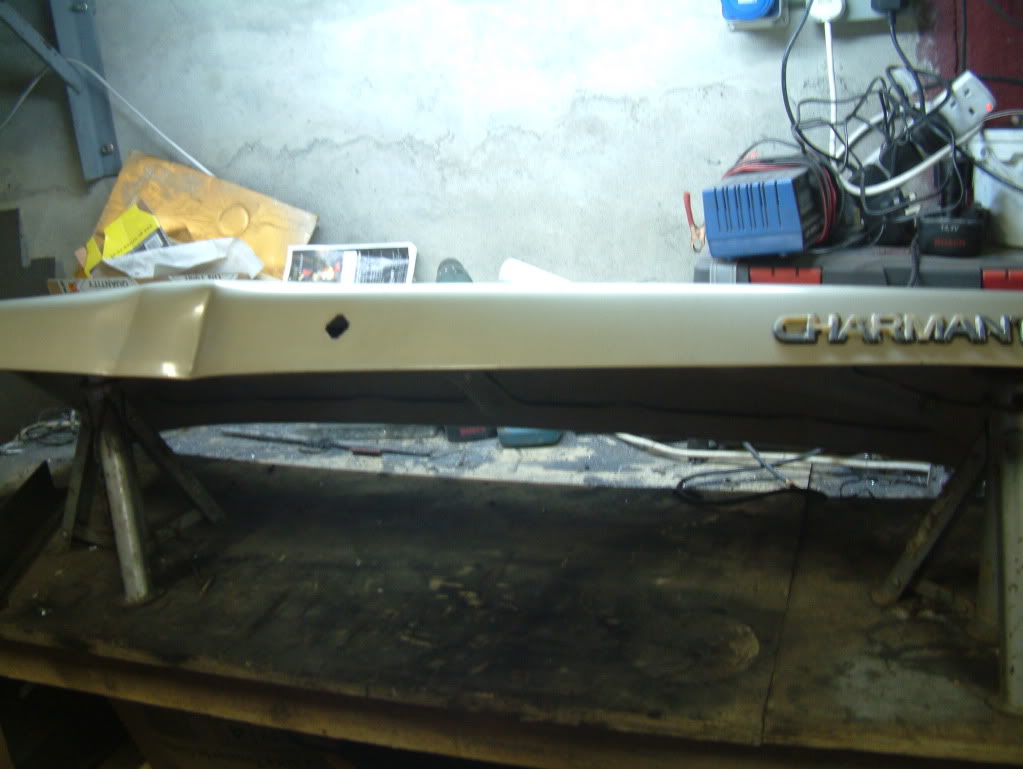
Rusty bootlid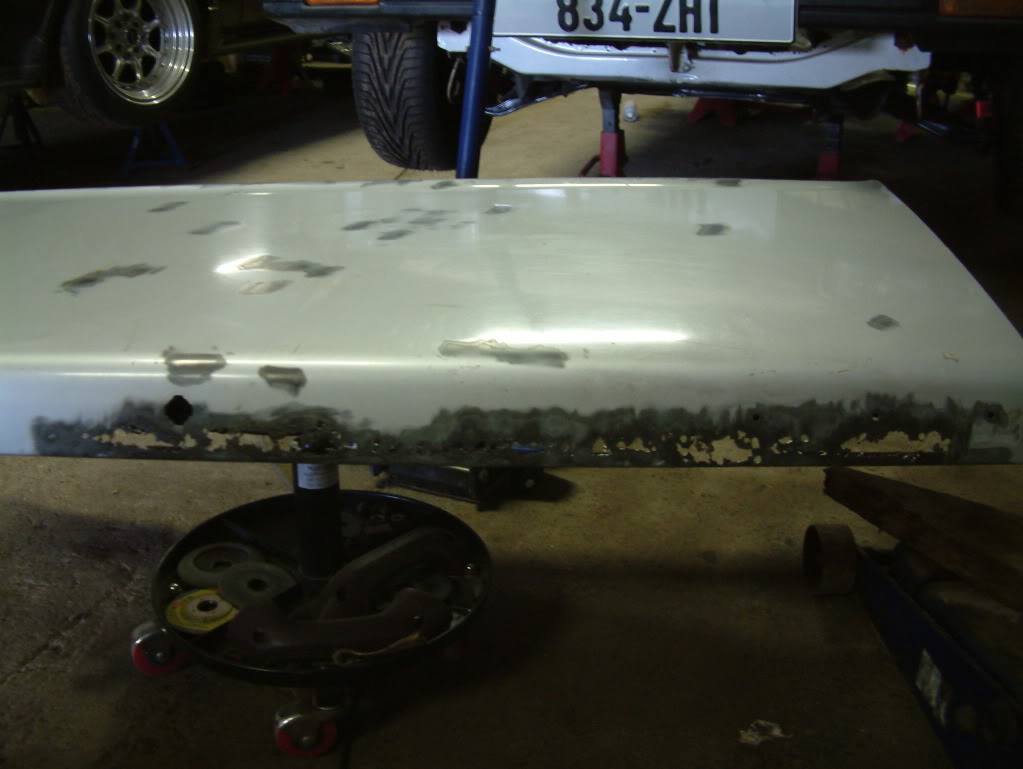
A bit of photoshopping and ended up with this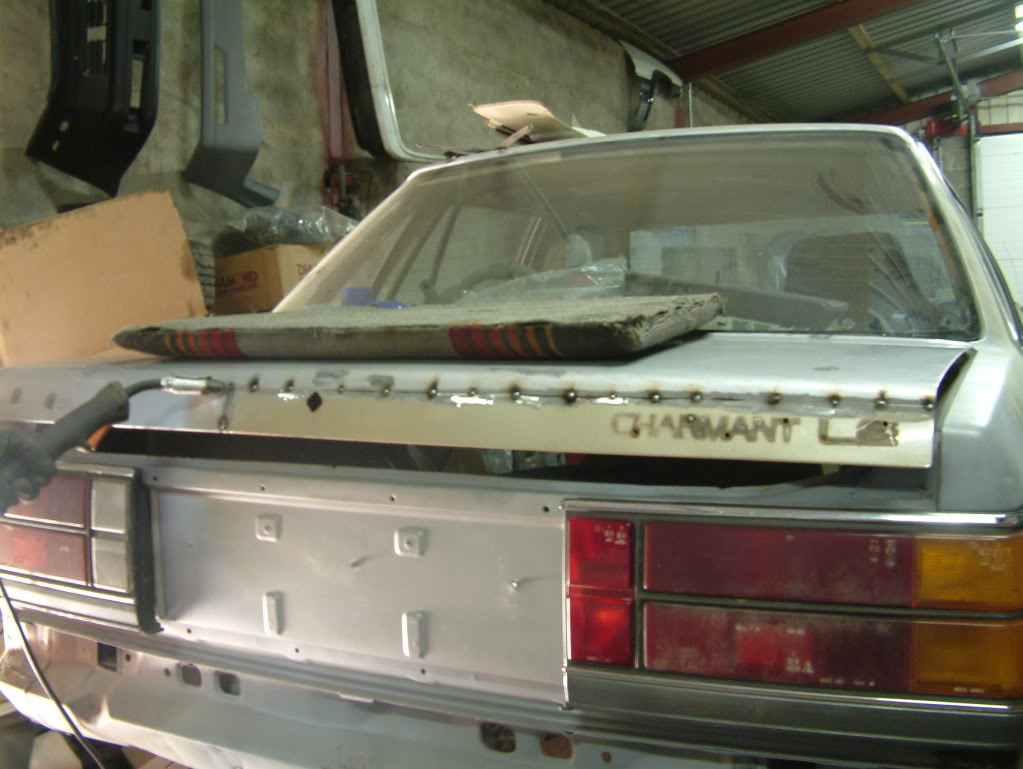
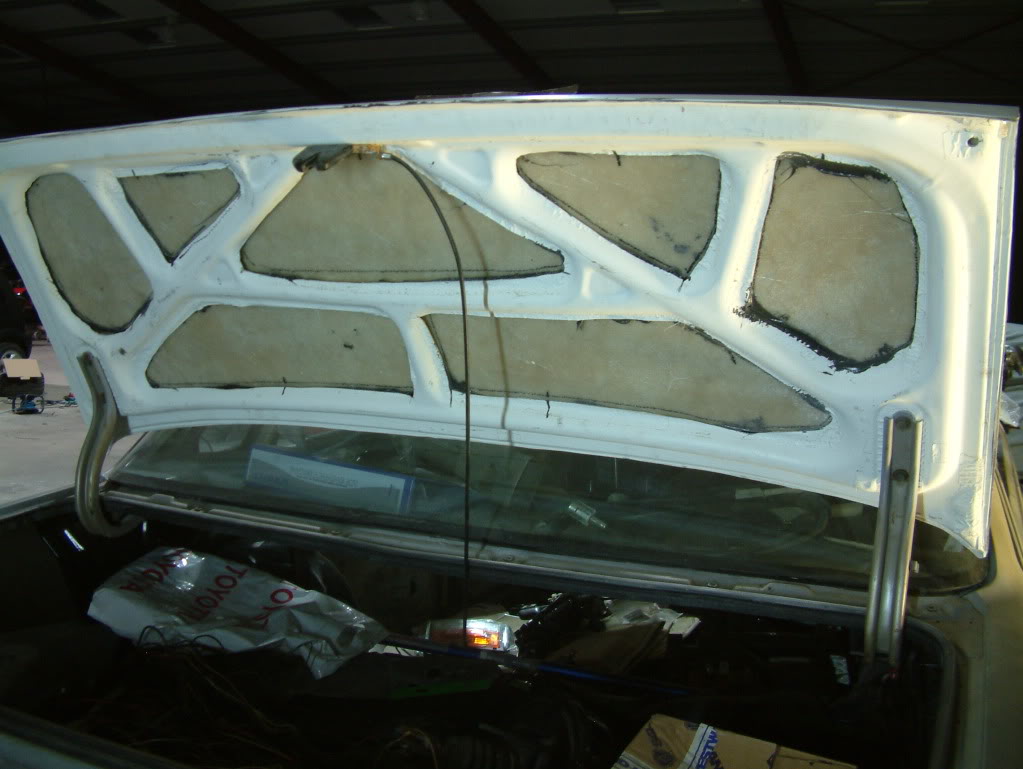
Filled the wheel well and painted it with a yard brush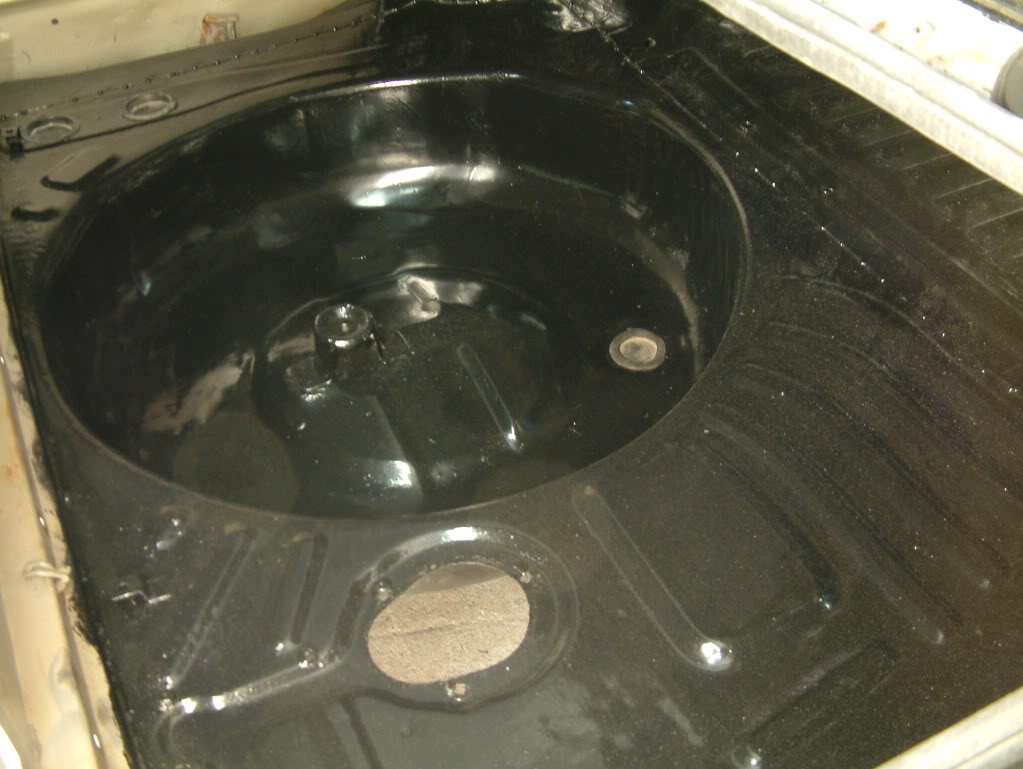
and first coat of brush on stonechip crap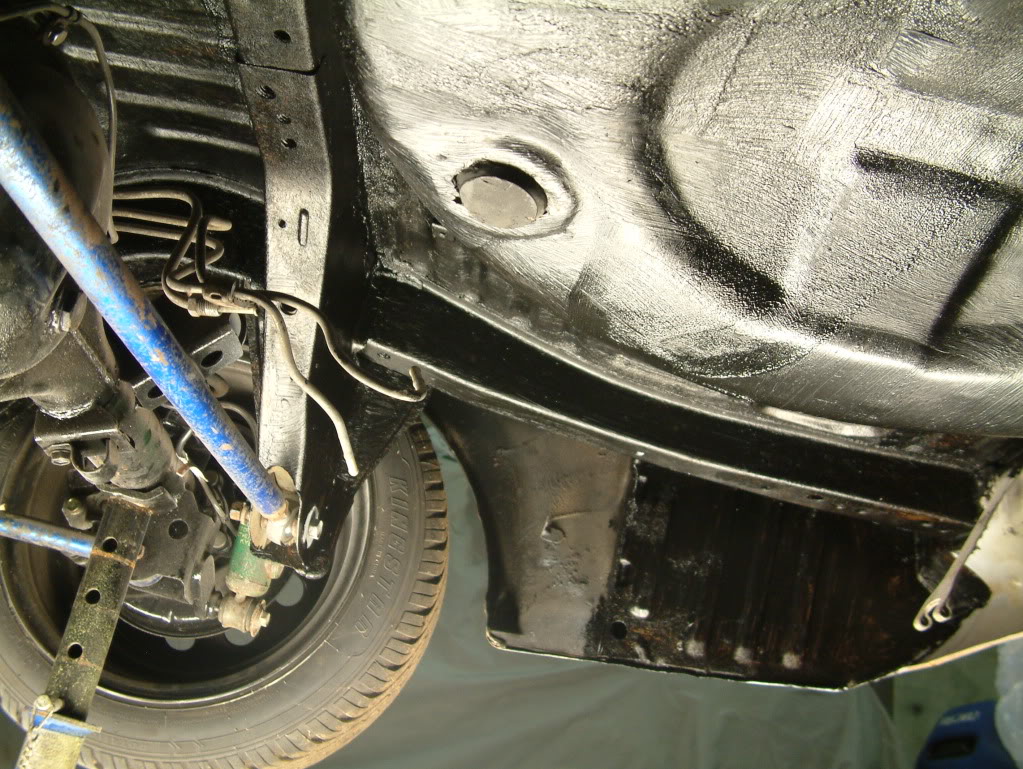
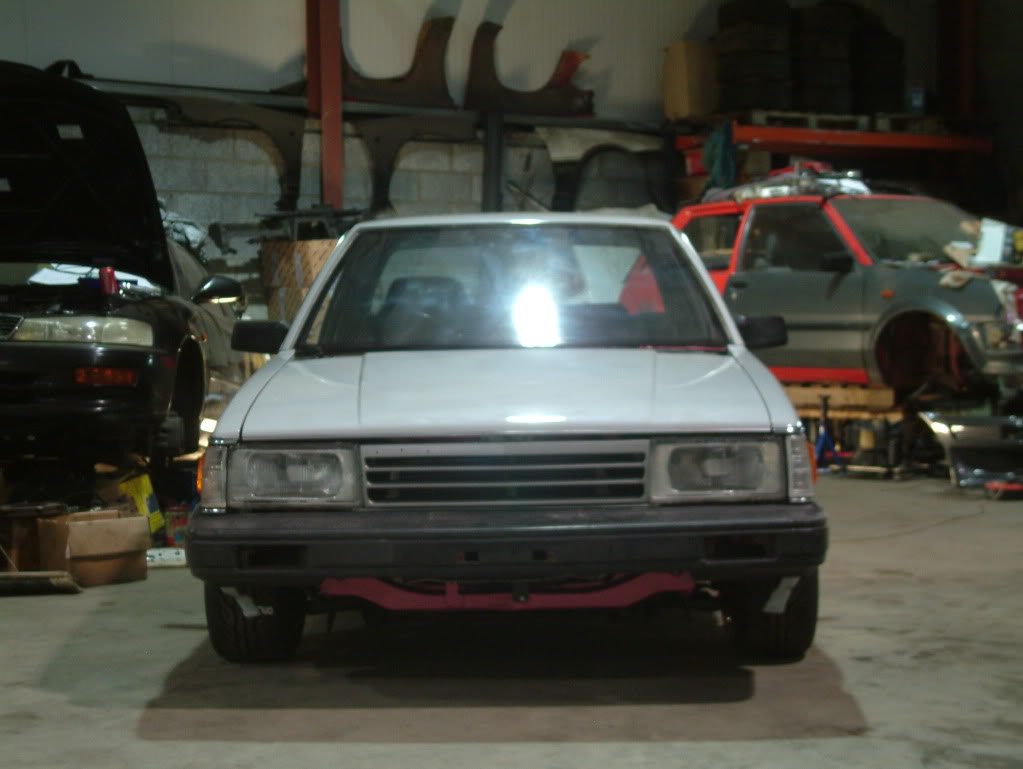
Moved sheds so the Trueno and Charmant are now cosy in a new unit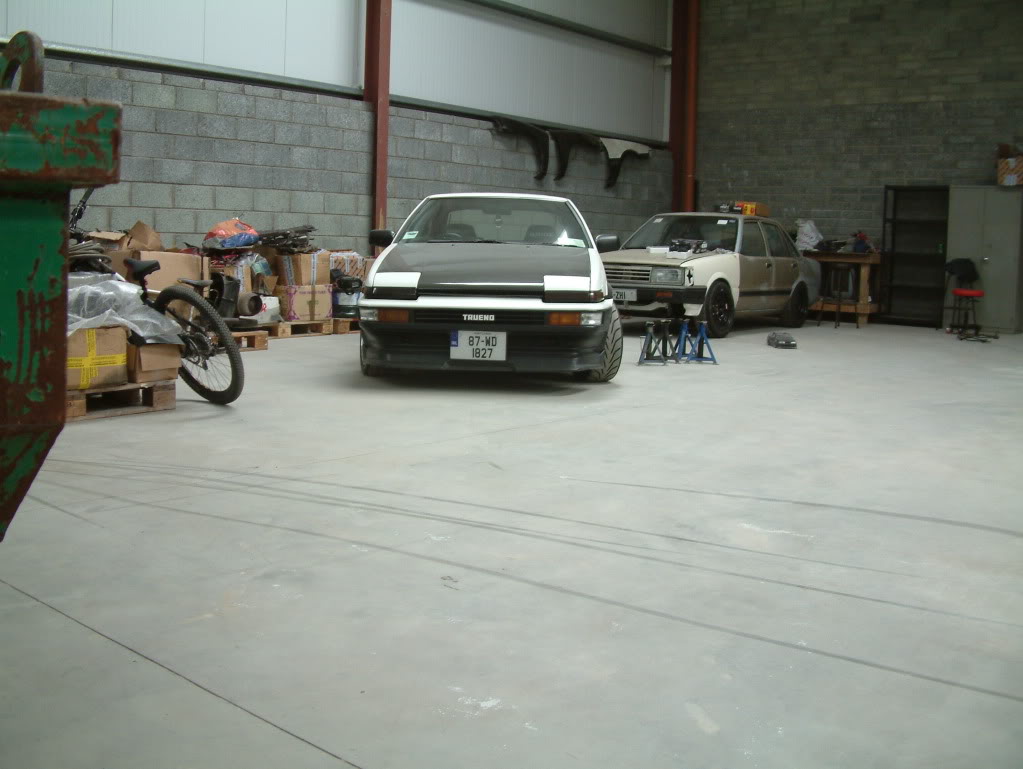
Built up a 4.1 with Cusco RS 2 way and solid spacer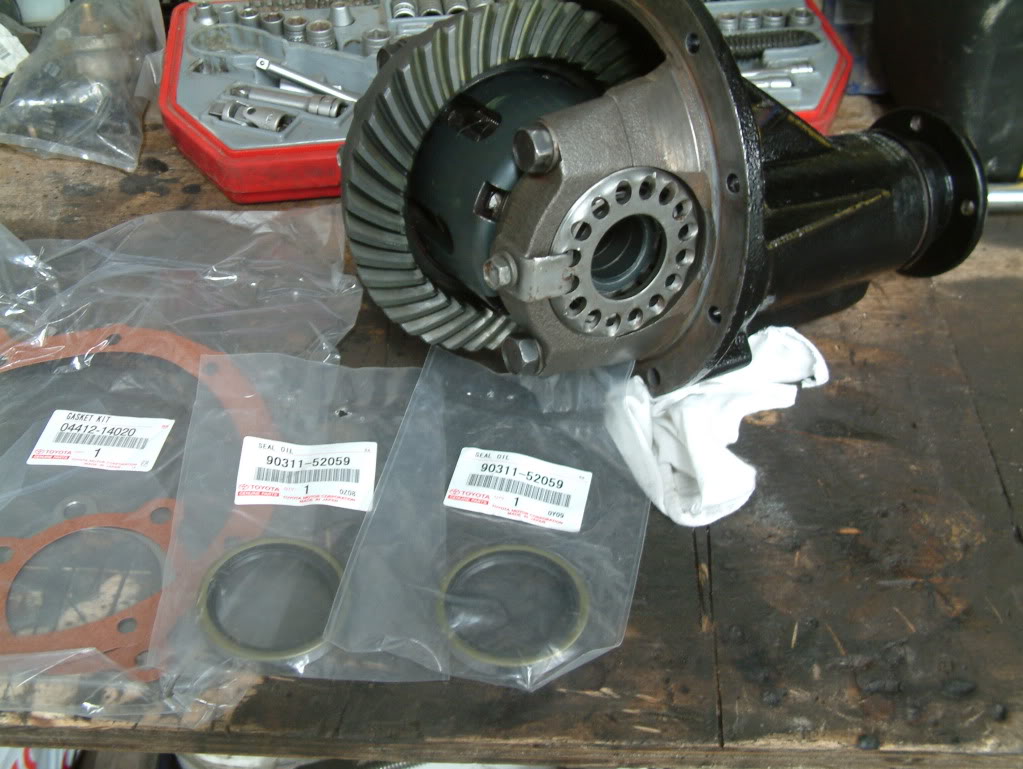
Engine mocked with HKS copy manifold and S14 turbo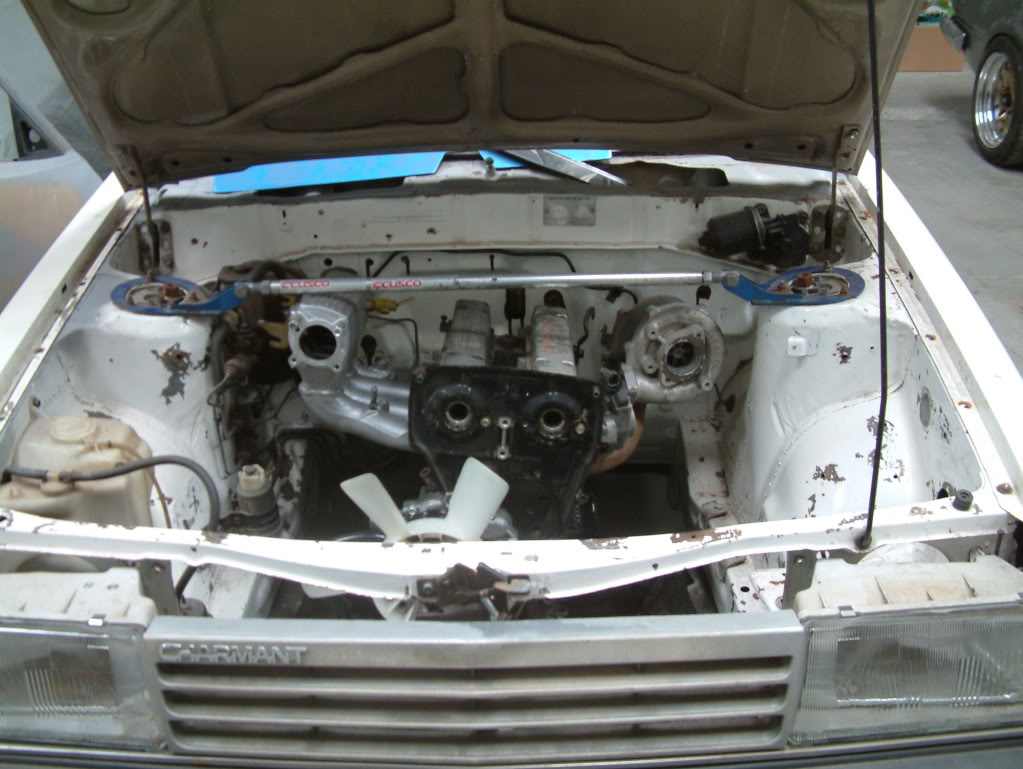
Ordered up an engine and rear axle gasket set and axle seals, had spare gearbox gasket set and 4 baulk rings so might as well refreshen the gearbox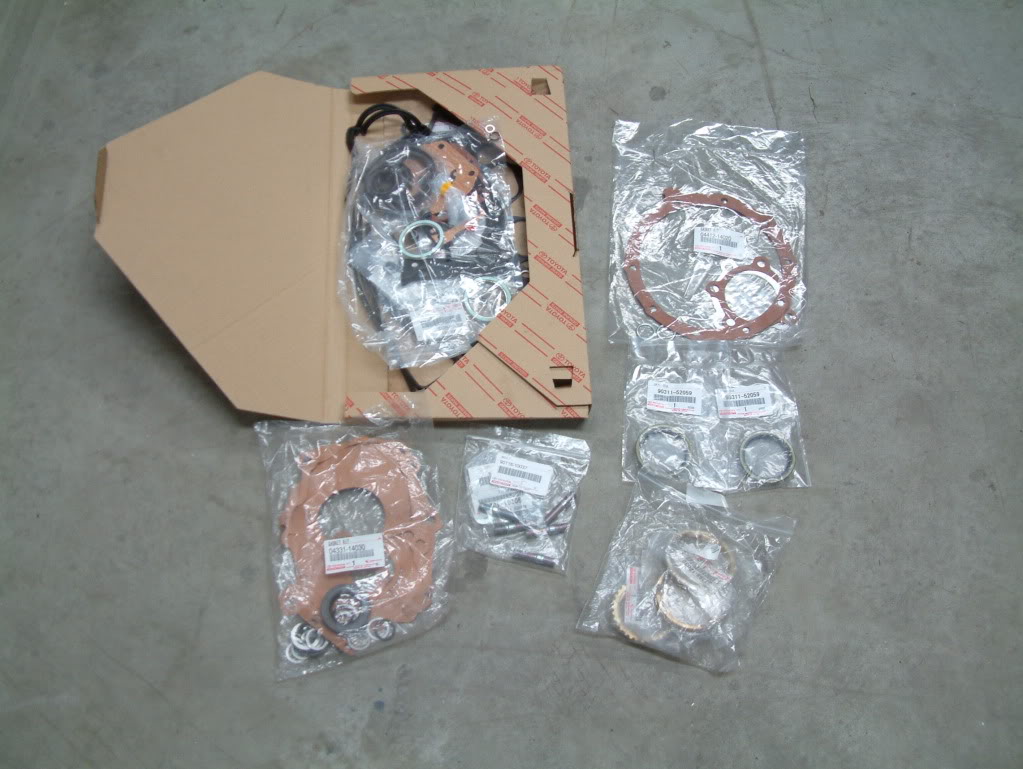
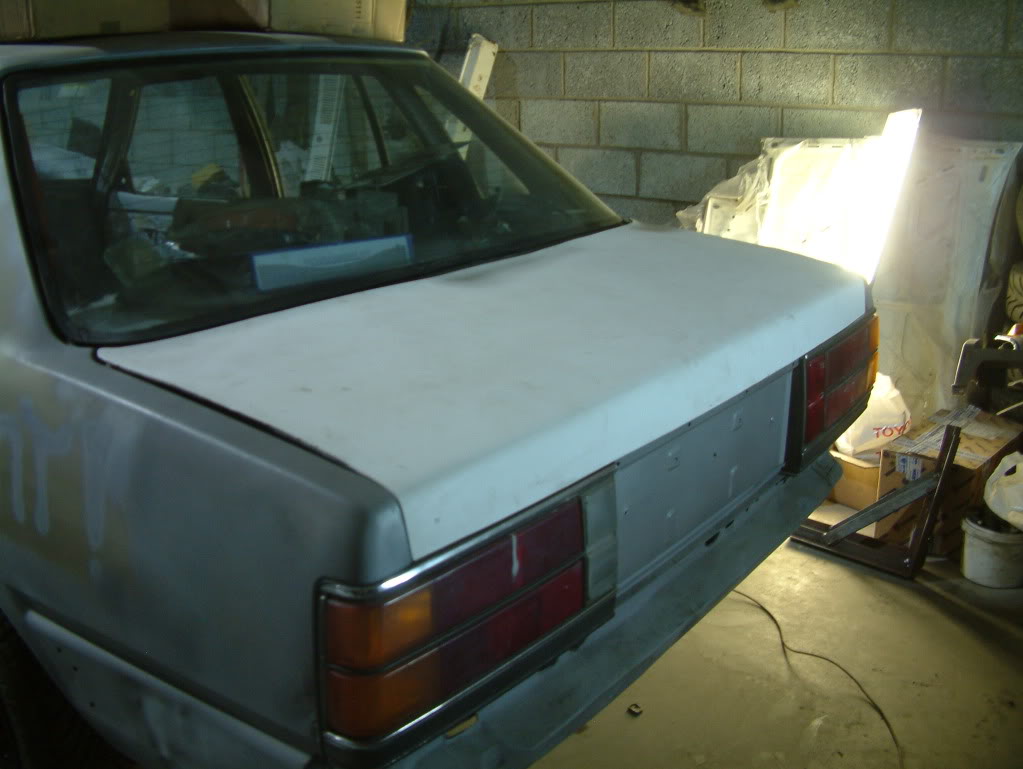
Sitting nice on the back with a boot full of shite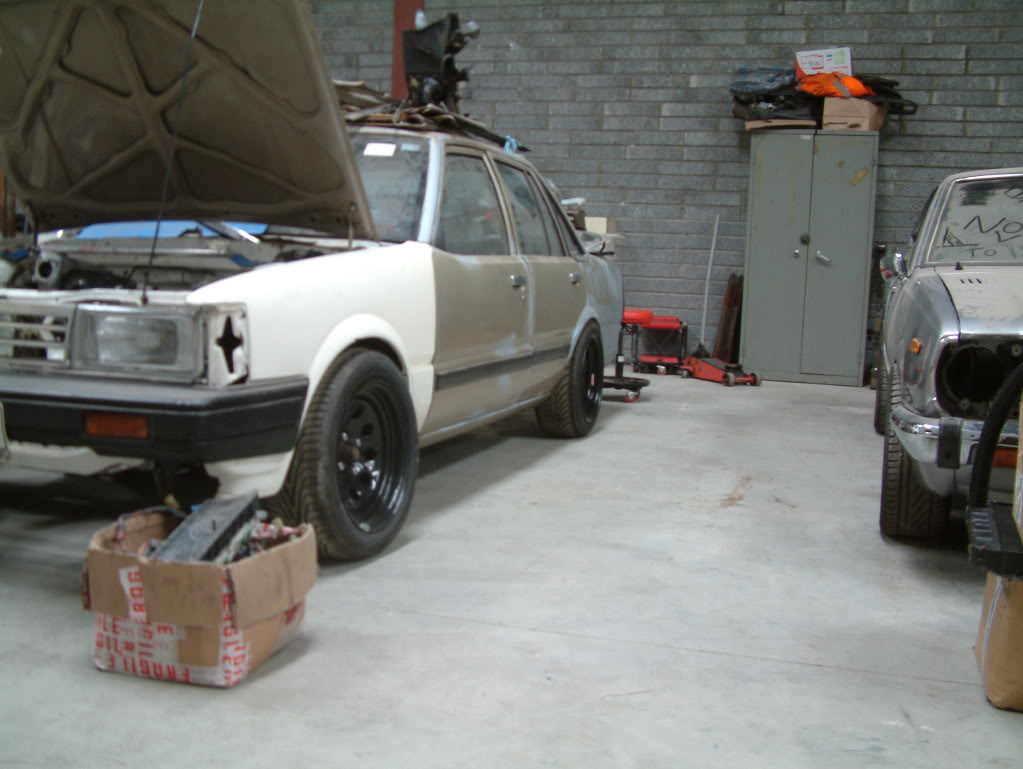
A few pictures
Fiberglass bootlid, needs a bit of heat to get rid of the slight rise in the middle. No rust though![]()
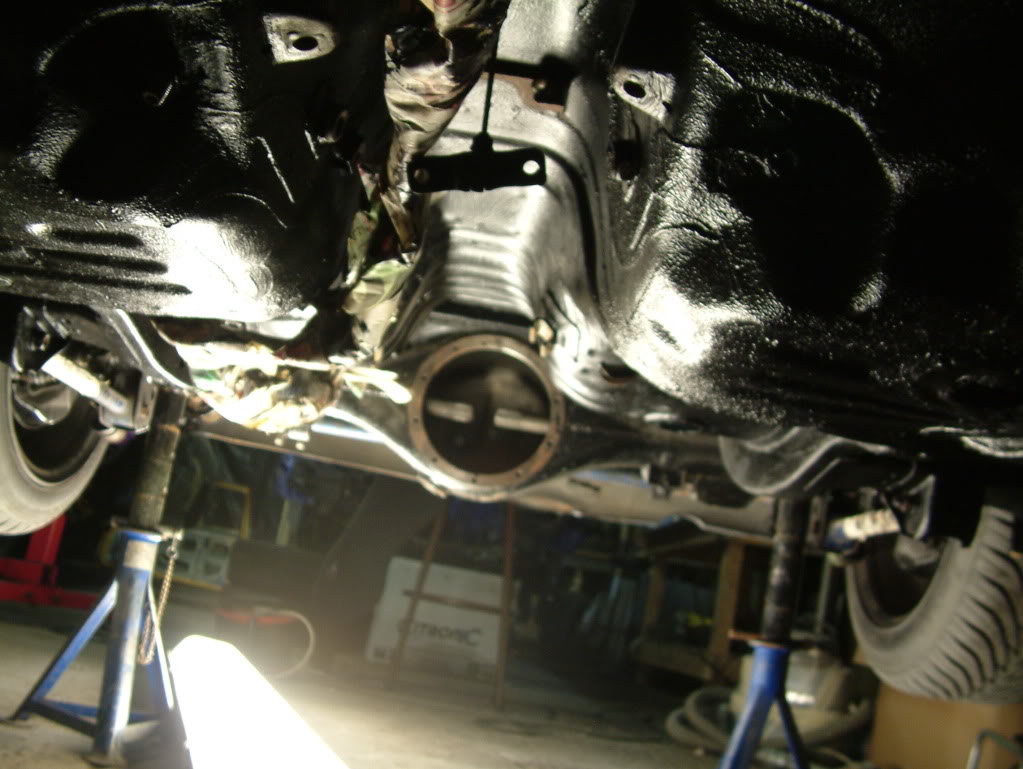
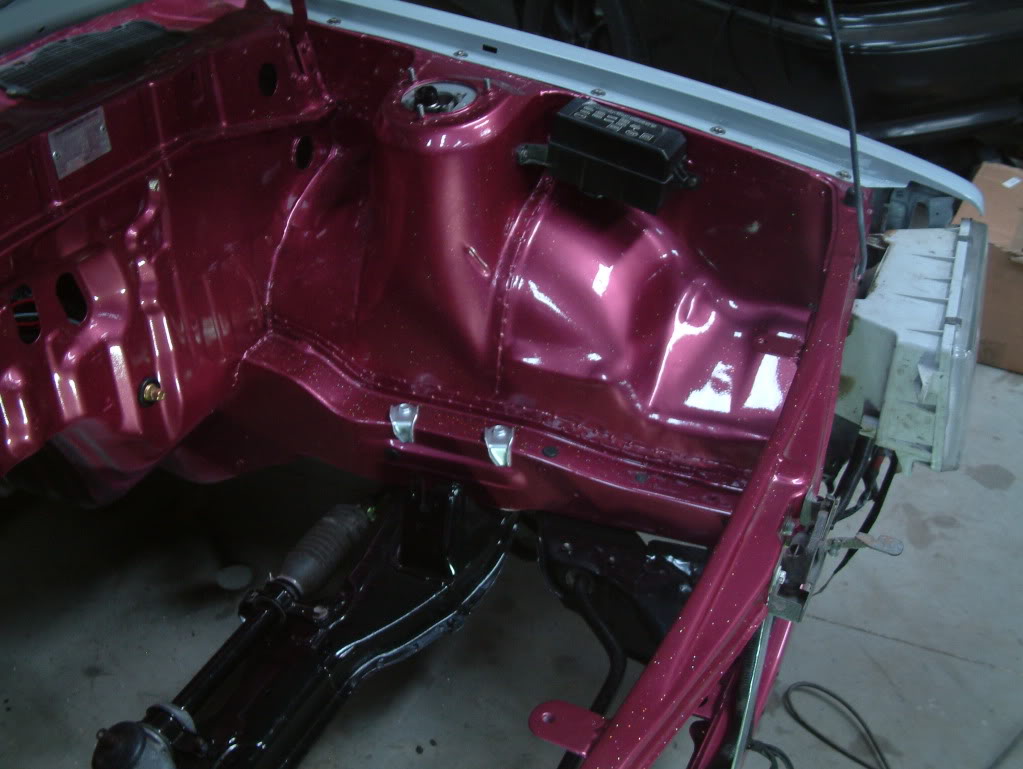
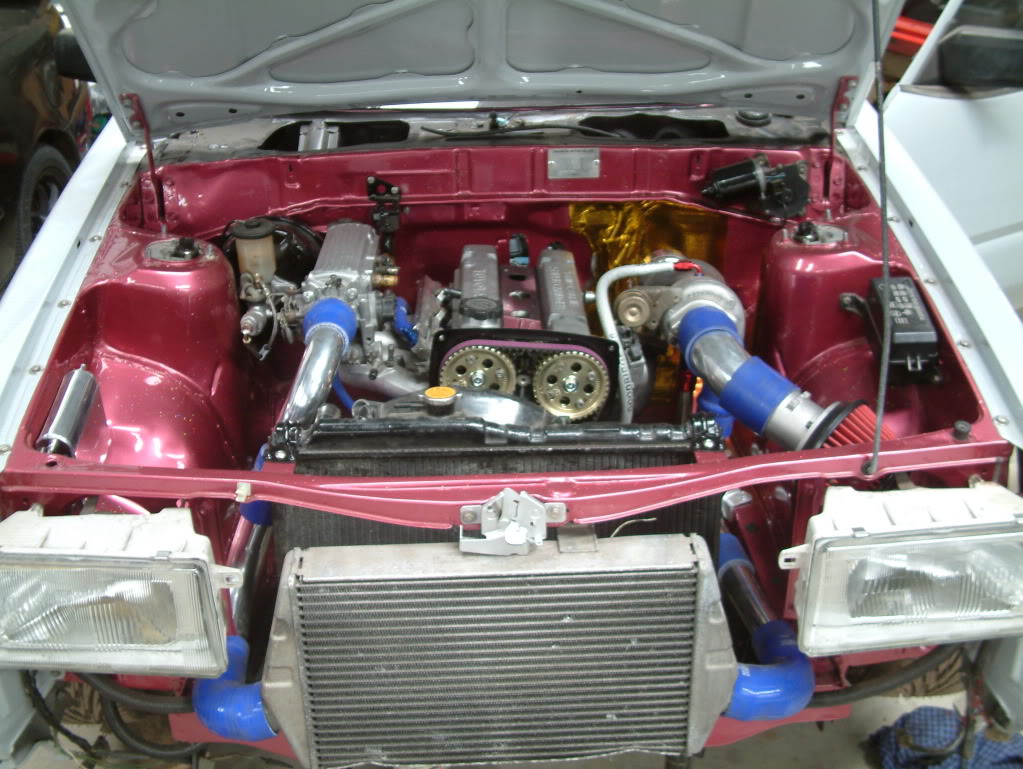
Smoother engine bay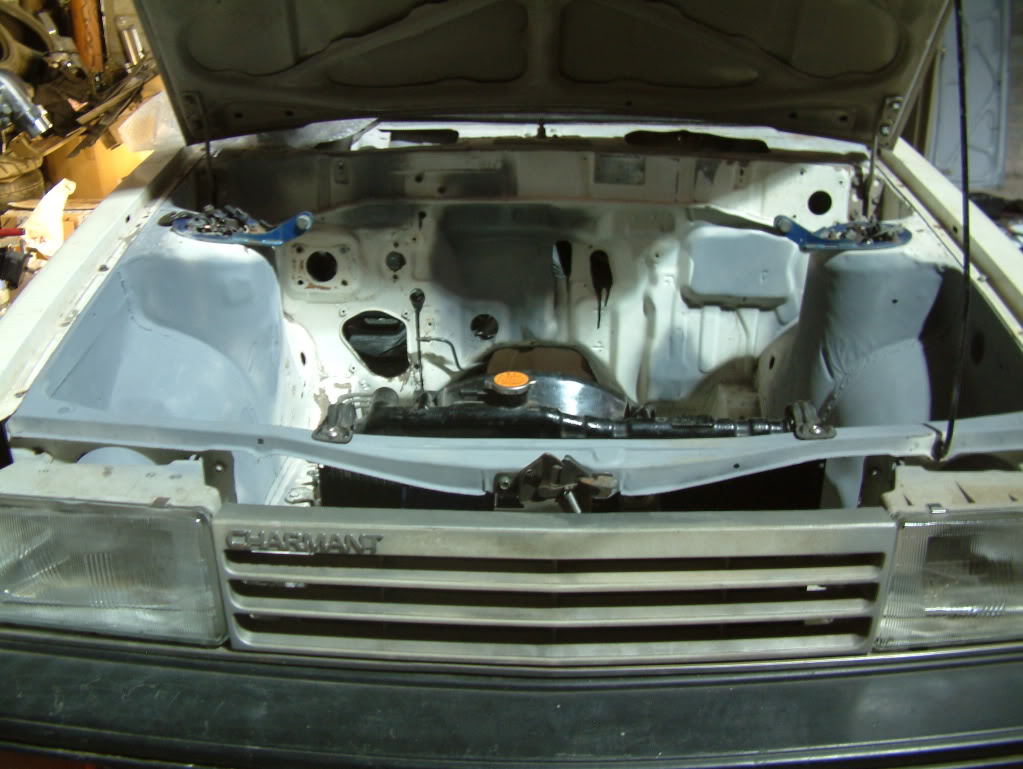
AE86 twin core rad, 13 row oil cooler and Evo 4 intercooler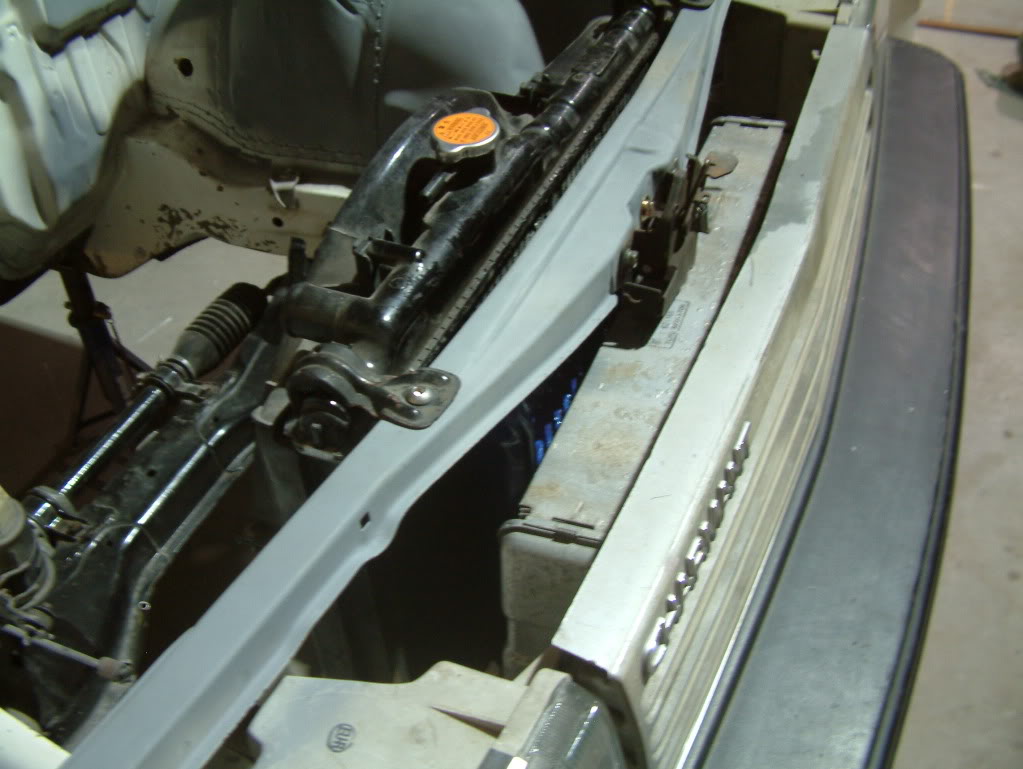
Intercooler hardly visible from the front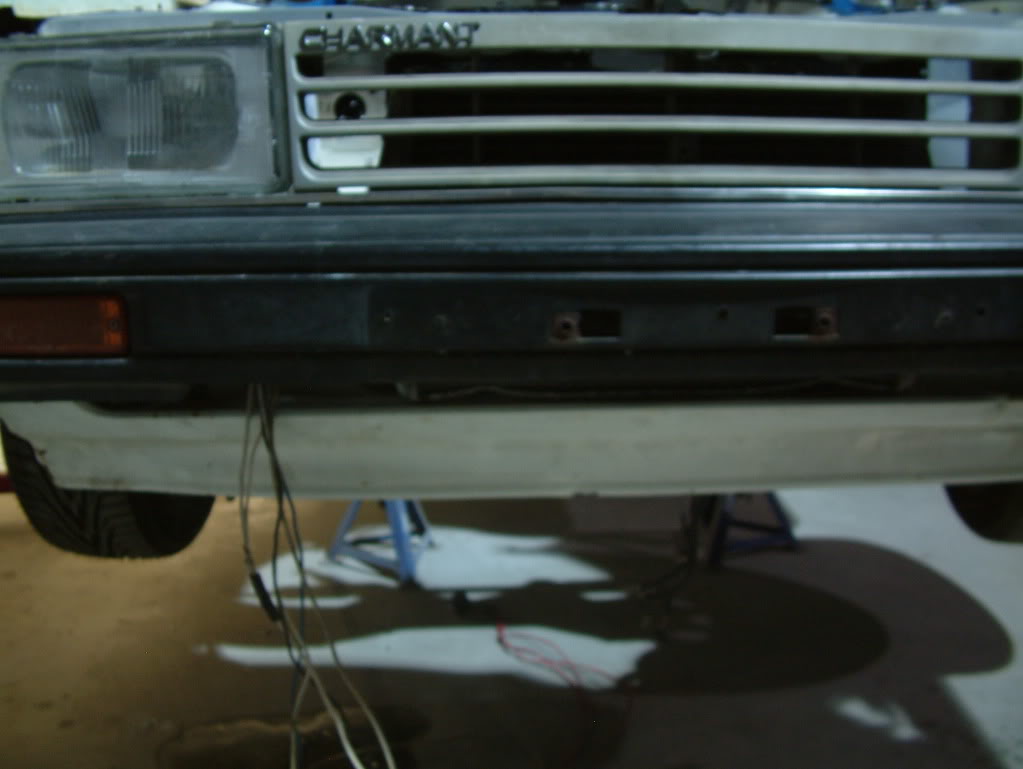
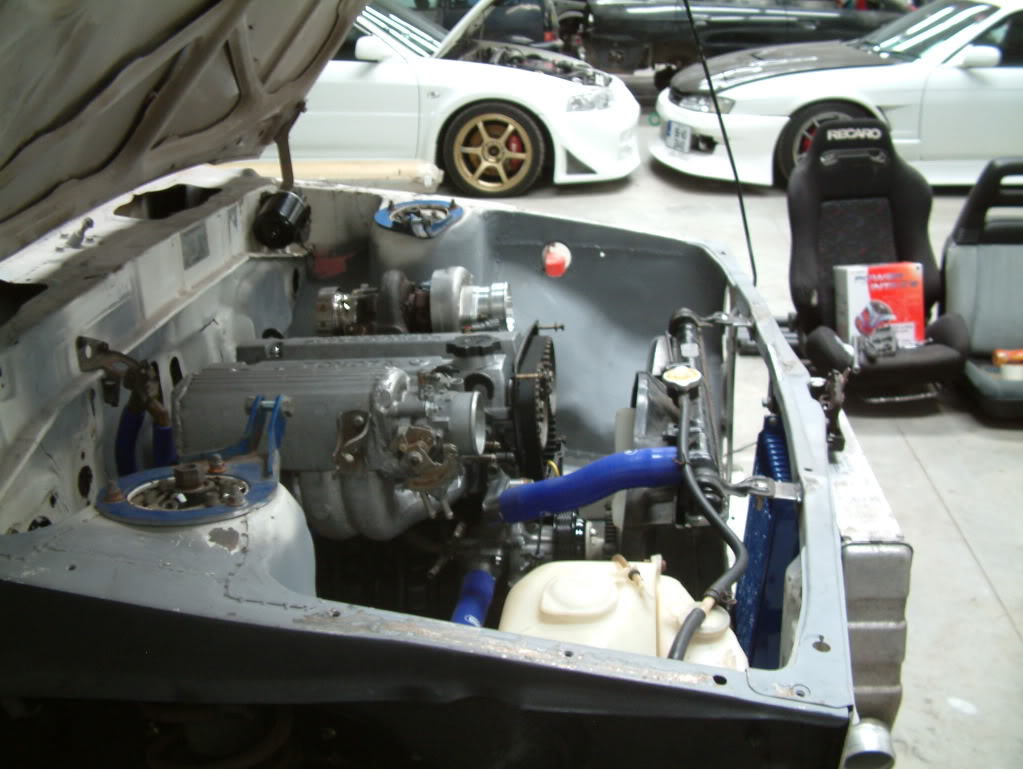
Engine almost done, waiting on adjustable cam pulleys and have to get a oil return pipe tig welded into the sump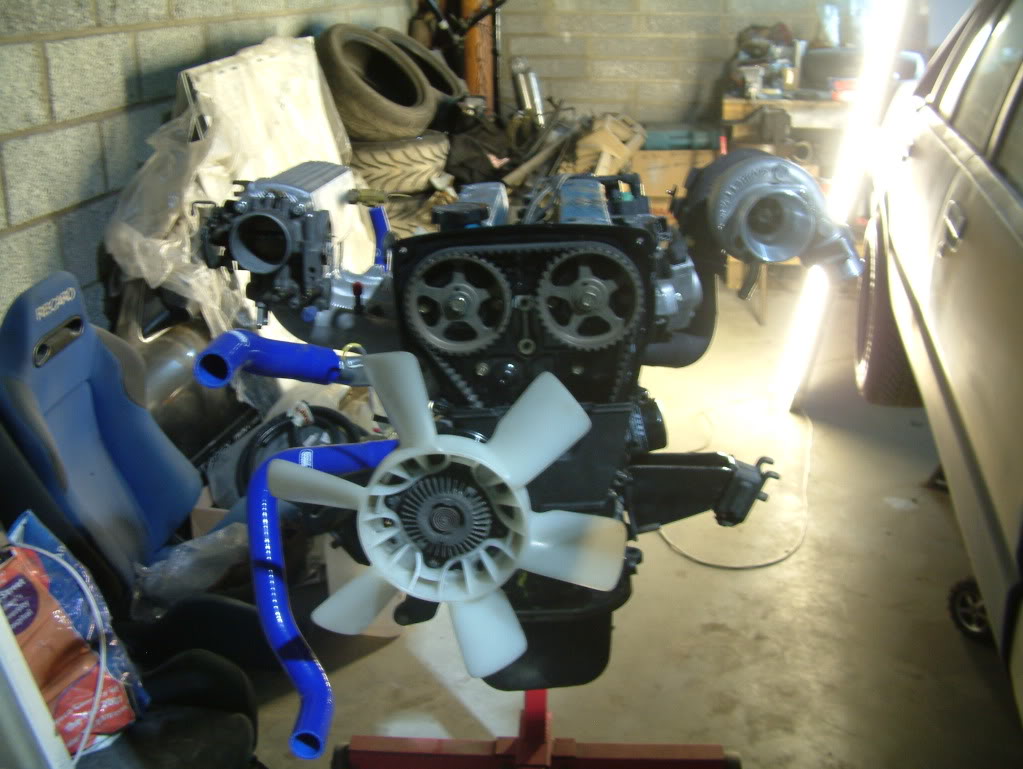
Hope the coils clear the bulkhead but will bash stuff till they do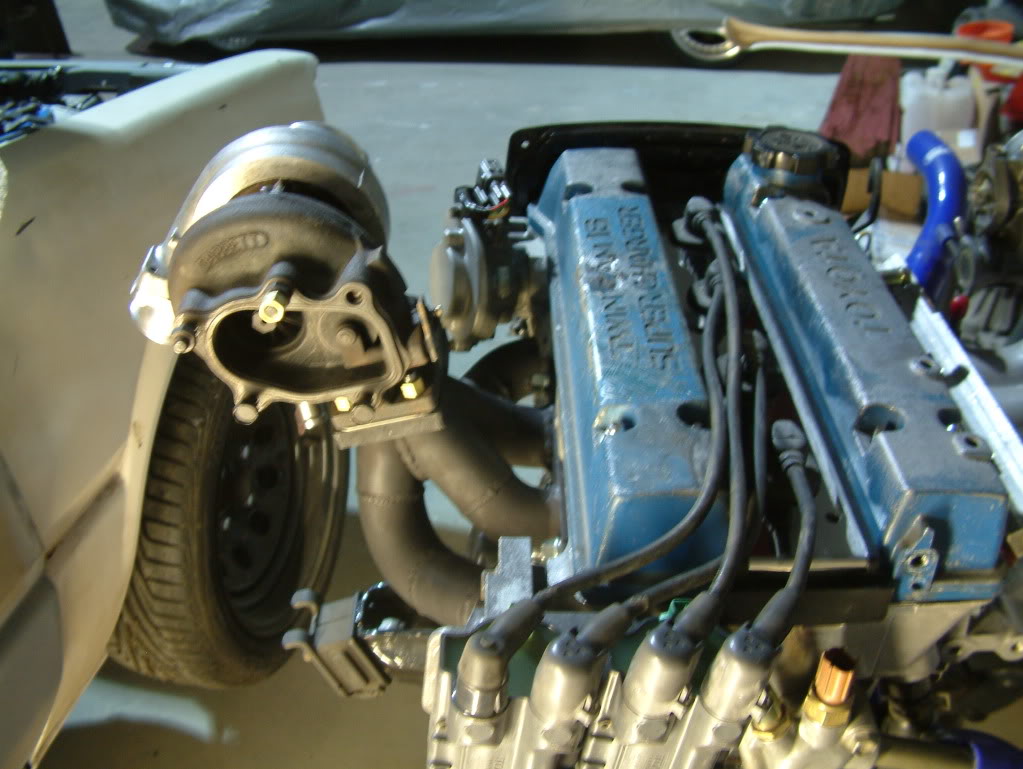
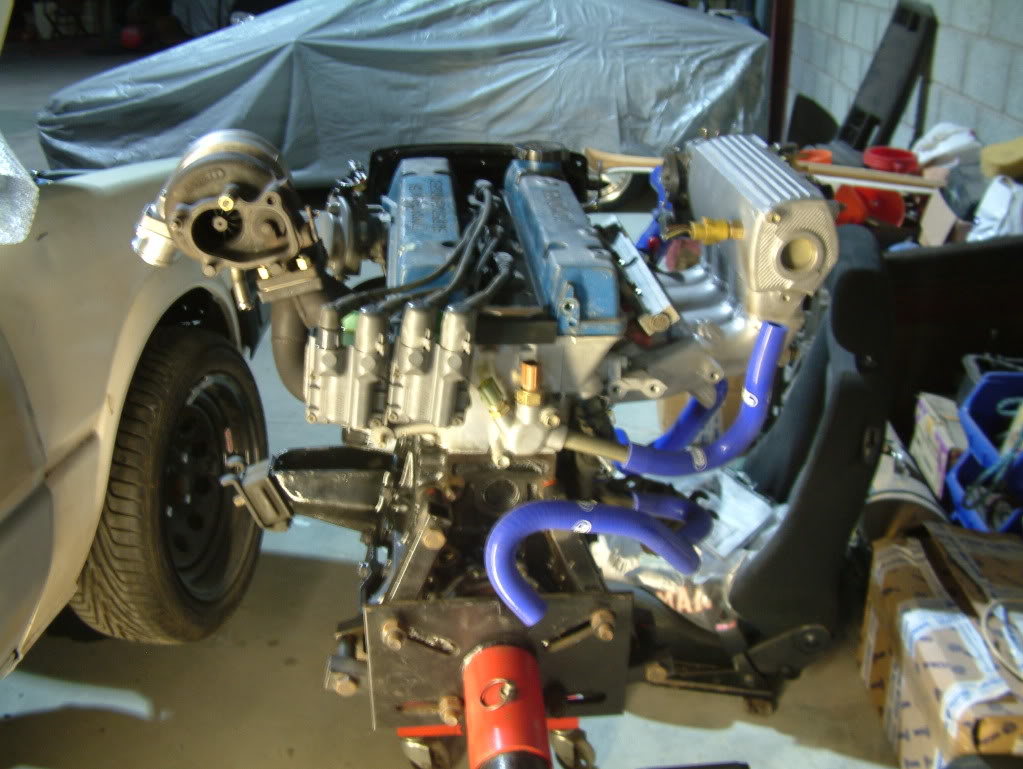
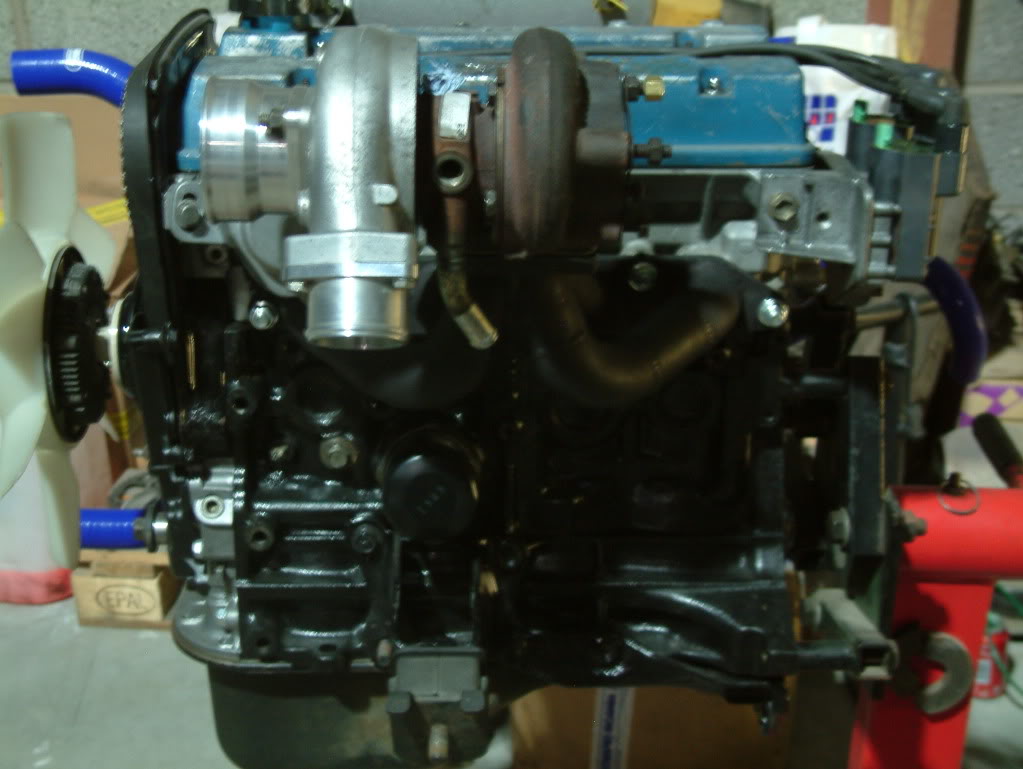
T25G turbo now sits in a better position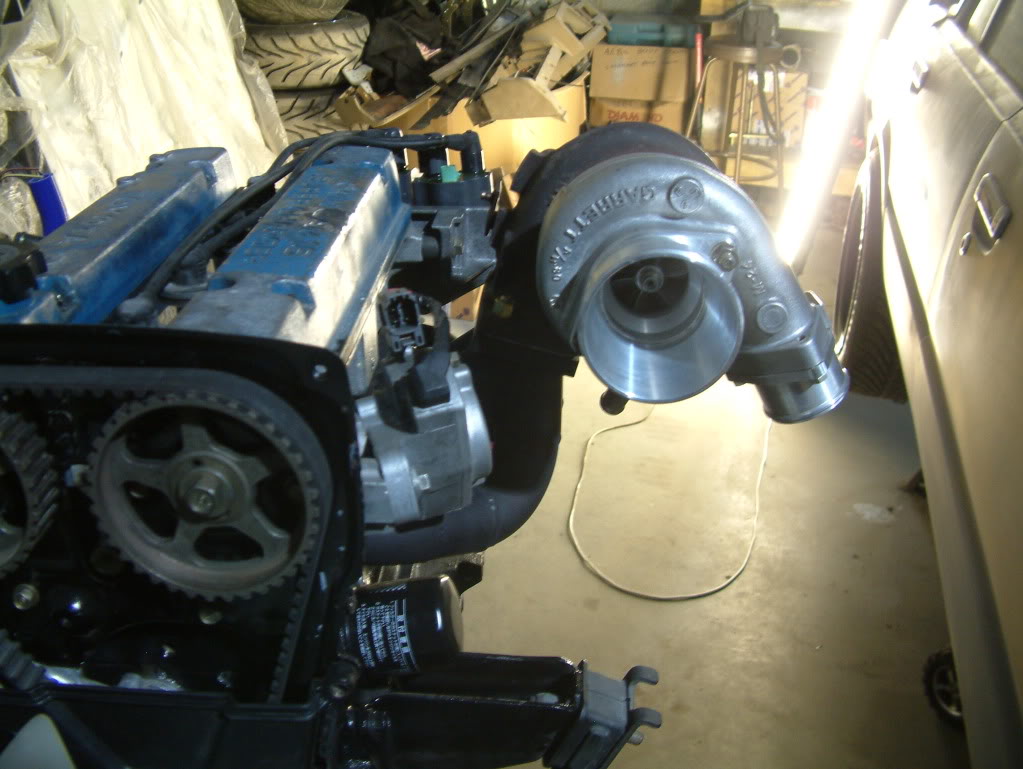
Plenty of blue silicone hose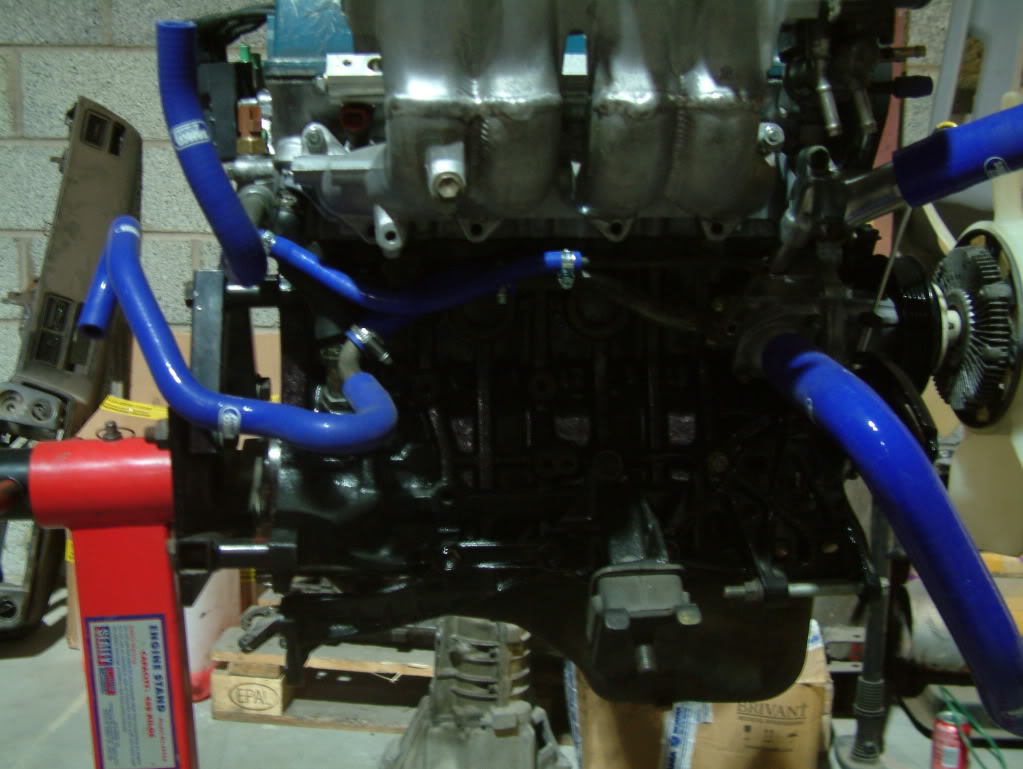
Happy with the turbo position now. Not sure if I'll keep the big awkward washer/overflow bottles or relocate the washer into the car and run an alloy coolant breather tank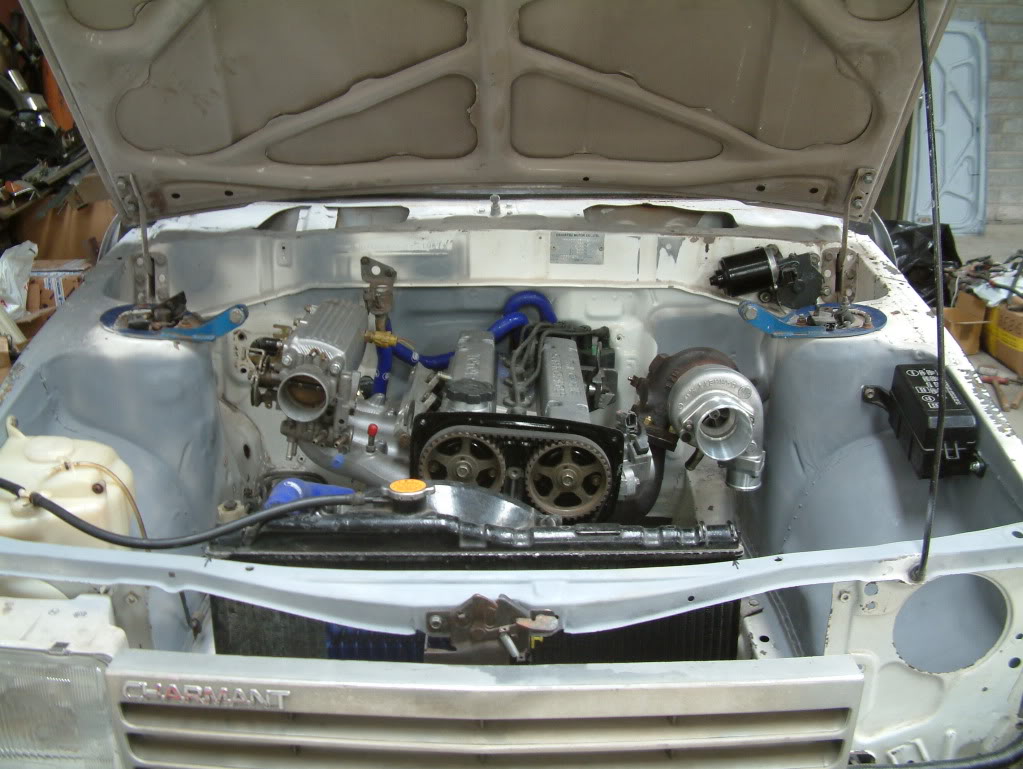
Oh and the relay box is wired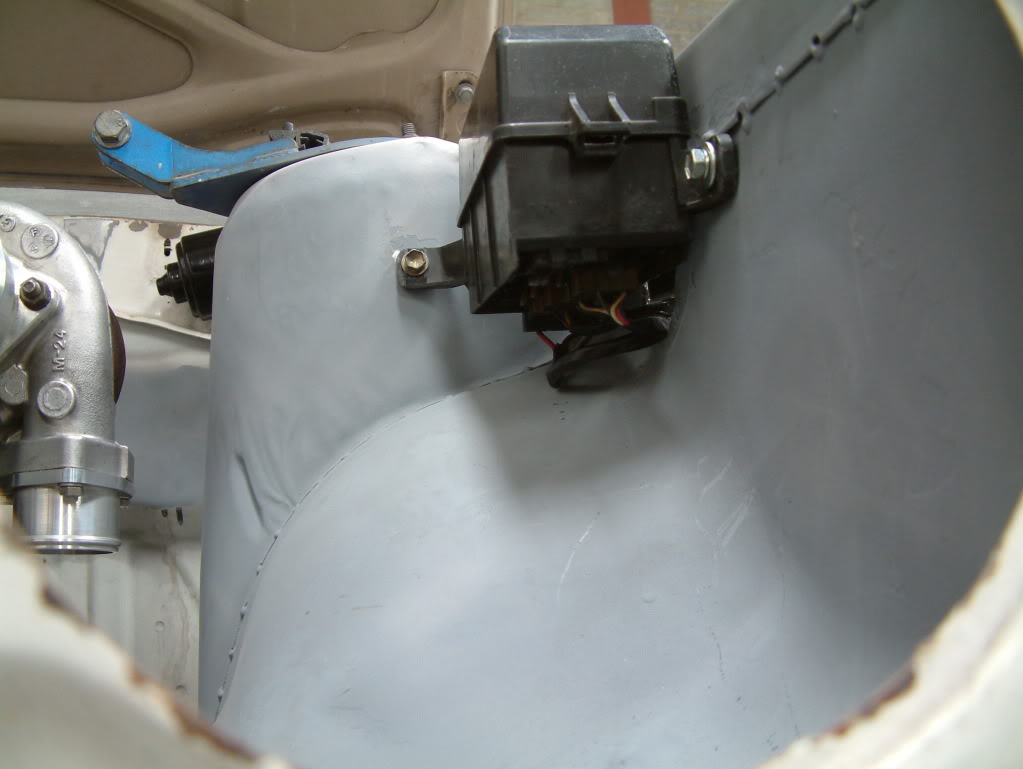
3 coolers are now mounted and waiting on a few reducers to complete the intercooler piping. Also got a Godspeed T25 to 3" V band turbo outlet and waiting on some 3" mandrel bends.
Toying with the idea of a brake pipe tuck as a joke. :p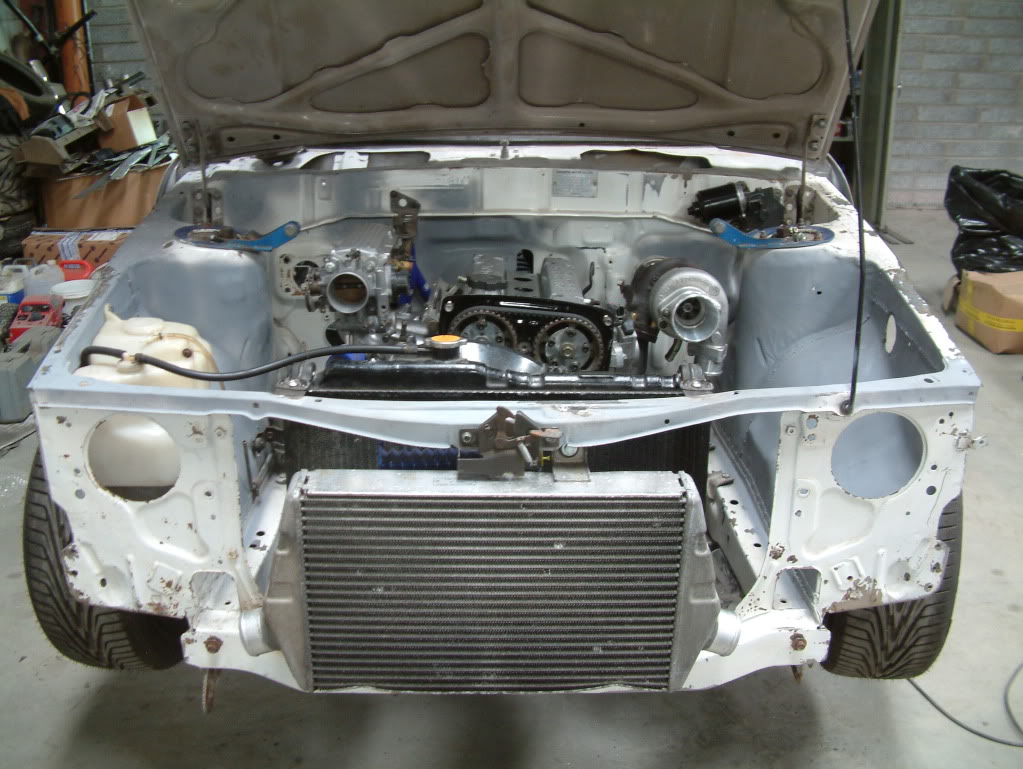
Jackie and Dayo started at her today.
Jackie spent ages dent pulling the LH 1/4 and got it in filler and straightened out the back panel also. Started flaring the arches also.
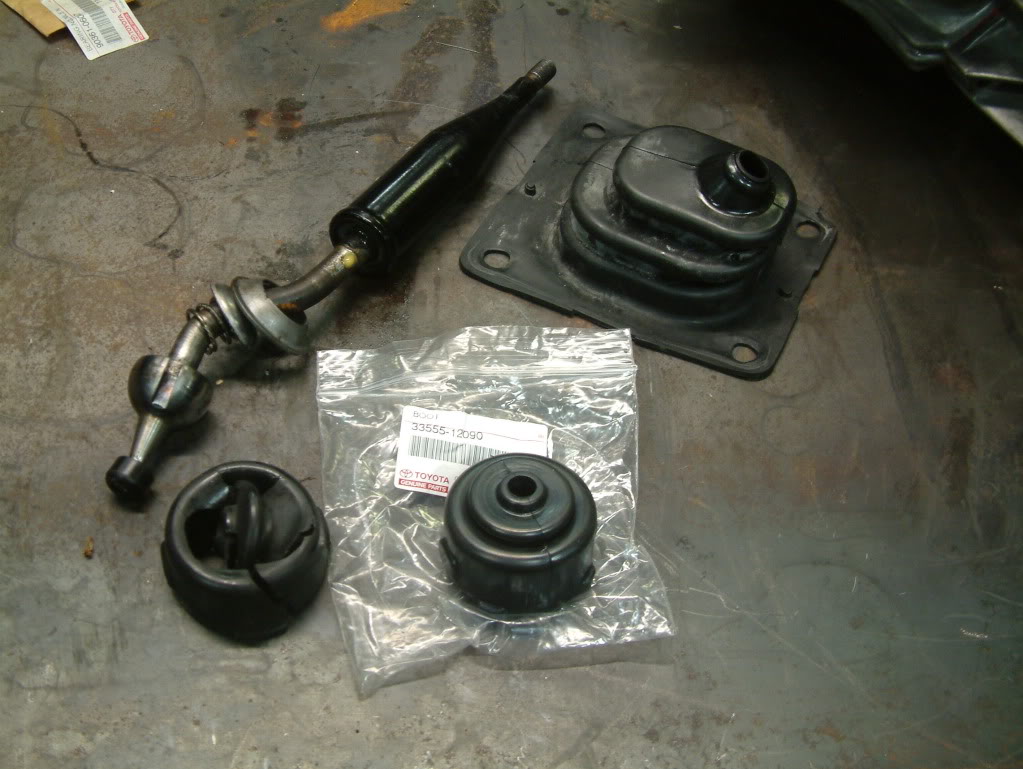
Not a whole lot of news yet, but rebuilt the gearbox with new baulk rings and rebuilt the shifter with a T3 bush kit and a new Toyota boot.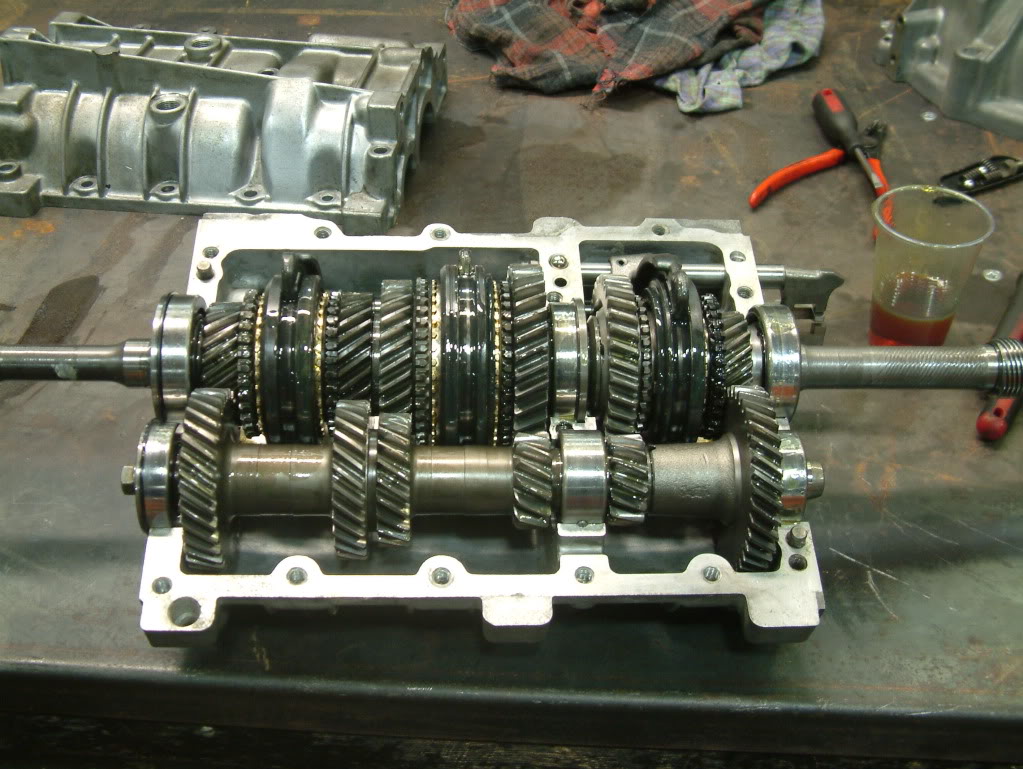
Anyway collected more stuff for this, got an Odyssey dry cell battery and fake carbon box for it, a 1.2L windscreen washer bottle to fit inside the car, a nice small 0.8L alloy catch can and some gold head reflector foil to protect against the down pipe.
Also last few bits to be primed are ready to go:
Last bit of gold to be covered over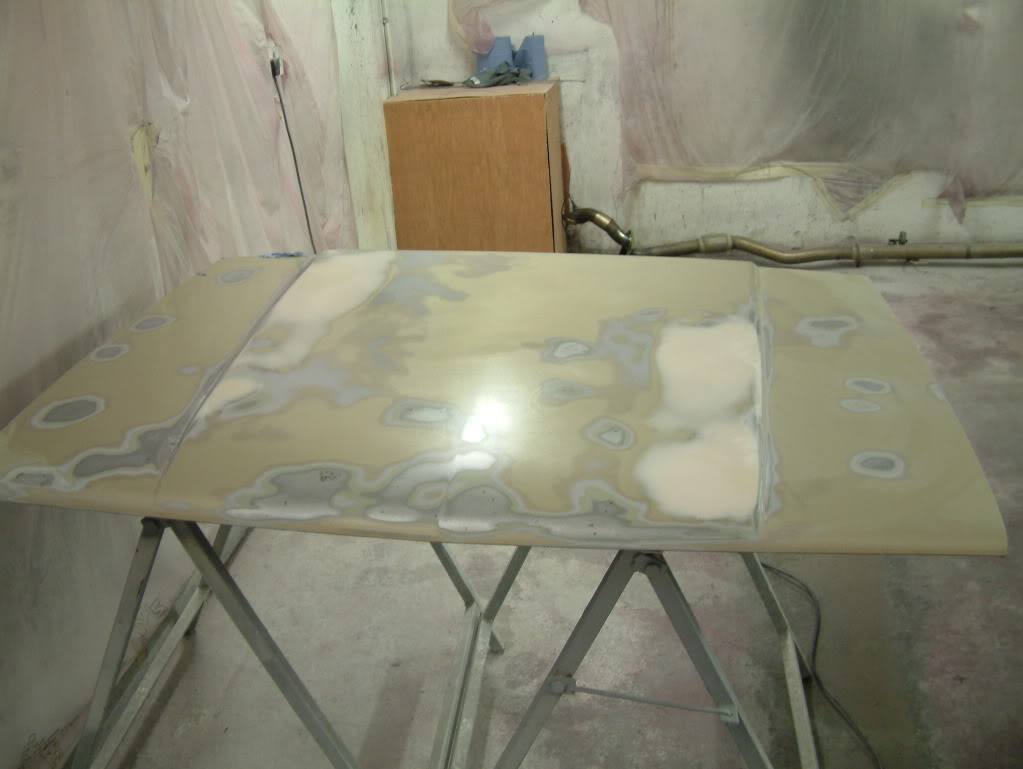
went back to the steel bootlid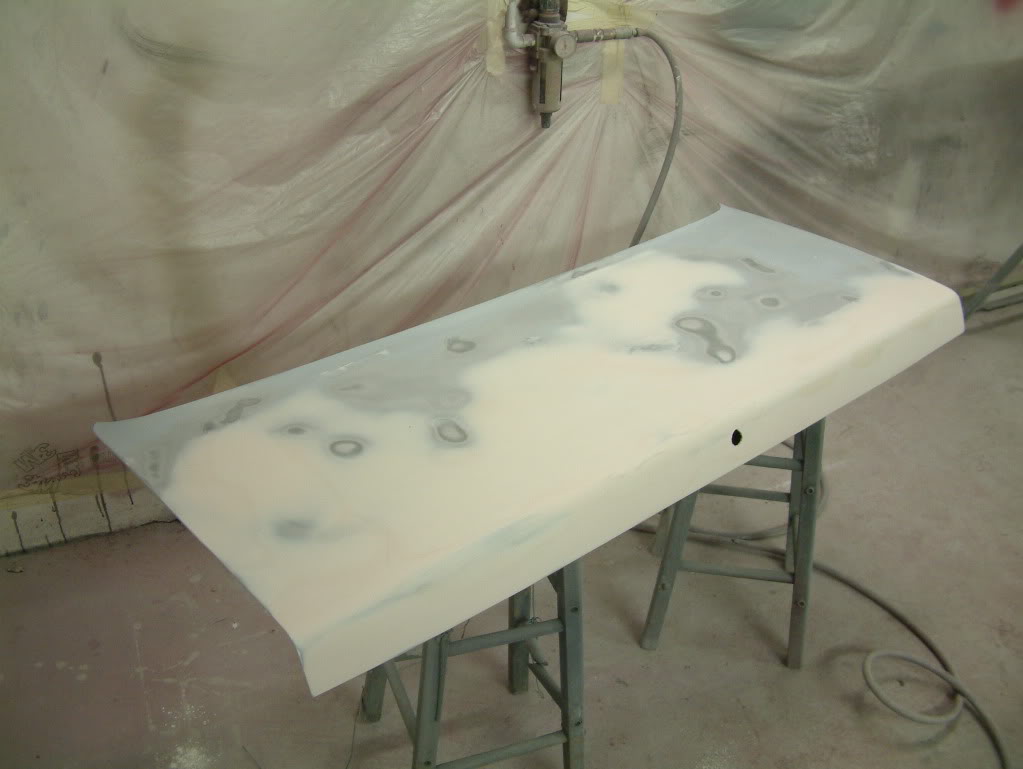
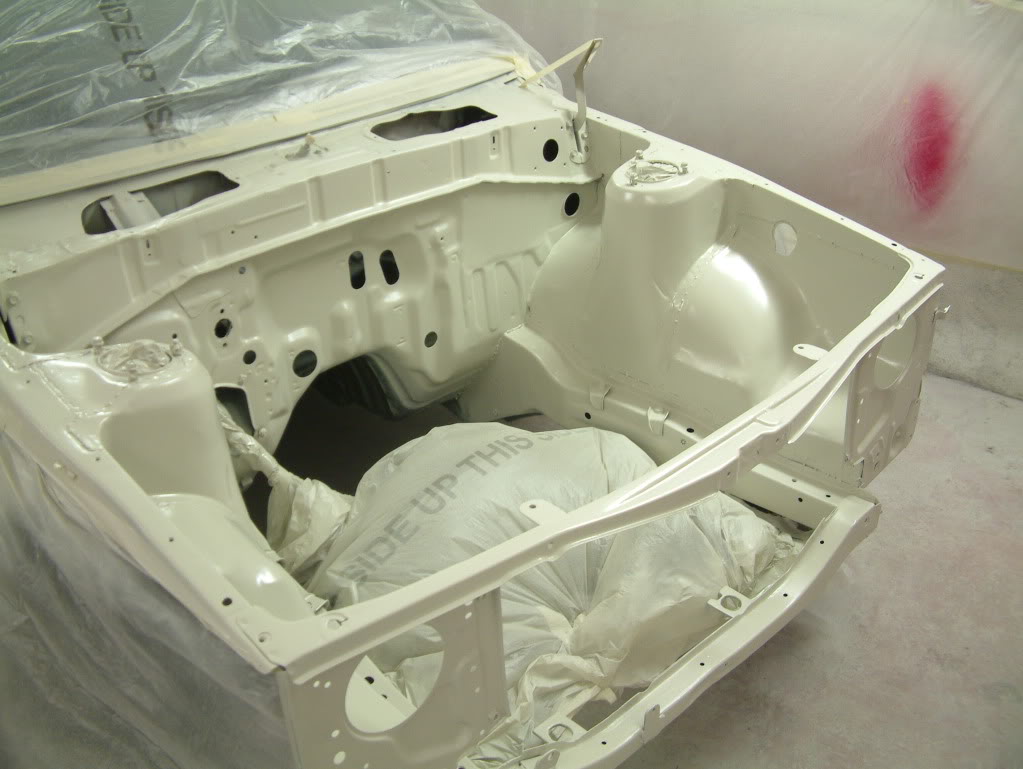
engine bay ready for primer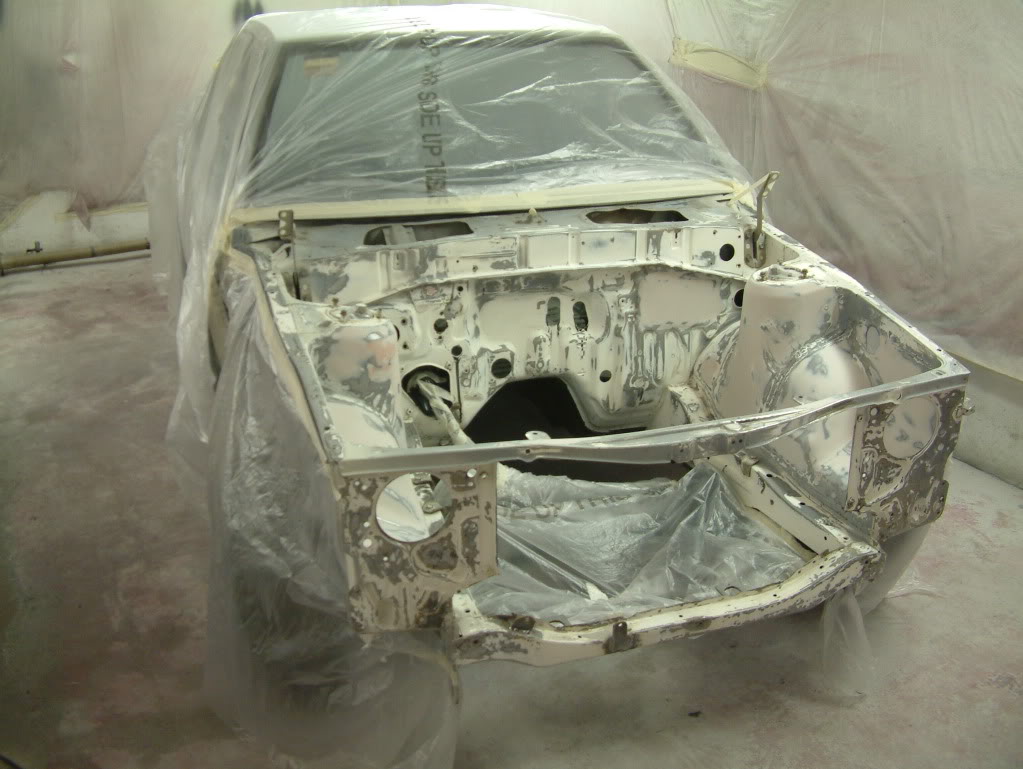
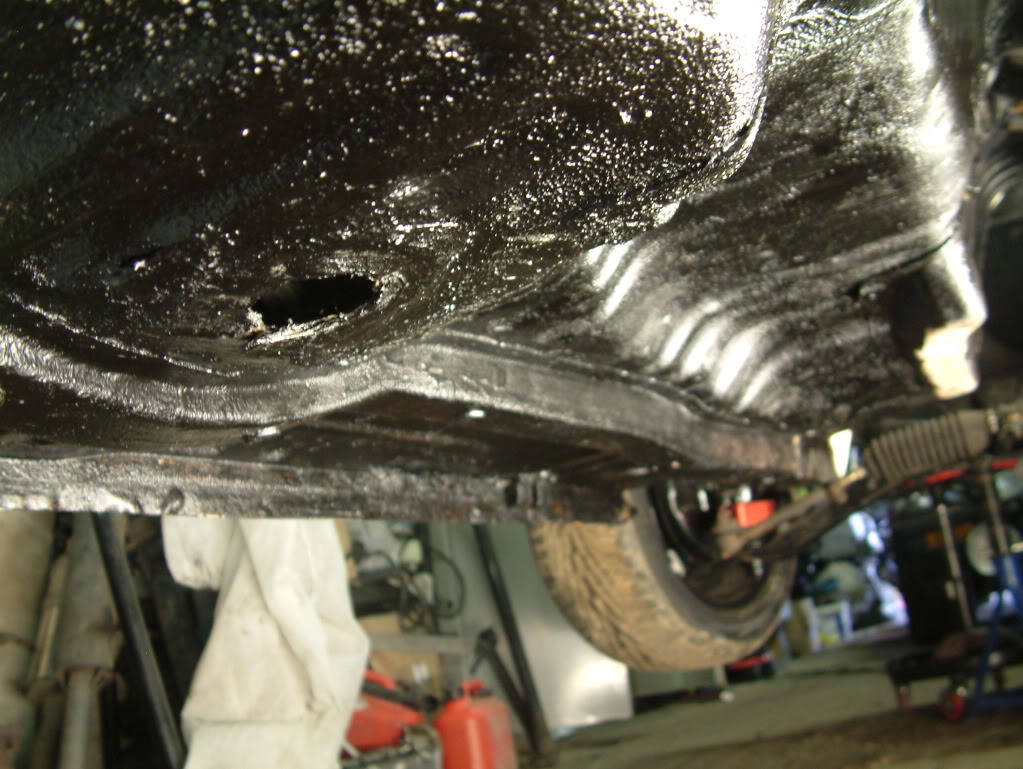
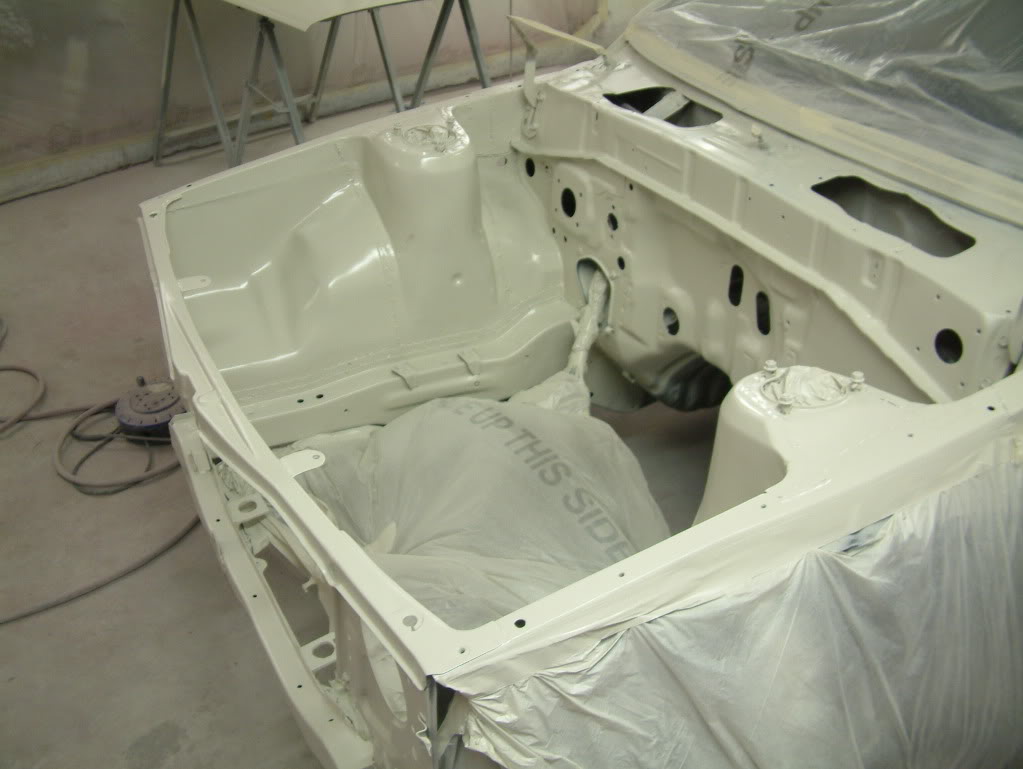
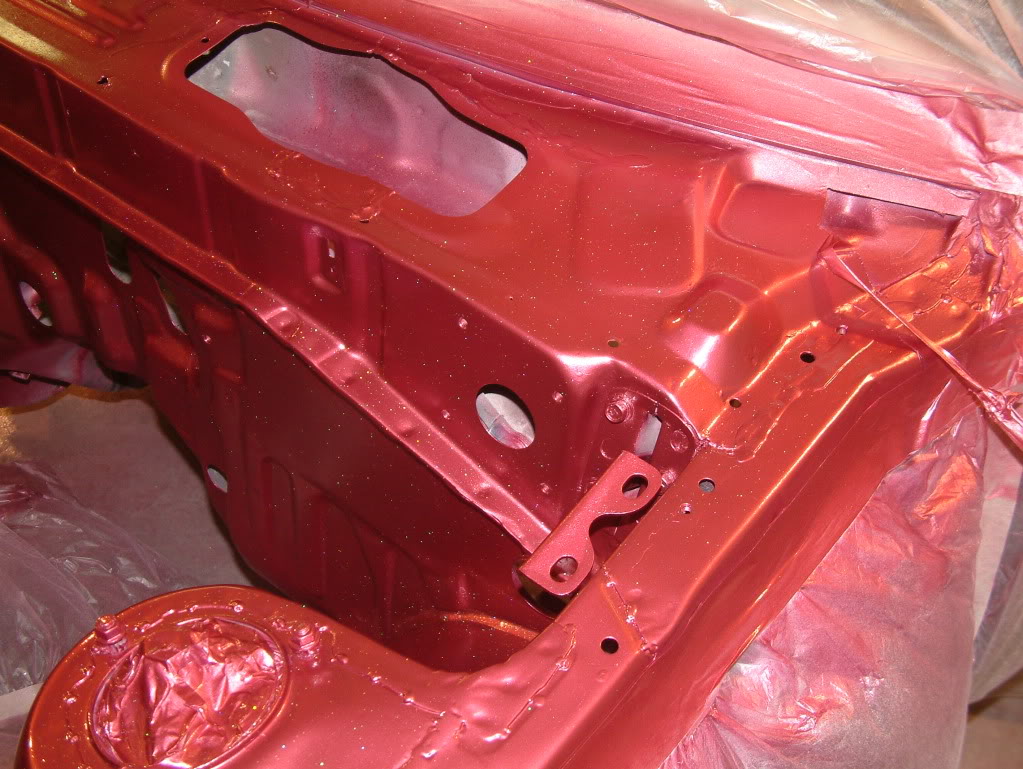
note the flushed A/C evaporator area as the bulkhead has been shrank to be flush with the surrounding bulkhead, which is nice.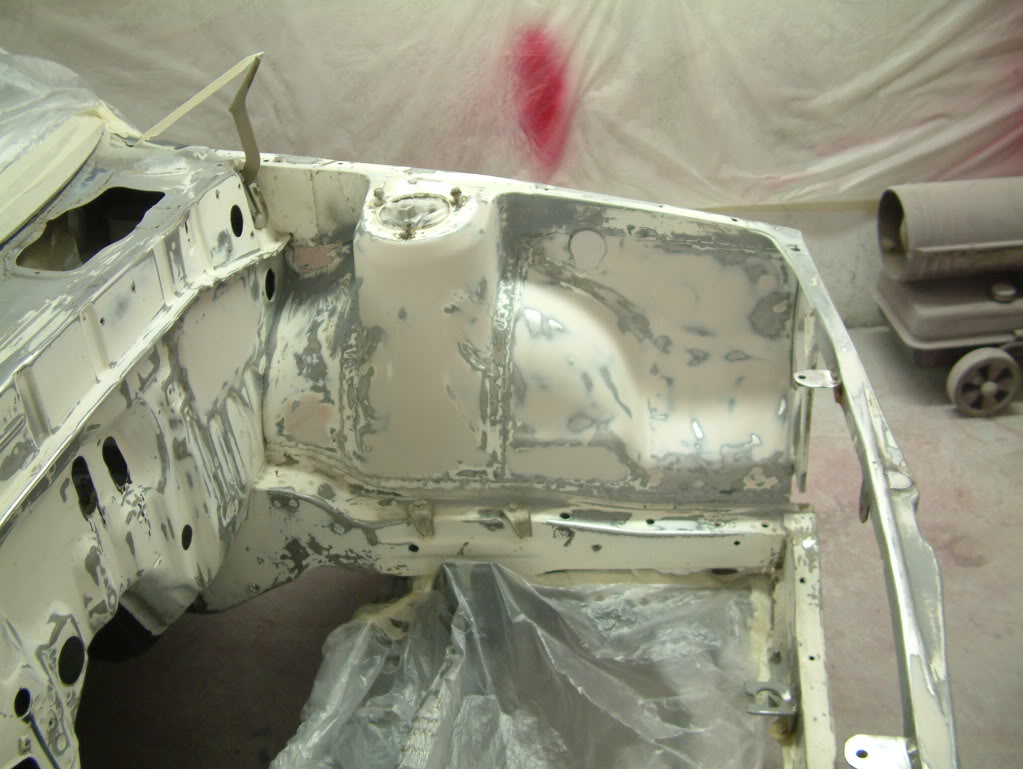
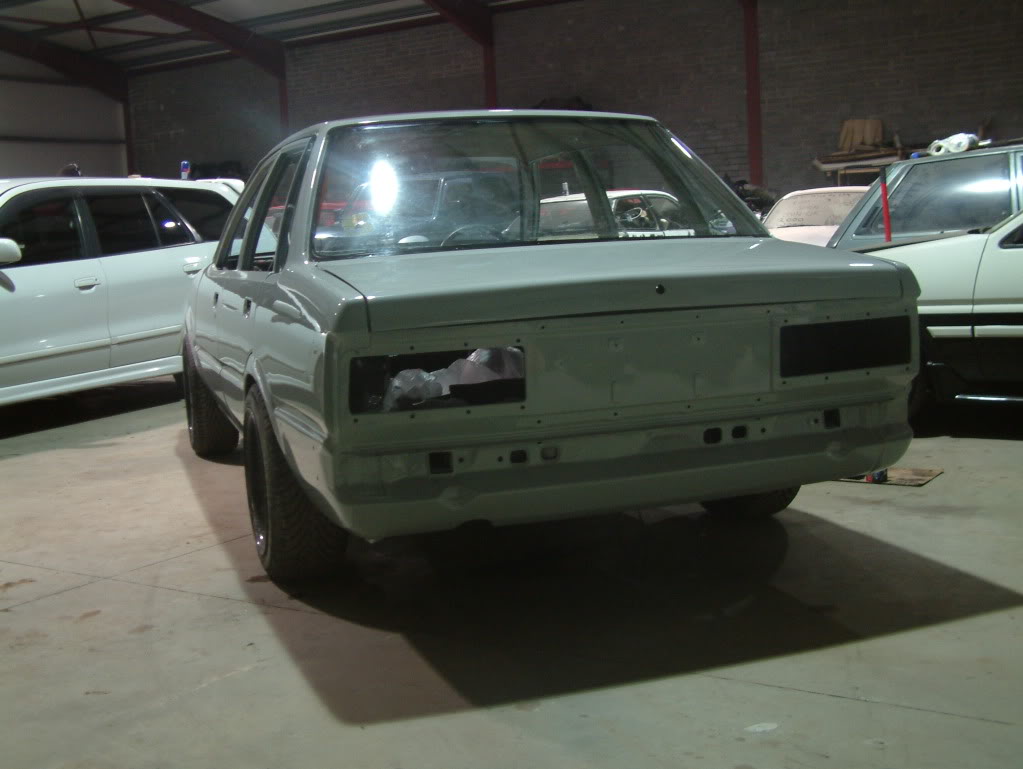
Only have new corner lamps the rest are old and crud.
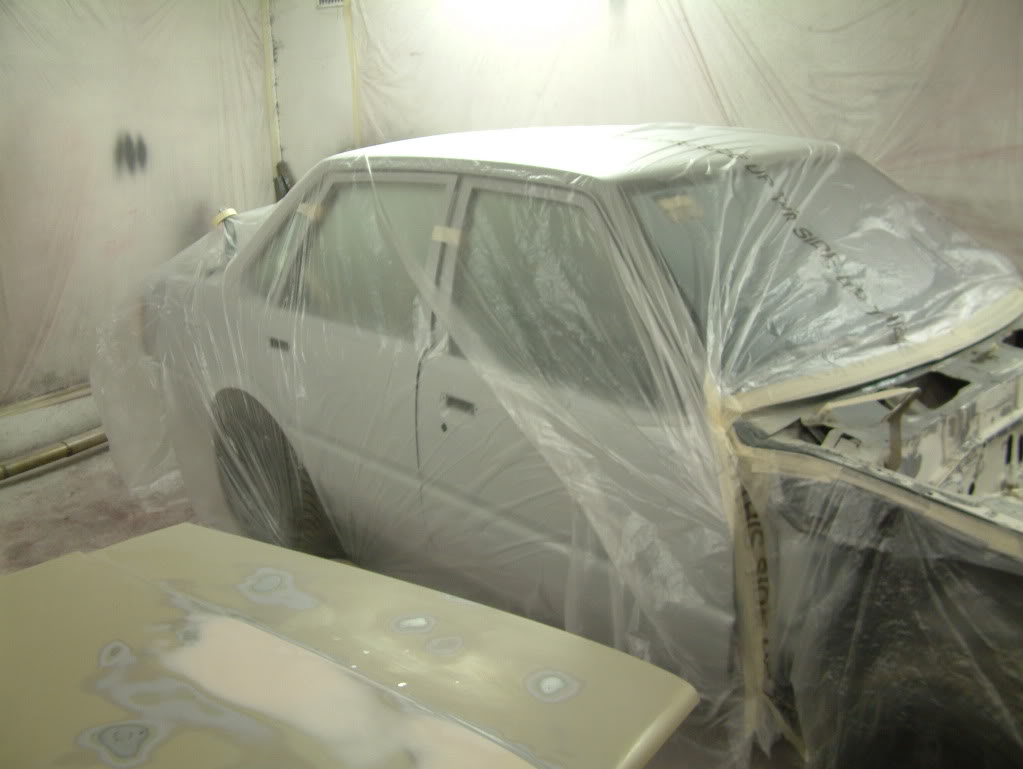
Dayo was instructed that the only body area finish I care about is the engine bay so now it's primed he said he will leave it a while to sink.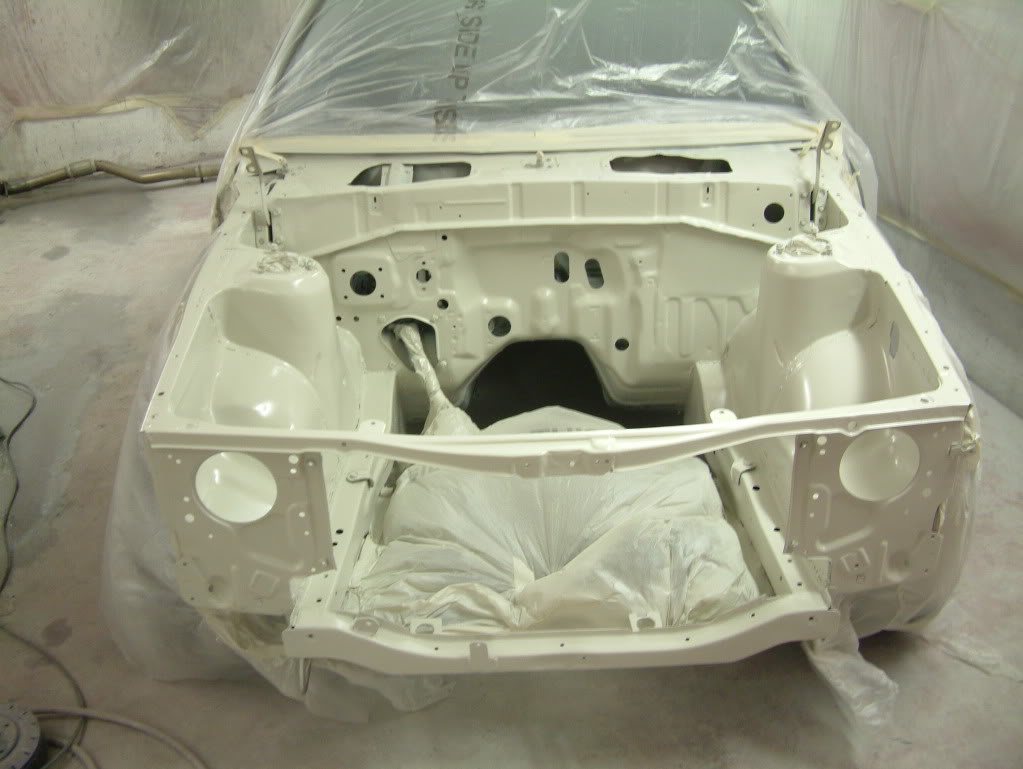
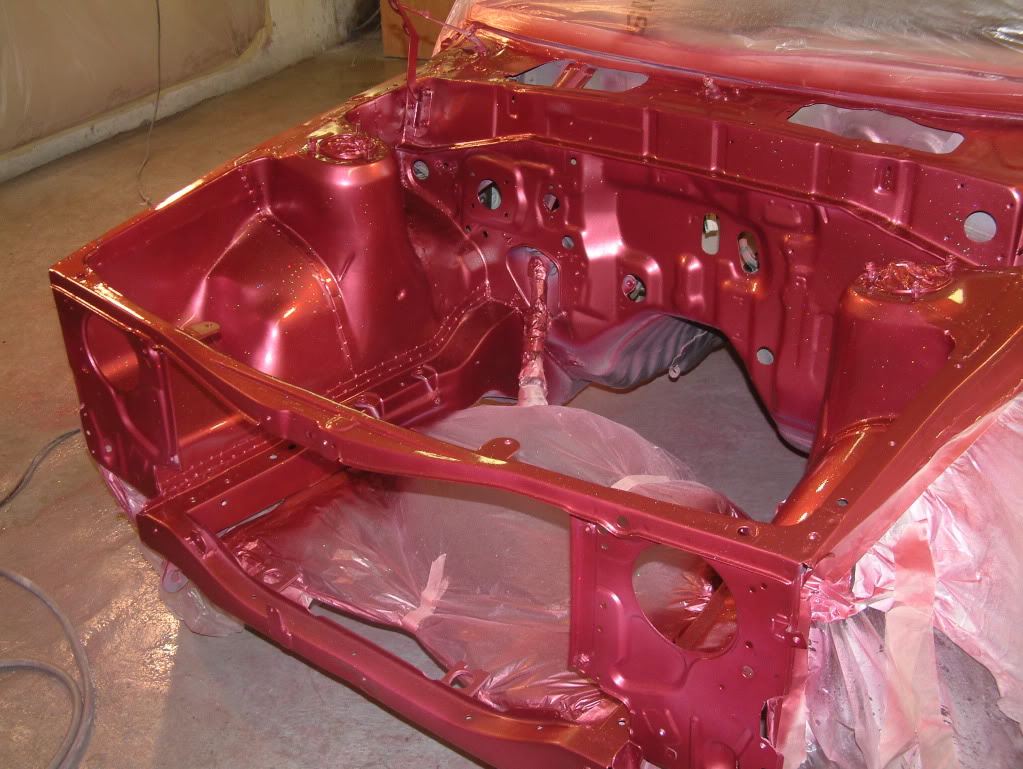
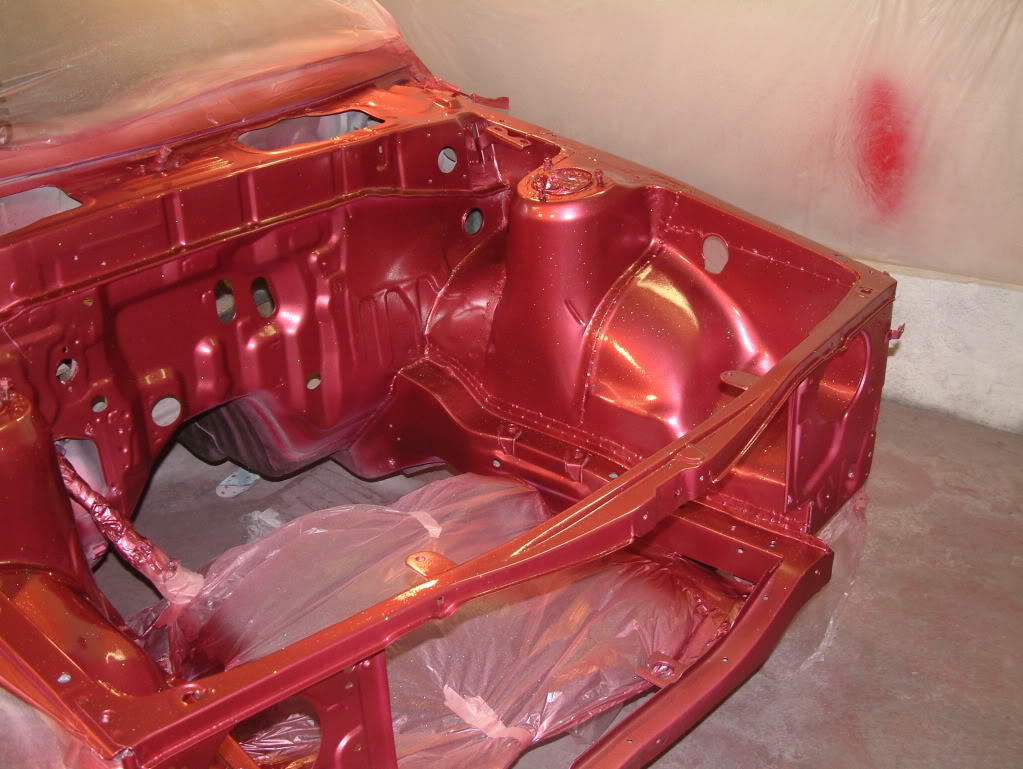
5 base coats, 3 coats of lacquer with holographic glitter and 3 clear coats results in this: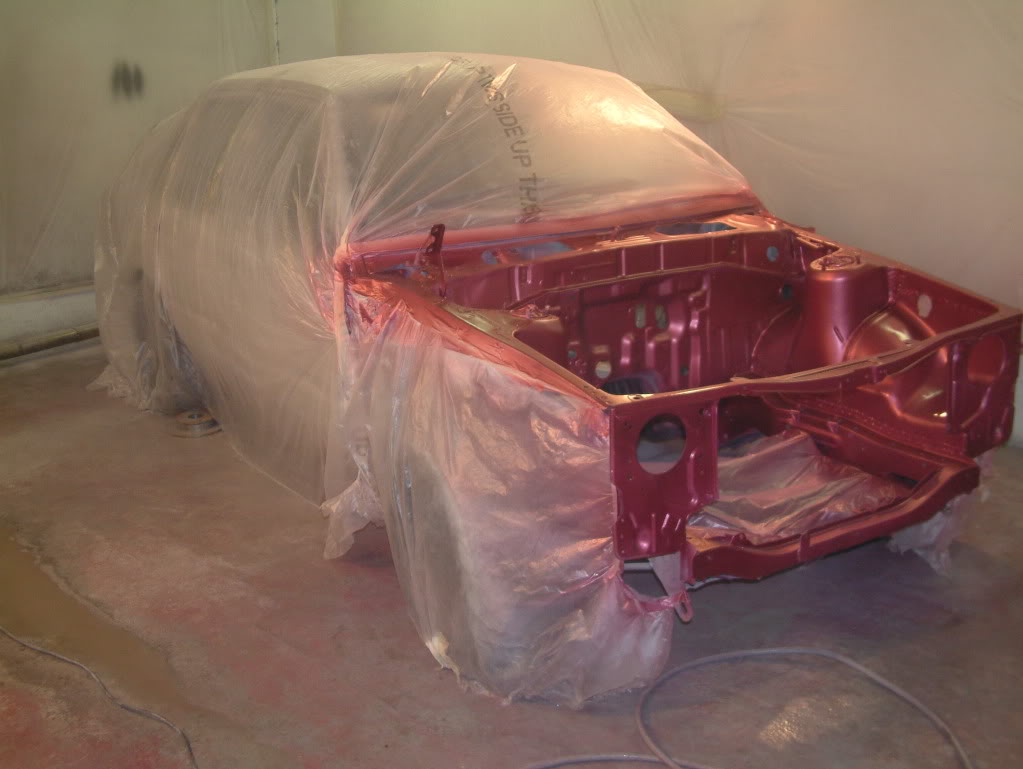
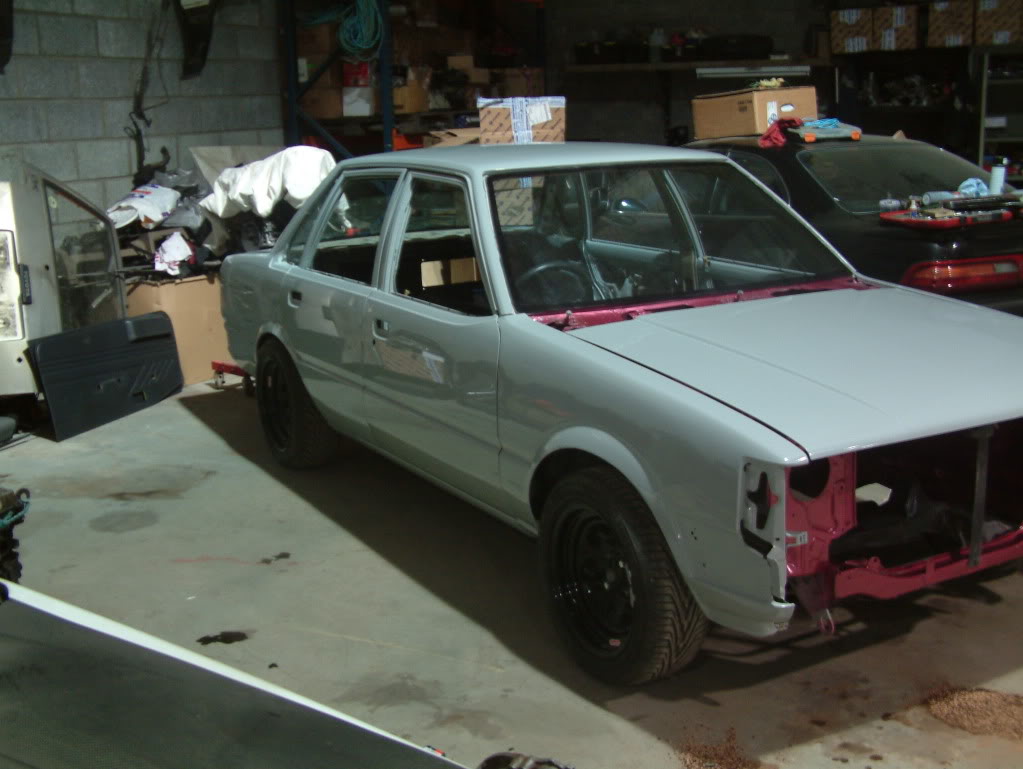
Got her back tonight so the final build can begin now
Painted in 2 pack it's a Fiat colour from maybe 1856.
I don't have to flock the dash as I got a decent colour dash from Cloko.
Had to repaint everything (crossmember etc.) and have fitted a few bits so far. It's getting busy already in the engine bay :thumpsdown:
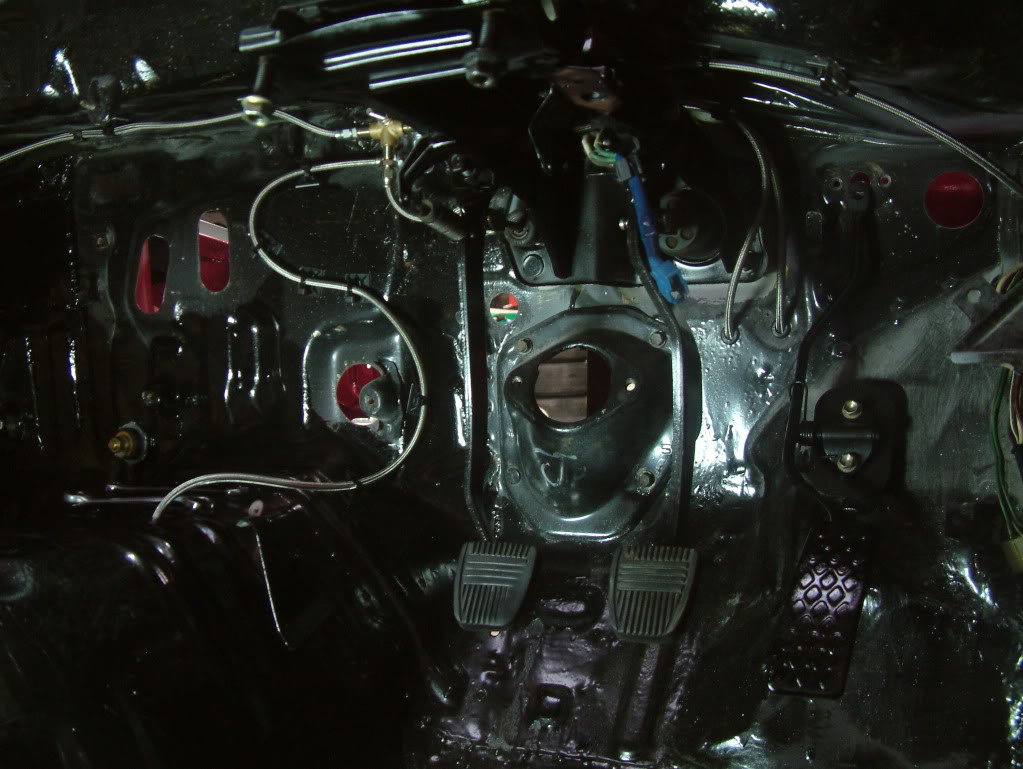
You can see the braided brake hoses heading off in through the bulkhead where I'll mount a T piece to split the fronts and rear bias valve before reconnecting back to the hard line for the rear brakes. No hydraulic handbrake for now. Fitted a small oil catch can behind the R/H headlight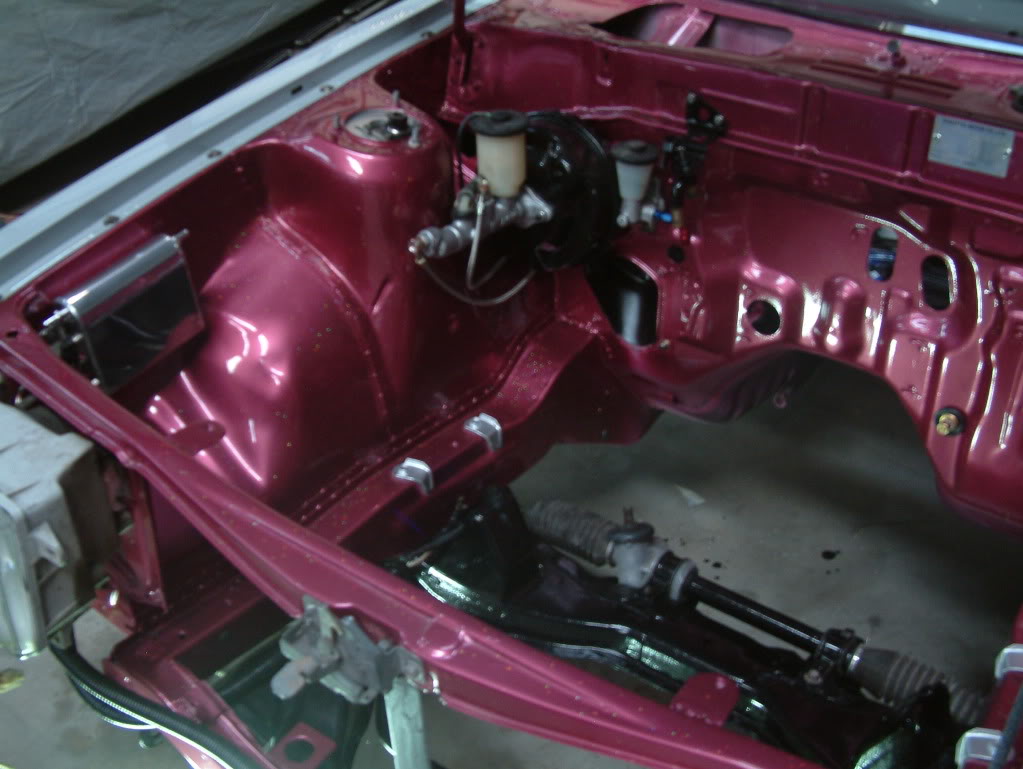
W58 with adaptor bellhousing, also came with 212mm Illegal Garage clutch disc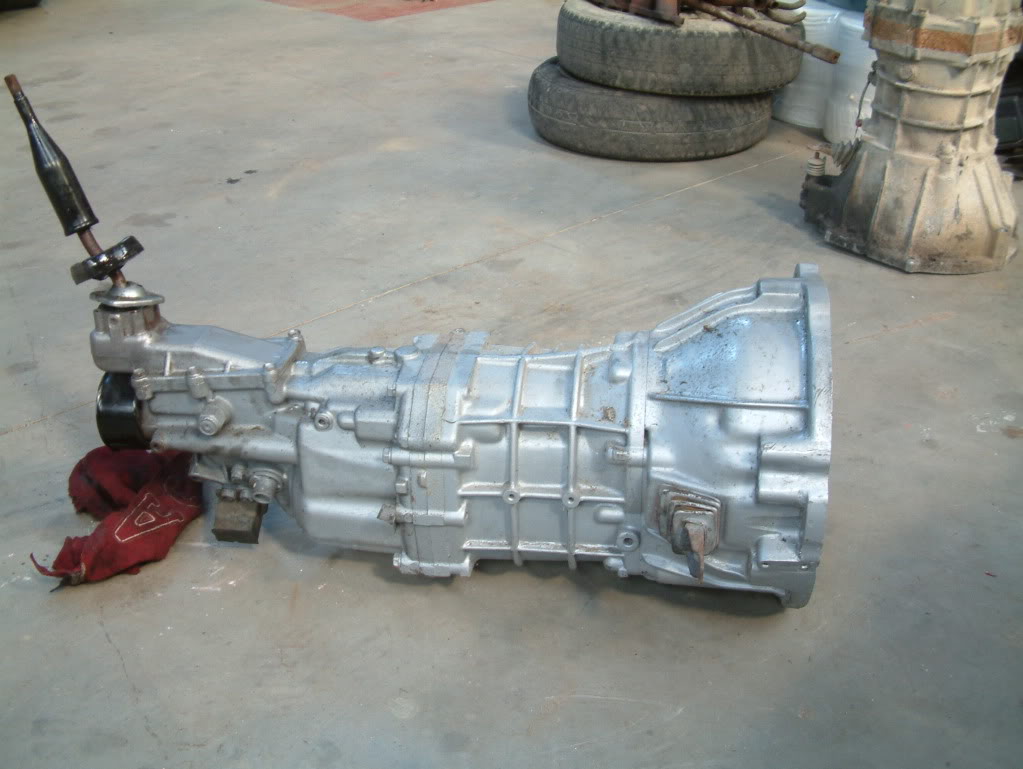
Got the brake hoses sorted, just have to P clip up the hoses in the front.
Mounted a Jap rear bias valve and a T piece up behind the heater box and ran the hoses out through the wiring loom grommets. Sent the rear hose down through the tunnel and connected back to the hard line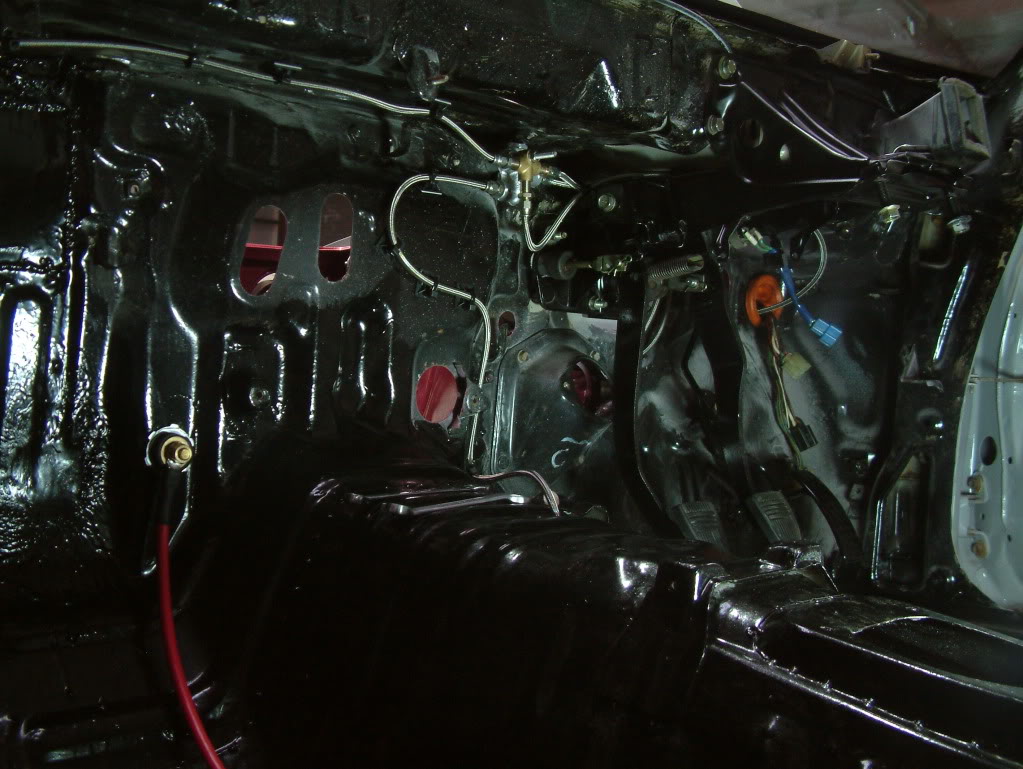
Finished my dry cell battery fitting today, Nutserts are great yokes. 200 amp trip switch fitted along side the battery.
Edit I'll probably have to redo the battery mounting to something more secure.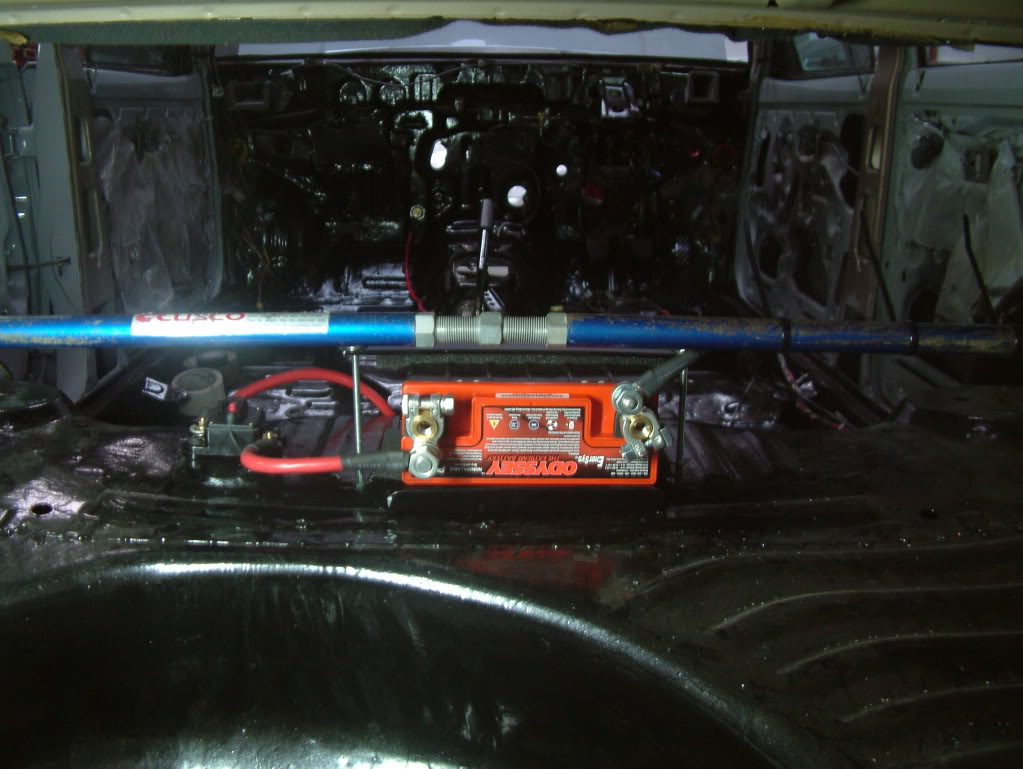
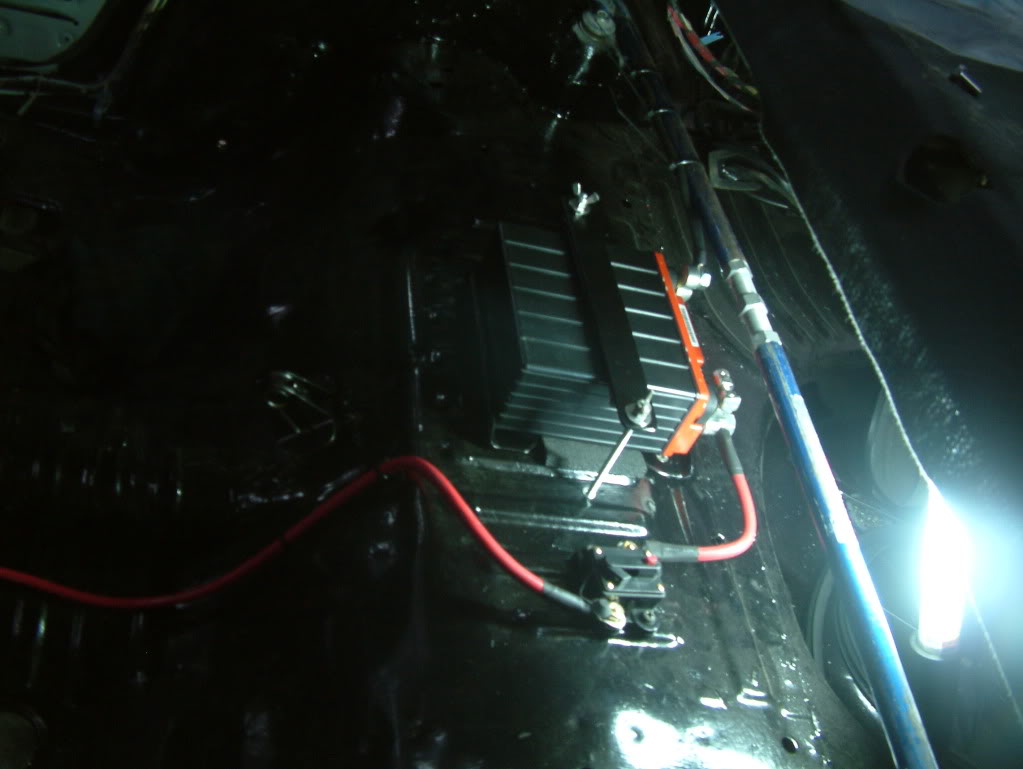
Fitted the gold heat reflective stuff which is a pain to fit. It is like window tint and only like flat surfaces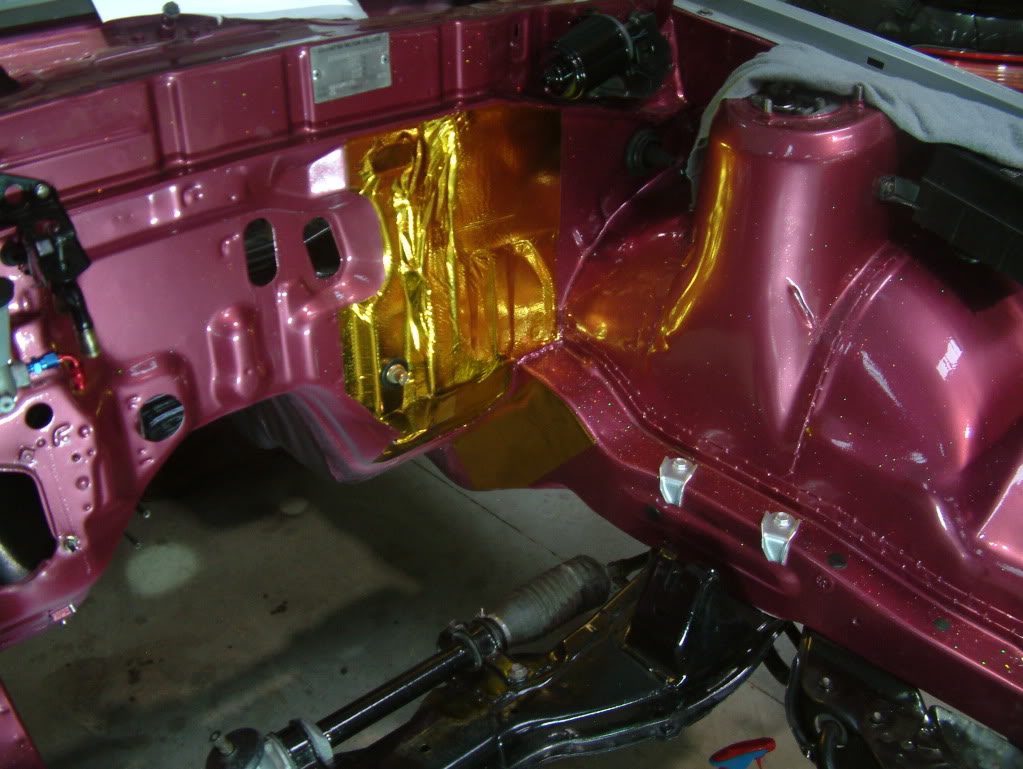
Nice shiny Toda pulleys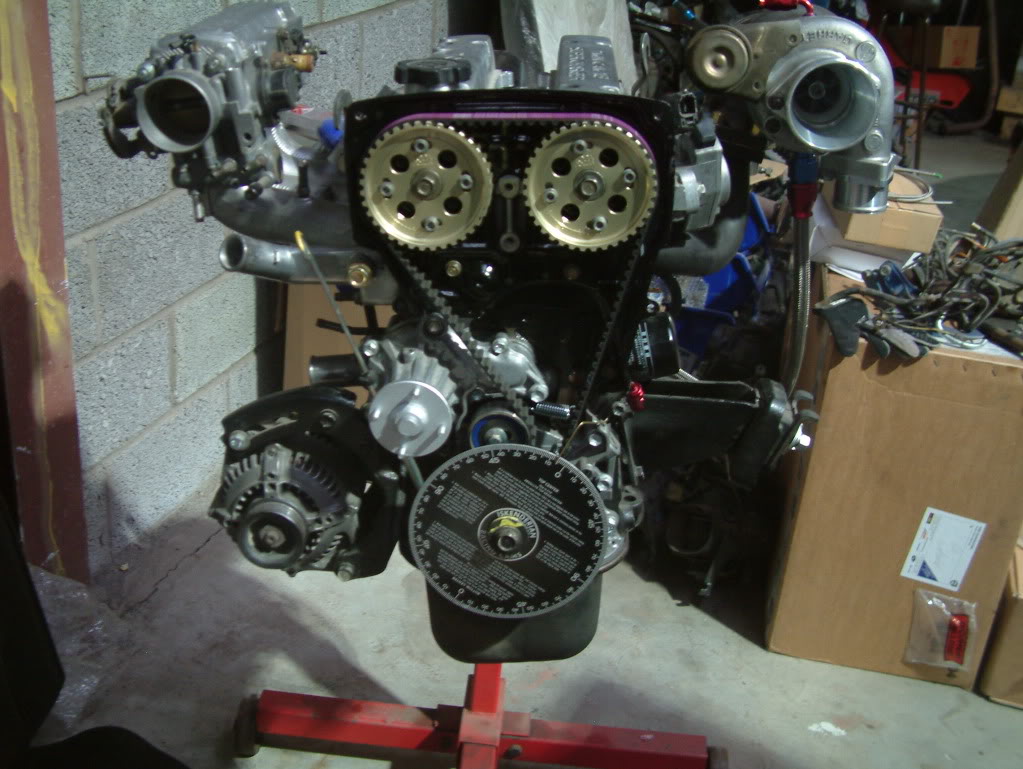
Sealed up the engine a couple of weeks ago and fitted it along with a T50 for now(W58 sitting there patiently)
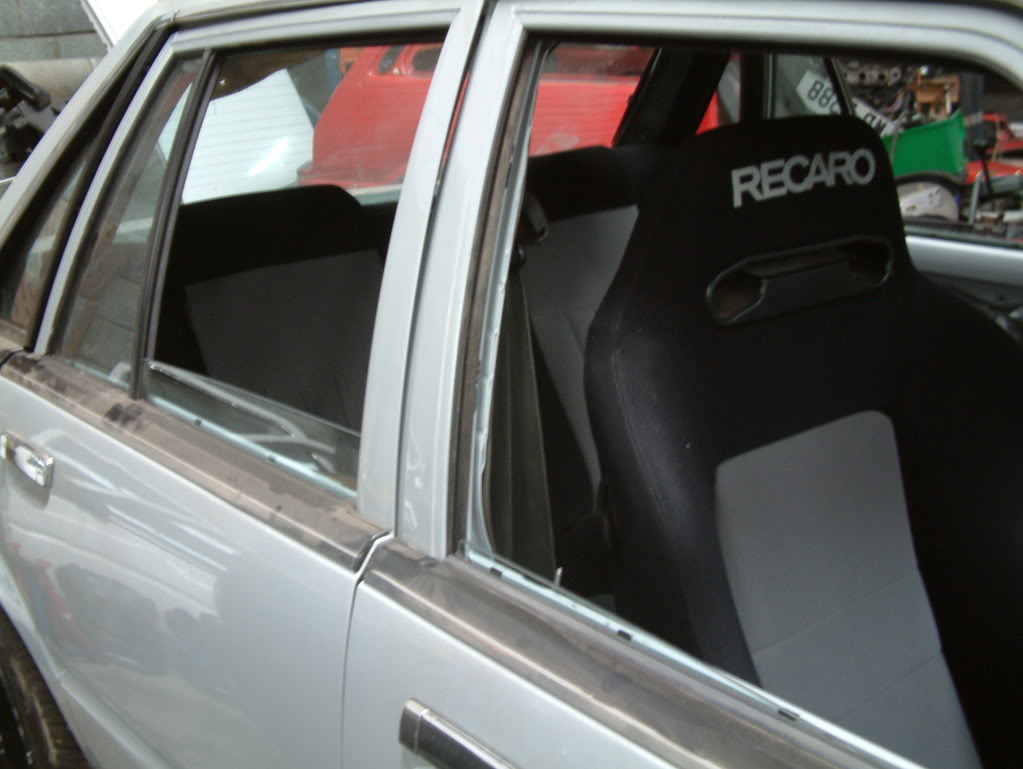
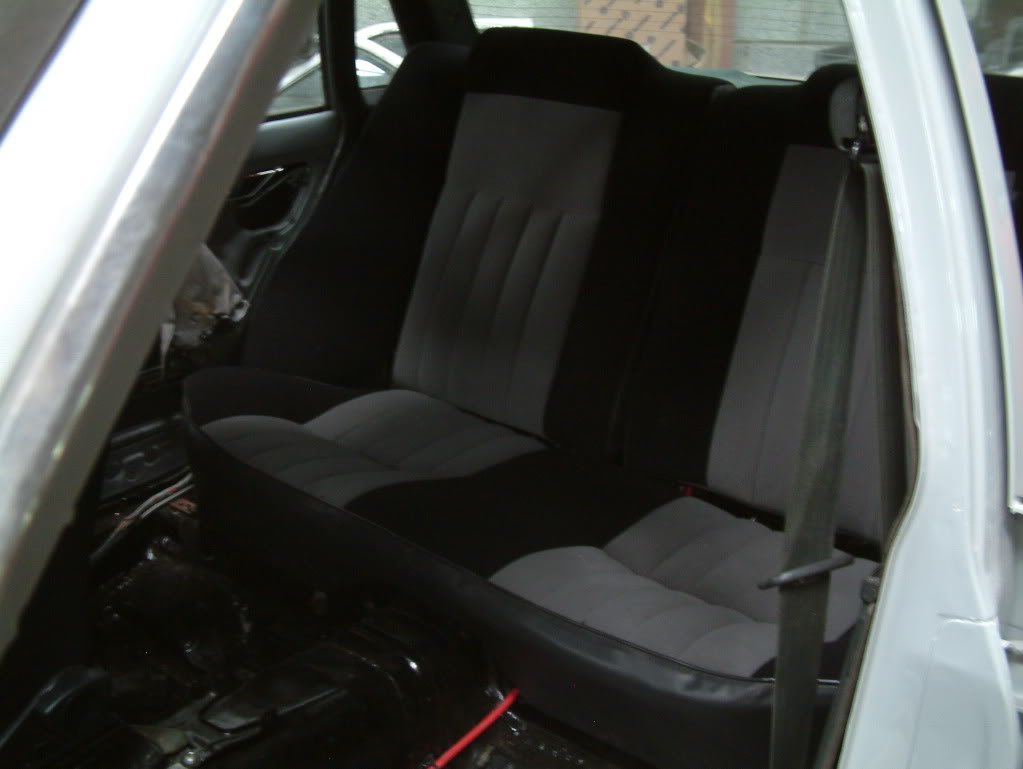
I know way back I said 2 seats and not much else but then Cloko had a decent interior for sale so I bought it, Then I got 2 black and grey Recaros and some bright spark said I should get the rear seats reupholstered to match. Also kicked a rear bumper off a scrap Charmer. Mostly wiring left to do as I removed a lot of unnecessary underdash wiring from the loom and finish the engine loom.
Getting it ready to get a full stainless exhaust made from turbo to tailpipe. I'm thinking an oval rear box something like the HKS Legal on my Trueno.
Oh yeah bolt in sump baffle fitted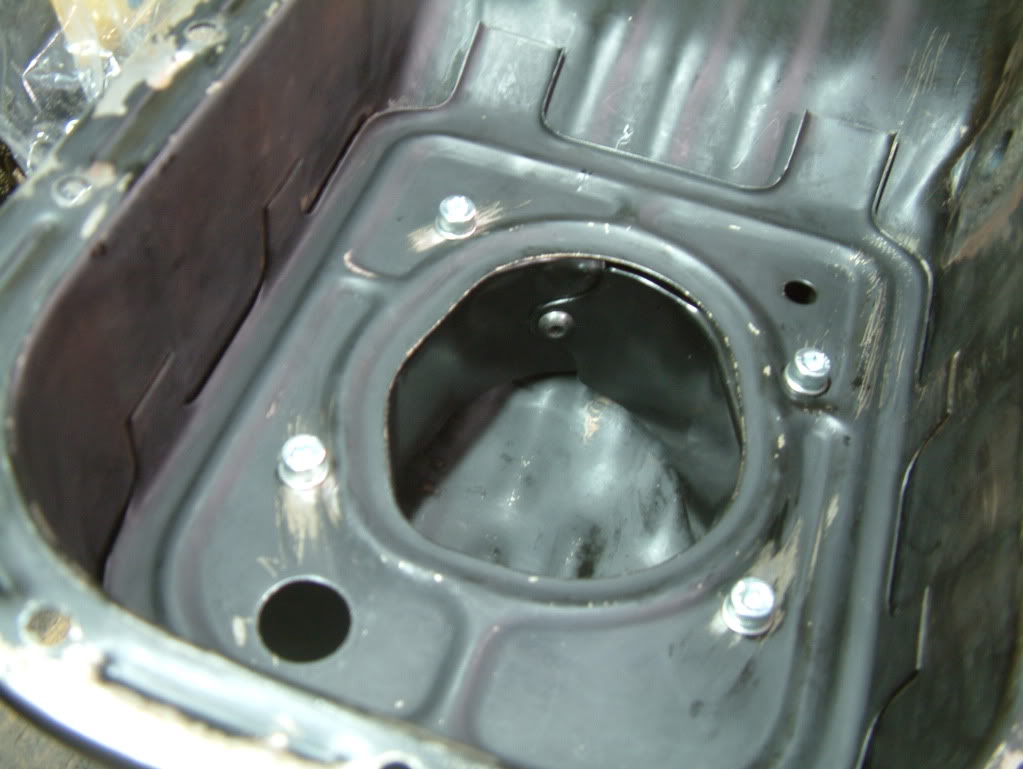
I wasn't happy with the front 7" -12 wheels so I bought a pair of 8" 0 offset and wrapped them in Advan AD08 Neova tyres now I can get the cool Advan sticker for my wings like all those Hondas. Also wasn't happy with the AE86 front struts so I got another pair of Charmant struts, going to get them sand blasted and I guess I should convert them to coilovers also.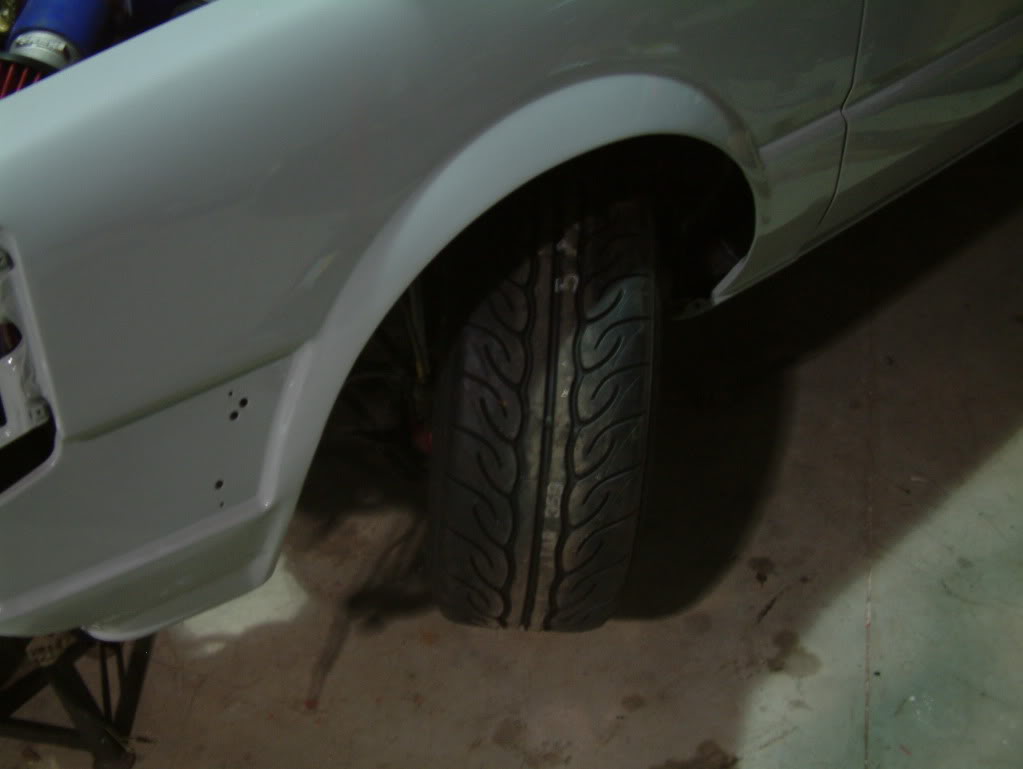
I'm trying to do something to this every day even if it's only 1 small job it's something off the list and closer to completion.
So the clutch hose, and fuel feed hose are done. Still have to mod the clutch pedal before the clutch is off the list.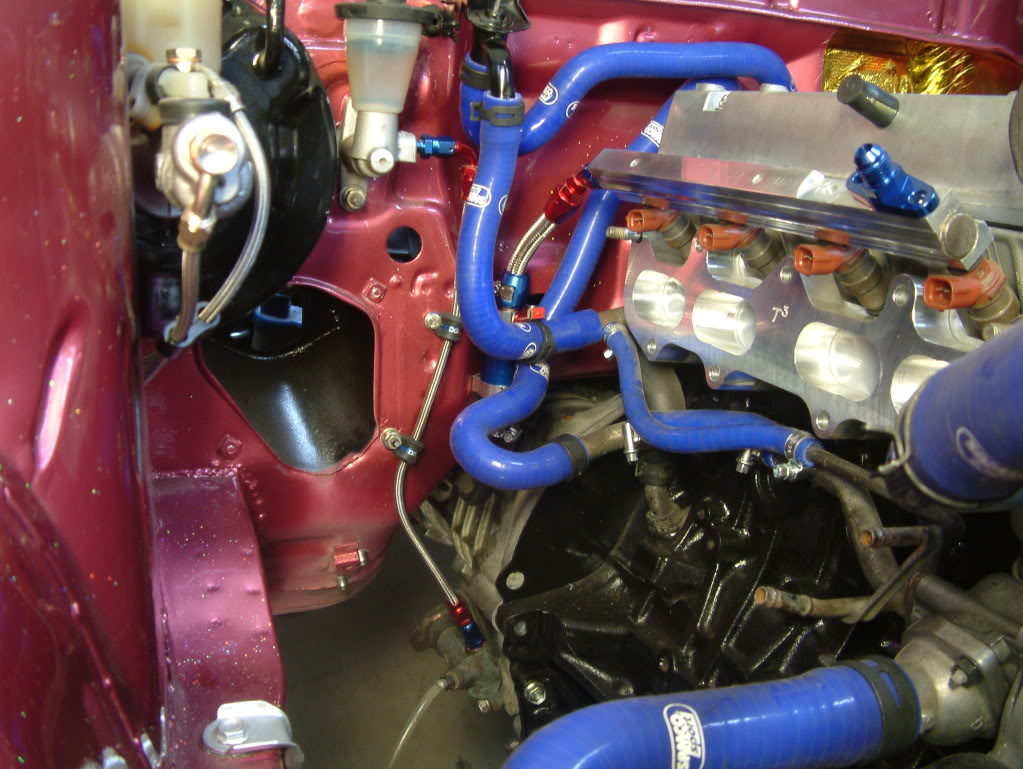
One of the lads did a bit of work on the exhaust for me. He had advised me to buy a mandrel bent 90 degree and two 45 degree bends so I bought them and he Tig'd them together with a few inches of straight added in here and there. I still have to decide what to do exactly for the rest of the exhaust though, I was thinking of dropping it from 3" back down to 2.5" around where the cat would be on an AE86 or just go as far as the cat and run an AE86 catback.
Anyway I waited until it got dark to take a picture of course. Really had to cut the 90 down to make it past the bulkhead even with the bulkhead area flattened out. I hope it won't cause issues being too close to the turbo.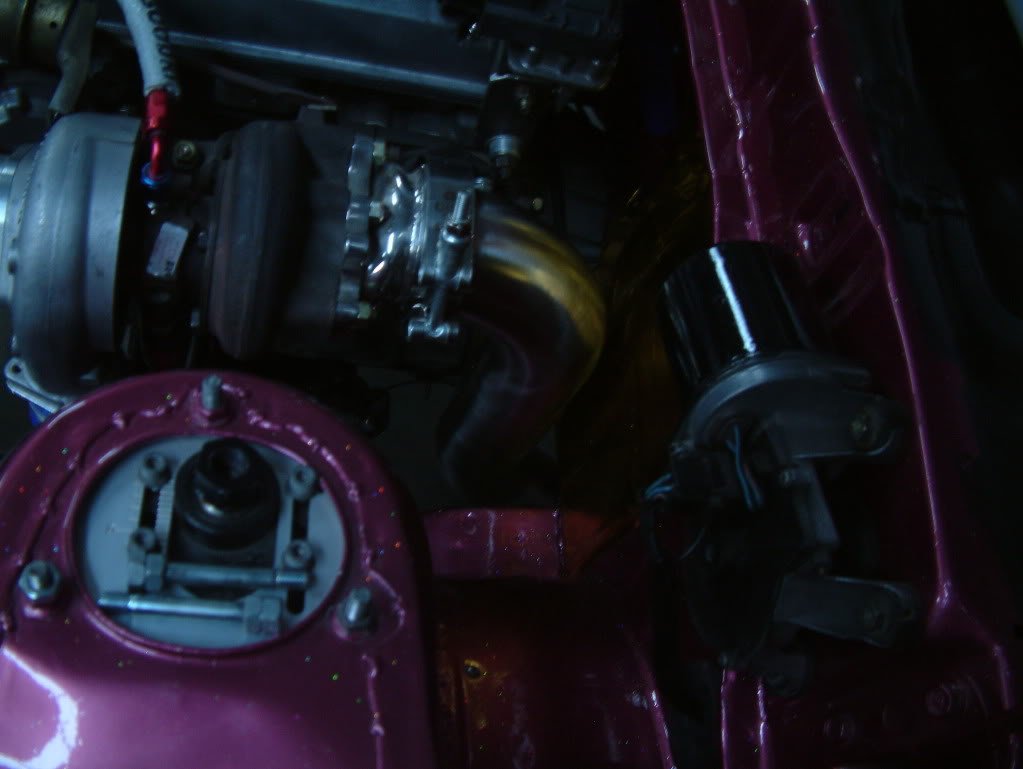
Got MCN inserts and made up coilovers with 450lb/ 8kg/mm springs so it's sitting a bit better now
As it was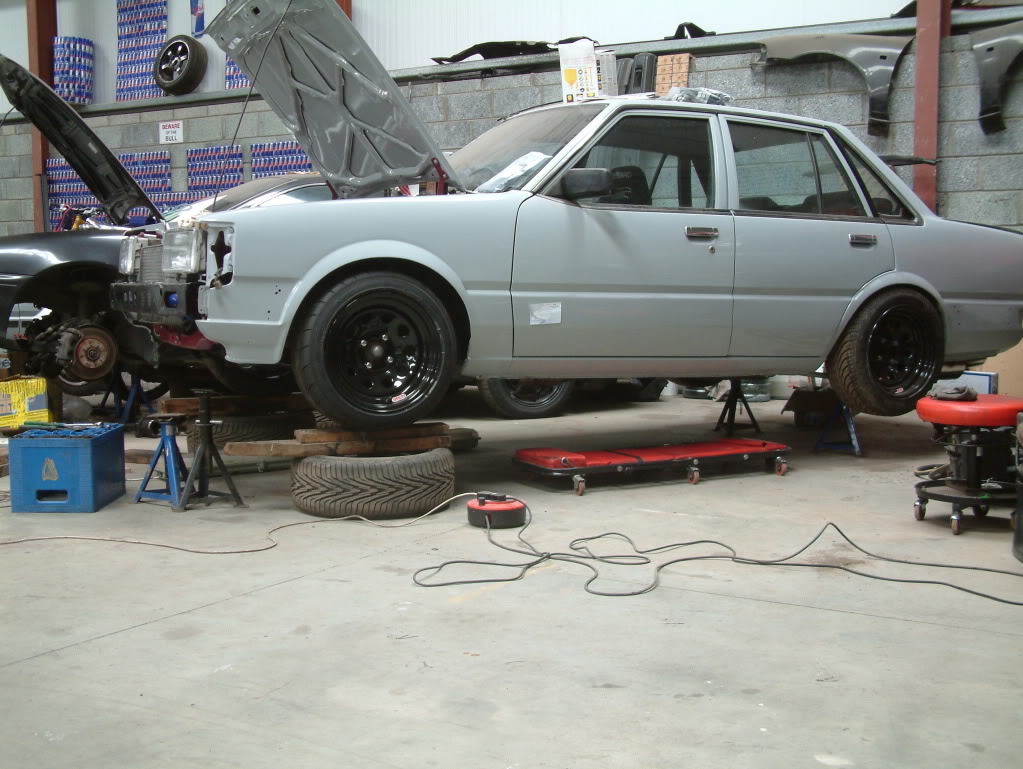
Techno Pro Spirit coilovers with HTS insert, mine with MCN insert and AE86 strut with TRD spring and insert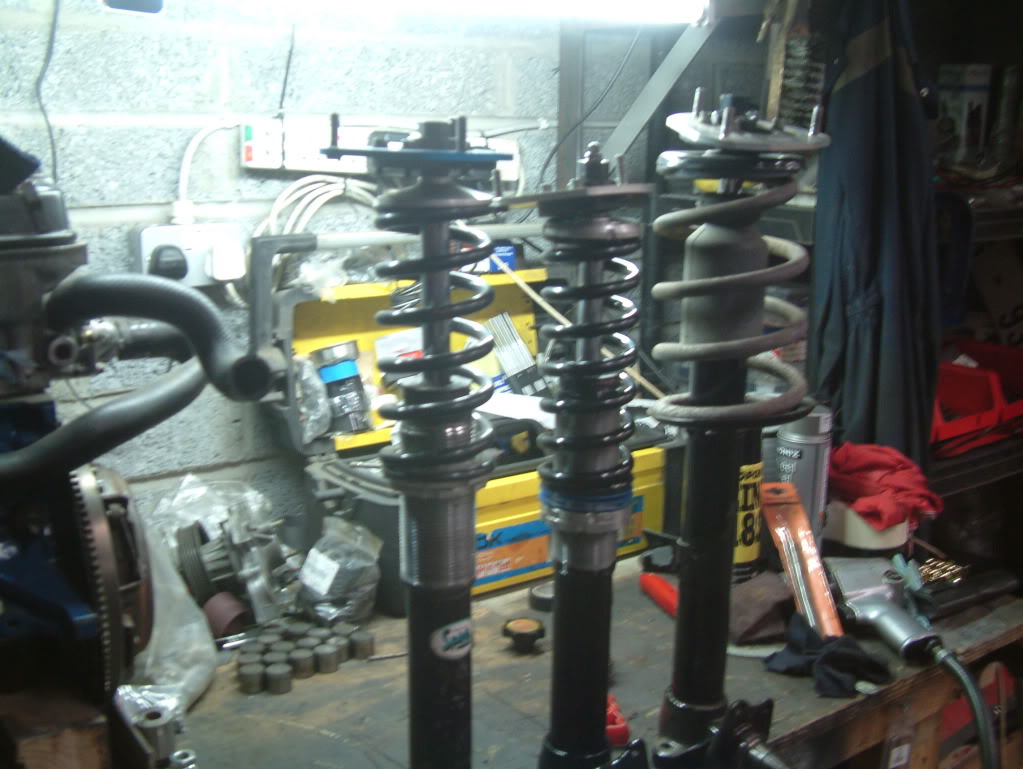
As it sits now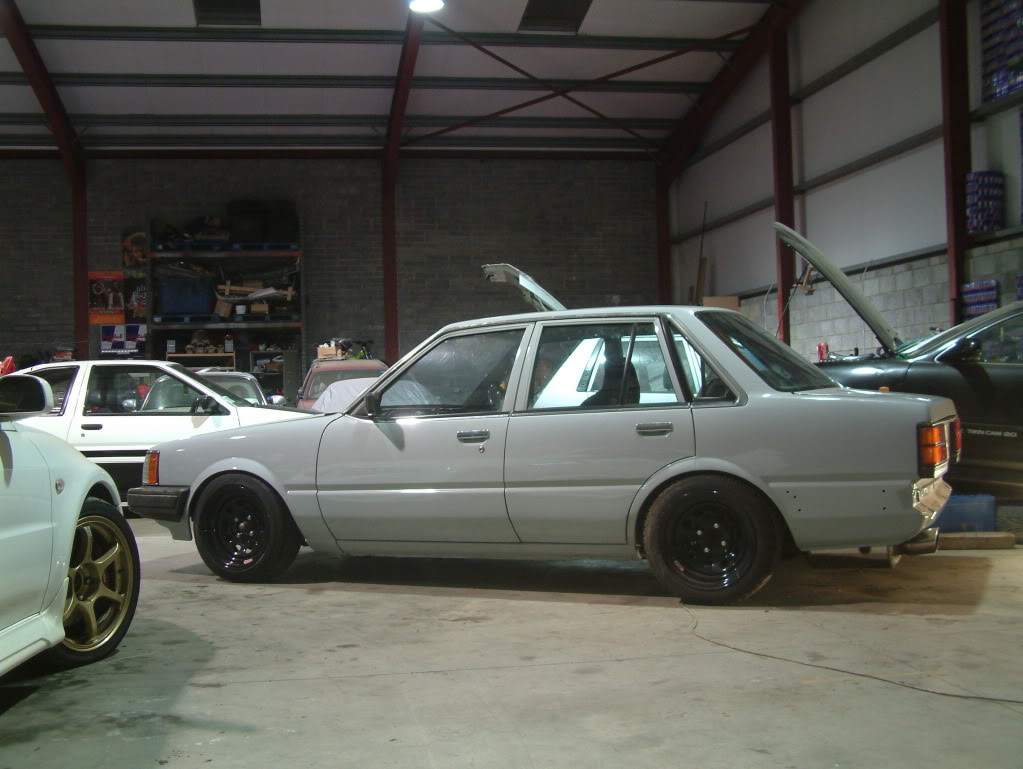
Bought a Koyo rad from Sandy , fitted that to my Trueno and fitted my old Koyo to this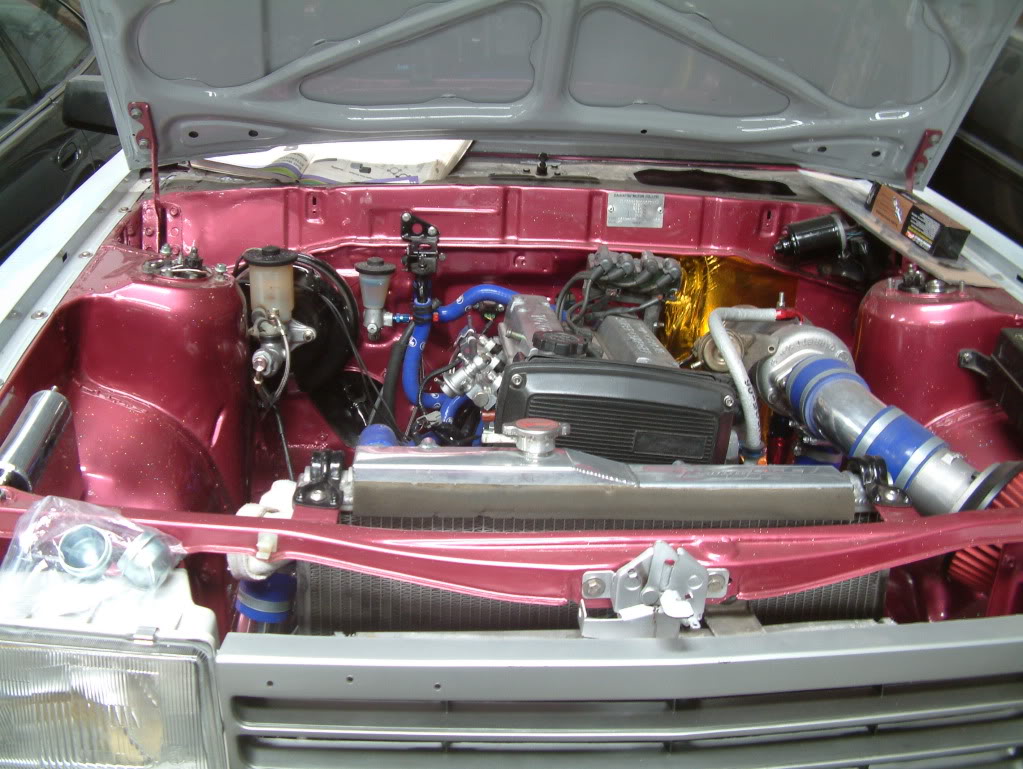
I decided to use a big port manifold and T3 adaptor instead of a cut'n'shut small port manifold
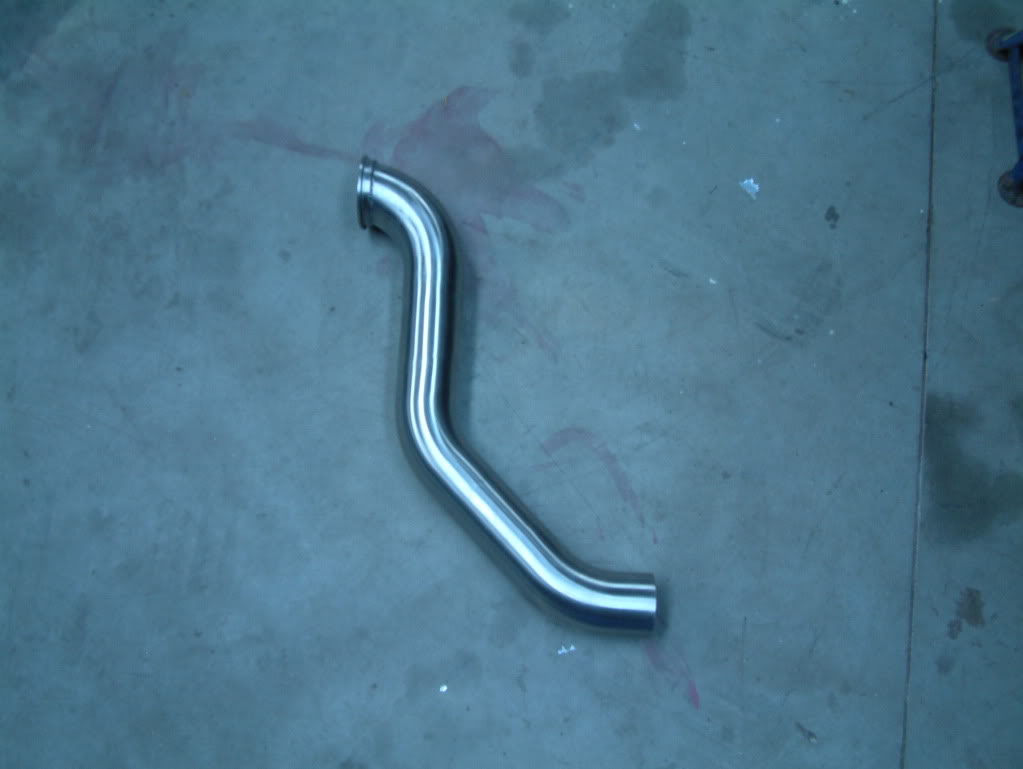
Got my front pipe back on Saturday. 9 pieces of S/S welded together. It consists of a CX Racing T25/8 to 3" V band adaptor, a 3" 90 degree bend, 2 3" 45 degree bends a few bits of straight 3", a 3" to 2 1/2" reducer and a 2 1/2" oval flange. I also got 2 lambda sensor bungs welded in, 1 for oem narrow band lambda and I'll plug the other for now but can fit a wide band sensor in it for a gauge in the future. The exhaust reaches as far as an AE86 manifold so I have a decat and Trust exhaust on the car for now.
Pity I have a crap wobbly hand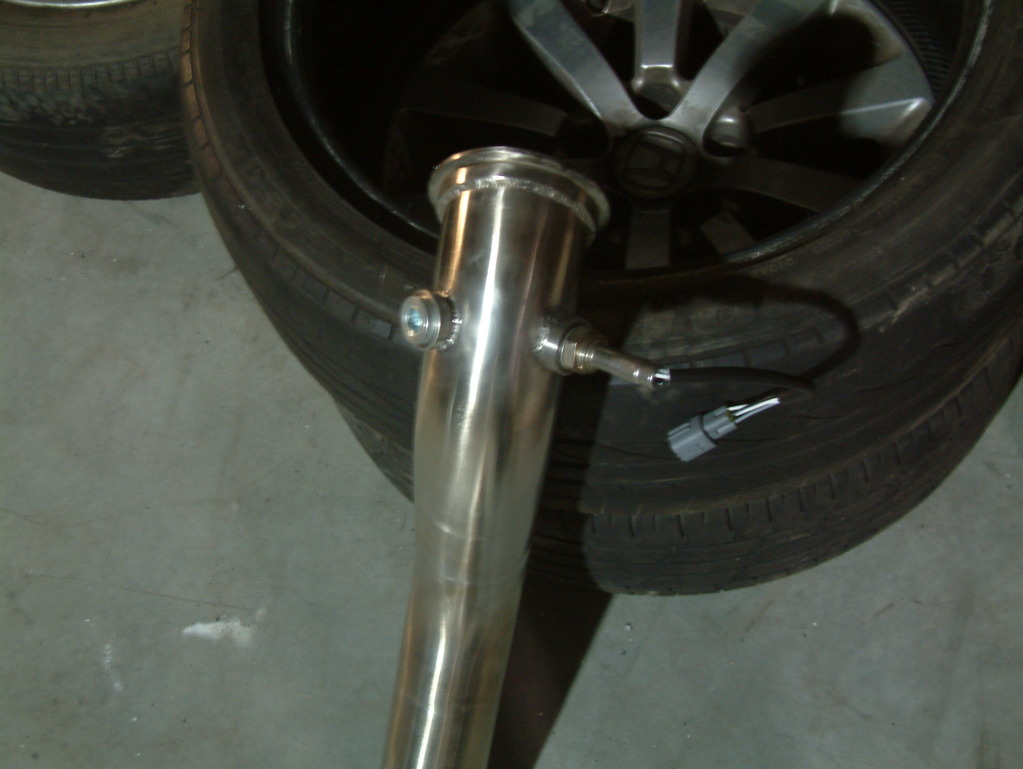
That's upto date for now. I have a few other things done and some still to do.
4-10-2013
I contacted the chap who made my exhaust to make up an intercooler pipe for me and fitted the actuator.
I had to shorten the actuator pushrod so used the adjustable end of a Lancer GSR.
I took it for a spin and it's making 0.6 bar of boost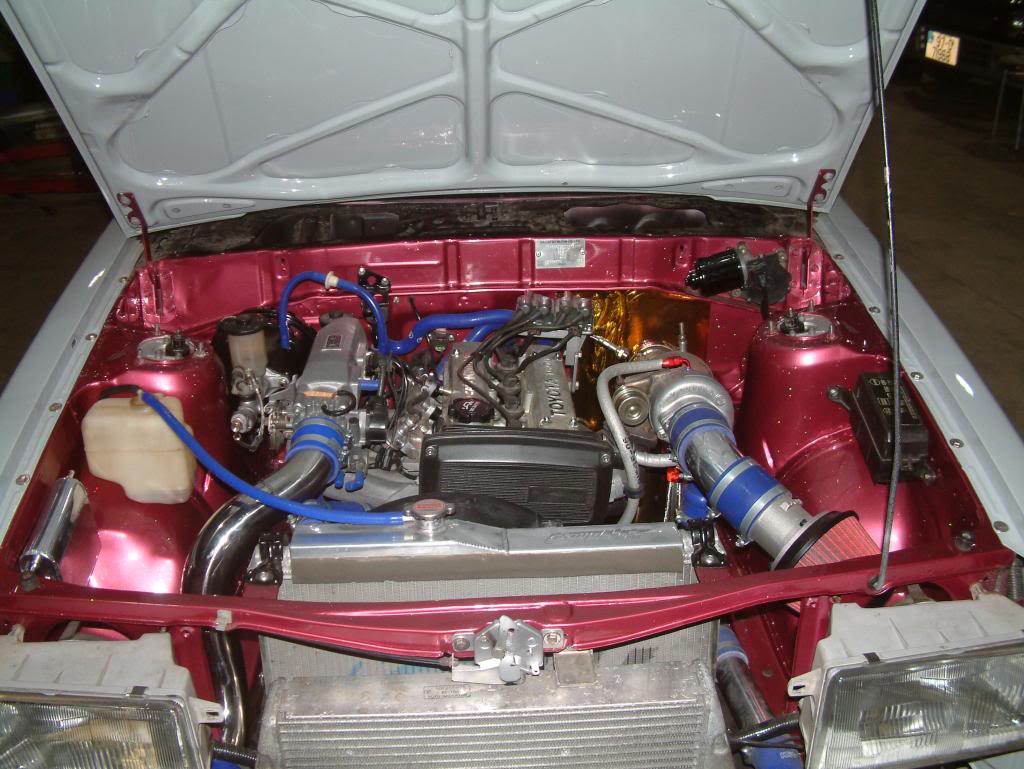
Evo 4 intercooler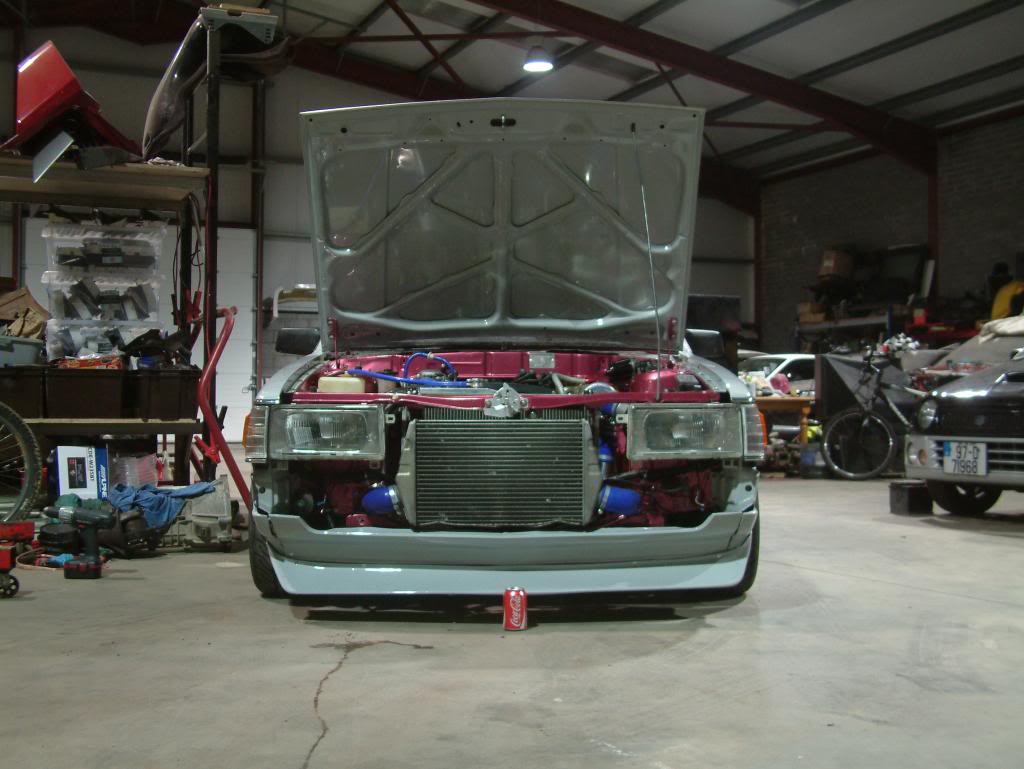
Which is nearly invisible with the bumper and grill fitted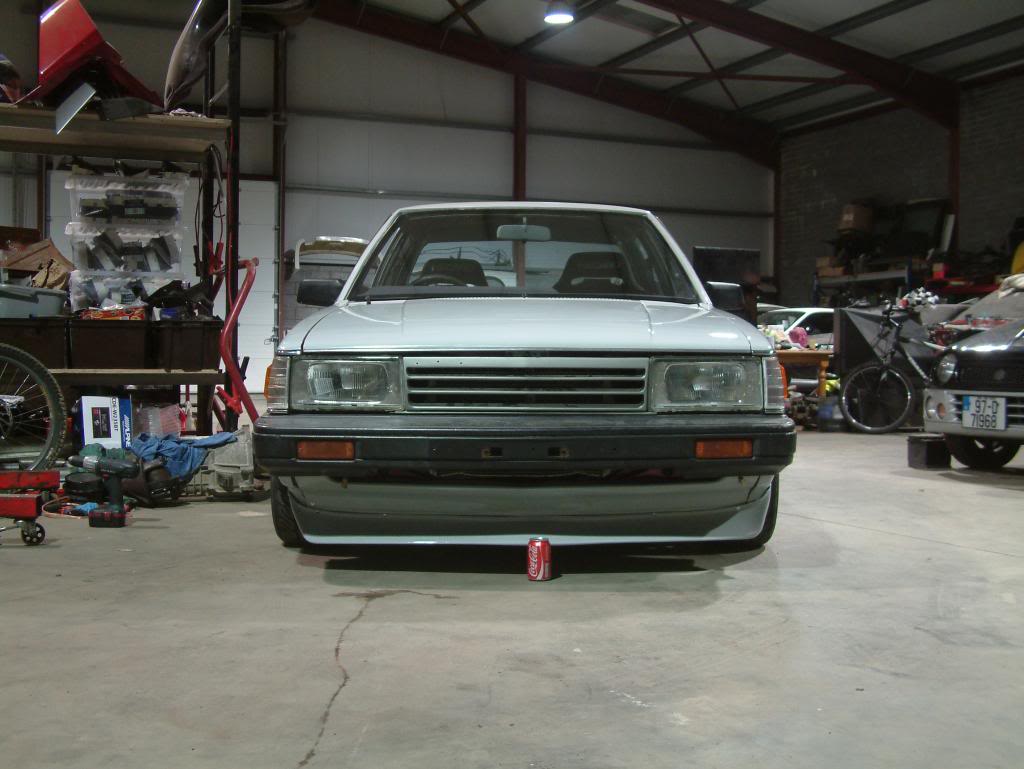
9-20-2013
I finally stopped putting it off and made up the instrument cluster from 4mm alloy which my friend then copied in 10mm timber (Walnut I think)
Rebuilt the 4 calipers as they were starting to drag a bit and get hot.
Also finally got my custom covers painted and fitted


In between my Trueno and friend's KE70
10-10-2013
Not much of an update. OEM style 4a-gte sticker looks a little crooked in the picture.
Also fitted an Innovate G3 wideband gauge, looks to be running high 11s on the gauge under boost but it's not in my eye line as it's only temporarily placed under the radio area.
1-31-2014
I fitted a pair of 2" weld on coilover sleeves, cut the struts 40mm and fitted MCNSport dampers along with camber plates.
The rest of the front consists of polybushed arms/rods and P/S knuckles with Uras tie rods.
I fitted an adjustable Cusco tower brace from an AE86 (the AE86 strut tops are closer together so it has to an adjustable AE86 brace
Wow a lot of work
Posted by Diggymart on 4/10/20 @ 4:08:28 PM