You must be logged in to rate content!
8 minute read

EBRAKE HANDLE COVER INSTALLATION INSTRUCTIONS
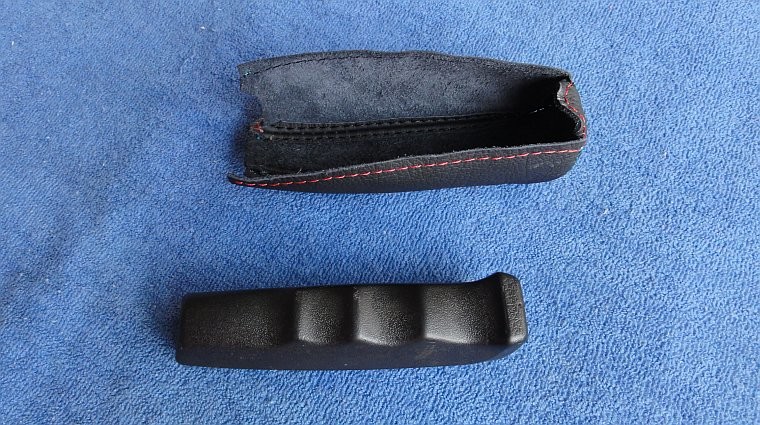
1. Remove the handle from the car and remove factory cover (if there is one) - cutting along the seams with an x-acto knife is a good and easy way.
2. Pre-align the cover so that you now hot is should lie on all sides of the handle.
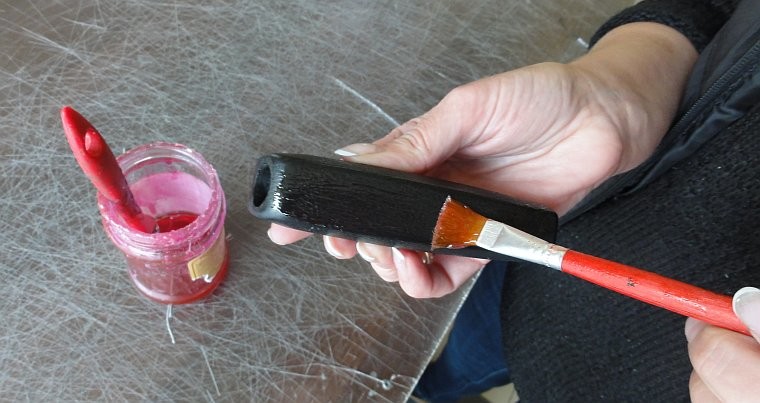
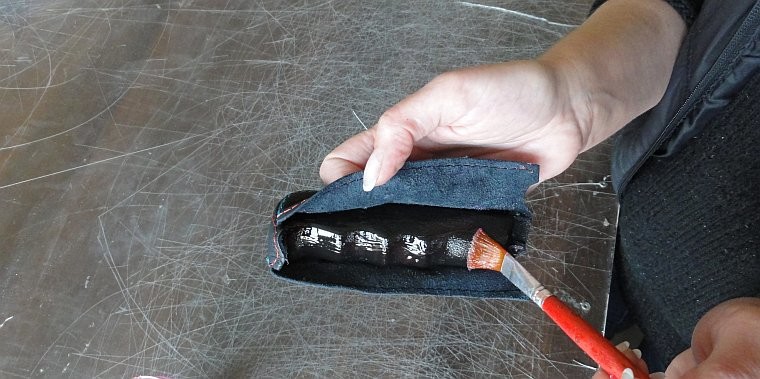
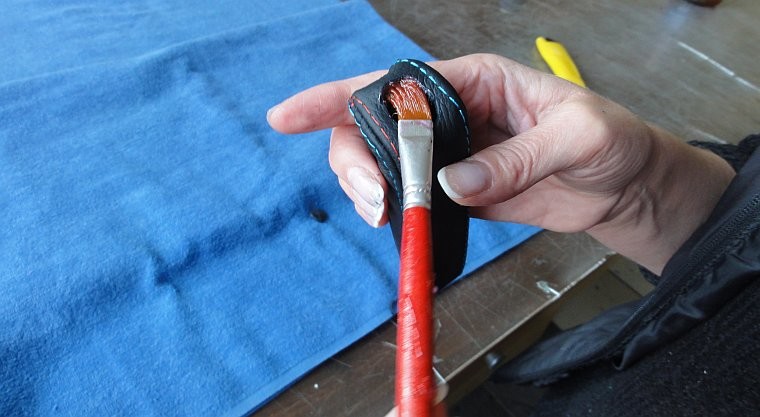
3. Apply glue to the top part of the handle and a little bit down on the sides - only along the edges. Also put a little glue on the front part of the handle. Depending on the glue you use, apply it also on the same part of the leather (this is how most upholstery glue work - please refer to the glue application directions).
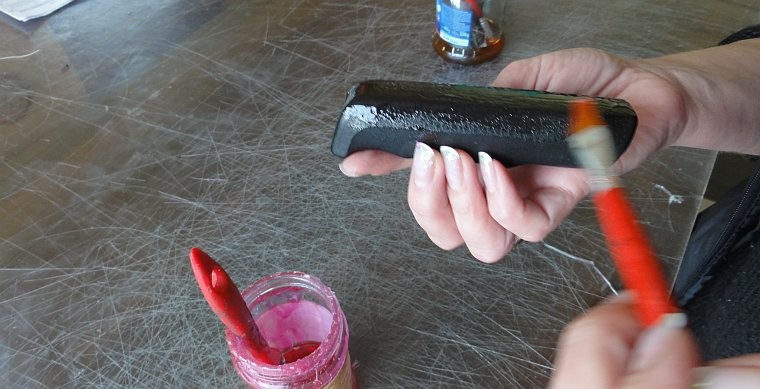
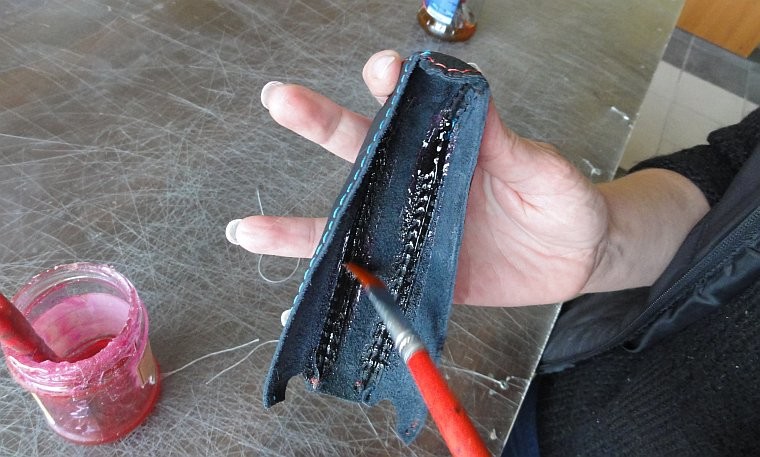
4. Let the glue cure for a few minutes (again, refer to the glue application directions) and put the cover onto the handle. Start from the top and the front and align top seams to the knob edges and especially carefully align the front corners to the tips of the knob. Press the leather against the handle strongly and hold for a while to let the glue bond properly.
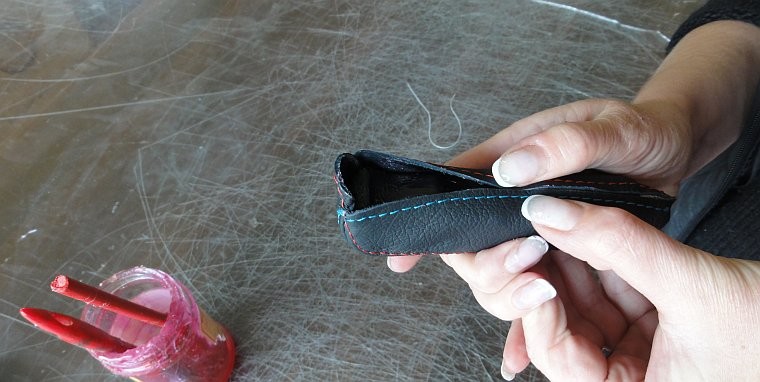
5. Apply glue to the sides and bottom of the cover and repeat the above step. Making down edges meet may require a bit of force. Please do not care too much about aligning the front 'triangle part' - it will be next to impossible to achieve perfect alignment but once you install the handle back into your car, you will never see this area ;-)
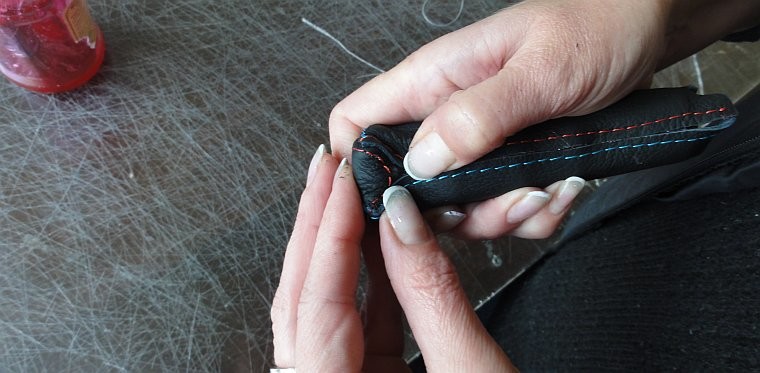
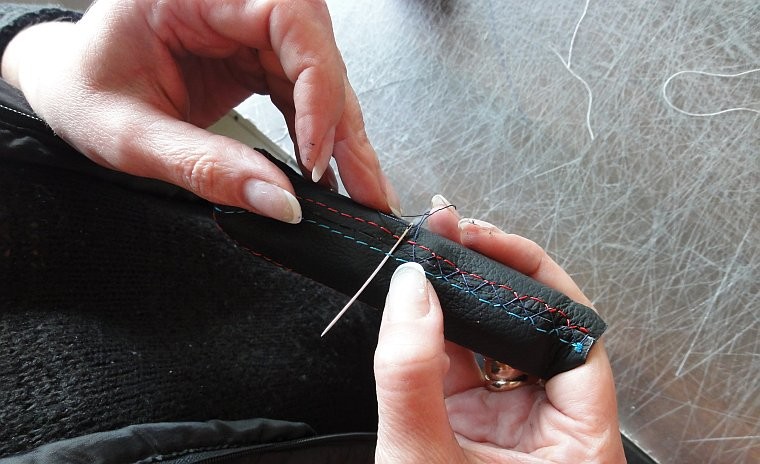
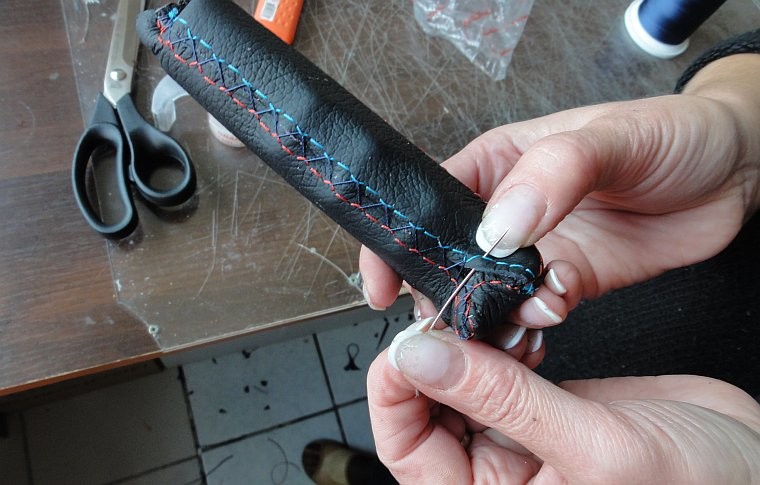
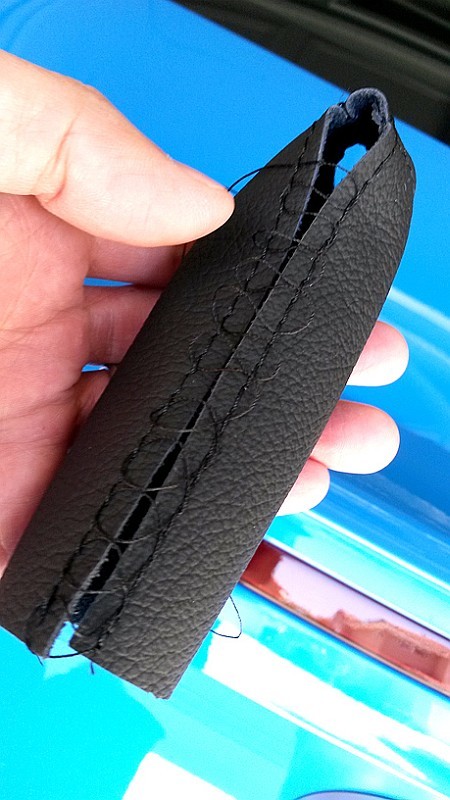
6. Now take the thread and the needle (provided with the cover), make a small knot at the end of the needle to prevent it from sliding through the leather. Slide the needle through the first hole until the knot holds it. Then lace both seams firmly - you can join every second stitch, this is enough for the cover to hold firmly.
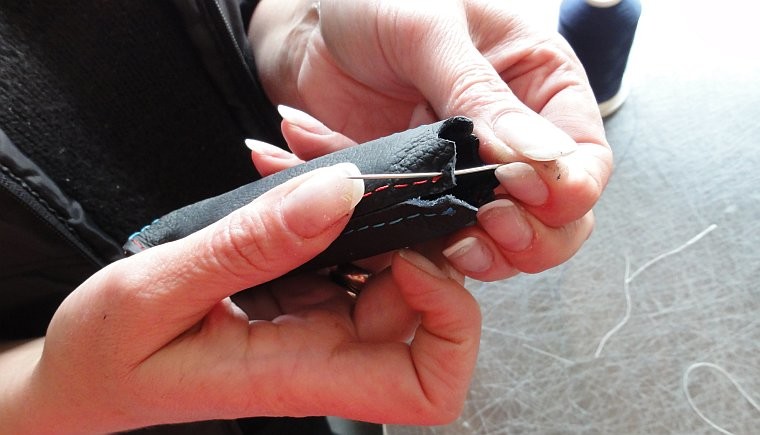
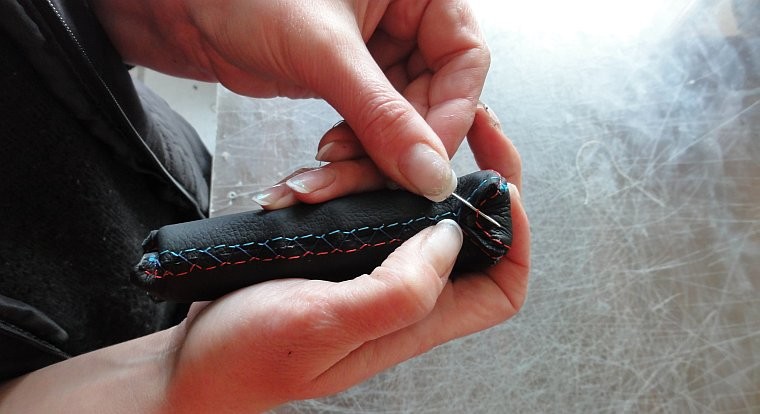
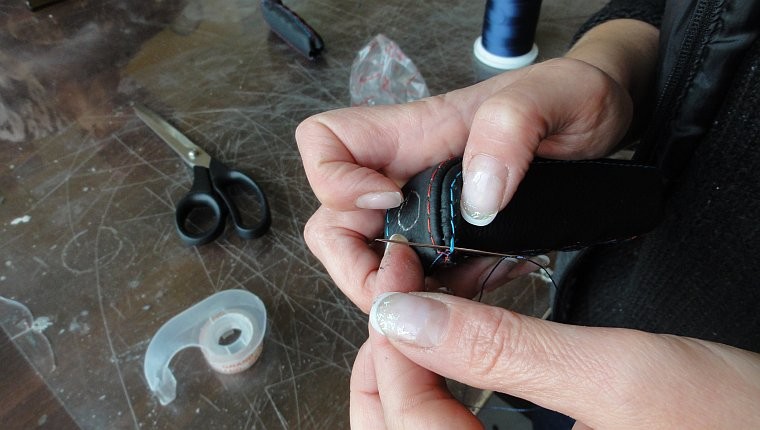
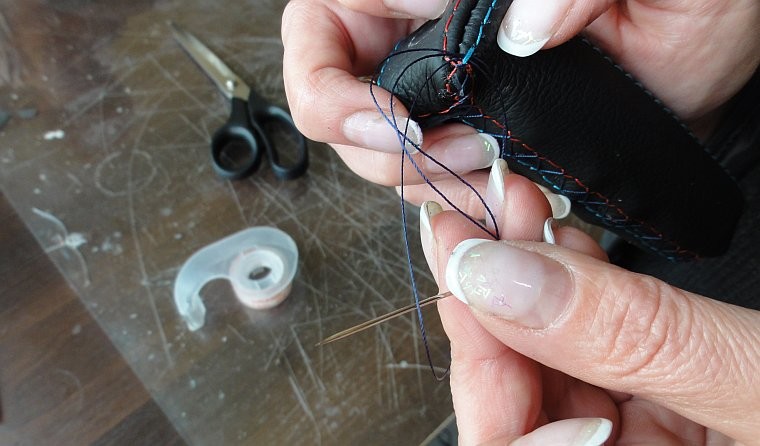
7. When you approach the front, continue to one side, joining each stitch here, all the way to the tip, lace the first stitch of the top seam, make a tight knot and cut the thread. Remember not to cut too close to the knot. Then melt the knot a little with a cigarette lighter to make sure it will not untie in the future, at the same time the loose end of thread will melt too. Be careful not to use the lighter too much in order not to burn the stitching and the leather.
8. Repeat the previous step with the short part on the other side.

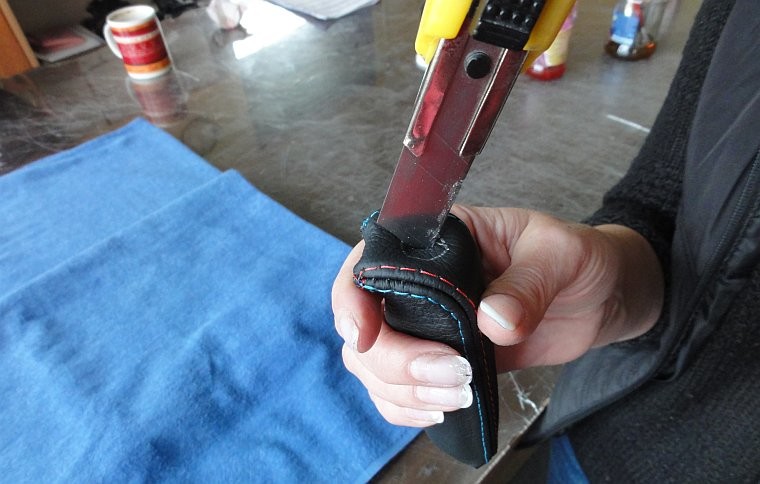
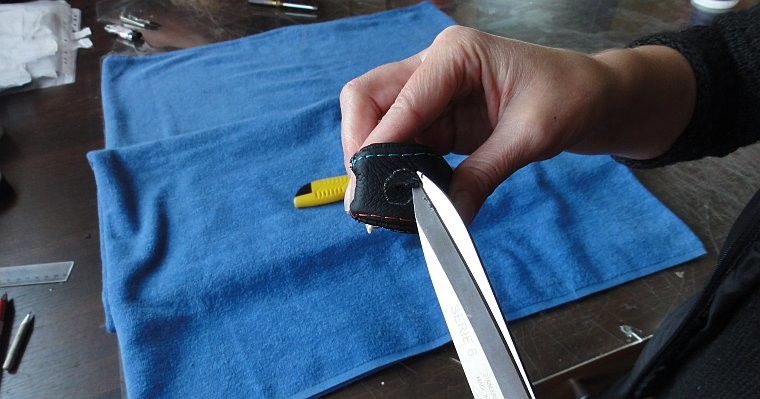
9. Cut the hole for ebrake release button. First, make an incision with a knife. Then use what you prefer - xacto knife works great but ismore difficult to control - leather is quite hard so it till require some force to cut it so if it slips from your hand you may cut yourself really badly or damage the leather. Scissors may be a bit more difficult to work with, but are much safer choice. cut the leather as close to the hole edges as you can. It is better to cut too little at first and then do the fine tuning than cot too much and have a large hole ;-)
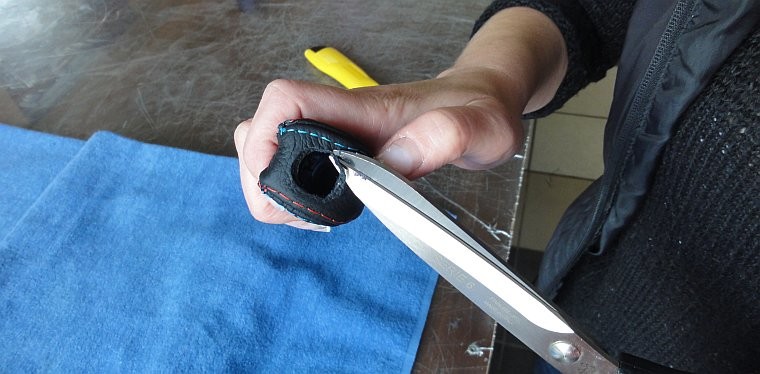
10. Put some glue under the leather around the hole, press the leather to make glue bond.
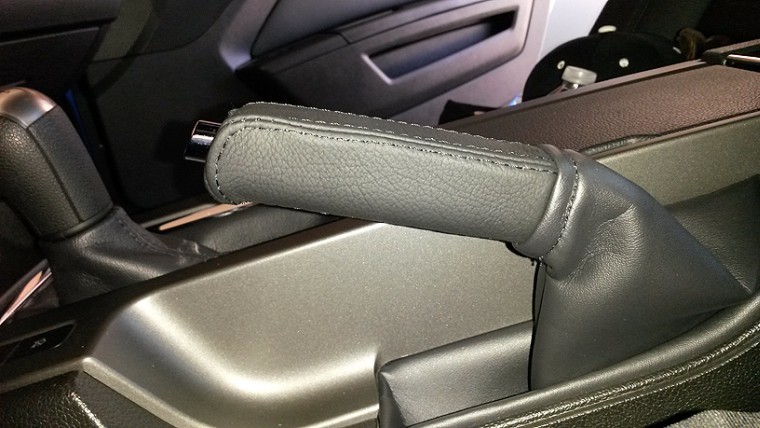
11. Install the handle back in car and enjoy!
AND ALTERNATIVE WAY OF INSTALLATION FOR CARS WITH NON-REMOVABLE EBRAKE HANDLE:
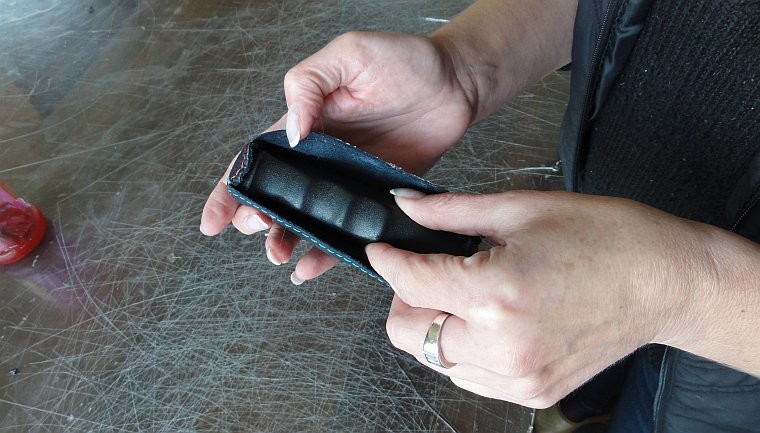
If your ebrake's rubber handle cannot be removed, the only way to install and stitch up the leather cover was by installing it inside the car with the ebrake pulled up. The easiest way will be to first to loosely lace up the leather ebrake cover and then slide it over the rubber ebrake handle.
Then pull the pre-laced cover onto the handle and position it (Note: At this point, you may pull the top of the ebrake boot off to allow the bottom of the leather ebrake cover to slide all the way down/over the rubber ebrake handle. The top of the boot is wrapped via an elastic band so don't be afraid to pull it down)

Now it is good to use a small mirror to see the bottom of the handle and a needle as a tool to carefully pull each 'loop' until everything is laced up tightly - start from the bottom working your way to the top (Note: Think of it as lacing up a shoe). Once you are able to pull on each loop, use your fingers to pull on it to tighten up the previous loops, and move on to the next.
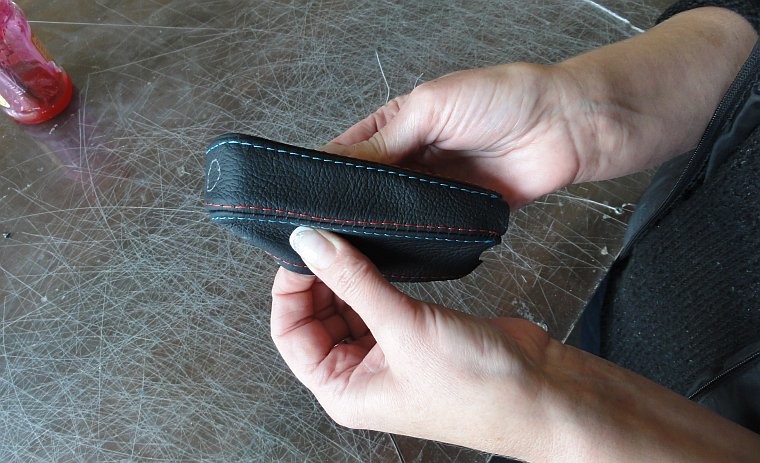
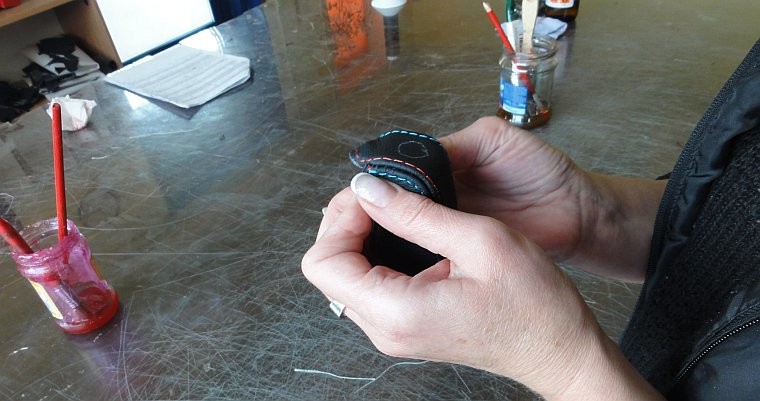
Finally, once you stitch your way to the top of the leather ebrake handle, sew through and loop through a few of the stitches and make/tie a knot (Step 7 of above insreuctions
Once you finish, the result should look more less like this:
Useful tip
You have installed a product made out of genuine leather. As you know, to maintain a leather product in good condition, you should take care of it. We suggest occasionally (every 4-6 week for example) applying some leather conditioner/UV protector to keep your leather from drying up in the sun and cracking.
Redline Automotive Accessories Corp. will not be held liable for any labor, incidental or consequential damages of any kind. Proceed at your own risk.