You must be logged in to rate content!
6 minute(s) of a 96 minute read
8-24-2011
So...finally a nice, fat update, with a ton of pics. I made an excel spread sheet with all of the consolidated tolerances, specs, and tips that I've accrued throughout my research and over the years. I hope to take a little of the mystery out of the DIY assembly of the rotating assembly/ heads, for anyone that might want to attempt it on their own. This should help with some of the common downfalls of the 2.7l assembly (heads mis-timed, rods installed backwards, etc). If you print it in landscape format, it's 3 pages where you can write the measurements of your engine in. Hope this maybe helps someone!
Vitruvian - 2.7t Engine Assembly Document Download Link
Anywho, onto pics. There's nothing glamorous nor too fun about blueprinting an engine, it took alot of time and was a little bit of a pain. Each one of these pics took like 1hr+ of work, since I'm kind of a meticulous perfectionist sometimes. It's done though!
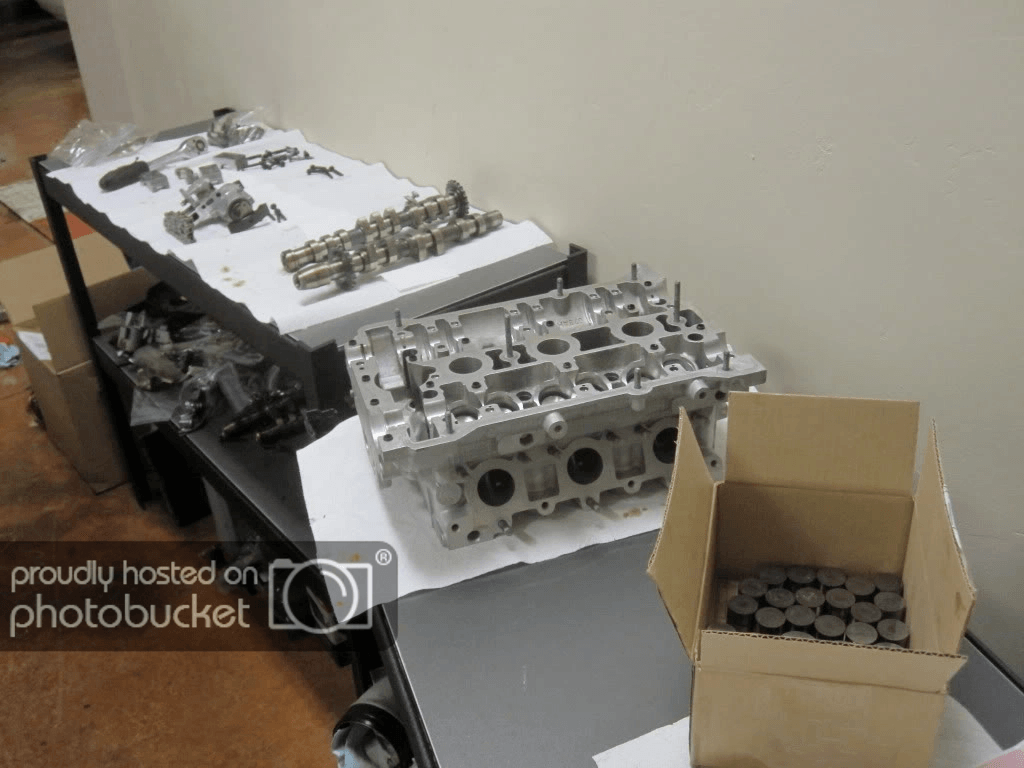
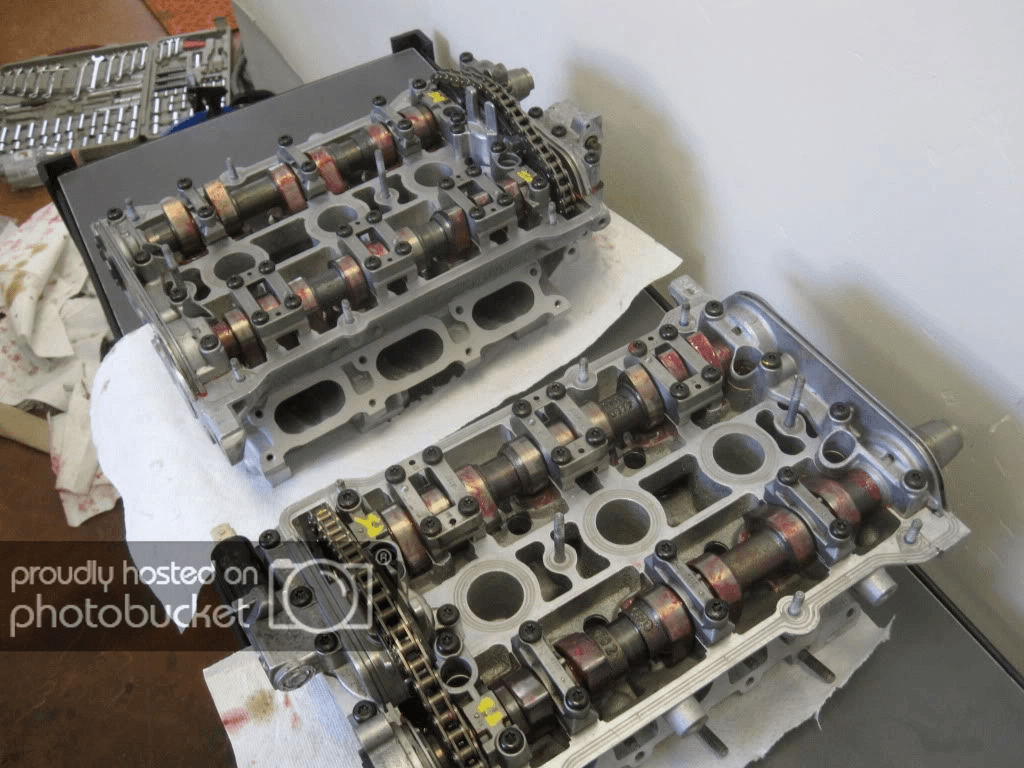
Getting ready to assemble the heads
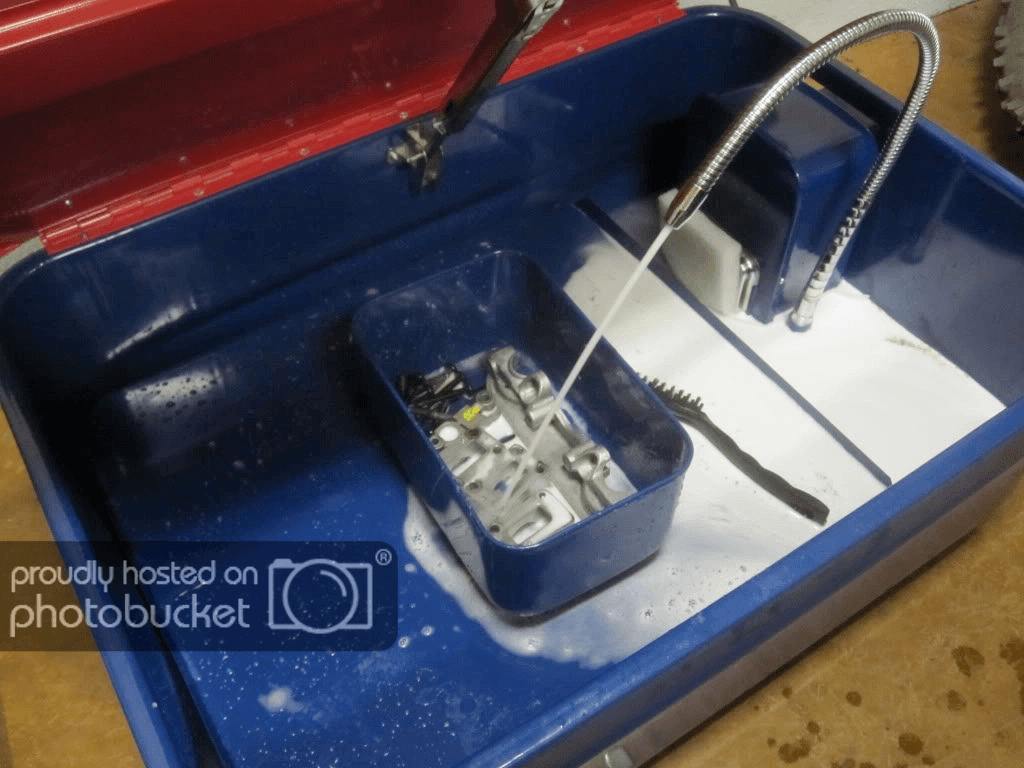
Washing all of the parts (this is part that took forever, since I washed pretty much every part in the top and bottom end)
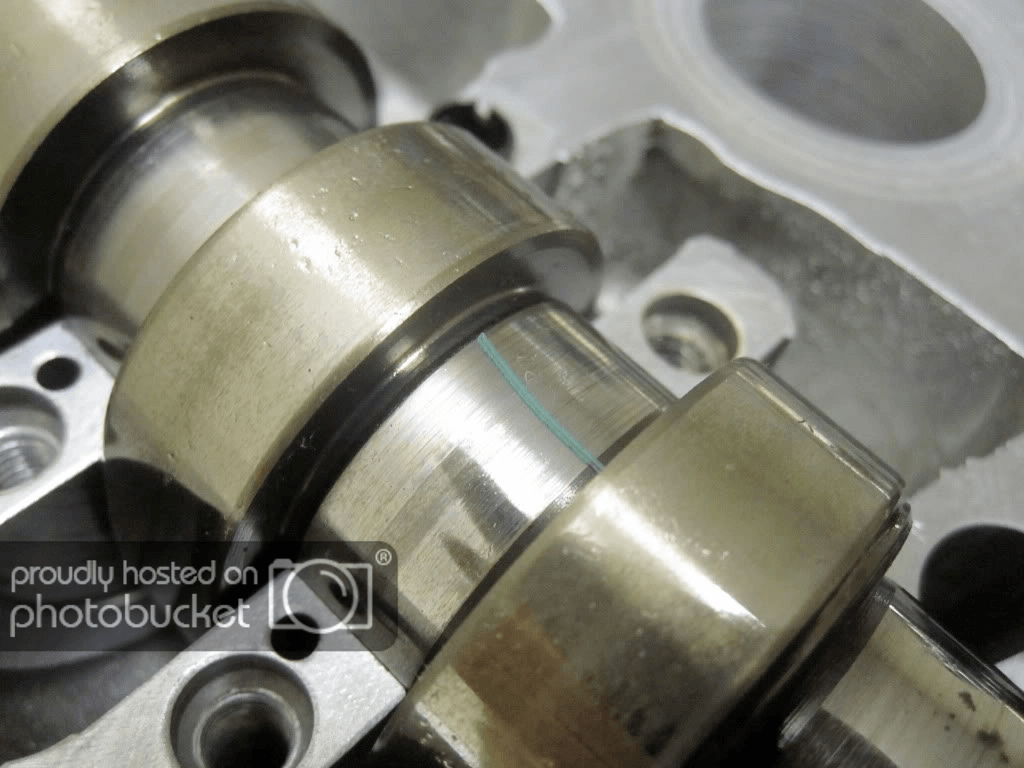
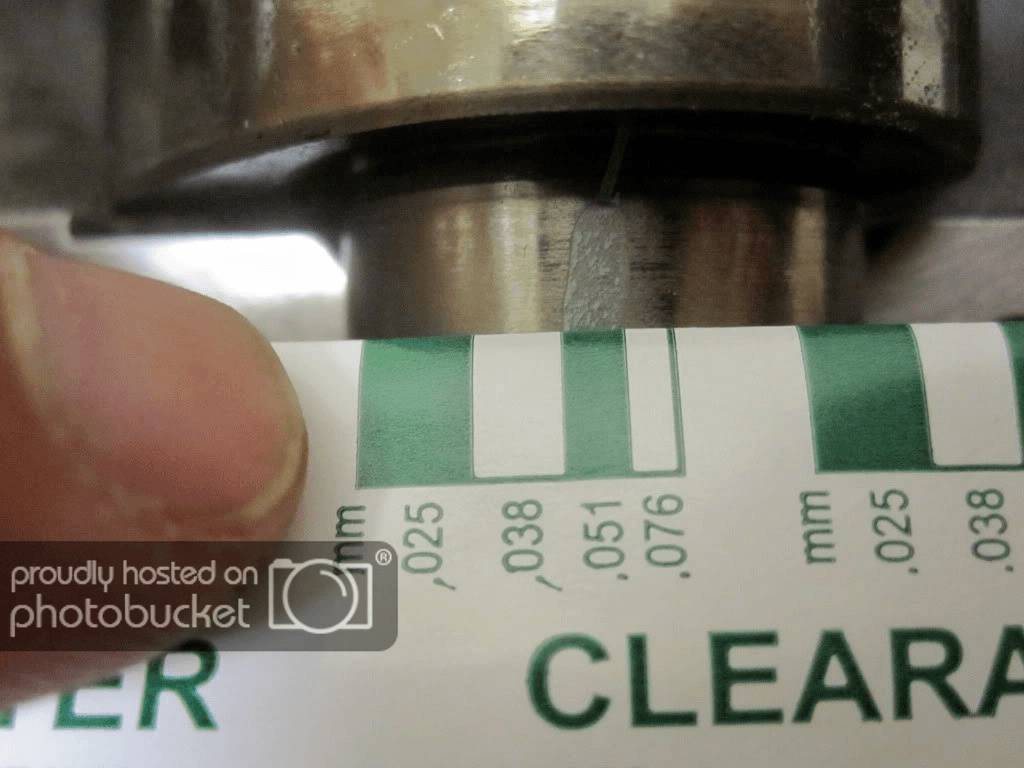
Plastigaging the cam caps
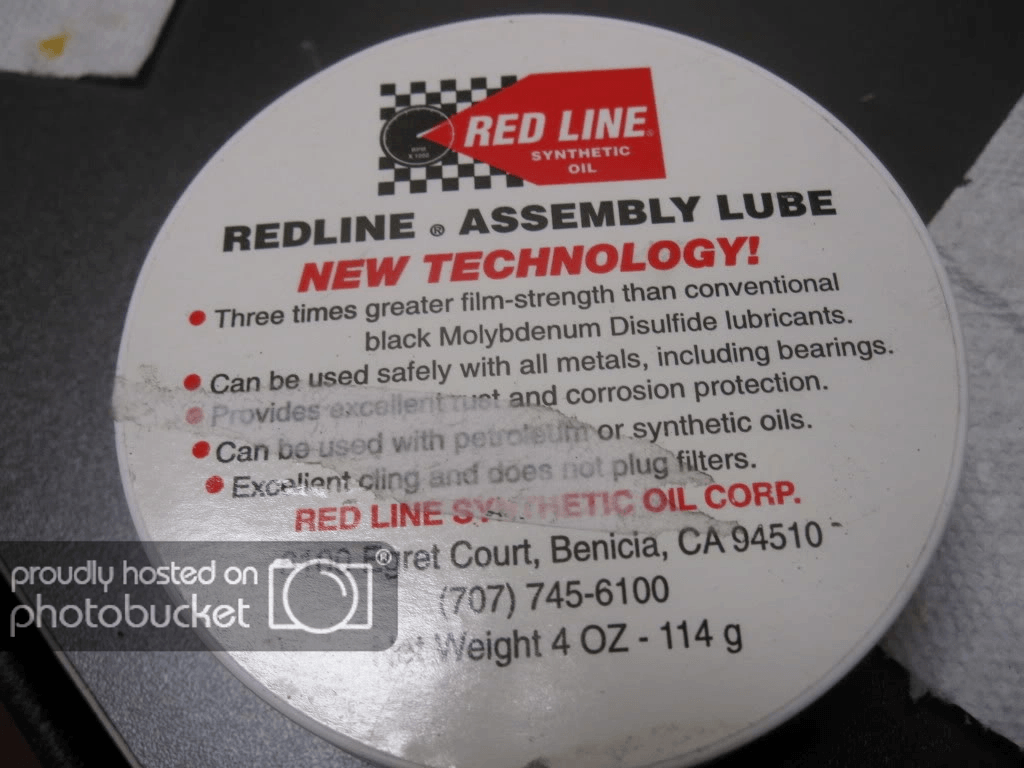
Assembly lube, used a ton of this
I checked it like 5+ times and am 99% sure the timing is correct, but a second/third set of eyes is always beneficial. Let me know if the timing on this driver's head looks correct to you.

Completely assembled after everything was washed, platigaged, lubed, timed and torqued
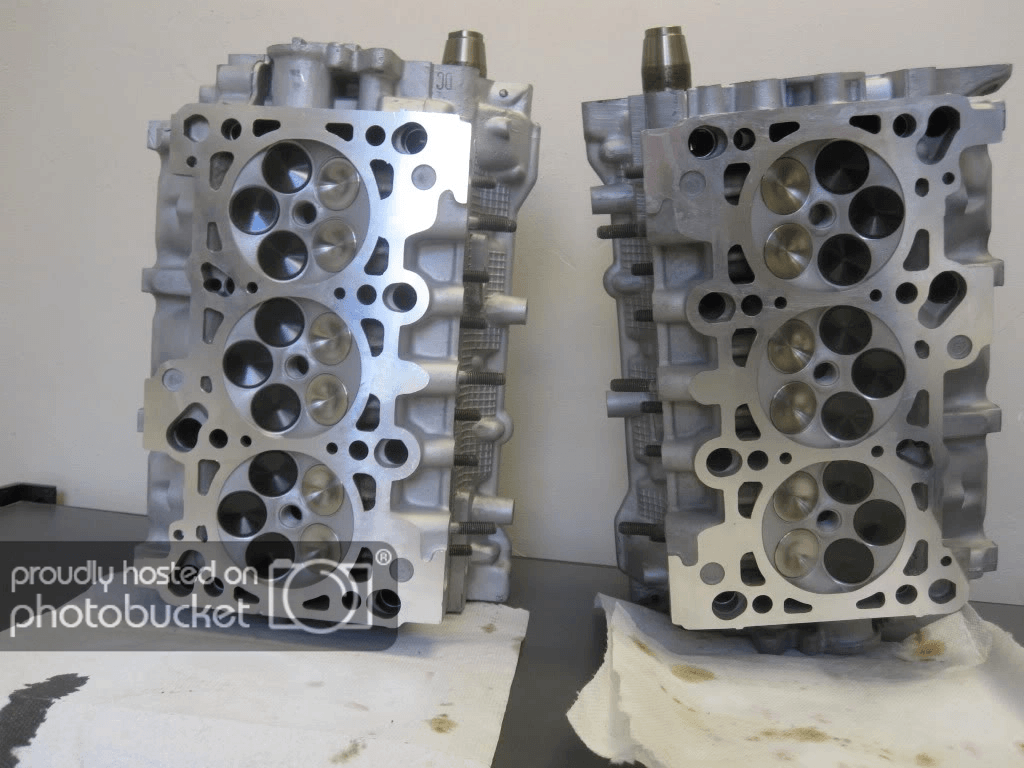
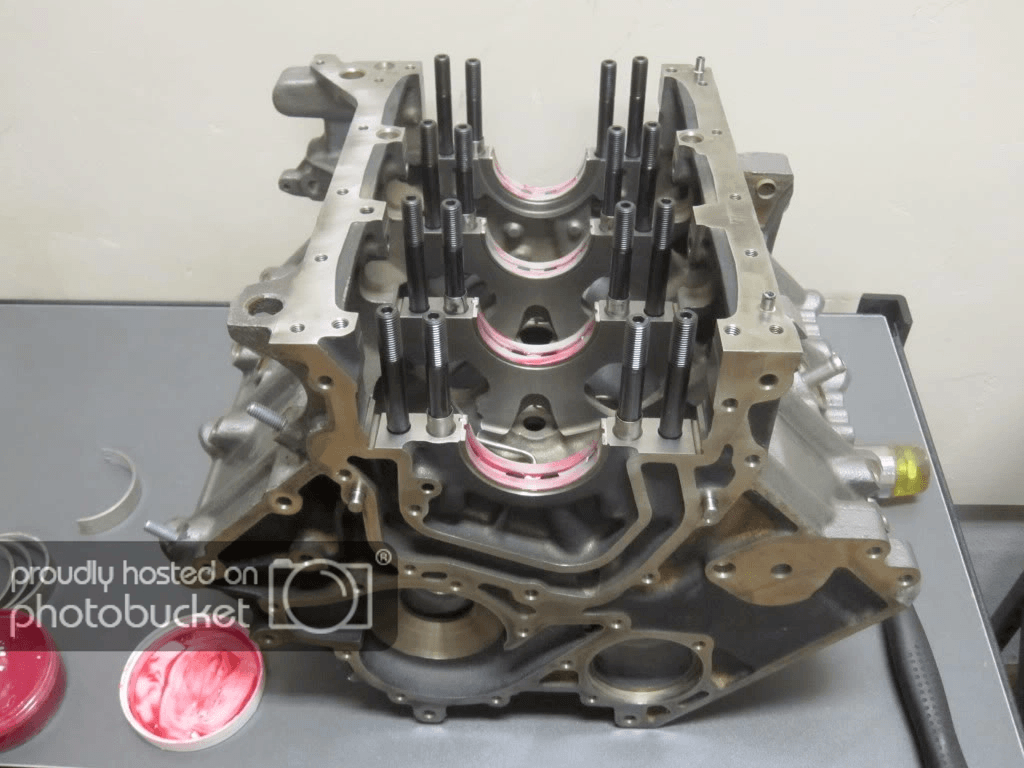
Ready for the bottom end
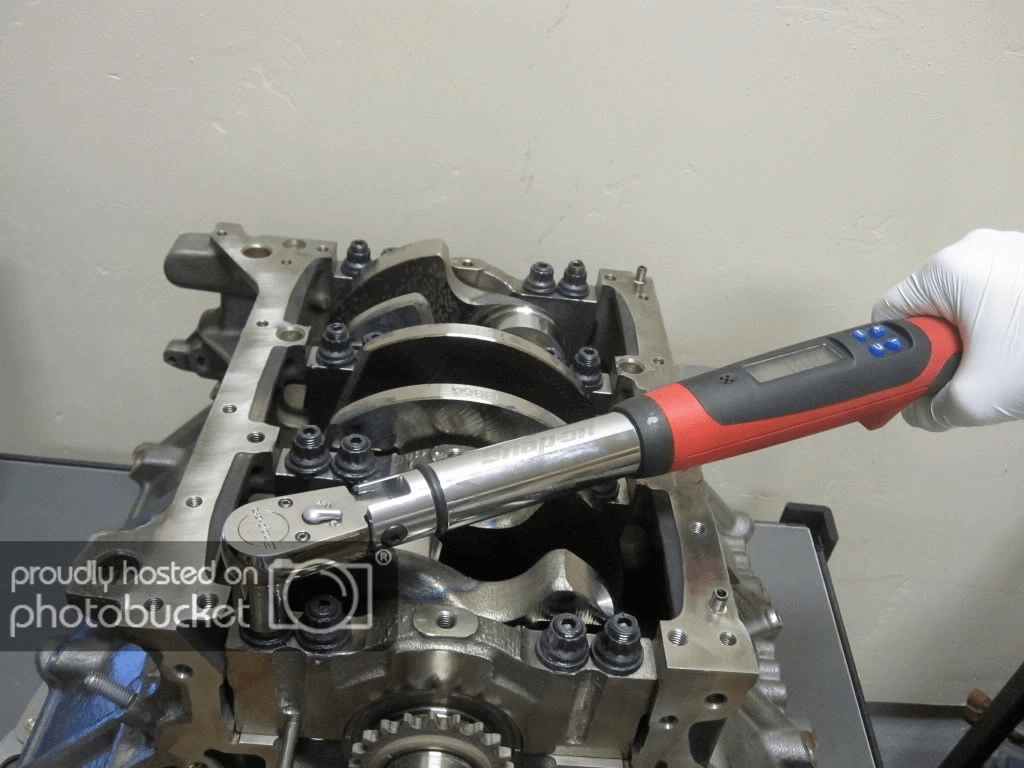
ARP main studs and bearings
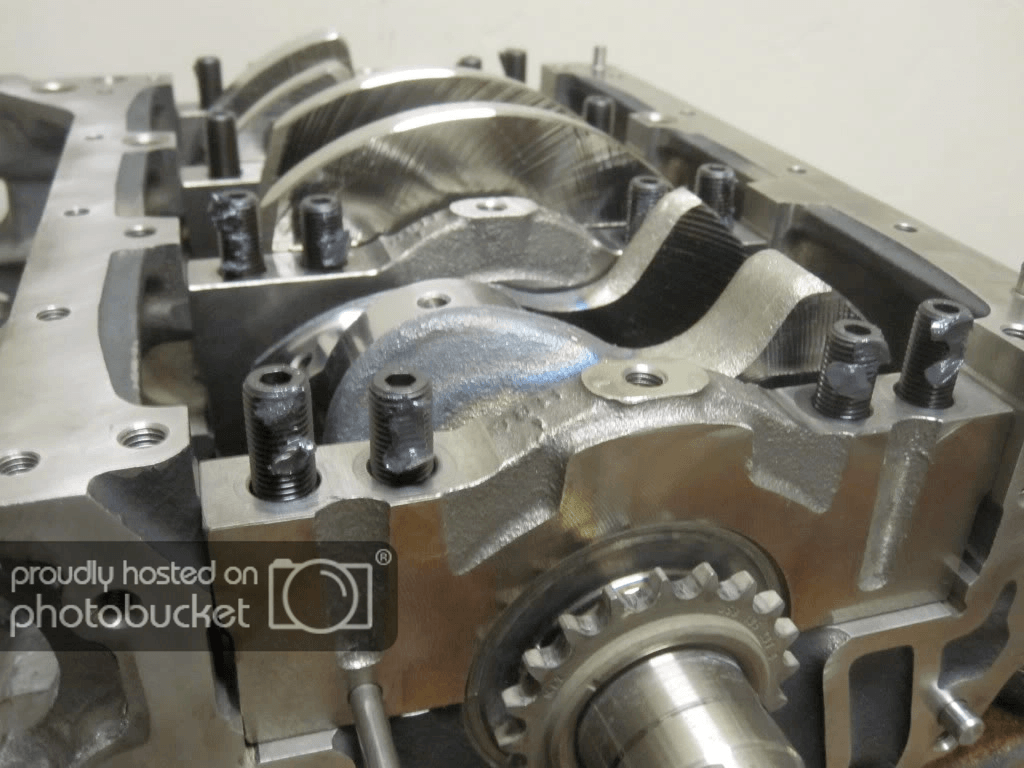
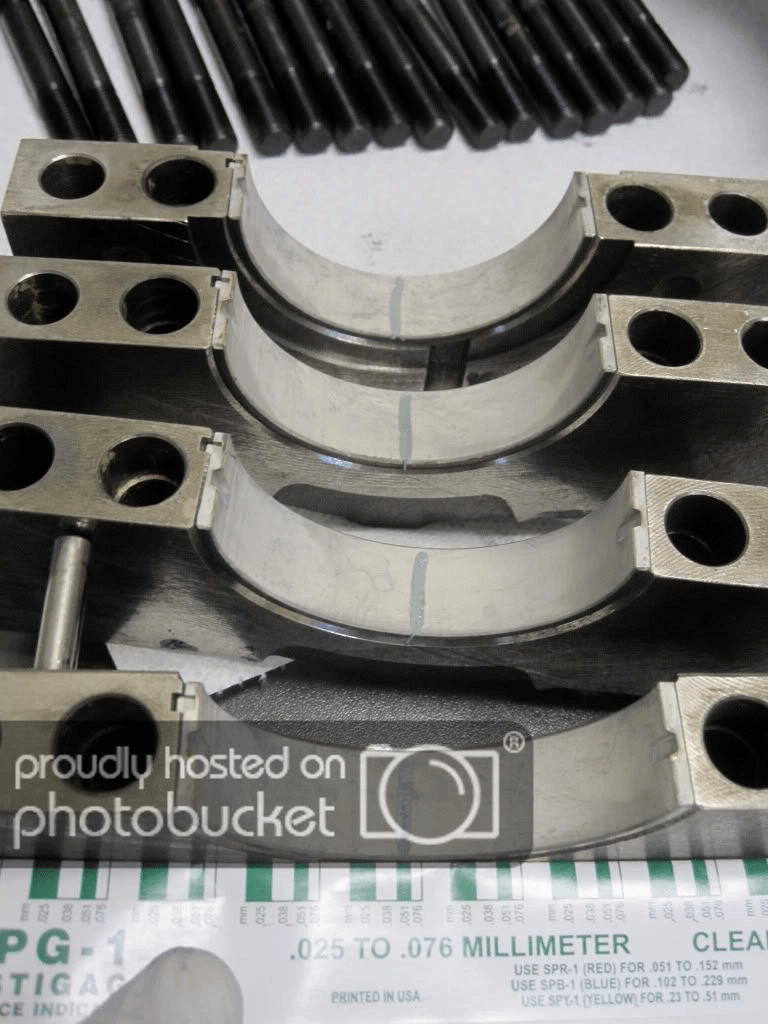
Plastigaging the crank bearings
The ARP moly lube is key to getting correct torque specs
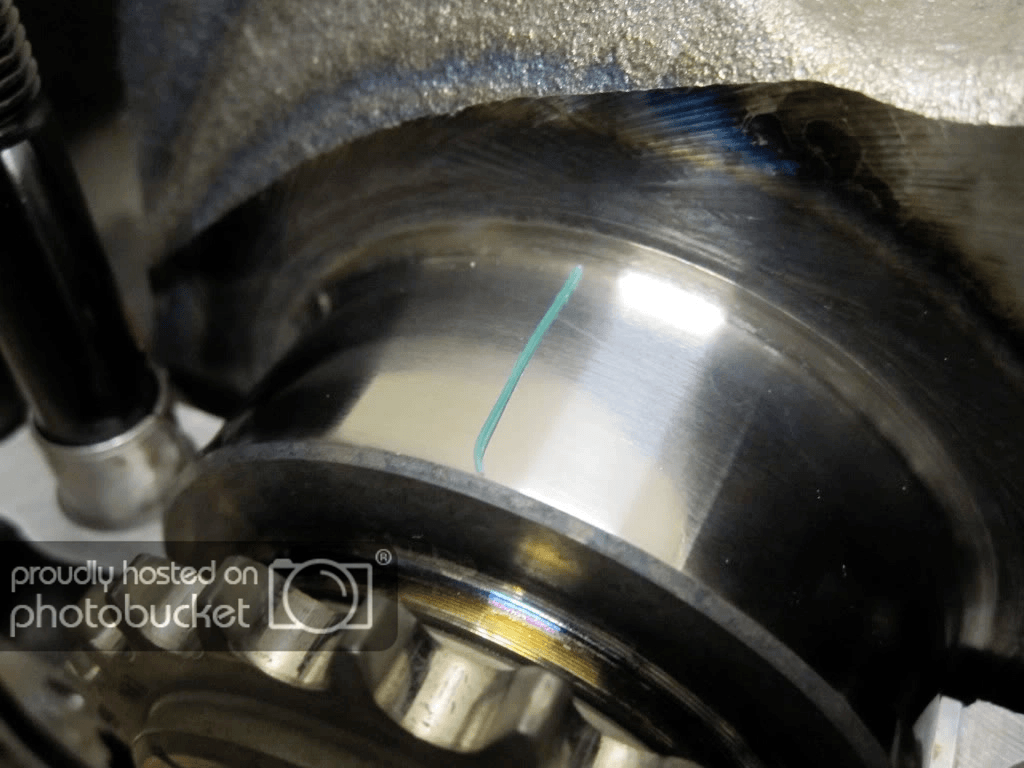
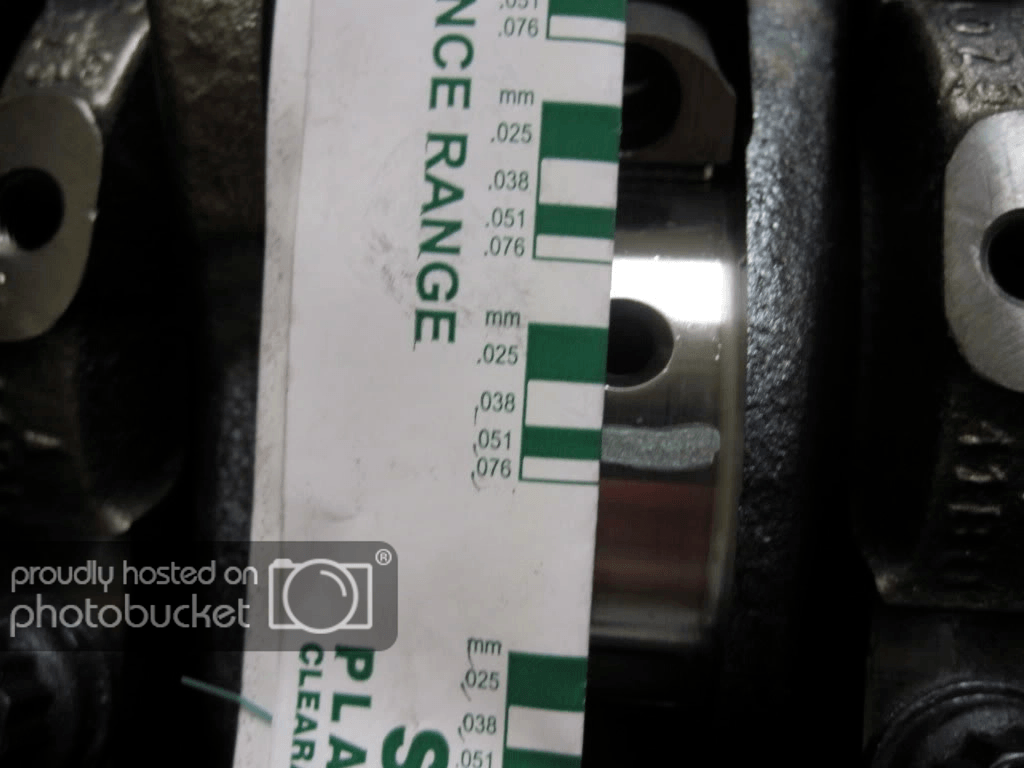
Well within spec
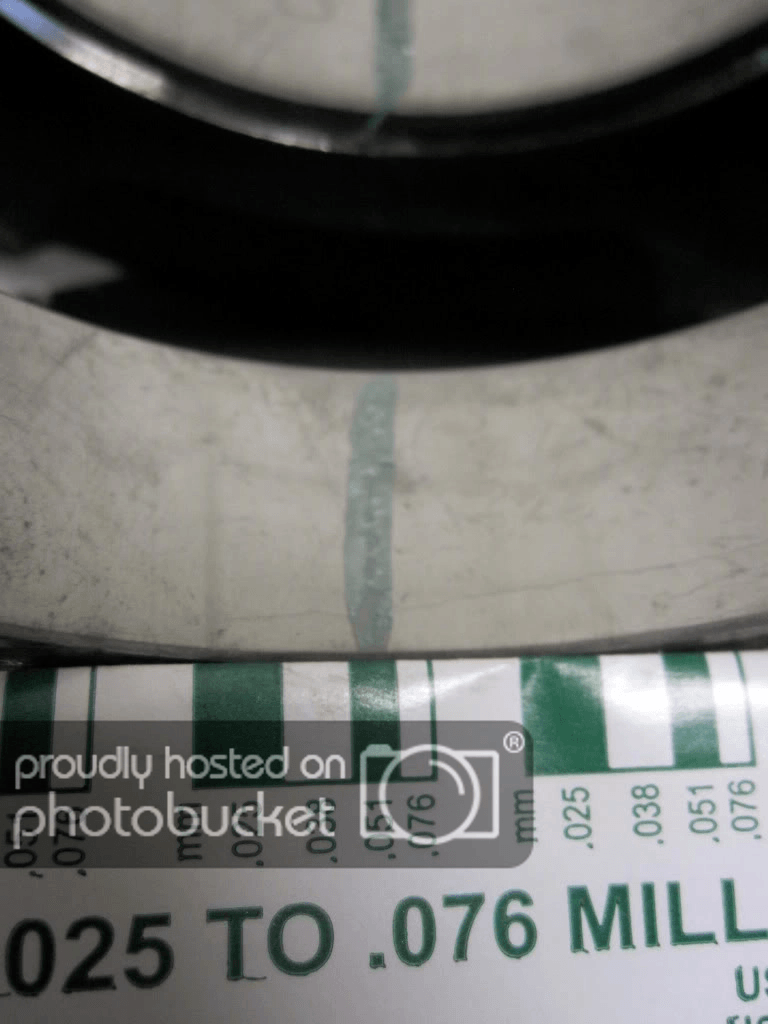
They're all at least ~.050mm
Got a big workout and torqued them down to 65 ftlbs for the 3rd time (not the easiest when the block isn't mounted to an engine stand)
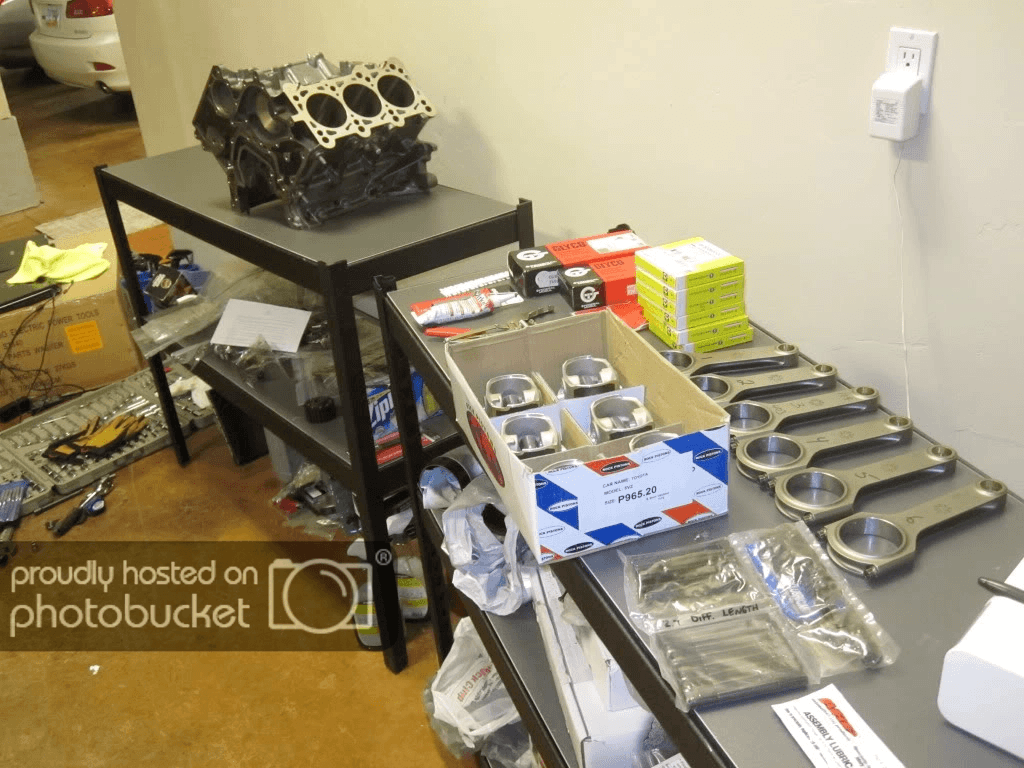
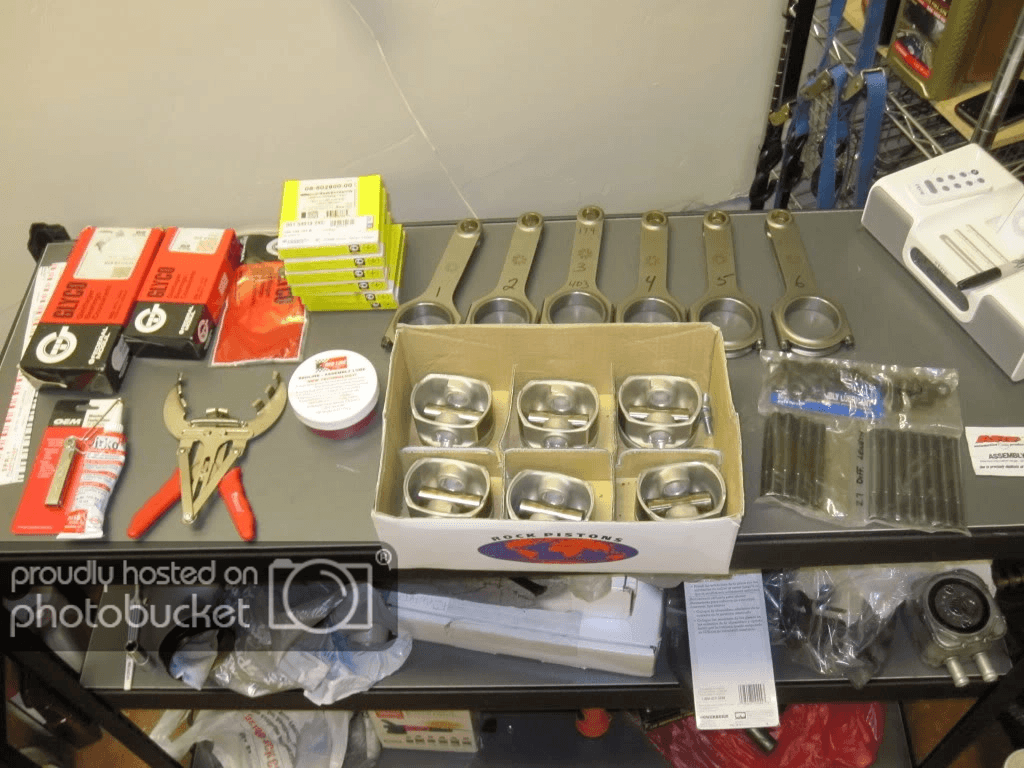
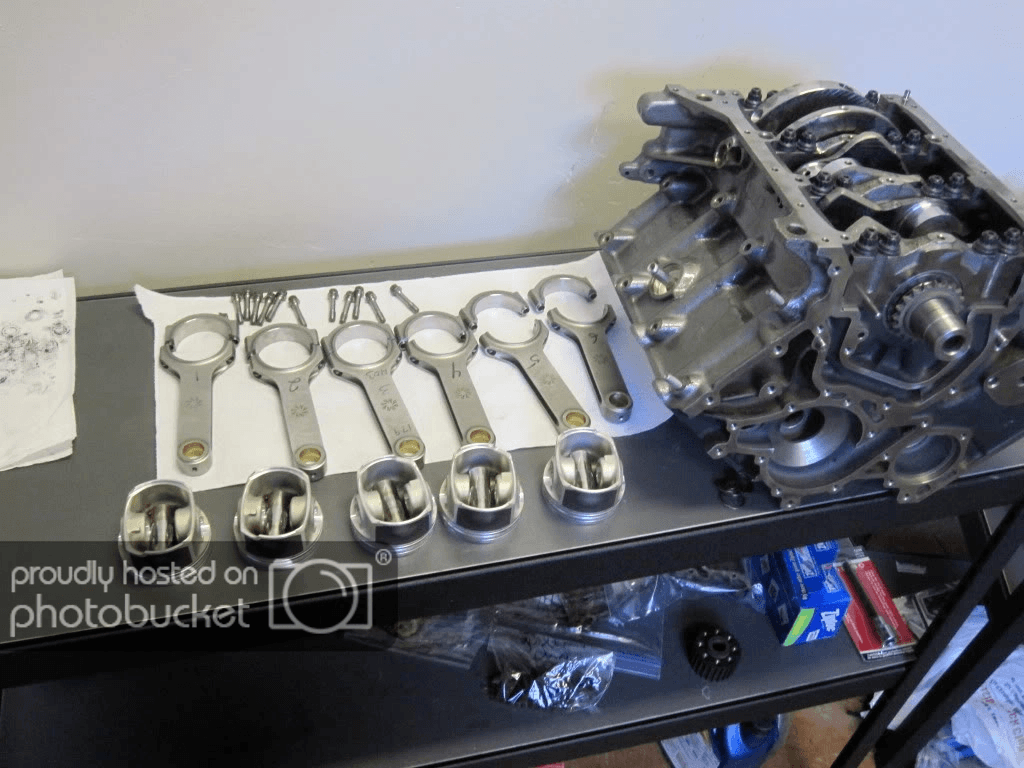
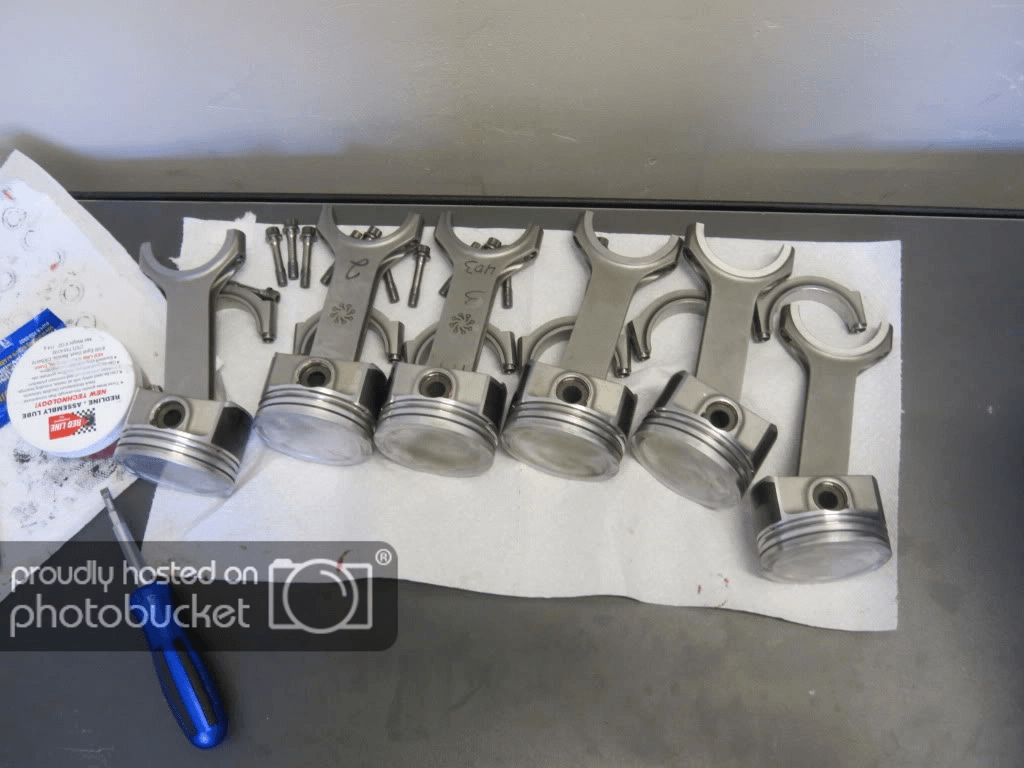
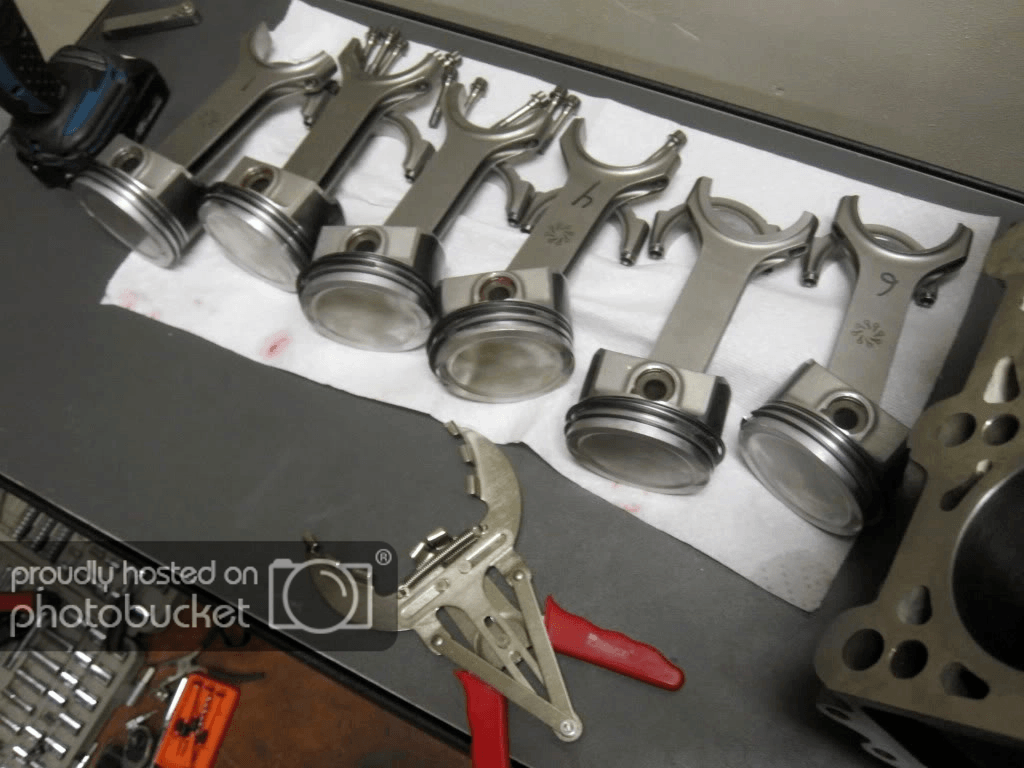
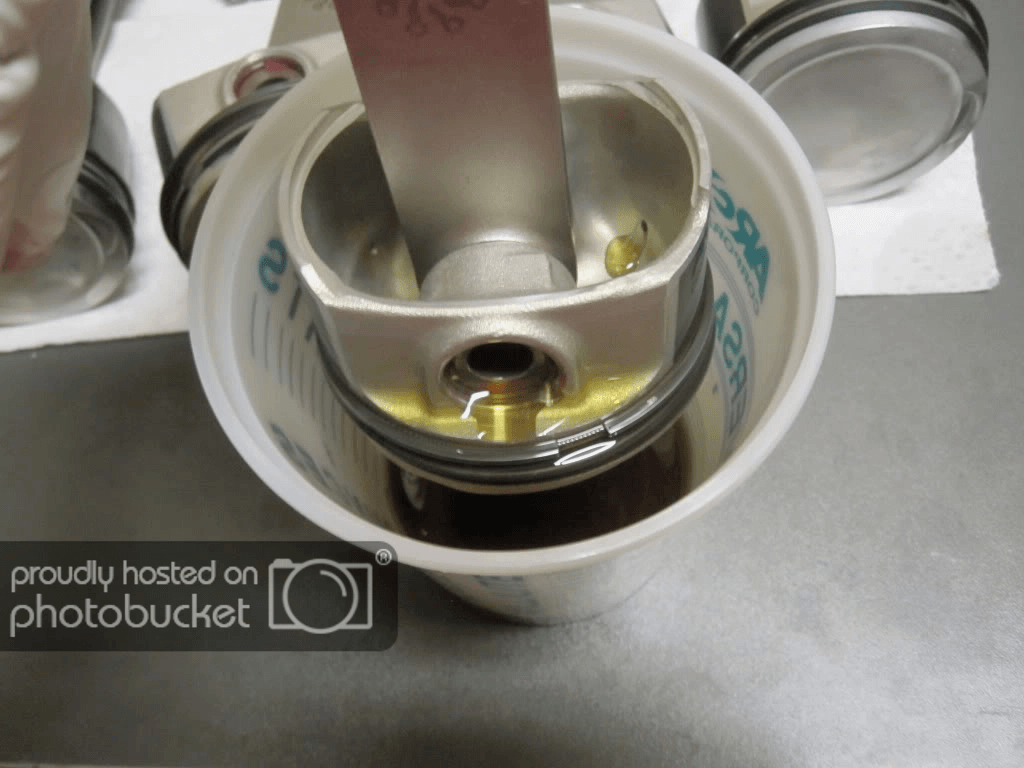
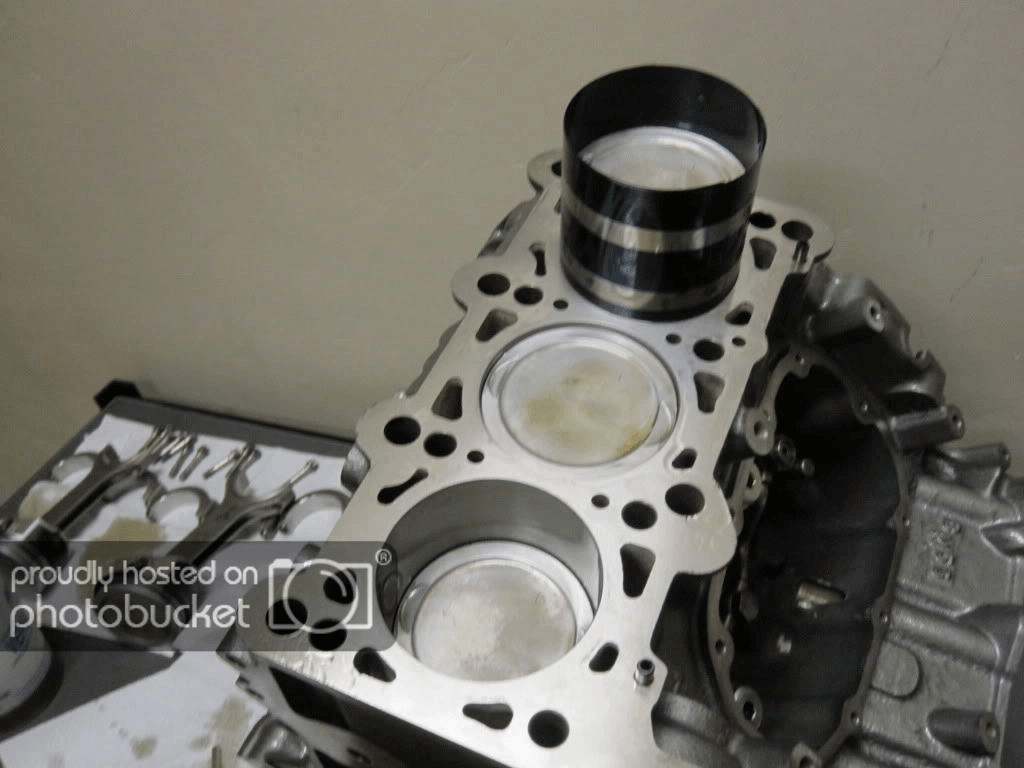
Pistons and rods to be assembled. The circlips are officially a huge pain to do, and I've got a sensitive thumb now ha.
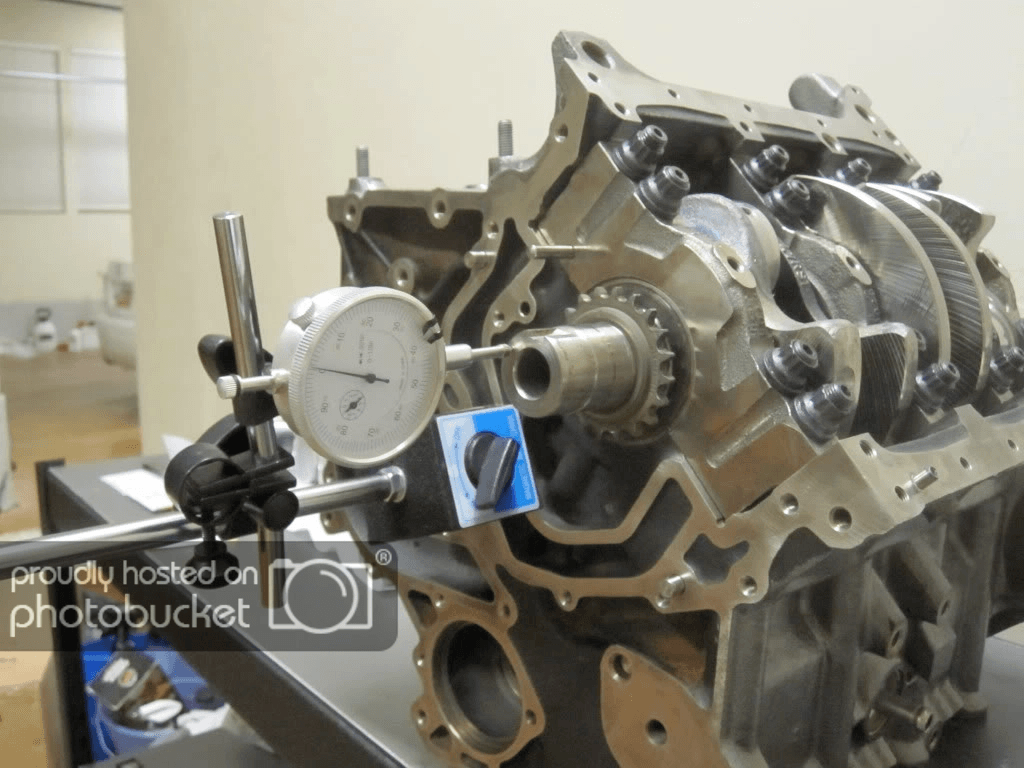
Checking crank axial tolerance
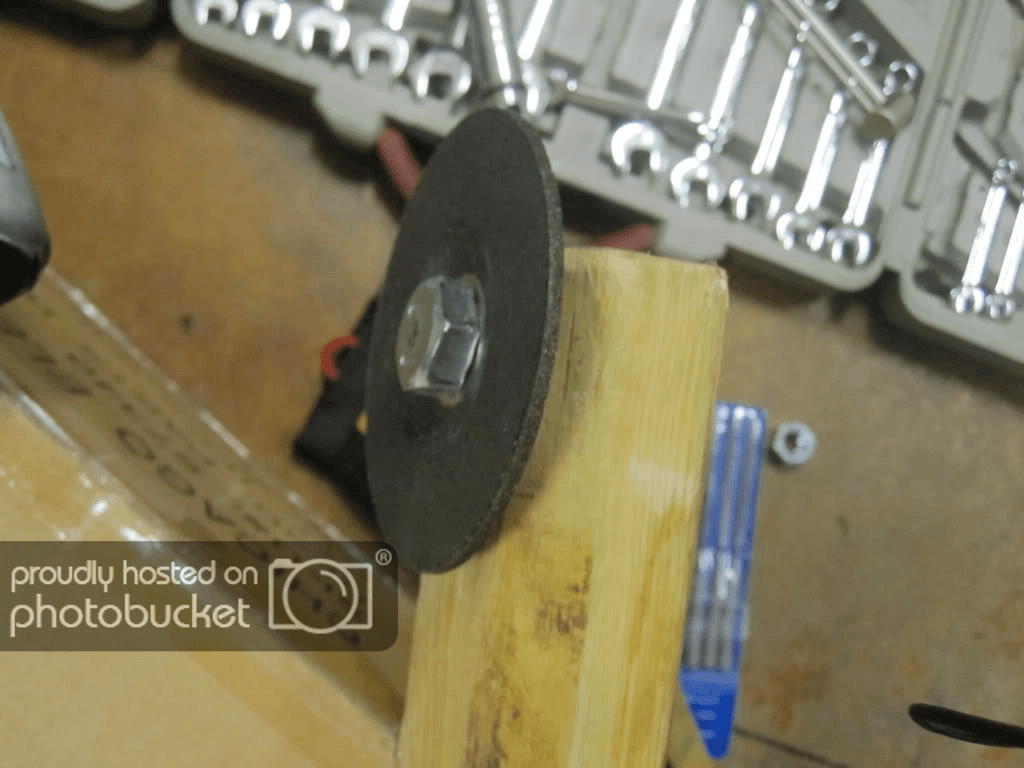
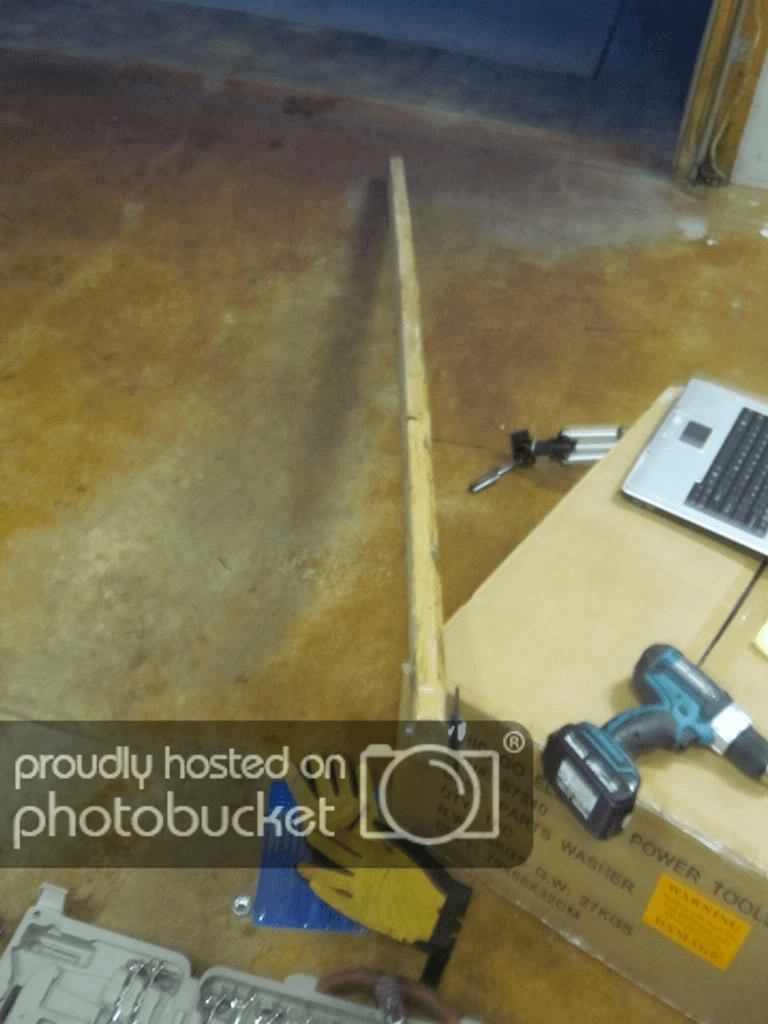
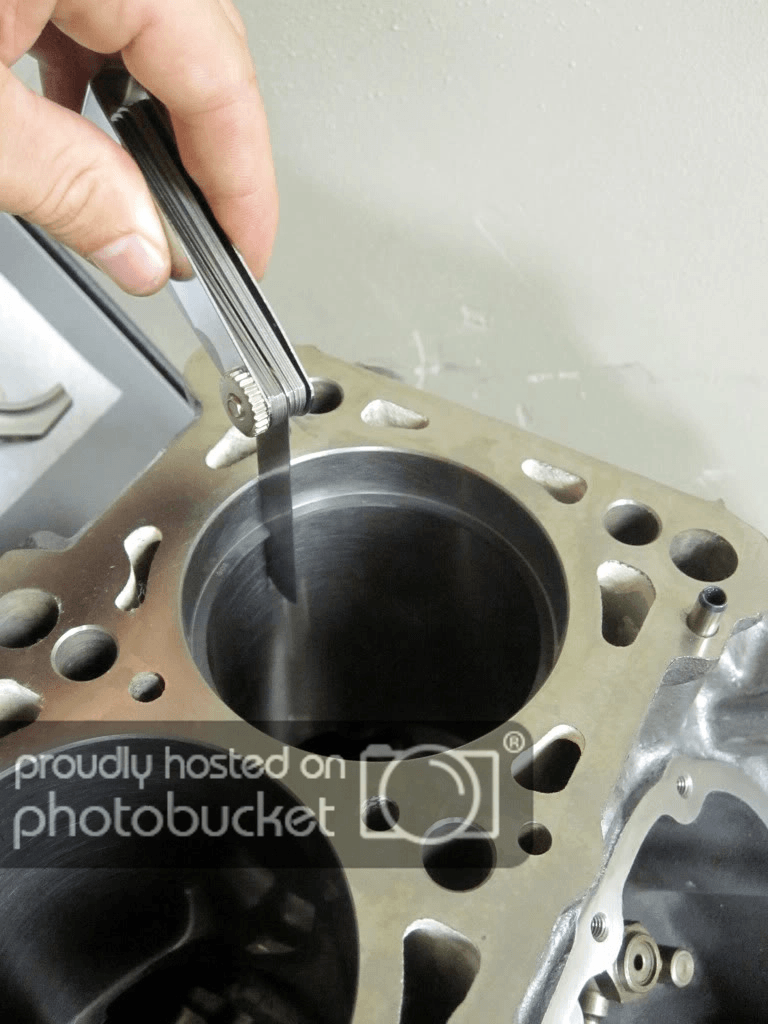
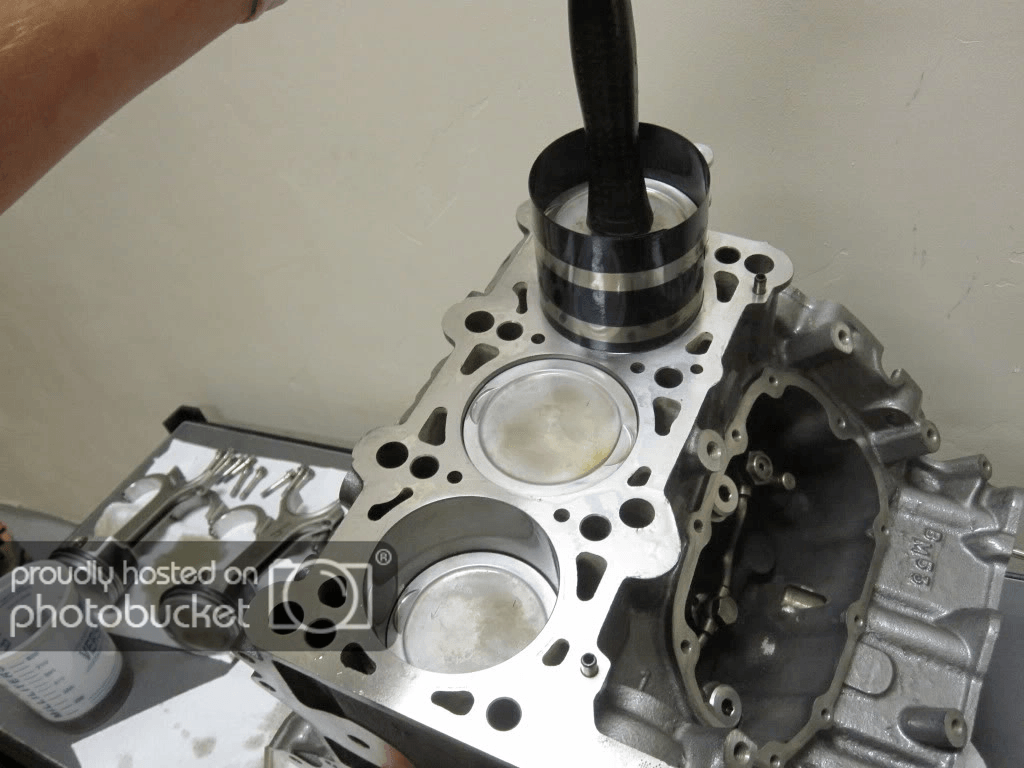
Gapping the rings. My ring file I fabbed ha.
Checking the rings (3 x 6 = 18 rings to check/gap). Be careful checking the top compression ring, because it's so hard that it can easily scratch the bore if you're not careful.
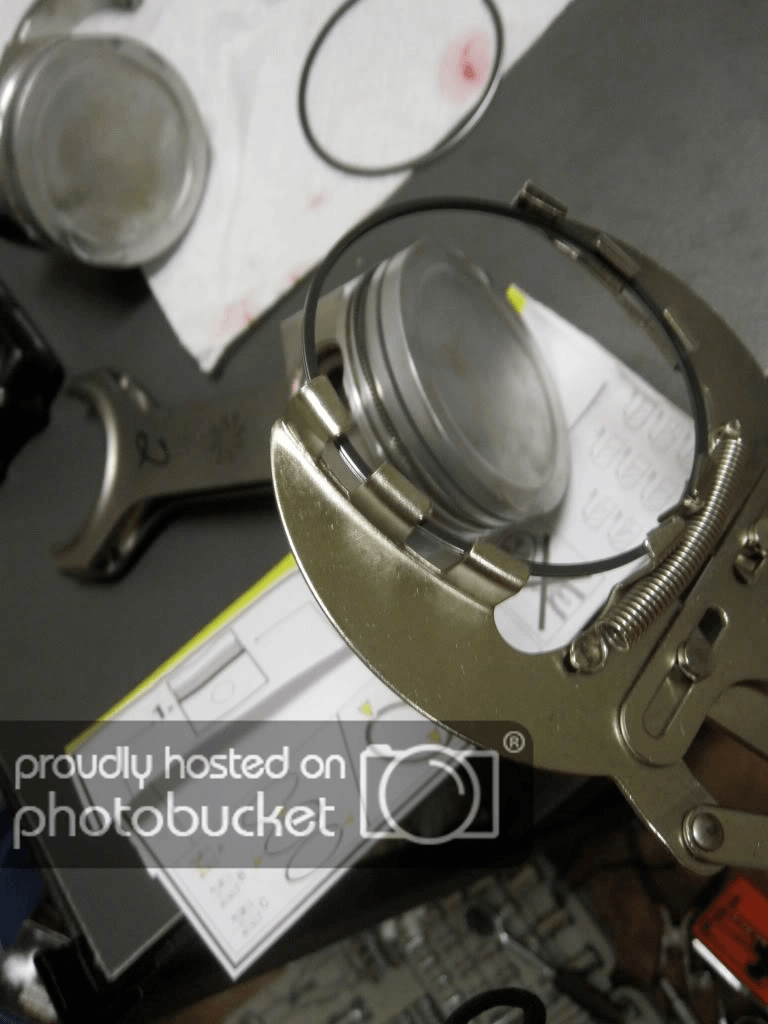
Assembled with rings
Plastigaging the rod bearings
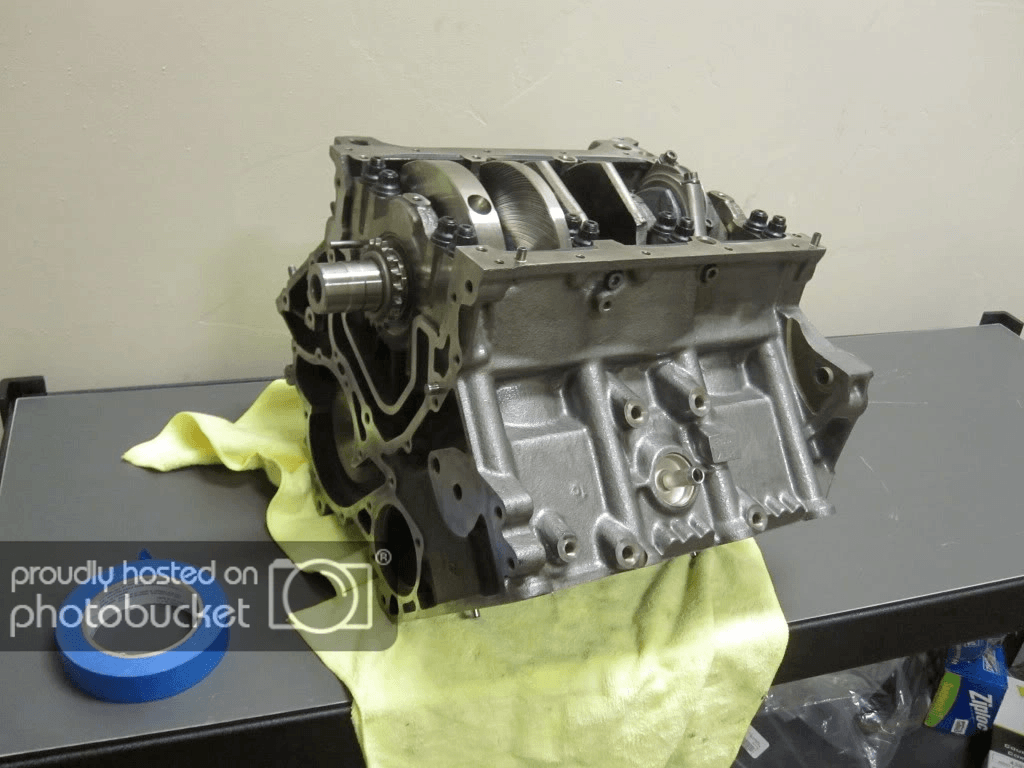
All assembled, torqued and ready to take up to my shop to put on the engine stand and put the rest of the accessories on before throwing it back into the car!
Plan of attack from here is to get the car running on the stock fuel pump while I finish the intake manifold and surge tank. I hope to have it running soon!
Great build nice detail!
Posted by Diggymart on 2/27/19 @ 2:48:23 PM