You must be logged in to rate content!
10 minute(s) of a 96 minute read
9-8-2011
Engine assembly updates. I actually did this like 2 weeks ago, but I got so frustrated with it that I just barely got motivation to post pics. Key takeaway from this post, IF YOU WANT PLUG AND PLAY INSTALLATION, DO NOT GET THE ARP MAIN STUDS.You'll see why in these pics. At least the engine looks good lol.
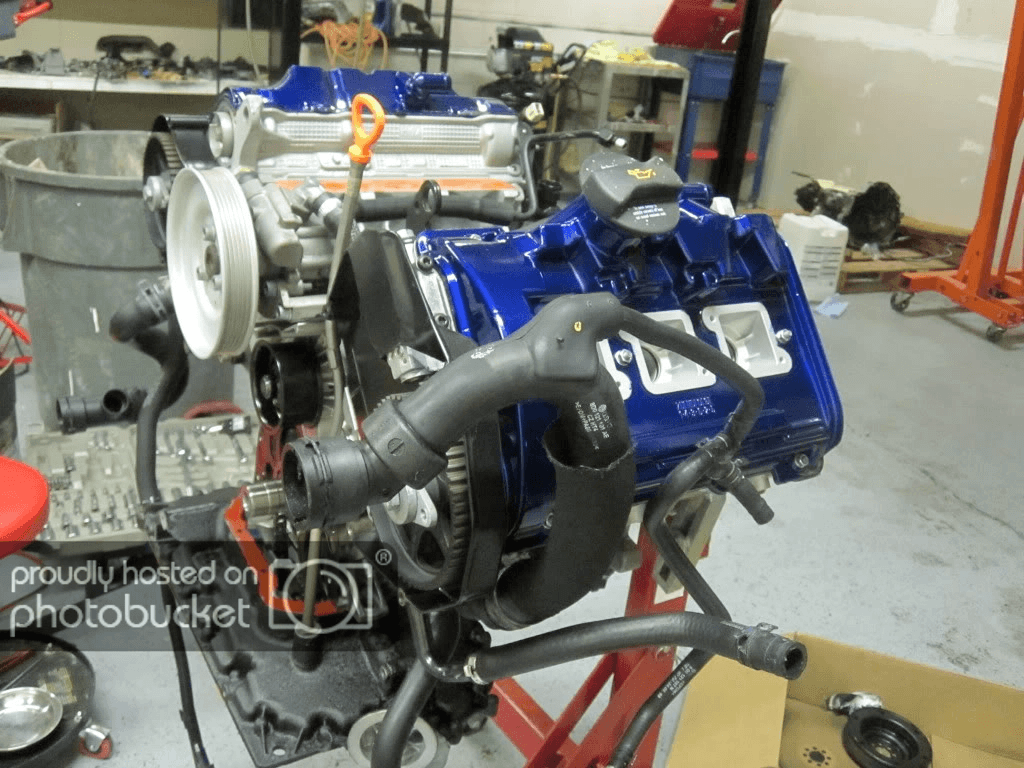
So it started with the upper oil pan install. I got a surprise when the oil pan wouldn't seat right. I found out that the ARP main studs that I was explicitly told by 034 motorsports that they required no clearancing, because I have the uneven main studs, turned out to be anything but "no modification."
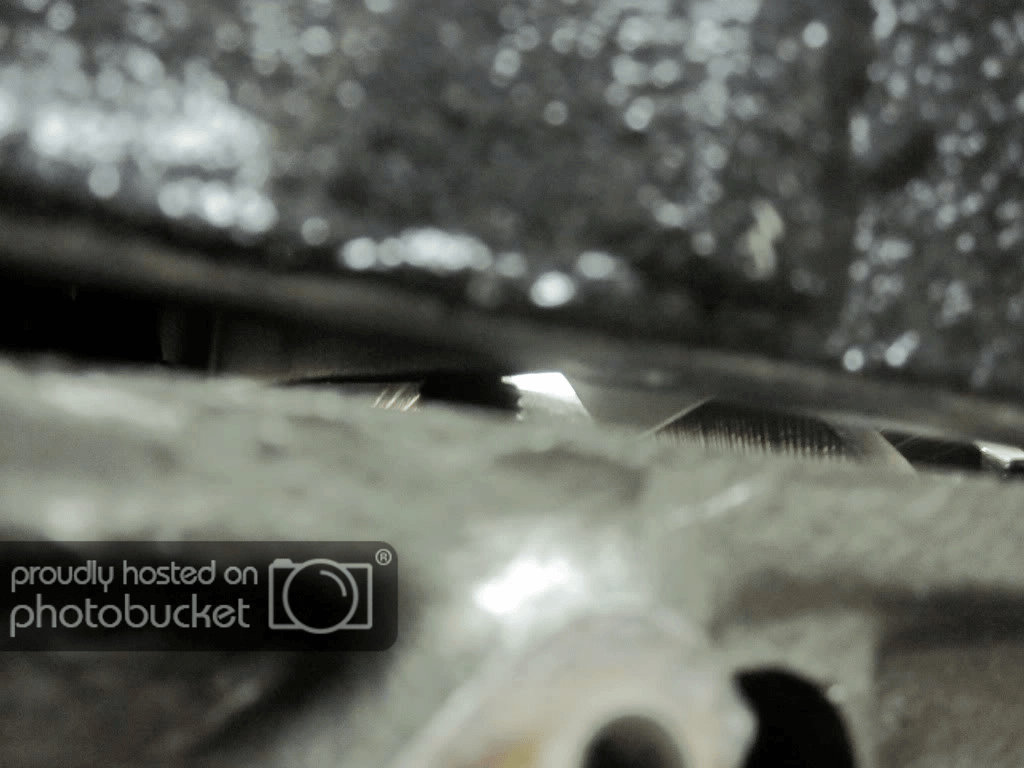
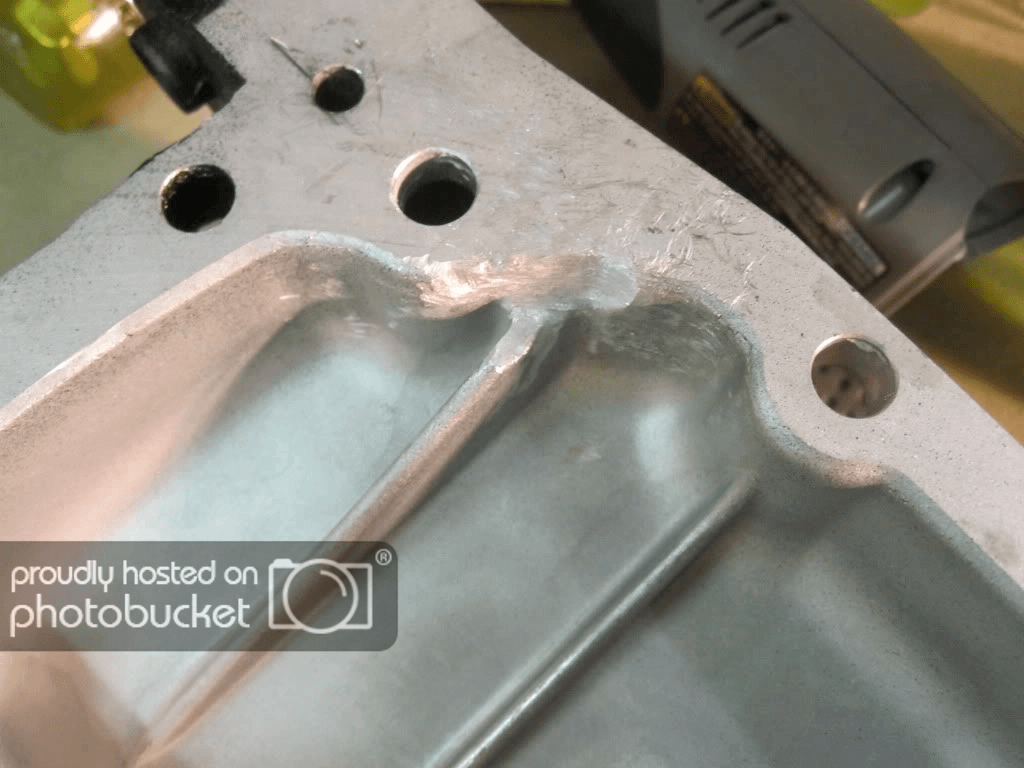
You can see them hitting the webbing here, and the 2nd pic is through the gap between where the pan should seat (you can see the casting webbing on the oil pan hitting the top of the stud).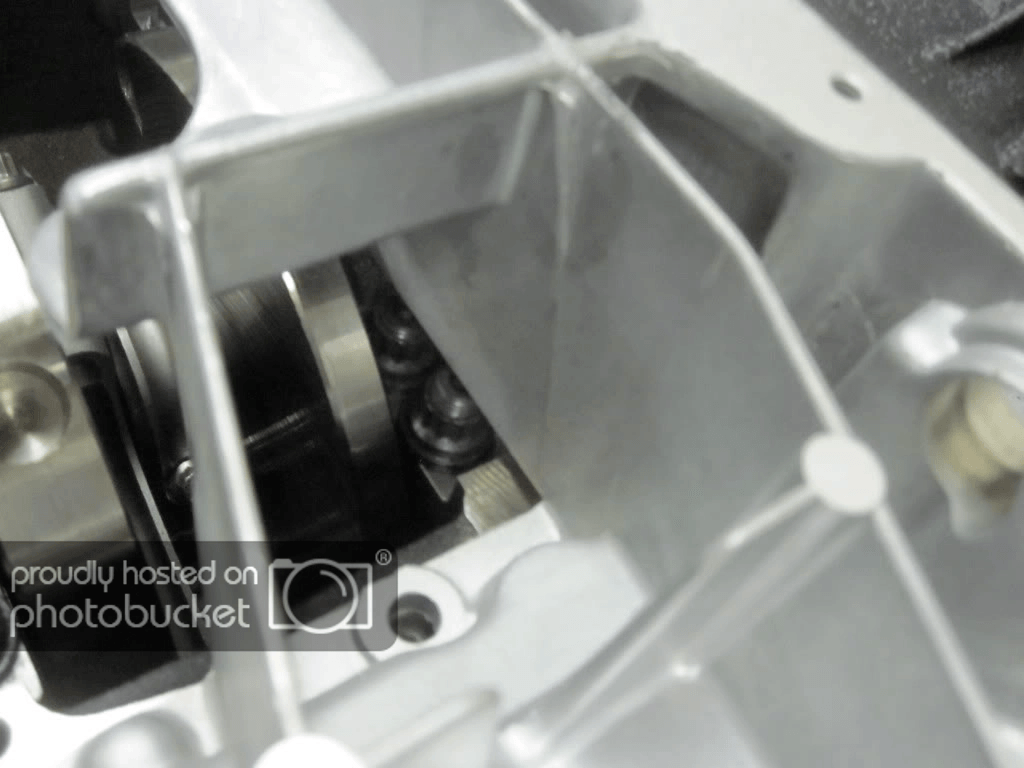
This wouldn't be the biggest deal if I were a fabricator or welder, with different cutting tools and whatnot, but I only have mechanic's tools and I had everything all perfectly cleaned and laid out, ready to just install (and I do most of my work in the middle of the night, when no stores are open to get anything). Luckily, I brought my dremel and an angle grinder that I bought at Harbor Freight just a couple of days before.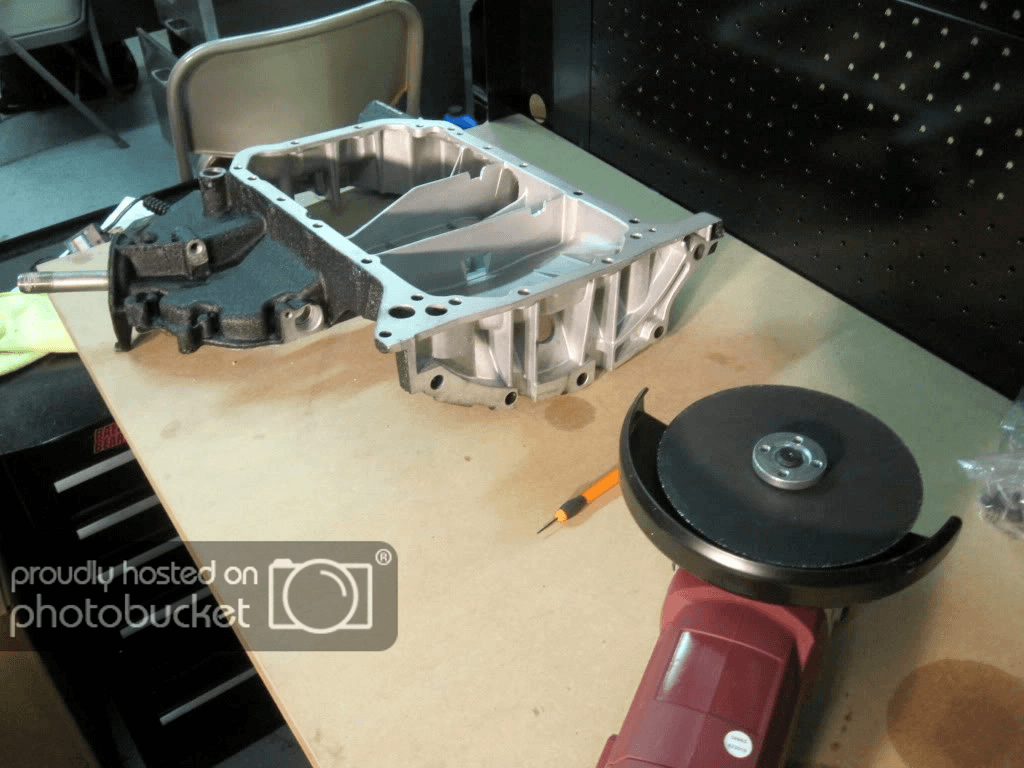
The grinding in general was a major pain, because I would have to go cover up the engine with an engine bag, cut the oil pan a little bit (using my dark sunglasses as eye protection because they were the only thing around), blow it out then clean out the entire oil pan again with liquid and wipe it all down to clear out all of the metal shavings and metal powder that gets between all of the webbings (so that they don't drop into the motor when I fit it), go test fit it only to find out it needs more clearance, or that it now hits in a different spot. Rinse and repeat literally 10+ times just for the upper oil pan (there's more later).
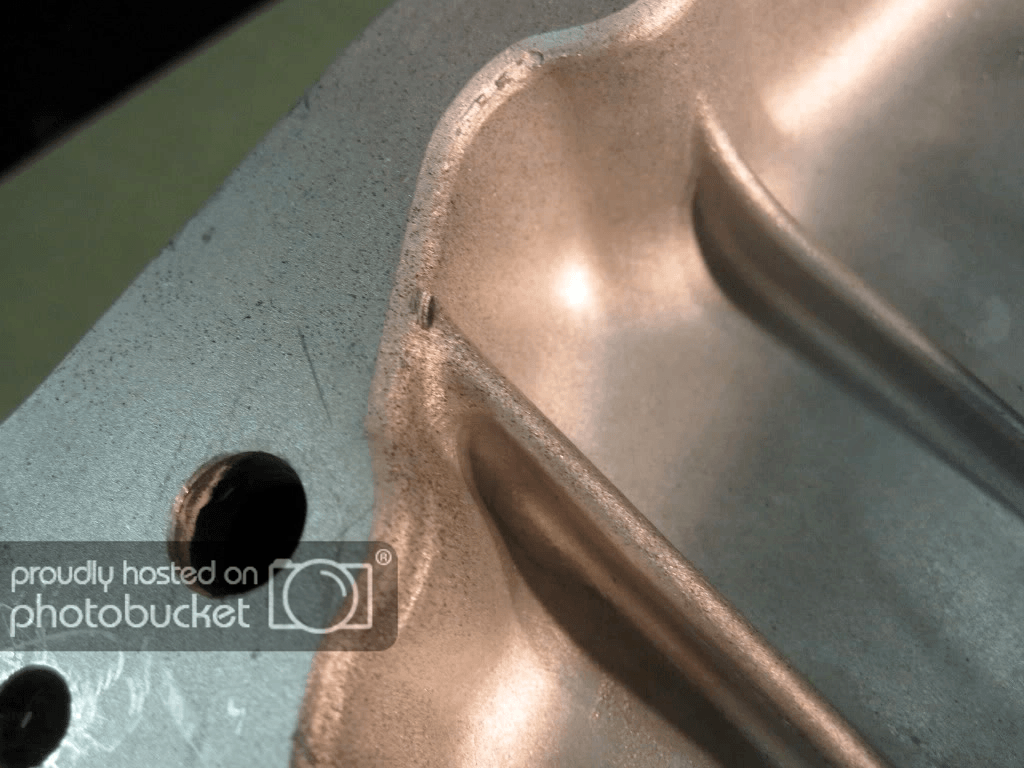
I started clearancing where the longer studs were.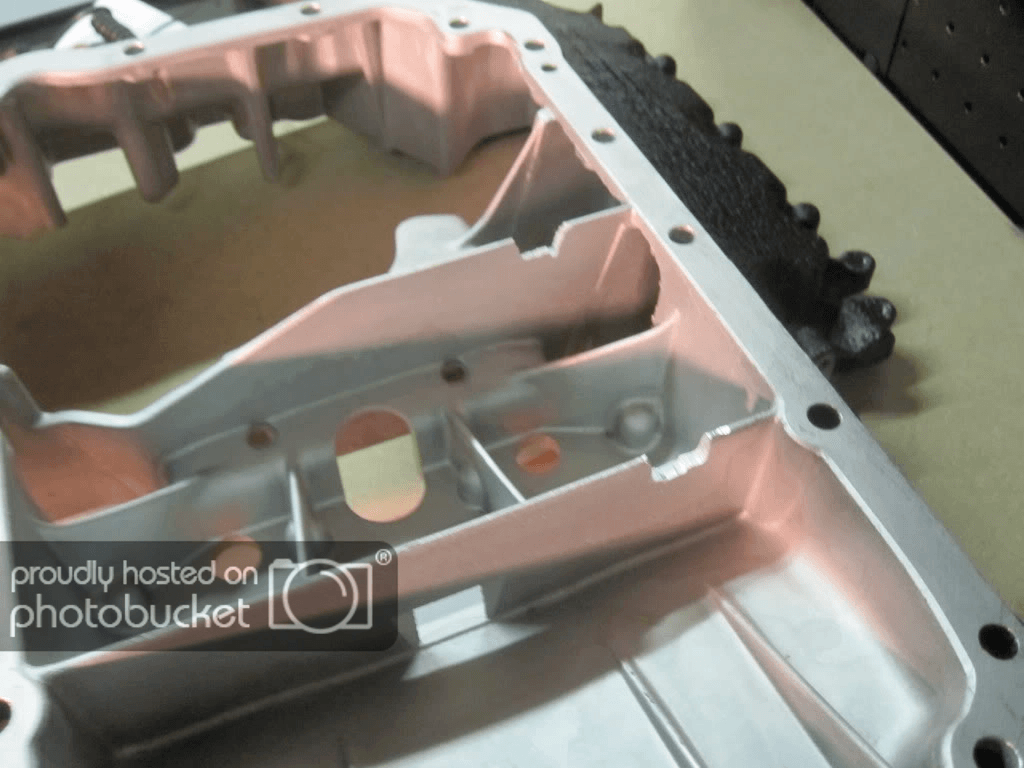
Then I found out I have to clearance the shorter inner studs as well.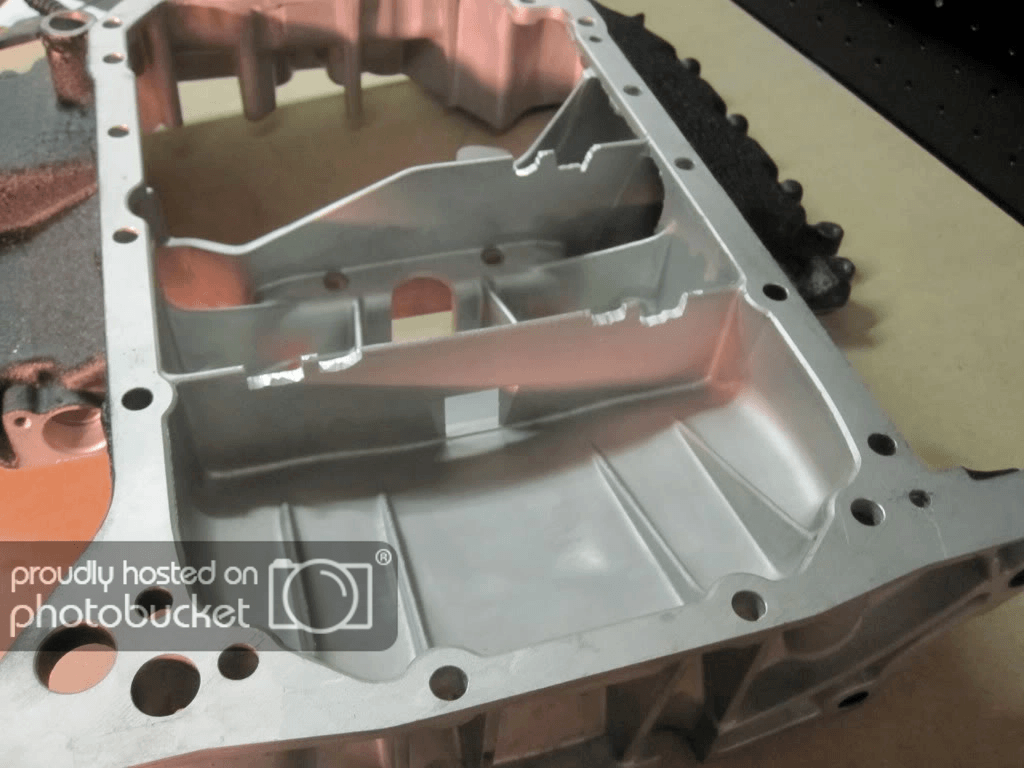
Then I found out it hits on the webbing on the ends as well (you can see the nicks where the bolts were hitting).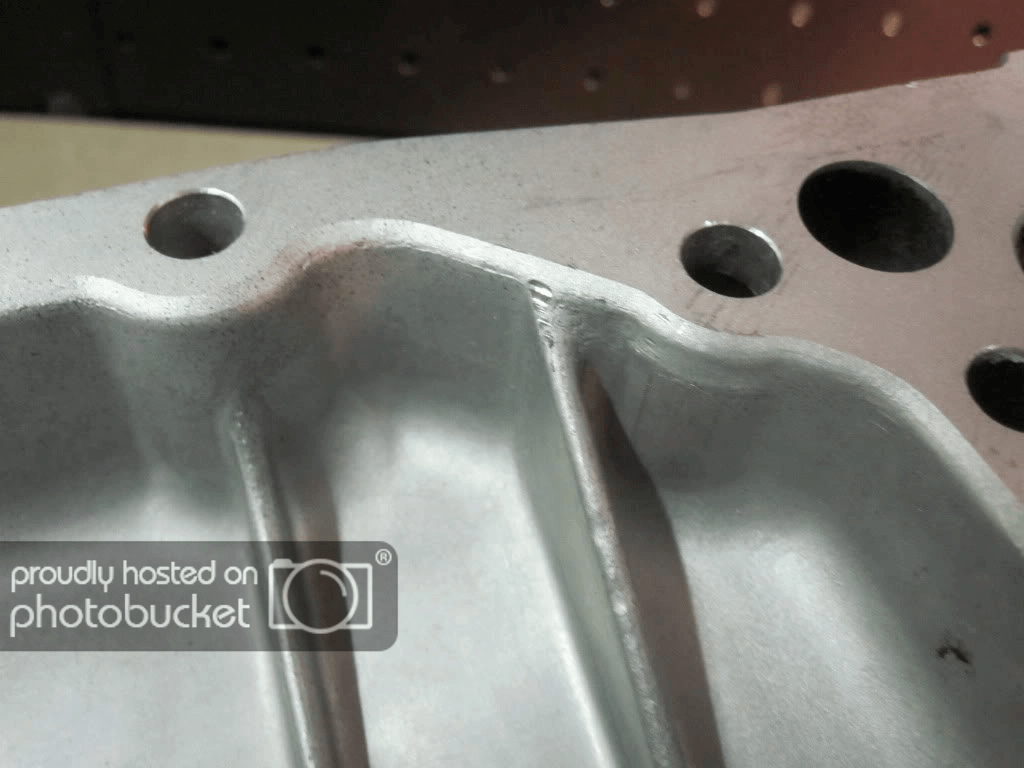
This was a huge pain, because I had to use my dremel, which isn't the most powerful and is the kind that runs off of an Li battery. The dremel would overheat, and I would have to wait like 20 mins for it to cool down, and then it would run out of battery, so I'd have to wait for it to charge (I only have one battery). Dremel, overheat, dremel, charge battery, clean entire pan, test fit, find out it still doesn't fit, cover up engine, repeat previous steps another 10+ times.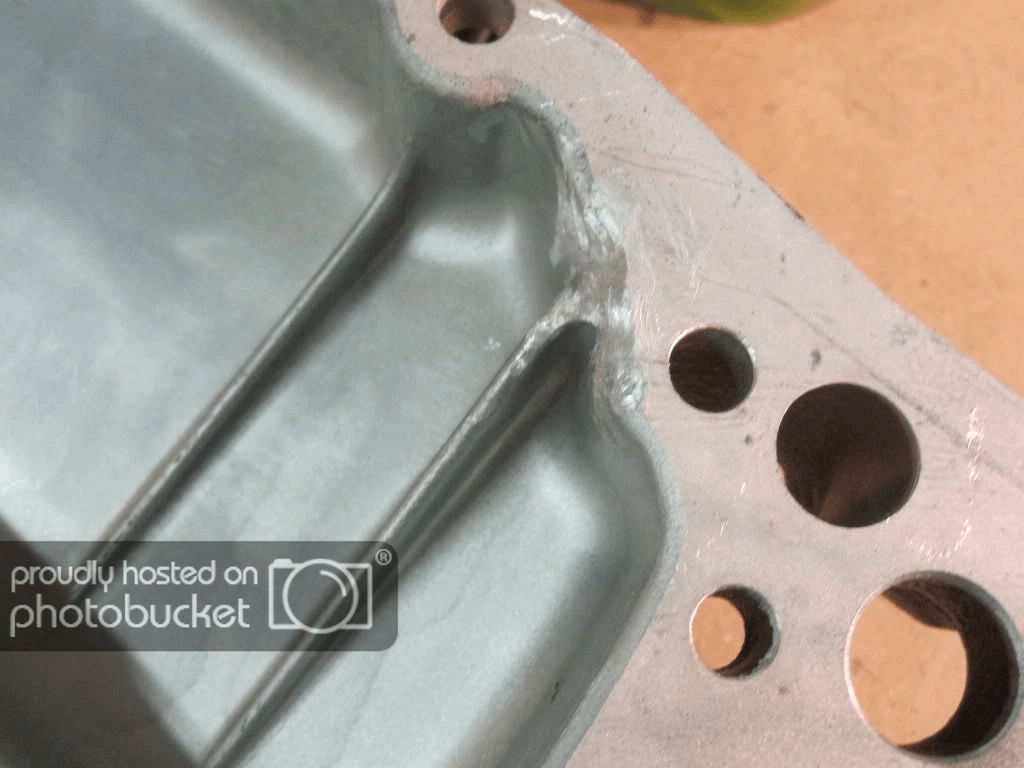
Finally, what it looked like after literally 4+ hours or crapping with it (I know, I'm a slow, inefficient perfectionist).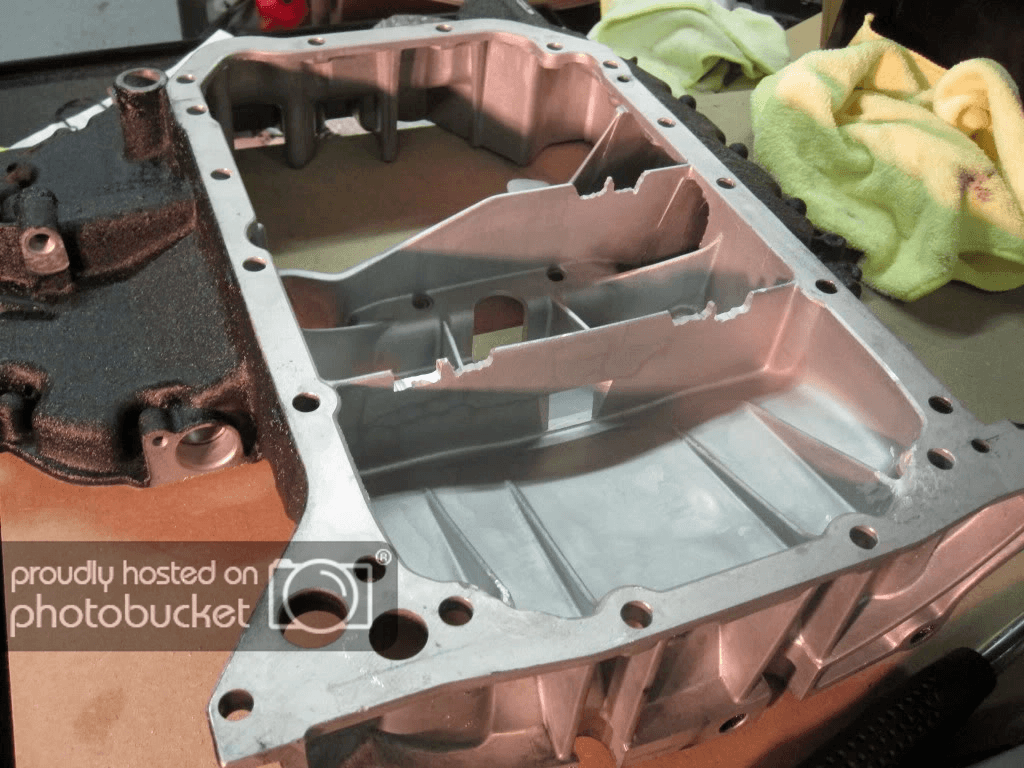
Got the upper oil pan clearanced and installed, then I used this high-temp silicone tape that I have for powdercoating to fashion an install ring for the front main seal.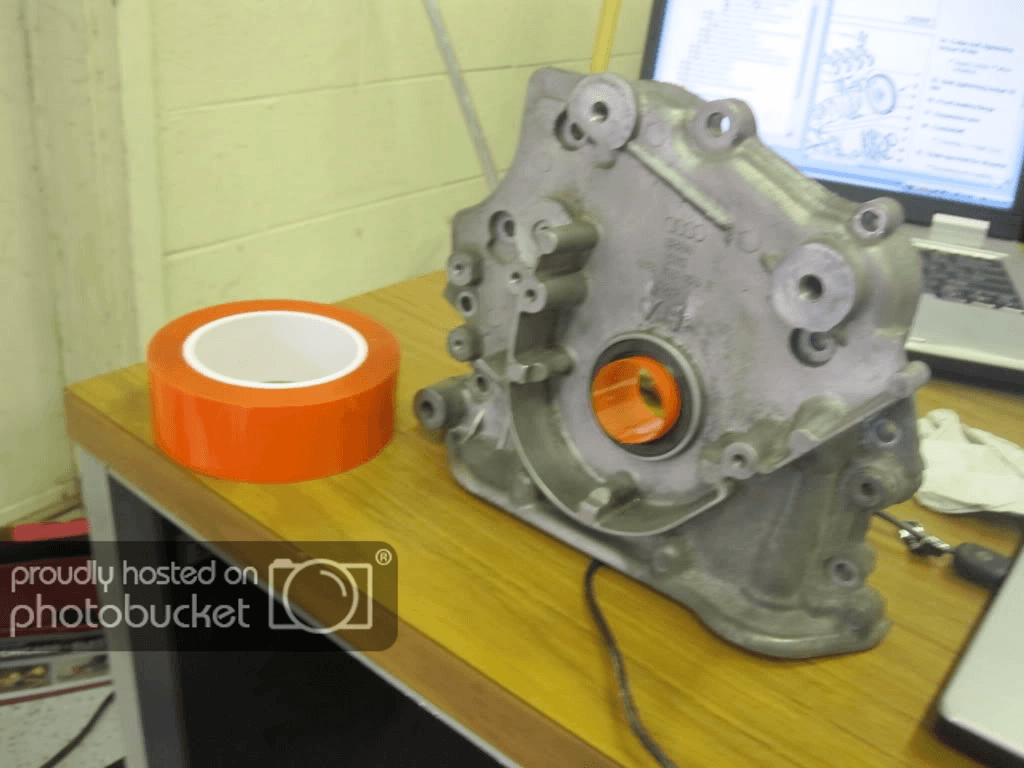
Then I got another awesome surprise, courtesy of the ARP main studs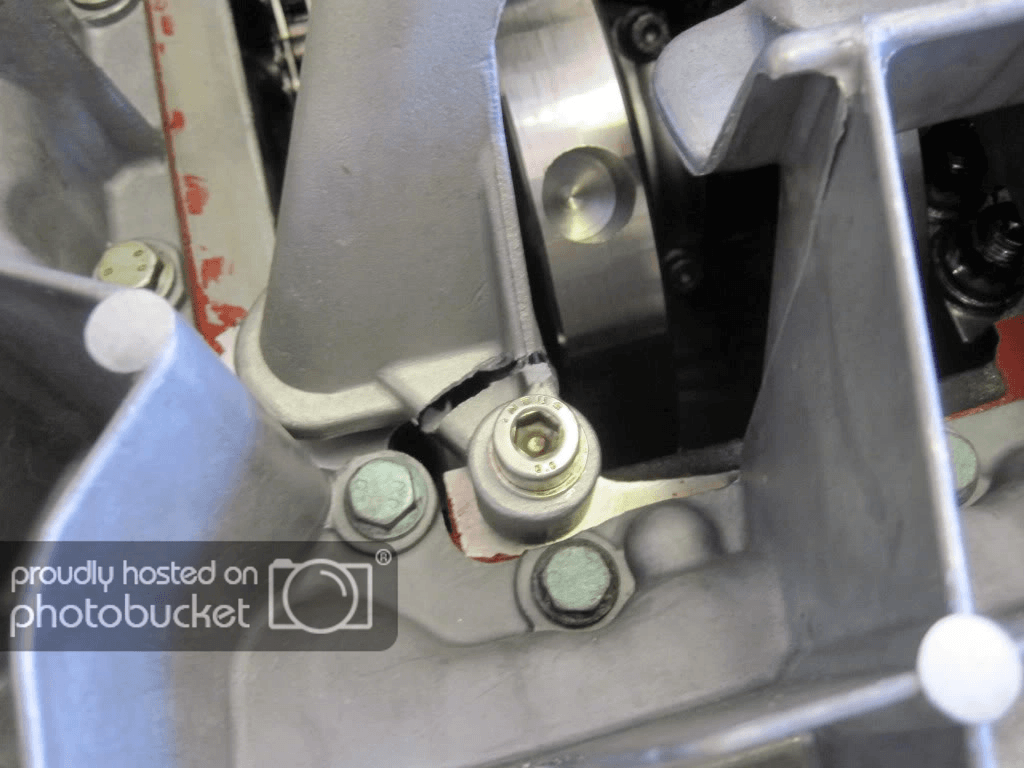
Not seated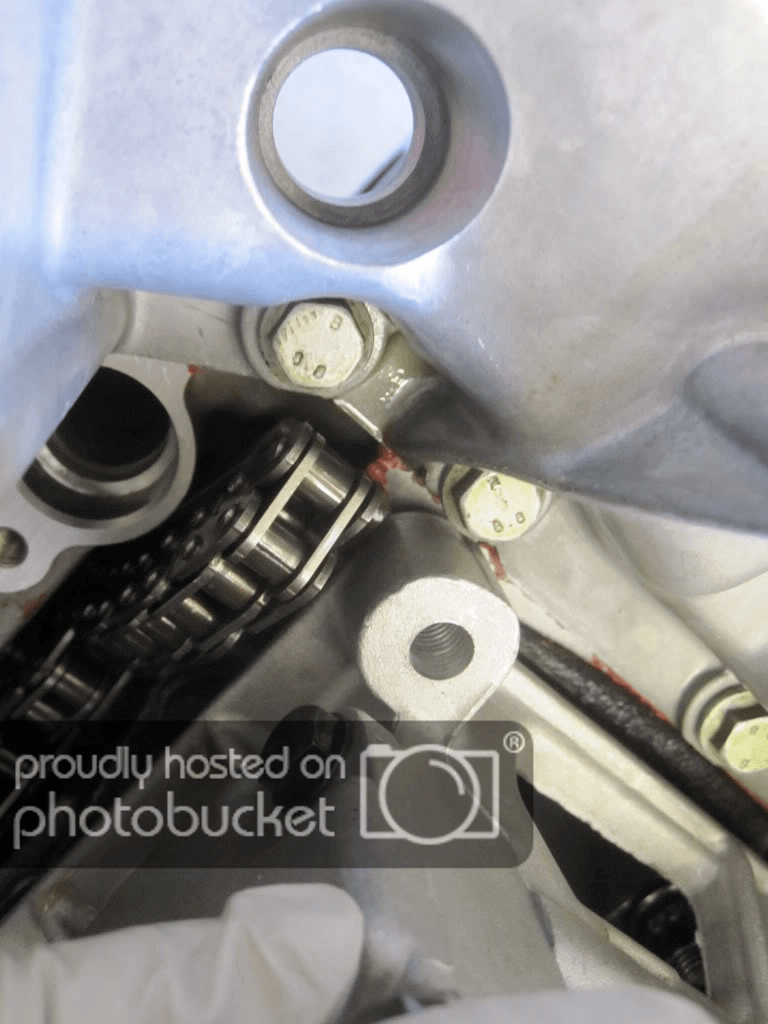
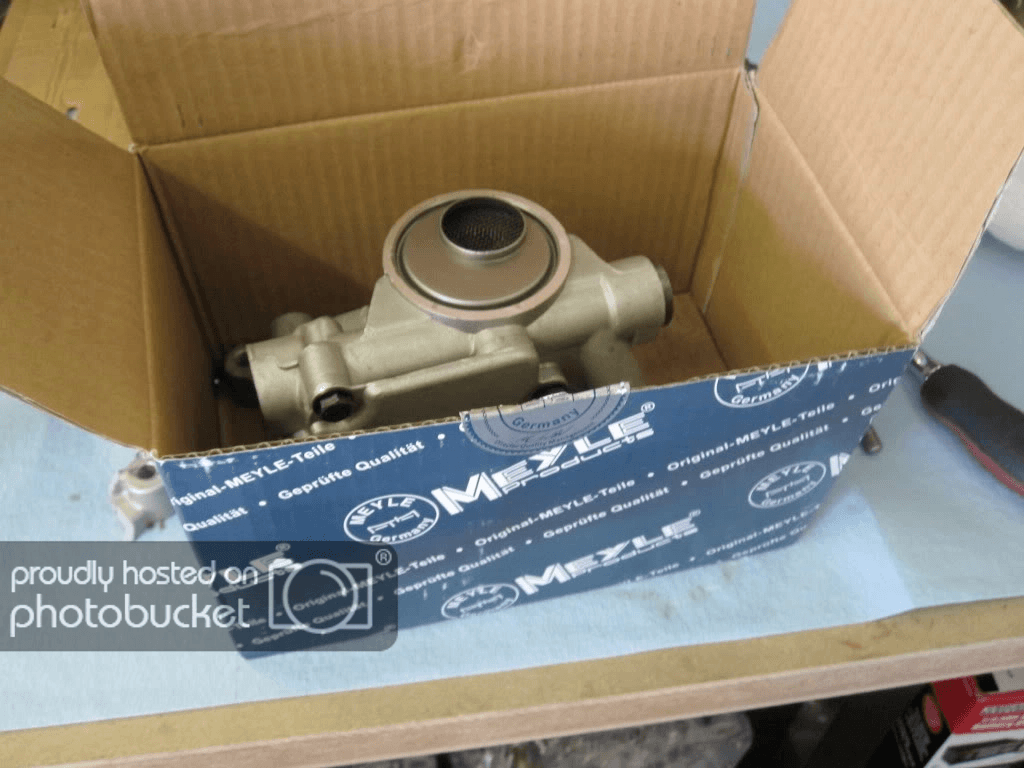
That's a brand new $130 oil pump that's now useless. The oil pump sat pretty well in its place, but apparently the studs hit the bottom of this as well, leaving like a .5cm gap on the bottom. When torquing them to the factory 25Nm spec, the cast pump broke because of the main bolts (the bolts hit in a spot that isn't visible from the top). So I've got a brand new, broken pump. I haven't talked to 034 yet about the main bolts and broken oil pump.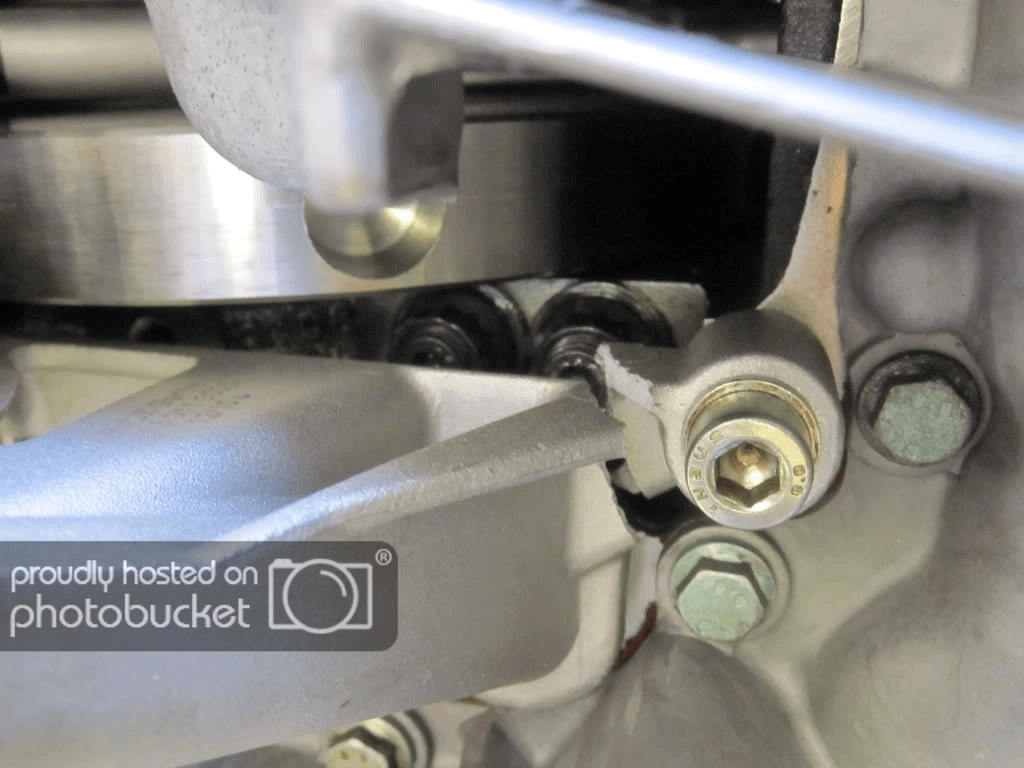

Anywho, so after all that (now on my second night of unprepared clearancing work, on something that I expected to have completely assembled in one night), I then had fall back on using the oil pump that I pulled out of the engine (luckily the pump only has like 40k mi on it), because I had time to work on it then, and not later, so I didn't have time to wait for a new pump to be shipped. I went through the same process of overheating dremel, cleaning, etc 400k times to clearance the oil pump (and be careful not to take off too much of the structural casting).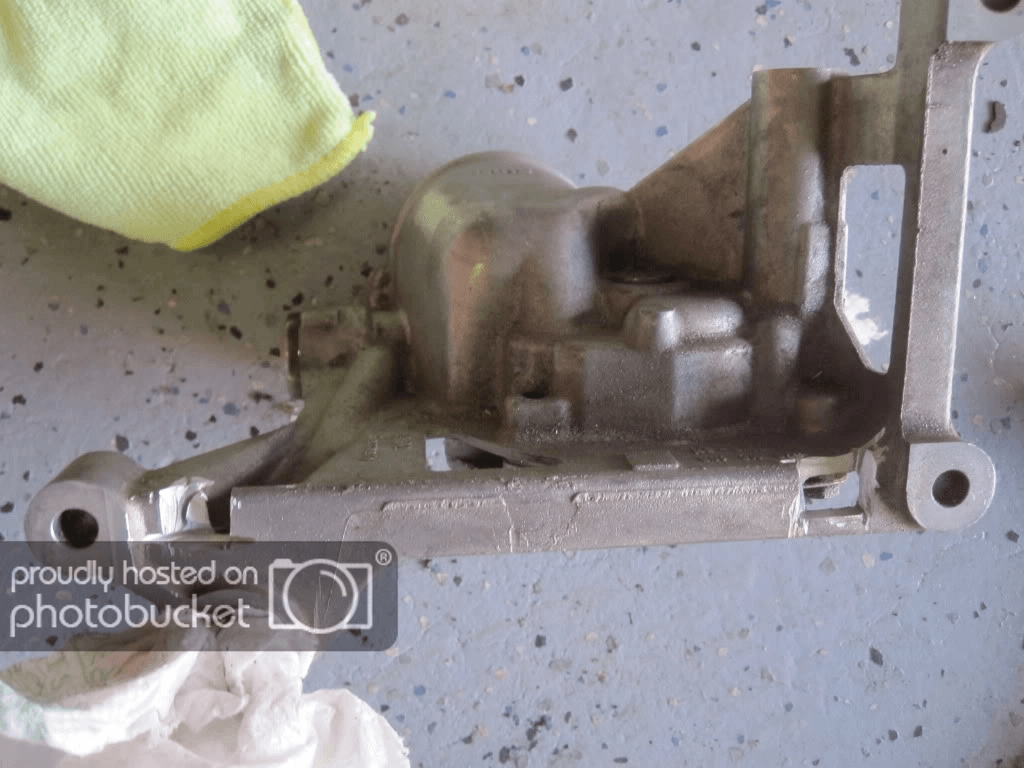
Another tip, put the oil pump, and sprocket, on before the upper oil pan, or you may have to do this because of the clearance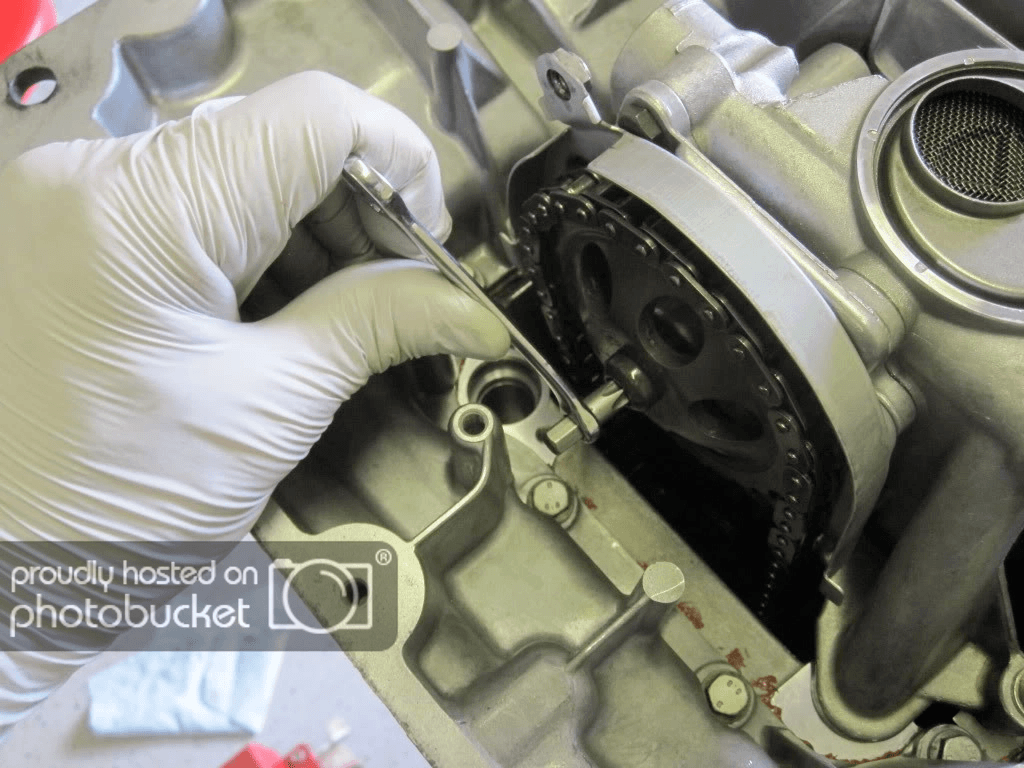
Pump and upper oil pan finally on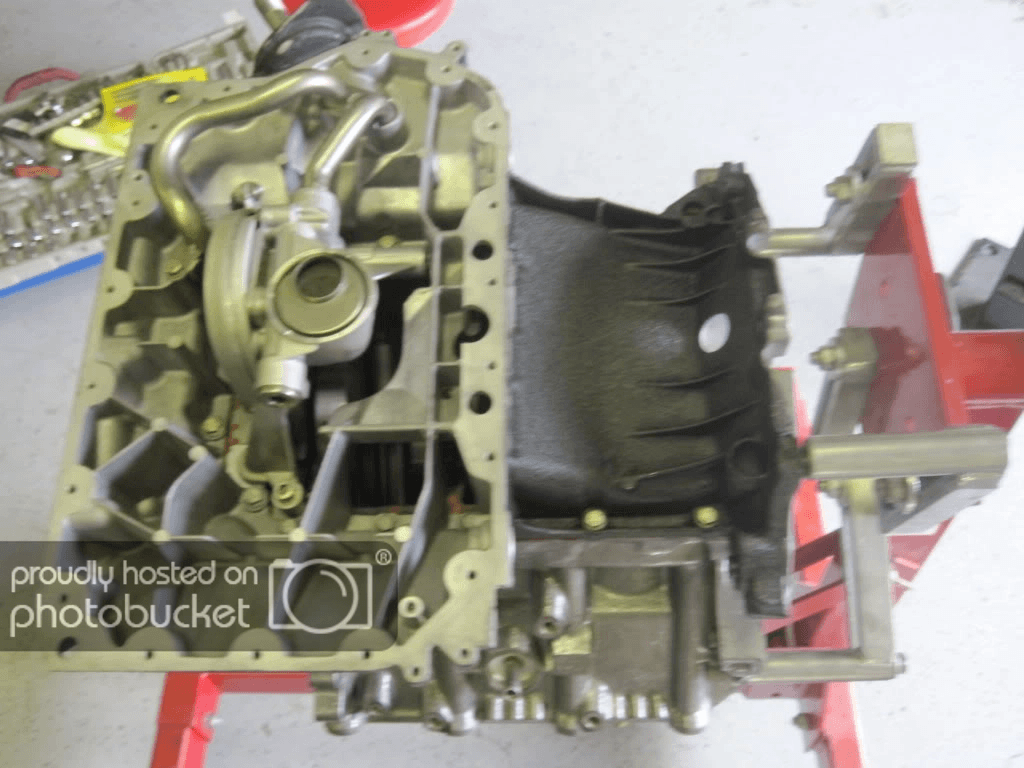
Lower pan on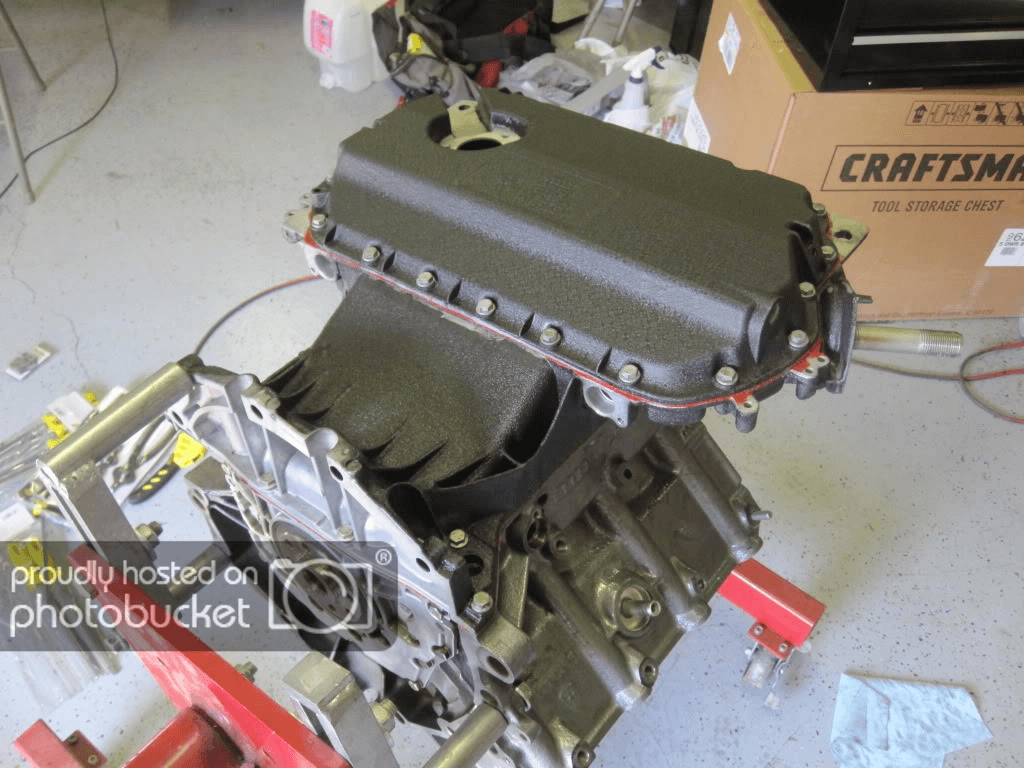
Valley cover on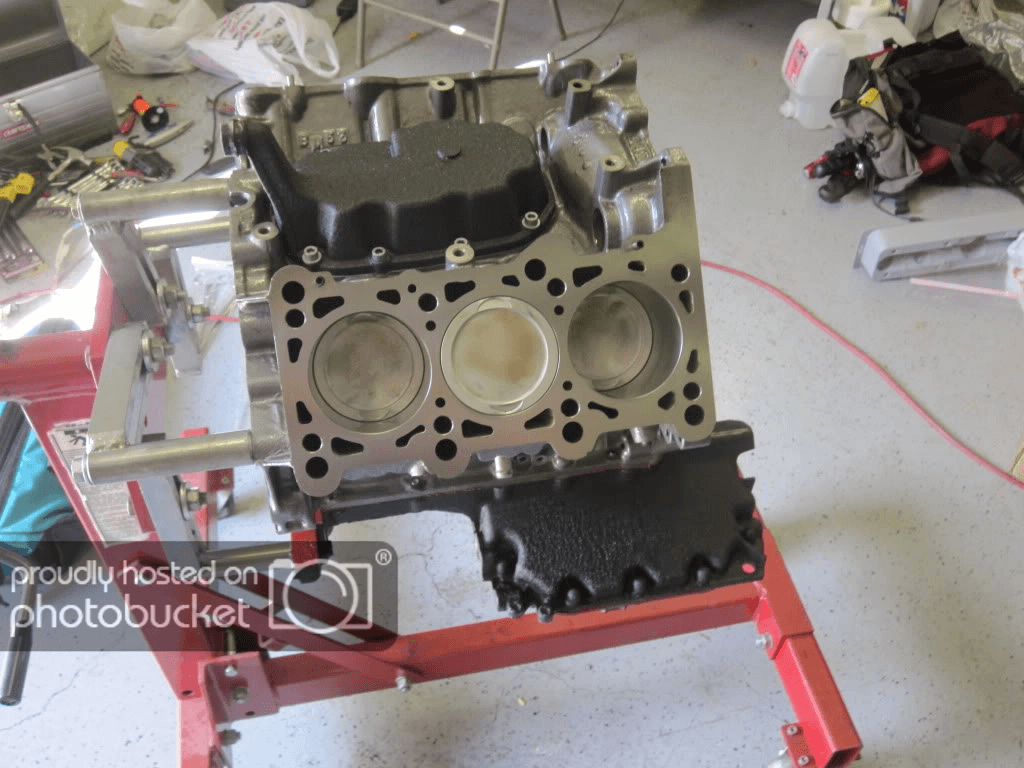
This is the thin washer (that apparently has no part # in ETKA?) that goes between the crank sprocket and the crank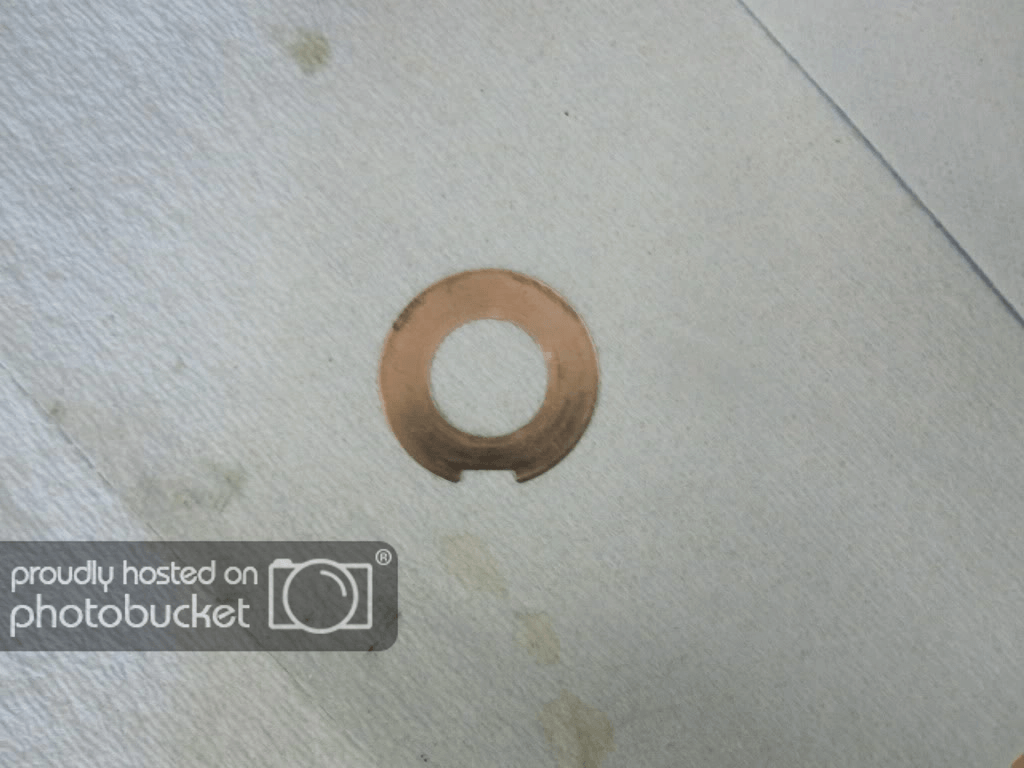
Stretch torquing the crank bolt (can you say cheater bar?)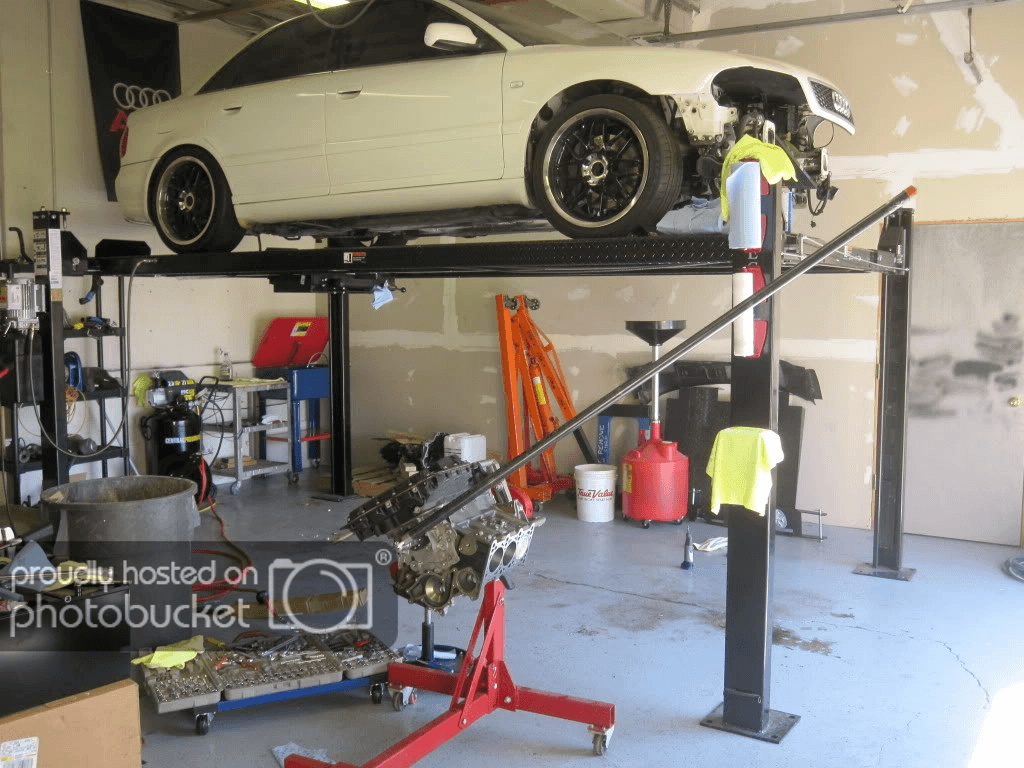
The passenger head's cams get off of TDC when installing the cams, so I used the cam lock bar to turn them into place before installing them on the bottom end
Final timing check (passenger head)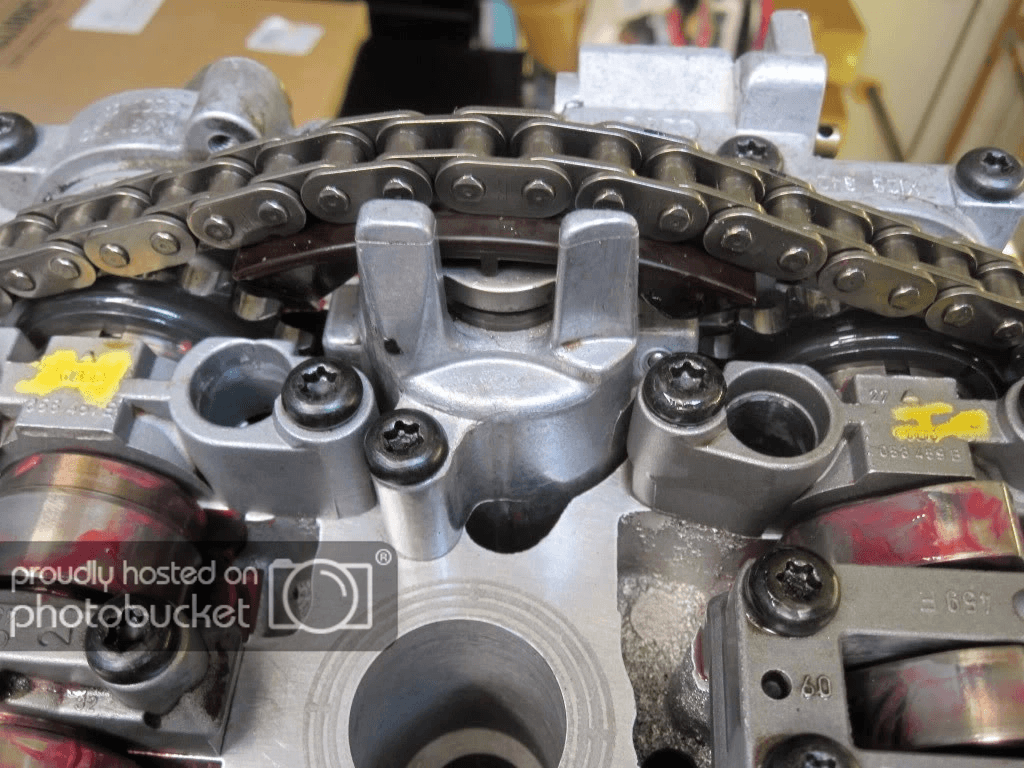
Heads on and torqued, and then I realized something devastaing: There was a missing dowel pin that keeps the leaf spring tensioned on the oil pump chain tensioner It must have got lost over the last 2 years, because it wasn't with my old FMS, nor in any of my bags. If anyone has a random one of these, please let me know. So I had to go back and take off the lower oil pan that I just RTV siliconed (cleaning off that fresh silicone was a major pain, and I still have to do it for the FMS part) and remove the FMS to install that pin before I proceed.
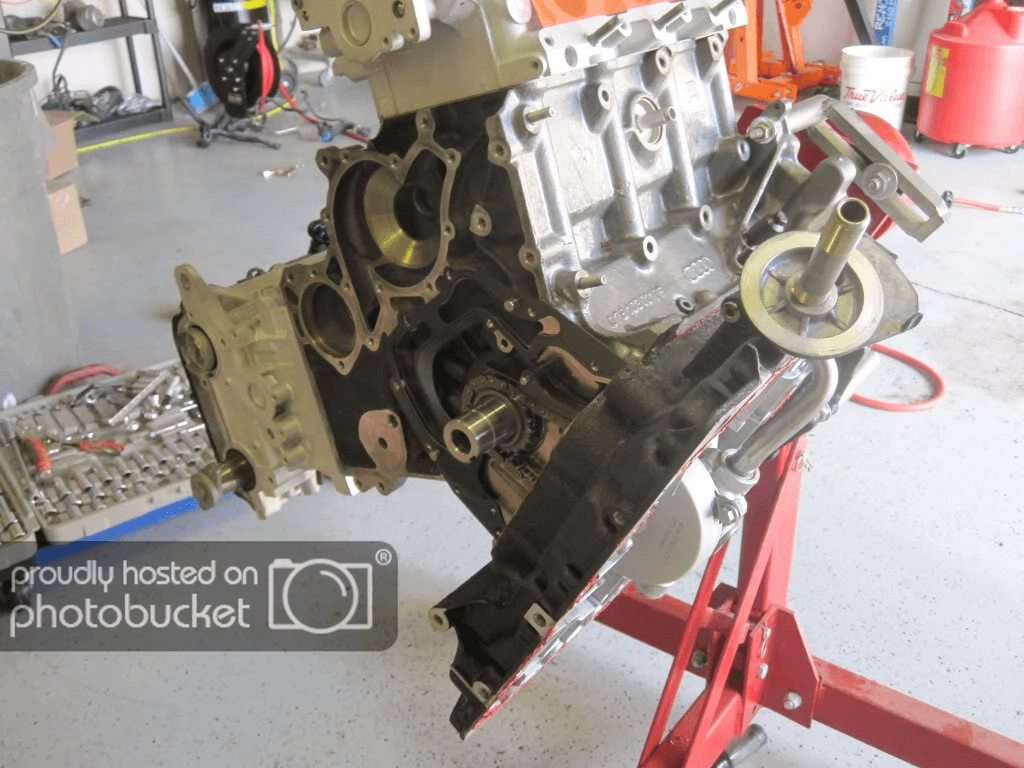
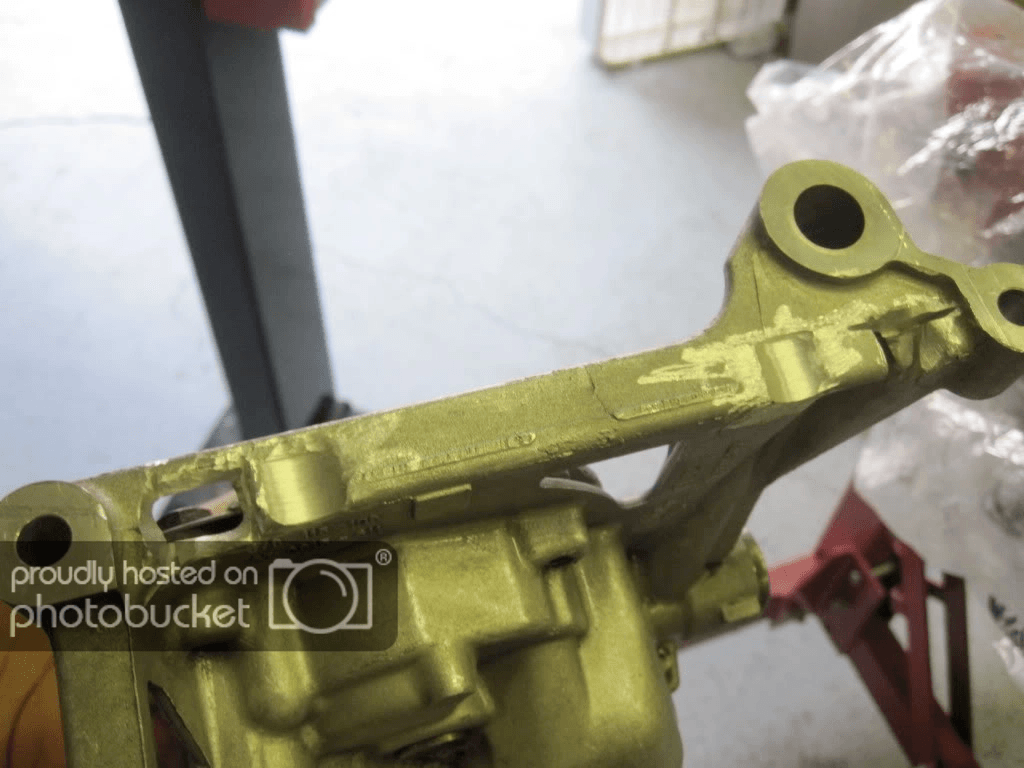
Here, with the FMS off, you can see the clearancing that had to be done on the oil pump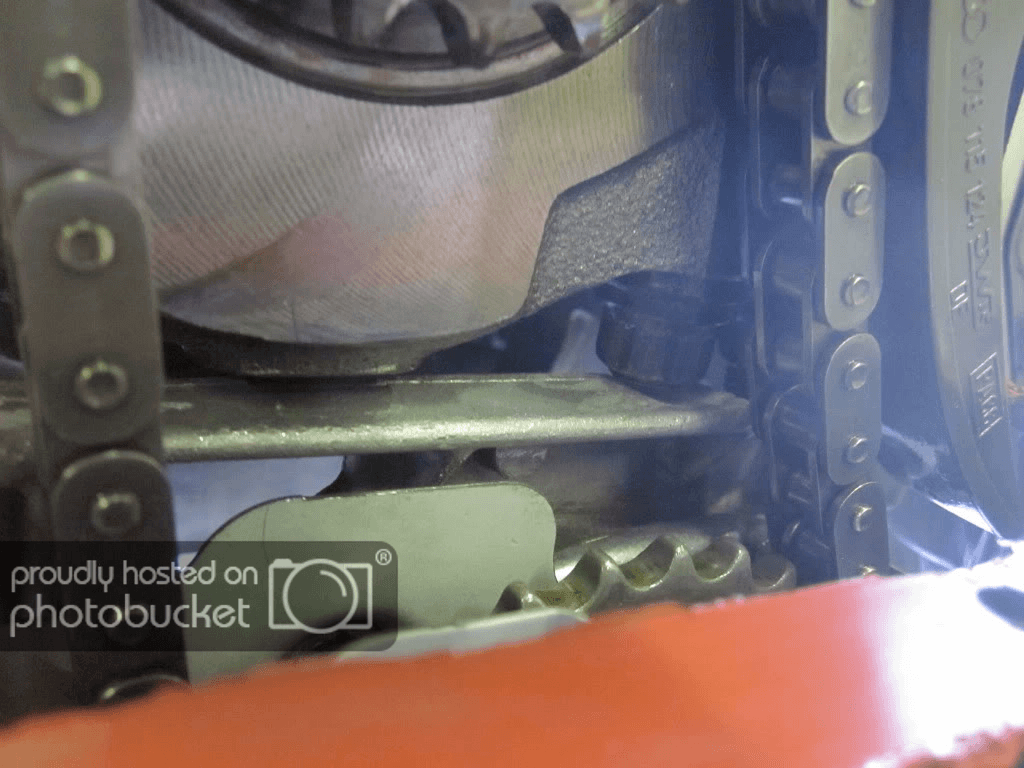
I wanted to do what I could, so I started assembling stuff that wouldn't interfere with reinstalling the FMS and oil pan. Here's the elbow that I got from Lowes to bypass the aux water pump.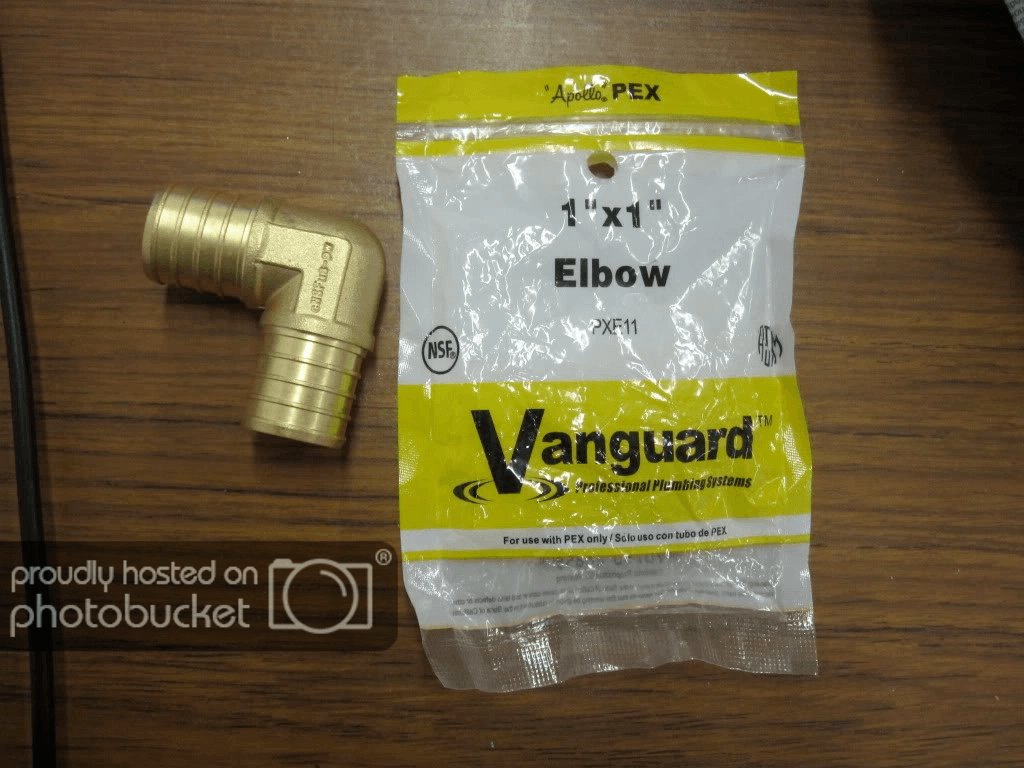
Sprayed it with a little black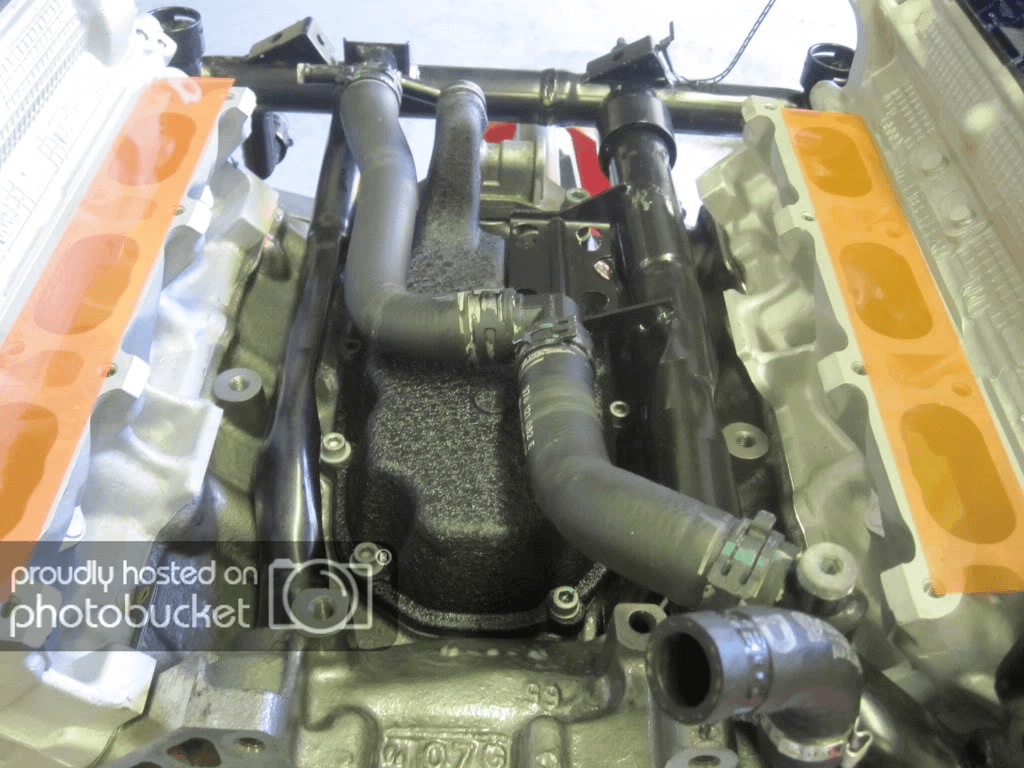
Cleaned up every part and every hose that I installed, and sprayed some of the stuff with black to clean it up
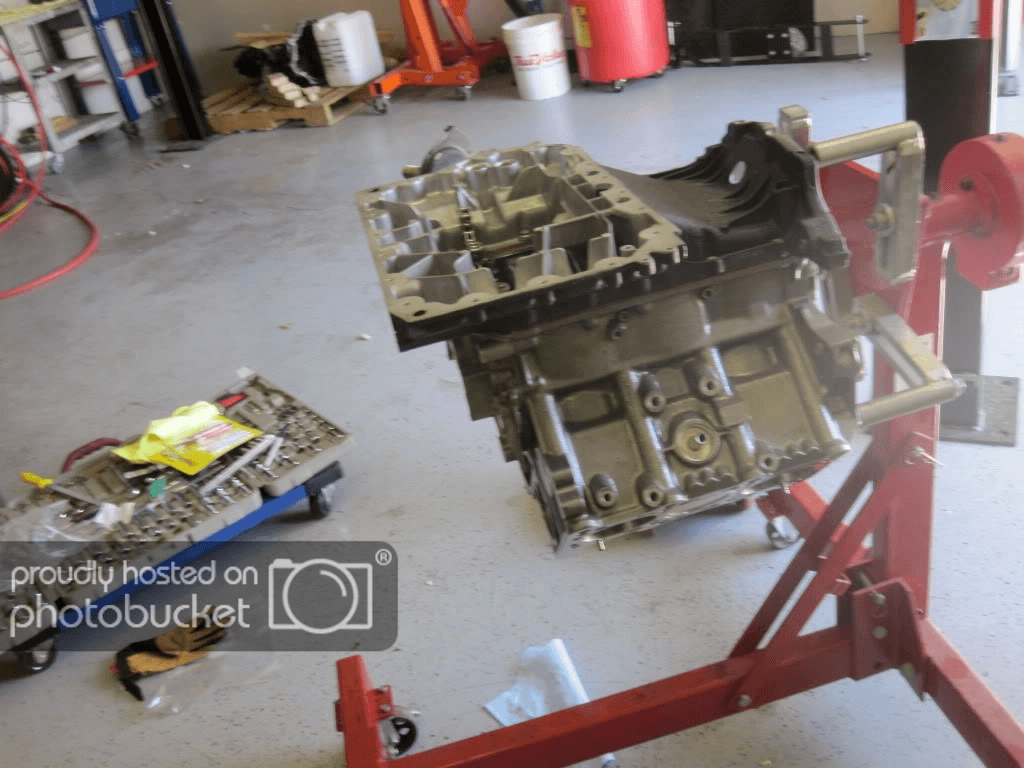
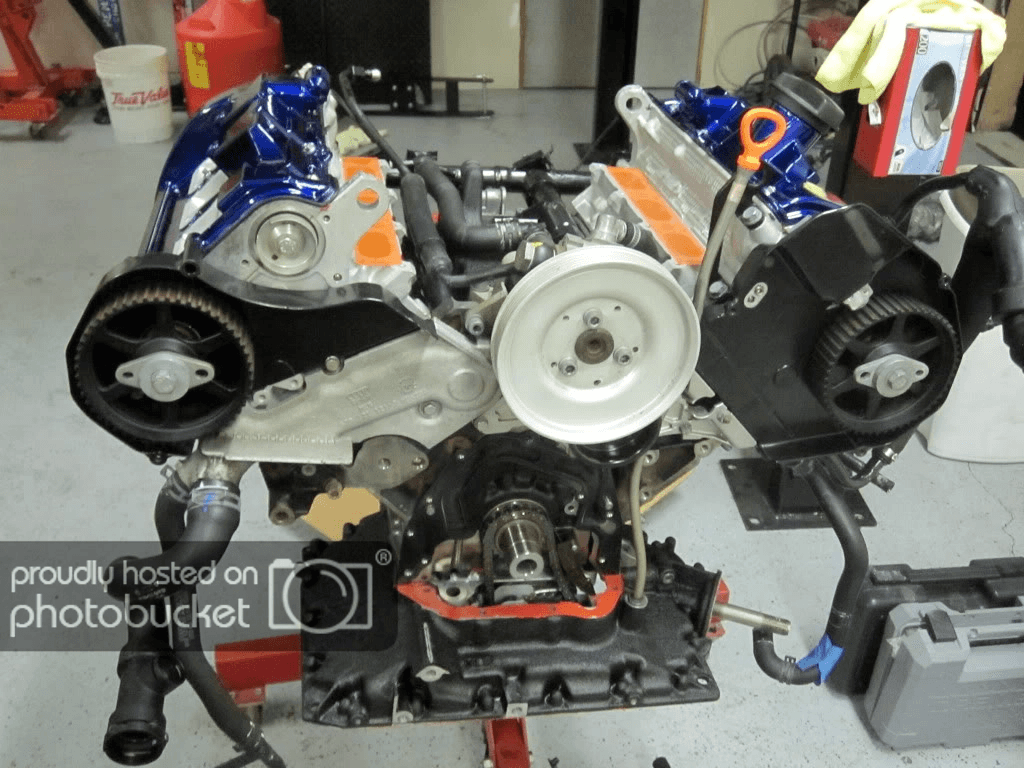
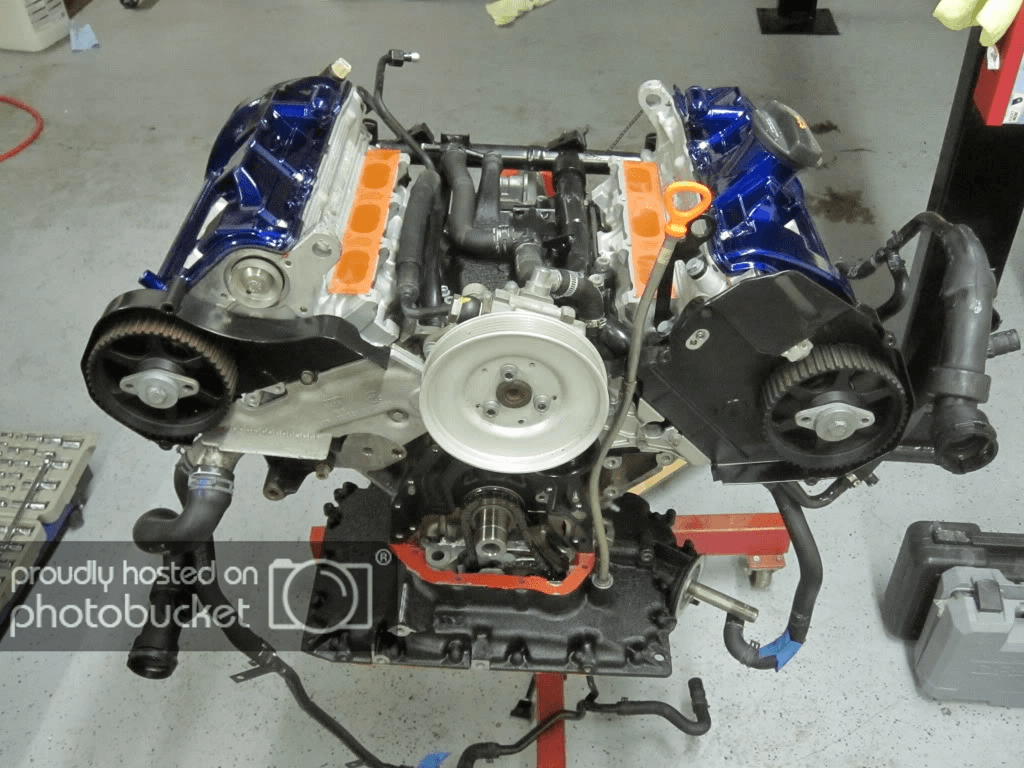
Threw on what timing parts and coolant hoses I could, and this is how I left her
And I've been at the shop doing more work this weekend, and have more nagging issues, due to hardware suppliers products not living up to their claims. I'll detail this more a little bit later, but one of my turbos doesn't fit, and I'm going to have to wait for a specialty oil line fitting to be sent back in because they either sent the wrong one, or their manufacturing tolerances are horrid.
Great build nice detail!
Posted by Diggymart on 2/27/19 @ 2:48:23 PM