Audi UR Quattro Rally Build


( 13 )

6 minute(s) of a 357 minute read

4-1-2021

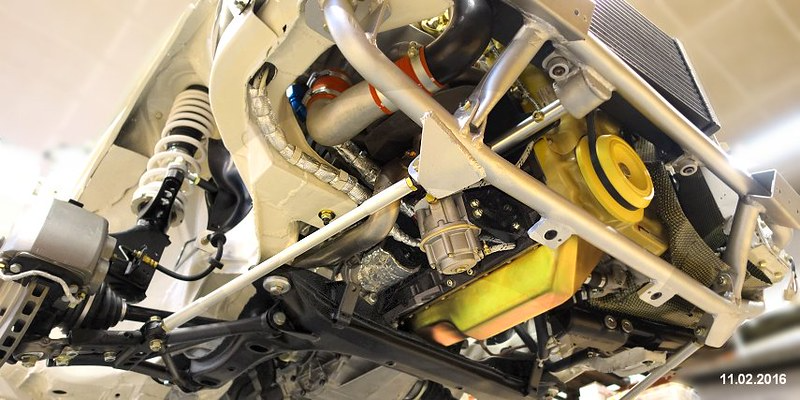
Prepping for Custom Stainless Exhaust and Skid Plat Design

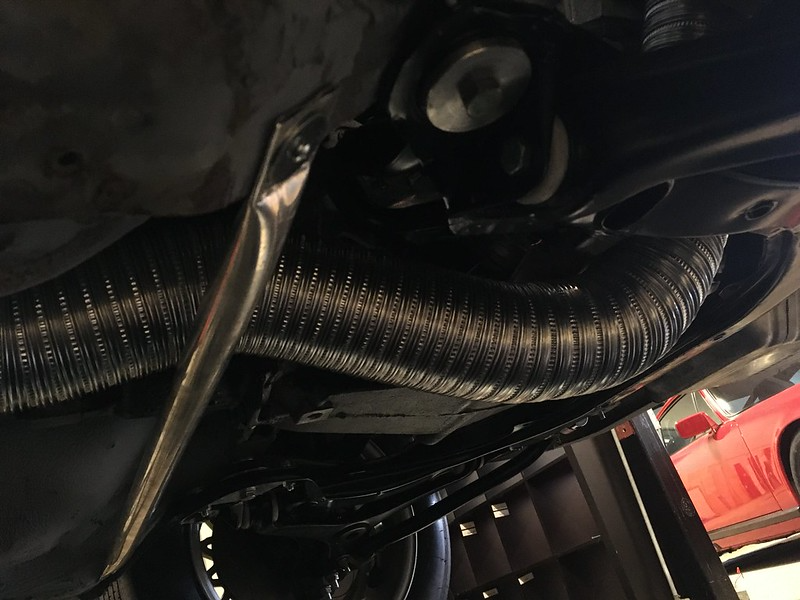
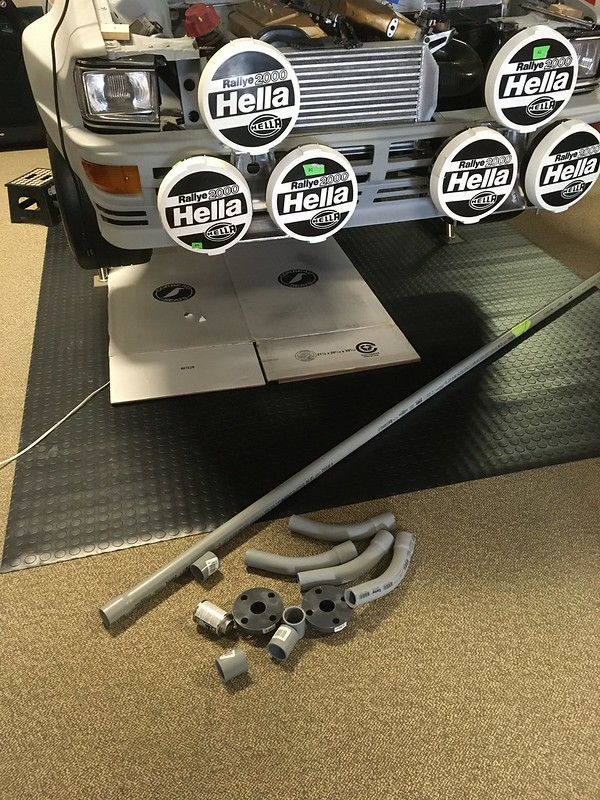
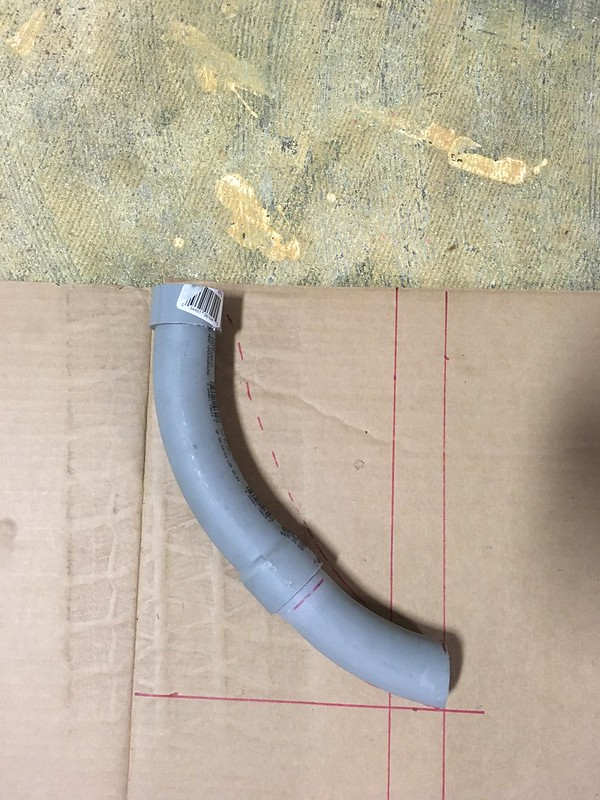
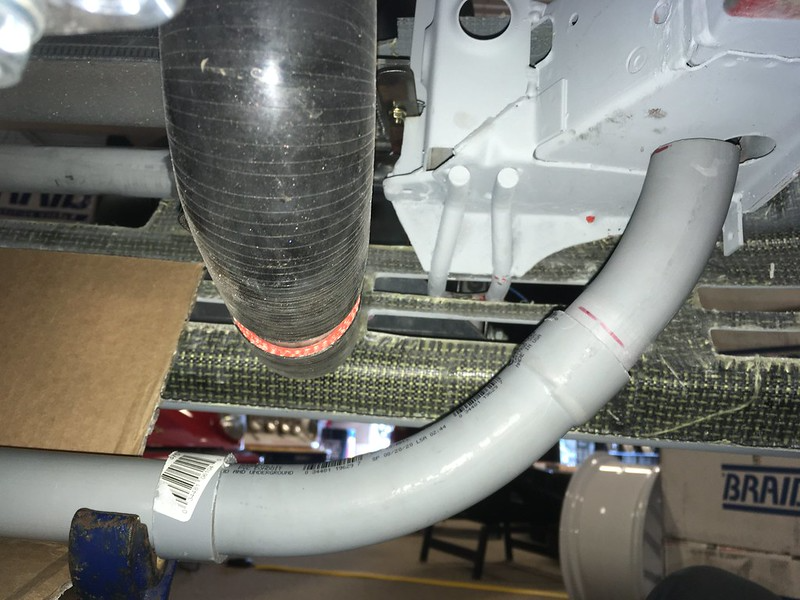
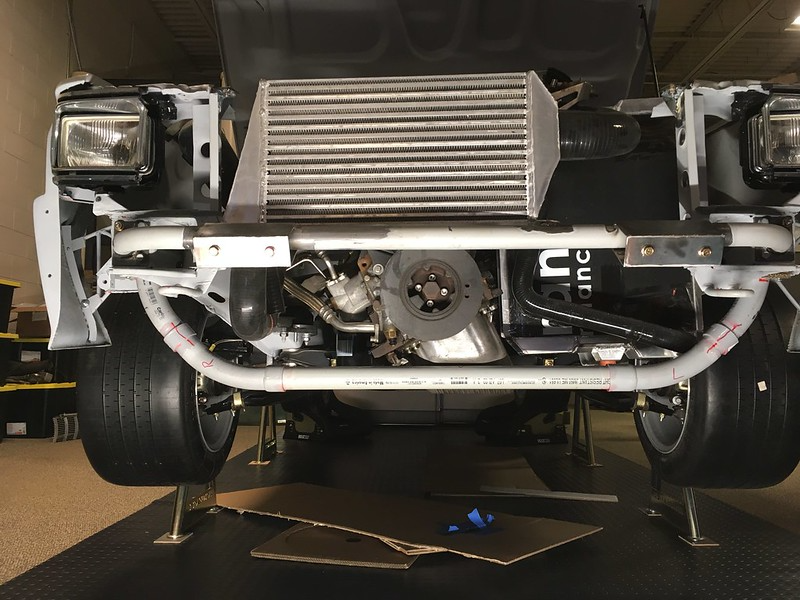
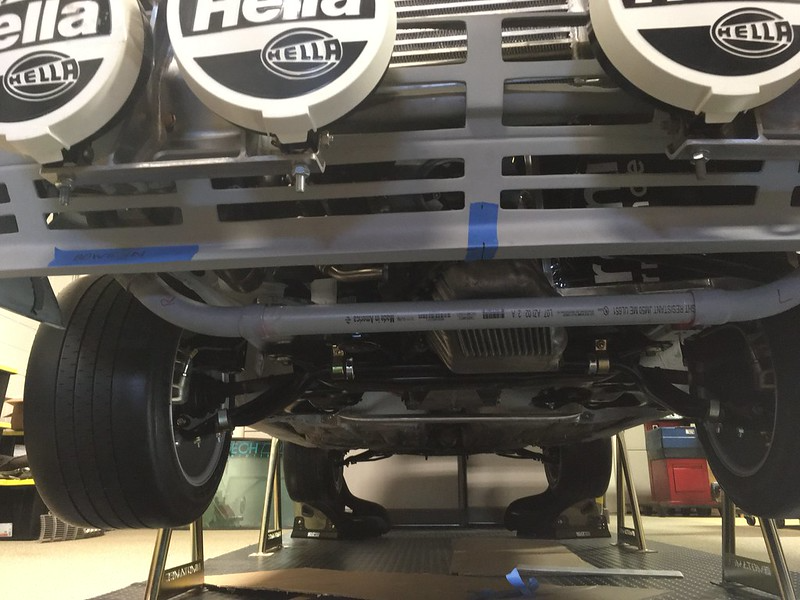
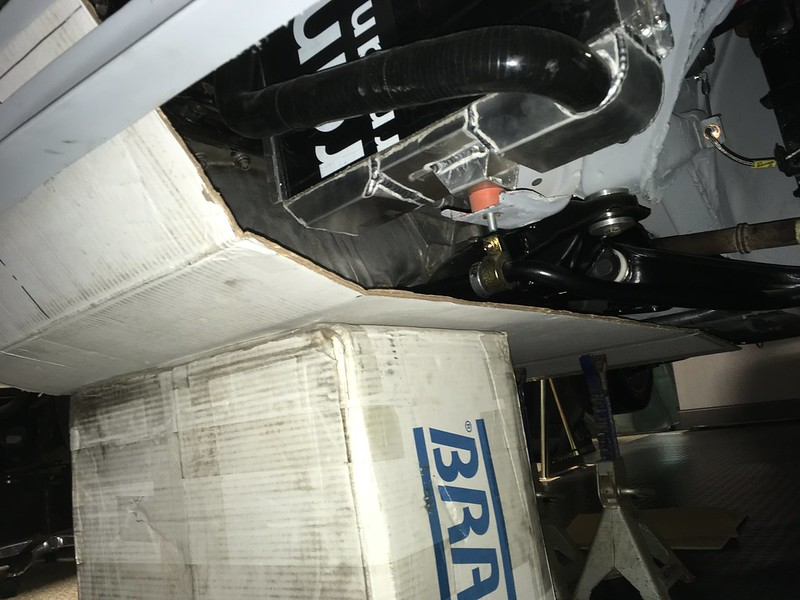
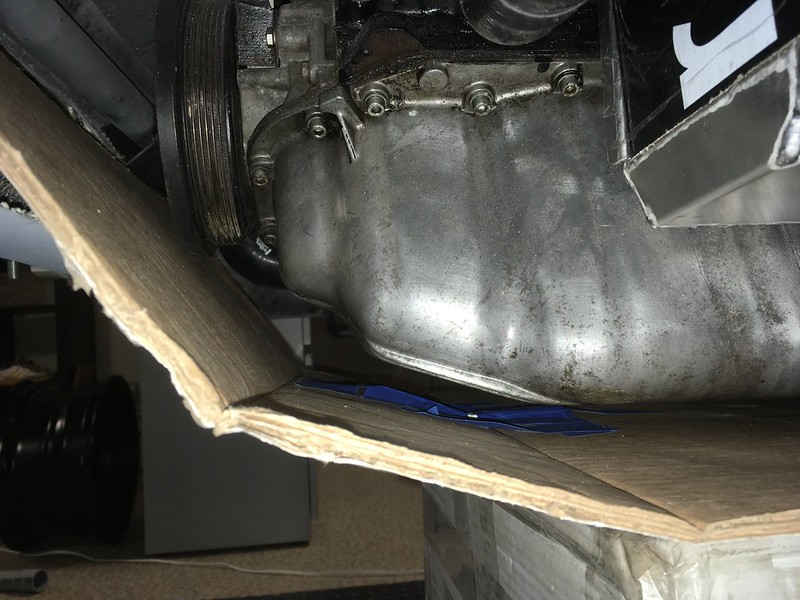
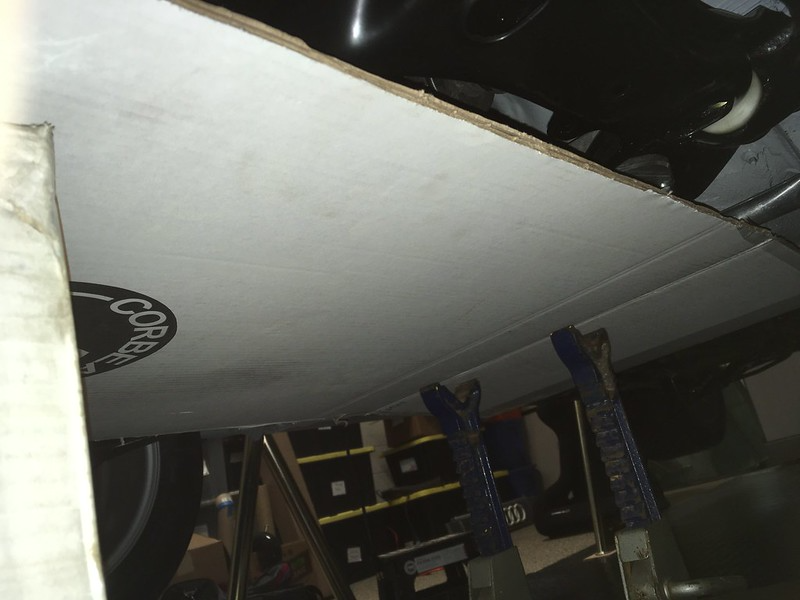
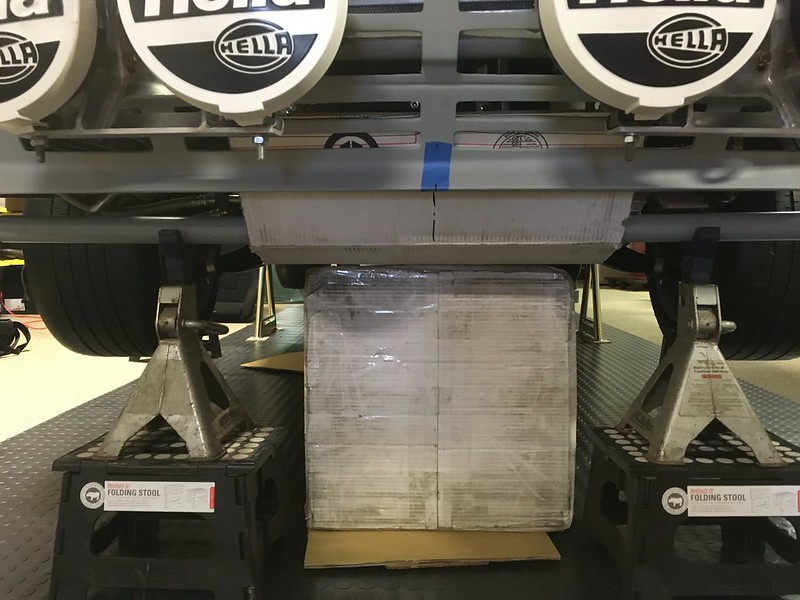
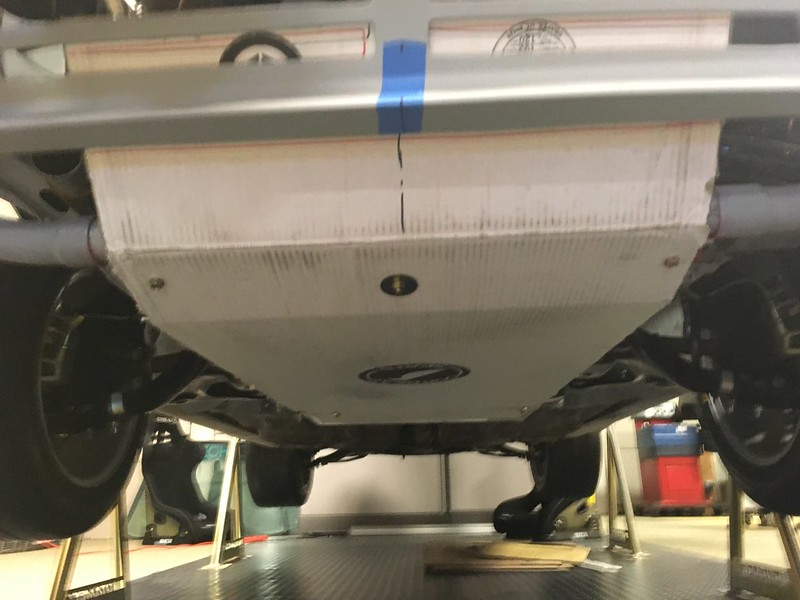
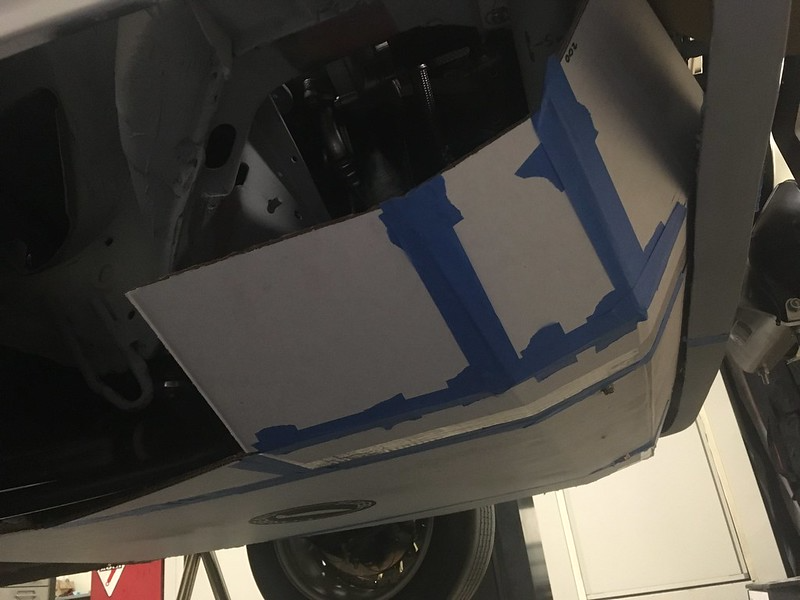
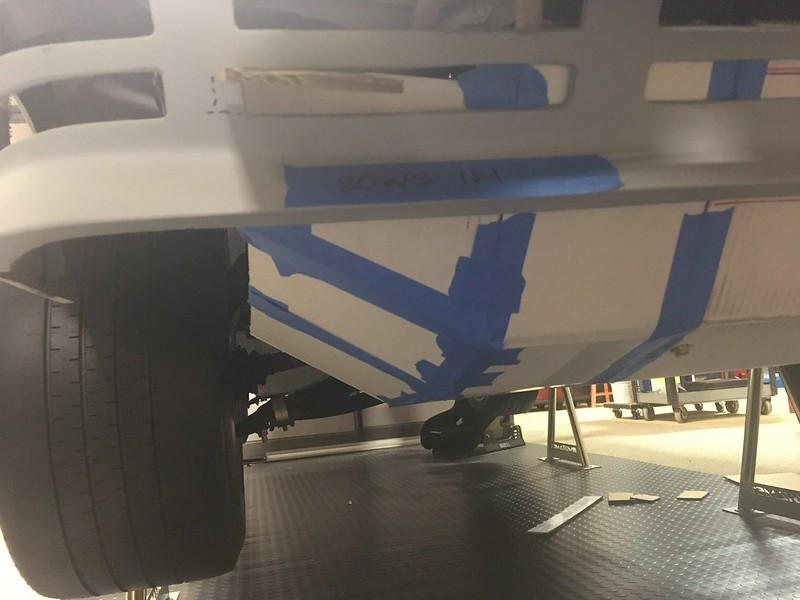
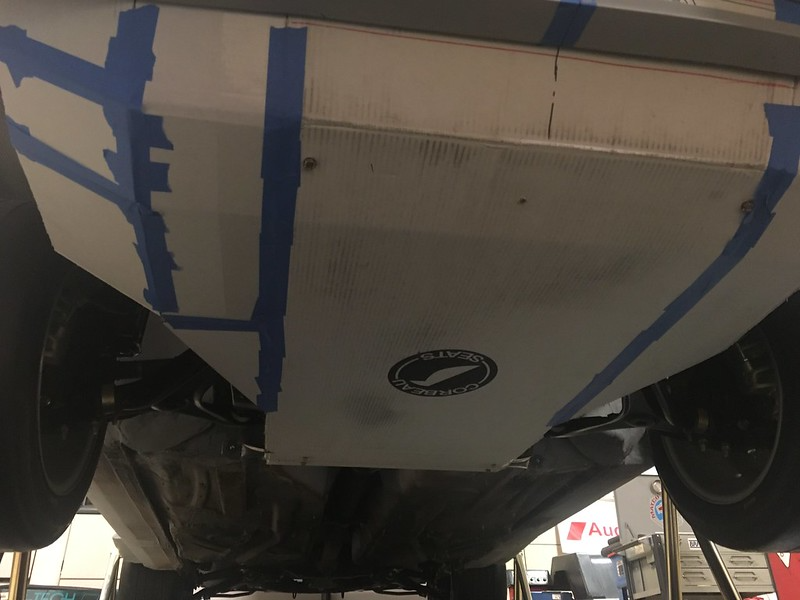
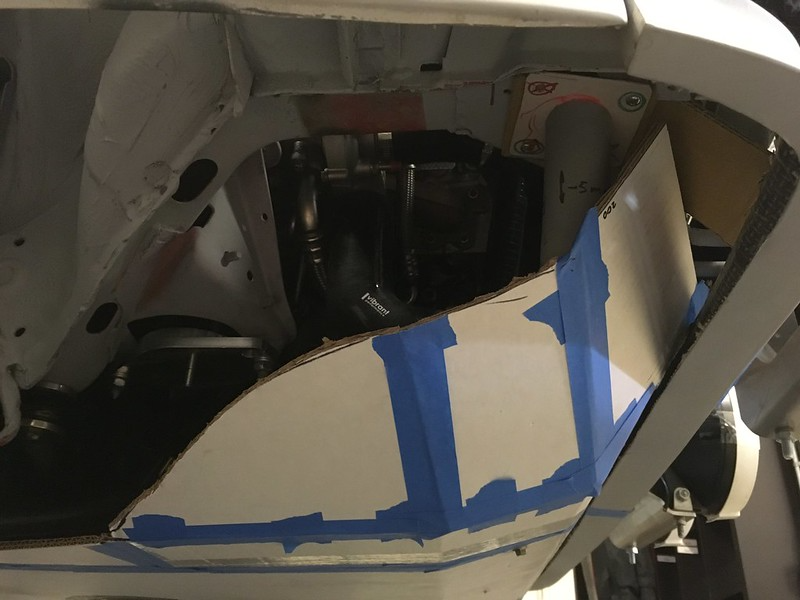
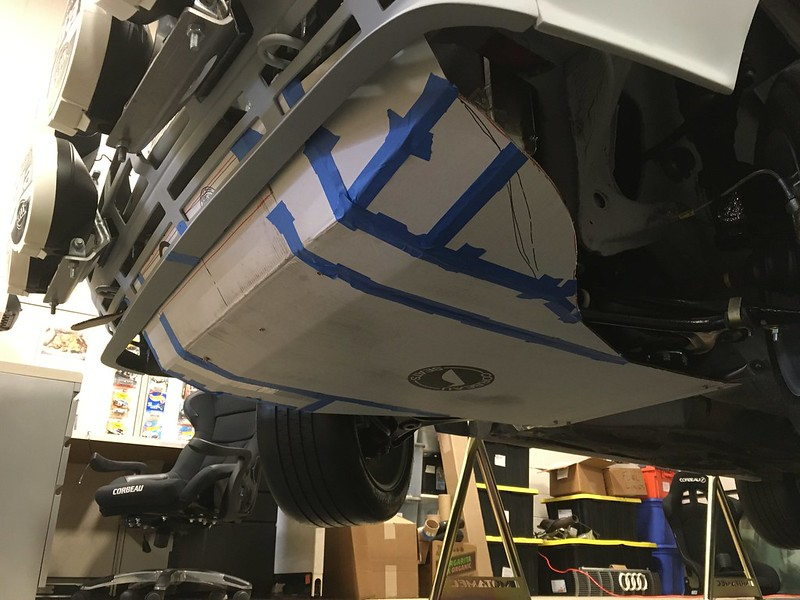
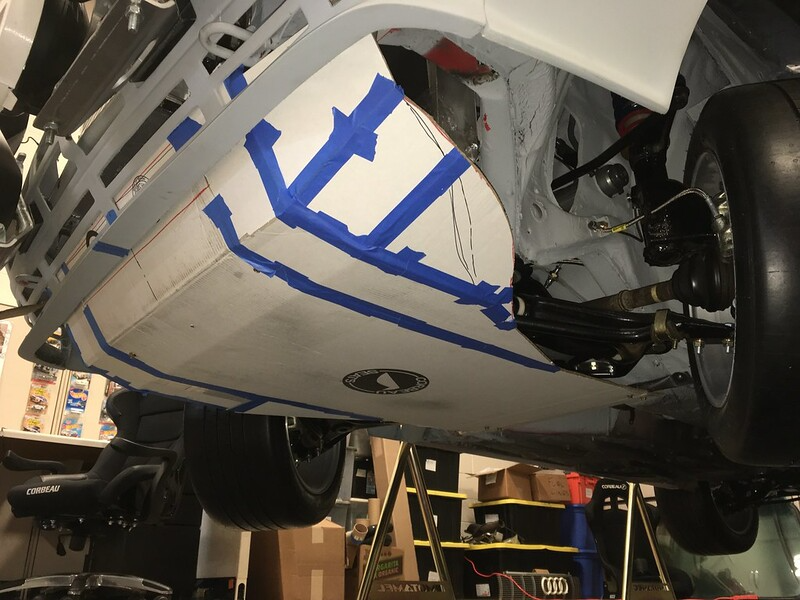
We are honored to have a friend of ours agree to build us an exhaust. It’s going to be 3” stainless steel with one muffler at the rear and as similar looking to the works cars as possible. Of course, that meant we had to build a skid plate! Well, not exactly but we did need to see how much room we would have around it so we mocked one up.

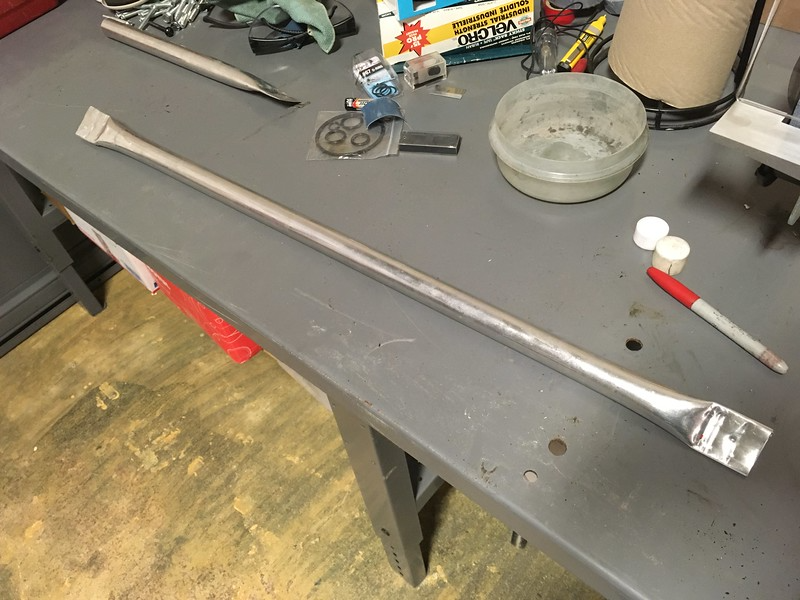
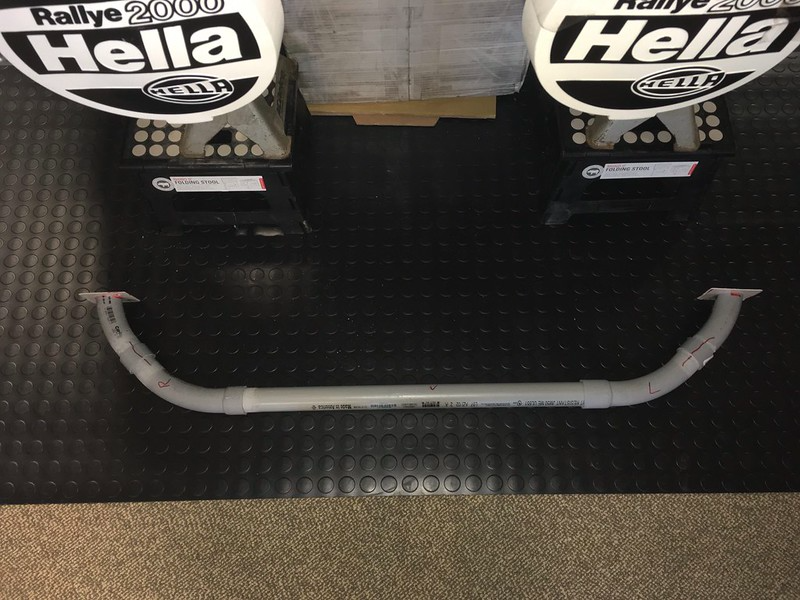
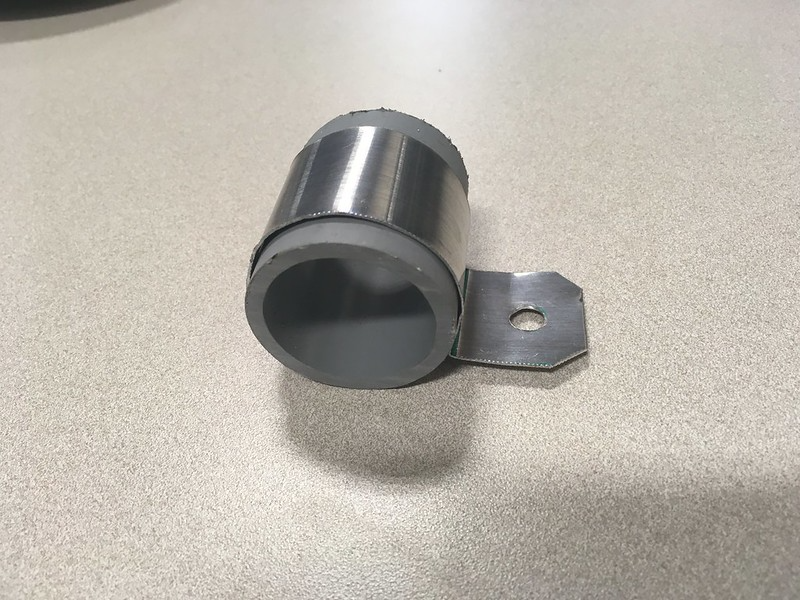
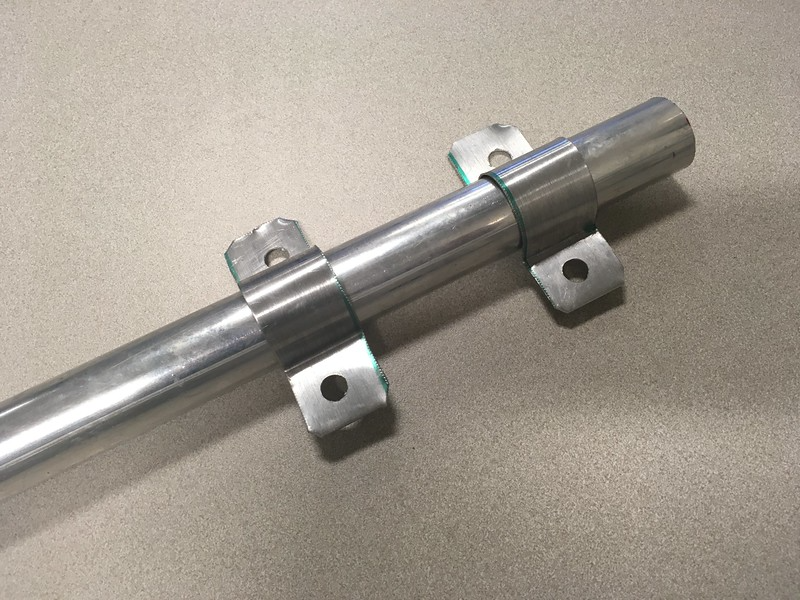
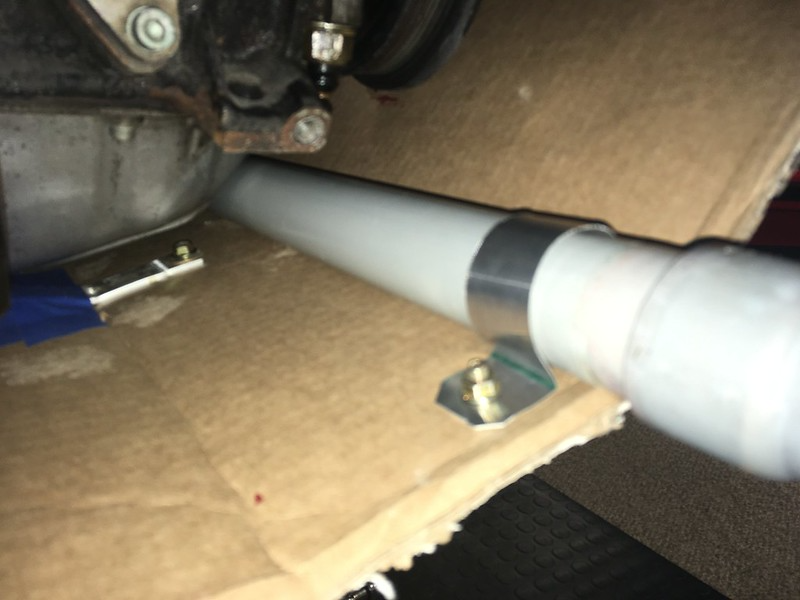
First the rear support bar which spans the chassis rails behind the gearbox. We used some rather flimsy aluminum tube we had lying around which made it really easy to flatten the ends.
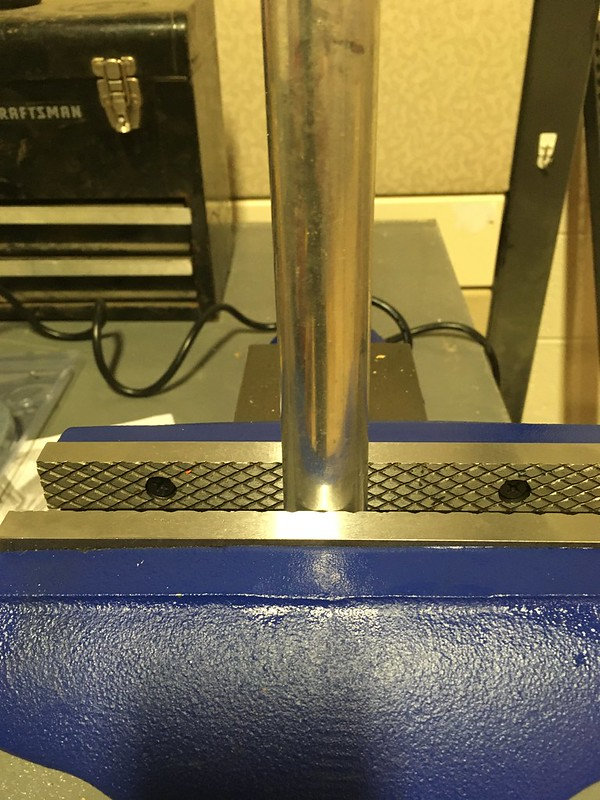
Image


Image


Our surrogate 3” exhaust tubing fit through but it might need to be lower.

Image


Next, we turned our attention to the front support. We thought we would see if we could mock up a reasonable facsimile of the works support using PVC conduit, even though that would be a little larger diameter than the steel tube we’d ultimately be using. How hard could it be?

Image


Image


Image


Image


Image


Image


Not bad eh?

Image


Image


Next, we need an actual plate. Fortunately, we are a Corbeau seats dealer and their seat boxes are perfect for mocking up skid plates. Our plan was to try to replicate the molded Kevlar are whatever exotic material this one was made from, but in aluminum plate. This might be a three or even four Hobnob project!

Image


Well, you don’t know until you try so we put the kettle and our thinking caps on and had a Hobnob. First, we made a masking tape mold off of our 1:18 model. Then we put that on the photocopier and hit x18! (no, we didn’t)

Image


As convoluted as the works plate appears, if you study the it carefully you can make out many flat looking facets to it. Most obvious is the center section that is about two feet wide. We realized that if we took a long piece of box this wide and put two bends in it we would have the essential structure down. Moreover, if we weld some 2” wide rims on it might look quite similar. So that’s the plan.

Image


Image


Image


Image


We were pretty happy with this so far and decided that maybe this idea had some legs. We pushed on with mounting the cardboard plate to the PVC support bars so we could remove the box and axles stands. To do this we made some clips out of some thin aluminum sheet and bent them around the bars. They worked rather well unless there’s a slight breeze or somebody sneezes too closely!

Image


Image


Image


Image


So that was the basic structure sorted. Now we just needed to widen it; and form the upturned sides! A bit more Corbeau cardboard and loads of Hobnobs and Yorkshire tea later we had this:

Image


Image


Image


Image


Image


Image


Lovely. Right; what shall we work on next? Mud flaps? First, we’ll have to put the kettle on!

Image


Comments

Lookin good. Pride in work and attention to detail

Posted by Cyphercrash on 3/5/23 @ 8:59:32 PM

Great update!

Posted by Diggymart on 10/10/21 @ 10:31:32 PM

Great build

Posted by tmprod on 3/4/21 @ 6:44:07 PM

Thanks for updating Paul! Ill have to check out your new shop soon!

Posted by diyauto on 12/24/20 @ 5:08:37 PM

Anytime.

Posted by team illuminata on 12/24/20 @ 6:34:09 PM

This will be a beast when finished, looking forward to it.

Posted by MPower on 10/12/20 @ 2:15:11 PM

Great build!

Posted by DIYauto_Admin on 9/9/20 @ 12:08:22 AM

Hey hi Sue!

Posted by Diggymart on 2/14/20 @ 4:12:57 PM

Looks like it’s coming together!

Posted by Diggymart on 11/21/19 @ 2:49:00 PM

Those stands look nice!

Posted by diyauto on 11/21/19 @ 2:47:08 PM

Incredible build! Love the photo's

Posted by MoonpieMagic on 11/8/19 @ 8:00:45 AM

Thank goodness for friends carrying precious cargo!

Posted by Diggymart on 10/10/19 @ 11:40:08 PM

Woo! Excited to check this thing out soon :)

Posted by diyauto on 9/13/19 @ 1:37:14 PM

Great teamwork!

Posted by Diggymart on 7/29/19 @ 3:11:58 PM

Great build!

Posted by Diggymart on 1/17/19 @ 7:24:29 PM

Thanks

Posted by team illuminata on 3/4/21 @ 10:30:06 PM