Audi UR Quattro Rally Build


( 13 )

6 minute(s) of a 357 minute read

4-29-2021

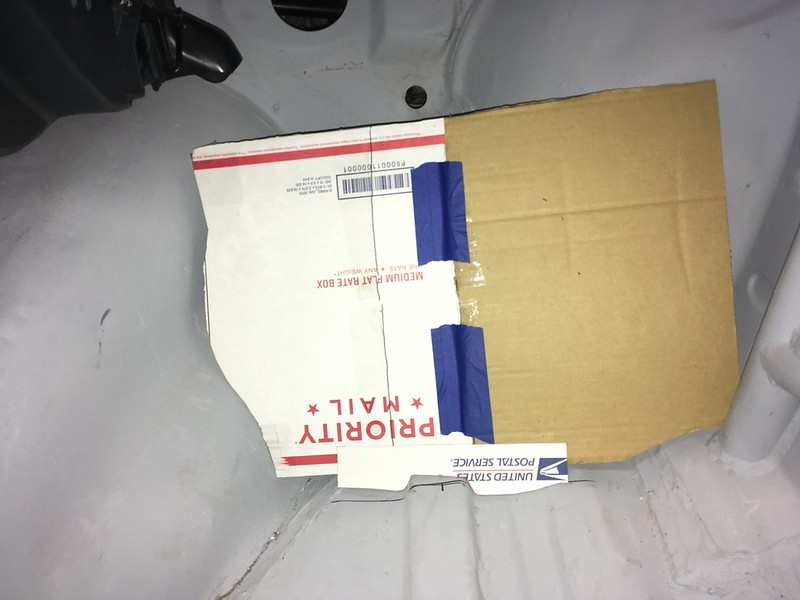
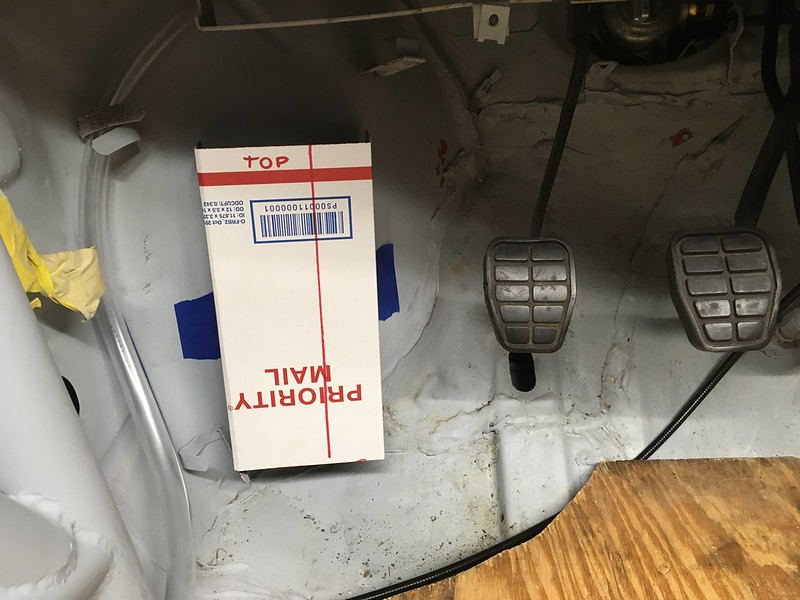
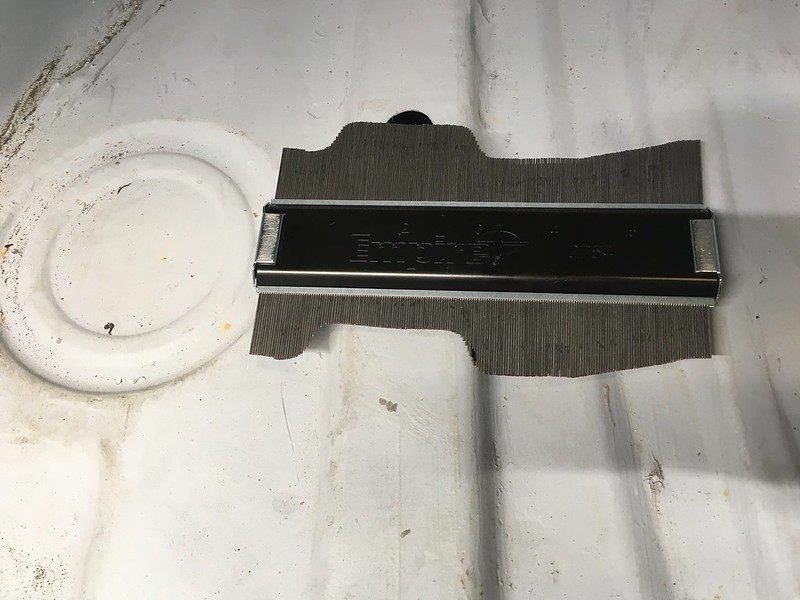
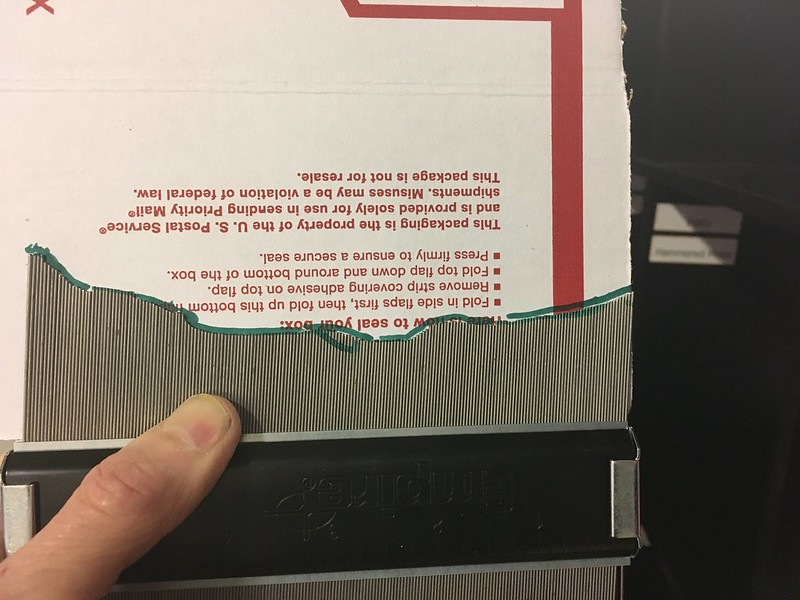
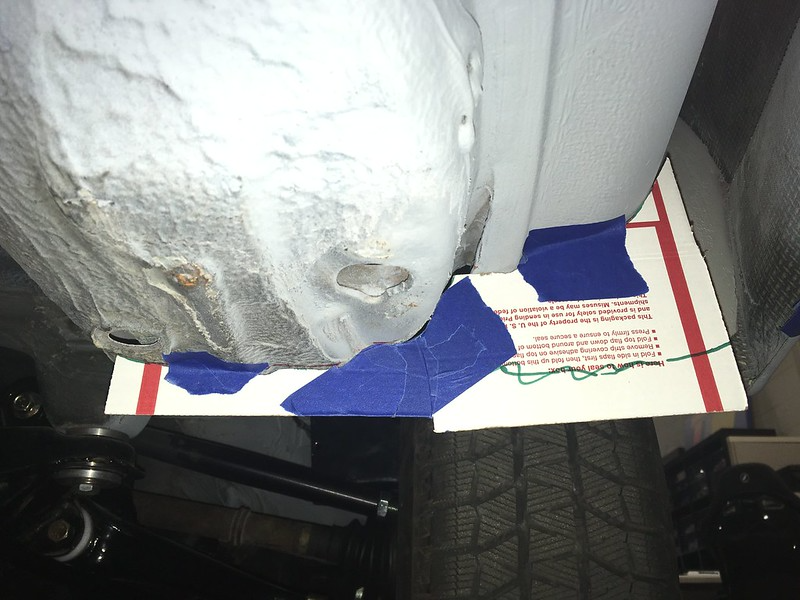
Solid modeling was the major CAD advancement made in the 1980s. Significant software offerings included the well-known 2D system known as “AutoCAD.” We’ve been doing a lot of Auto-CAD ourselves lately but the more grassroots Cardboard Aided Design versus the Computer Aided Design you might be more familiar with. Most of what we are cadding is to make templates for a bunch of parts we need to fabricate most of which involve welding.

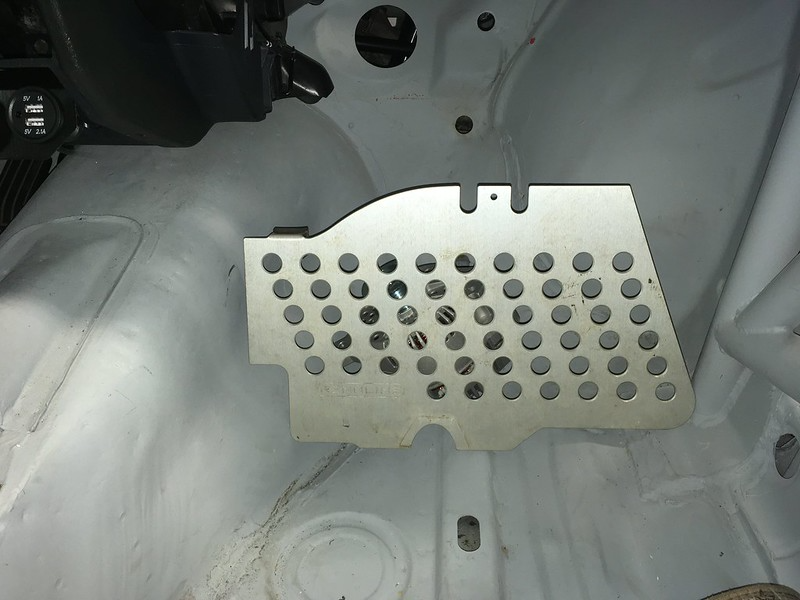
We started with the simple stuff; the foot rests. Yes, you can buy generic ones which work just fine but, you know, we saw that Group B restoration build and now we want those, or as near as we can “reasonably” make.

Image


Image


And the driver’s dead pedal:

Image


We may yet find something from Rennline’s catalog that’s fits the bill. For instance, this is our Rennline 911 footrest. Pretty close, eh?

Image


Regardless, we’ll need a bracket. So we made a template:

Image


Image


Creature comforts next. Door cards.

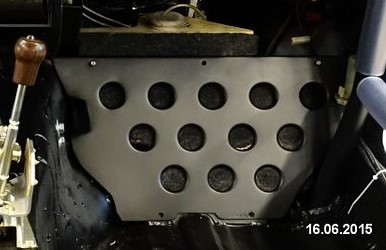
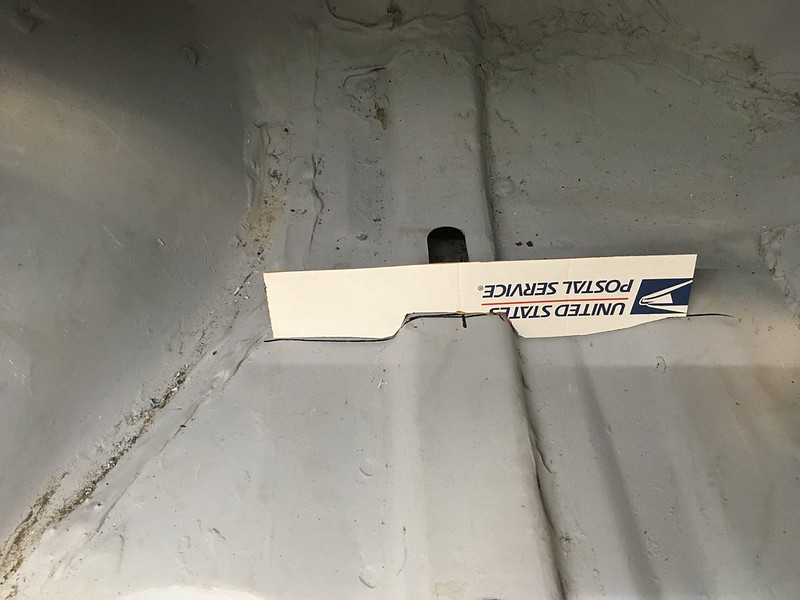
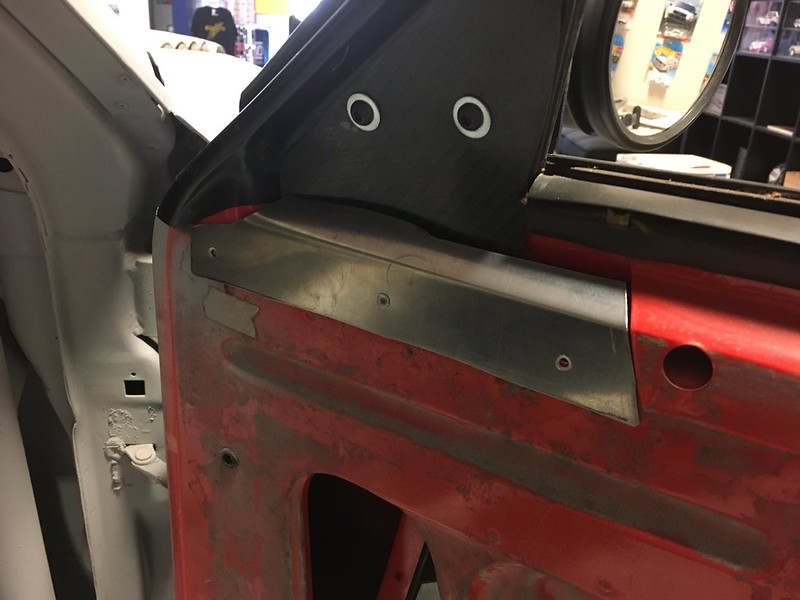
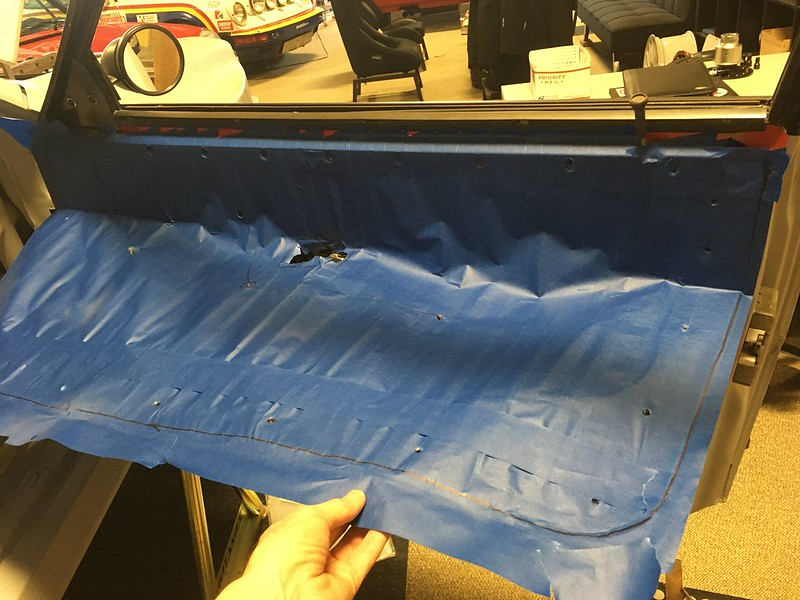
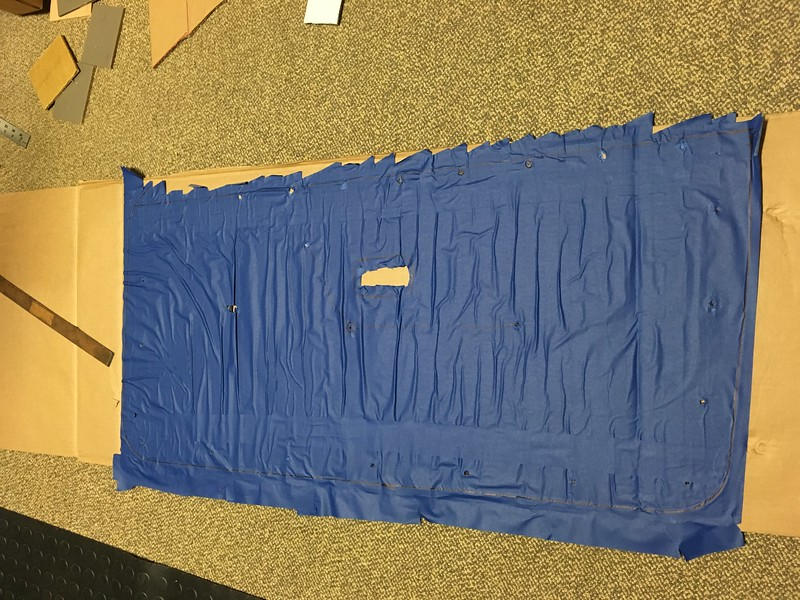
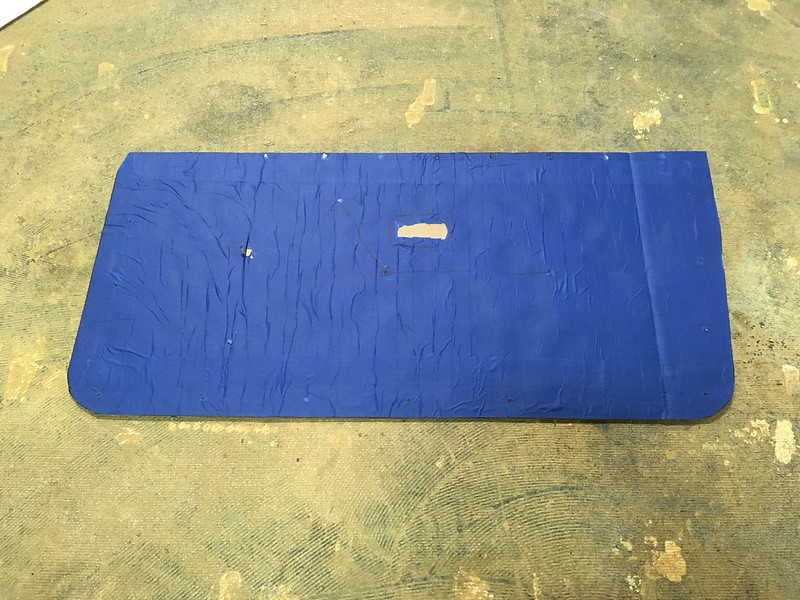
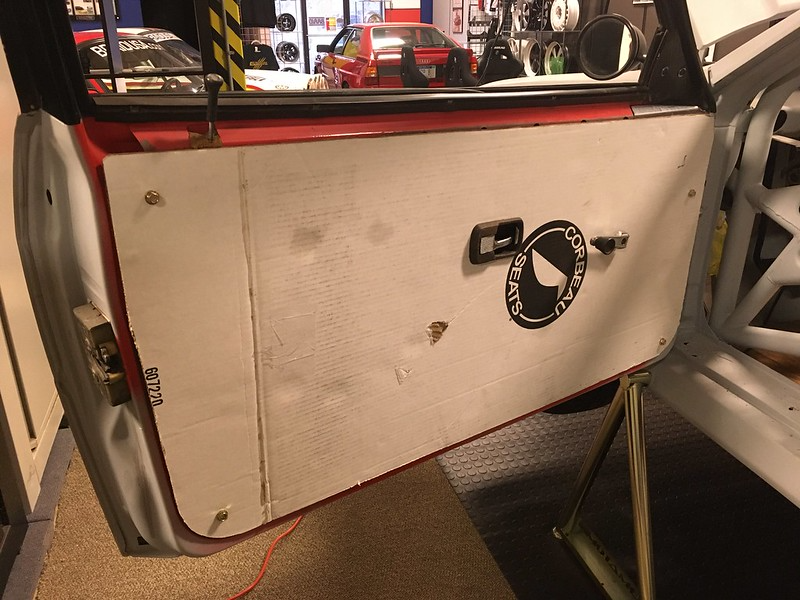
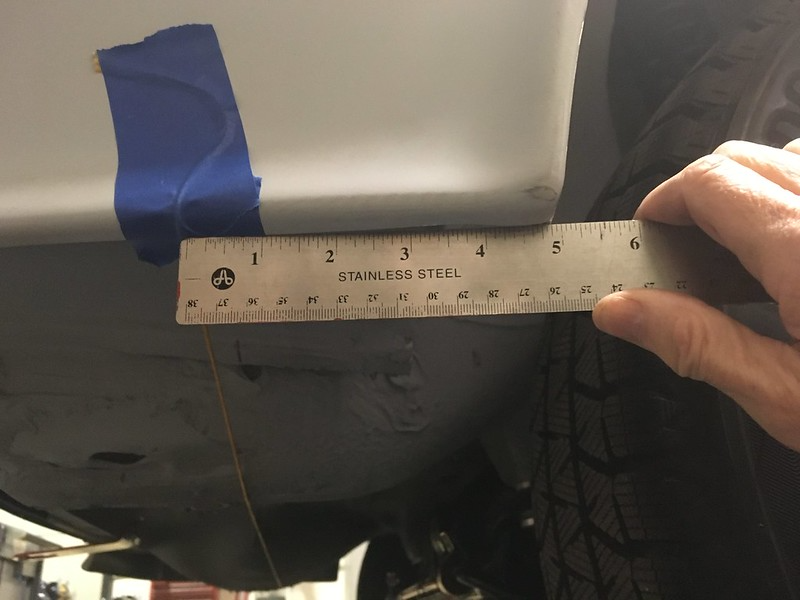
Unfortunately, there are no real precedents for door cards for a Group B Quattro as they used molded Kevlar doors that were essentially hollowed out. We’re not doing that. So, what to do? Fortunately, the stock Quattro door is pretty flat, apart from a small gap we made a patch panel for, so it looks like a flat panel of some sort will attach easily enough. We just have to come up with a shape, a material, some way to attach them and cut outs for door handles, window winders and door pulls. How hard could it be?

Image


First we covered one door in masking tape. Then we drew around the periphery with a Sharpie and marked all the holes. Next, after a mug of proper tea and some Hobnobs to steady our nerves, we carefully peeled it off the door and stuck it onto a sheet of corrugated cardboard scavenged from a Corbeau seat box. Yep, same as our skid plate. Good stuff.

Image


Image


Image


Then cut it out and cut it up.

Image


Surprisingly, it actually fit so we dug out the door handle bezels and temporary held it in place with some M8 bolts pushed into the original plastic fasteners that miraculously are still mostly present. Just needs some sort of door pull. We’ll get back to you on that.

Image


Now full of confidence with our auto-CAD prowess we decided to take on a much more challenging project: Mud flaps! You’re probably thinking “who welds on their mud flaps?”. Well, not us, but the ones on our role model had quite substantial brackets welded to the body and we thought we could mimic those pretty closely. Plus, brackets!

Image


The fronts seemed the most straightforward so we started there. Break out the template gauge.

Image


Image


Image


Fortunately, the car sits very level on its pin stands thanks to TRF, so we just used a small spirit level to make sure the bottom of the bracket is level and parallel to the ground. In our experience this is critically important with mud flaps as if they are even slightly off it will ruin the whole look of the car. Rally cars are principally mud flap display devices after all. OK, we may have lost the plot a bit but it makes us happy.

Image


Now for the tricky bit; the rears. Still easy to keep level but, because they don’t line up with the end of the rocker panel like the fronts, a little harder to keep the same distance from the wheel arch and perpendicular to the centerline of the car. We tried though, really hard

Image


Image


A bit more profile gauge and scissor action and we had one side done. Unfortunately, both sides are not the same on the rear so we had twice as much work to do at this end of the car.

Image


Image


Bet you can’t wait to see what other auto cadding shenanigans we get up to next. And what about those door pulls?

Image


Comments

Lookin good. Pride in work and attention to detail

Posted by Cyphercrash on 3/5/23 @ 8:59:32 PM

Great update!

Posted by Diggymart on 10/10/21 @ 10:31:32 PM

Great build

Posted by tmprod on 3/4/21 @ 6:44:07 PM

Thanks for updating Paul! Ill have to check out your new shop soon!

Posted by diyauto on 12/24/20 @ 5:08:37 PM

Anytime.

Posted by team illuminata on 12/24/20 @ 6:34:09 PM

This will be a beast when finished, looking forward to it.

Posted by MPower on 10/12/20 @ 2:15:11 PM

Great build!

Posted by DIYauto_Admin on 9/9/20 @ 12:08:22 AM

Hey hi Sue!

Posted by Diggymart on 2/14/20 @ 4:12:57 PM

Looks like it’s coming together!

Posted by Diggymart on 11/21/19 @ 2:49:00 PM

Those stands look nice!

Posted by diyauto on 11/21/19 @ 2:47:08 PM

Incredible build! Love the photo's

Posted by MoonpieMagic on 11/8/19 @ 8:00:45 AM

Thank goodness for friends carrying precious cargo!

Posted by Diggymart on 10/10/19 @ 11:40:08 PM

Woo! Excited to check this thing out soon :)

Posted by diyauto on 9/13/19 @ 1:37:14 PM

Great teamwork!

Posted by Diggymart on 7/29/19 @ 3:11:58 PM

Great build!

Posted by Diggymart on 1/17/19 @ 7:24:29 PM

Thanks

Posted by team illuminata on 3/4/21 @ 10:30:06 PM