You must be logged in to rate content!
4 minute(s) of a 395 minute read
5-6-2021
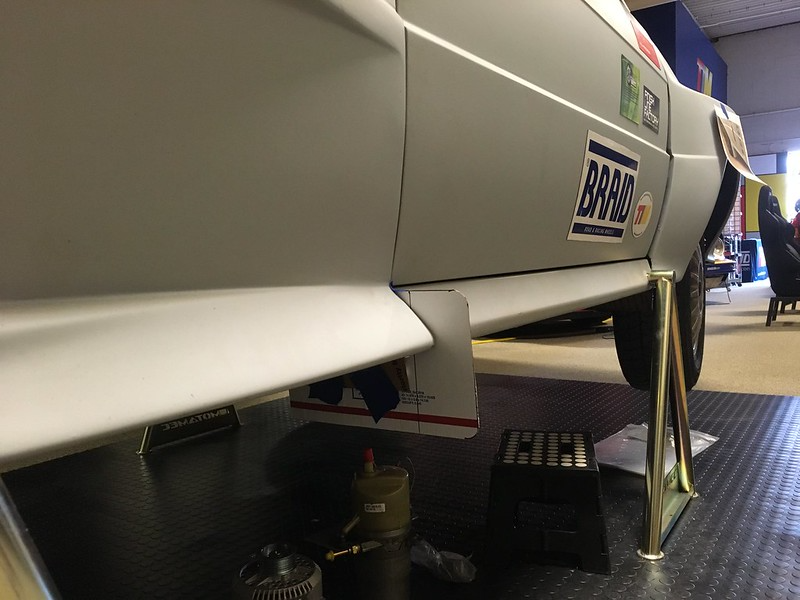
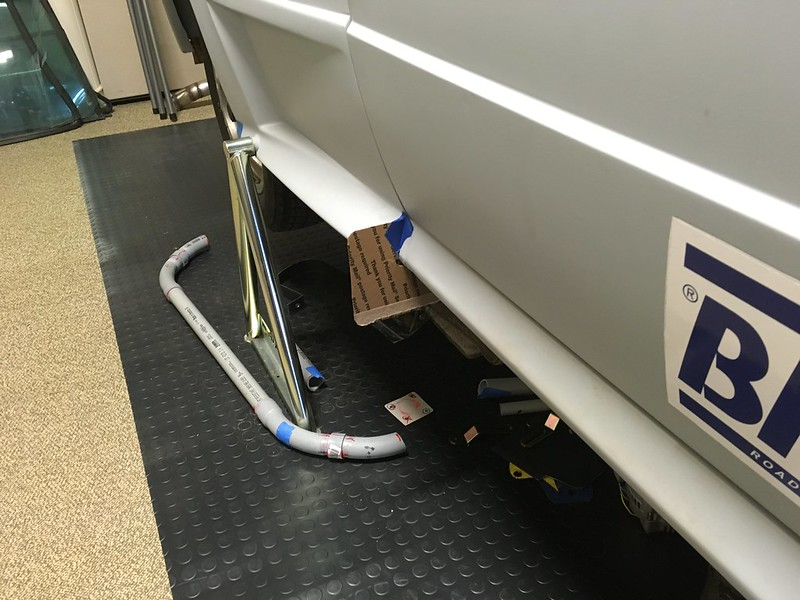
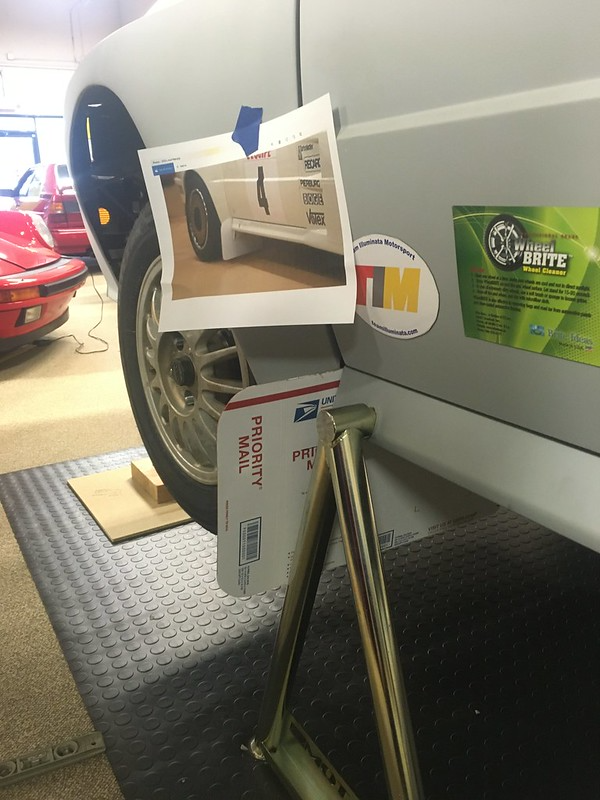
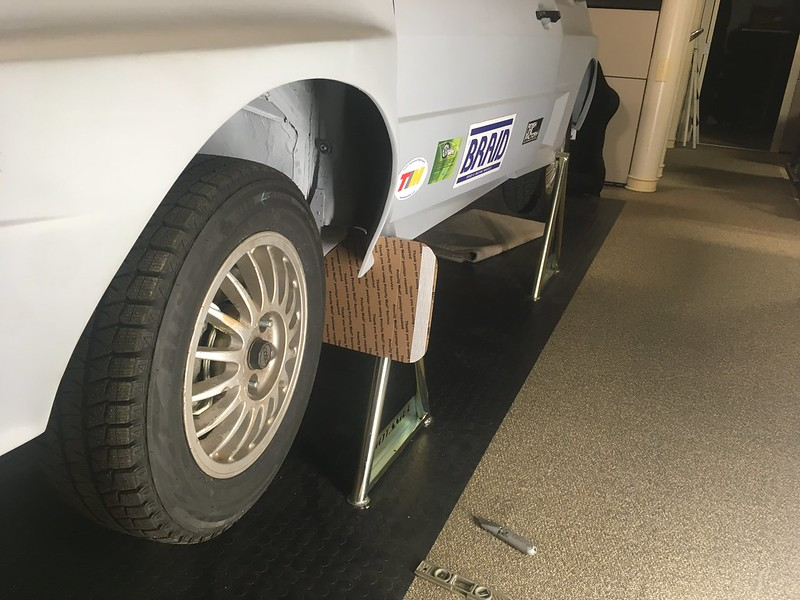
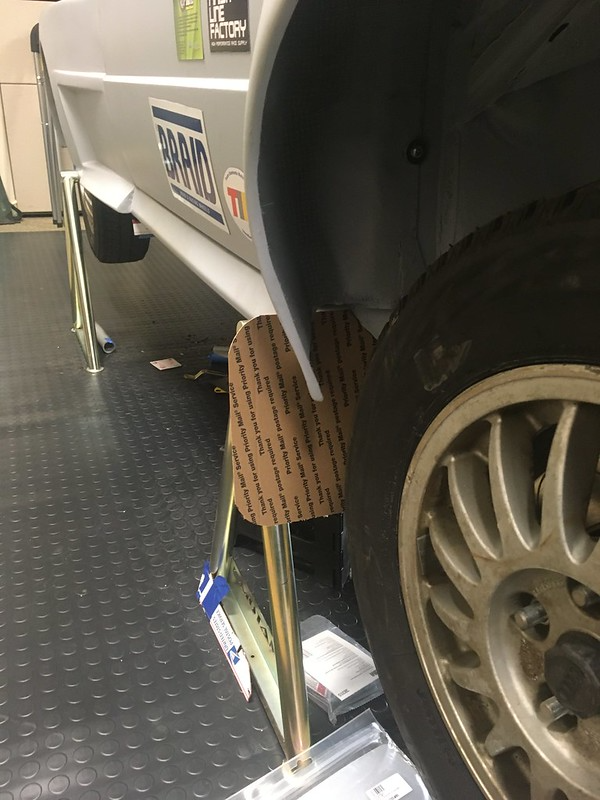
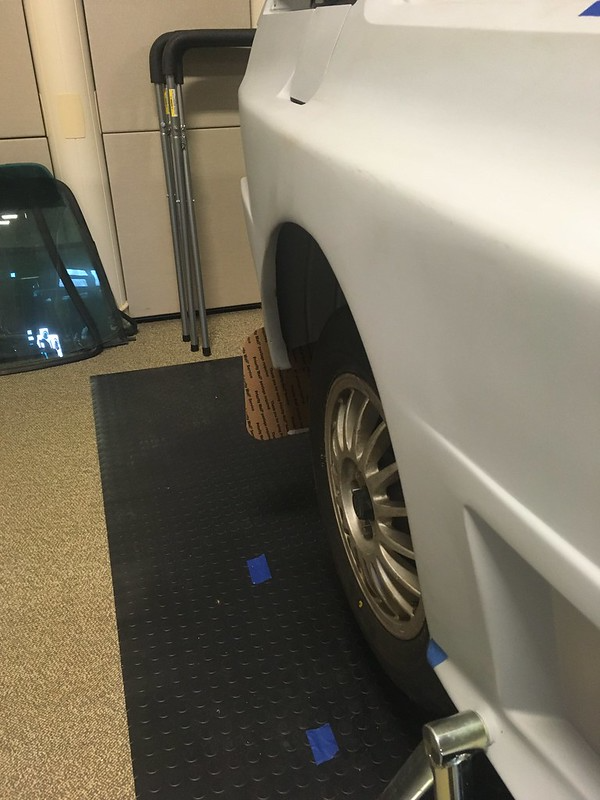
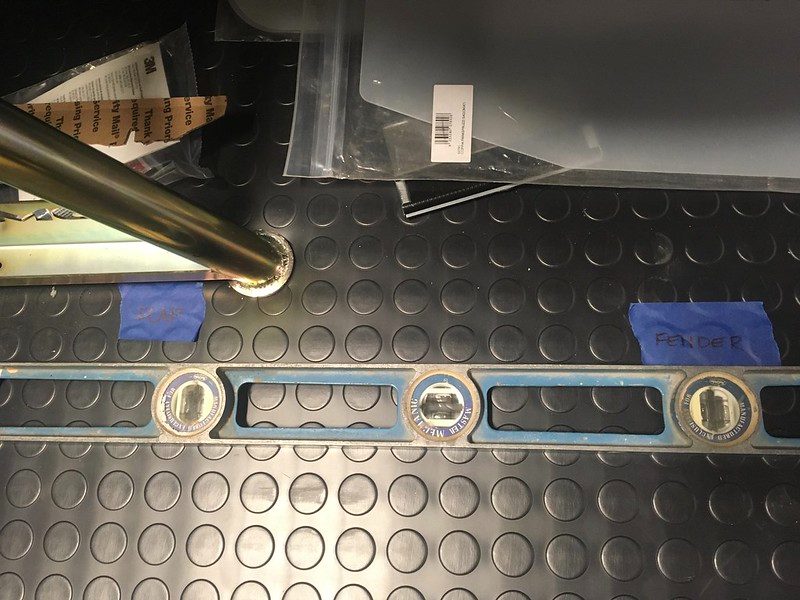
Time For Proper Mud Flaps - With the mud flap brackets cadded, it was all we could do to resist cadding the mud flaps themselves. Actually, we couldn’t resist. Well, who could?
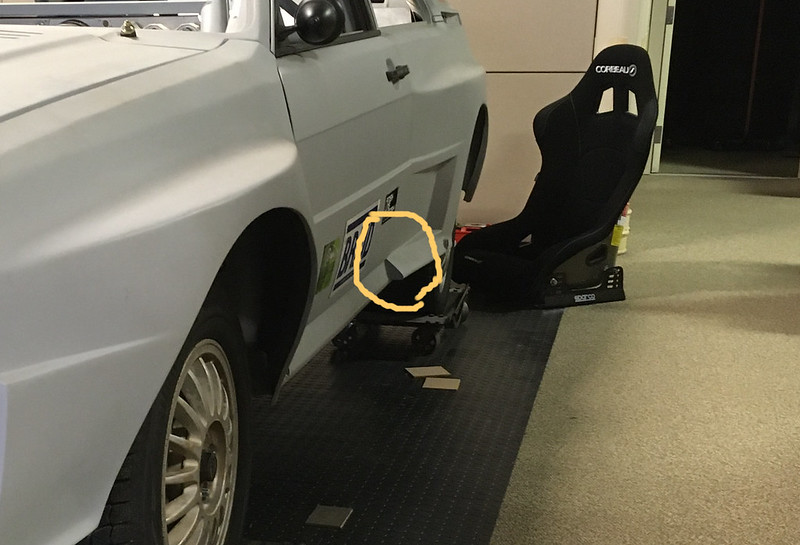
First, we started with something that isn’t present on the Group B resto we now seem to be trying to emulate in infinite detail: mid-rocker mud flaps (MRMFs), for want of a better term. What are those and why are you installing them? You may ask, Well, here’s an example that seems to only have been used on some of the David Sutton built cars in the UK.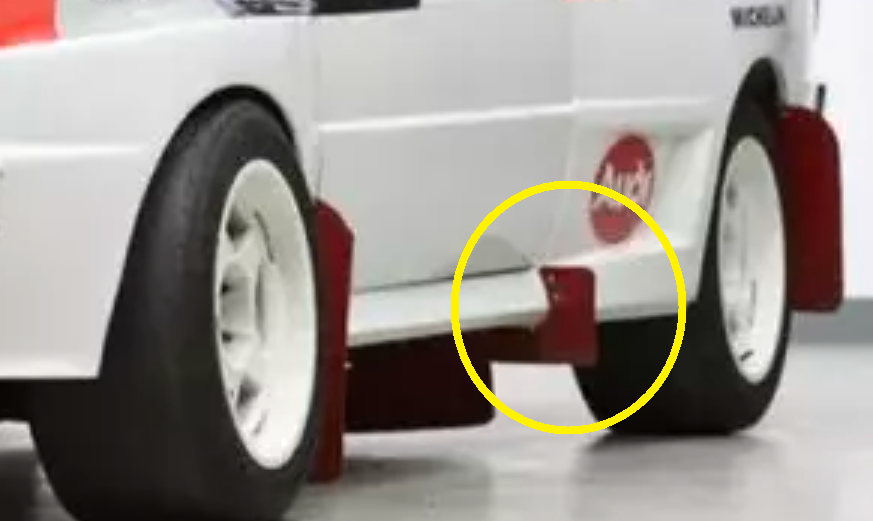
Comments

Great update!
Posted by Diggymart on 10/10/21 @ 10:31:32 PM
Great build
Posted by tmprod on 3/4/21 @ 6:44:07 PM
Thanks for updating Paul! Ill have to check out your new shop soon!
Posted by diyauto on 12/24/20 @ 5:08:37 PM
Anytime.
Posted by team illuminata on 12/24/20 @ 6:34:09 PM
This will be a beast when finished, looking forward to it.
Posted by MPower on 10/12/20 @ 2:15:11 PM

Great build!
Posted by DIYauto_Admin on 9/9/20 @ 12:08:22 AM
Hey hi Sue!
Posted by Diggymart on 2/14/20 @ 4:12:57 PM
Looks like it’s coming together!
Posted by Diggymart on 11/21/19 @ 2:49:00 PM
Those stands look nice!
Posted by diyauto on 11/21/19 @ 2:47:08 PM

Incredible build! Love the photo's
Posted by MoonpieMagic on 11/8/19 @ 8:00:45 AM
Thank goodness for friends carrying precious cargo!
Posted by Diggymart on 10/10/19 @ 11:40:08 PM
Woo! Excited to check this thing out soon :)
Posted by diyauto on 9/13/19 @ 1:37:14 PM
Great teamwork!
Posted by Diggymart on 7/29/19 @ 3:11:58 PM
Great build!
Posted by Diggymart on 1/17/19 @ 7:24:29 PM
Thanks
Posted by team illuminata on 3/4/21 @ 10:30:06 PM
Lookin good. Pride in work and attention to detail
Posted by Cyphercrash on 3/5/23 @ 8:59:32 PM