You must be logged in to rate content!
4 minute(s) of a 395 minute read
10-7-2021
Time To Get In The Groove
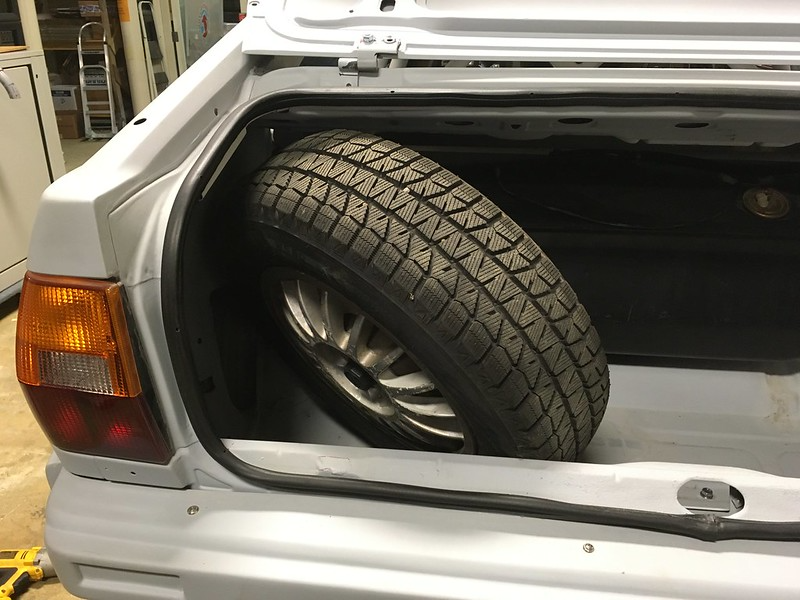
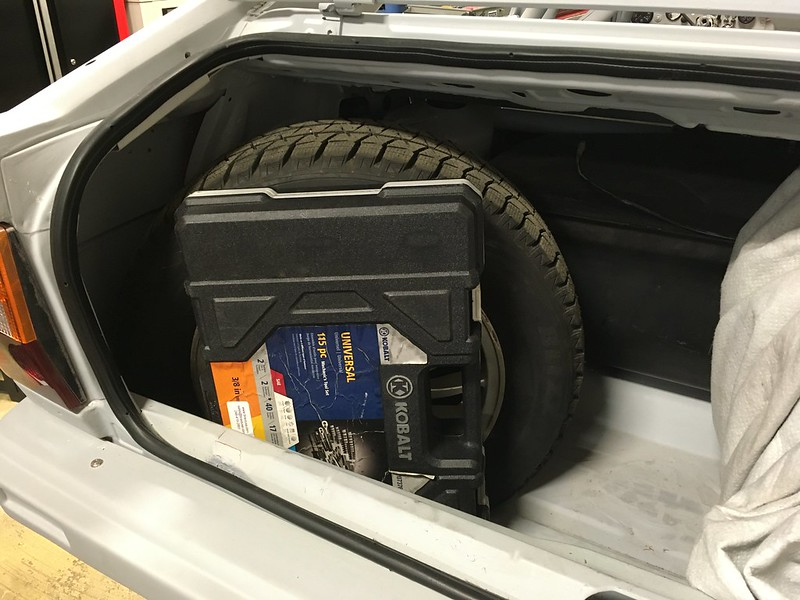
It recently occurred to us that if we ever get to drive this thing we might get a flat and need a spare tire. But what size and where to put it? The stock spare is a skinny donut that fits in the trunk up against the left quarter panel. Our car didn’t come with one and we doubt we’d wanna use a 35+ year old skinny tire anyway. No, we require something a bit more road worthy if not stage worthy.
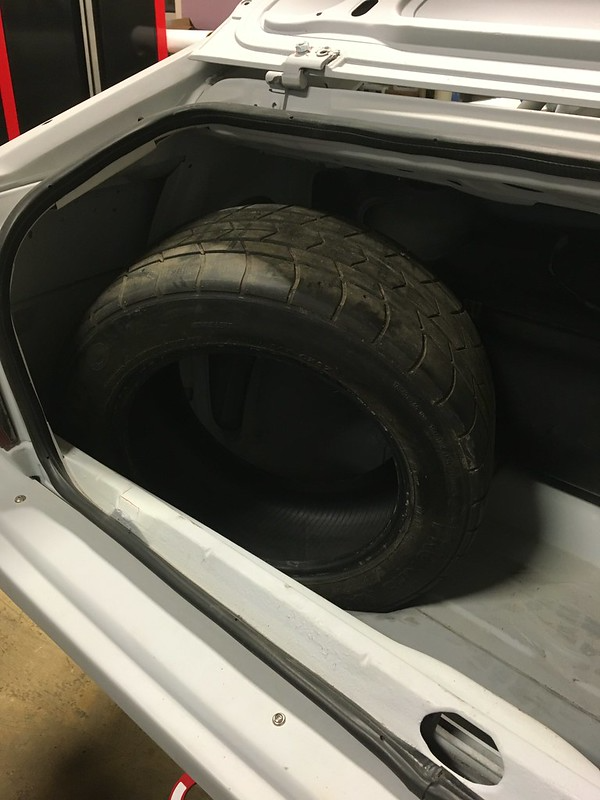
This is also complicated by the fact that we will be running two very different sizes of tire on the car. 195/65-15 gravel rally tires and snow tires and 23/59-15 tarmac rally tires. While we don’t feel the need to carry an exact match we would like something at least a similar overall diameter. Unfortunately the gravel ties is 25” OD while the tarmac tire is only 23”! And we’ll need a suitable wheel.
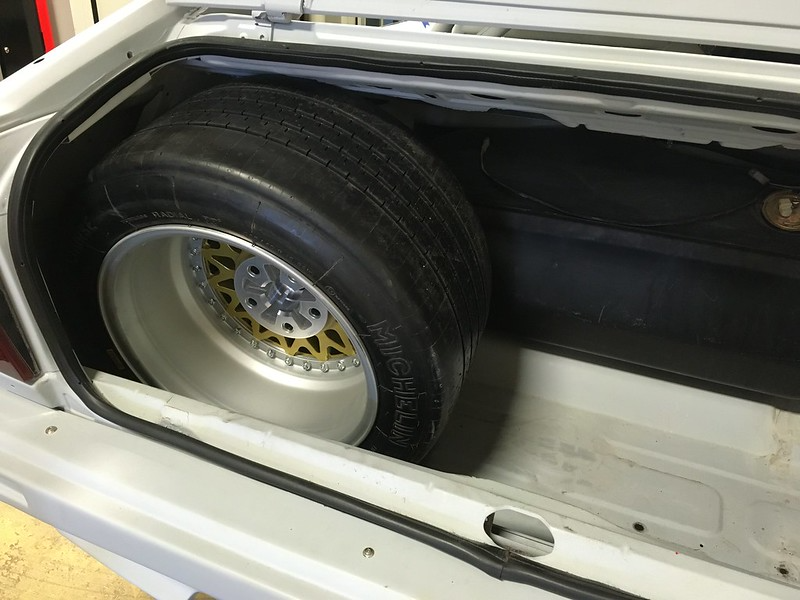
There a lot of 195/60-15 tires on the market at 24.2” and a few 225/50-15 at 23.9” OD. Perhaps one of these would be the sweet spot. We also have a set of original 15x6 Quattro wheels we could mount one of these on. Well, the 195 anyway. 225 might be a stretch. Oh, did we mention, we’d also like to carry our emergency tool kit as well?
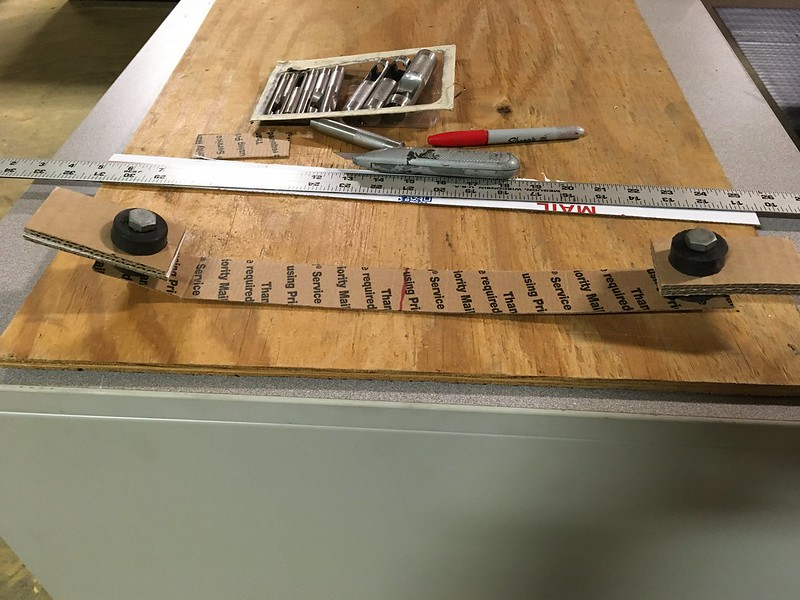
Now, where to store it. Well it turns out that nothing much bigger than the OE donut will fit in the original location so that’s out. However, since we removed the US spec bumper extensions from inside the truck we do now have access to this angled groove in the trunk floor. We thought it was to aid getting the donut into place but now we are thinking it may have been intended for a full size spare all along, at least till they got too wide for one.
Here’s a picture of the groove: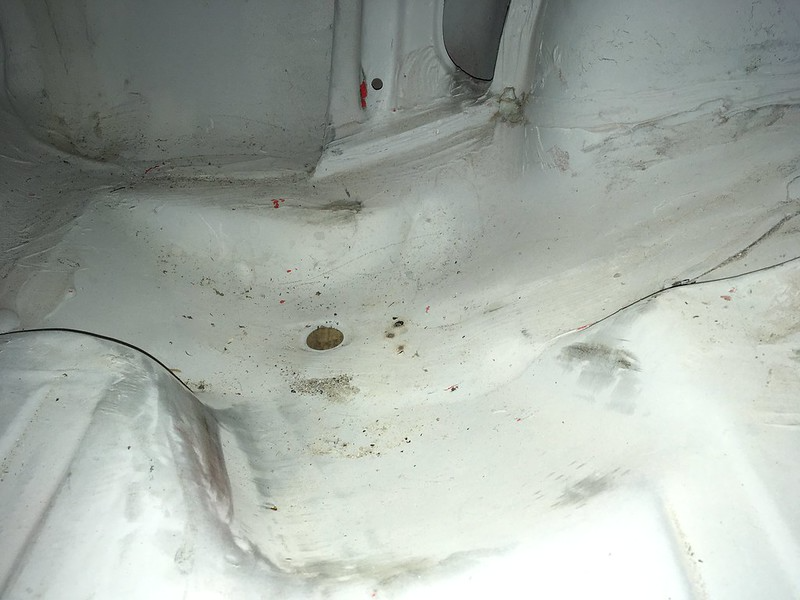

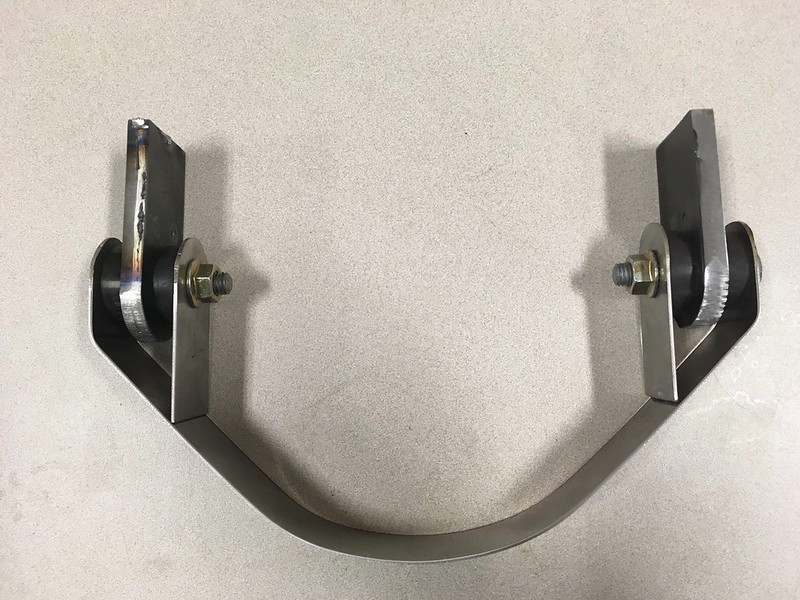
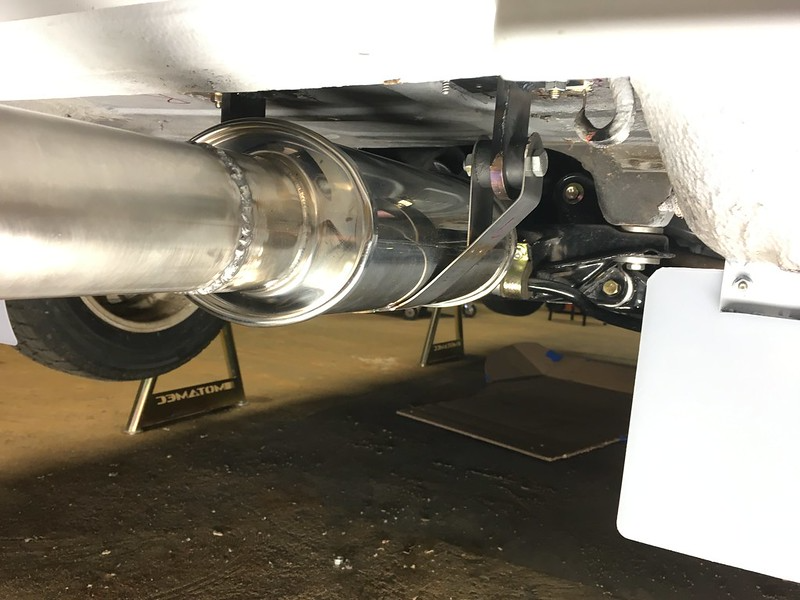
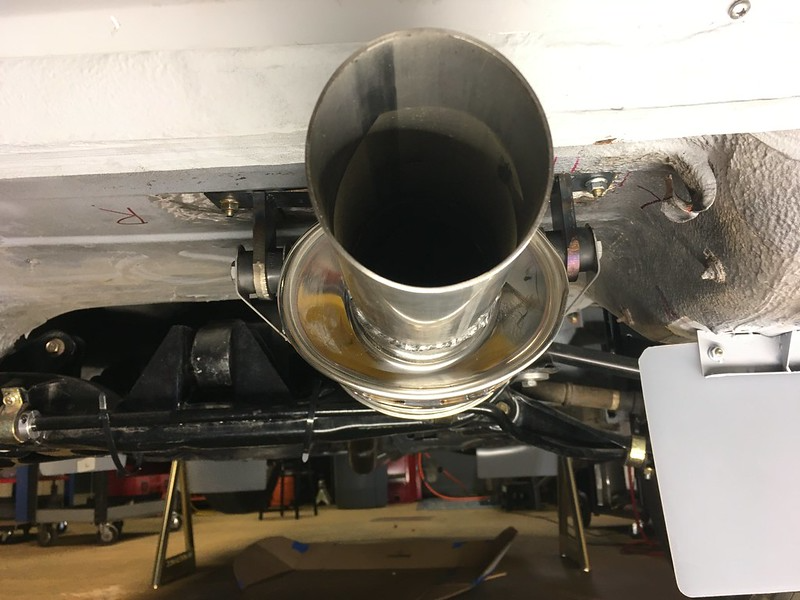
We’ve been frustrated by the rear muffler just hanging around but finally had some time to tackle it. We wanted to replicate the works cars even though it’s ridiculously over built.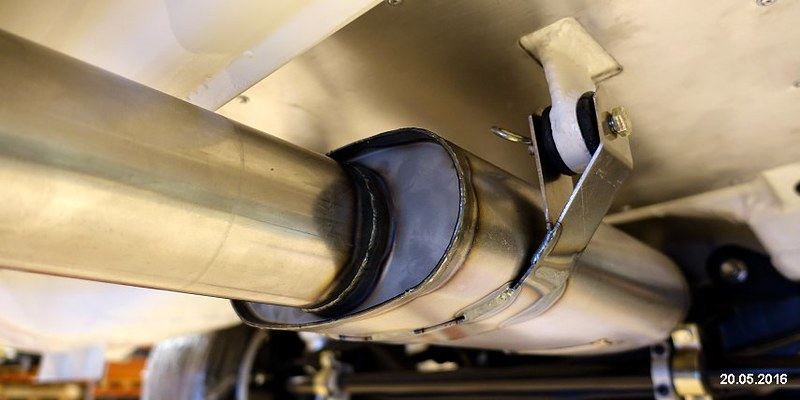

Comments

Great update!
Posted by Diggymart on 10/10/21 @ 10:31:32 PM
Great build
Posted by tmprod on 3/4/21 @ 6:44:07 PM

Thanks for updating Paul! Ill have to check out your new shop soon!
Posted by diyauto on 12/24/20 @ 5:08:37 PM
Anytime.
Posted by team illuminata on 12/24/20 @ 6:34:09 PM
This will be a beast when finished, looking forward to it.
Posted by MPower on 10/12/20 @ 2:15:11 PM

Great build!
Posted by DIYauto_Admin on 9/9/20 @ 12:08:22 AM
Hey hi Sue!
Posted by Diggymart on 2/14/20 @ 4:12:57 PM
Looks like it’s coming together!
Posted by Diggymart on 11/21/19 @ 2:49:00 PM
Those stands look nice!
Posted by diyauto on 11/21/19 @ 2:47:08 PM

Incredible build! Love the photo's
Posted by MoonpieMagic on 11/8/19 @ 8:00:45 AM
Thank goodness for friends carrying precious cargo!
Posted by Diggymart on 10/10/19 @ 11:40:08 PM
Woo! Excited to check this thing out soon :)
Posted by diyauto on 9/13/19 @ 1:37:14 PM
Great teamwork!
Posted by Diggymart on 7/29/19 @ 3:11:58 PM
Great build!
Posted by Diggymart on 1/17/19 @ 7:24:29 PM
Thanks
Posted by team illuminata on 3/4/21 @ 10:30:06 PM
Lookin good. Pride in work and attention to detail
Posted by Cyphercrash on 3/5/23 @ 8:59:32 PM