You must be logged in to rate content!
4 minute(s) of a 395 minute read
11-18-2021
Committing to Front Bars
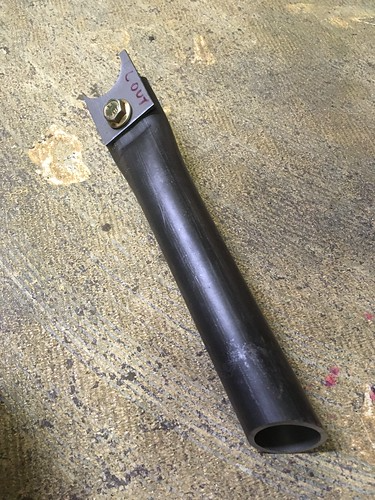
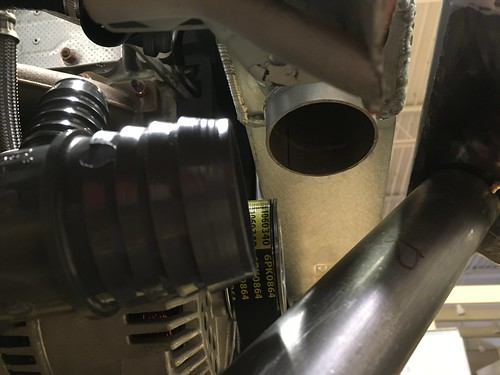
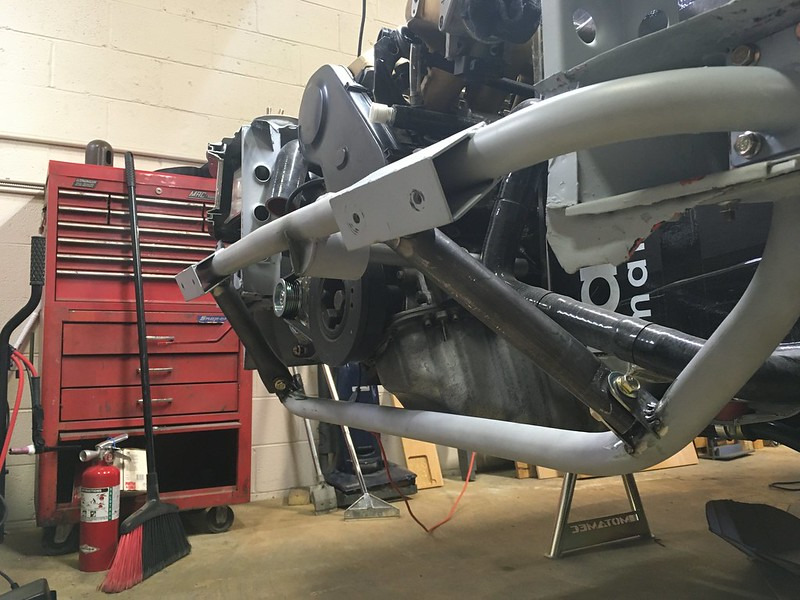
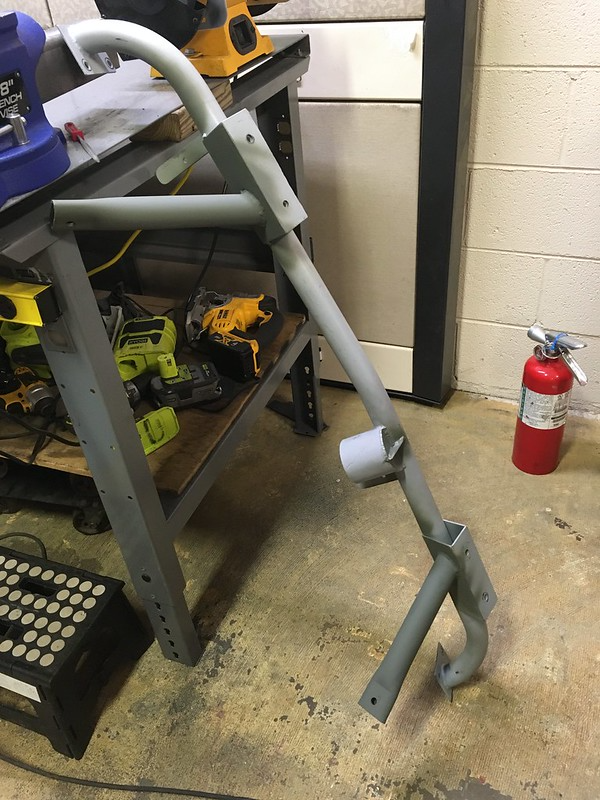
The last time we referenced the front skid plate bar was back in May when we were installing the front tow hook which is sandwiched between the chassis rail and the skid plate bar mounting flange. At that time, it was mocked up from PVC conduit. Now we felt it was time to commit it to steel and even connect it to the front bumper bar. How hard could that be?
Pretty tricky actually. We don’t have a pipe bender but have access to one but it would be a one shot deal. However, it proved difficult to make the compound bends in the same plane and end up with the bar at the correct length. When we got it back to the workshop what we had was a wrong length bar with a 90 degree bend at each end! Both bends were in the same plane but, as you will see, that didn’t matter in the end. It was a bit disappointing to be honest so we put the kettle on and had a think over some Yorkshire Tea and Hobnobs. They did the trick as by the last sip and crumb it dawned on us that we had all the right pieces, just not necessarily in the right order! If we chopped up the continuous 90 bends we could configure them in the right way and make the bar any length we wanted and we wanted it the correct length. So that’s what we did.
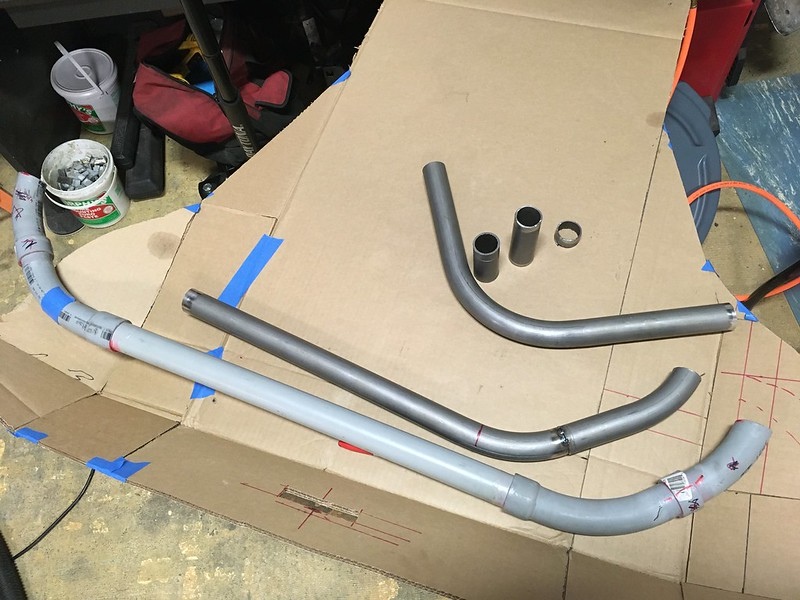
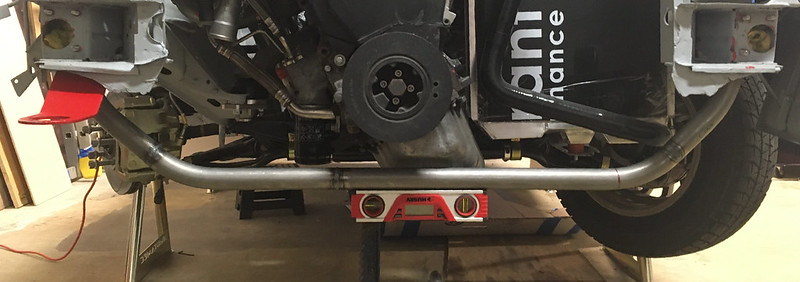
So here are the two bars tacked together and removed and primed later.
Comments

Great update!
Posted by Diggymart on 10/10/21 @ 10:31:32 PM
Great build
Posted by tmprod on 3/4/21 @ 6:44:07 PM

Thanks for updating Paul! Ill have to check out your new shop soon!
Posted by diyauto on 12/24/20 @ 5:08:37 PM
Anytime.
Posted by team illuminata on 12/24/20 @ 6:34:09 PM
This will be a beast when finished, looking forward to it.
Posted by MPower on 10/12/20 @ 2:15:11 PM

Great build!
Posted by DIYauto_Admin on 9/9/20 @ 12:08:22 AM
Hey hi Sue!
Posted by Diggymart on 2/14/20 @ 4:12:57 PM
Looks like it’s coming together!
Posted by Diggymart on 11/21/19 @ 2:49:00 PM
Those stands look nice!
Posted by diyauto on 11/21/19 @ 2:47:08 PM
Incredible build! Love the photo's
Posted by MoonpieMagic on 11/8/19 @ 8:00:45 AM
Thank goodness for friends carrying precious cargo!
Posted by Diggymart on 10/10/19 @ 11:40:08 PM
Woo! Excited to check this thing out soon :)
Posted by diyauto on 9/13/19 @ 1:37:14 PM
Great teamwork!
Posted by Diggymart on 7/29/19 @ 3:11:58 PM
Great build!
Posted by Diggymart on 1/17/19 @ 7:24:29 PM
Thanks
Posted by team illuminata on 3/4/21 @ 10:30:06 PM
Lookin good. Pride in work and attention to detail
Posted by Cyphercrash on 3/5/23 @ 8:59:32 PM