You must be logged in to rate content!
3 minute(s) of a 126 minute read
7-17-2013
7-17-2013
I know this is turning into a build thread/mini diys/picture whoring. But bear with me. I'm hoping these pictures come in handy in the future for someone.
So, after sitting in its packaging for years, I sent my RedLineGoods center console cover back to them to re-stitch it with silver thread to match the seats. And decided that it would be a good time to do the install.
Quick overview:
If you can get someone to help you... do it. An extra set of hands was a definite must!
Dont let leather sit for years and then expect it to unfold without some residual markings left.
Be patient. My lines didn't end up exactly how I wanted them because I got into a hurry by the end of the second night. (technically third)
I now know why I would pay a professional shop to do this.
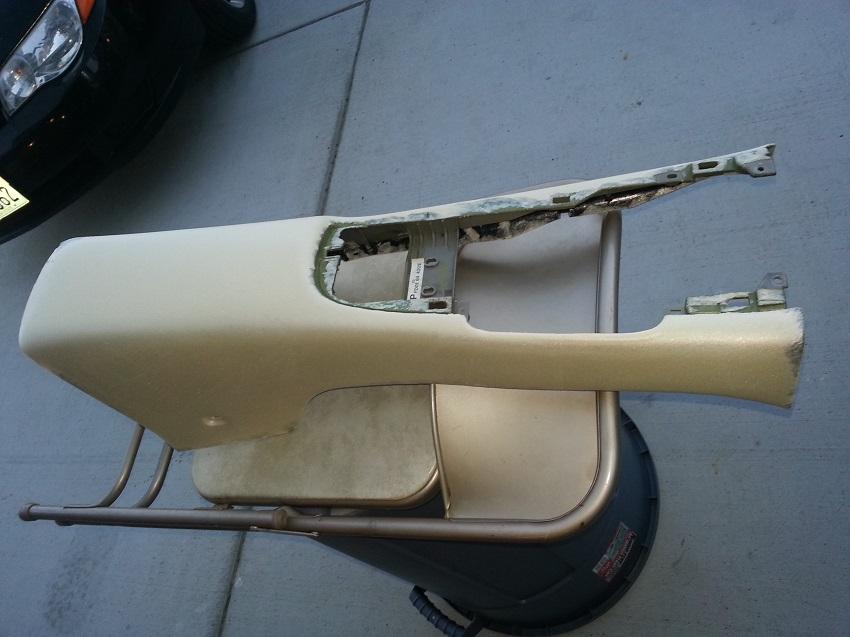
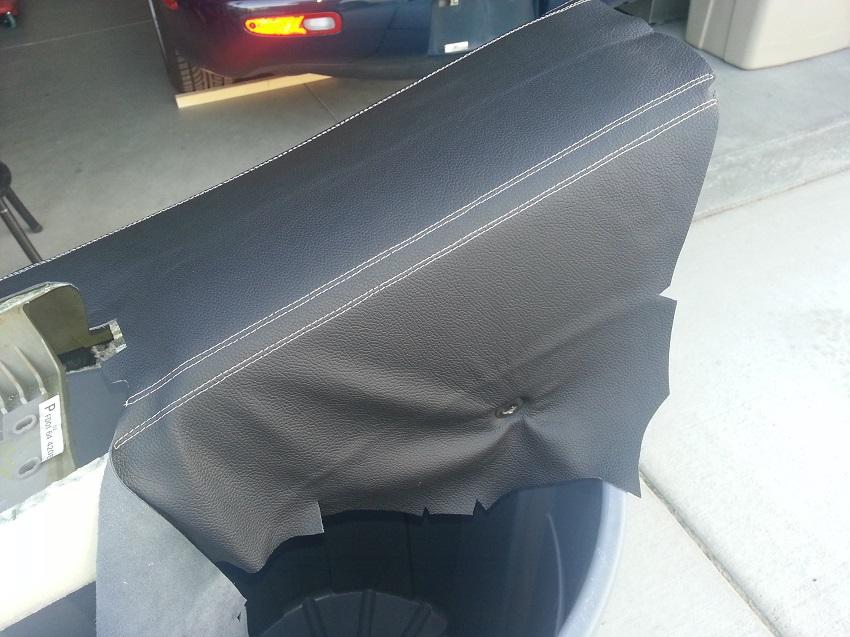
The first night was removing the stock covering... which was in perfect shape, and I am an idiot in hindsight. I should have just bought one in crappy shape and sold this one for a profit. But, you live and learn. (probably not in my case) I left the stock foam layer to give the leather a bit of the "cushy" feel. Then I stretched the leather so both holes lined up and put the grommets back in to hold it in place. I left it like this overnight to allow the leather to settle out a bit.
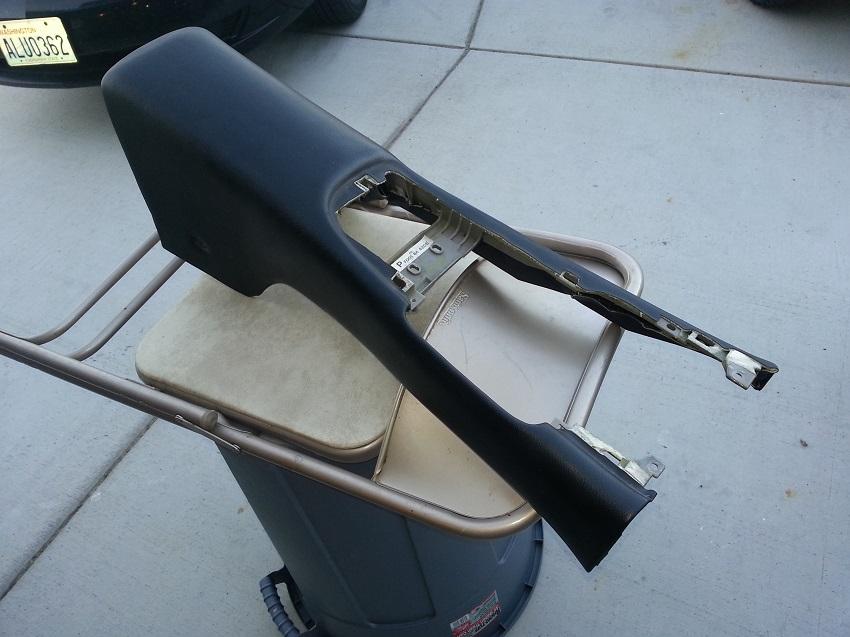
Here it is stripped down. Still kicking my self for tearing apart a mint OEM one.
Leather stretched over and left to sit for a night.
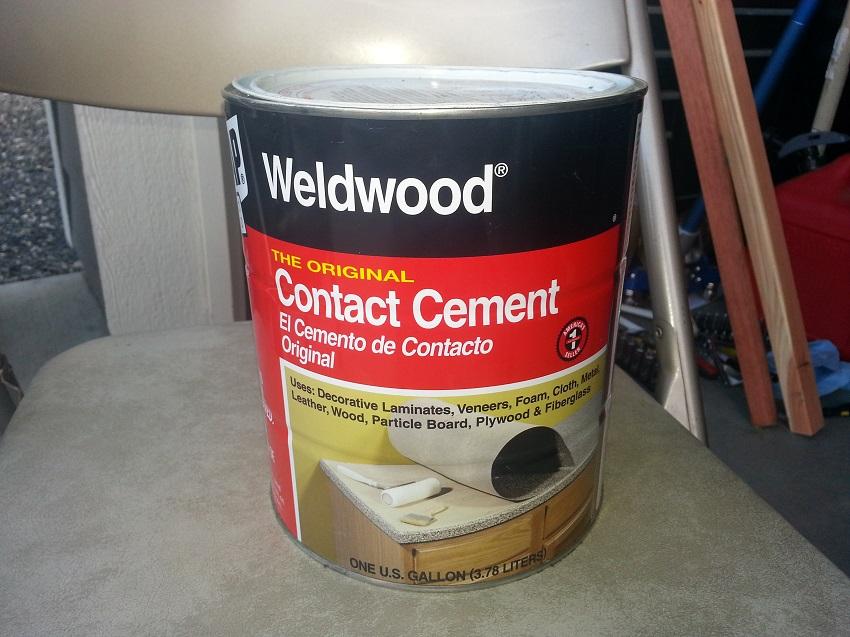
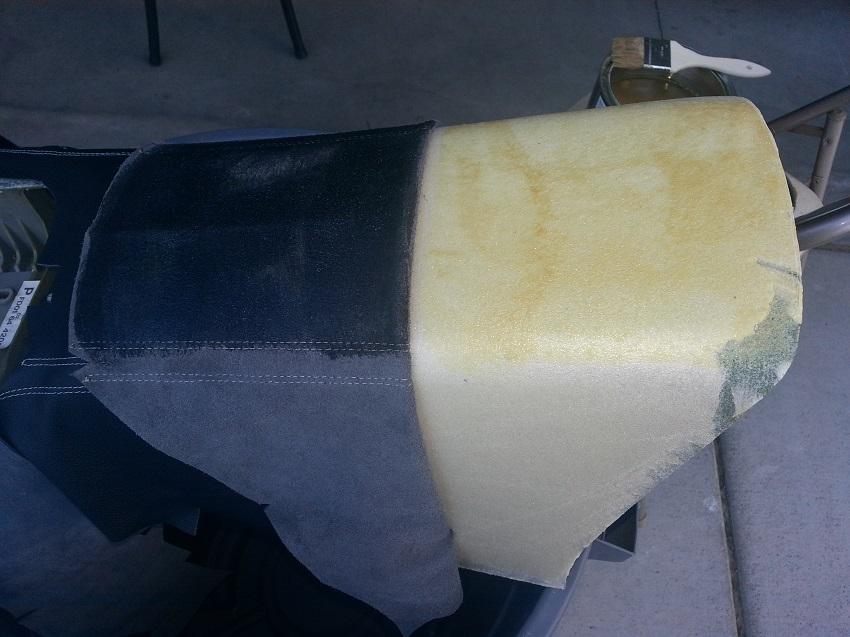
The stuff I used to stick the new one on. Its pretty good stuff. Paint it on, let it dry, sticks to itself like crazy! It takes multiple layers on the backside of the leather to make it stick right. But once it's on... not chance it's coming off.
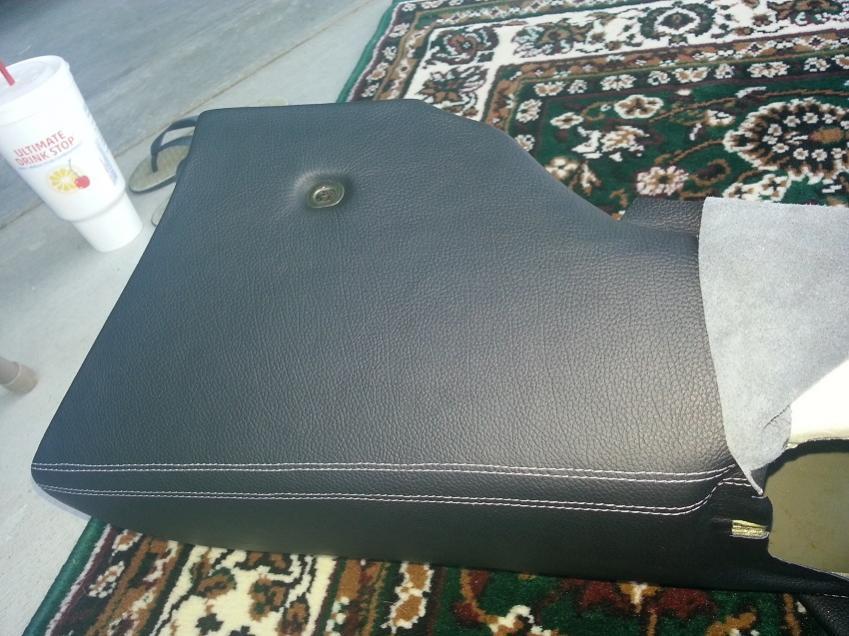
left the grommets in and just rolled the leather back to make sure it started exactly where I wanted it to.
One side done
Nice!
Posted by Diggymart on 5/8/20 @ 5:45:12 PM