You must be logged in to rate content!
5 minute(s) of a 224 minute read
11-29-2008
I decided to buy 245/40-18s and 275/40-18s since this thing could really use some tire to help handle the 450+ HP I'm expecting. Now that my wheels and tires are on order along with my front wheel adapters (27 mm/1.06") it's time again to do some more work to prep the body.
I removed the windshield so I could put a halt to the rust that was forming in the window channel, plus it had a crack that was slowly growing downward from the rear view mirror area.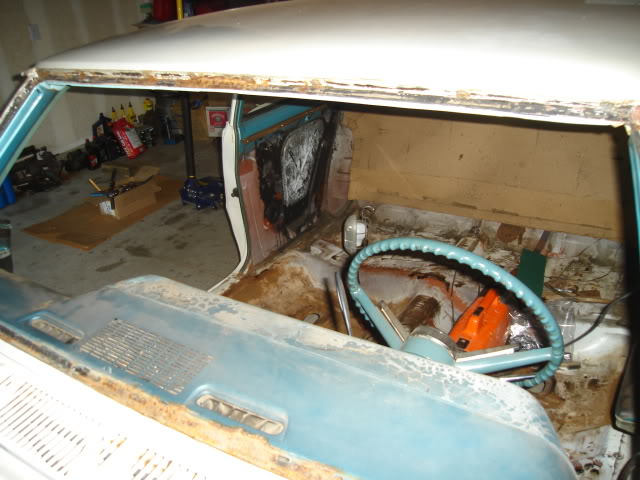
Other than a few lower windshield trim clips that were pretty much consumed by the rust I don't see any really bad spots.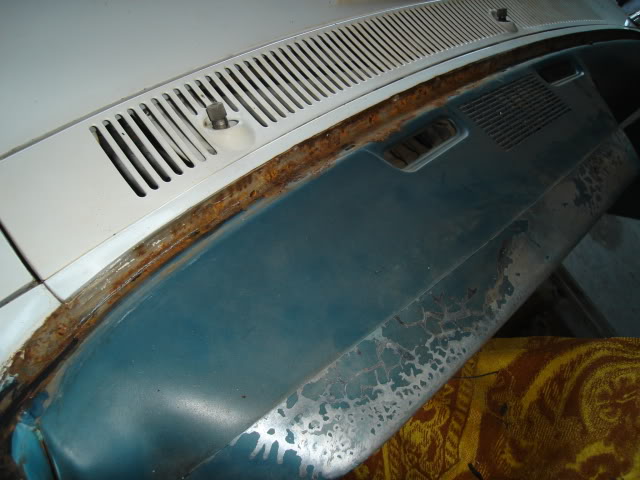
Some heavy pitting is present but no holes that I can see so far, after some more work with a wire brush it will soon be ready for the POR-15 treatment. For those of you who haven't tried POR-15, you'll soon see the near miracles this stuff can perform. At only $45 a quart it's an affordable solution for minor to moderate rust problems.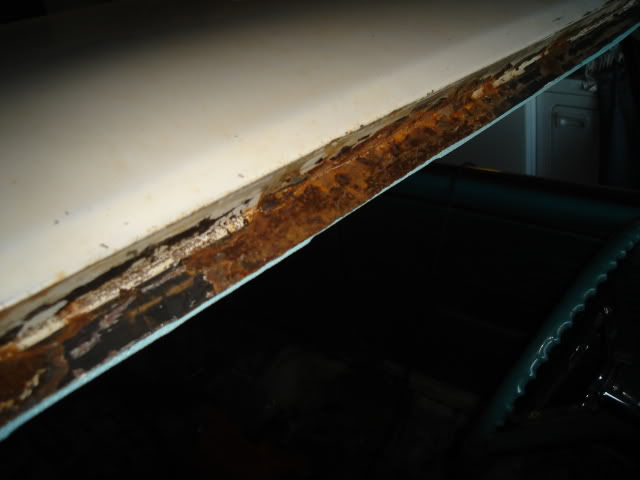
11-30-2008
From what I've been told the C5/C6 'vette accessories fit best, Andrew B who is a mod here gave me this advice so I went along with it. No interference or close fit down low next to the steering box and a shorter profile for better fan/radiator clearance.
The only thing that might interfere is the A/C compressor to the front crossmember if left in the stock location. You can either notch the crossmember and and do some changes to the compressor to put the hoses in a better location or just move the compressor to the top with an aftermarket bracket kit, which I chose to do.
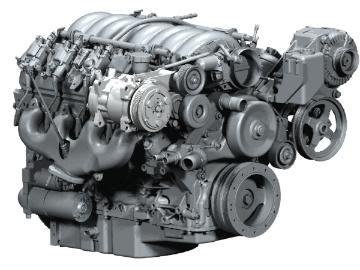
Factory 19155067 C5/C6 Corvette accessory drive kit with low-mounted A/C compressor: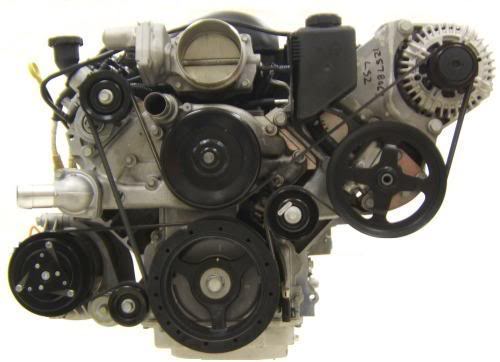
Same Factory setup with KWiK Performance A/C brackets added (made for a Sanden compressor which I'll be using instead of the OEM unit), looks like it's gonna fit nice.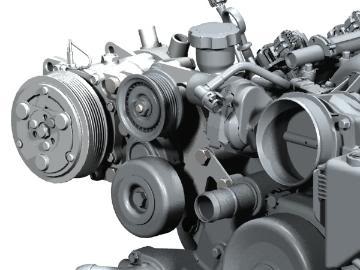
.....that will be fixed next weekend if all goes well. Today I scrubbed down the floorpans with some Simple Green followed up by some mineral spirits (paint thinner) in the areas where the old tar-based sound deadener left some black sticky residue.
The driver's side footwell has a few holes. The hole next to the where the accelerator pedal goes is the biggest one on the entire floorpan. I will use a couple of layers of fiberglass cloth along with the high-fill silver POR-15 to patch it.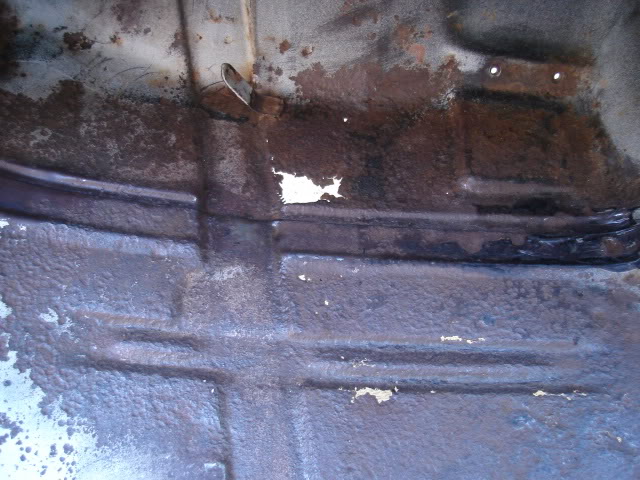
Passenger footwell, numerous holes there to patch with small pieces of fiberglass cloth.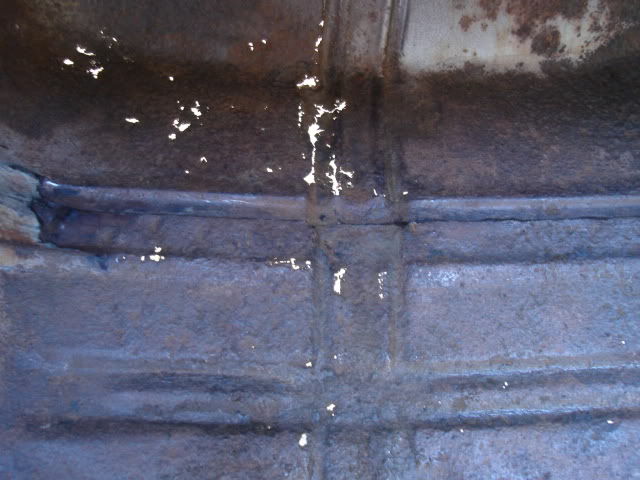
The front passenger floor has a lot of little holes, this side is in far worse shape than the driver's side.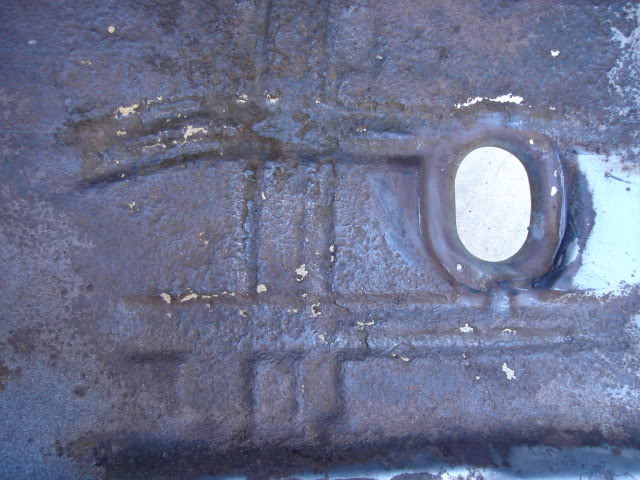
Just behind the passenger seat above the body brace some more small patches are needed.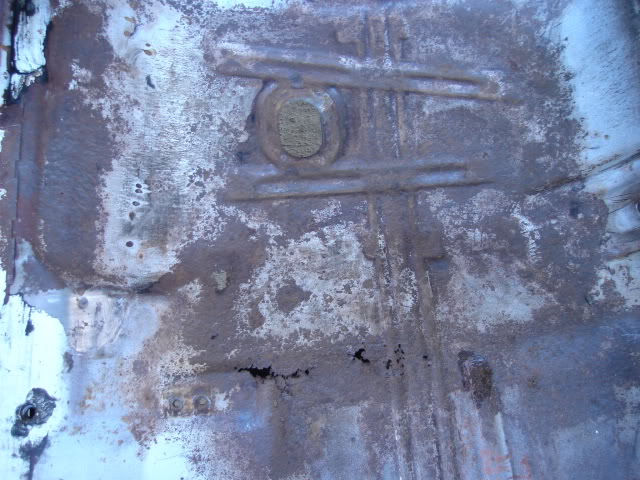
Overall it looks pretty good, actually in a lot better shape than I'd expected. There's no need to replace the floorpans on this little beauty.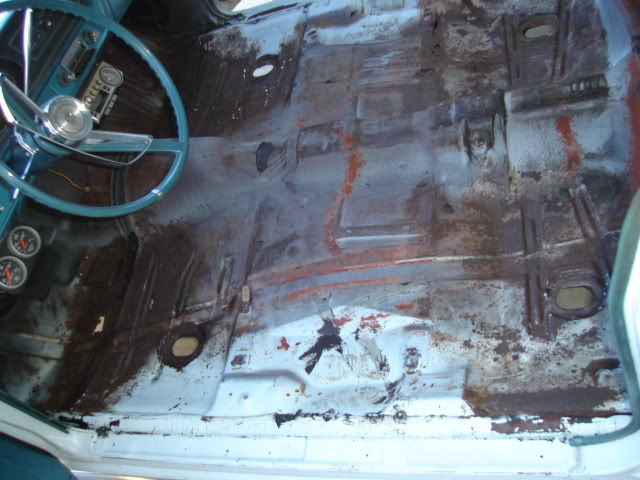
The rear seat area is in primo shape, just a little cleaning was all it needed.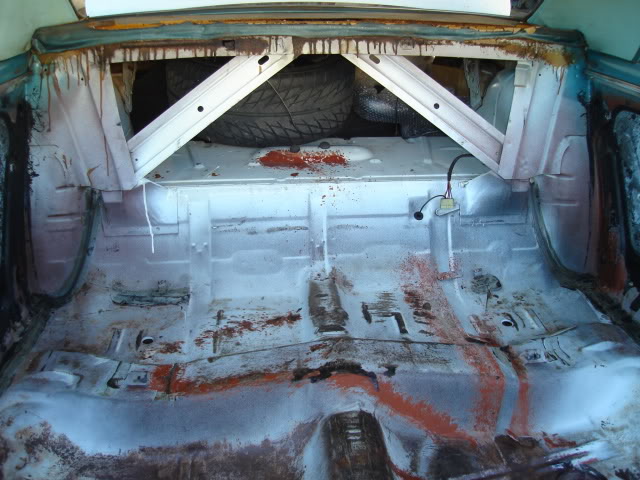
I tried to make the most of the Thanksgiving 4-day weekend. The weather has been absolutely stunning lately with temps in the mid to low 80s, so I needed to take full advantage of it for getting as many wet and dirty jobs taken care of as possible.
Next weekend I'll finish prepping the floors on Saturday using some Metal-Prep to etch the rusted areas, and get an early start on Sunday applying the POR-15 paint and fiberglass patches.
You really need to plan on having a full day to do the POR-15 application. The instructions point out that you must recoat after waiting 2 to 3 hours, otherwise you have to sand it all to make any more coats stick. The day gets eaten up pretty fast if you plan on doing 2 or 3 coats of the stuff.
Stayin' busy.
The Tempest!
Posted by Diggymart on 3/26/21 @ 3:09:22 PM