You must be logged in to rate content!
9 minute(s) of a 224 minute read
11-3-2009
.....can really occupy a lot of time, it seems like there are a thousand and one little jobs that still need to be done.
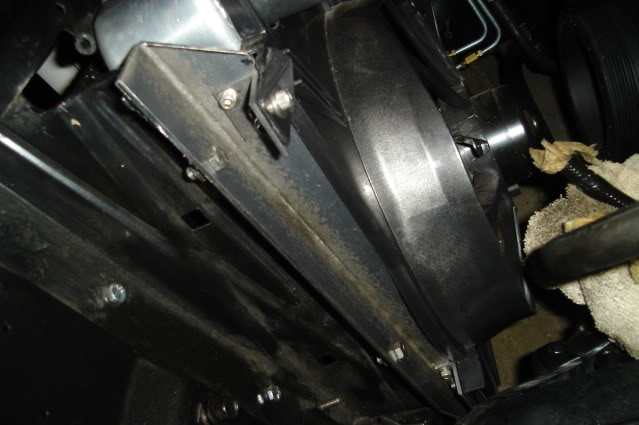
I spent some time making up the necessary brackets to secure the fan shroud to the radiator. Quite a few months back I modified some factory lower saddles for the radiator to rest on and trimmed the fan shroud to fit, but until just lately I haven't worked on finishing up the installation.
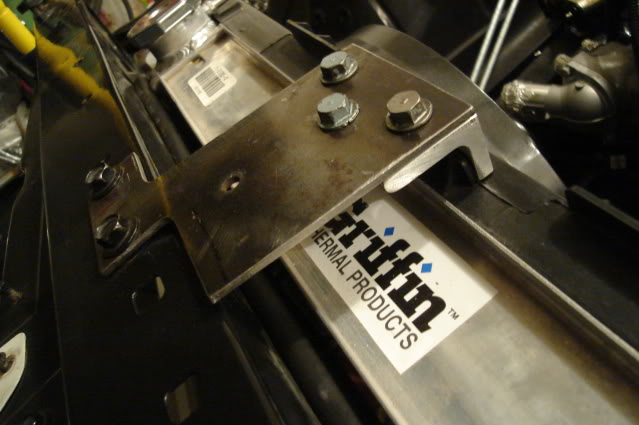
The fan shroud will serve to hold the radiator in place. At the top of the core support the top radiator tank seams rest against a length of 1/4" rubber fuel hose that was slit lengthwise and slipped over a folded sheetmetal lip. The top radiator clamp (3rd picture below) keeps it held down in the rubber-insulated saddles at the bottom.
I made up some mounting brackets from 2 X 2 X 1/8" angle iron to secure the fan shroud to the radiator and fill the gap between the shroud and radiator support, there are two 10-32 tapped holes for each shroud mounting tab. The shroud mounting tabs are made from 1-1/4 X 1-1/4 x 1/8" angle iron, each one is tapped with 1/4-28 threads to hold the shroud in place.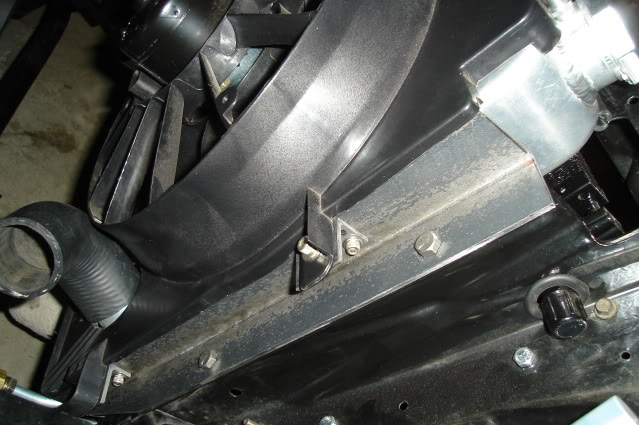
The top radiator clamp mounts to the same two factory tapped holes in the radiator support that mounted the stock radiator clamp. I made it from a leftover scrap of .135" thick steel plate that I had previously used to modify the trans crossmember and a piece of 1-1/2 X 1-1/2 x 1/4" aluminum angle. I'll round off a few of the sharp corners before it gets painted and use some nicer looking fasteners when it's all finished up, I used some old Pontiac valve cover bolts that were handy for now.
I also made up a starter motor shield, it's made from a piece of 3.00 dia. X .060" wall 304 stainless steel tubing that was slit lengthwise, unrolled and flattened to extend upward from the starter motor. The shield extends up high enough to shield the solenoid, starter soleniod wire and positive battery cable along with the crank sensor wiring and knock sensor wiring.
I still need to make a small 'L' bracket coming off the lower 8mm hex head starter motor bolt to clamp the shroud to the bottom front of the starter motor. The outside wall of the shield will be polished on a buffer so it will reflect as much heat as possible, I sure hope my starter lives a long life since it will be a pretty big job to change it out.
The upper mounting bracket is made from 1 X 3/16" band iron. It mounts to one of the header bolts and has a 1/4-28 hole tapped in it to secure it to the top of the starter shield, it needed a small notch cut in the side so a 5/8" spark plug socket can sneak by. The .060" thick stainless shield and stout upper mounting bracket shouldn't vibrate and crack easily, some of the thin sheetmetal factory heat shields seem to have cracking issues.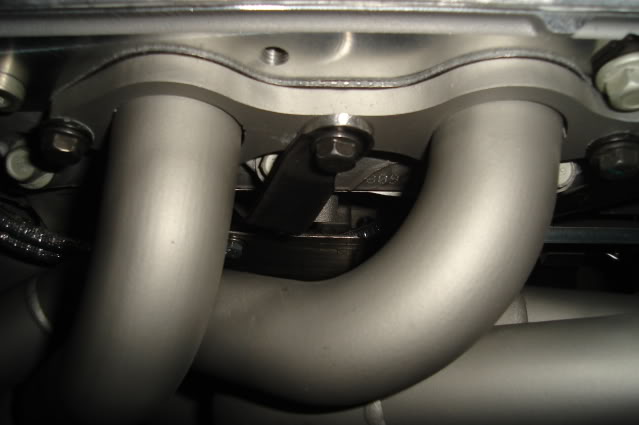
Another small detail out of the way is the brake master cylinder pushrod. I cut the looped end off and had a machinist friend of mine single-point some 3/8-24 threads on his lathe. Now it will screw right into the factory brake pushrod clevis.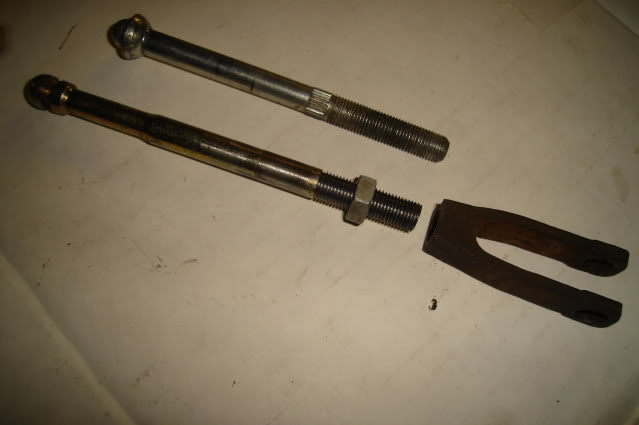
Thanks for looking.
12-13-2009
Not a lot going on lately, my hours at work have been increased so I have less free time to get things done.
I did spend some time fitting up some universal Lokar column shift linkage made for GM auto transmissions, I want to keep the original 2-speed auto column shifter that came in the Tempest. The factory shift linkage that is supported by a pivot bracket on the frame and the trans selector shaft won't work, the selector shaft on the 4L70E is located about 1-1/4" further back on the trans compared the the TH400 and original ST300 2-speed. The Lokar kit cost me about $50 and was well-worth it.
Back when I first installed a TH400 in the car to replace the original Super-Turbine 300 2-speed I did a few mods to the steering column so the shift linkage would travel far enough to grab low gear on the 3-speed TH400.
I took the steering column apart and filed a slot in the outer column at the bottom and in one of the inner pieces near the top to allow the extra shift lever travel I needed. I also modified the shifter detent that bolts to the bottom of the column by fabricating and welding on an extension that gives the lower lever another step in the detent.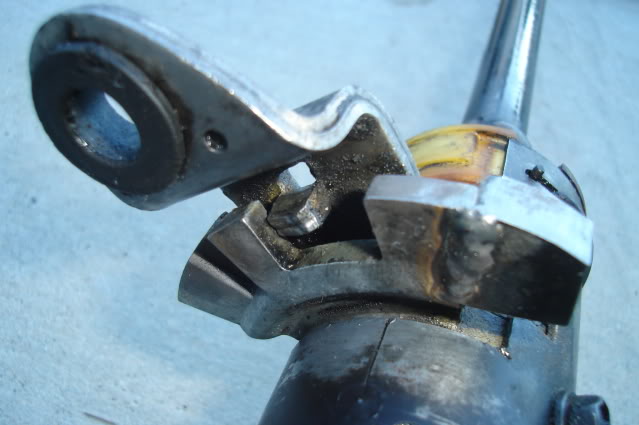
Welding the fabricated mild steel step to the cast factory shifter detent seemed to go okay. I just used a little 308 stainless rod with a TIG welder and they joined together just fine. The weld did spit and pop a little during the process but it's lasted for over 30K miles so far and shows no signs of cracking.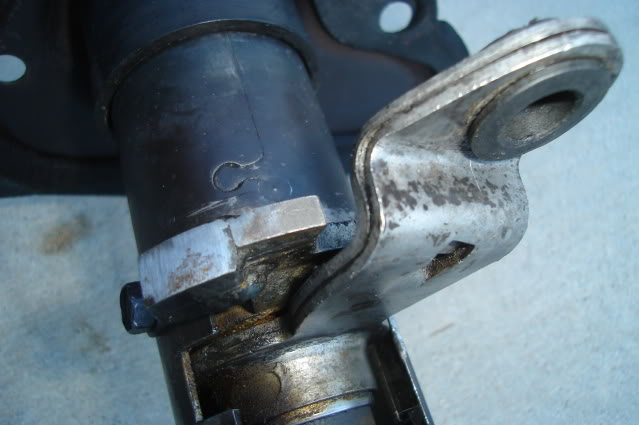
The Lokar kit comes with a nice billet aluminum lever that slips over a splined bushing that bolts onto the shift selctor shaft. The splines fit together very tightly and the lever gets locked in place with a clamp bolt, very high-quality fit and finish on these parts.
The lever is slotted so you can adjust the amount of selector shaft travel. I used the position that's located the farthest out to limit the length of lever travel, I only want to select Overdrive, 3rd and 2nd. I see no need to be able to grab low gear. The trans will kick down if I need low gear while accelerating and the trans will start off in low by itself if the selector is in 3rd or Overdrive.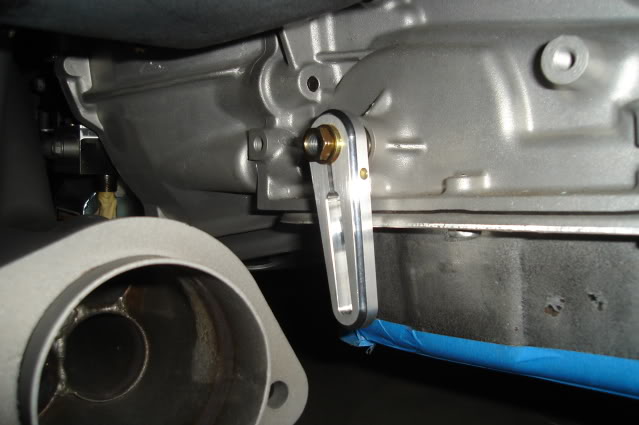
The factory 2-speed shift indicator pointer will be in the correct position for Park, Reverse and Neutral and will be in the Drive position for running in Overdrive. For 3rd gear it will be directly between the Drive and Low positions on the shift indicator, to engage 2nd I will have to pull the lever back and utilize the added shift detent that was welded on.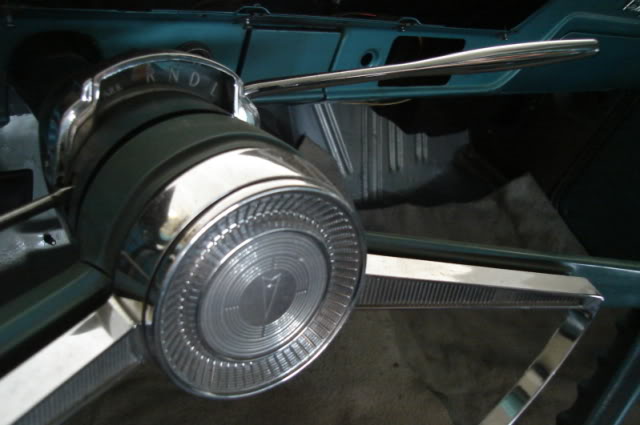
The Lokar kit comes with a 21"-long piece 5/16" stainless rod that you bend and cut to length for your particular application. It comes threaded 5/16-24 on one end for a heim joint, the other end gets cut off and a piece that screws into the other heim joint slips over the rod gets secures with a pair of 1/4-28 set screws.
The 5/16" rod is very hard to bend cold, you need to clamp it in a large bench vise (using aluminum soft jaws) and push or pull it using all of your weight to bend it. I have my 6" vise bolted to the corner of a 48" X 36" X 1/2" thick steel welding table and I was able to lift the corner of it off the ground while bending the rod, so it's definitely plenty stiff and won't give any while shifting gears.
Getting the rod bent in the correct configuration takes a lot of time, constantly checking and bending it and later on trimming it until it's not hitting the firewall, engine or trans in all of the different positions of travel. I must have bolted this thing on and taken it back off 20 or 30 times before it was right.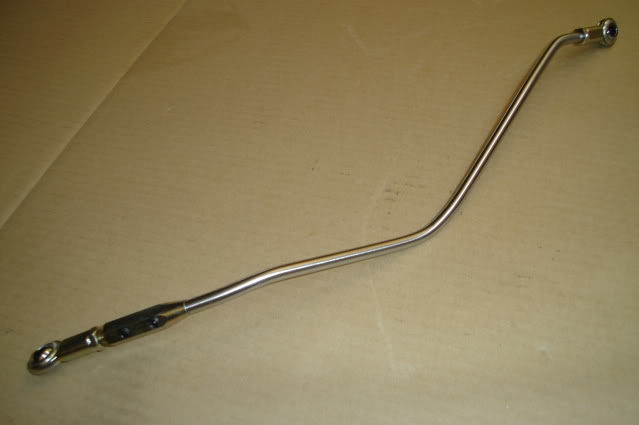
The kit instructions tell you to file a couple of flats after marking their locations. I had a friend mill the flats perfectly level in relation to one another and properly located center to center so the 2 set screws (with blue Loctite) would be best able to positively secure the heim joint.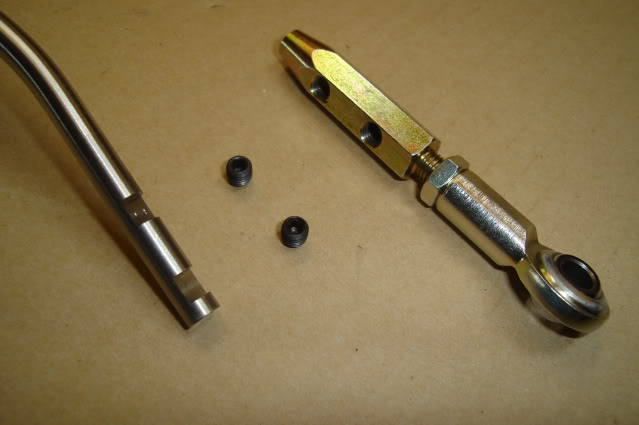
A lot of effort for a column shifter that almost nobody else would want on a car like this.
That's all for now, thanks for looking.
Merry Christmas!
7-3-2010
No new progress to report.
Been spending my time trying to catch up on the other things that I have neglected while getting this project off the ground. That and spending time selling off some of my parts stash and a couple of my hobby cars to raise some cash and to make some room to work, my garage is crammed with stuff that I've collected over the last 30 years in this hobby.
After a while I'll get rolling on the Tempest again. I'm anxious to fire up the LS3, get behind that big steering wheel and click the column shifter into Drive.
9-29-2010
Nothing new, will update when I can get back to working on my project.
Too many other things going on right now that are far more important than working on my Tempest unfortunately.
Thanks, Bart

The Tempest!
Posted by Diggymart on 3/26/21 @ 3:09:22 PM