You must be logged in to rate content!
3 minute(s) of a 338 minute read
12-29-2014
12-29-2014
So I guess ill share my spring plans. I have a lot of parts to install in spring including the Retrofit high beam projectors, rad stays, ebcs cover, antenna, tail light overlays, grill strip, new header and ewg uppipe, turbo, steering rack bushings, rear diff bushings, and prob missed a few things but I plan on buying a new front lip, carbon fibre wrap to do a few interior pieces, Cusco steering rack power brace, Group N or Torque Solutions engine, Trans mounts and Pitch stop before the car comes out for spring.
1-6-2015
Update: I bought a couple new lens and lens filter last week. So hopefully be able to get some better shots soon. I was also talking to Forced Performance yesterday and the turbo is being modded to what I want it. Should ship out before the end of the week.
1-15-2015
Here is a little crappy photoshop I did of the wheels I think I want to get. What do you guys think?
2-3-2015
Update: The turbo is almost here. Should be here a week from today. Excited for that lol also ill be ordering wheels this month as well if everything goes well. Stuck between 2 wheels. Ill post pics of the turbo when it gets here.
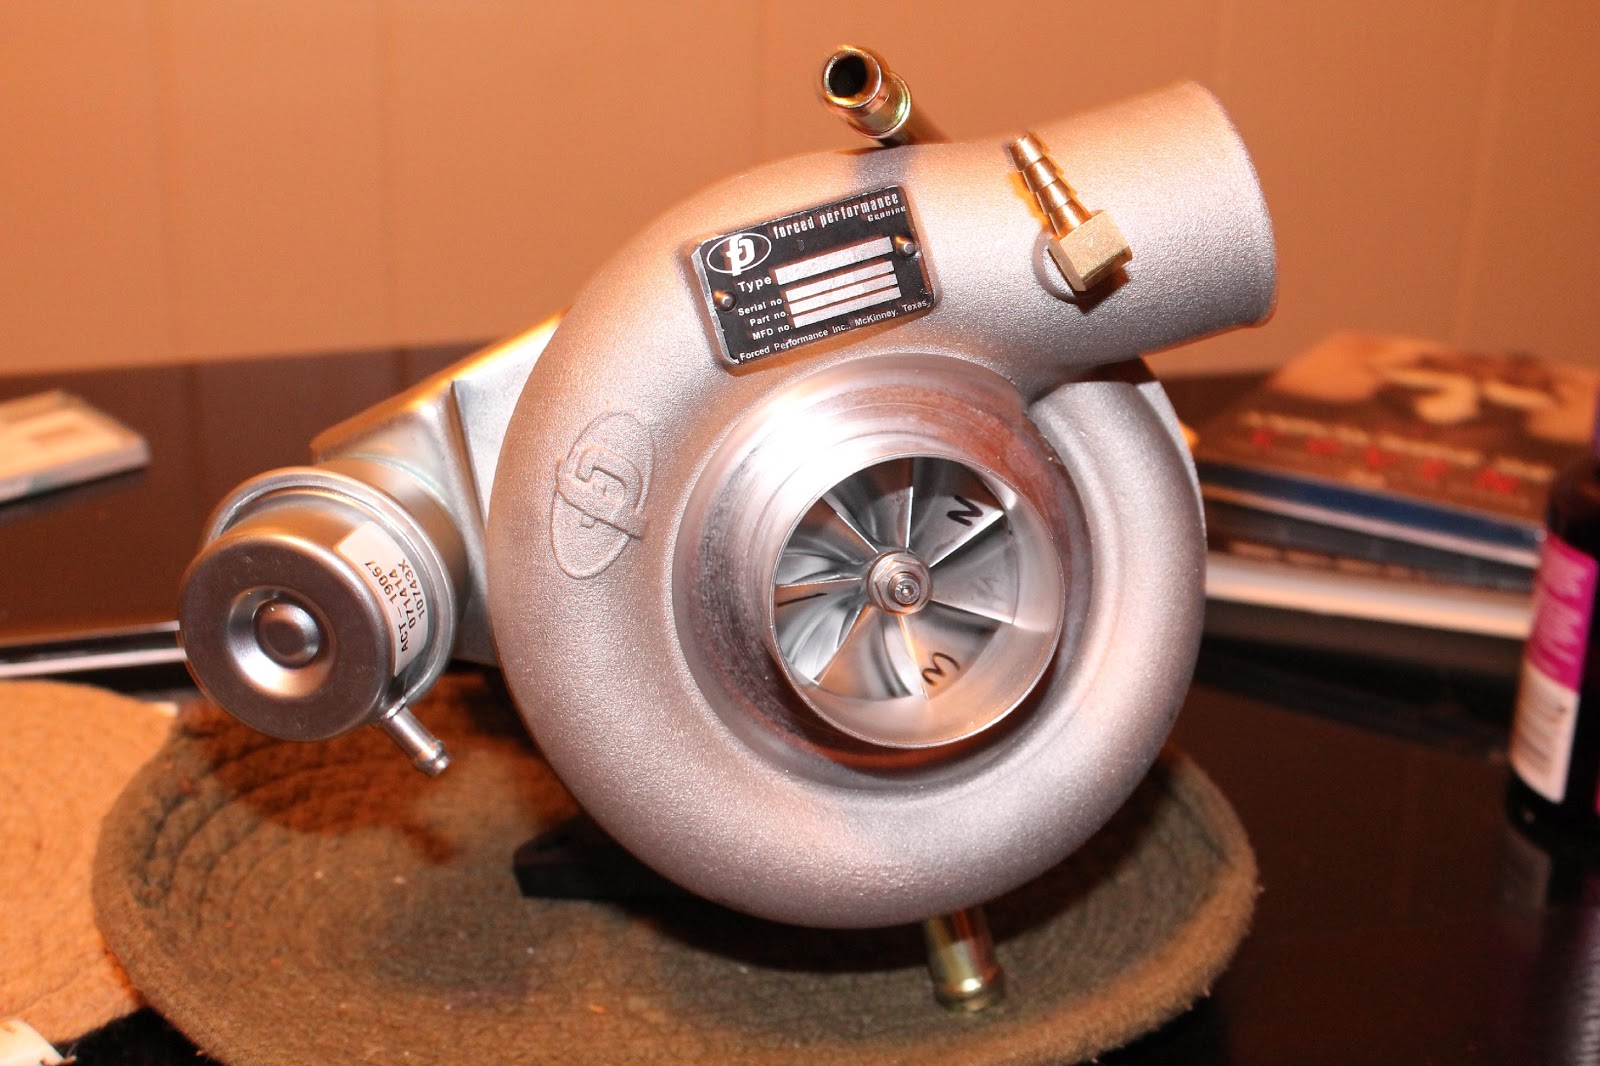
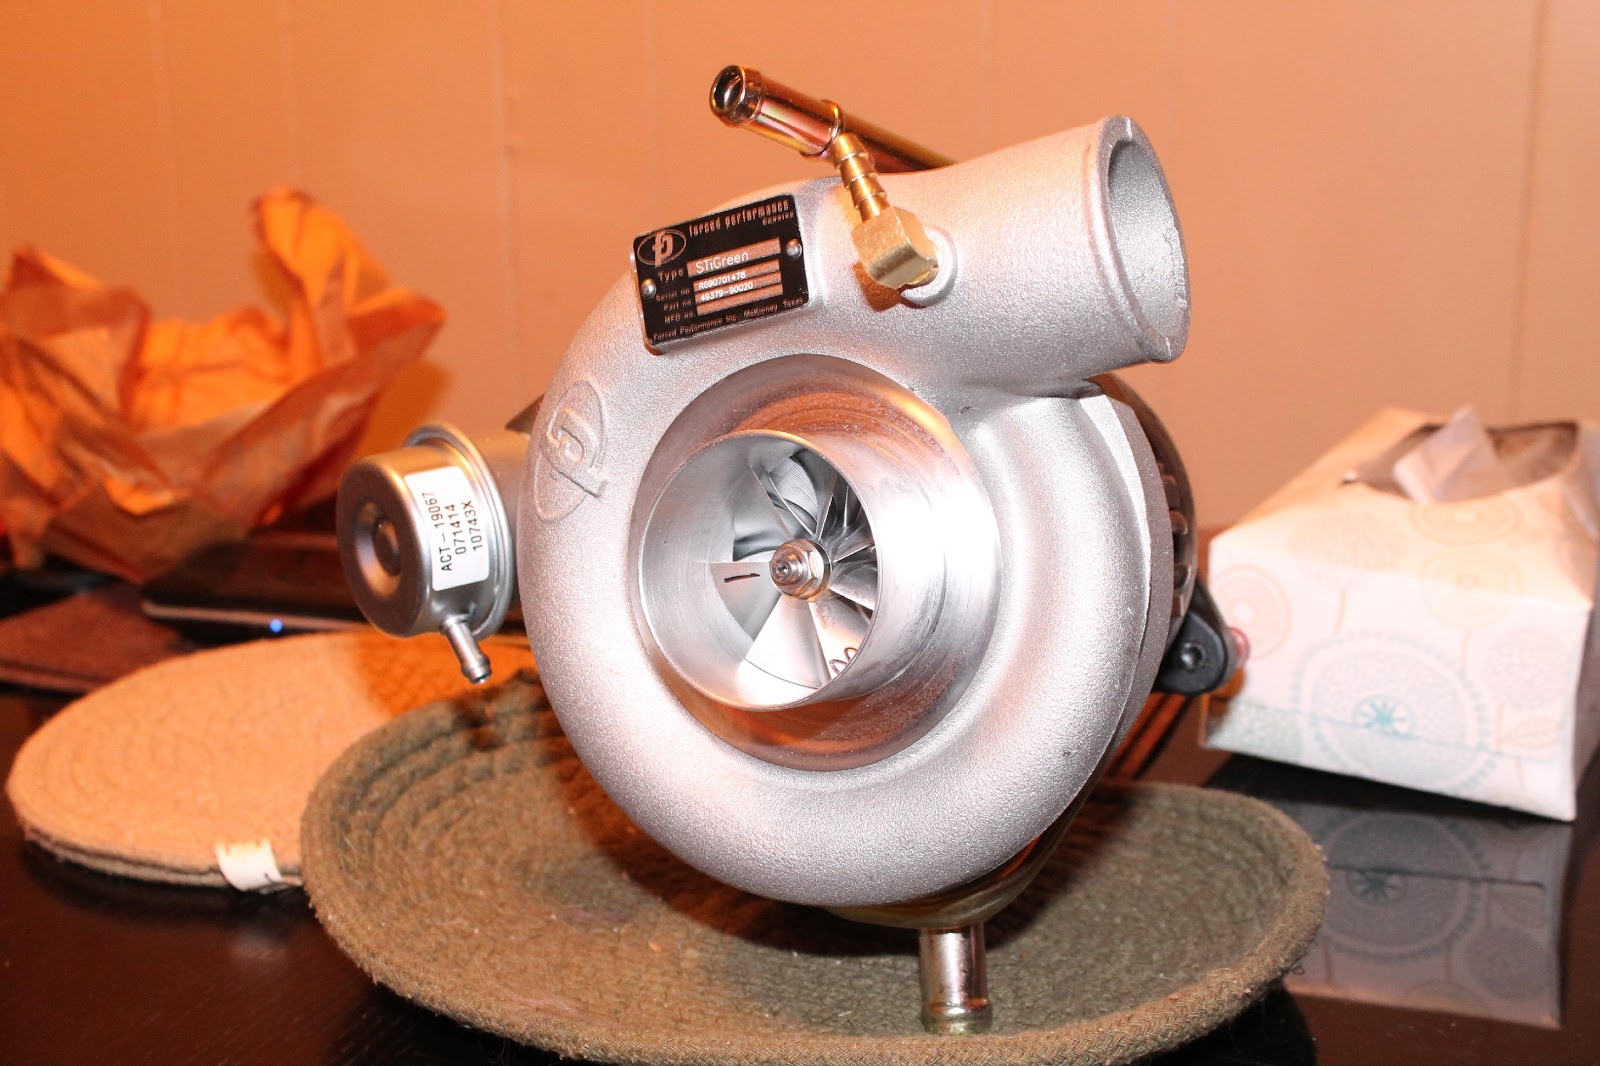
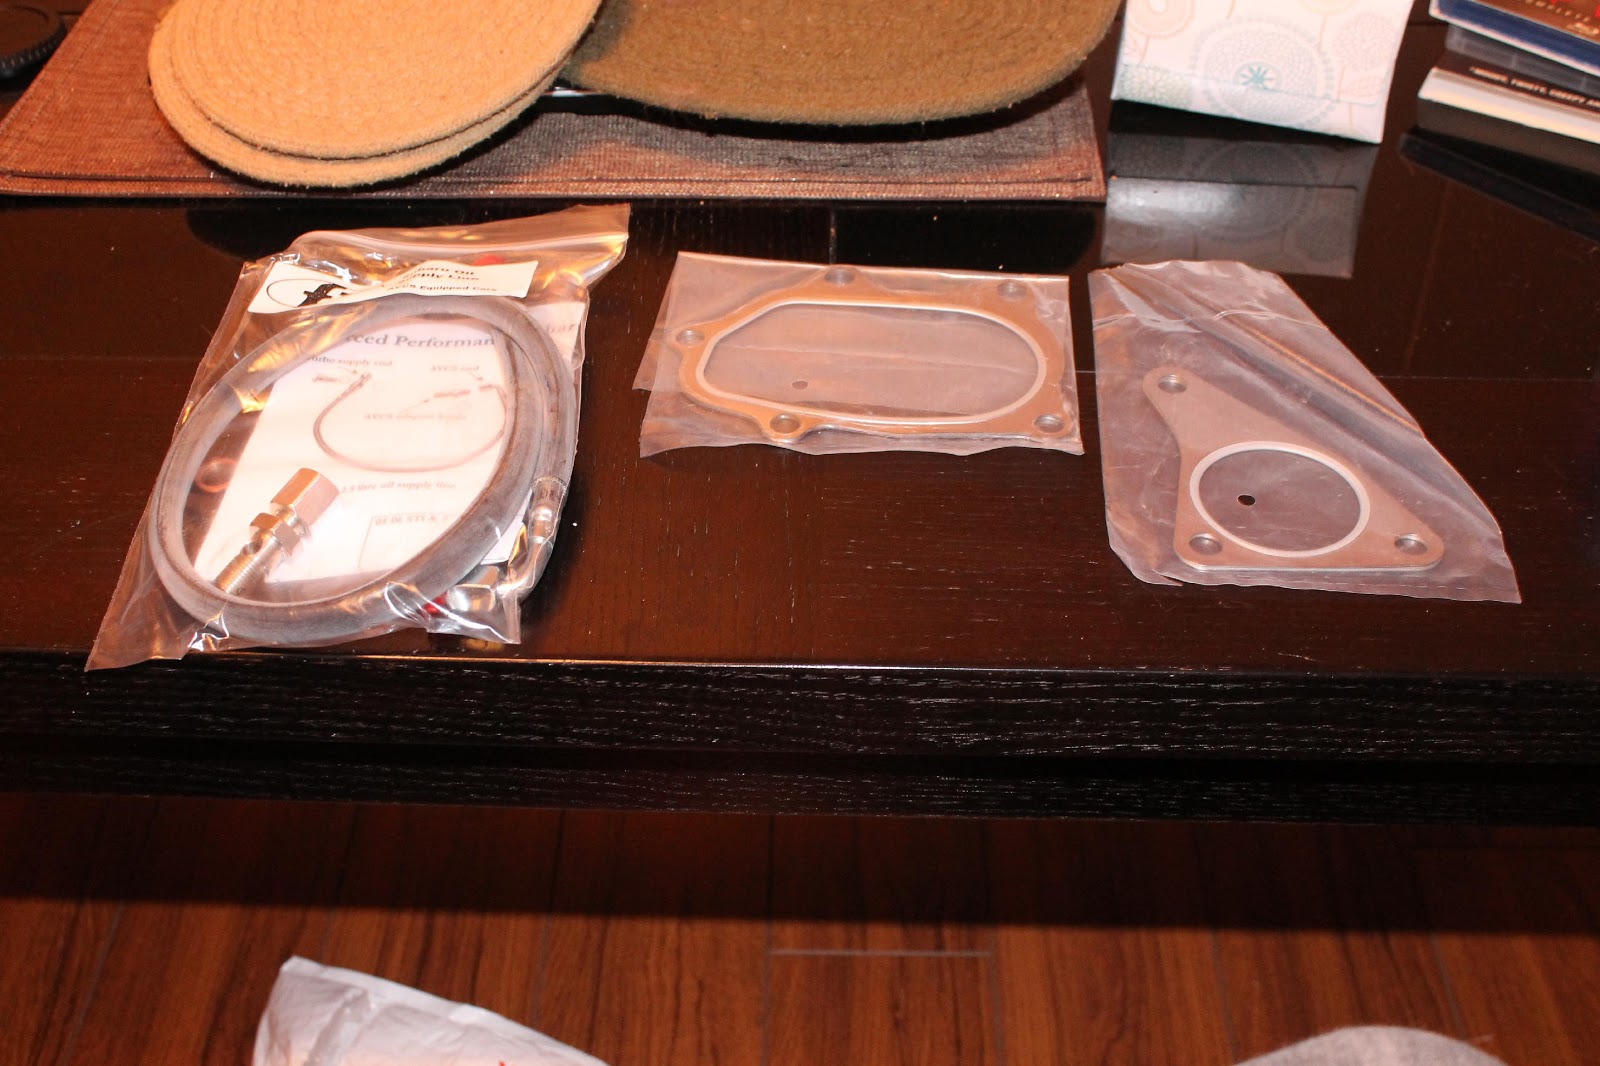
2-14-2015
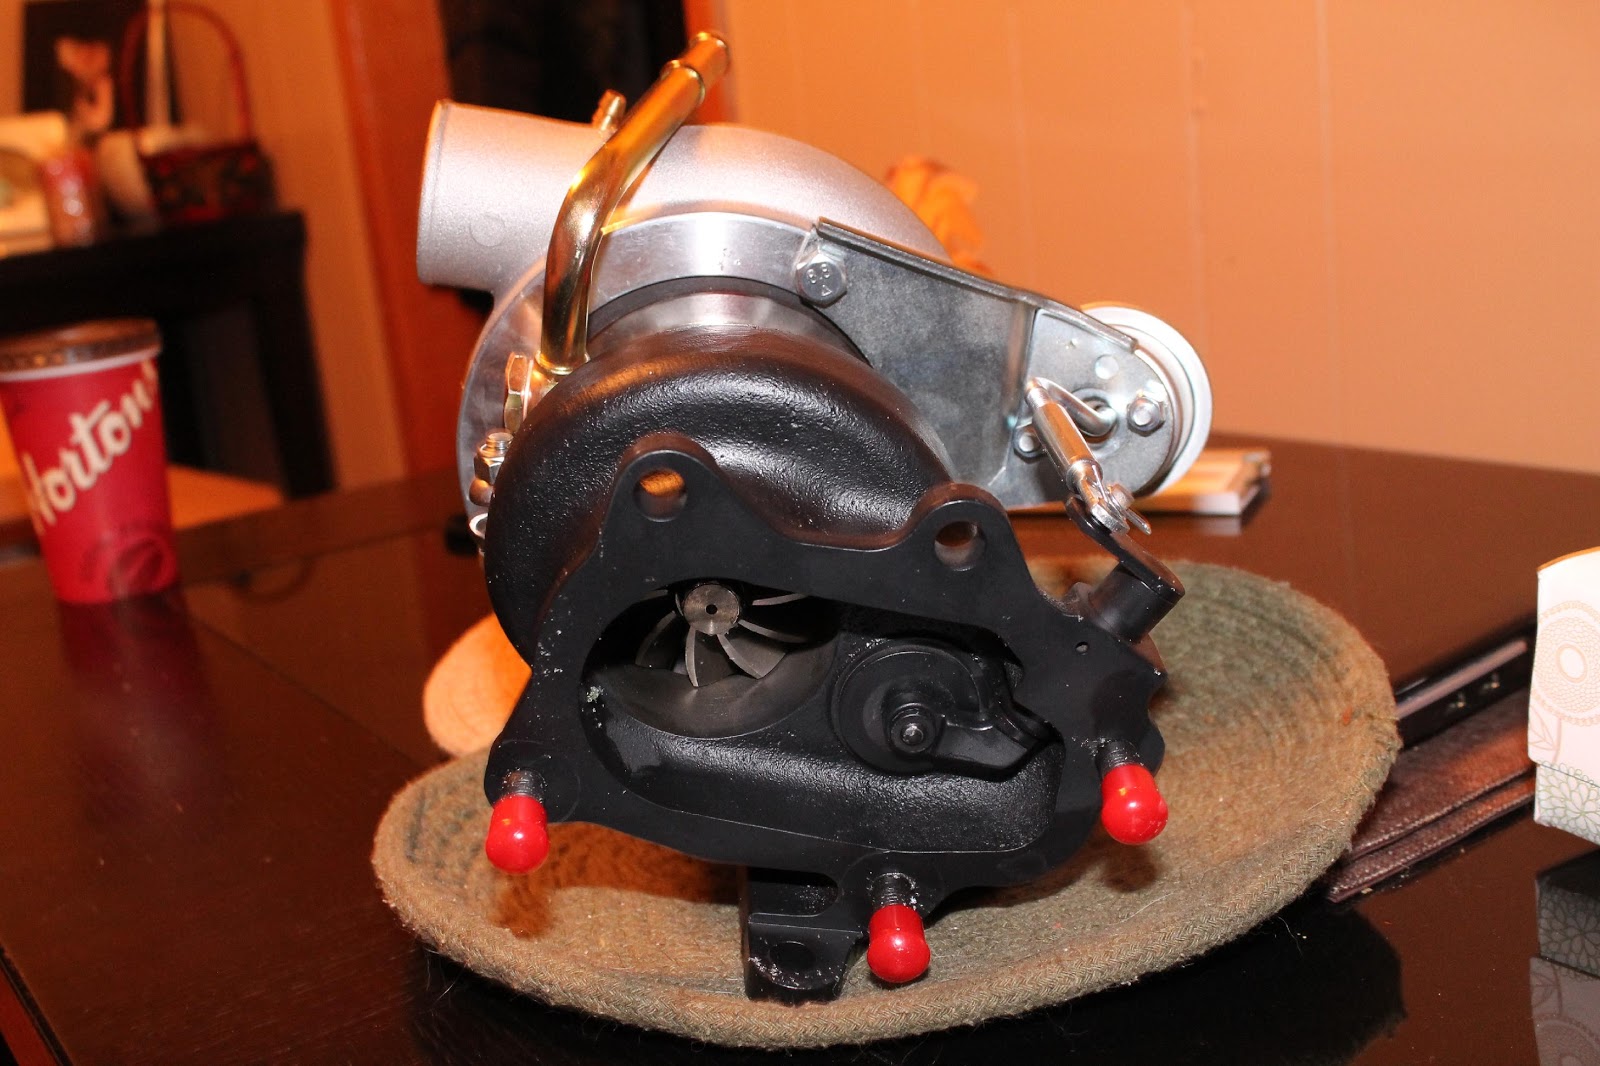
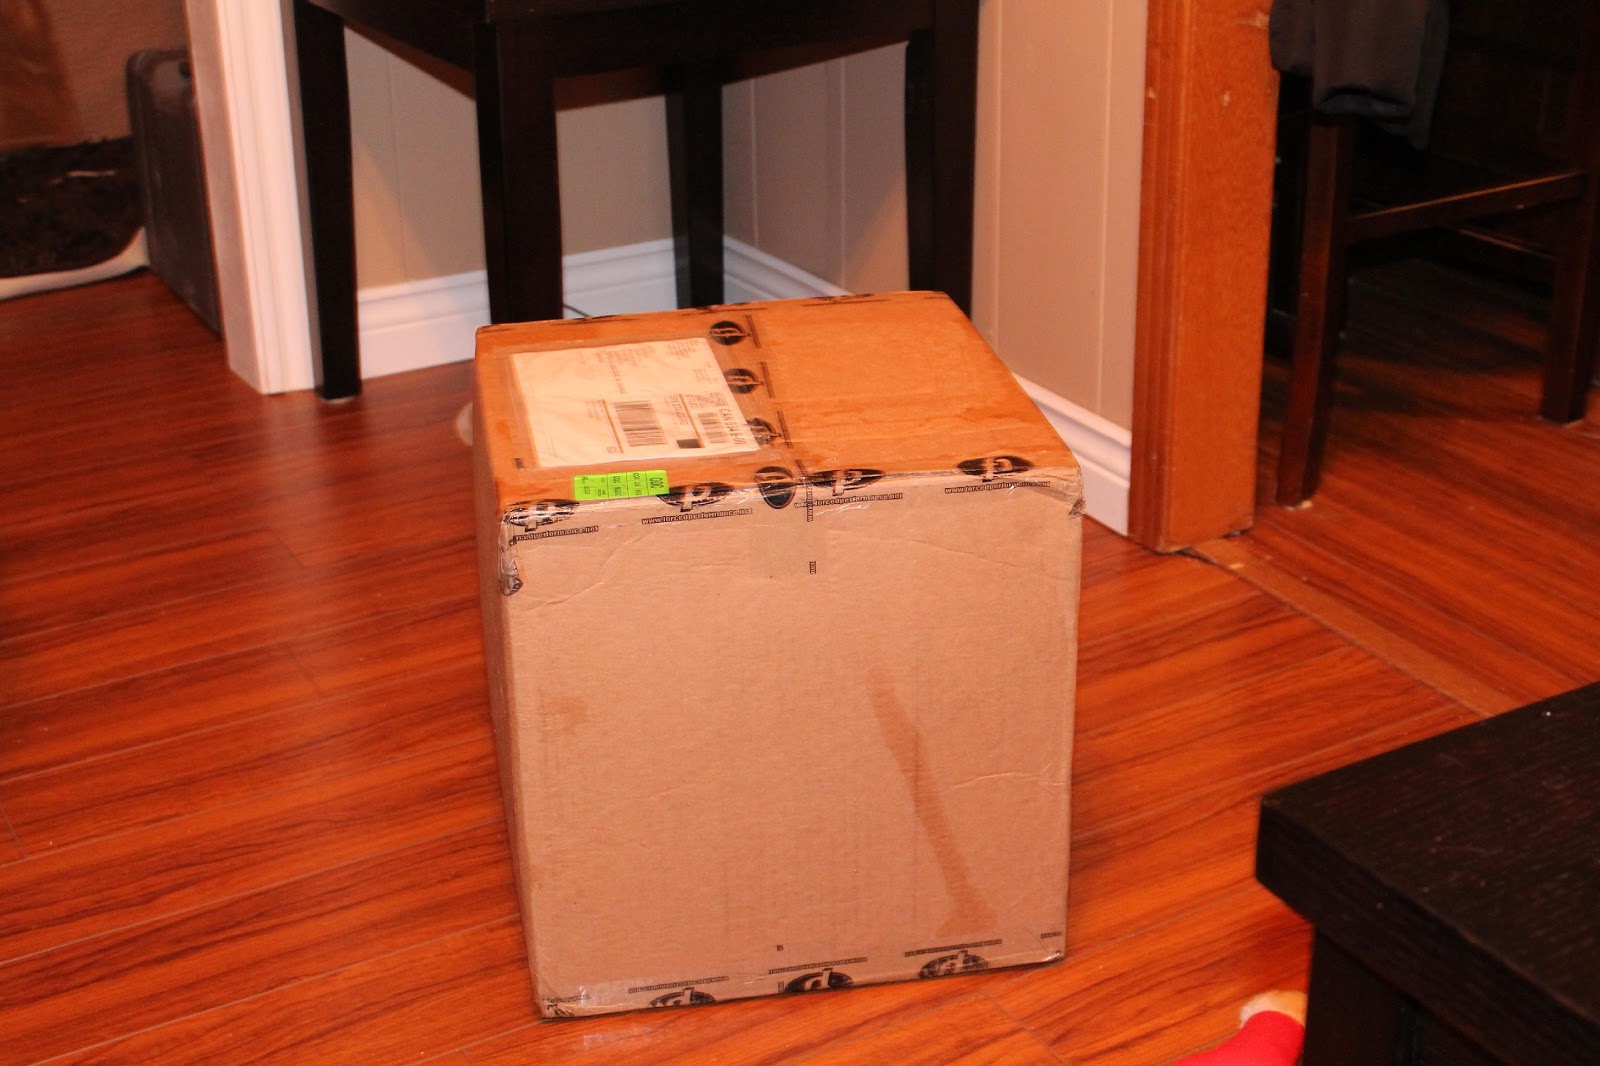
My turbo came in last night!!! Its sooo pretty lol the only problem I had was that UPS left the package on my door step in the middle of a blizzard.. But all seems well.
Well here is the box it came in and after I dried it off a bit.
Once I opened the box. Was packed very well! I'm pretty sure the Styrofoam was made to fit the turbo lol
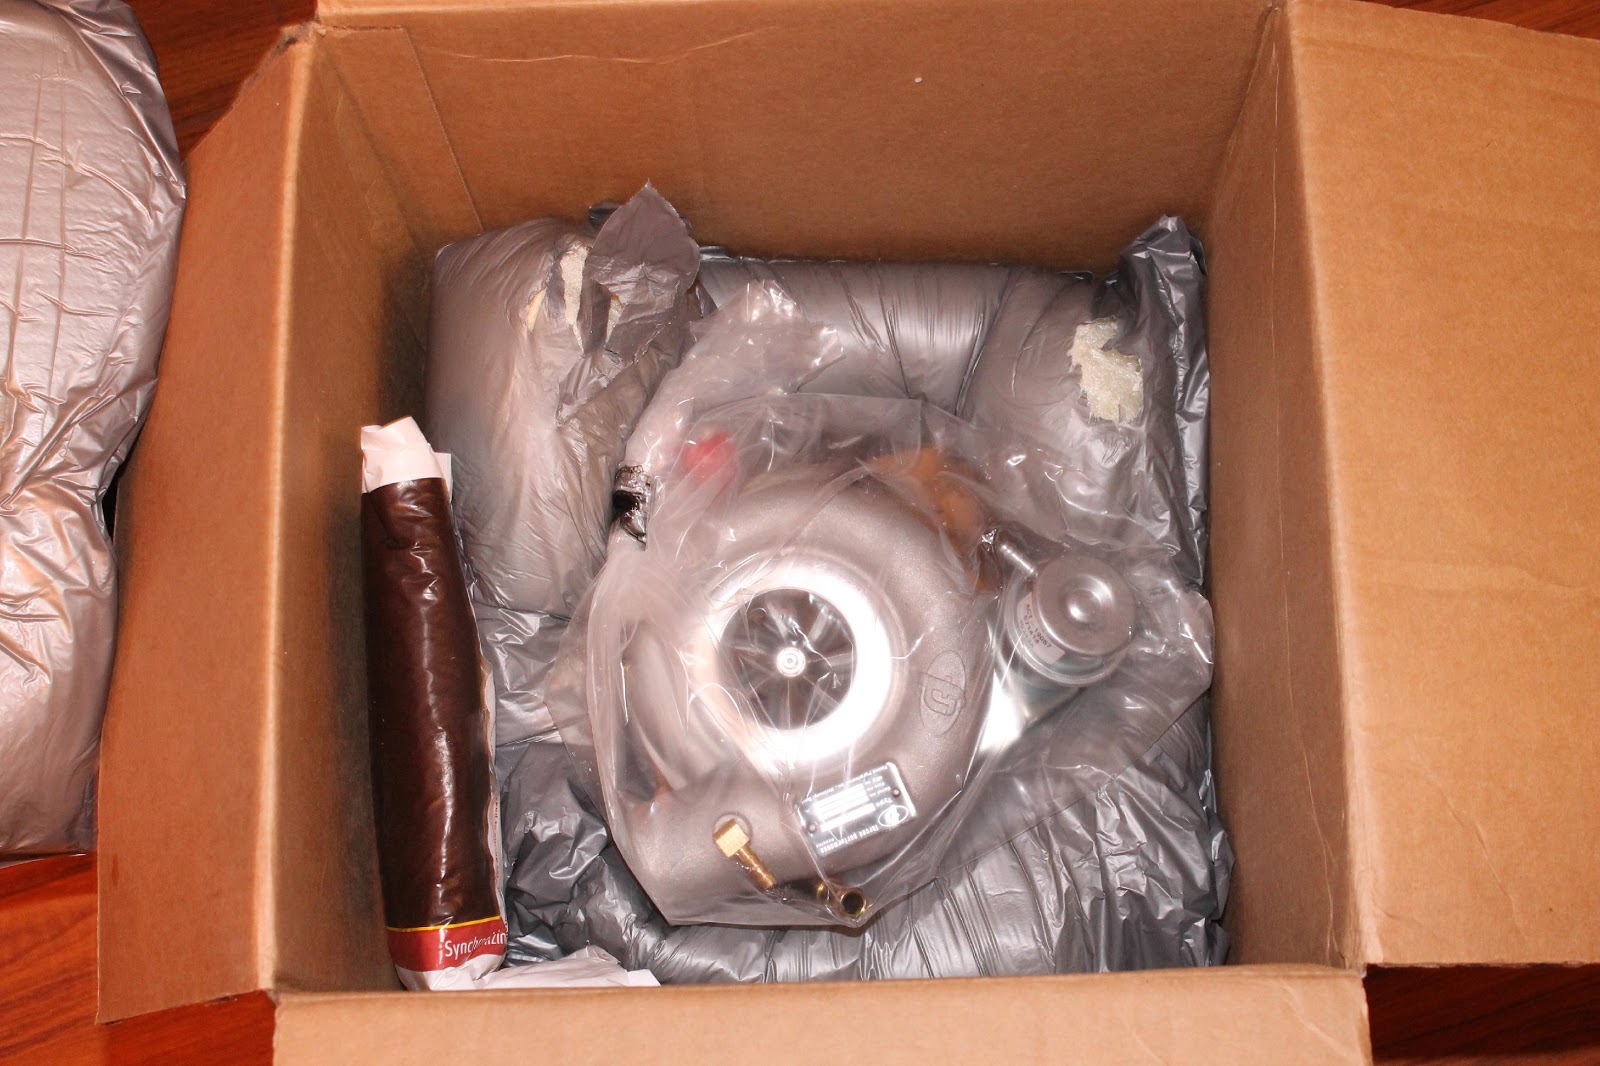
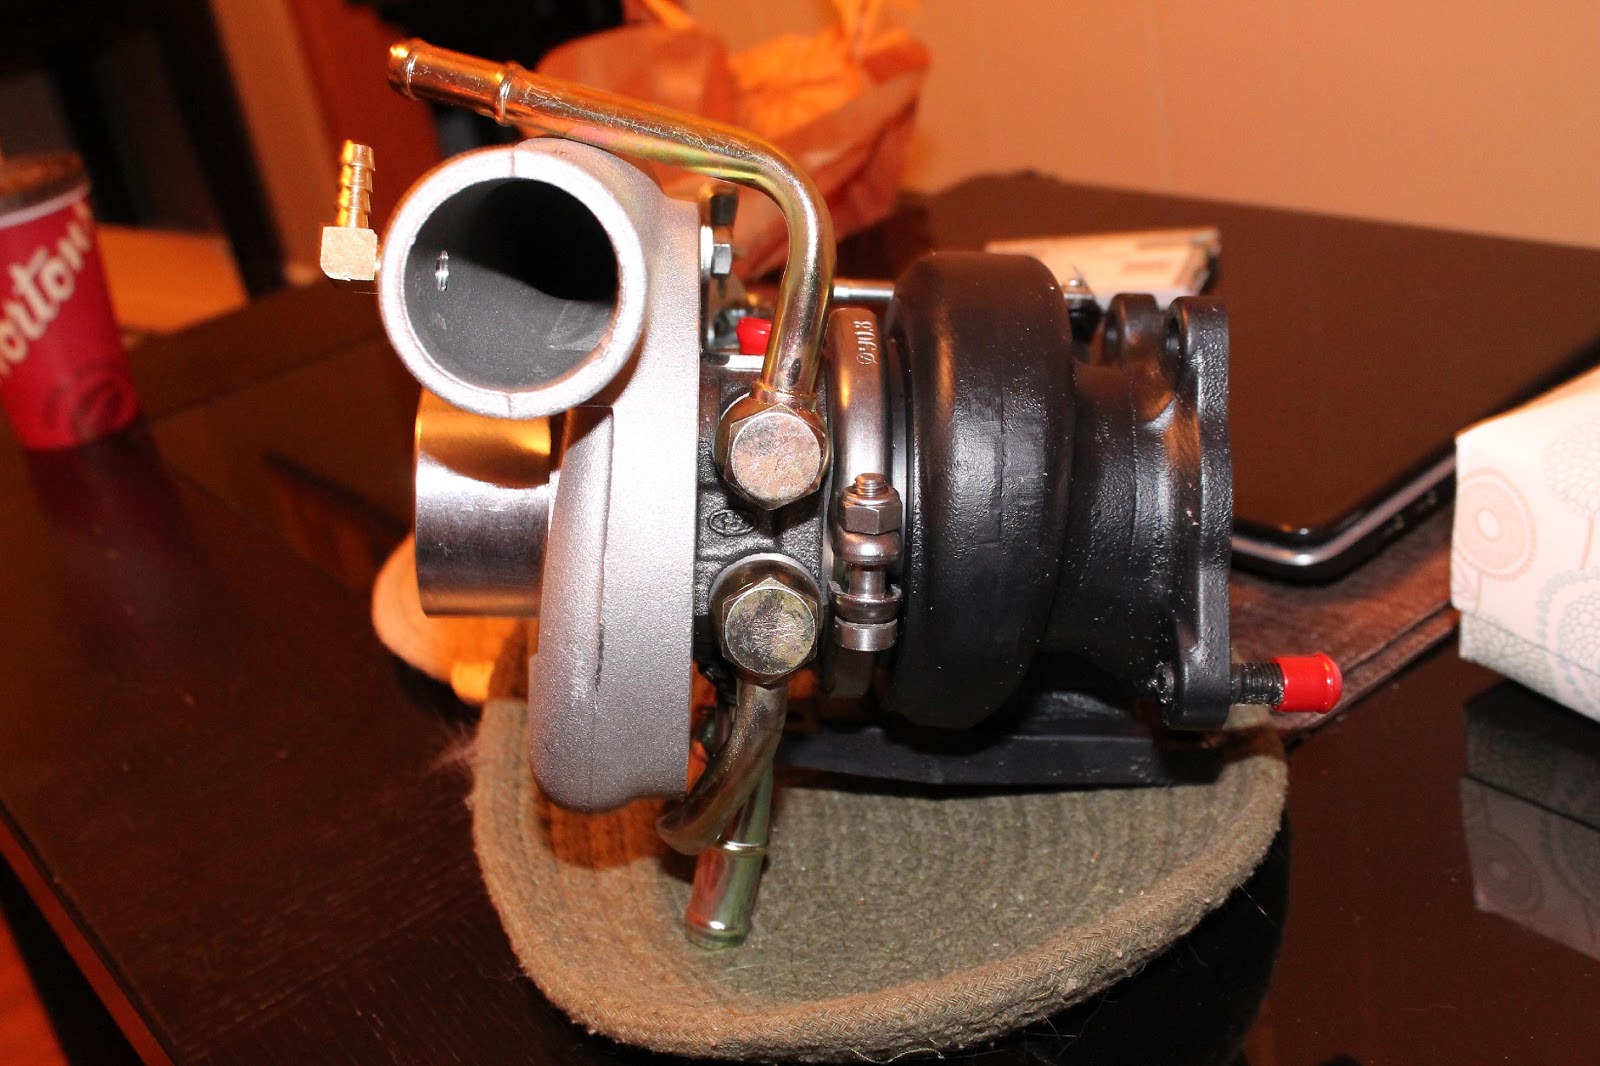
The upipe to turbo gasket, downpipe to turbo gasket and my AVCS oil feed line
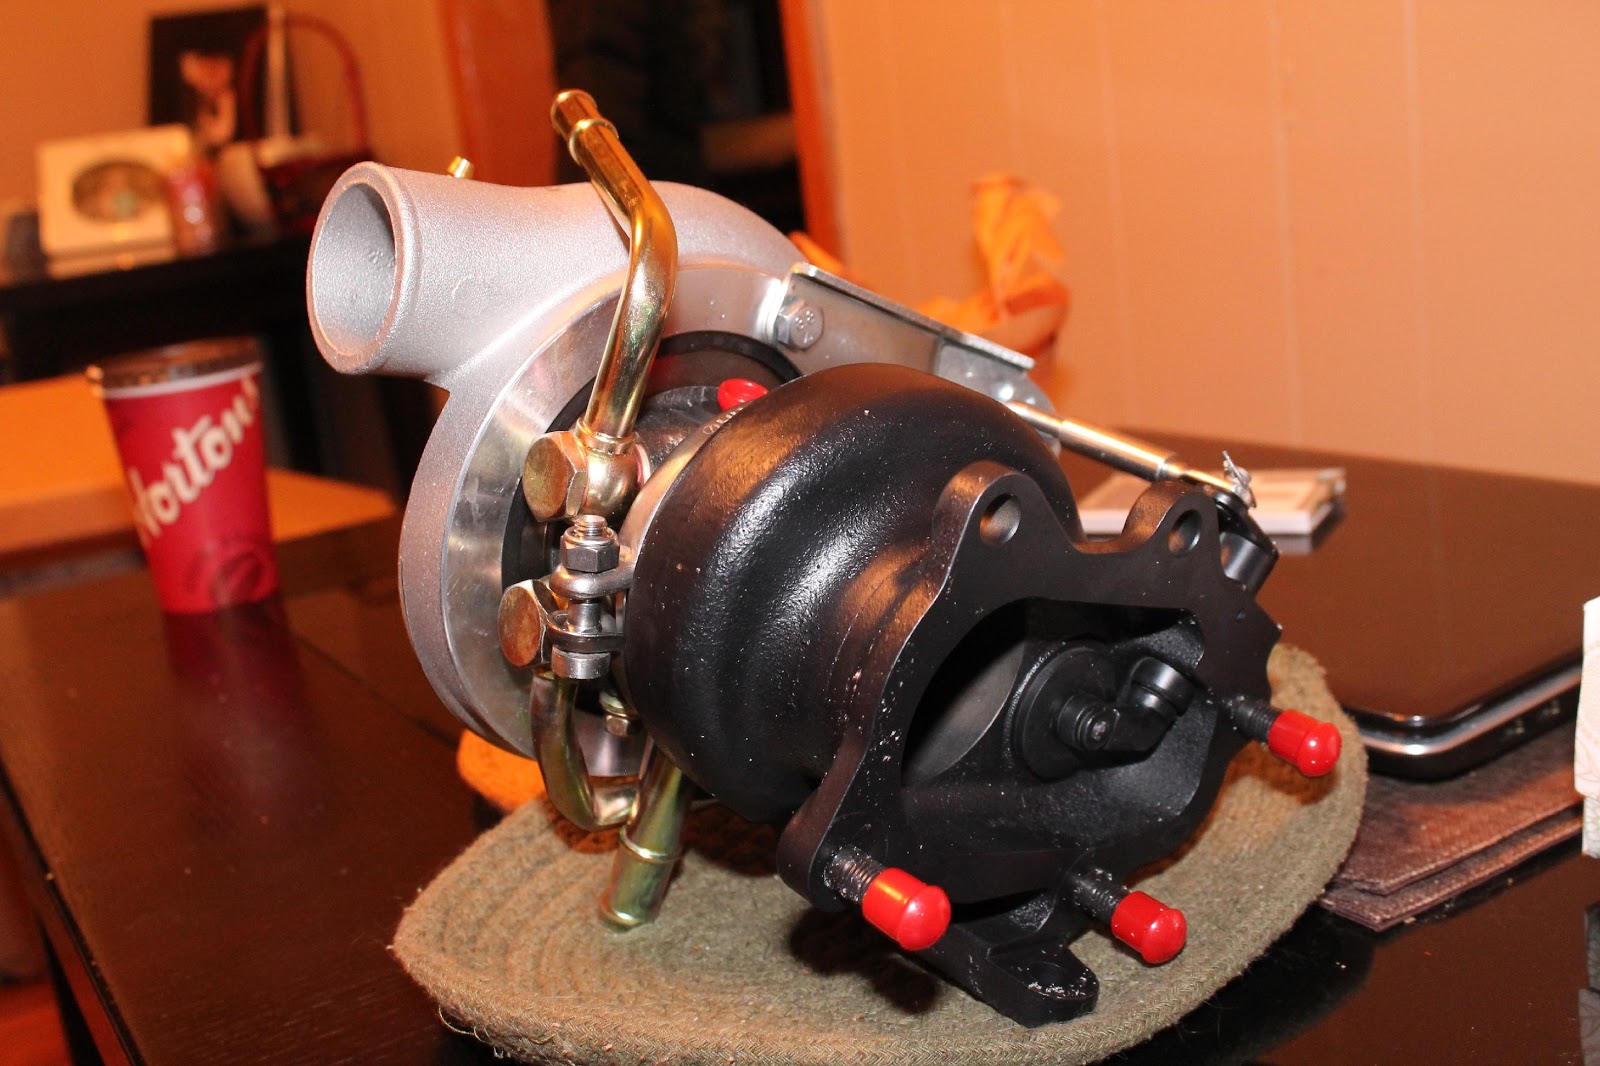
and now for a few angles of the turbo..