You must be logged in to rate content!
4 minute(s) of a 127 minute read
6-2-2011
6-2-2011
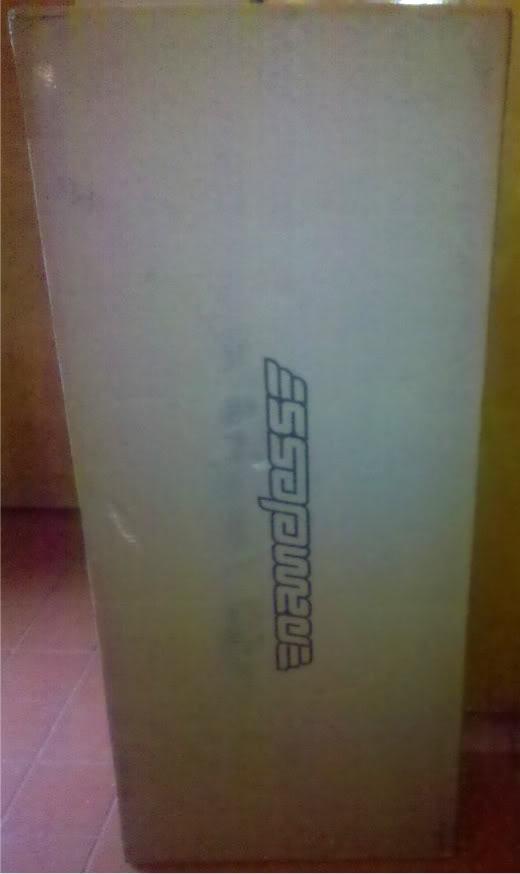
Nameless Axle Back:
I was excited about my axle back. I thought the factory exhaust note was way too quiet, and I couldn't tell what my engine was doing when my dad would play with the radio.
Install: ...Went as planned. I rolled the car up on ramps (for the first time), took out the two bolts that connect to the mid pipe, and then worked the exhaust hangars off. The exhaust hangers were trickier than I thought honestly. Then maneuvered the new muffler on. Took a bit mroe work than expected overall (no surprise), but was the first bit of work I've ever done on a car outside of audio stuff.
Impressions: I love it. It's just about perfect. I would have liked it a bit louder honestly, but the general public and the female race would have liked it a bit quieter. Little more balls at idle and when romping on it, but quieter when the engine isn't under too much load. No complaints. Quality of the product is excellent. I will buy from Nameless again, no questions asked. Mid pipe should be around the corner =).
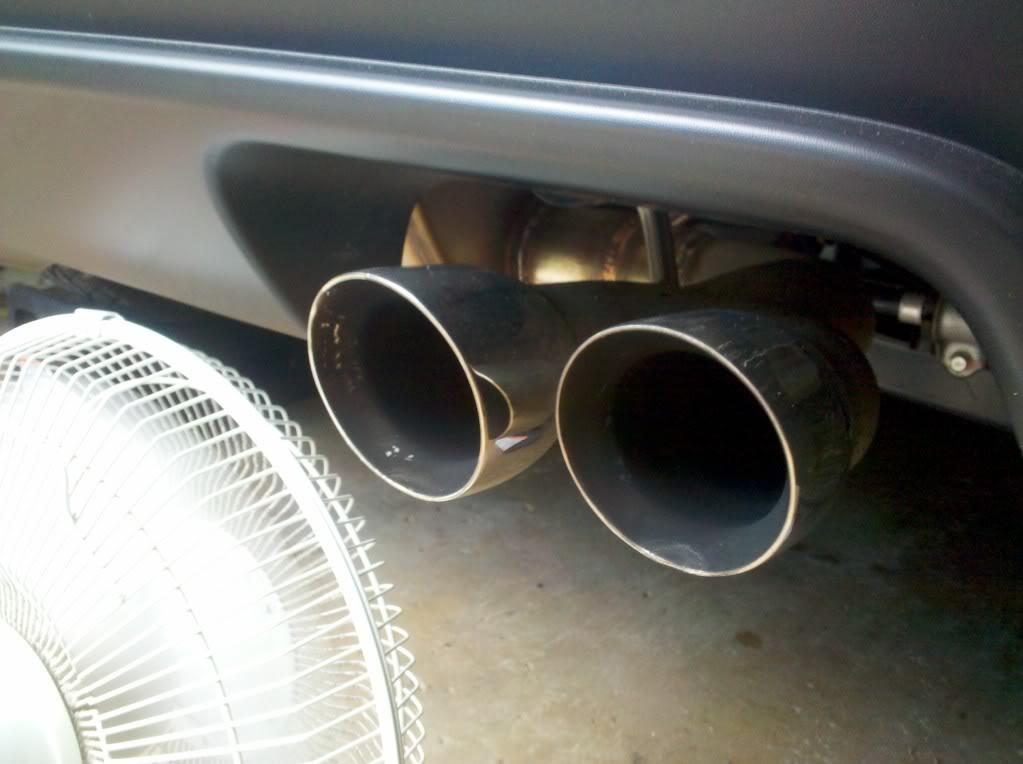
Some pictures of the installed exhaust tips I had sitting around:

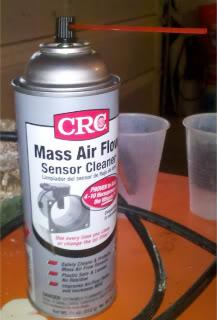
MAF cleaning:
After fighting for a week or so with RomRaider and my Tactrix cable, I finally realized my definitions were put in incorrectly. After fixing, I picked up a can of MAF cleaner to start with a clean slate, and flashed a base map from Mikey.
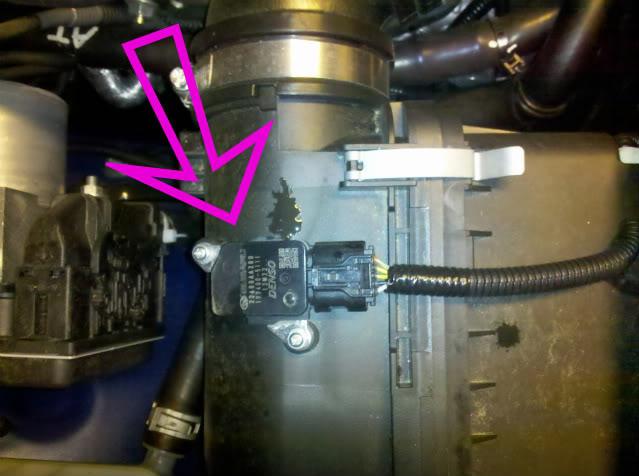
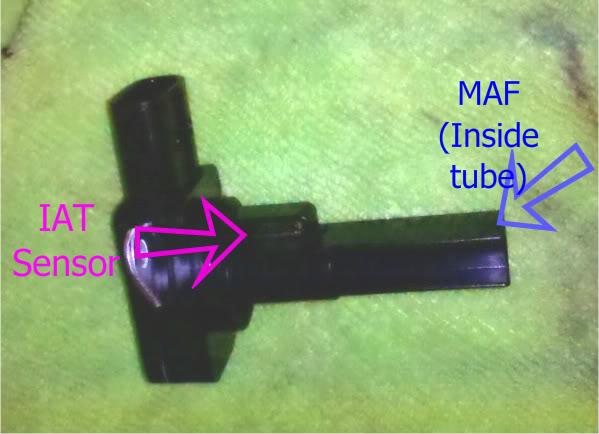
Even though it was simple enough for even me to figure it out, I've failed miserably at installs other people said were cake. I'll throw some pictures up of the MAF cleaner I used (not sold at walmart, got it at advanced), where the MAF is located under the hood, and what it looks like when pulled out (and what I sprayed).
I wasn't expecting a performance gain or anything out of cleaning the MAF. I just wanted to eliminate any potential problems that could arise from a dirty one when tuning. Only took me 15 minutes, tops, and may have saved the tuner and myself hours of work.
EDIT: Thanks to Donkey for the comment. I actually have the IAT labeled with the pink arrow. The MAF is up inside the tube. I have corrected the image, but it doesn't appear to be updating.
Cleaner:
Location on airbox:
MAF pulled out:
eTuning with Mikey:
Reasoning: There aren't too many good tuners close by my area. After reading around, Mikey (I can give you his contact info if you are interested) fit my situation pretty well. He was very laid back with everything, but very quick about getting new maps and feedback to me. I would recommend him to anybody. The only thing being that you want to get your tactrix cable working first. The few other eTuning options I found were very pricey. Mikey was a flat rate and very nicely priced.
Results: Power band is much smoother now. No longer feels as 'tempermental'. I'd say aside from the performance increase and the power band, I really enjoyed the new throttle mapping. He redid sport to allow for full throttle response, but kept the linear feel. The car is still a lot of fun to drive, but much more predictable. I have a much easier time rev matching now with the remapped sport mode. Once again, I'd recommend Mikey to anybody.