You must be logged in to rate content!
14 minute(s) of a 225 minute read
1-21-2013
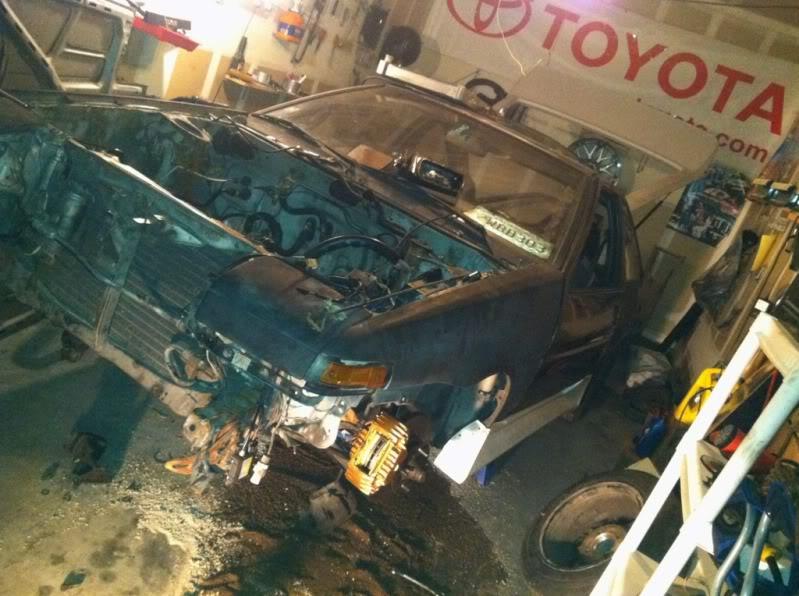
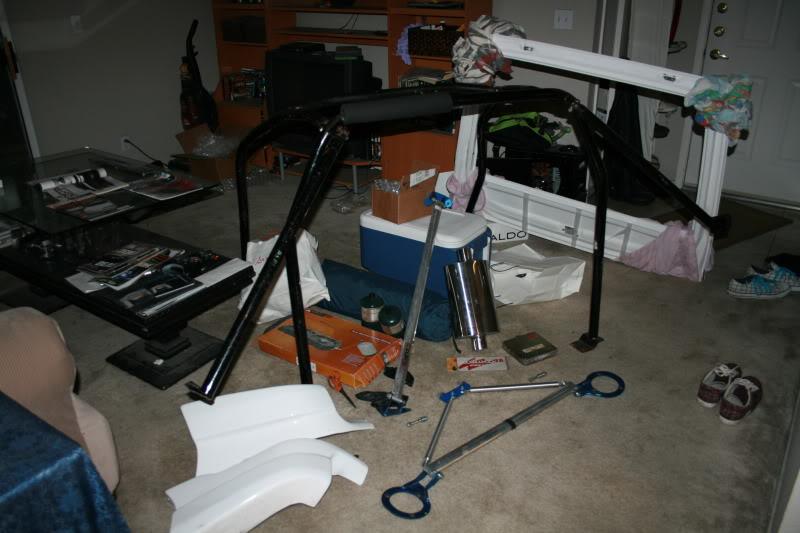
Now the garage is cluttered again lol... oh well, time to start putting stuff on.
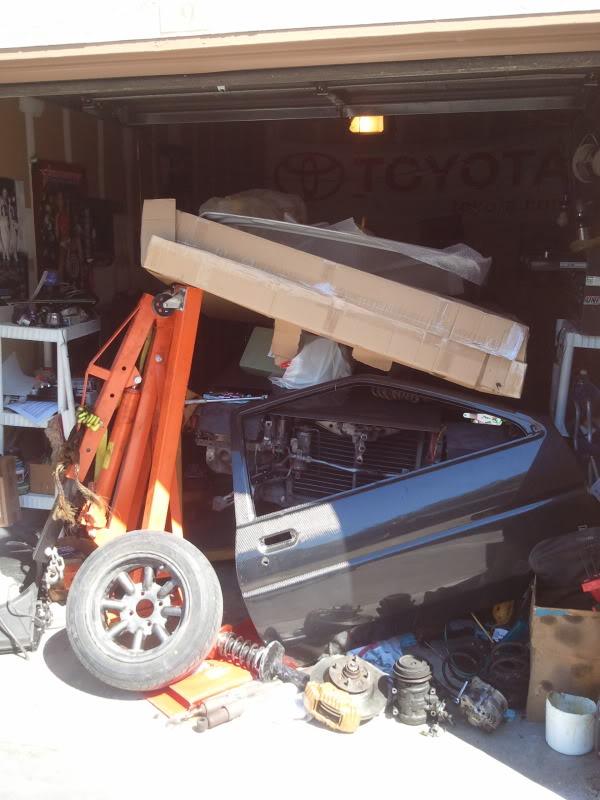
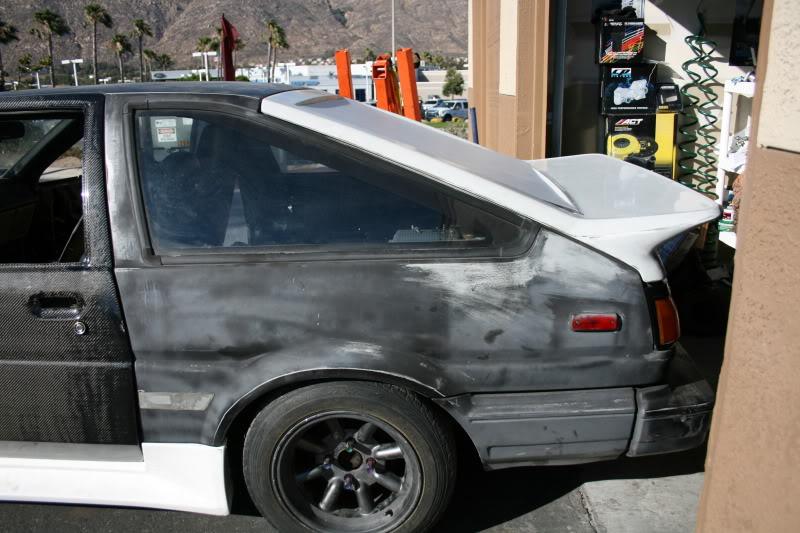
mounted my hatch, and fitment is great! I am very happy with it.
Here is the coilovers and bigbrakes in there car too!
Thanks mrskona- you will have lots of fun doing ur swap when it comes time.
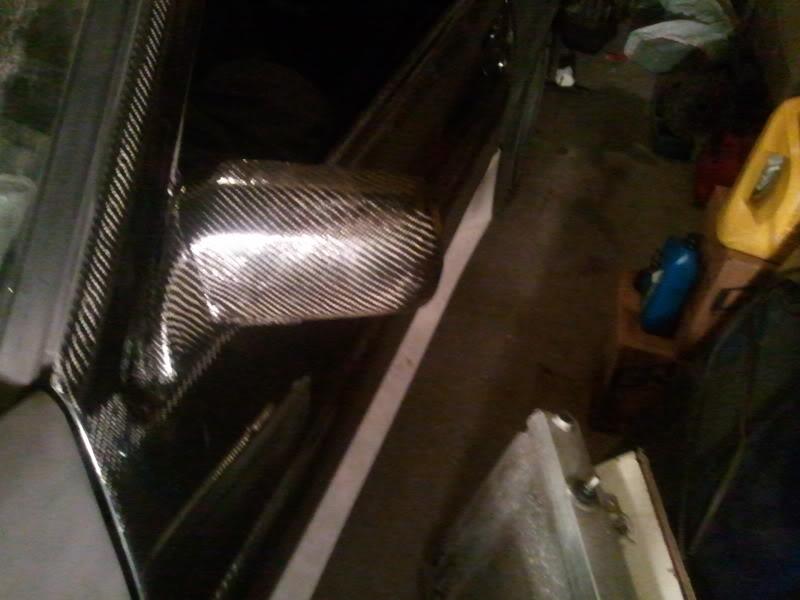
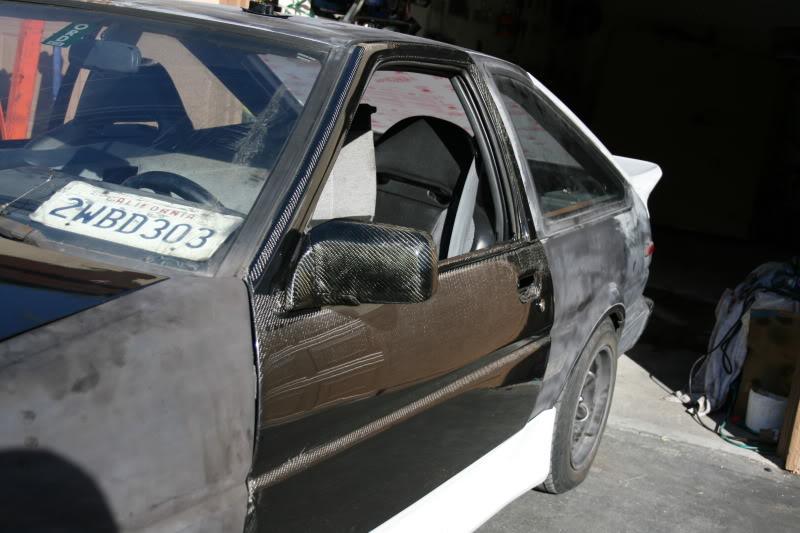
started testing the mirrors up to the doors, the match decent.
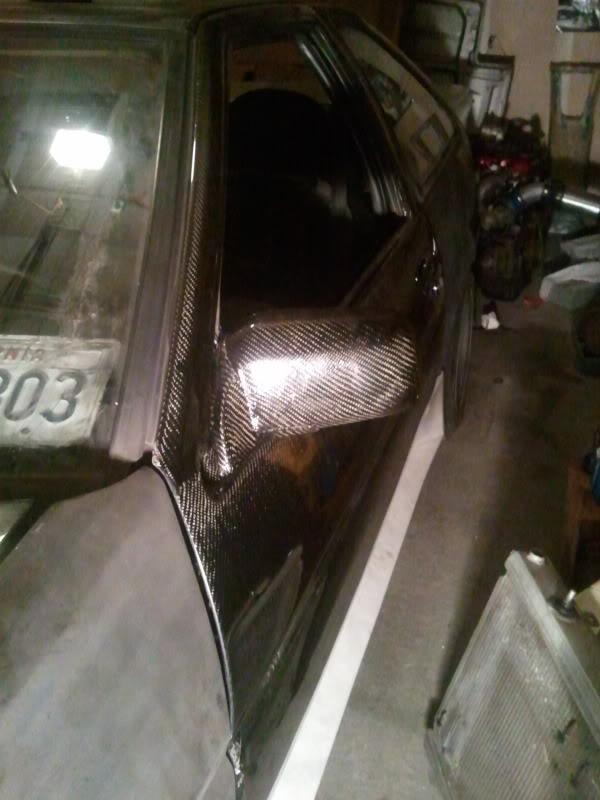
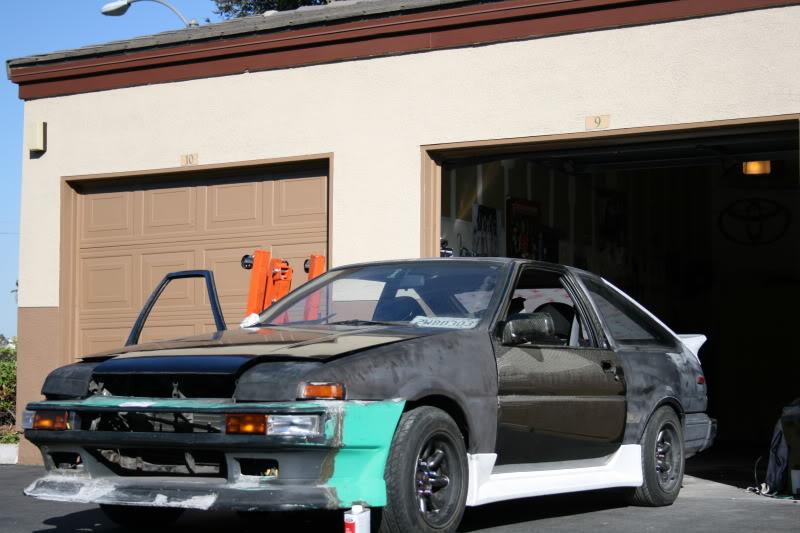
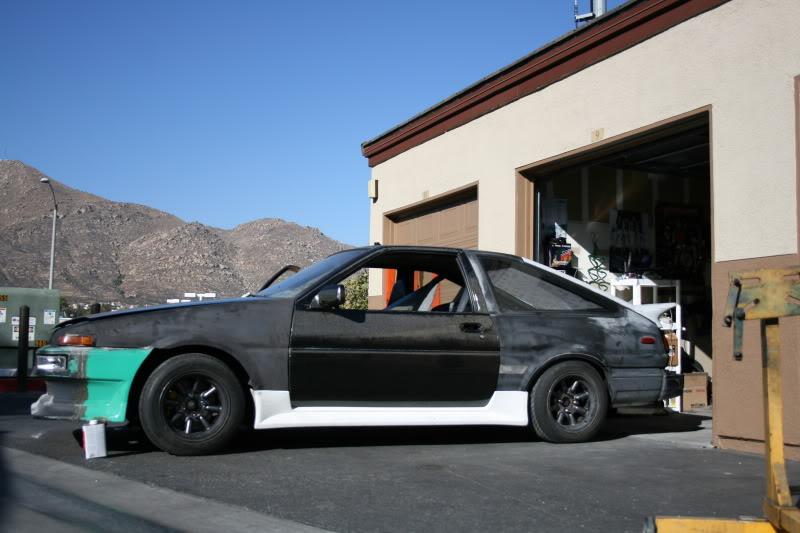
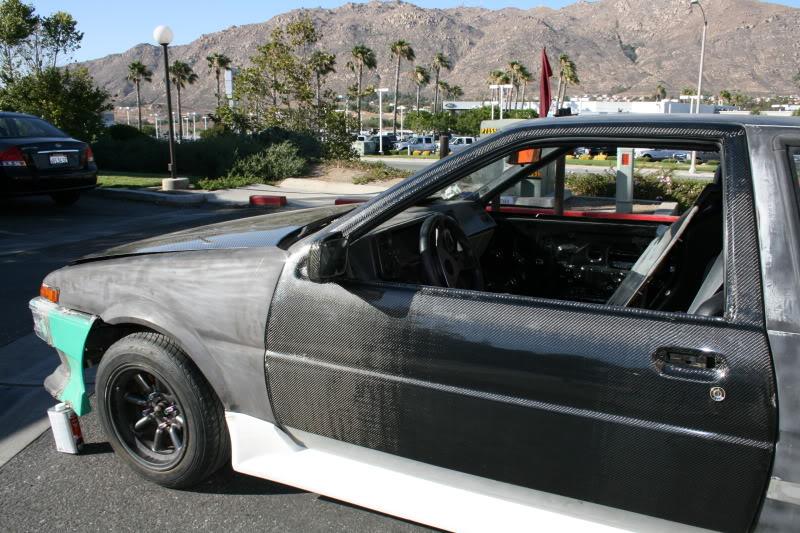
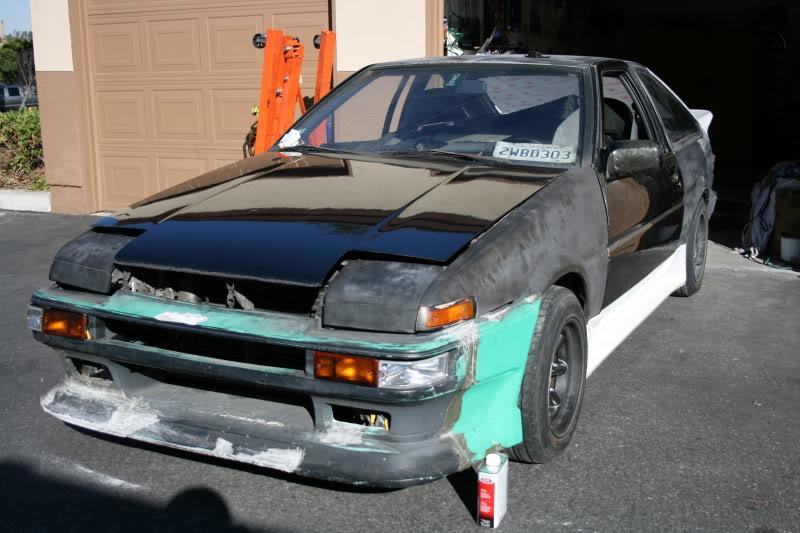
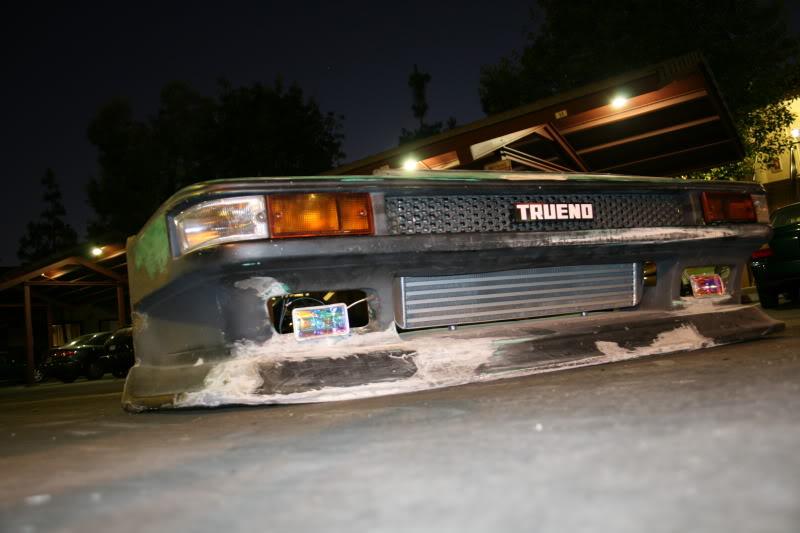
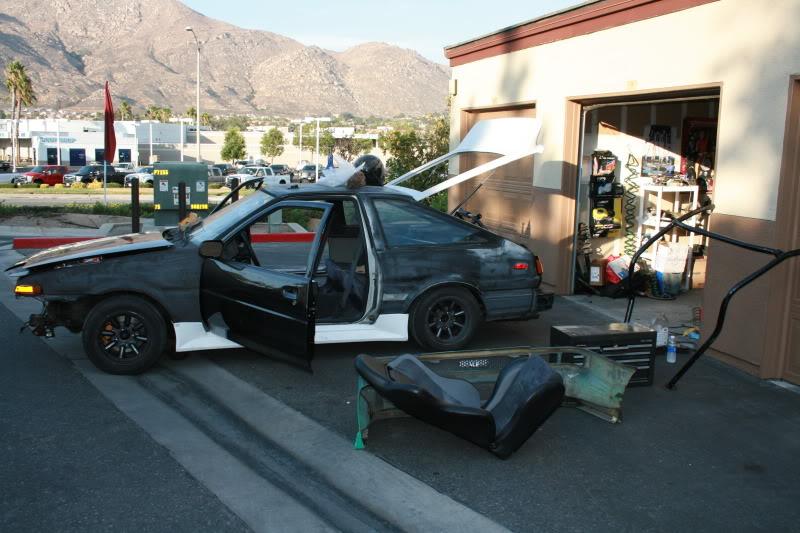
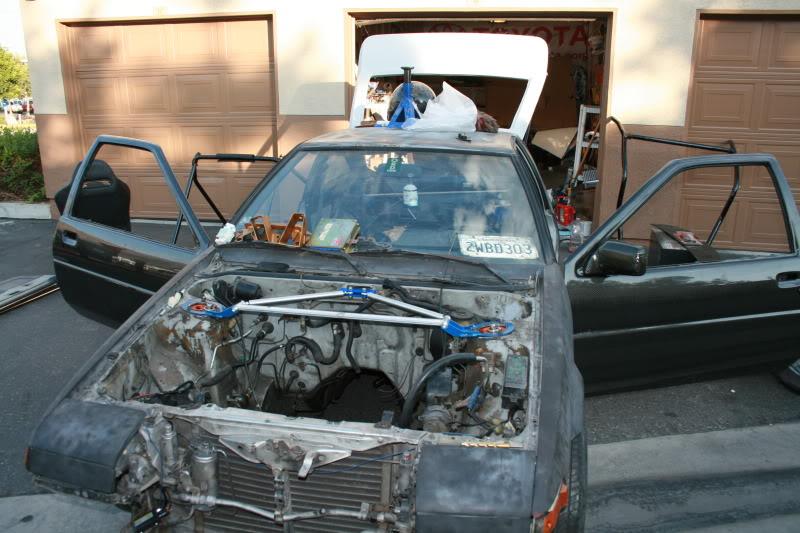
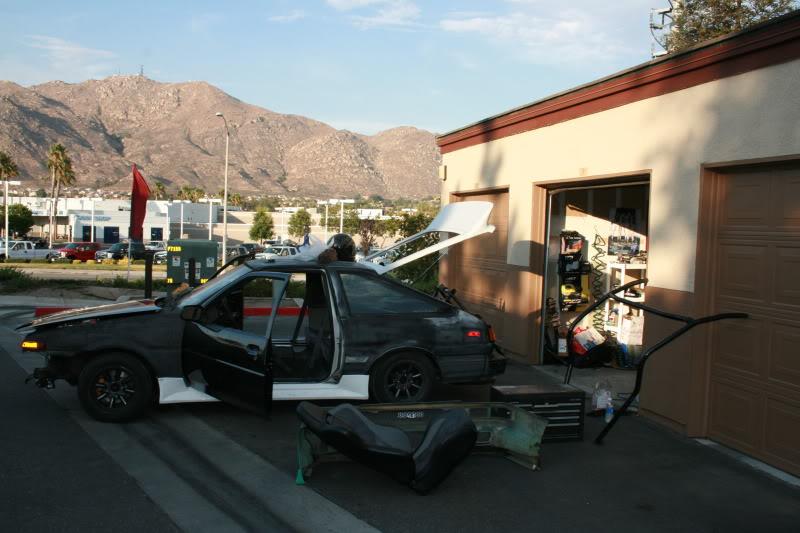
pulled the car outside to take a look at it with all the bits attached, its starting to look like a ae86!

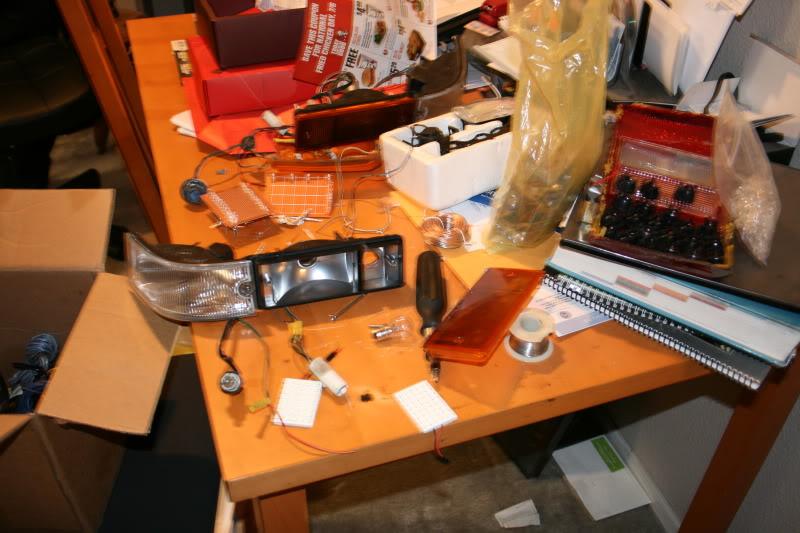
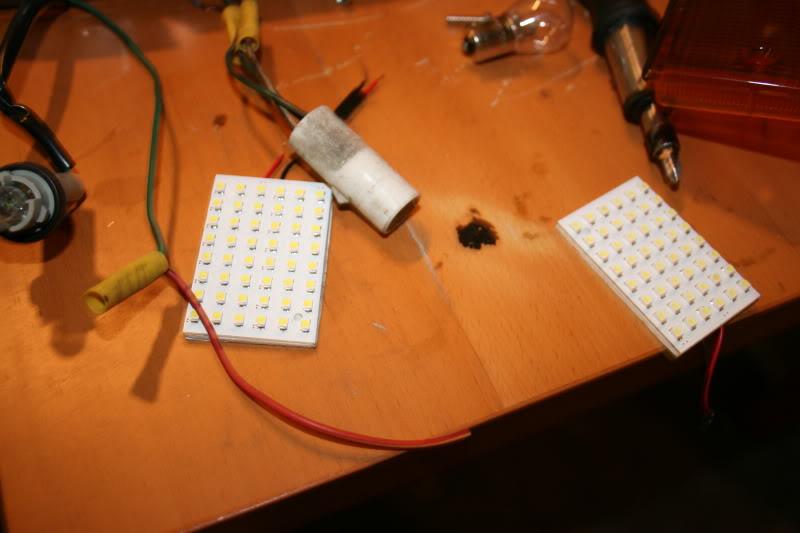
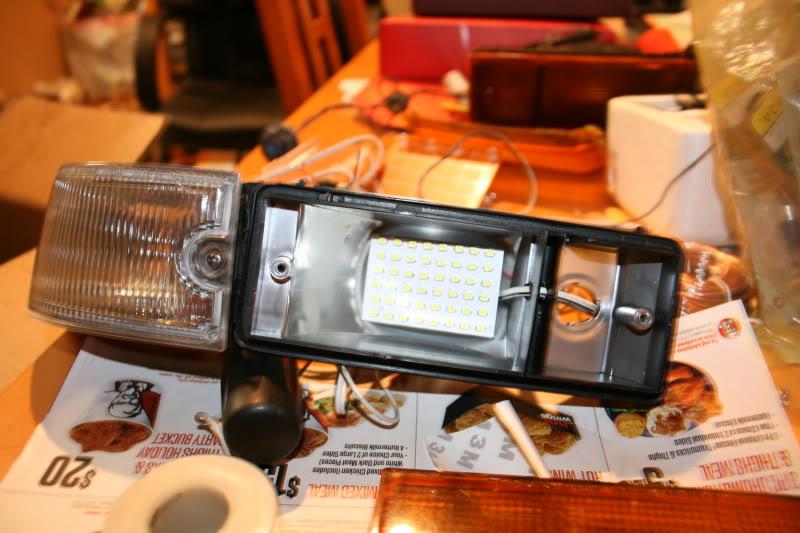
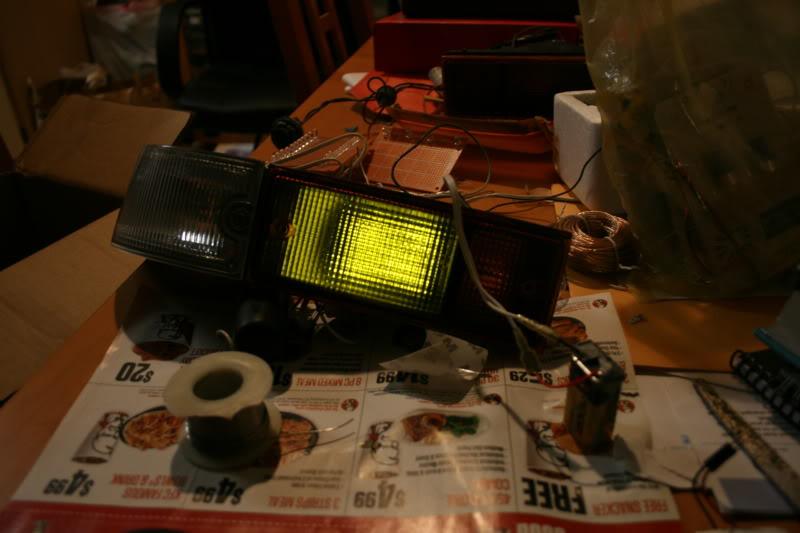
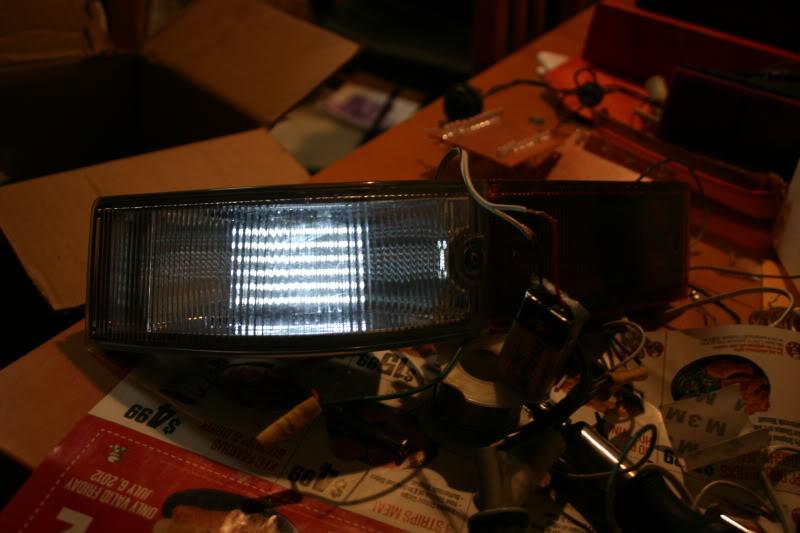
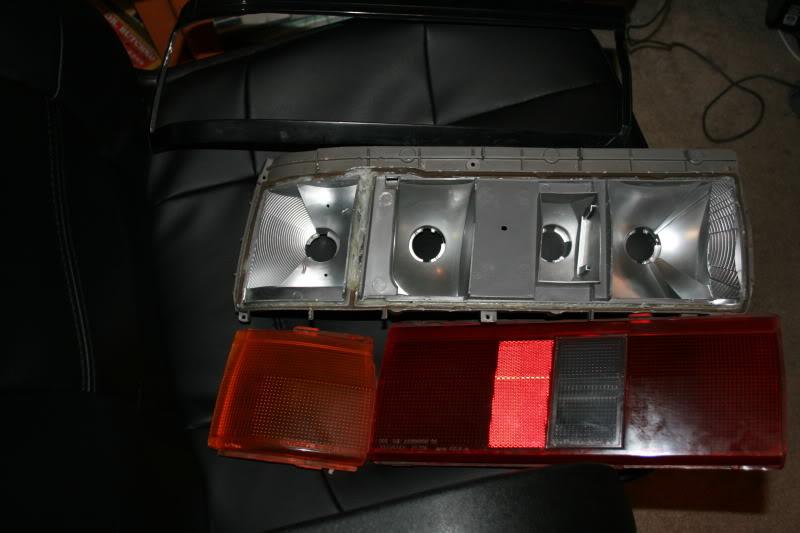
did a little work today on converting the JDM lights to LED, and playing with LED boards for the tailights.
These are significantly brighter then this, but my 9v battery was running out of juice.
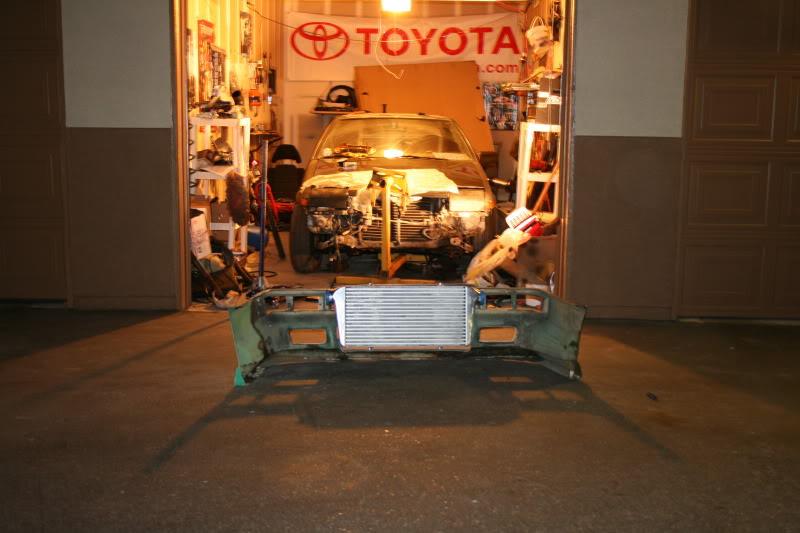
well my friend has been sick and cant bring by the lift, so I cant get the motor in... sucks oh well. I painted the motor mounts gold. installed the supra grill into the bumper with the Trueno badge and started sanding it down a little better.
I ordered a cusco 6pt cage, but I go to New York in a few days, so it will have to wait till I get back.... guess this build gets postponed for a min.
Looking gangster!
lights and intecooler looking mean
"Goooooooooooooooold.... its not weird"
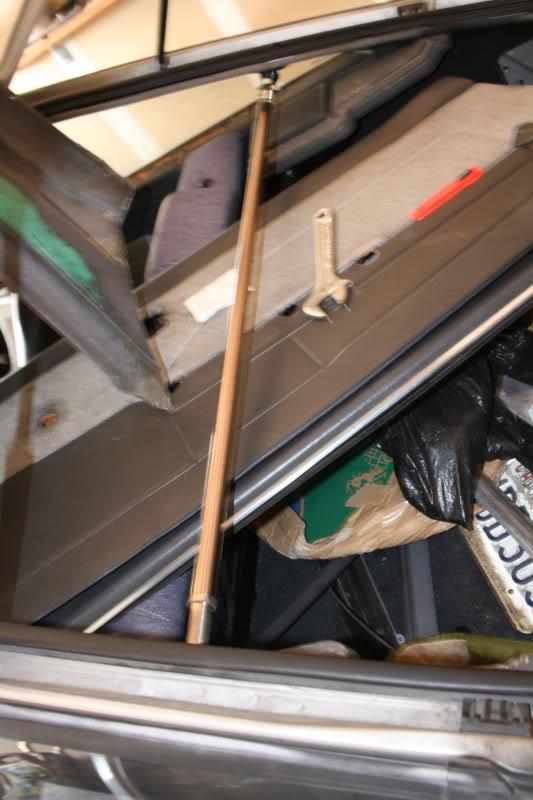
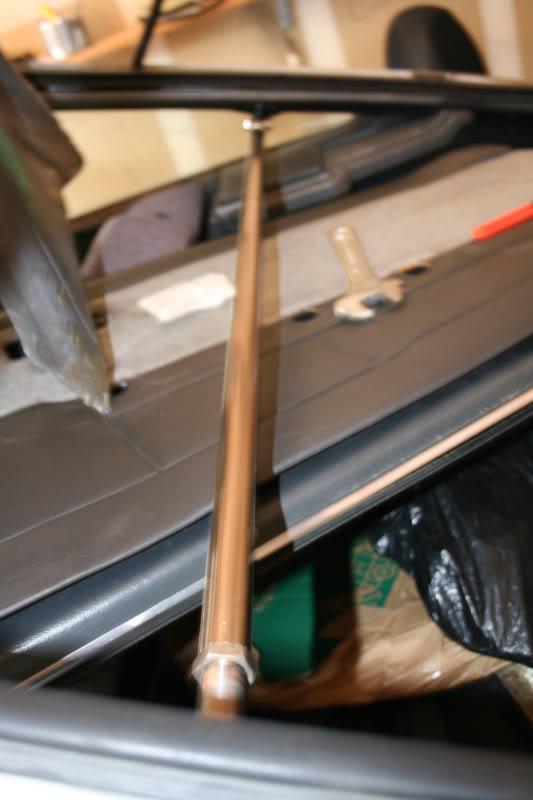
Polycarbonate window ![]() I still need to put some bolts trim and glue it in. but its cut and placed
I still need to put some bolts trim and glue it in. but its cut and placed
Got home yesterday, still jet lagged/ liquor lagged/ party lagged from NY.
Well, this is the mess I come to, but its a happy mess!
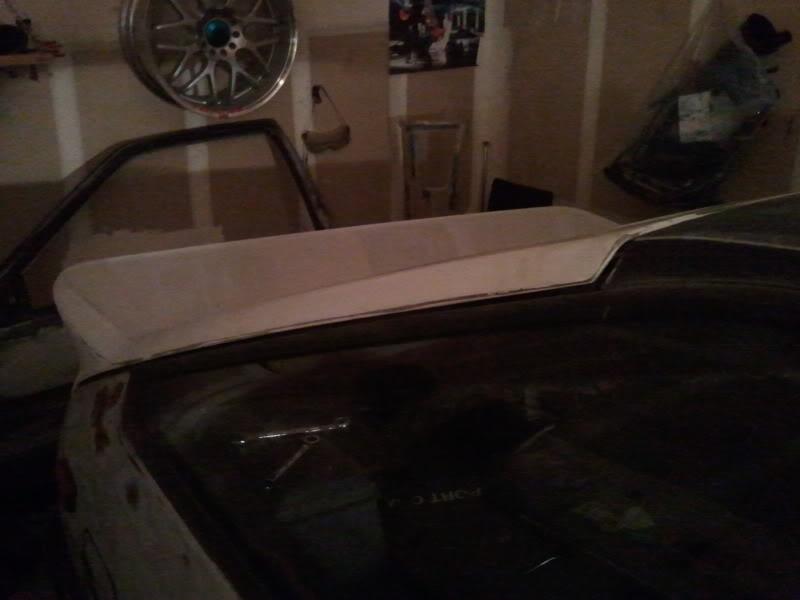
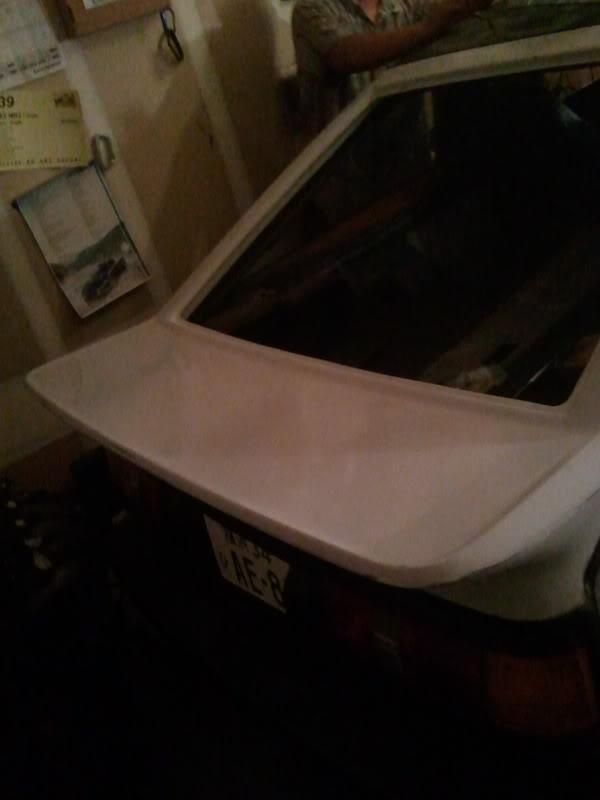
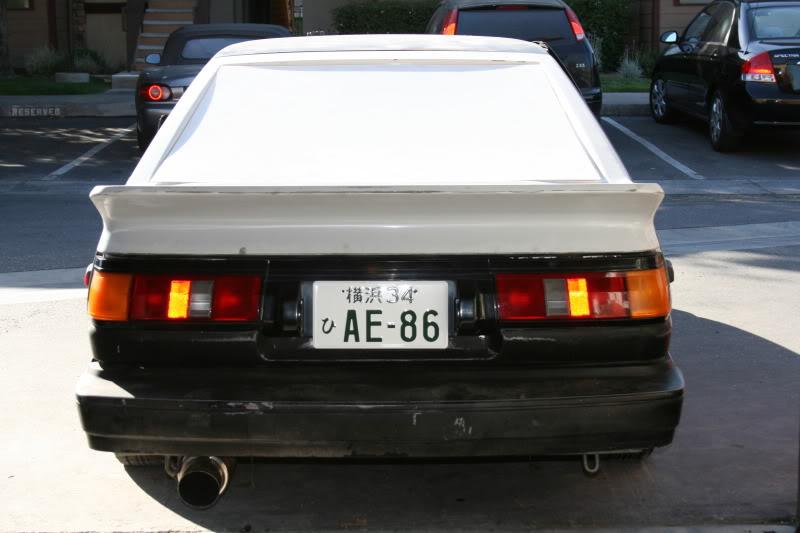
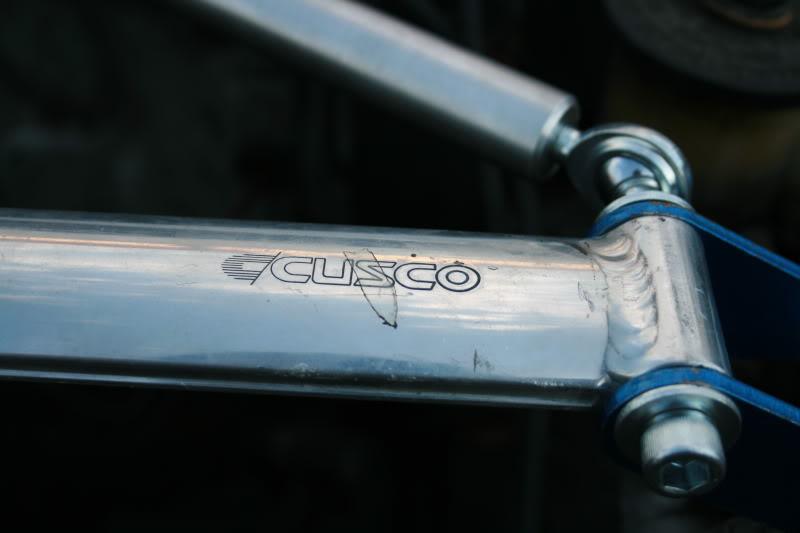
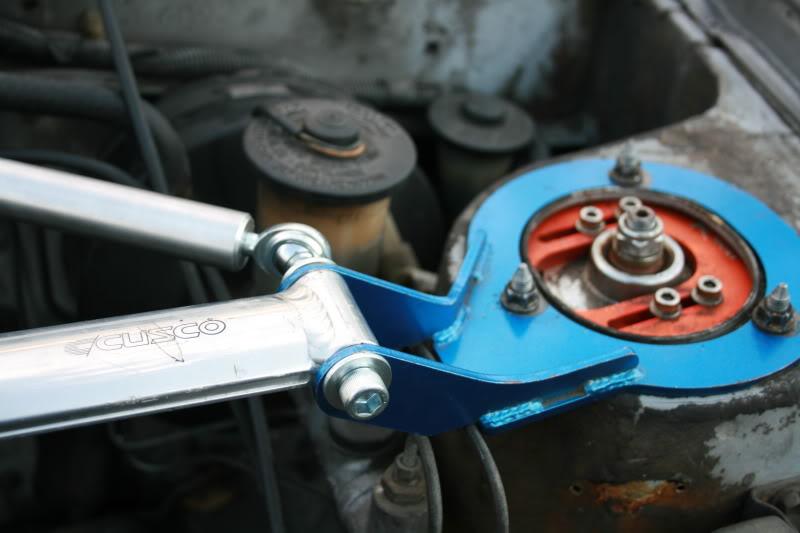
Cusco 6pt Roll Cage, cusco tripoint strut bar, cusco strut rear strut bar, 2.5 muffler, FG hathch with wing #2, sr20 red top ecu, and one part for my mr2, border rear spats!
Time to start wrenching!

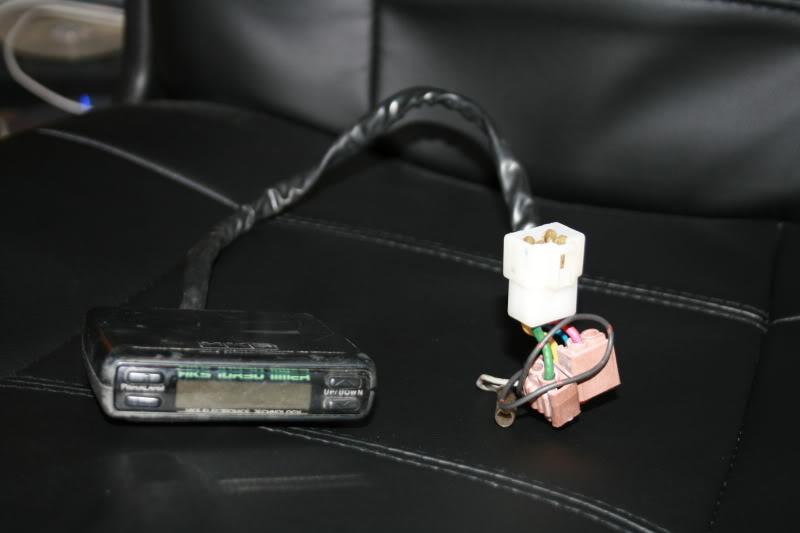
Junkyard find today! got a Supra 154 trans for my buddy, and I found a HKS turboTimer inside for my self! paid 5 bucks hahahah thank you pick a part!
YYyEeeAaaaaHHHHhhhhhh!!!!! I got my rearend finally! MA47 hear I go!!!!!!!
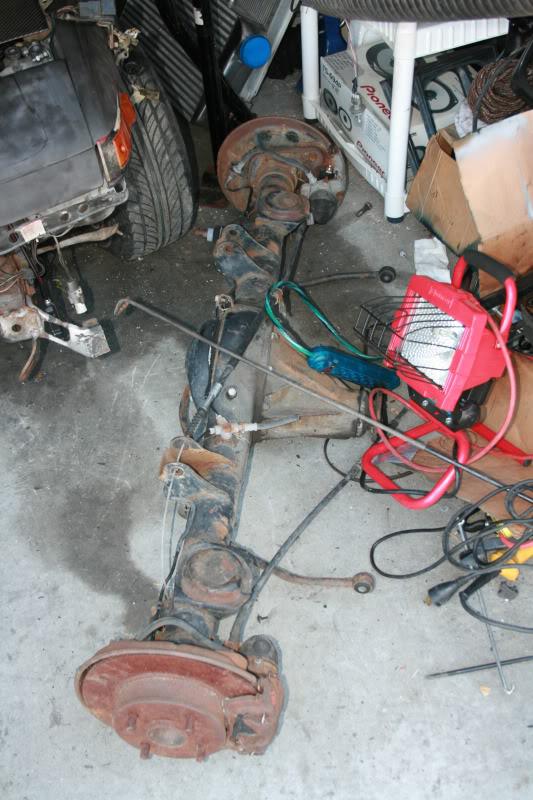
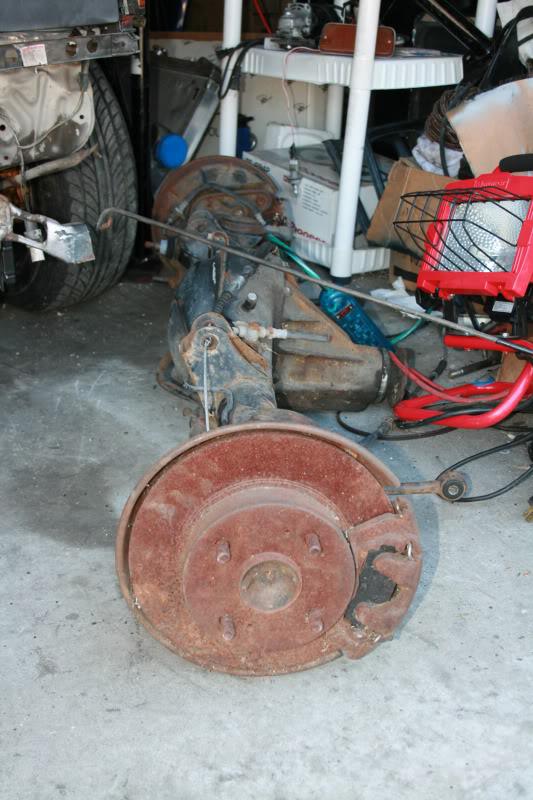
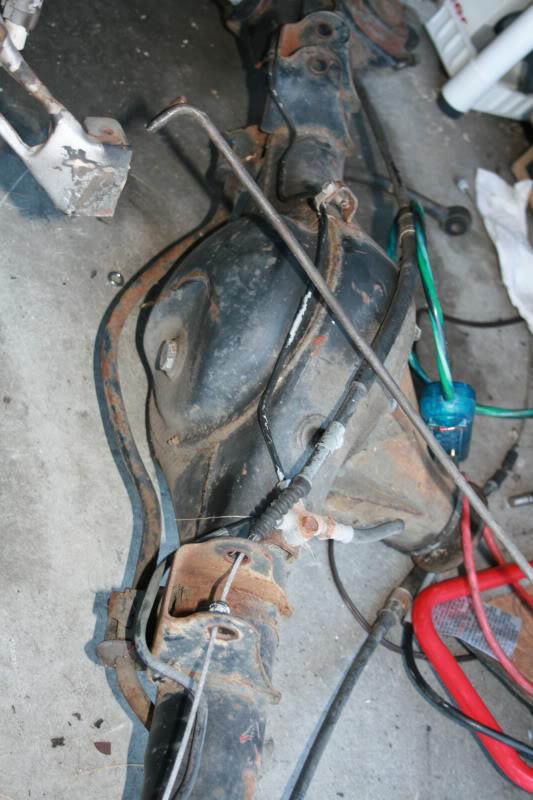
I need to rebuild the brakes, I'm sure. and I am going to look into getting sloted rotors, if they make any. but here she is!!!
this one is photoshoped to see how it could look, since i need paint etc.
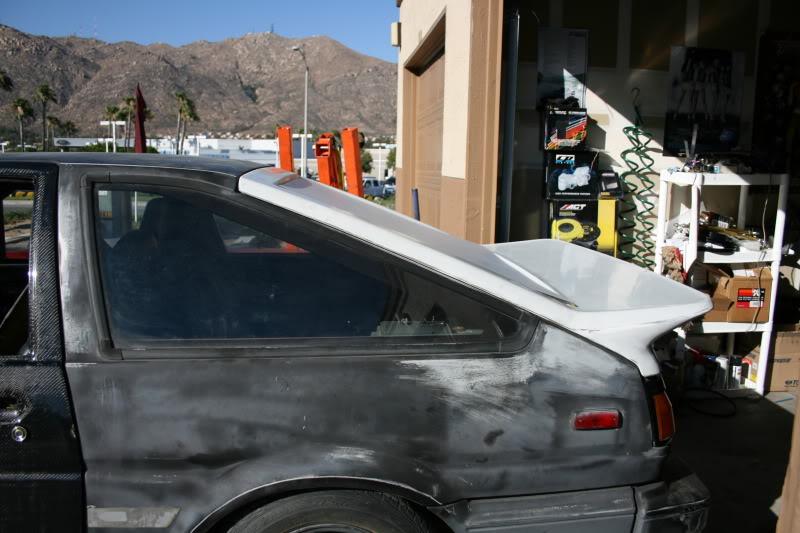
I also installed a rear hatch C-Pillar bar, looks nice! I still need to install the lower Cusco rear strut bar.
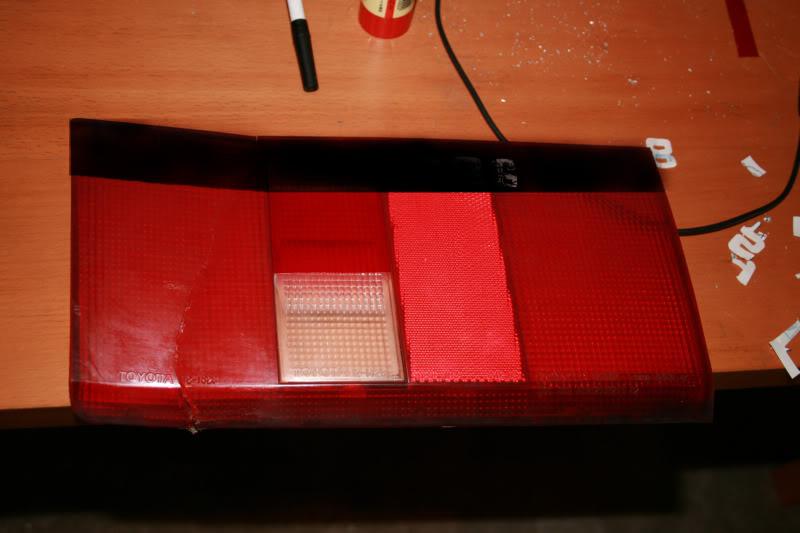
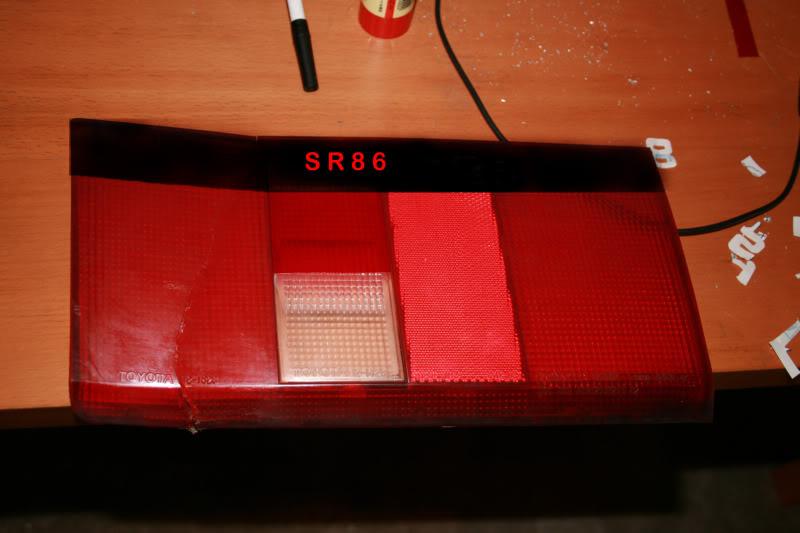
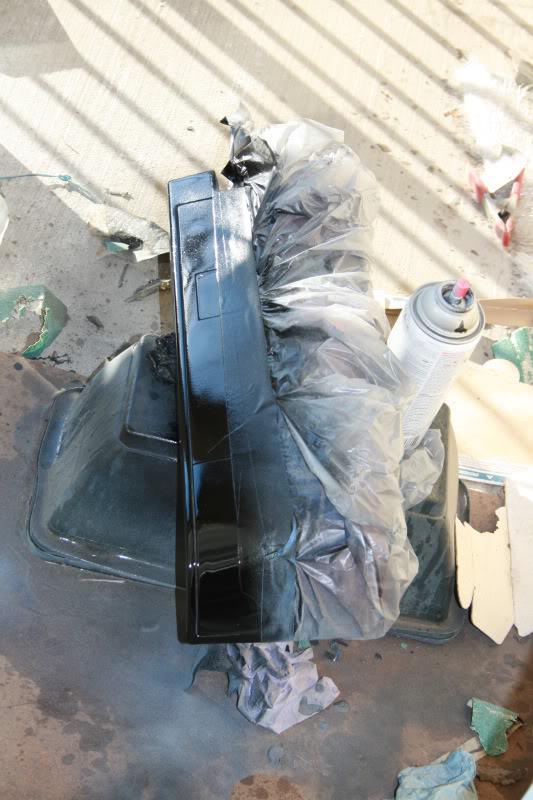
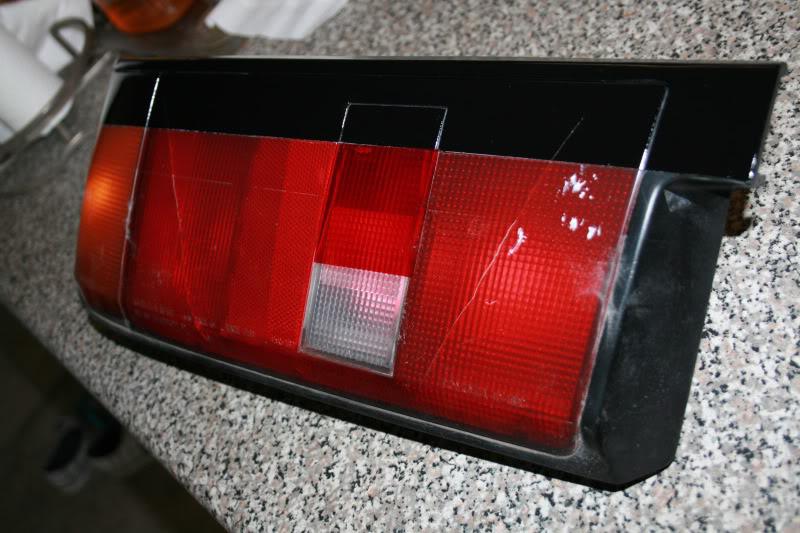
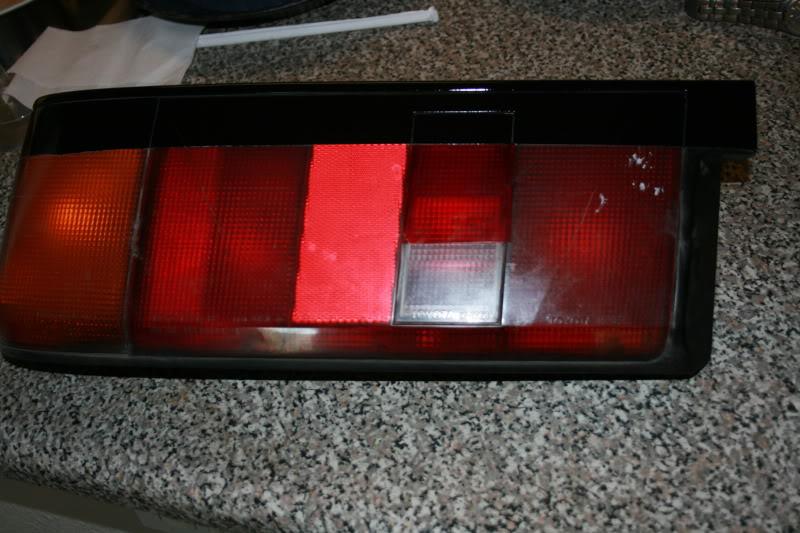
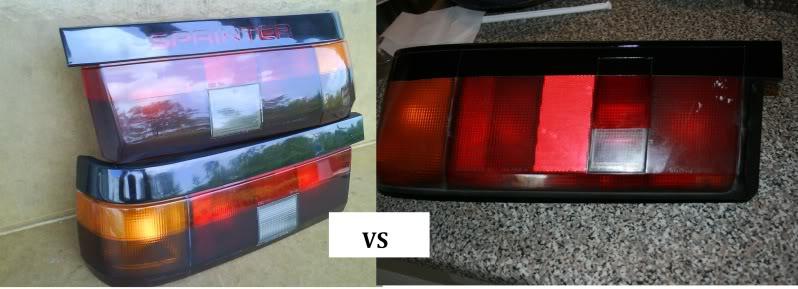
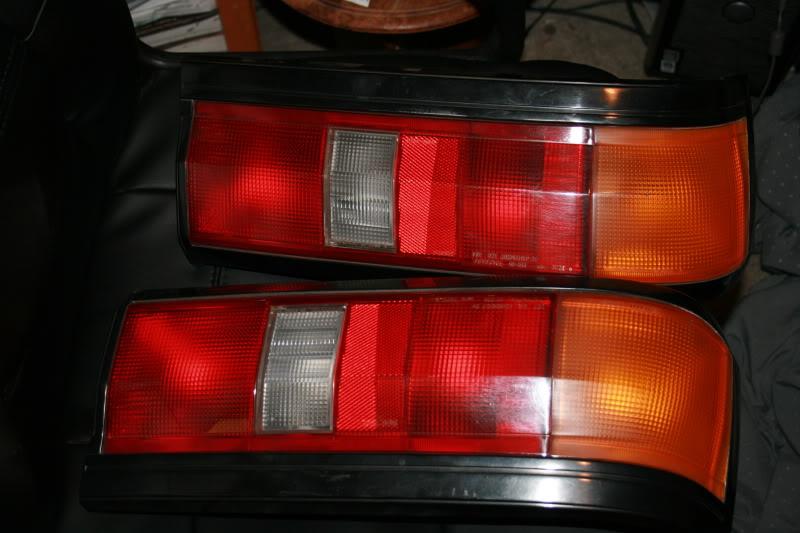
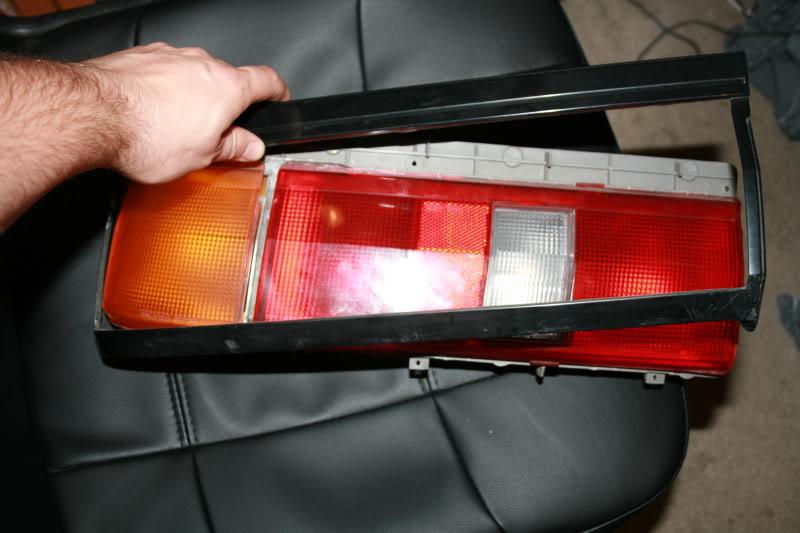
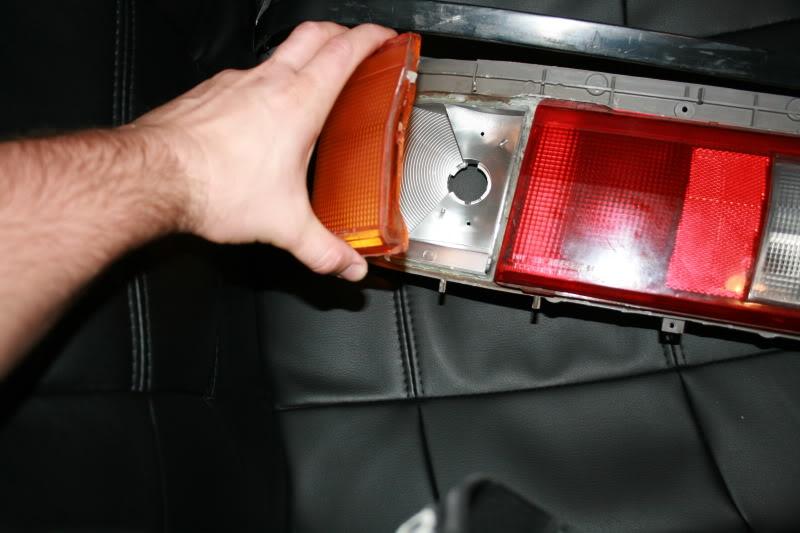
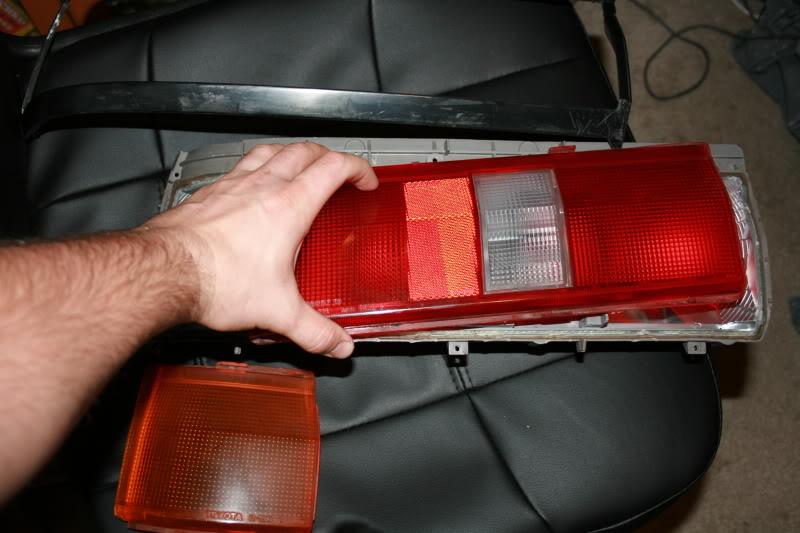
Here is how I did my DIY JDM tail lights on my hatch for $20
What you need:
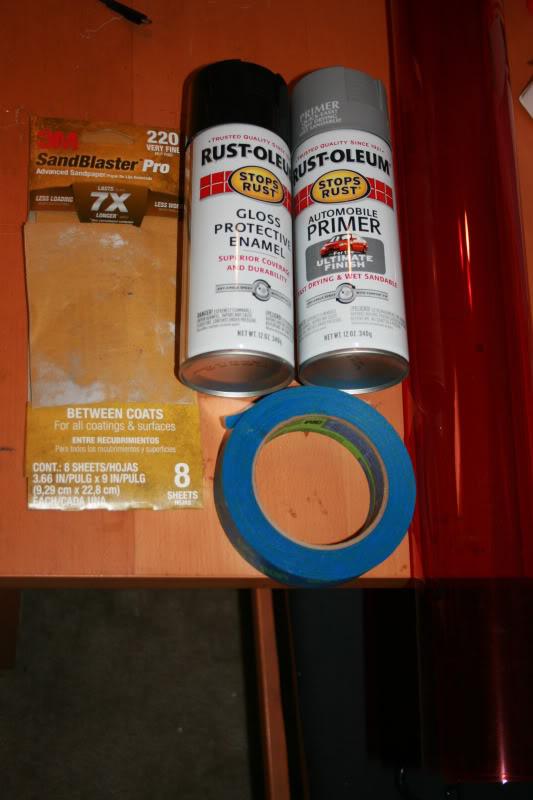
A can of Primer
A can of black high gloss paint
some 220 grit sand paper
superglue
red acrylic plastic matt
electrical tape
and a scissor
Start the work:
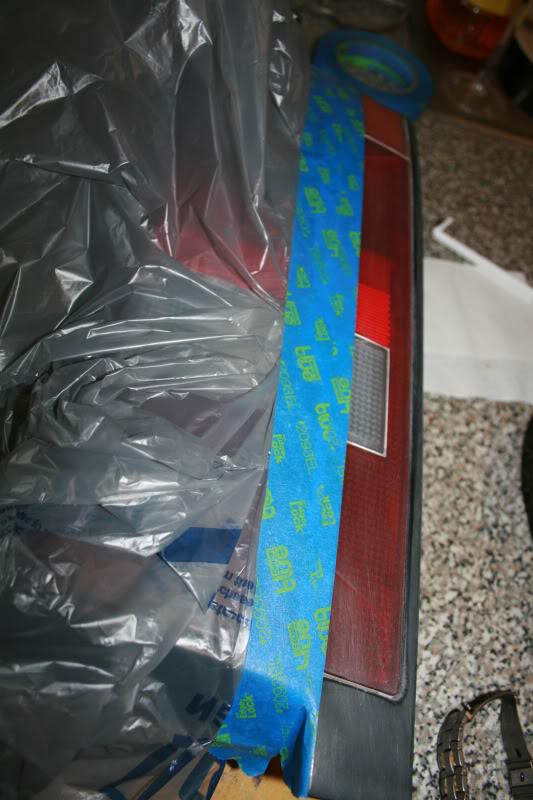
1. Use the painters tap to make your line across the top of the tailight, following the trim. then use a bag and tap it to the tap and all the area you do not want painted
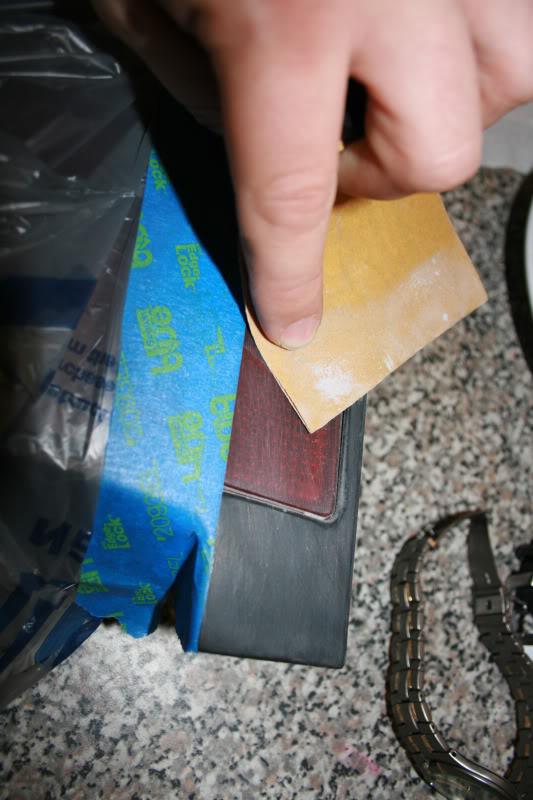
2. sand down all the lettering, and ANY shinny part, it MUST look dull, or the paint wont stick.
3. Once it if fully prepped, wash and dry off the sanded area. Shoot a light layer of primer across the whole light, then let it dry and repeat till you have nice clean even coat.
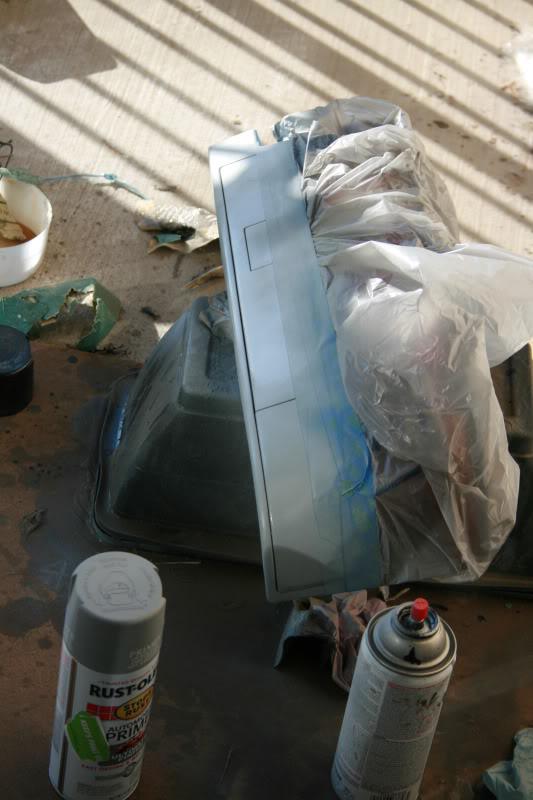
4. Once the primer is dry, shoot a color layer the same way, with light coats.
5. Remove the tape while its still tacky, and let cure for however your paint can says to.
6. take out your acrylic red plastic, lay it up to the light and use a dry erase pen to mark out where you will cut.

7. Cut the acrylic plastic to size and glue in the piece!
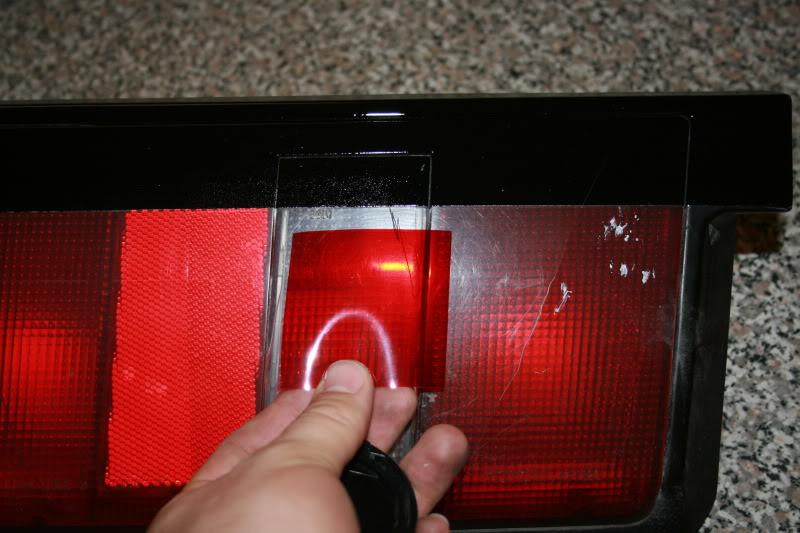
8. and your done!
Got some work done, and took some pics.
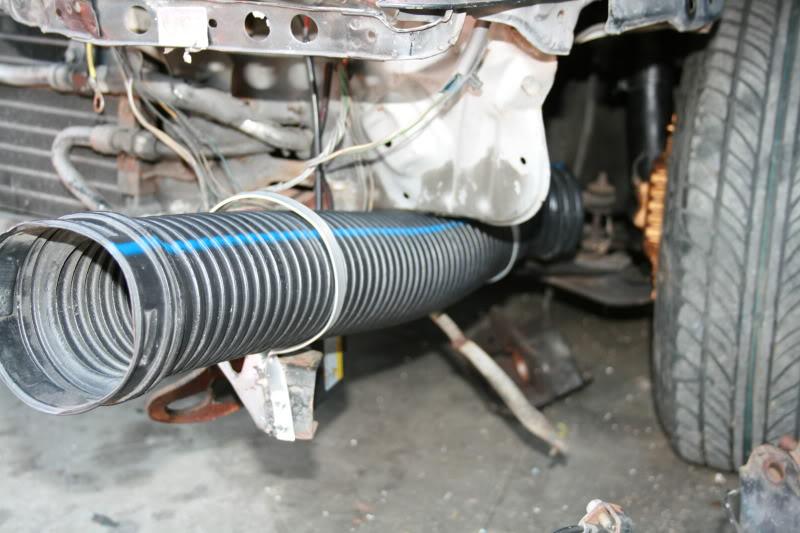
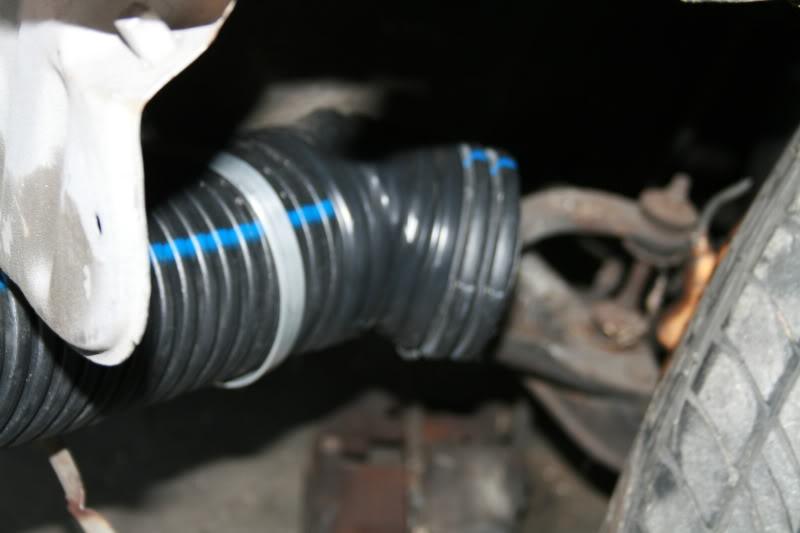
Mounted the brake ducts, and made brakets and angled the tube so it will help cool the FC brakes.
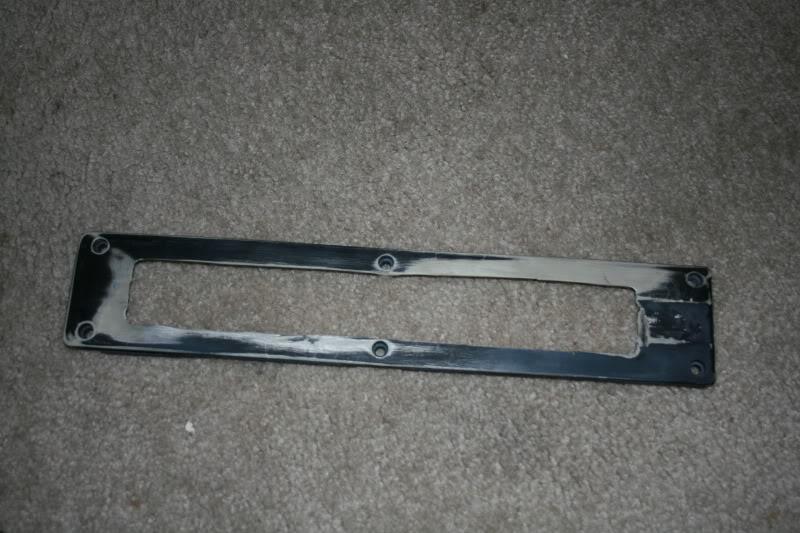
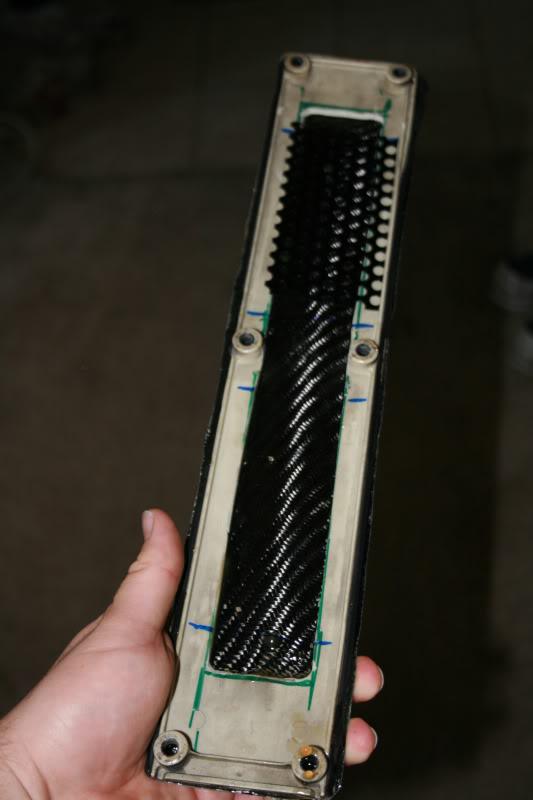
Then started working on the SR20DET valley cover for the coilpacks, I heard that many people take them off cause the heat can decrease the longevity of the packs, or they buy a vented valley.
So I thought why pay 150 bucks for something I can make for free pretty much. So I started cutting out the center of the cover.
I still need to even it all out.
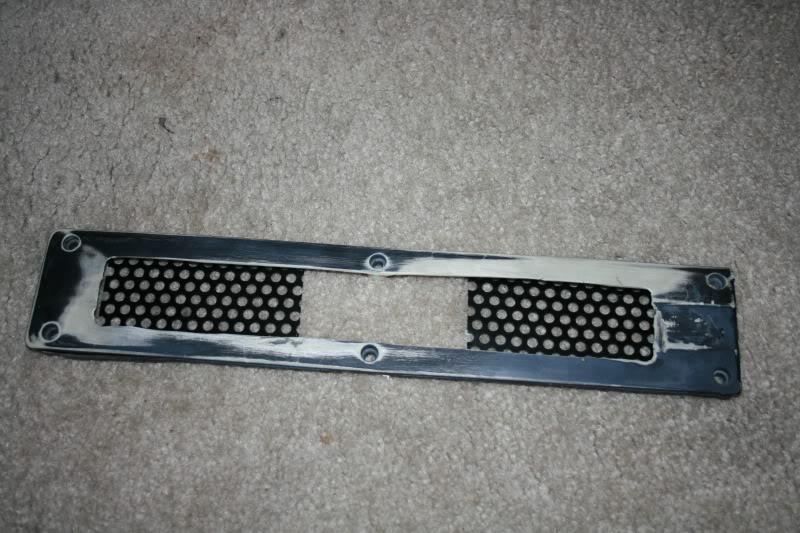
Then Found Some perforated metal I had laying around.

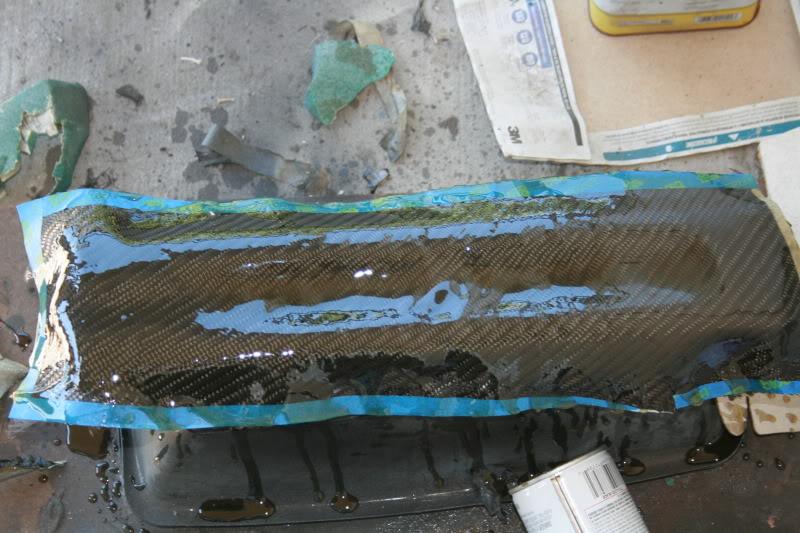
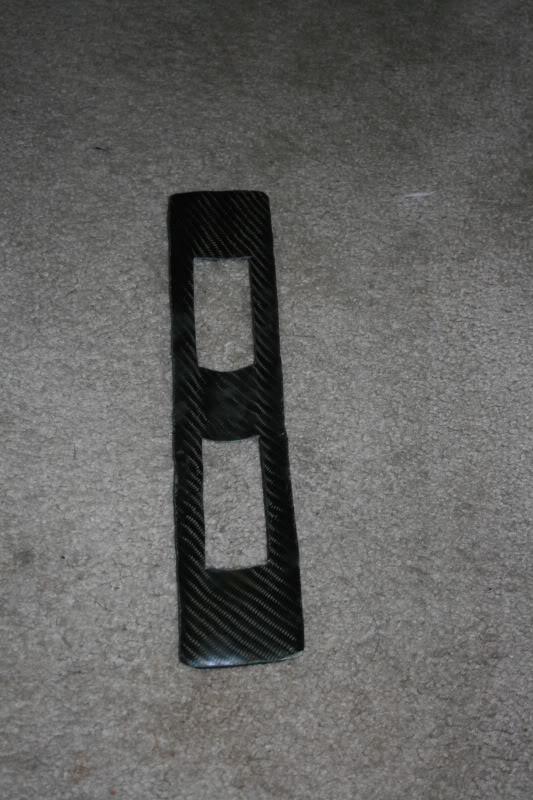
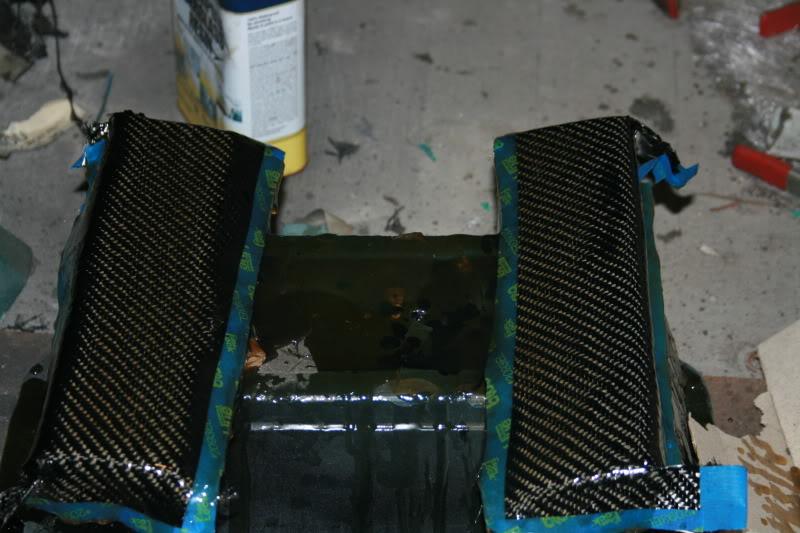
Cut out some CarbonFiber matt I have, just need to find my resin and hardener so I can lay it on and trim to fit!
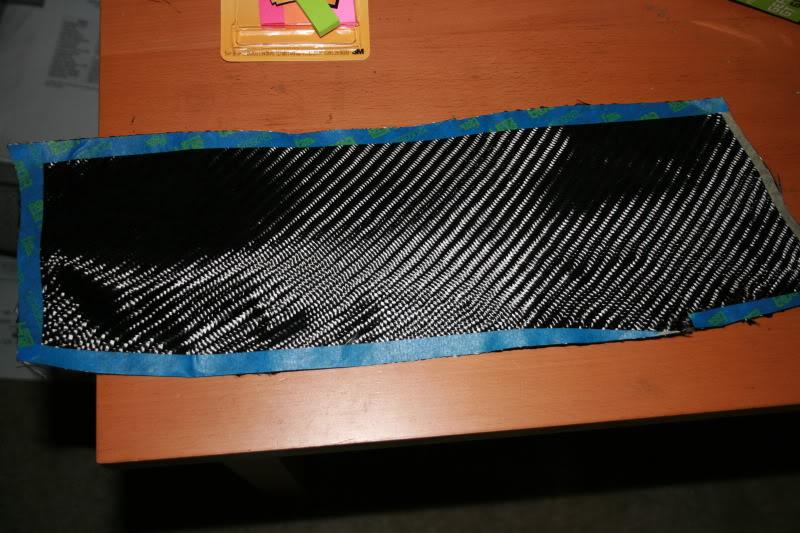
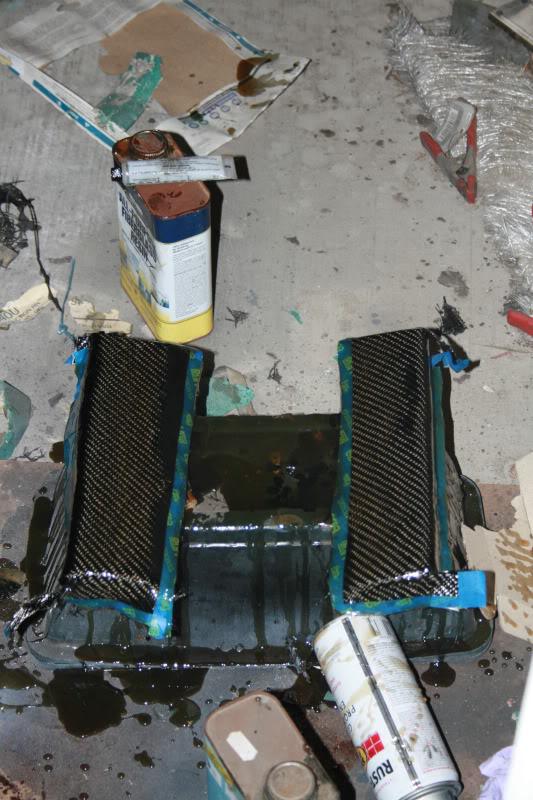
Cleaned up the cuts with my angle grinder
Test fit the mesh
First layer of CF
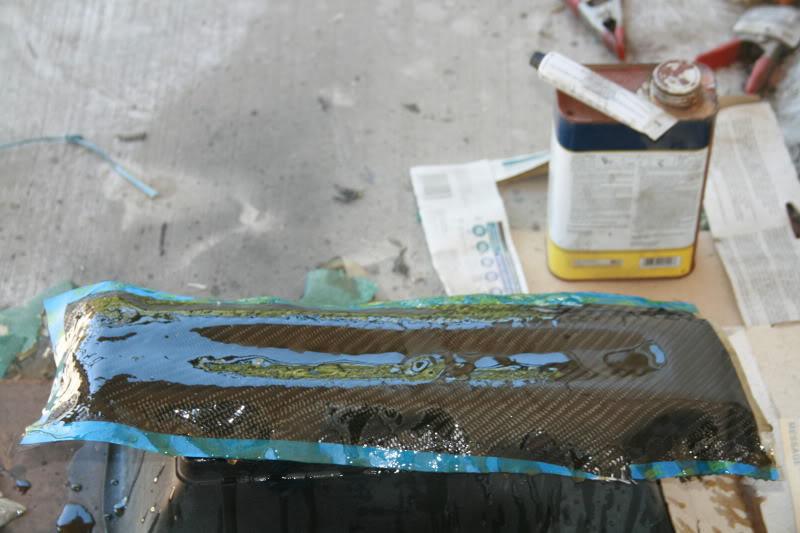
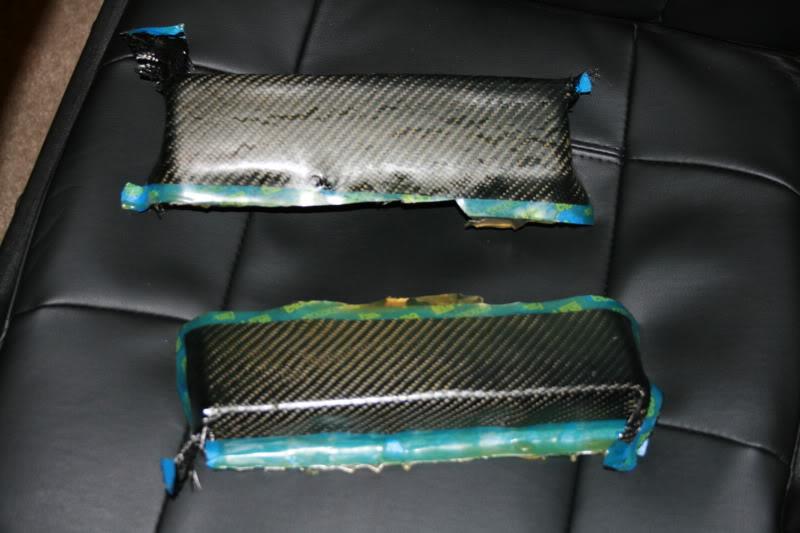
After it hardened
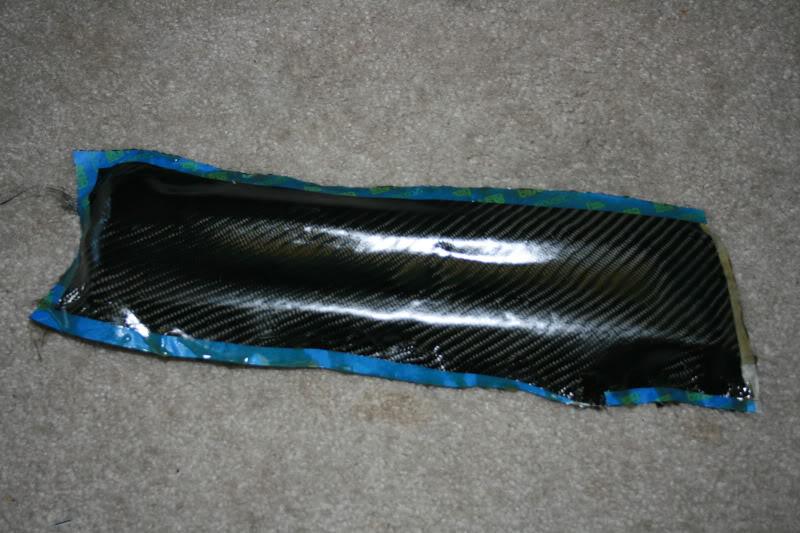
Trimming it down to size
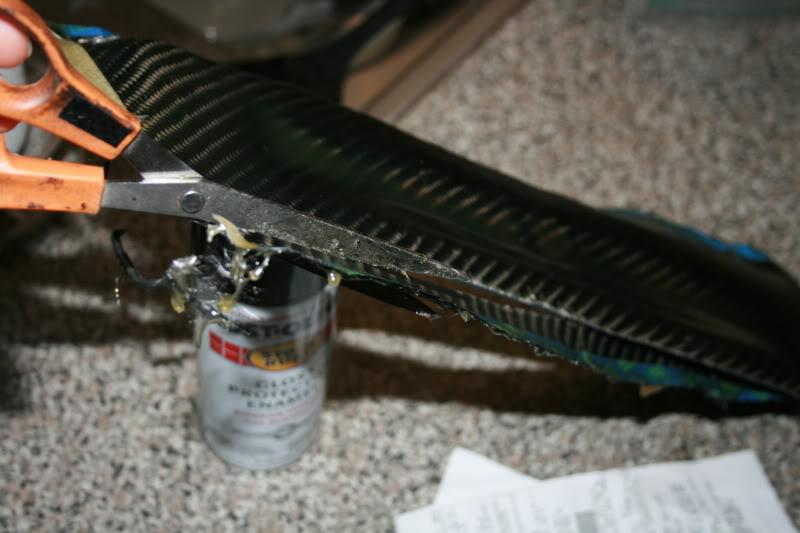
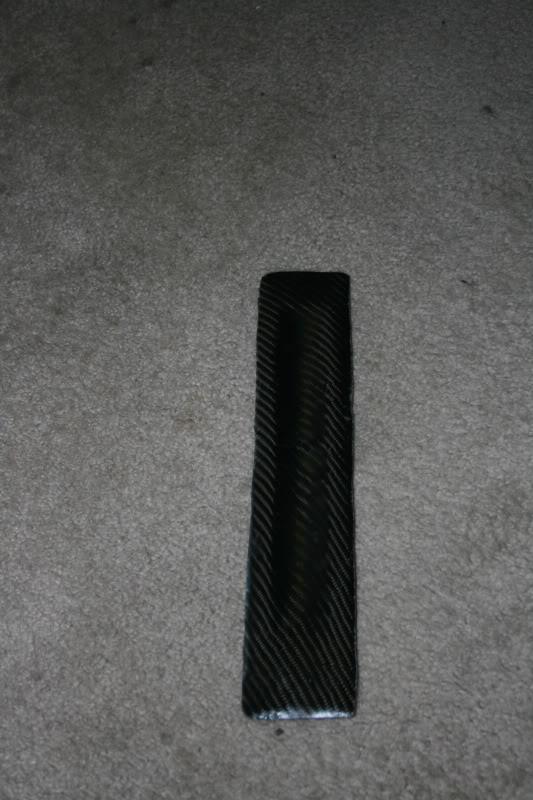
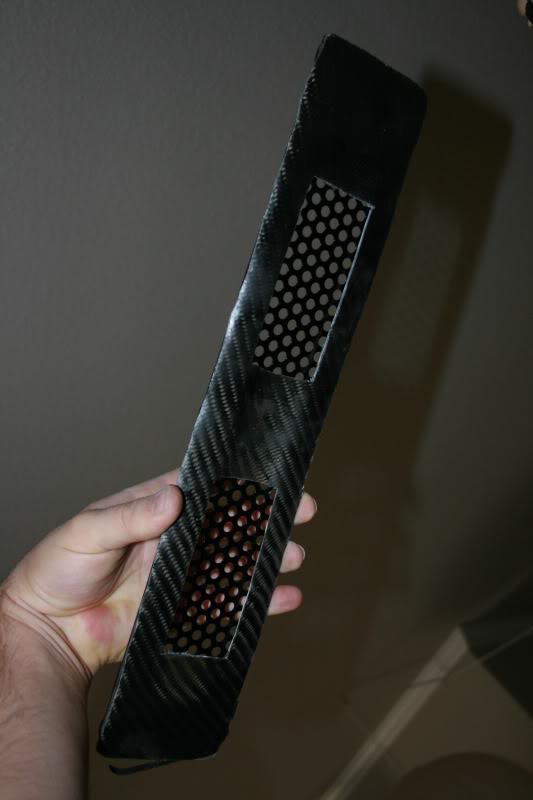
Hey its starting to look like a valley cover again
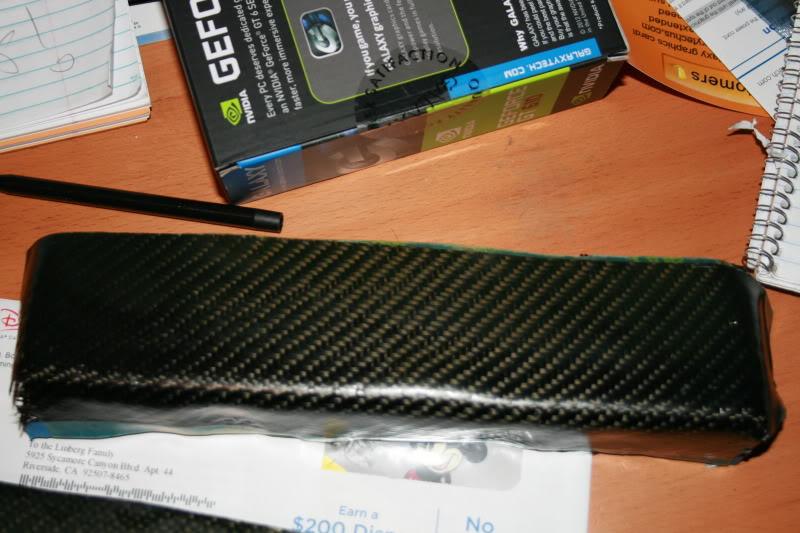
Cut out the venter for the vents
all finished, just need to wetsand and polish still, but that will be done later.
Started work on the stock eyelids, thought it would look nice to match them to the car with some CF accents.

Test fit the headlight eyelid, still need to trim it, fit the edges, and clear coat.
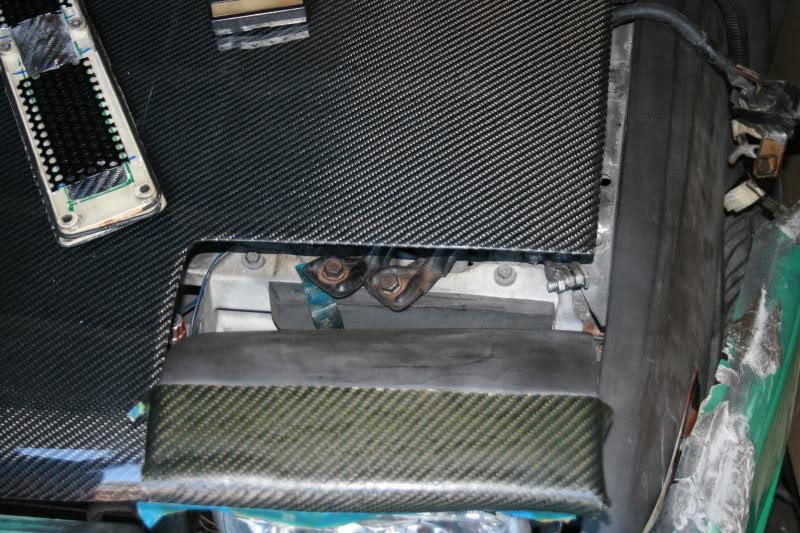
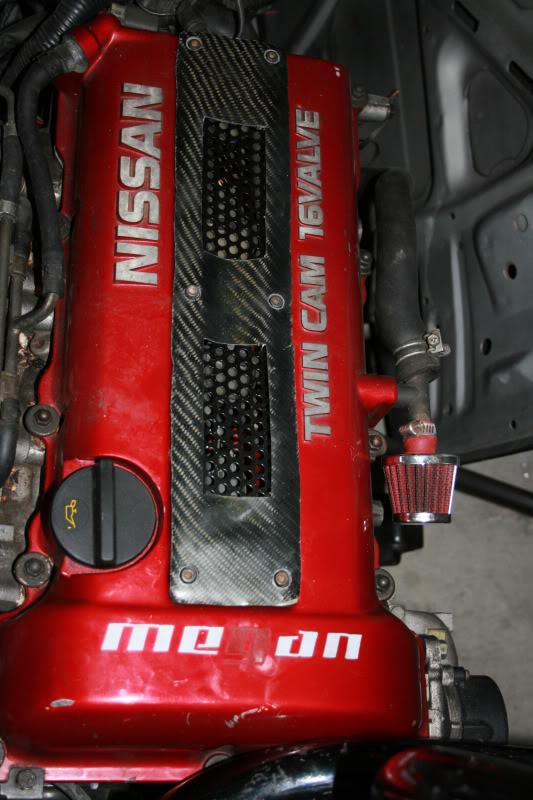
Then I test fit the Sr20det valley cover, so I could drill out the holes for the bolts.
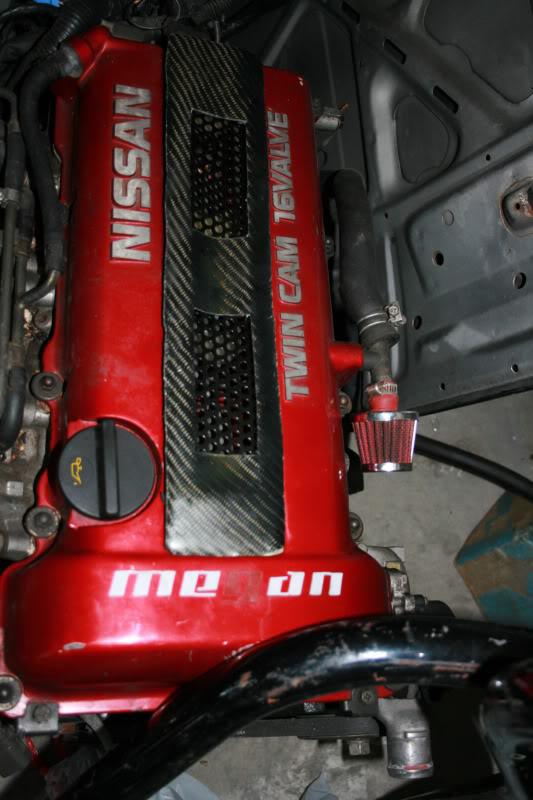
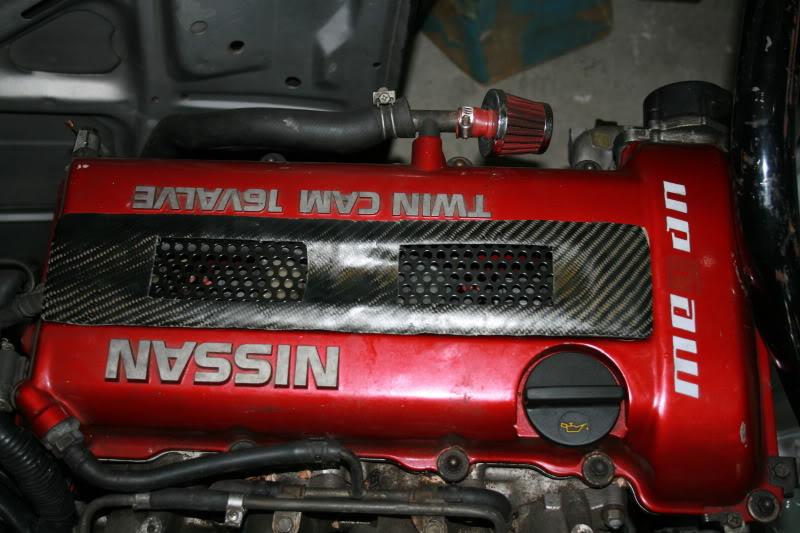
It fits great, just need block the edges so its more even, wetsand it, and then clear coat!
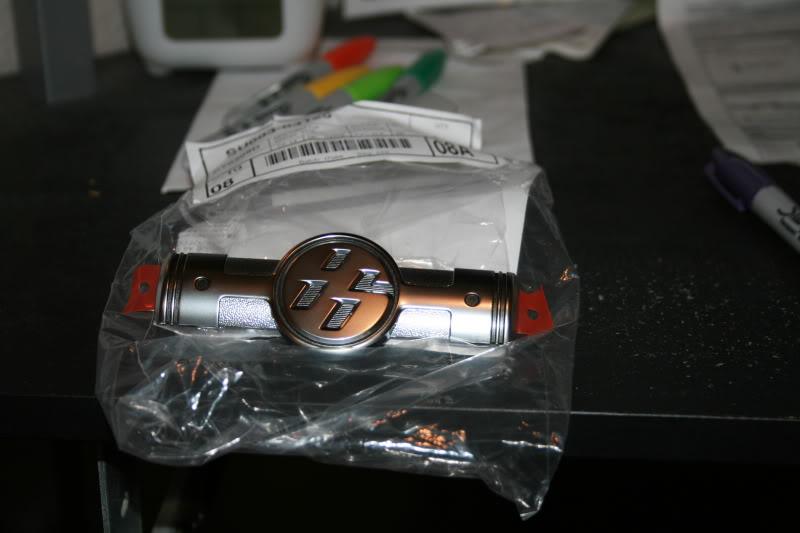
Got a nice badge to put on my SR20DET hhehhehe
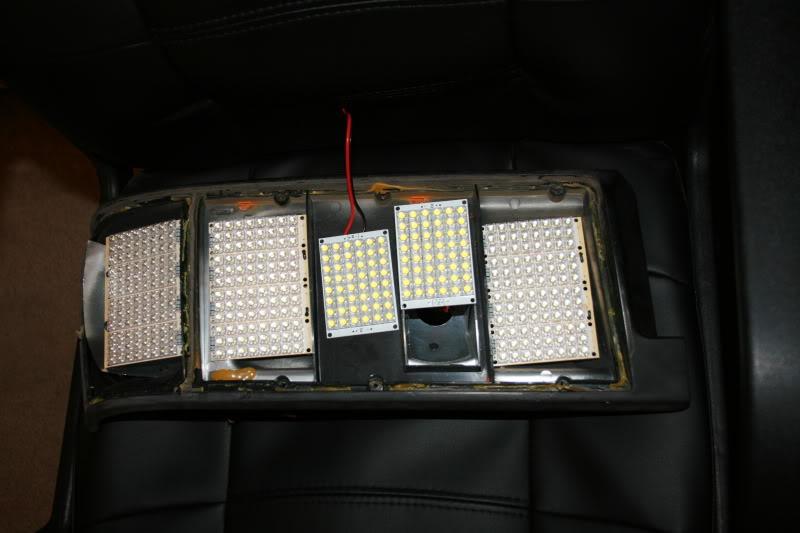
Got my LEDS today! they are perfect!!!!
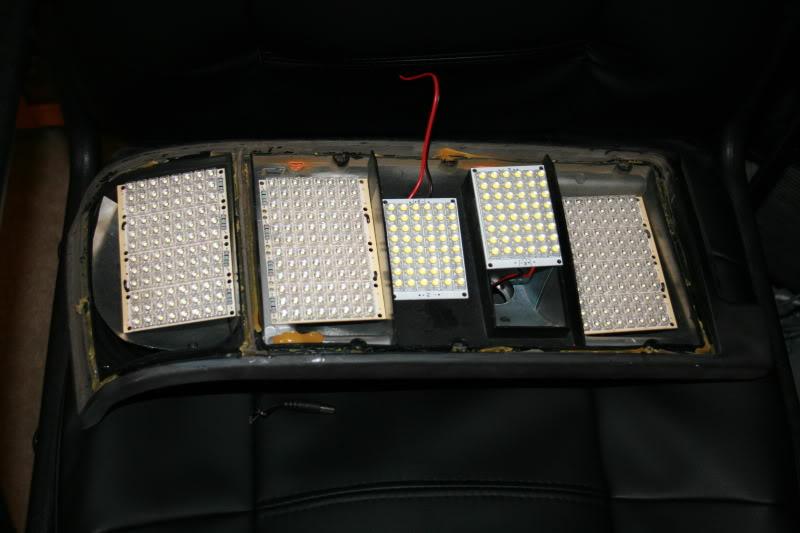
This is on my test taillights, with only a 9v battery attached!
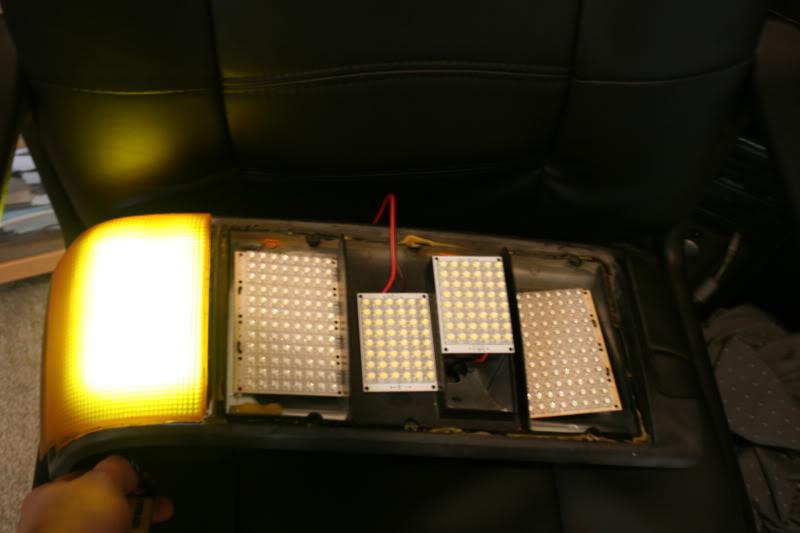
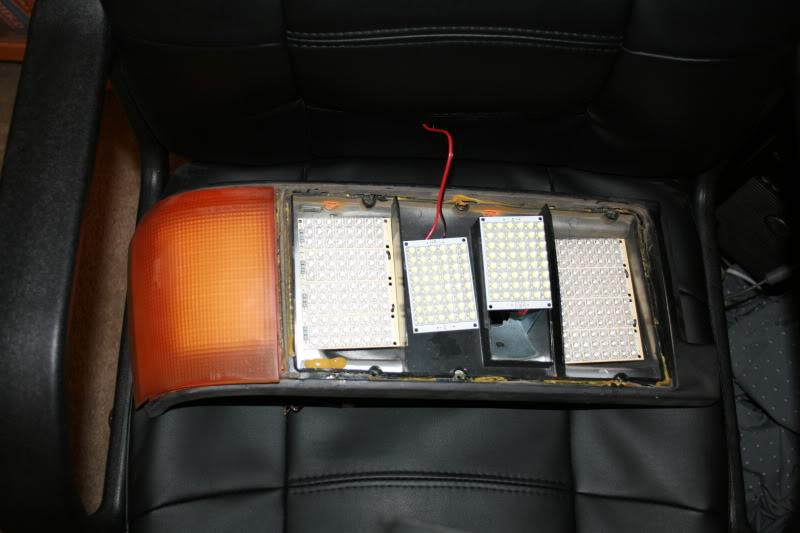
Final work, with my good lens
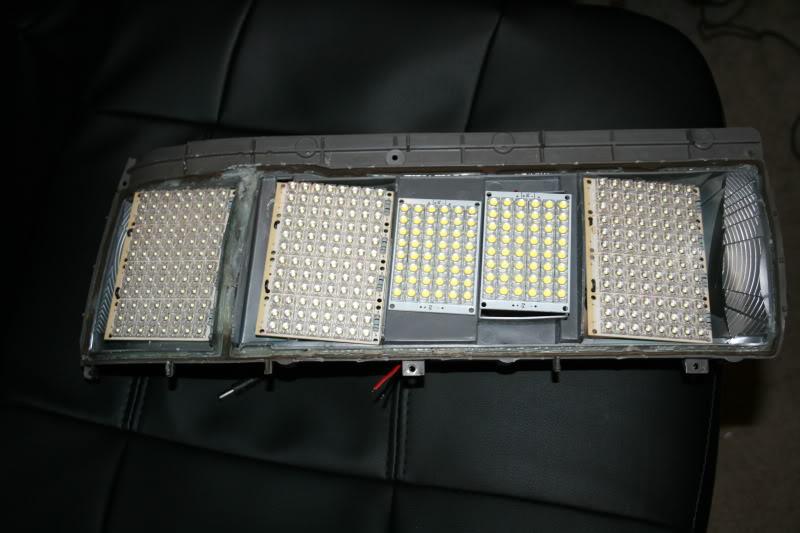
Mounted the LED panels, and polyseam selled them in.

The never ending project ?
Posted by Diggymart on 12/21/21 @ 1:49:05 PM