You must be logged in to rate content!
35 minute(s) of a 225 minute read
1-23-2013
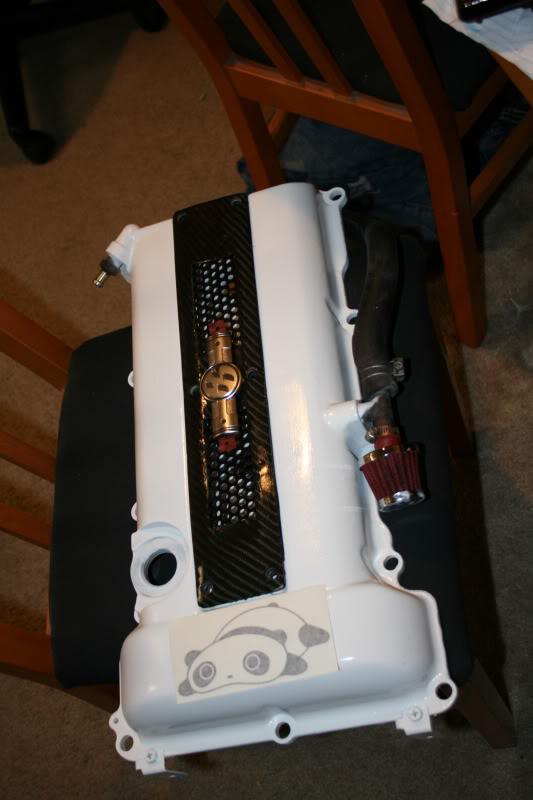
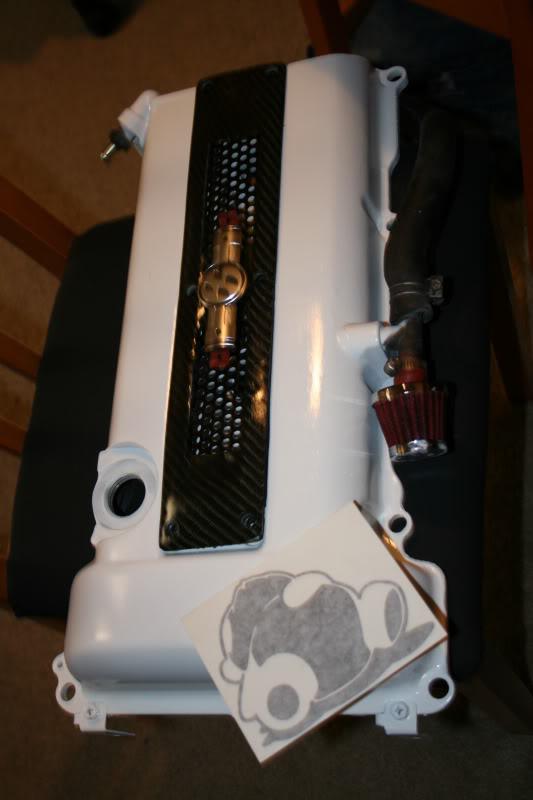
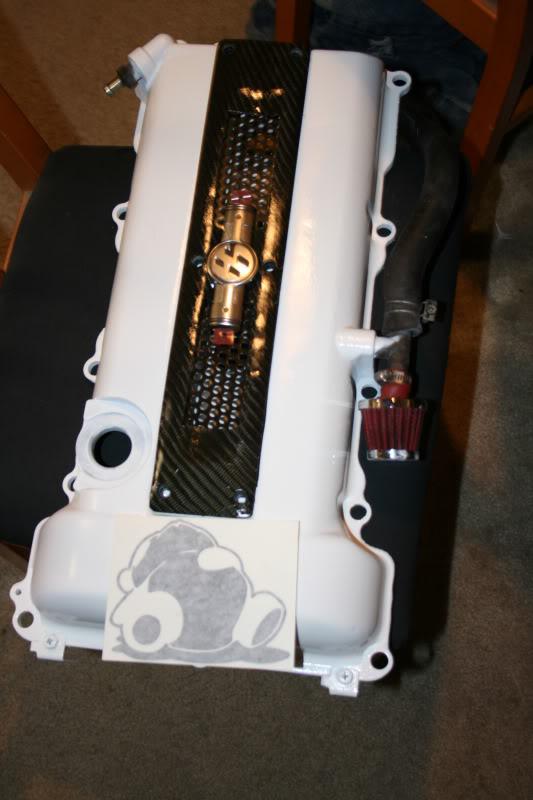
But I can't decide on my theme. here are a few option:
1) sleep panda center
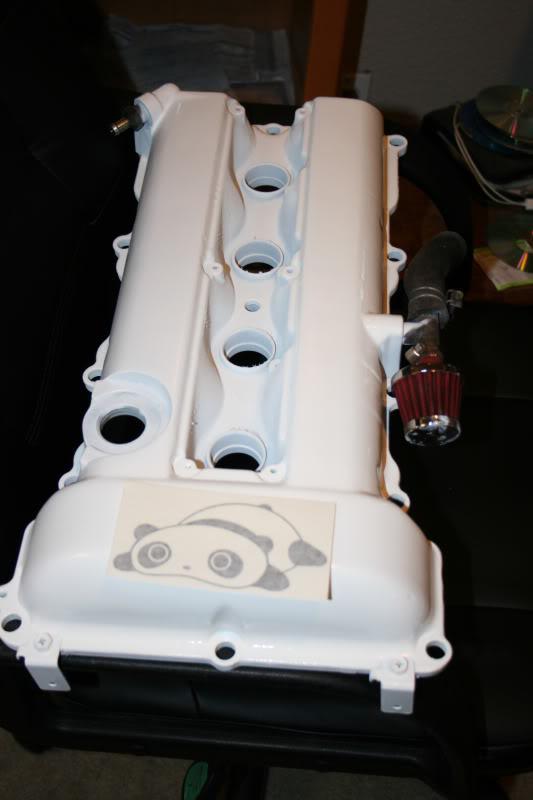
2) sleepy panda off center
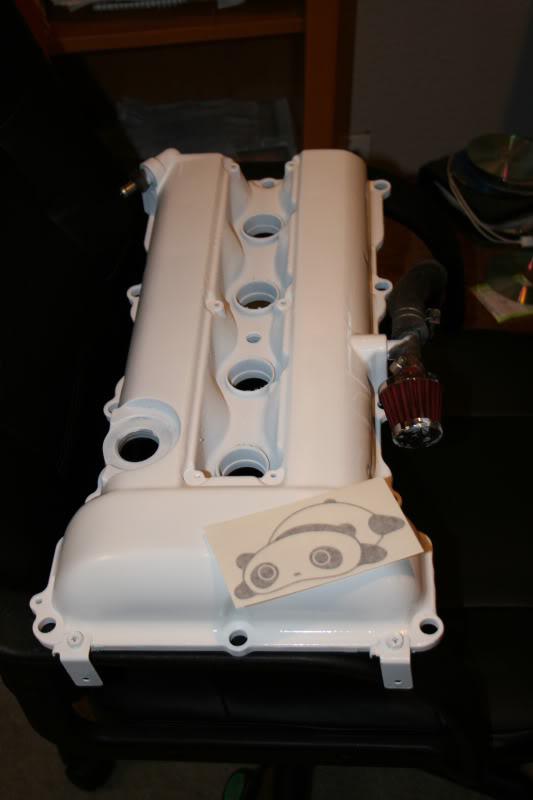
3) falling over panda center
4) falling over panda off center
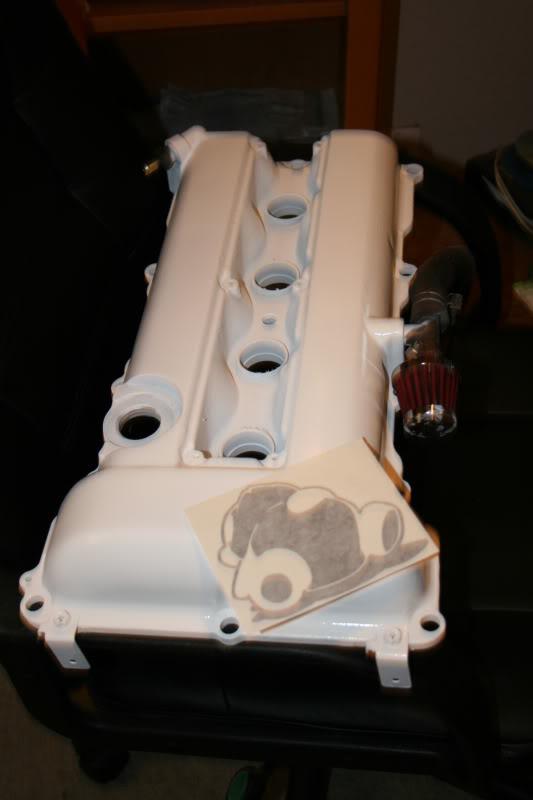
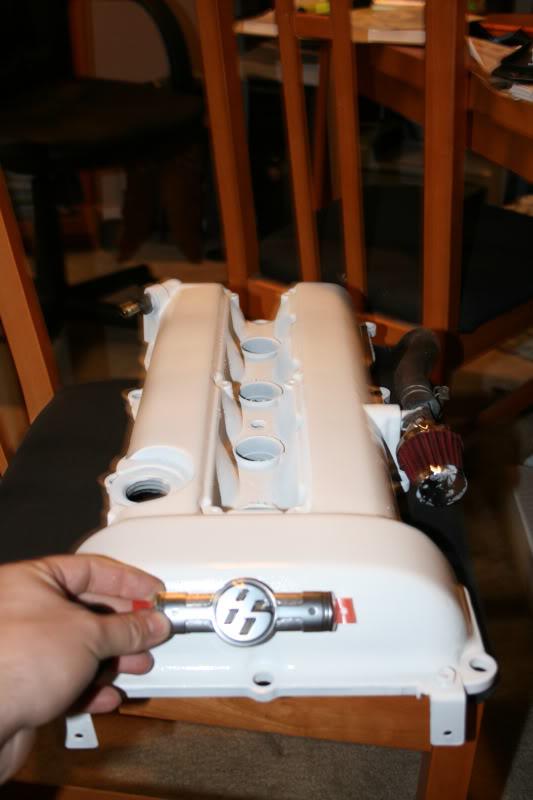
5) FRS badge center top
6) FRS badge center lower
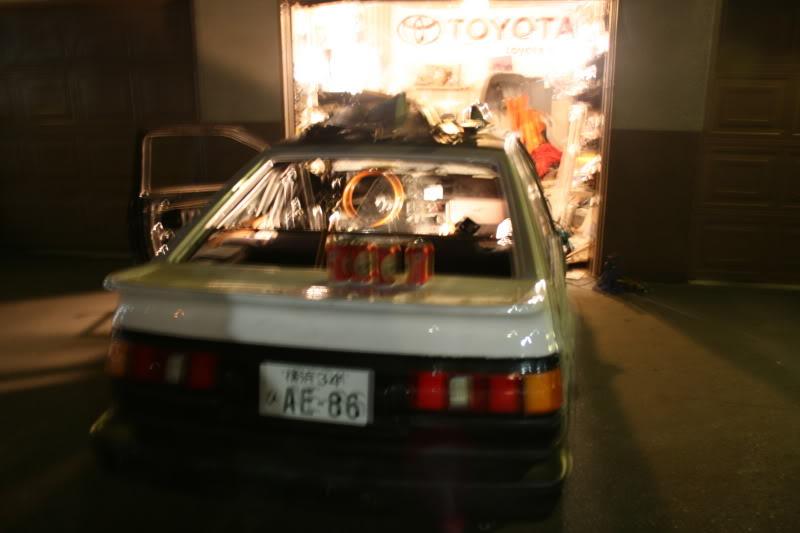
E86 with the other accents! cant wait to get these in!!!
or some form of combination like FRS badge where the nissan badge was, and the panda on the front etc.
Vote!!! I need help deciding!
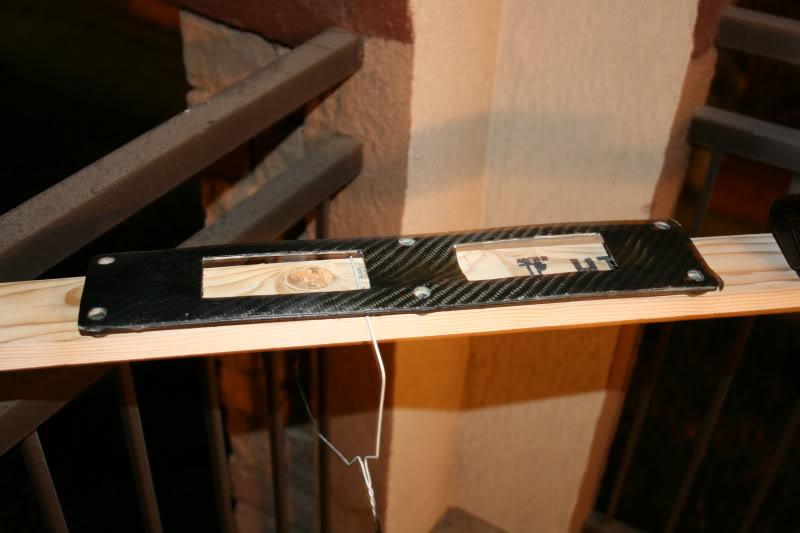
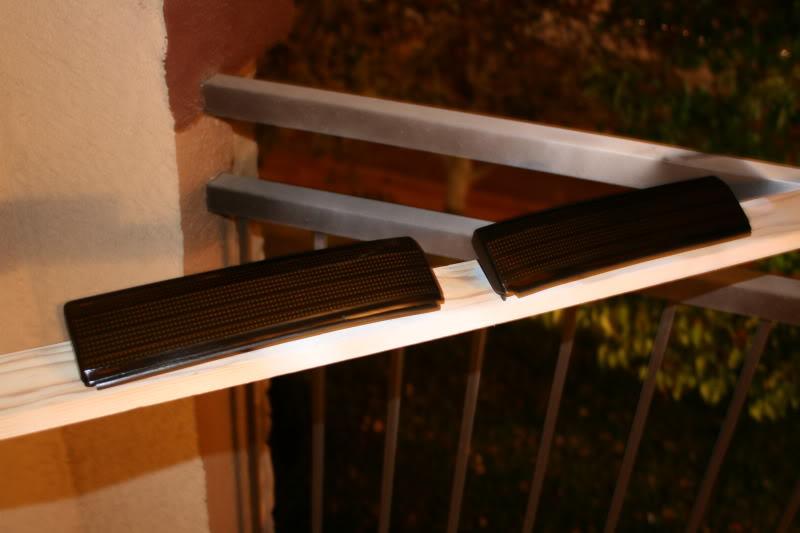
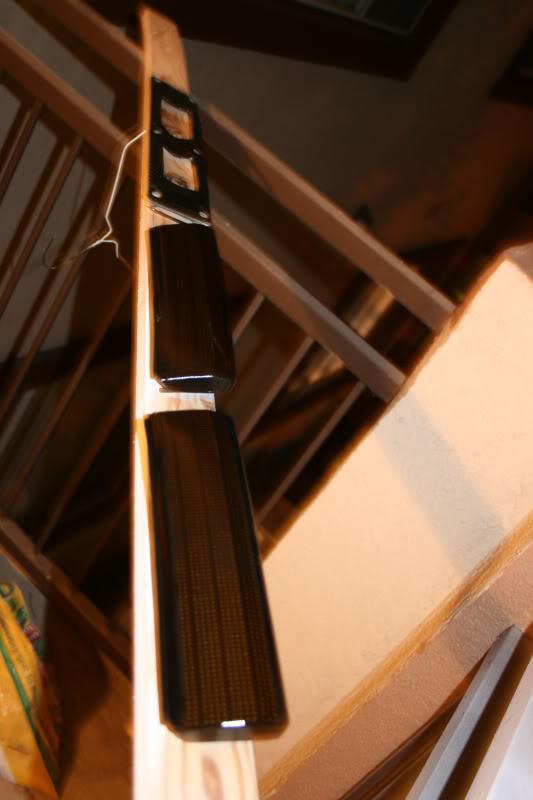
Well cleaning stuff up right now, straitened the edges on the coilpack Carbonfiber cover, and sanded it down so it will not be bumpy lol
Then some clear coat.
Same thing with the kouki eyelids, one had a nice good scratch on it, i had to sand through.
some clear ![]()
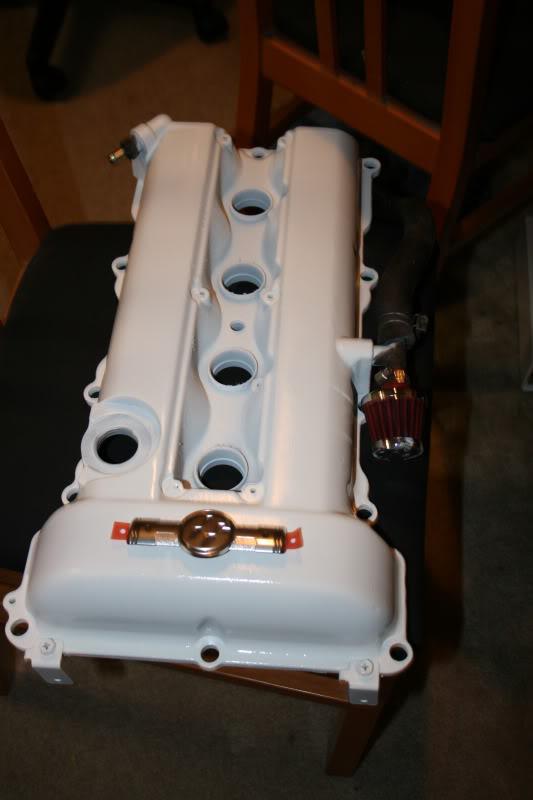
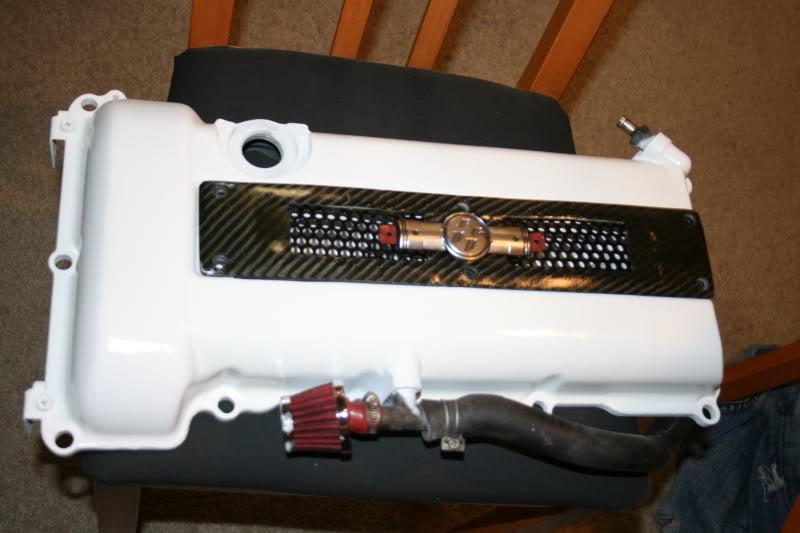
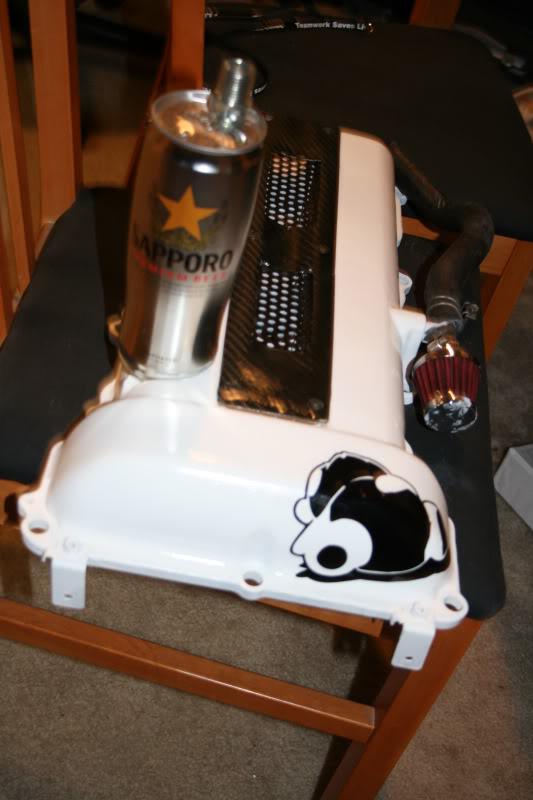
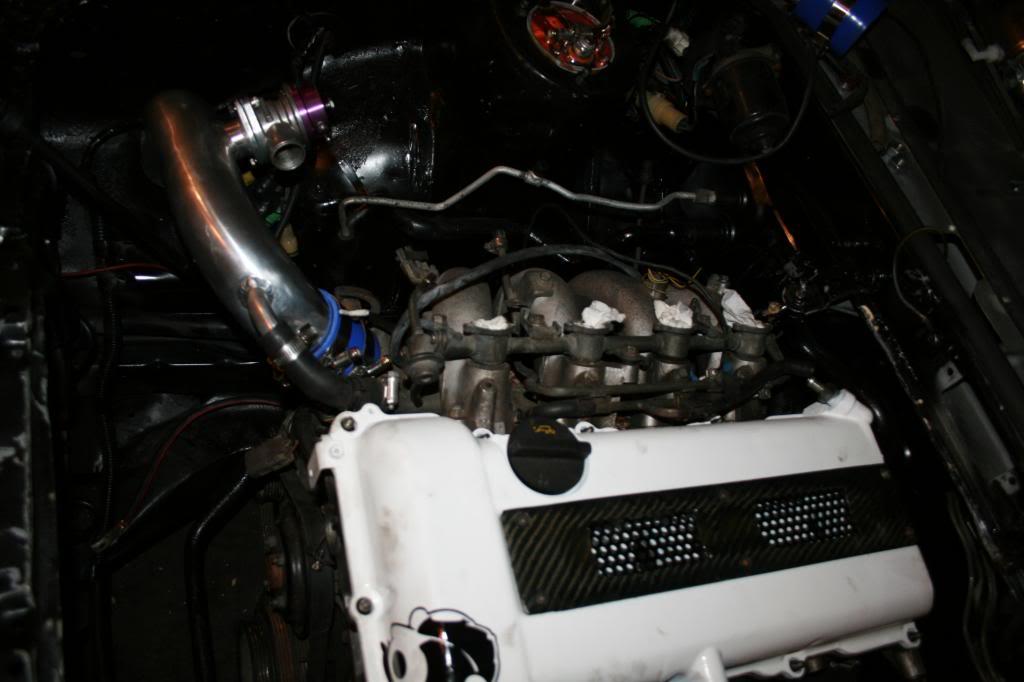
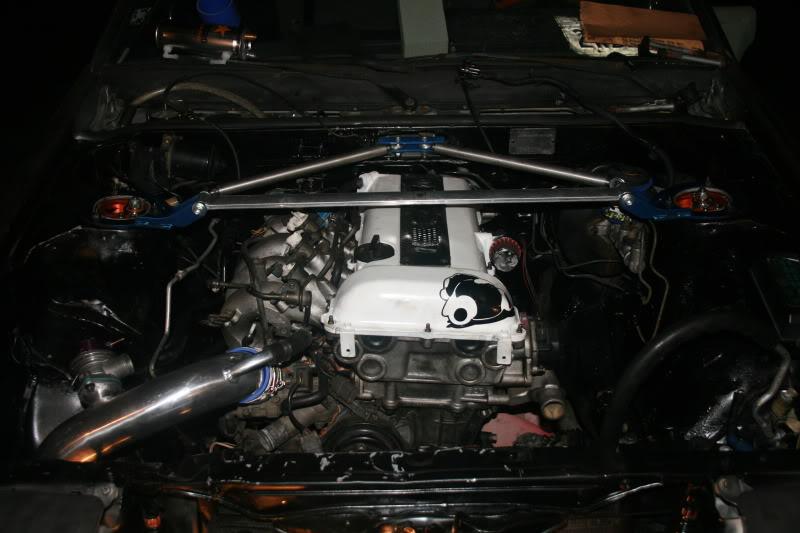
Man first time I have had the valley cover on the shaved white valve cover, and it turned out just how I imagined it!! Lovin it!
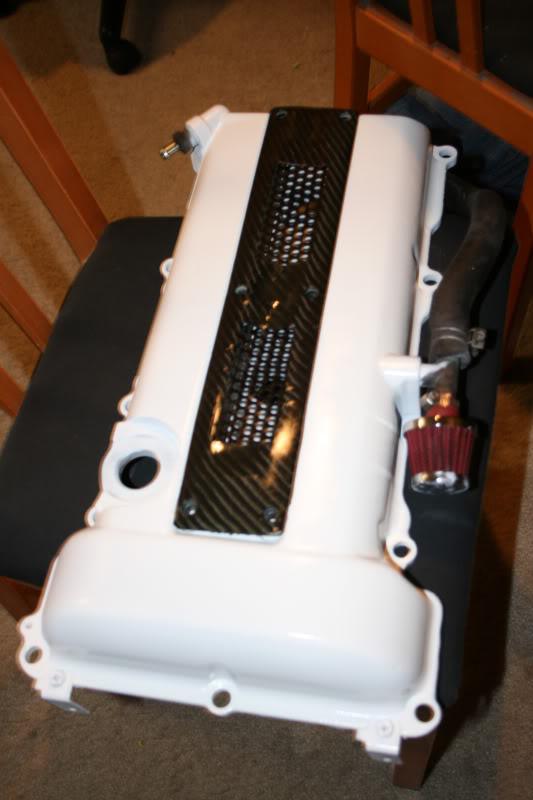
Just need to figure out how I want to badge it!!
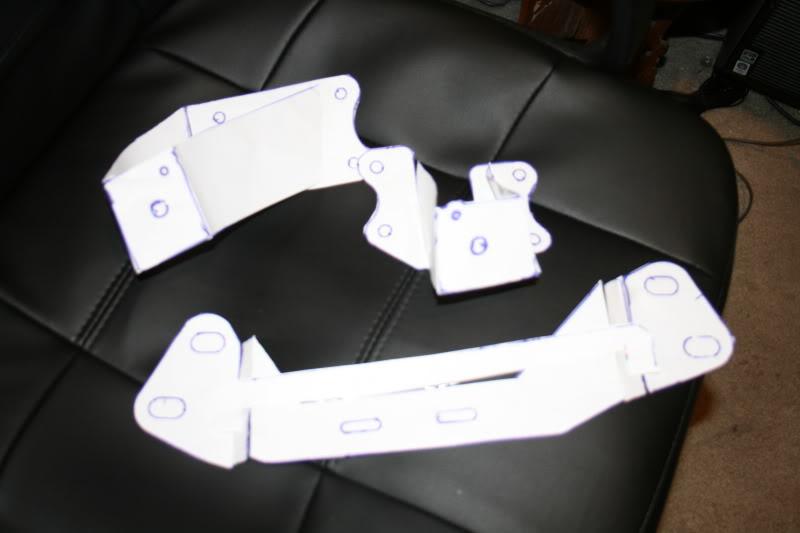
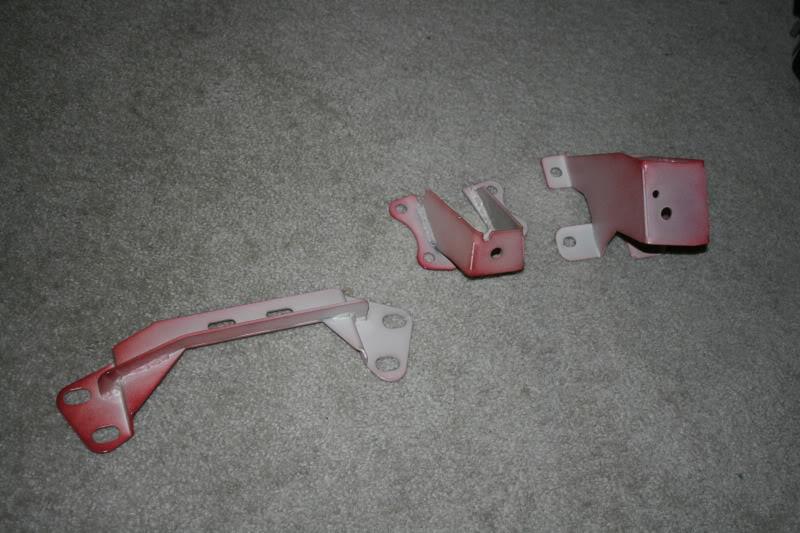
Started out templating my motor mounts in paper, getting closer!
Got a big piece of steel ![]()
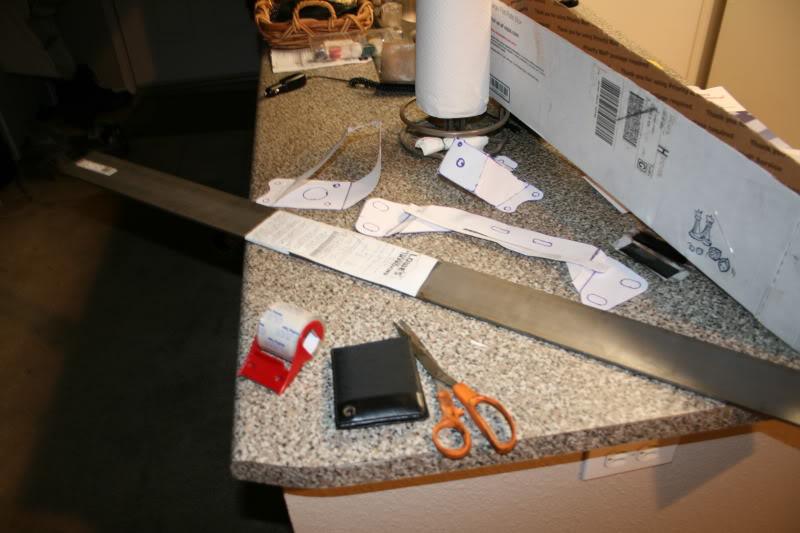
TD86 thanks man!
Small update, as I have been sick and trying to catch up on school work.
Did you know Sapporo Beer cans are made of steel!!
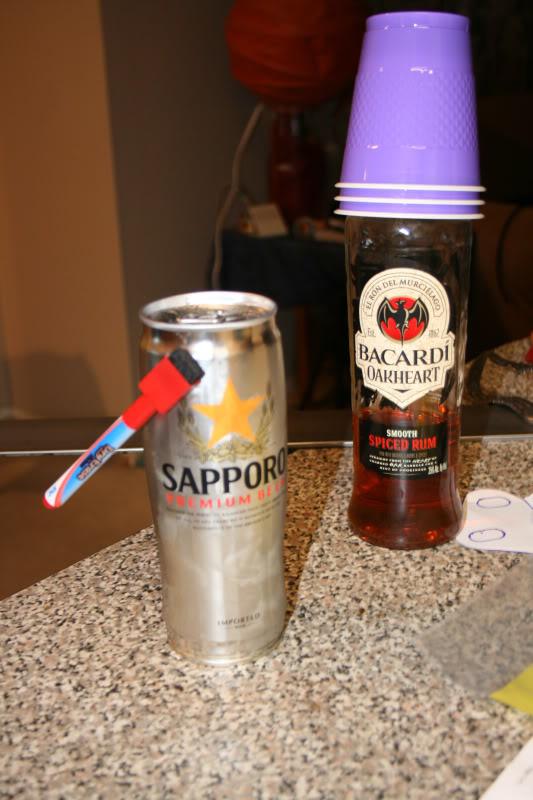
Time to pop it a special way
And drink her up!!!
Whatever will I make with this can... ![]()
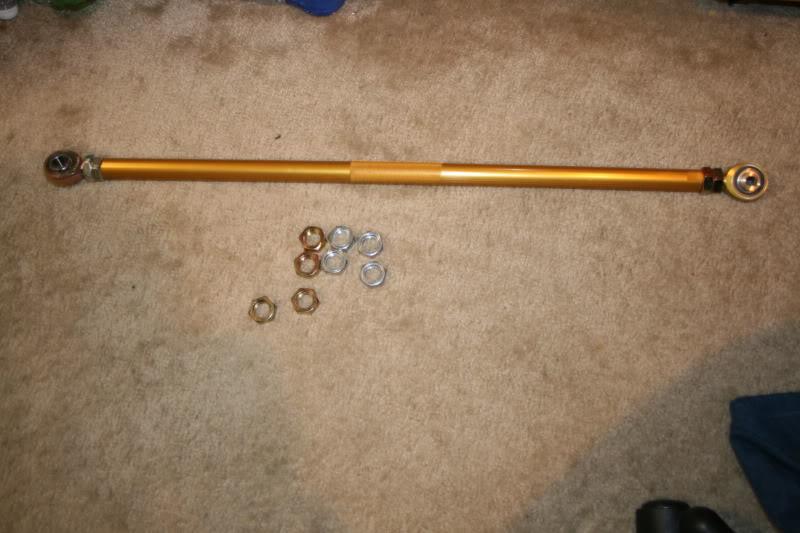
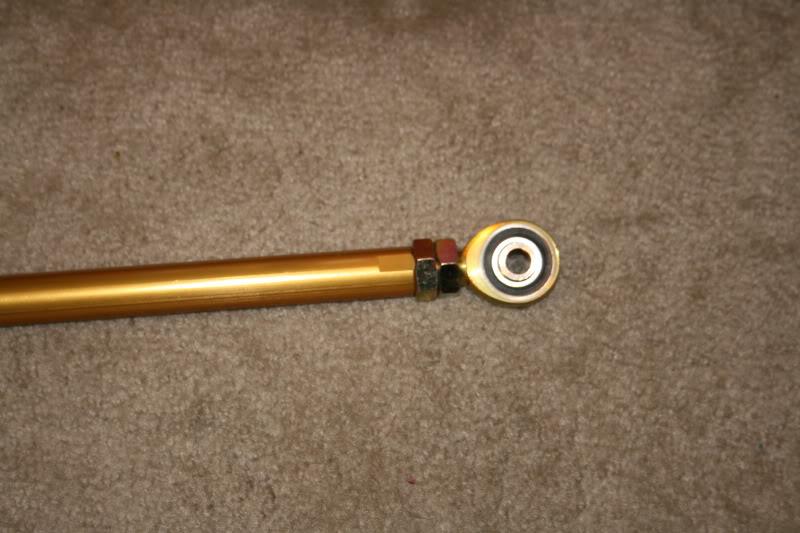
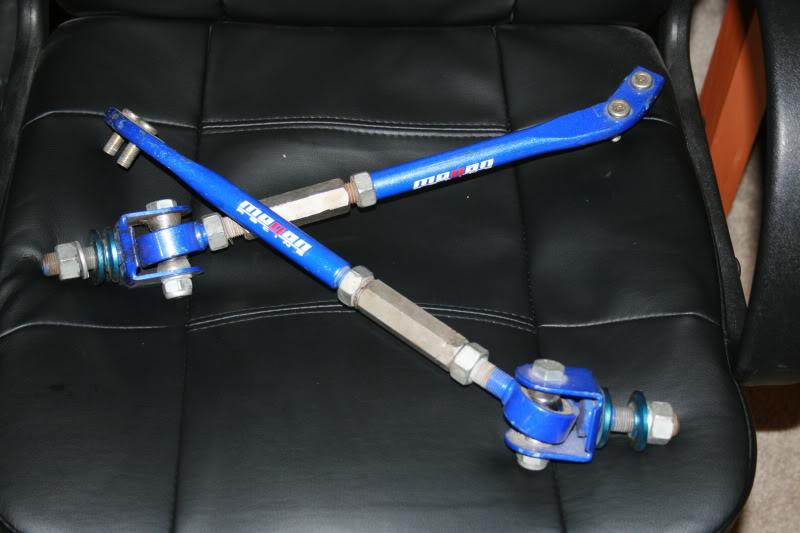
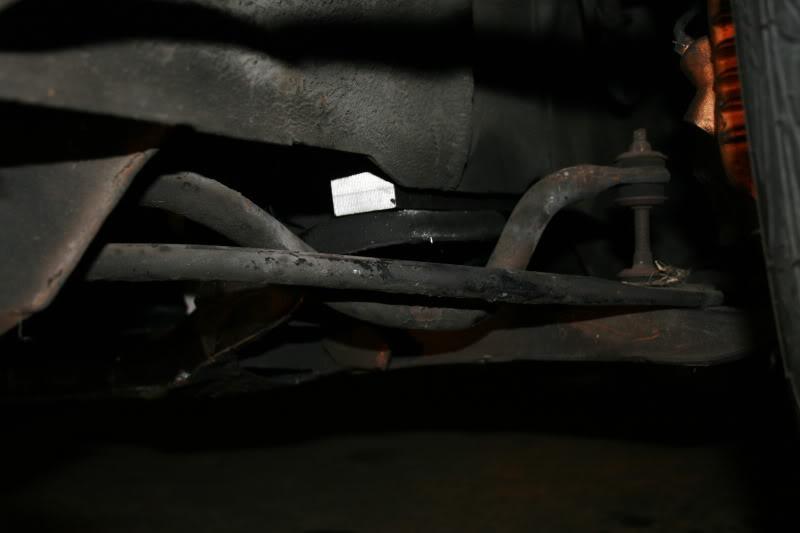
Got my parts in for my DIY Panhard bar / lateral done.

-2458K182 Ball Joint Rod End 3/4"-16 Lh (you just need one of these) $17.36 each Mcmaster.com
-2458K181 Ball Joint Rod End 3/4"-16 Rh (you see a trend starting ) $17.36 each Mcmaster.com
-6381K121 Bronze 3/4"-1/2" bushing (you'll just need one) $1.64 each Mcmaster.com
-91034134-27 (27")ALUM TUBE FOR 3/4" HEIMS (you'll need just one) $14.95 each Speedwaymotors.com
**These are your choice since it's just stuff you can get at your local hardware store and probably be cheaper but I'll list it up anyways
-1756047-LH JAM NUTS 3/4", STEEL 6/PACK (you just need one per side) $3.95 Speedwaymotors.com
-1756047-RH JAM NUTS 3/4", STEEL 6/PACK (ditto^^) $3.95 Speedwaymotors.com
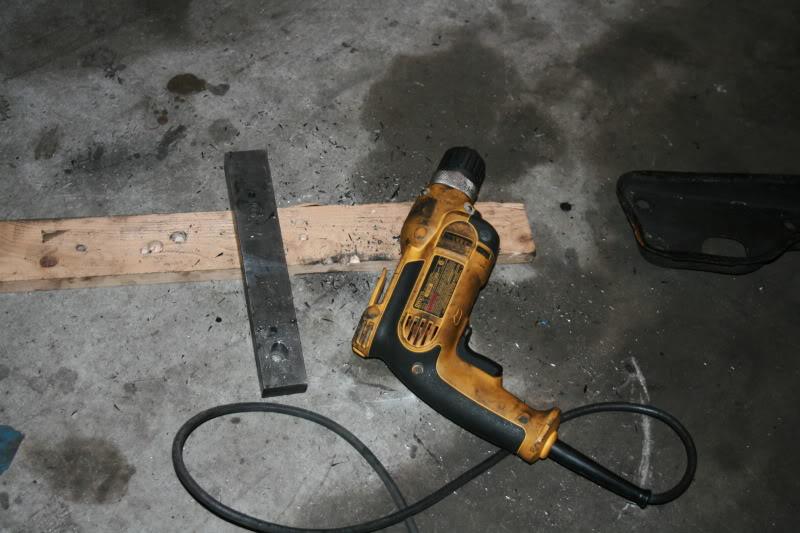
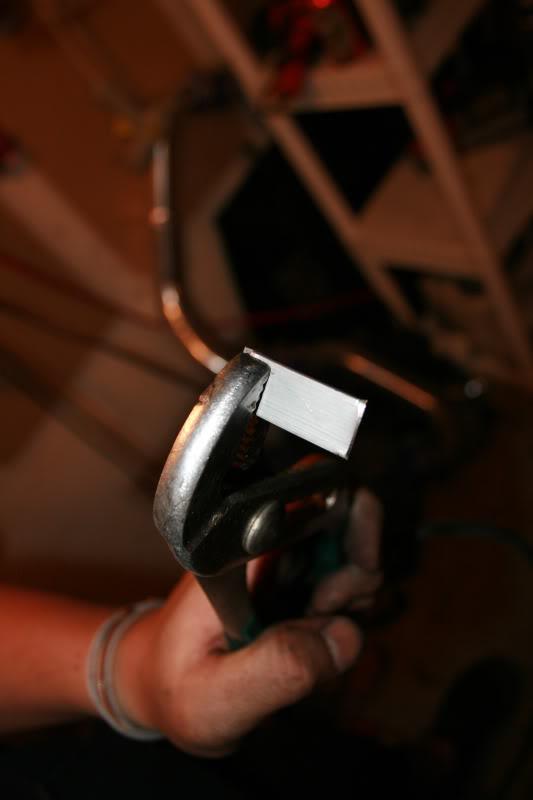
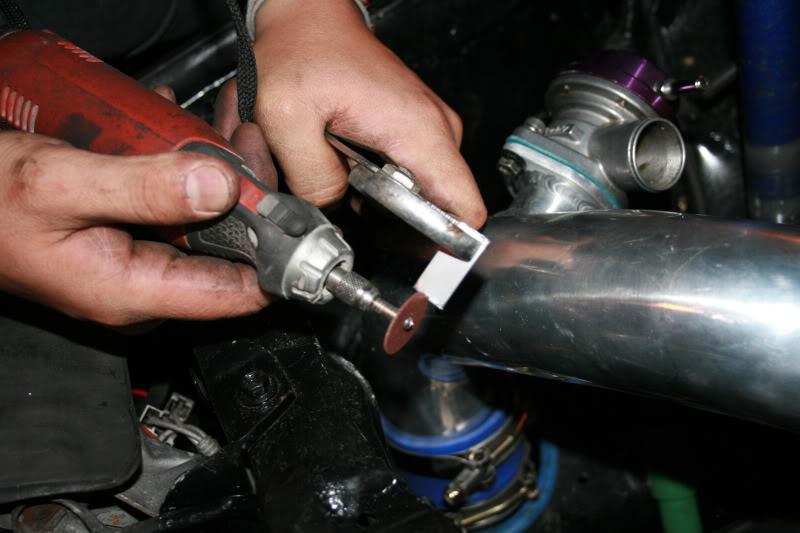
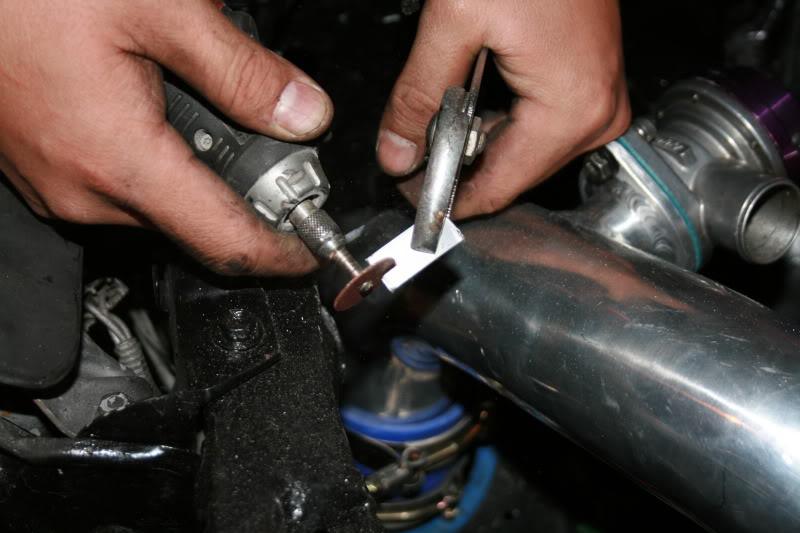
I put the fitting on my drill and used some sand paper to get a perfect fit, took less then a min to do ![]()
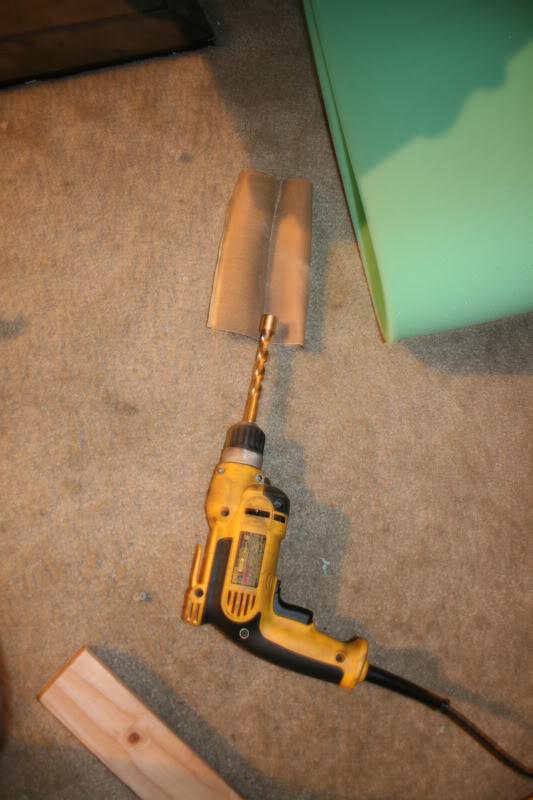
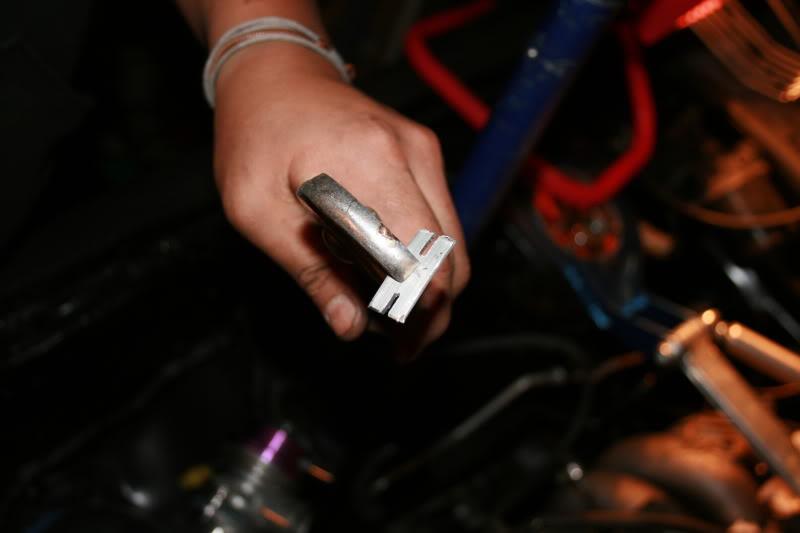
done
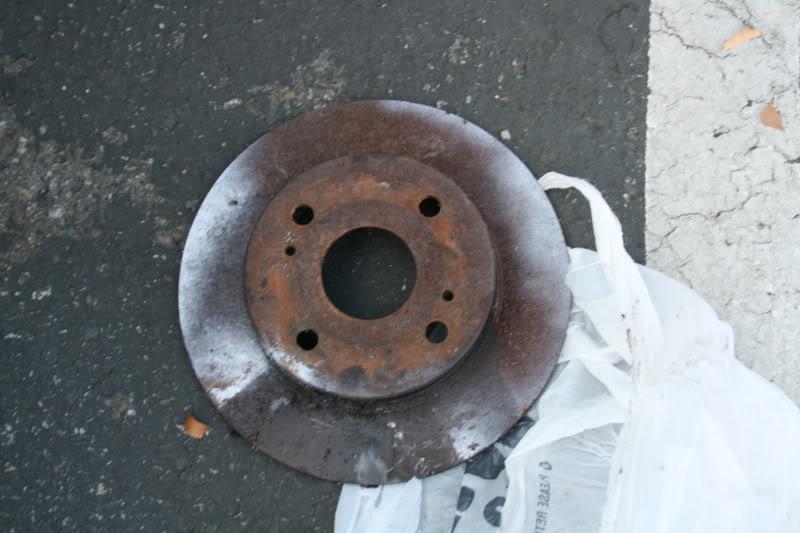
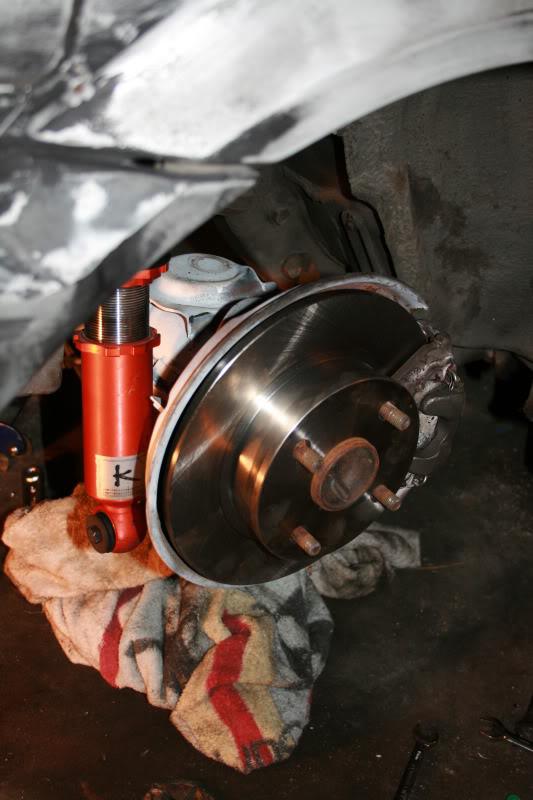
finally got the Rusted out rotor, and seized caliper off thanks to PB blaster. Just waiting on the brand new rotors to come in, already picked up the new brake caliper, for the rearend.
Got the VC finished, and almost done with the Sapporo Catch can.
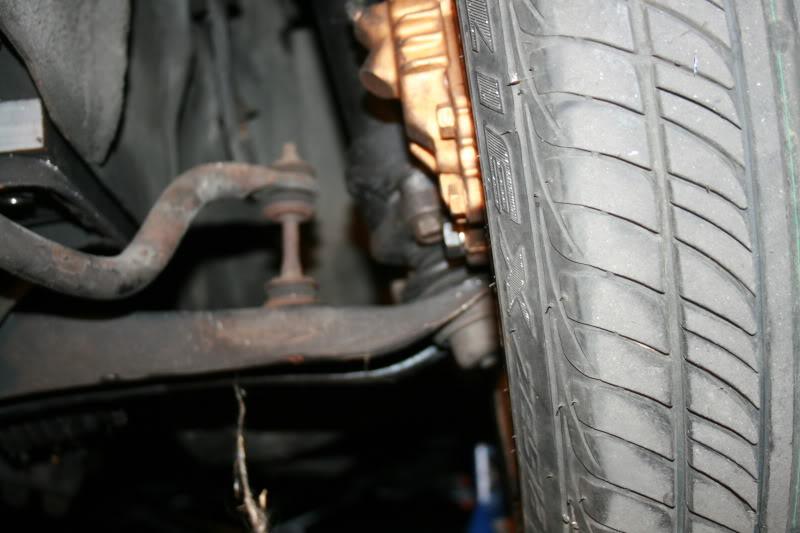
well I ran into another snag. the DIY lateral bar does not fit the MA-47 rear... I thought it would, but its a 1/4 a inch off...
I will have to cut out the mount and put a new drilled one in, not too hard, but still annoying, oh well.
On the other hand, I put the VC back on, I am half way done with the Sapporo catch can, and wired up the Greddy profec B, boost solenoid to the boost controller.
I plan on painting it. I made a one off color single stage pearl paint. It was a pain to get a single stage to look right. I wanted to paint it cheap, Since I realized I will probably bang it up a bit since I will be drifting this at events. So I had a panda theme (white and black) in two color pearls.
Both will be single stage Pearls. White pearl single stage,which I was told it does not exist but it does! ![]() Mitsubishi Dover white effect (white with white/ pink pearl). But you have to modifify the mix code by removing the 4.7% of "trans Yellow" to get a cleaner white. I may mess with it some more to make it perfect. Then I am using X48 Mitsubishi black pendleton pearl (black with blue pearl flake)
Mitsubishi Dover white effect (white with white/ pink pearl). But you have to modifify the mix code by removing the 4.7% of "trans Yellow" to get a cleaner white. I may mess with it some more to make it perfect. Then I am using X48 Mitsubishi black pendleton pearl (black with blue pearl flake)
The Car will be painted panda themed, but any place that is Carbon Fiber will be painted white excluding the black portion of the panda paint theme, and that will be left Carbon Fiber. I am hoping it will turn out subtle and nice.
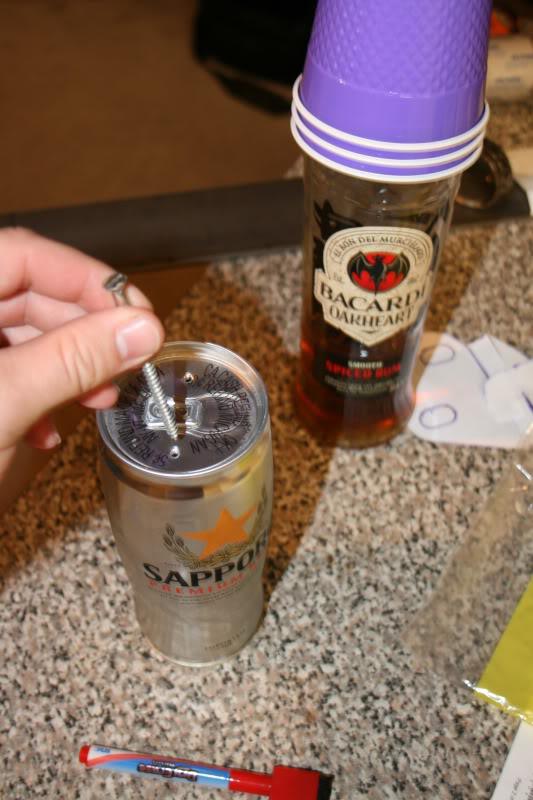
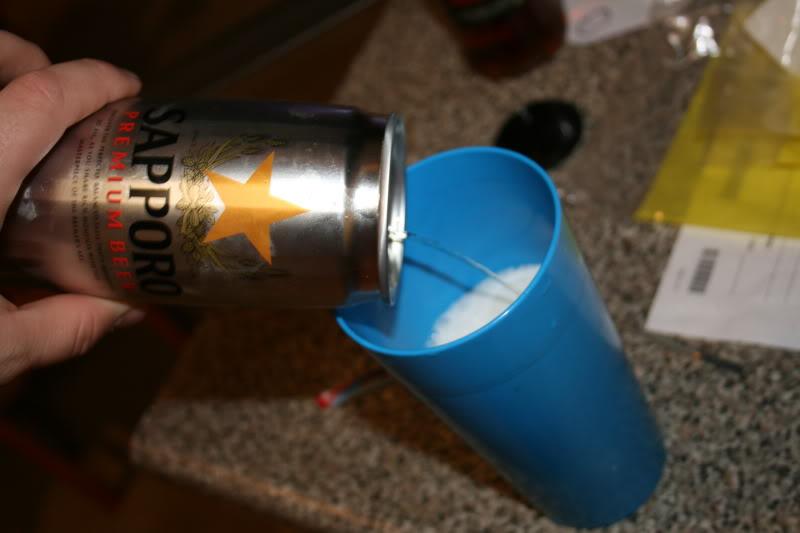
Got the Sapporo Beer/ oilcatch can finished. 6 bucks to make this (not includding beer) not bad and looks sweet.
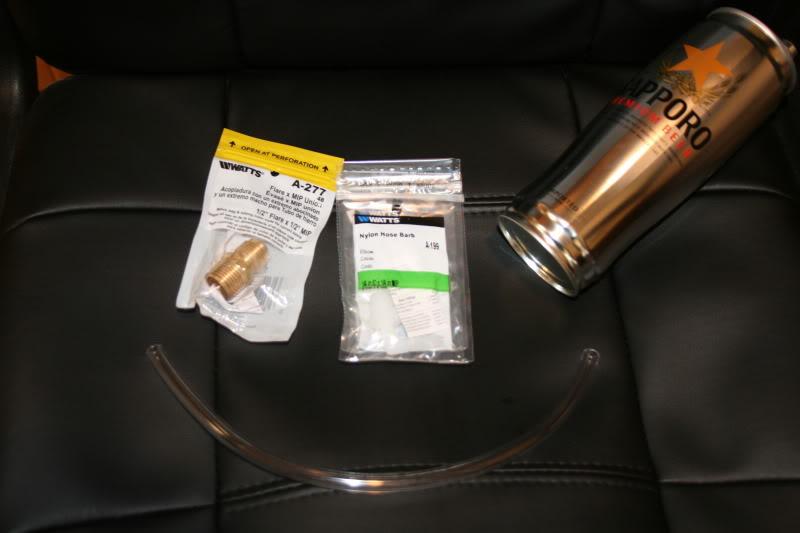
(2) 1/2 flarex 1/2 MIP
(2) Nylon hose barb elbows
(1) 1/2ft of 1/4"ID vinyl tubing
(1) pot cleaner mesh for bafftling

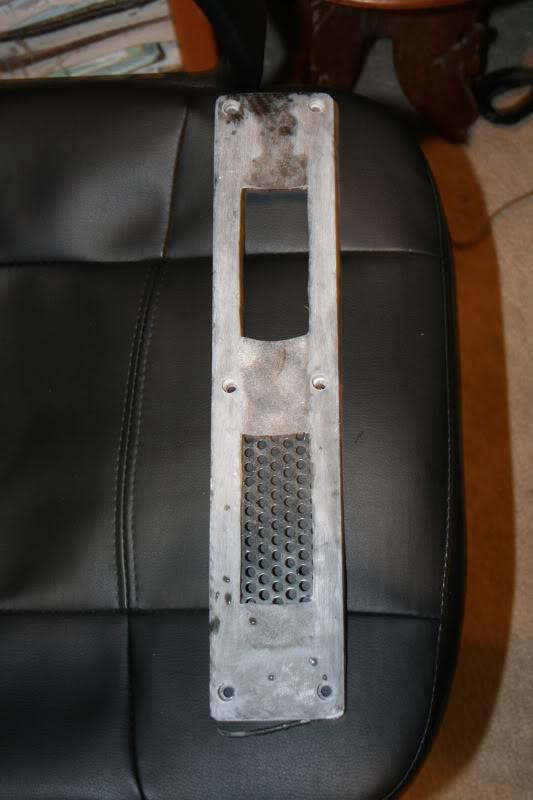
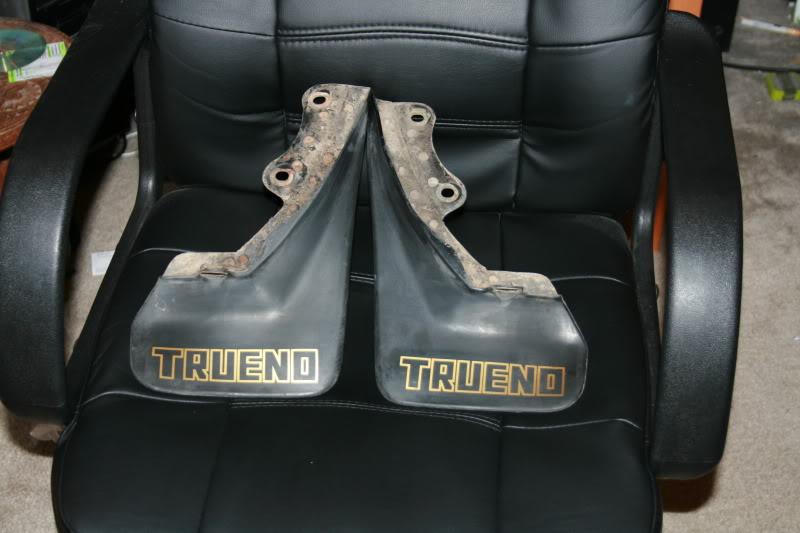
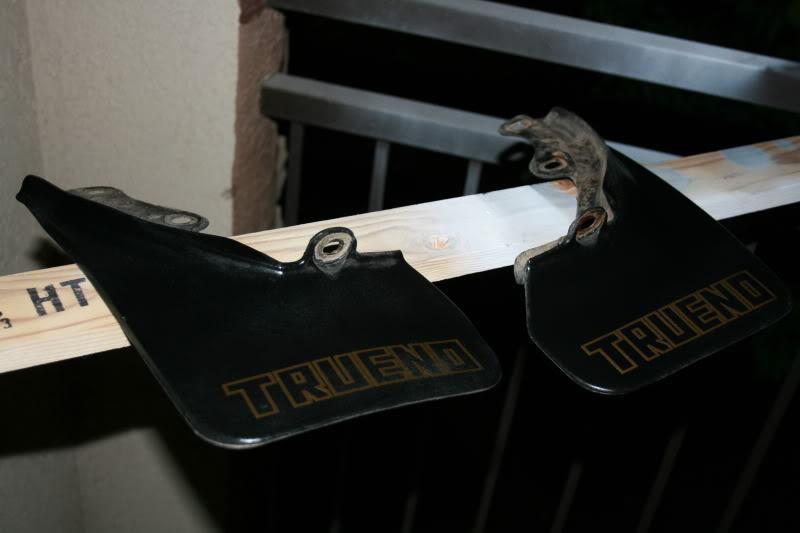
Started cleaning up the muflaps. Used some cleaner, and a brilla pad.
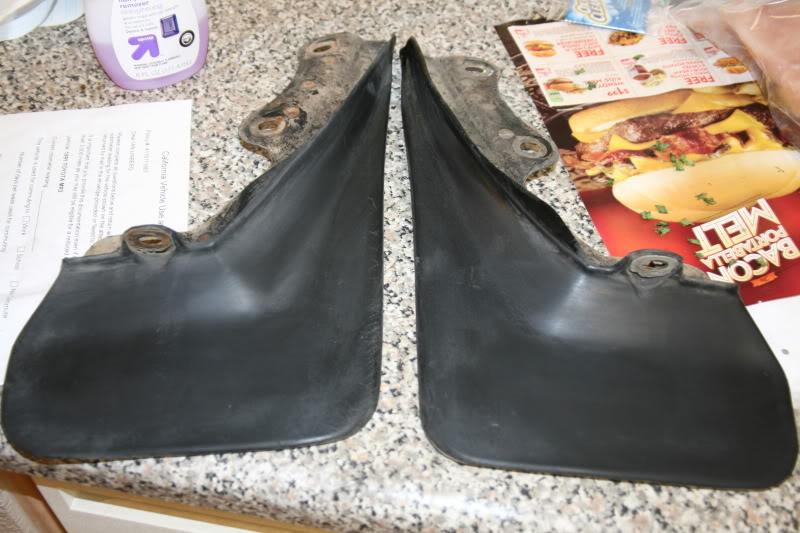
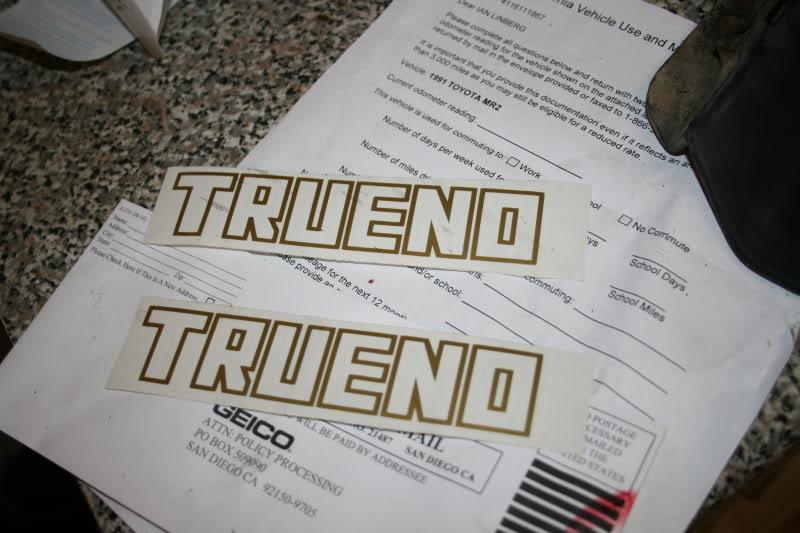
Got my Trueno Mudflap stickers.
First test of the custom single stage pearl
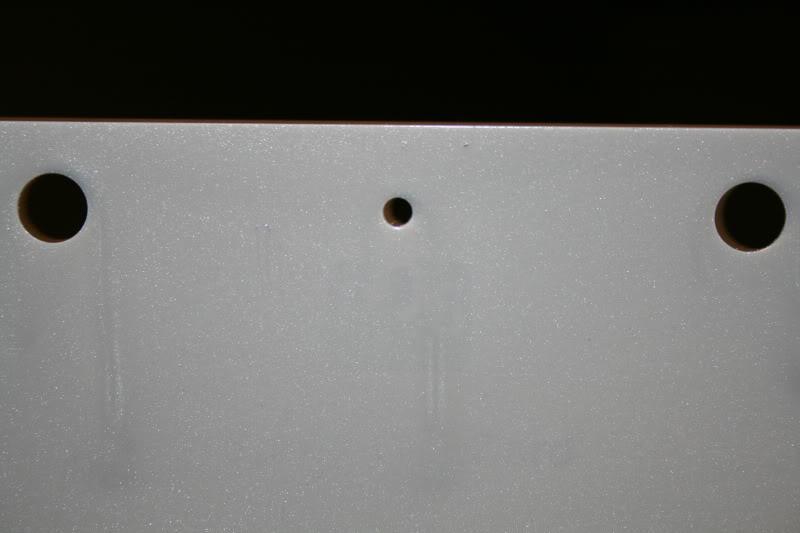
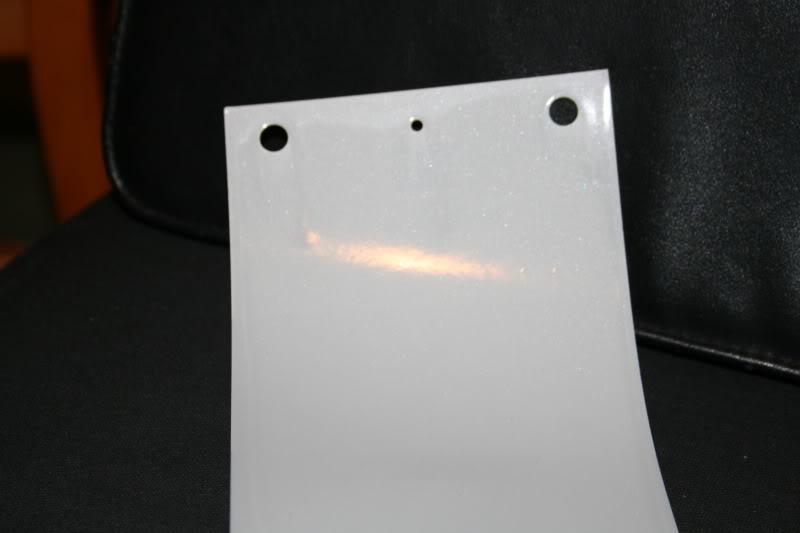
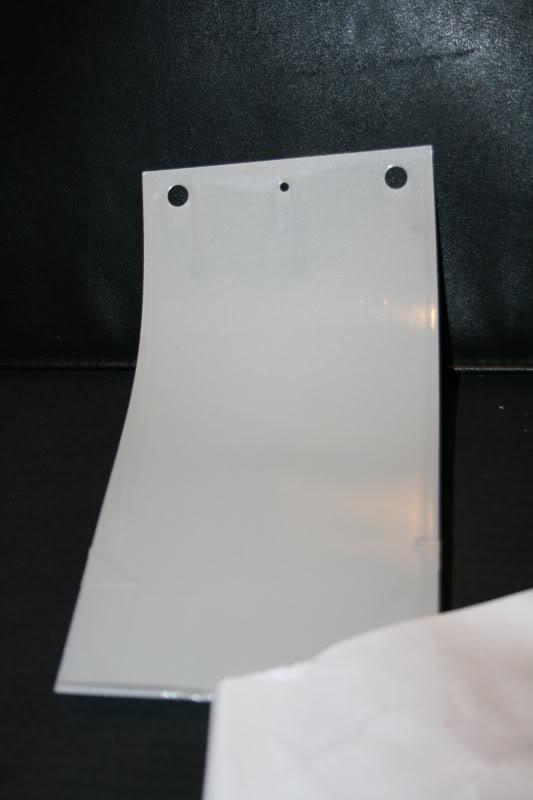
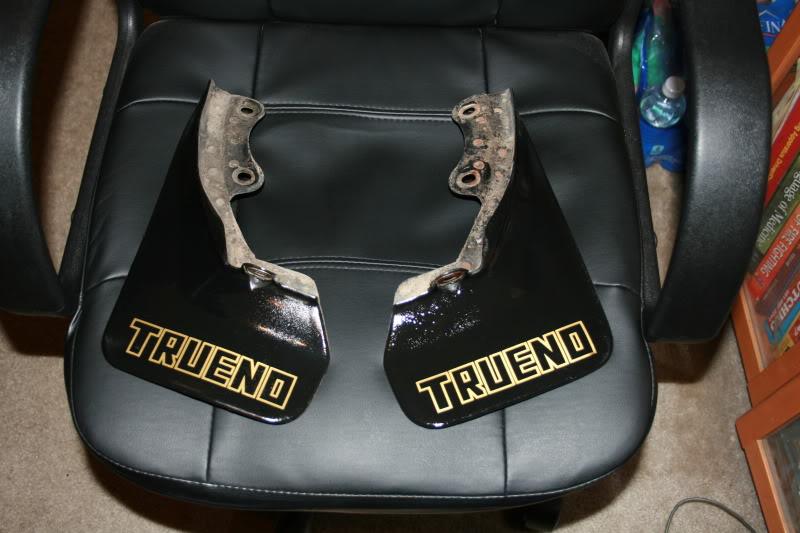
Got the Trueno Mudflaps done... Thinkinking I might clear coat them, so they last forever.
clear coated
1 coat
3 coats
Thanks guys!! your post really help motivate me!!!
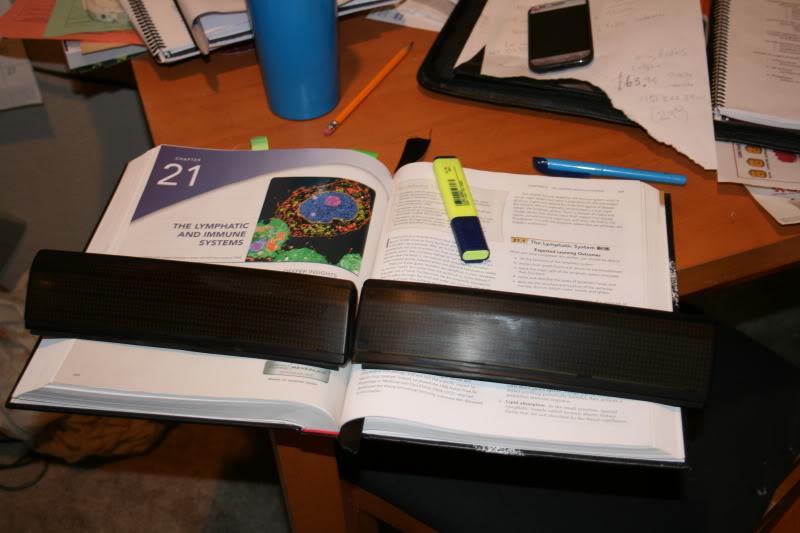
Man I just finished a HUGE test on lol "every vein in the body and all its names, every artery, the heart in its entirety from the cellular level up through to its basic functions, lymphatic system, immune system, and all the factors in clotting and blood work..." OMG what a test, I think I rocked it though, but my brain feels dead, and I already have 2 new chapters I need to read for next week... FML
But back on subject, Got some new toys in ![]()
Prothane bushing
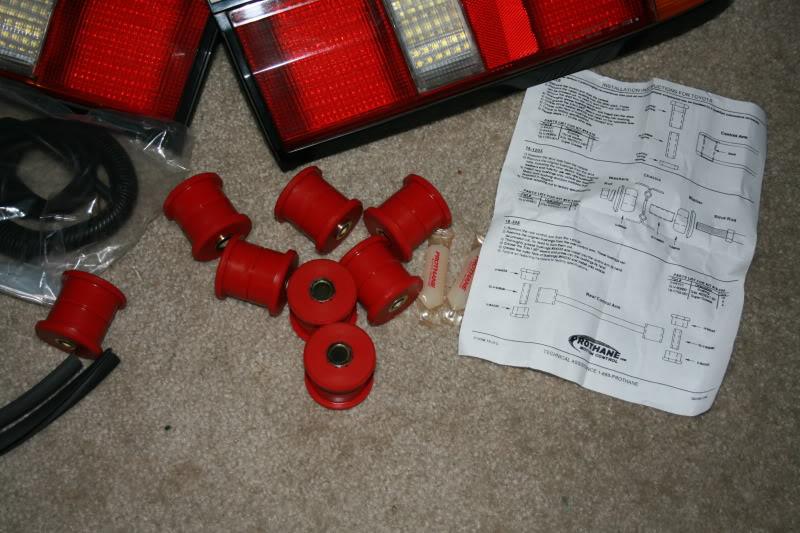
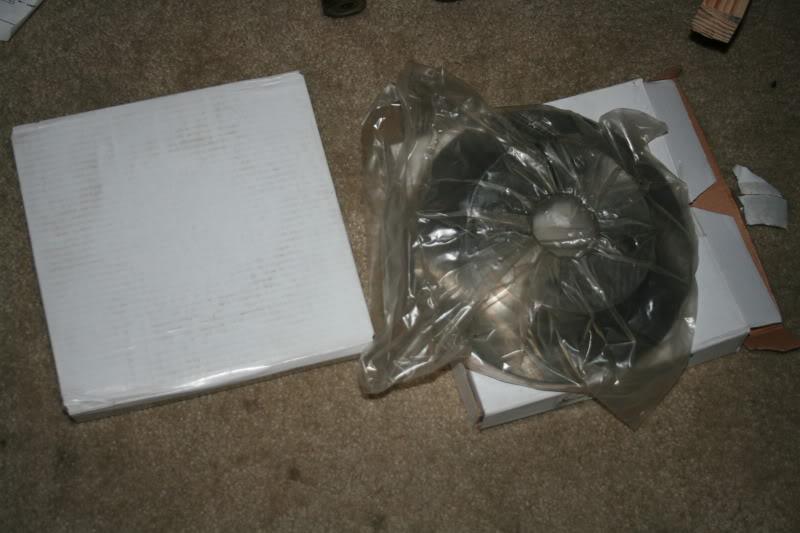
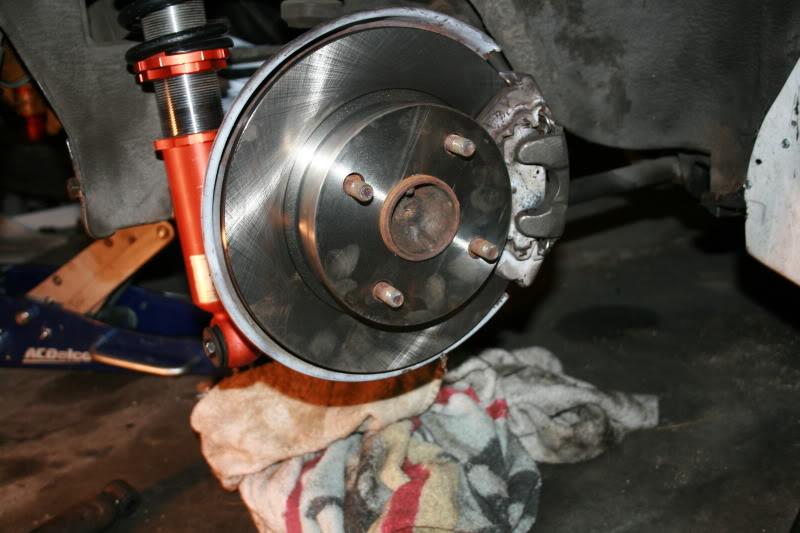
New Rotors yeahhhh!
What a stupid, PITA, rediculous rear brake calipers this celica supra rearend has! omg lol it has 6 shims and two large thick thims TOTAL 8 F%$king shims just to assemble the brakes lol
Once on though, man rear discs do look sexy on this car!
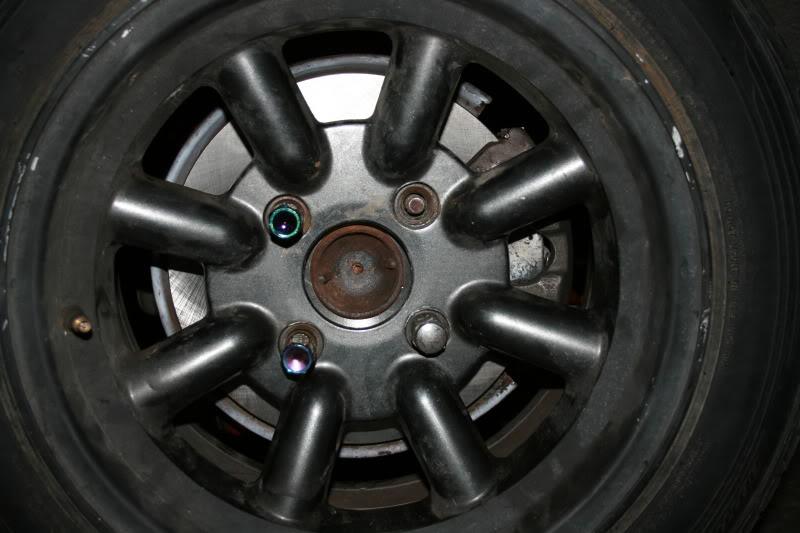
Also put my mudflaps on and man they look good, car is really starting to become a car again!
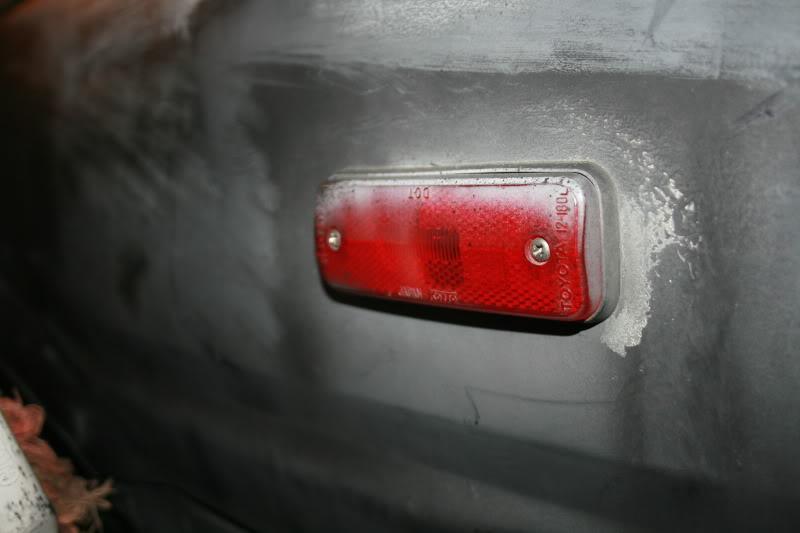
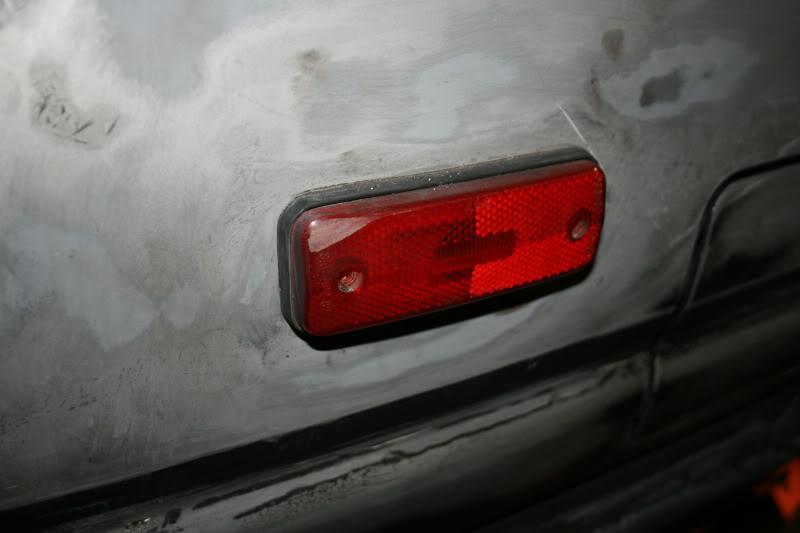
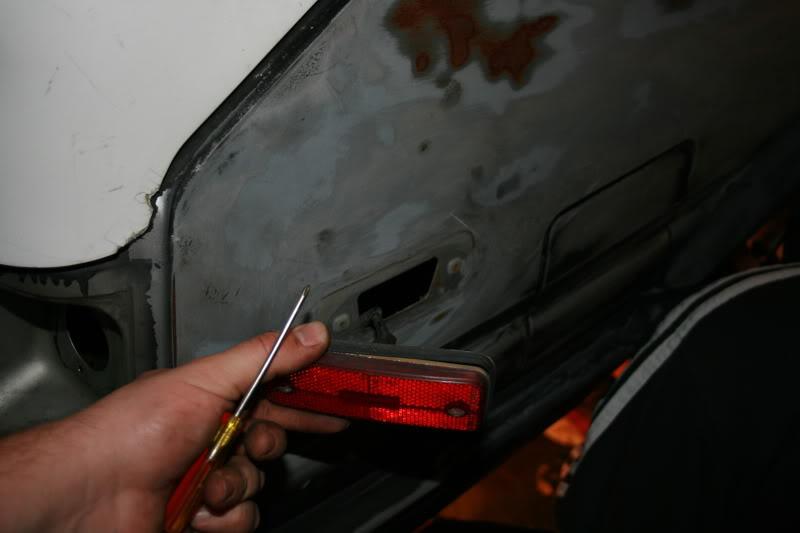
Started taking off the rear side markers, so I can weld it closed.
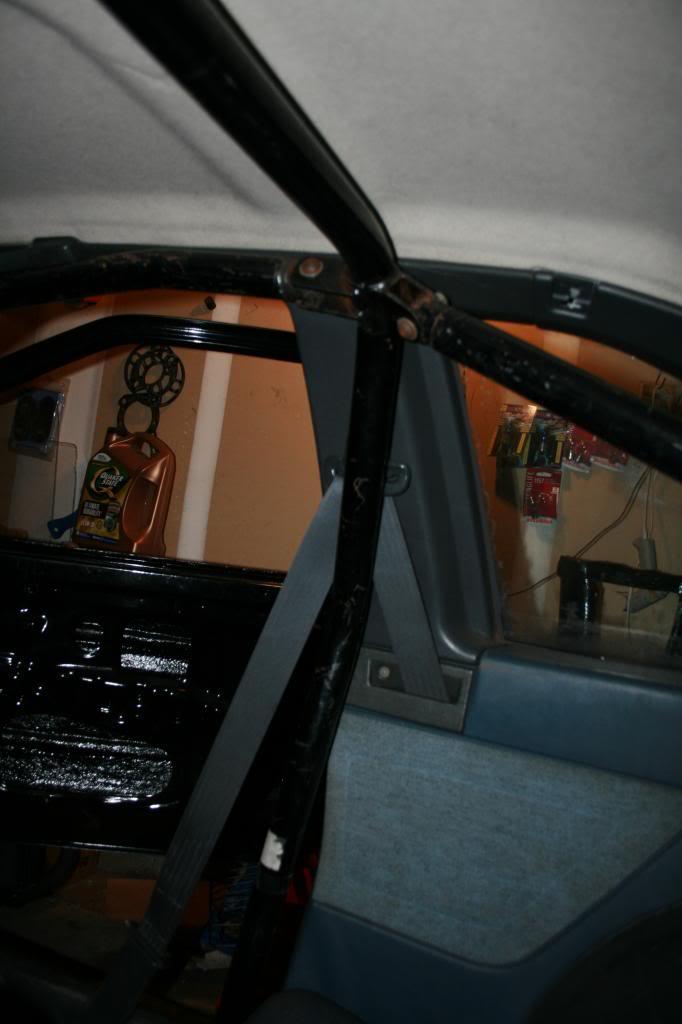
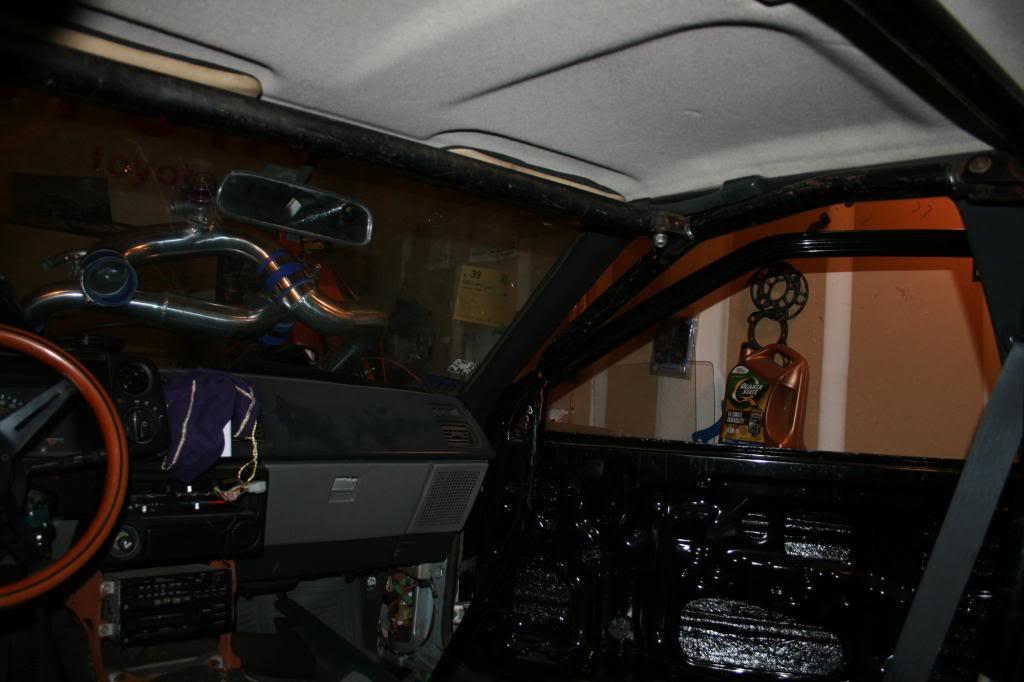
Started hacking up the AE111 cusco 6pt cage to fit my AE86 hatch.
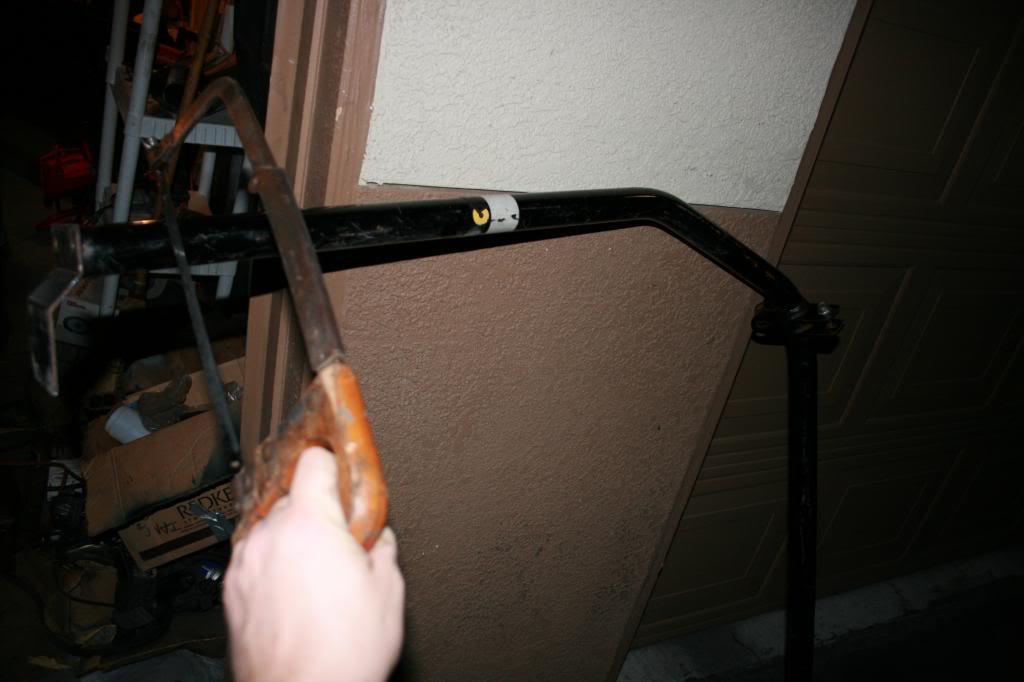
cut the plates off and droped it 1 inch.
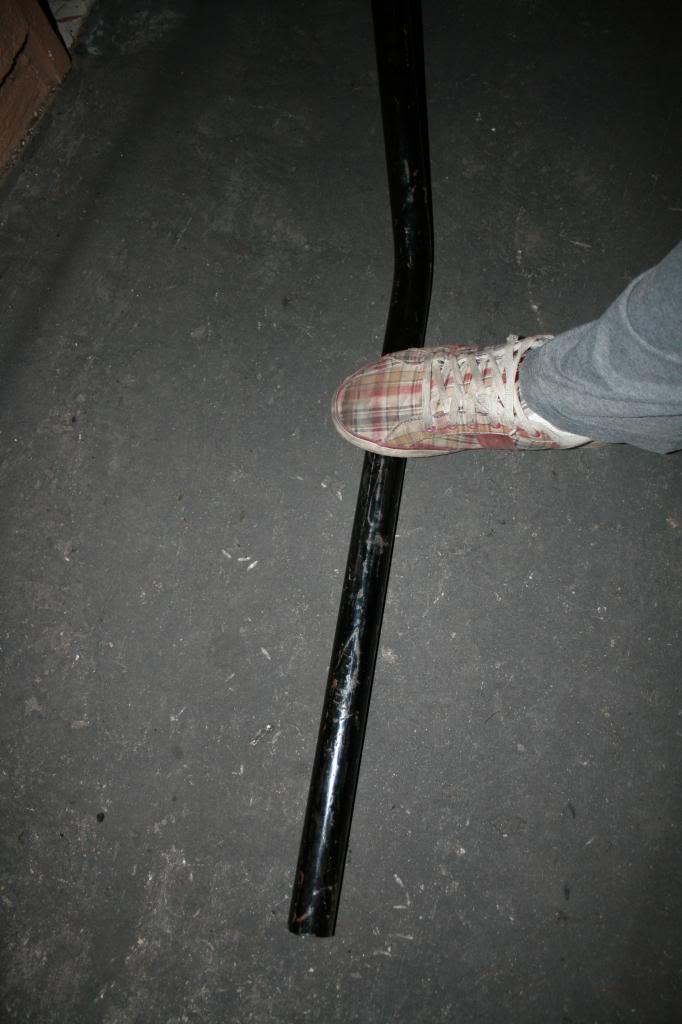
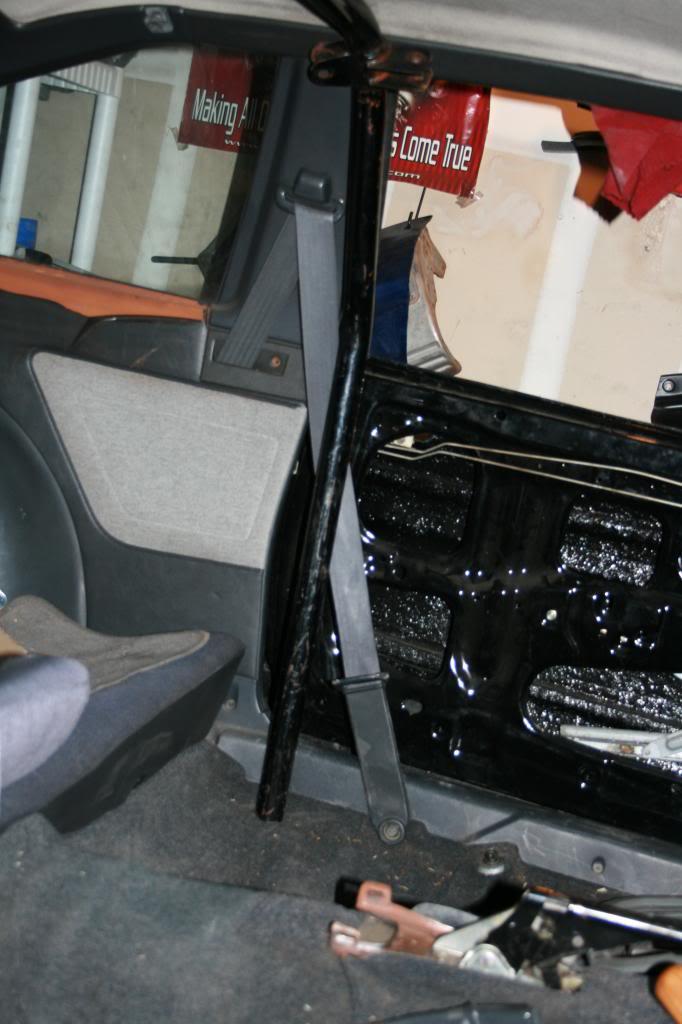
Good fitment with the roof line
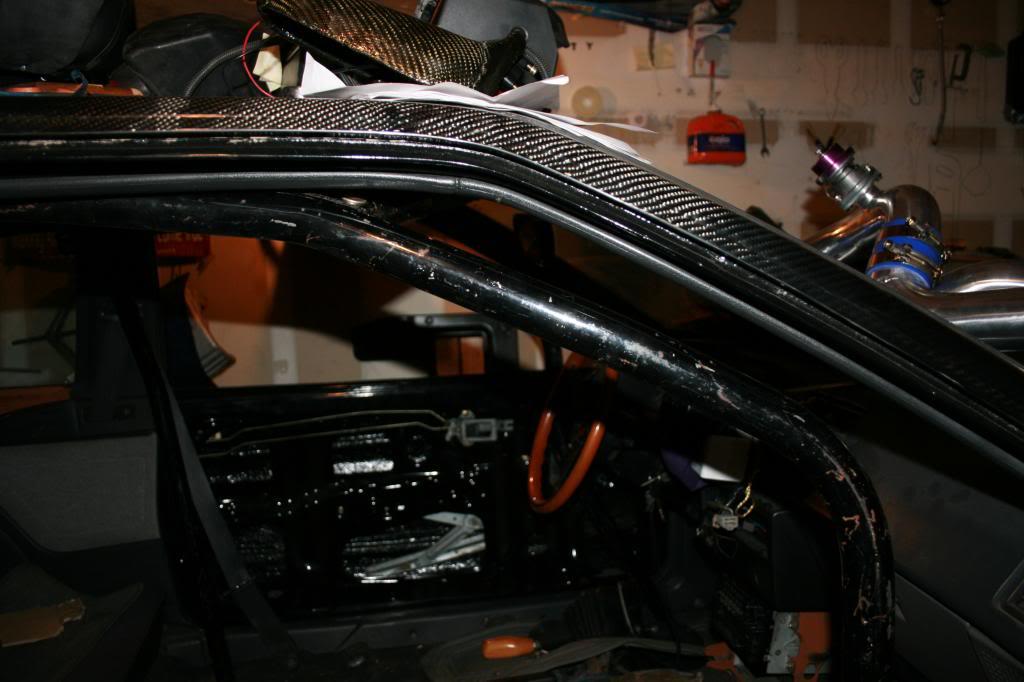
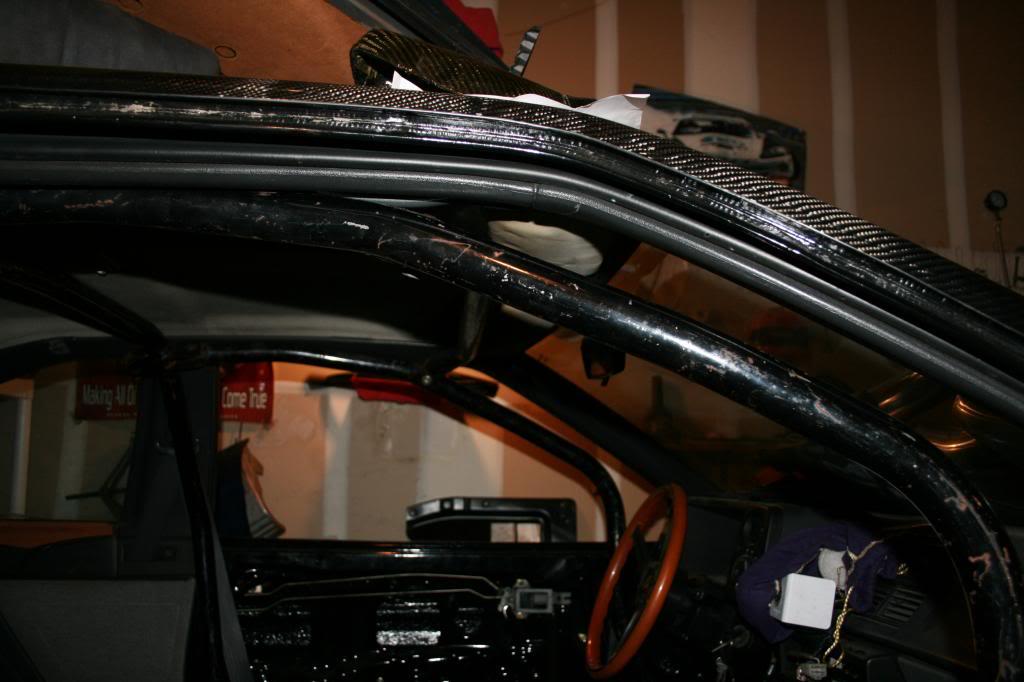
Having trouble with the rear bars, not sure how I want to go about it. Im thinking Either weld it into the wheel well, but then the seats cant drop down anymore, or make a custom bar that ties into the rear of the car, and gives me room for the seats to drop.
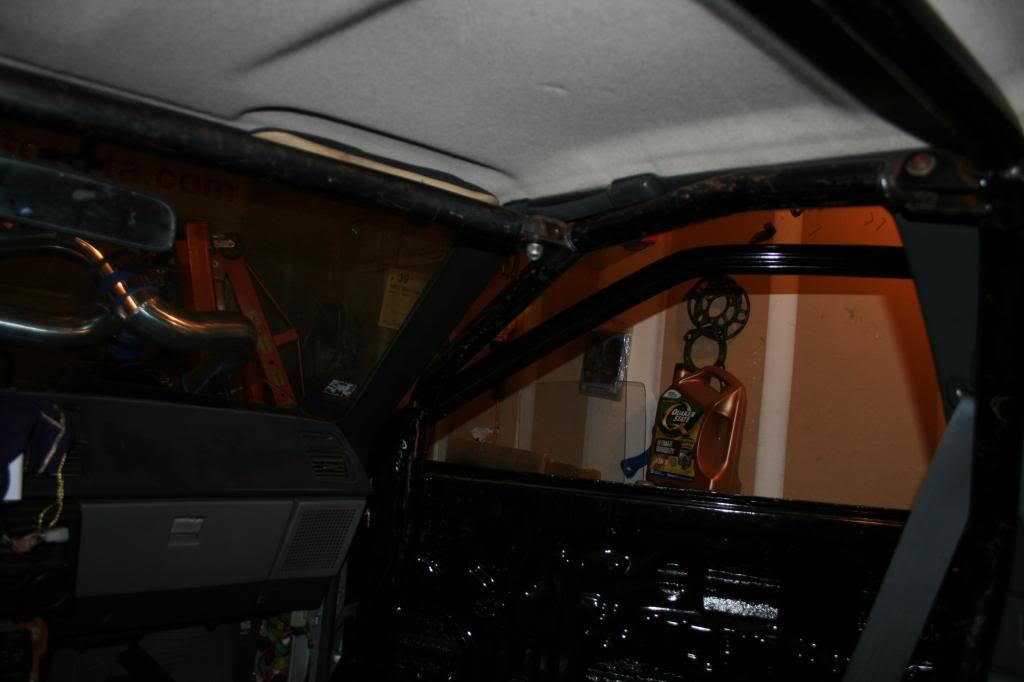
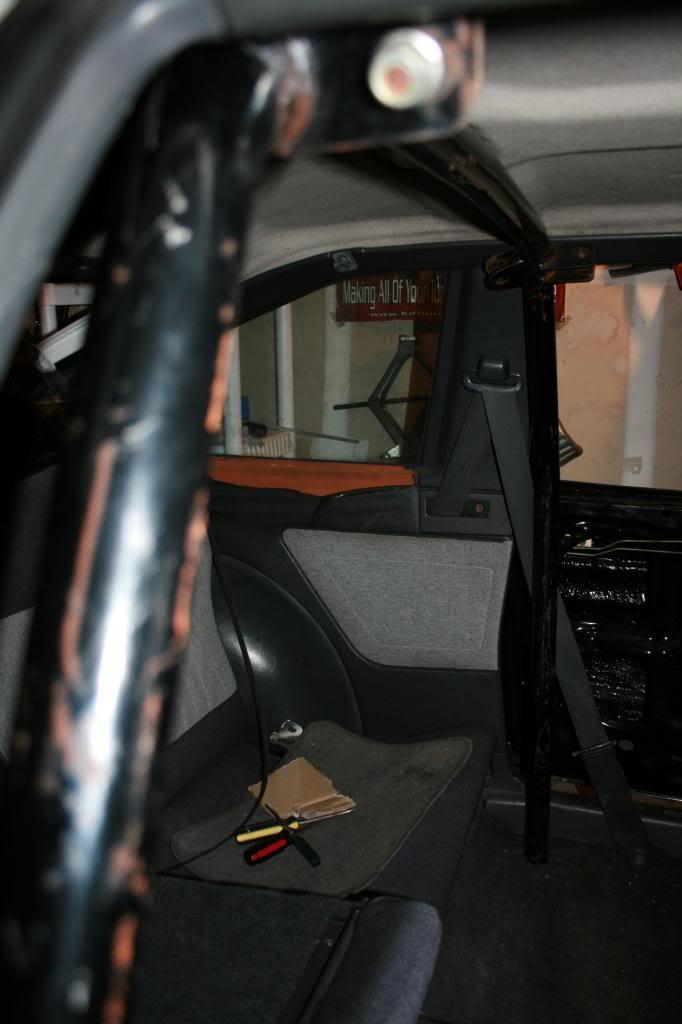
I have not moved it all the way forward yet
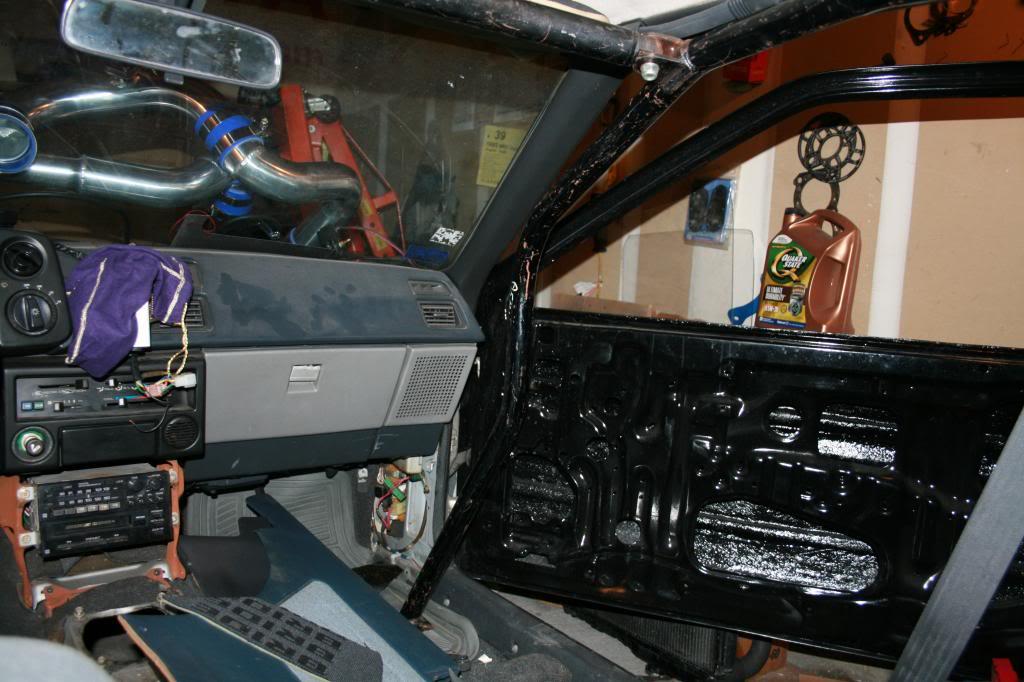
Bar still needs paint and to be moved forward. but getting closer
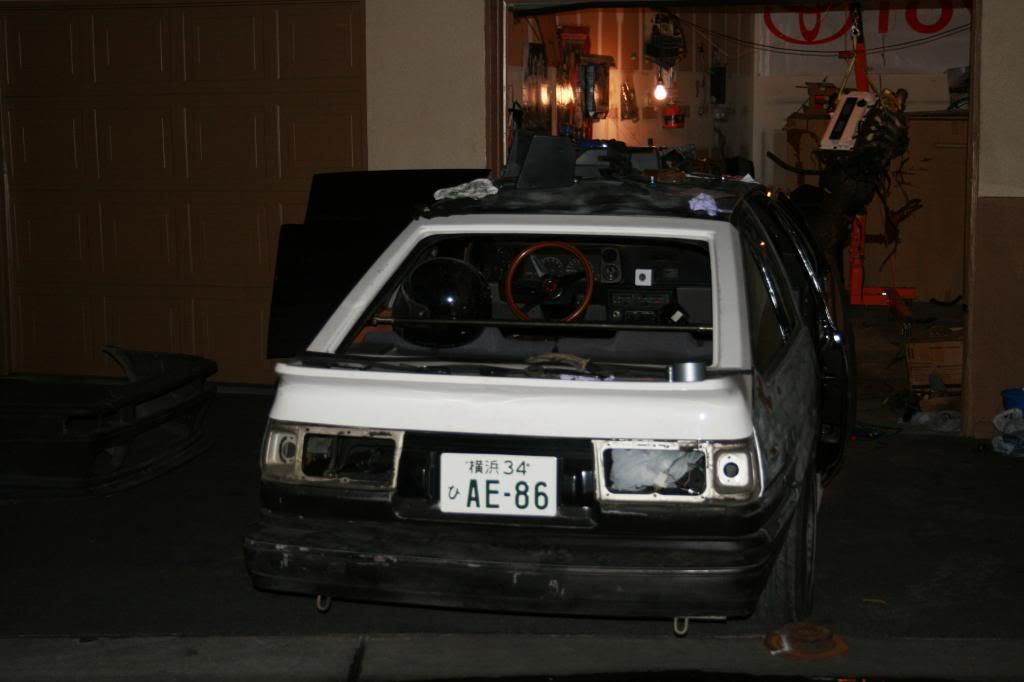
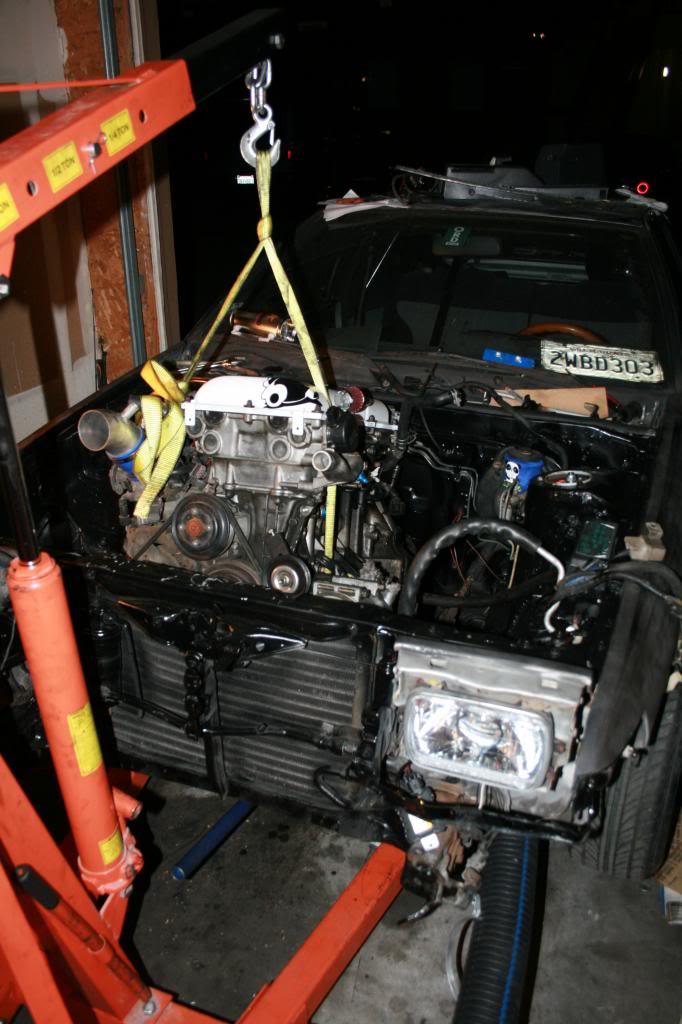
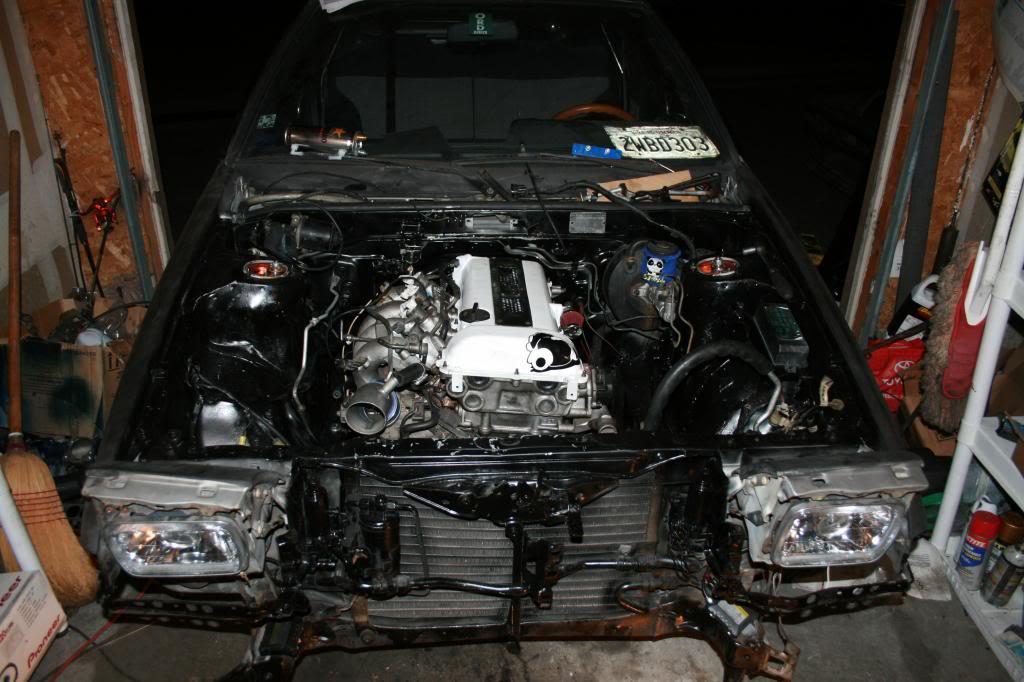
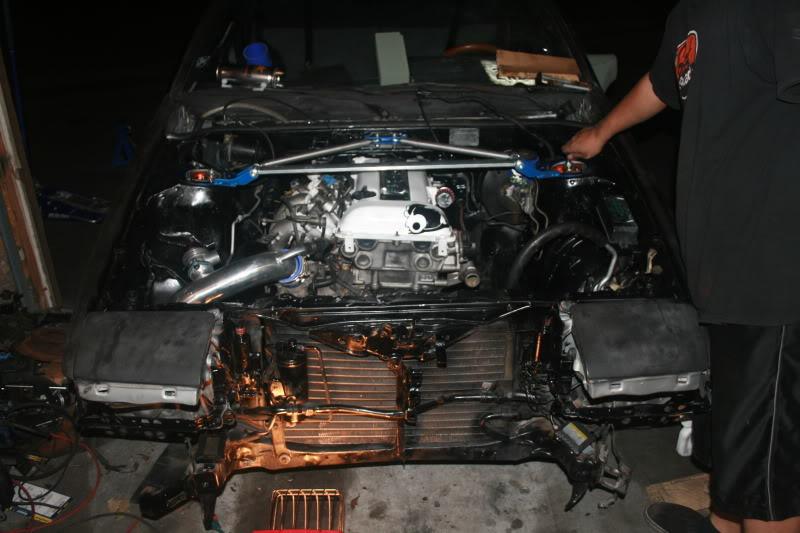
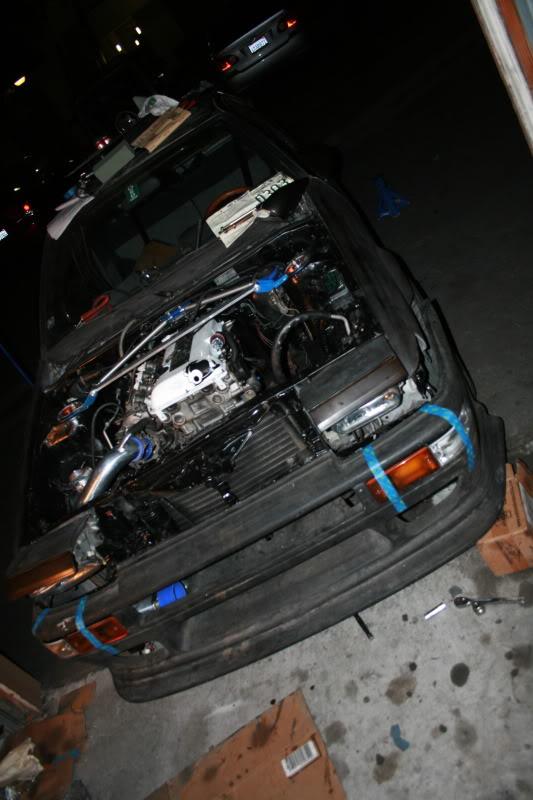
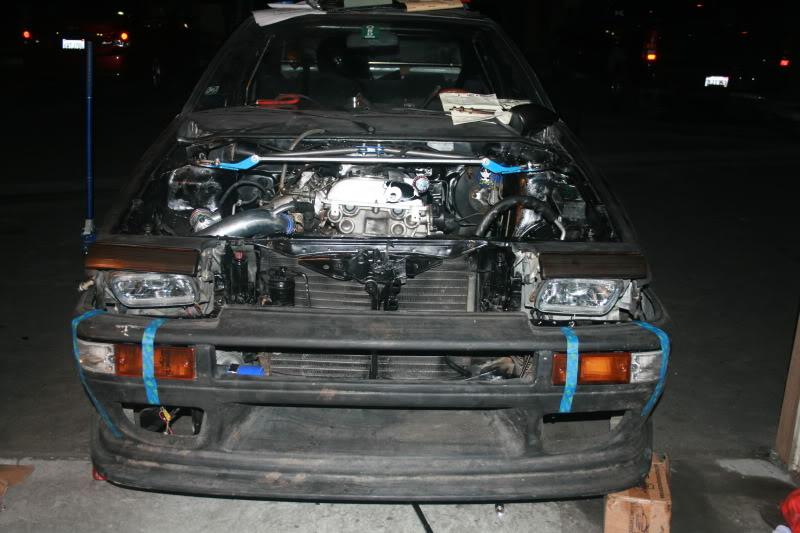
Getting ready for the test fit/ heart transplant
SR20DET getting pulled up
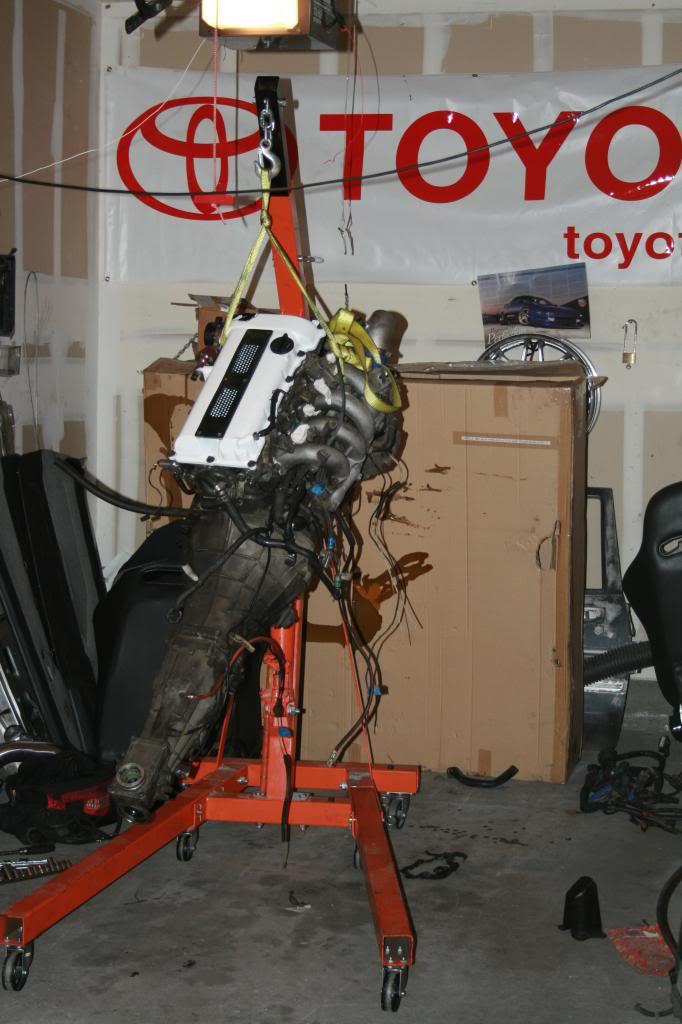
the booty
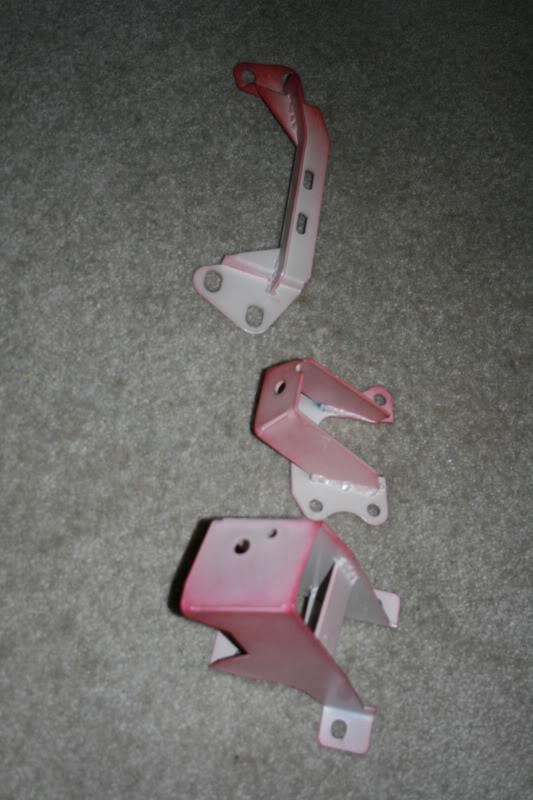
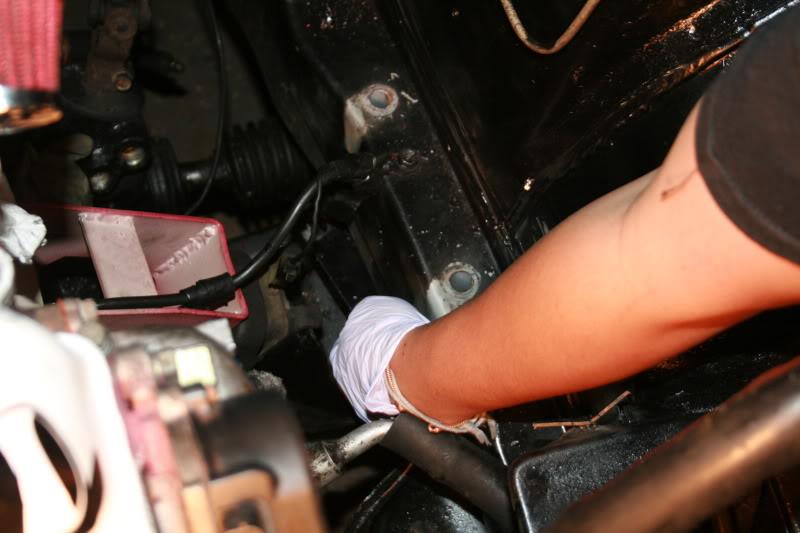
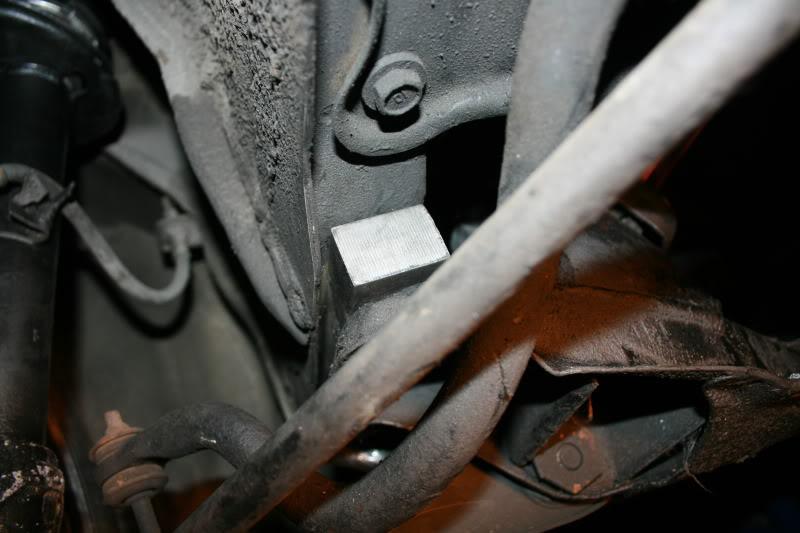
Frame spacer getting installed
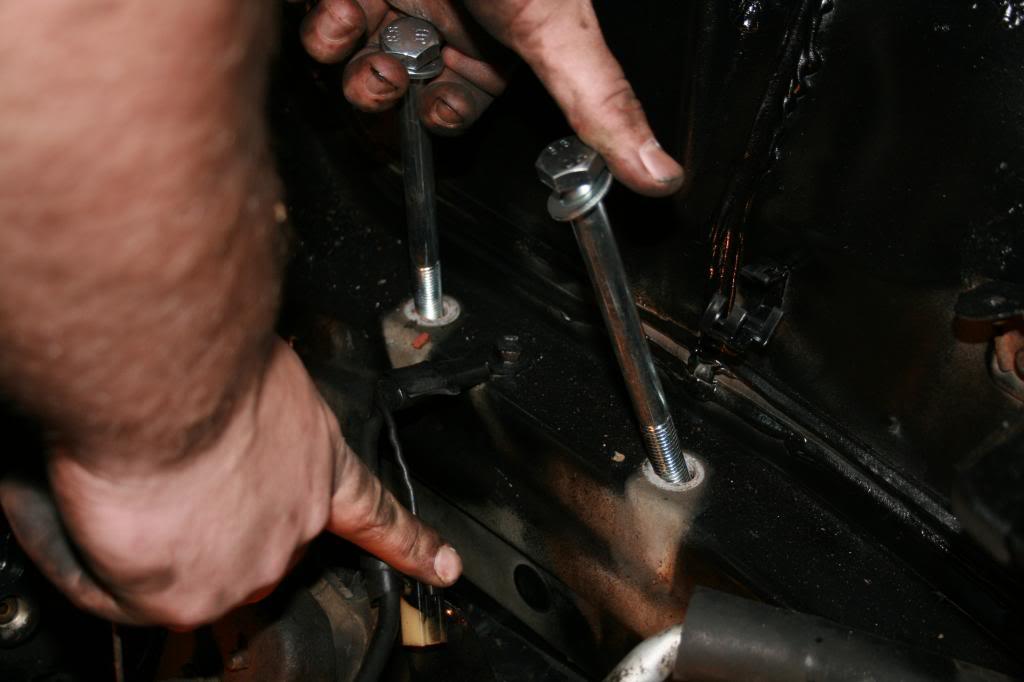
half in frame spacer in
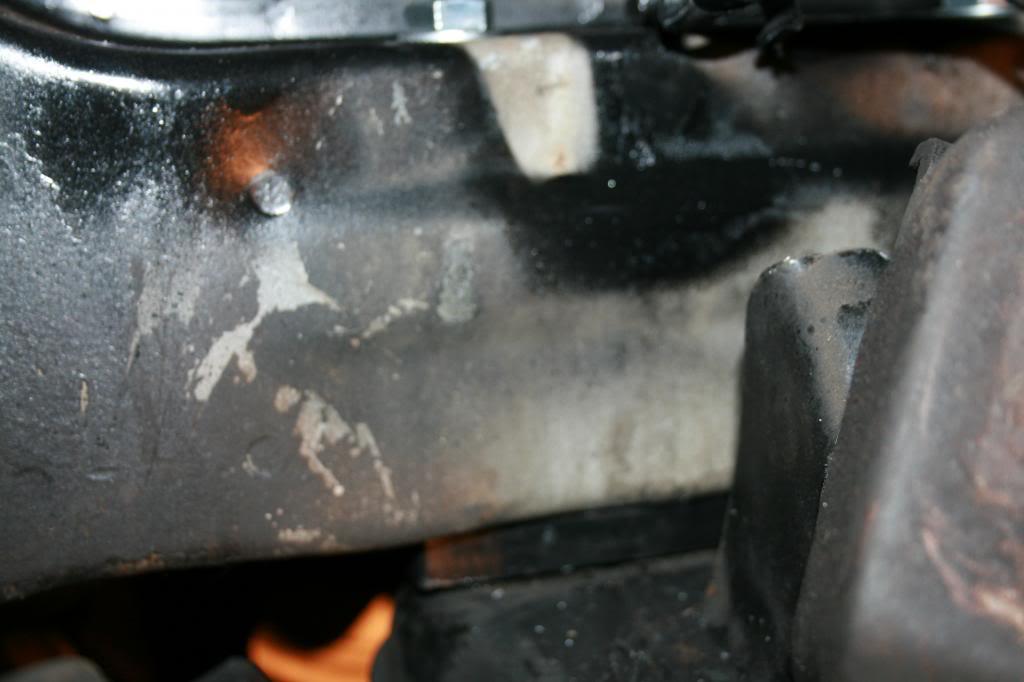
Man what ____ ton of wiggling had to be done to get this in. CV had to be removed, a little mount had to shaved down, frame had to droped more lol!!!
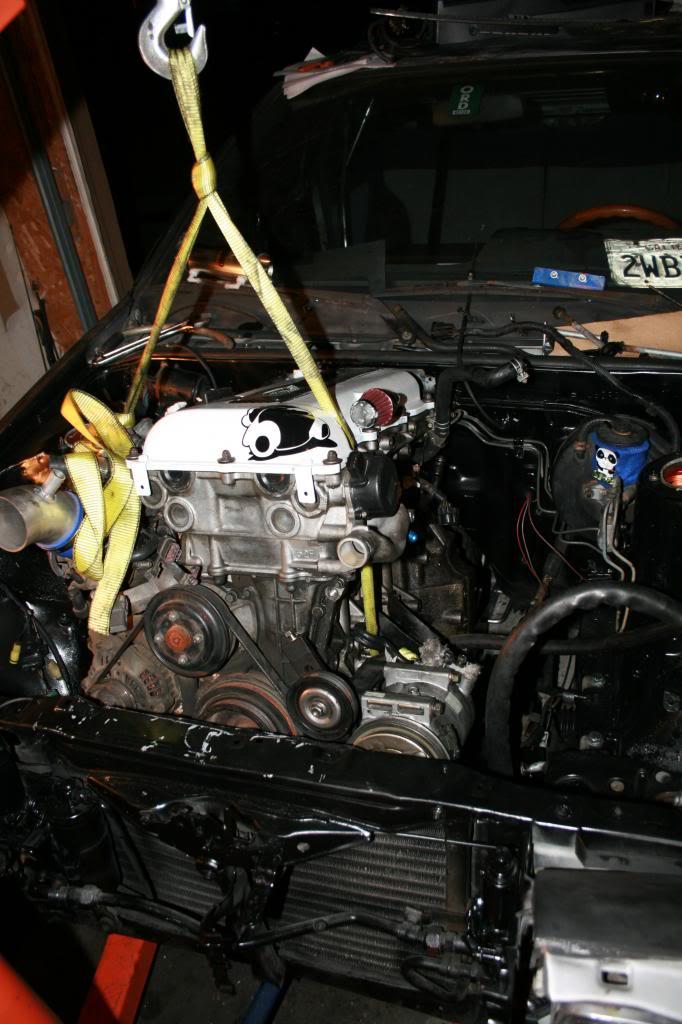
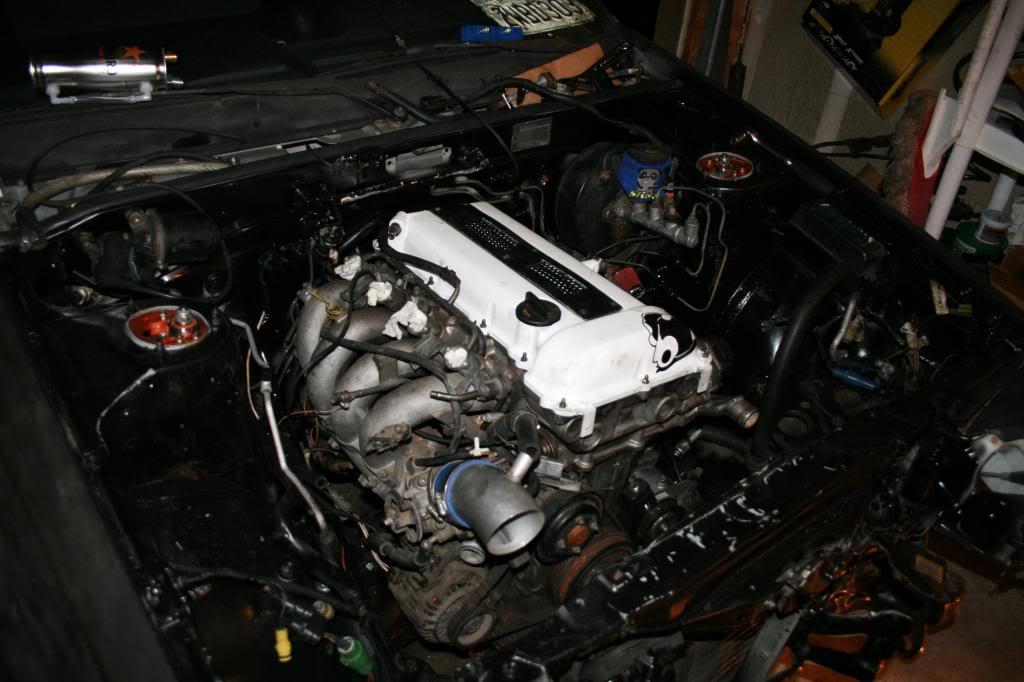
IN FINALLY!!!!!!
The Stock SR20 mounts fit soooo close lol!!! I wont have to modify them too much, just extent them a little lol
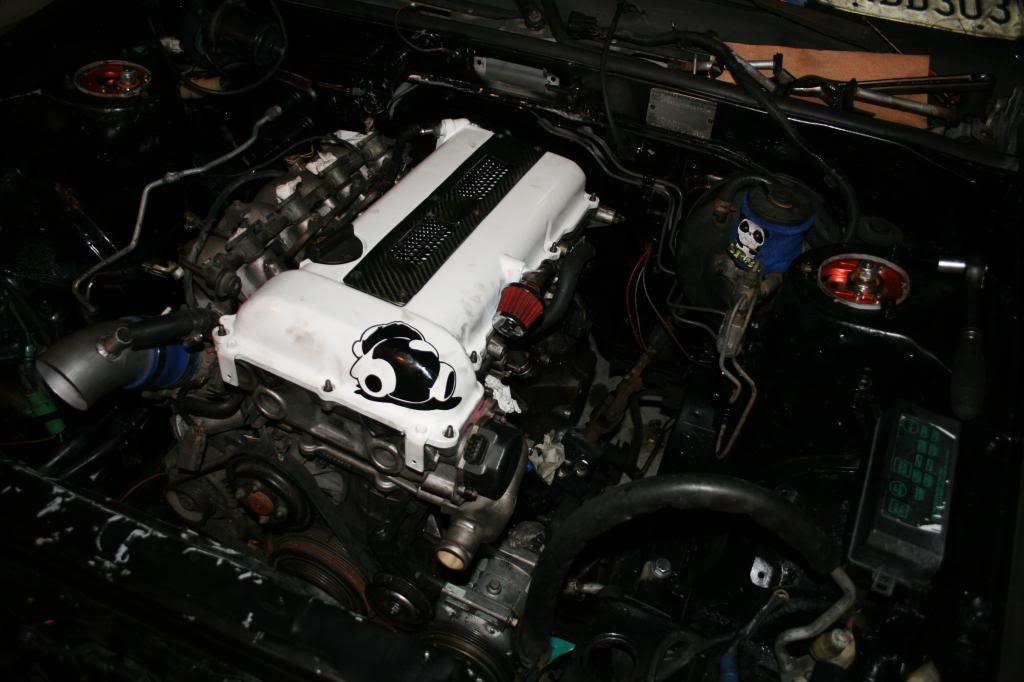
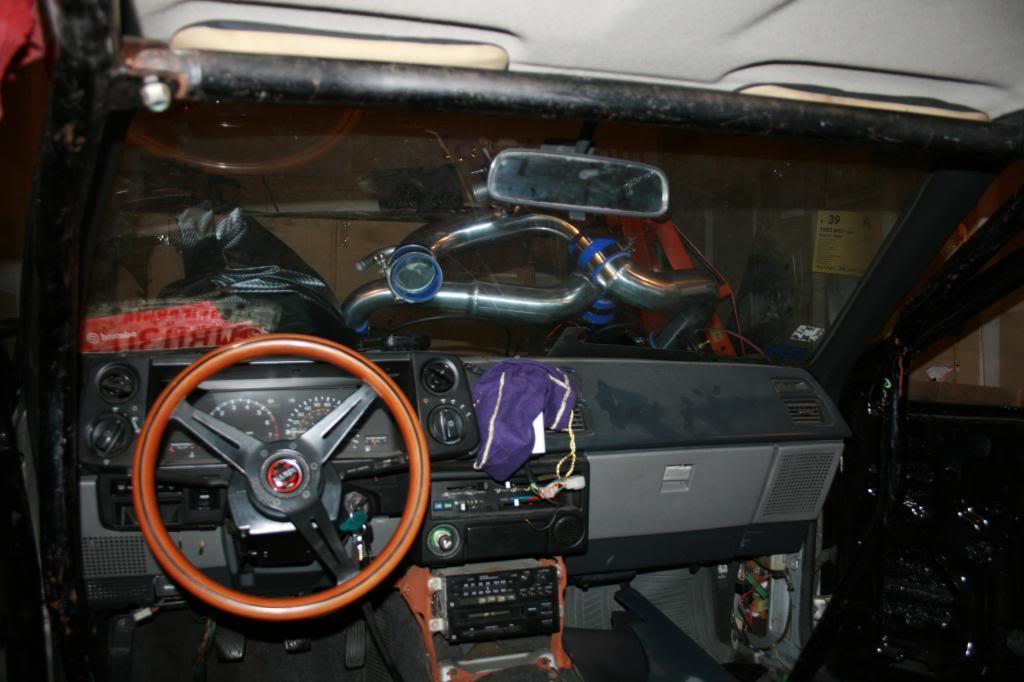
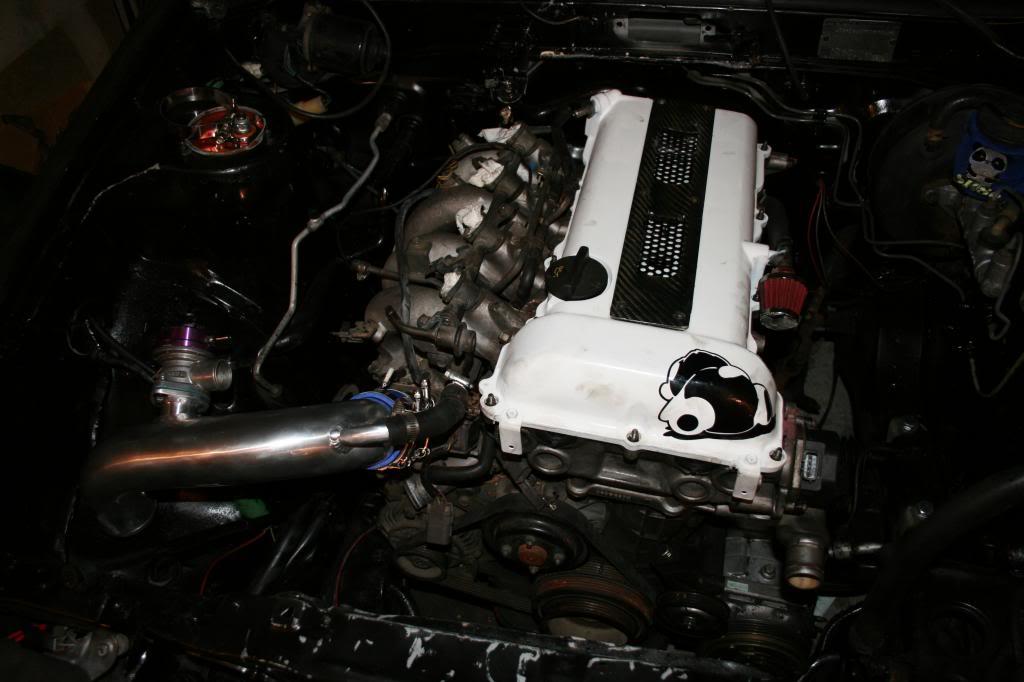
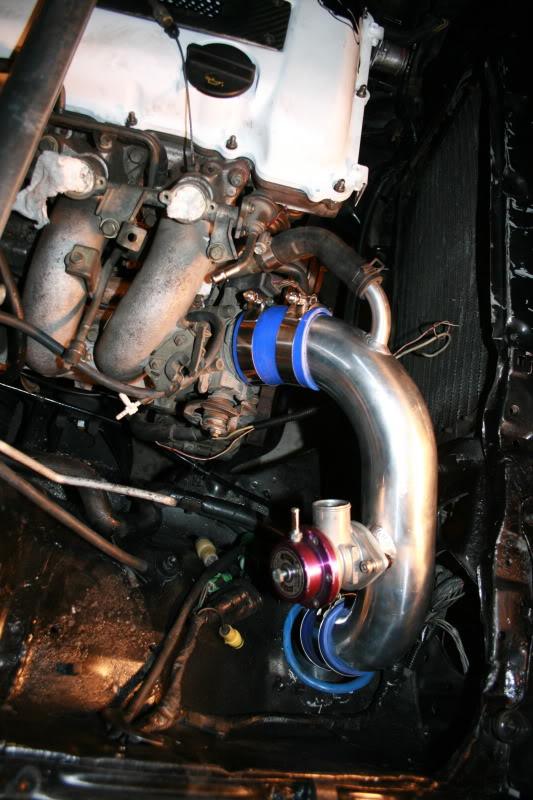
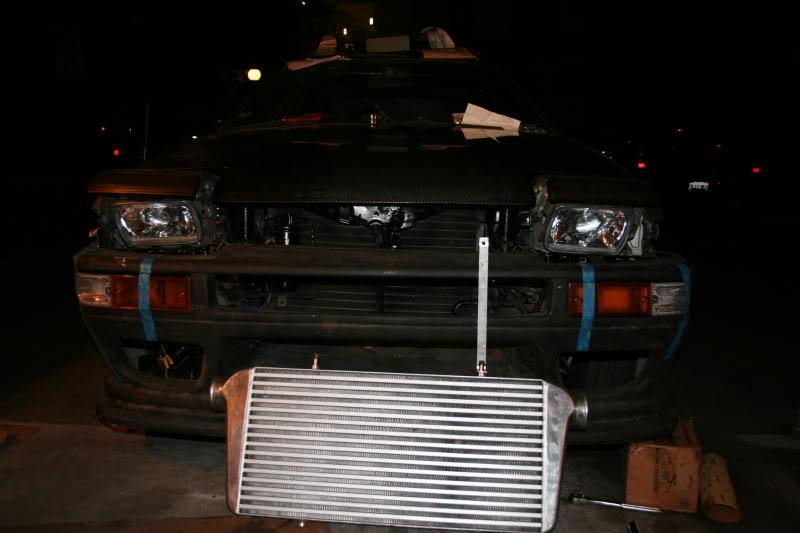
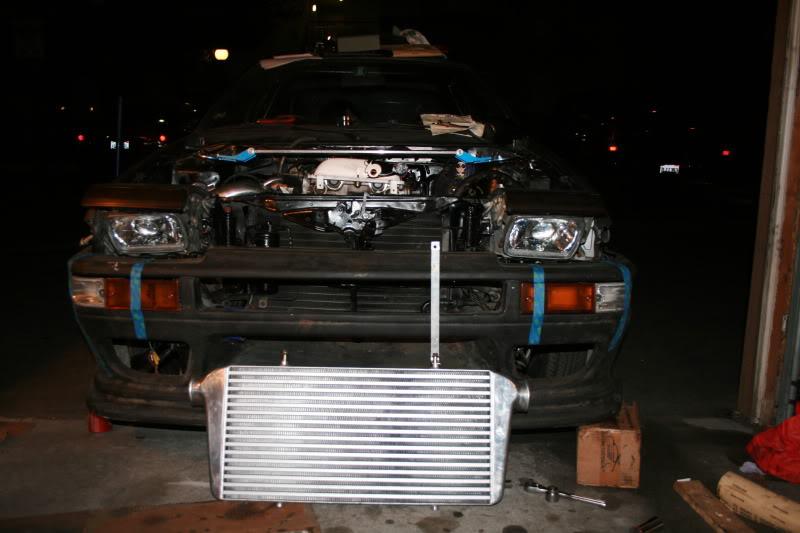
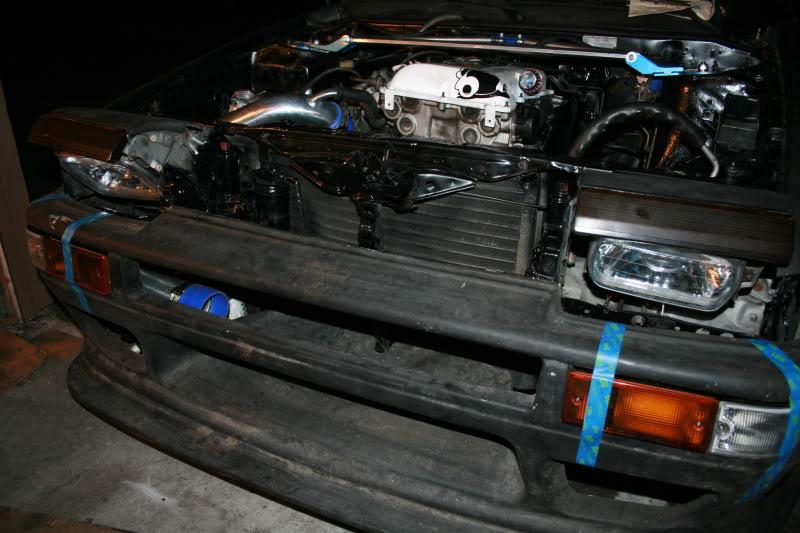
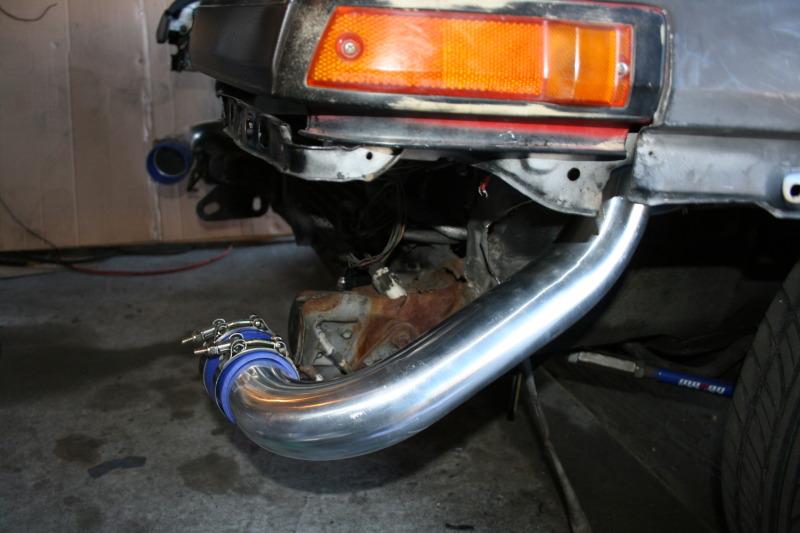
Intercooler pipe and greddy Type S bov installed!
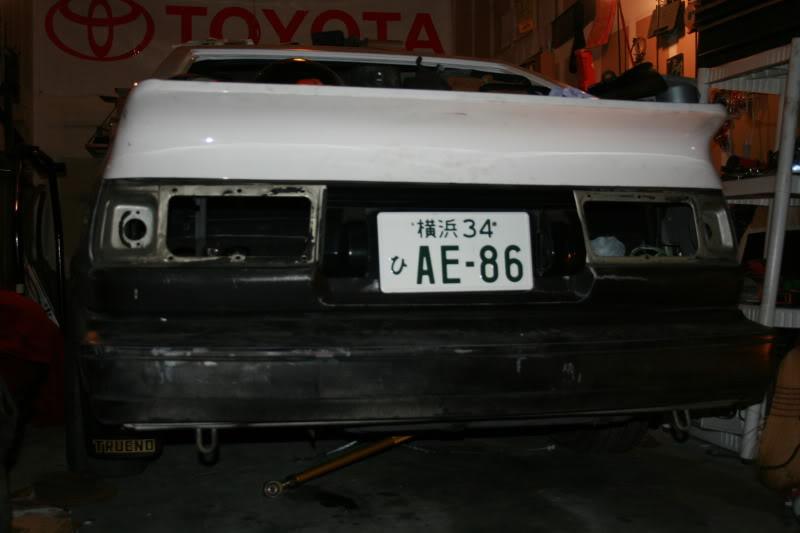
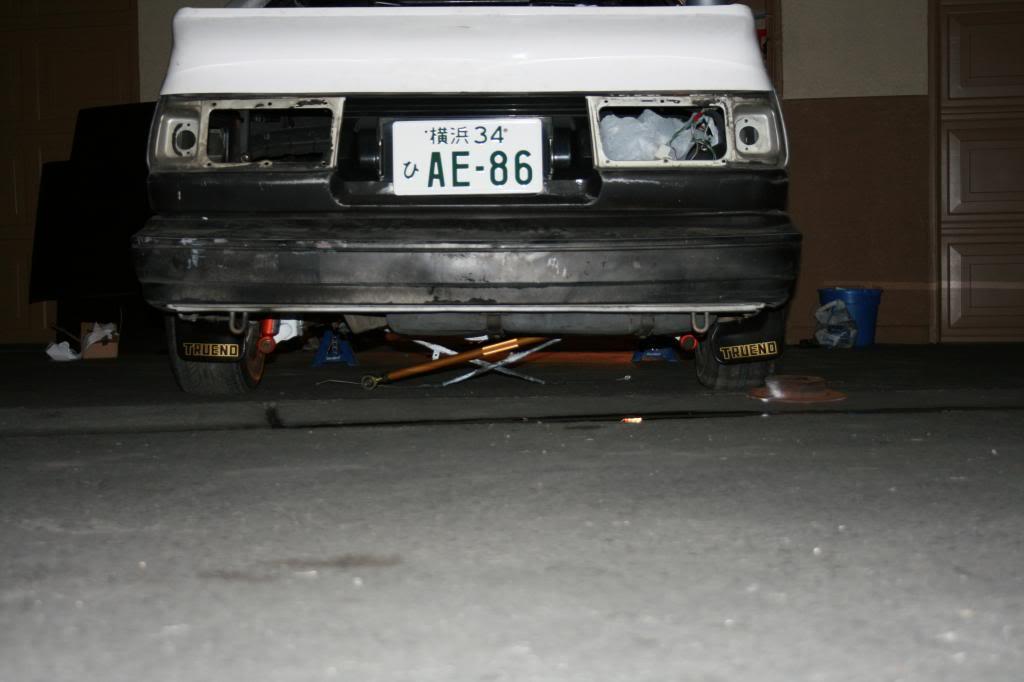
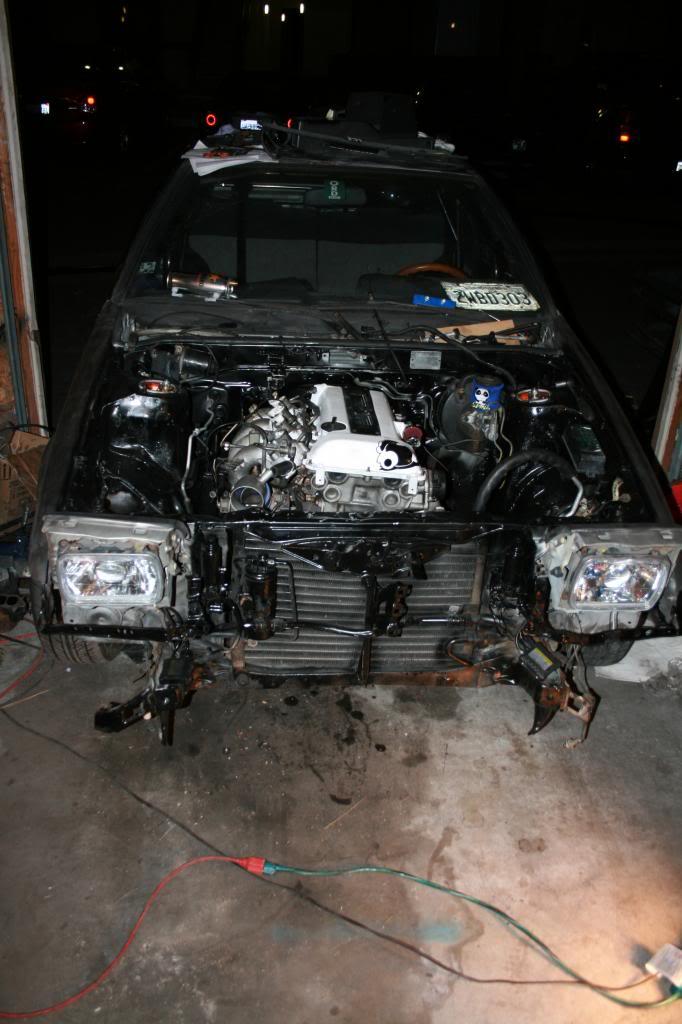
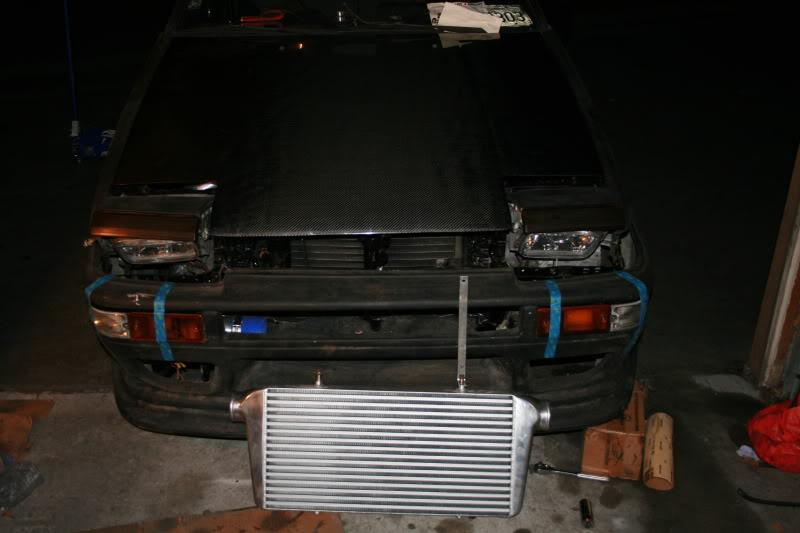
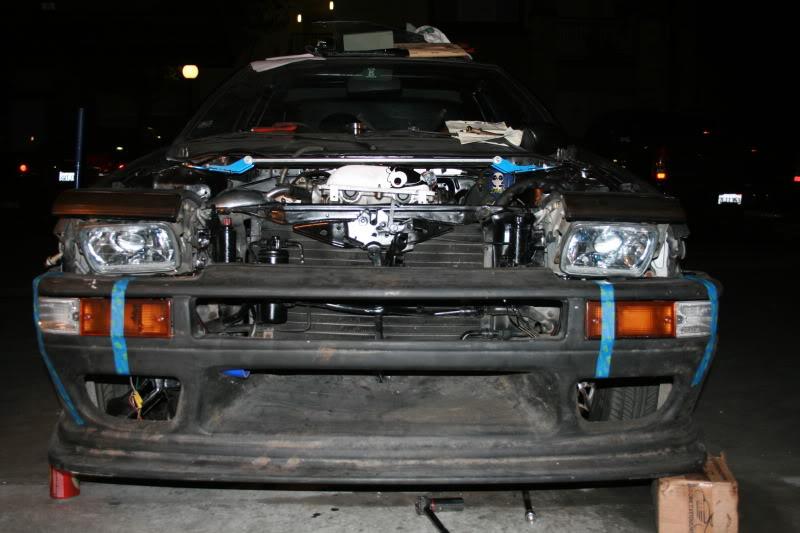
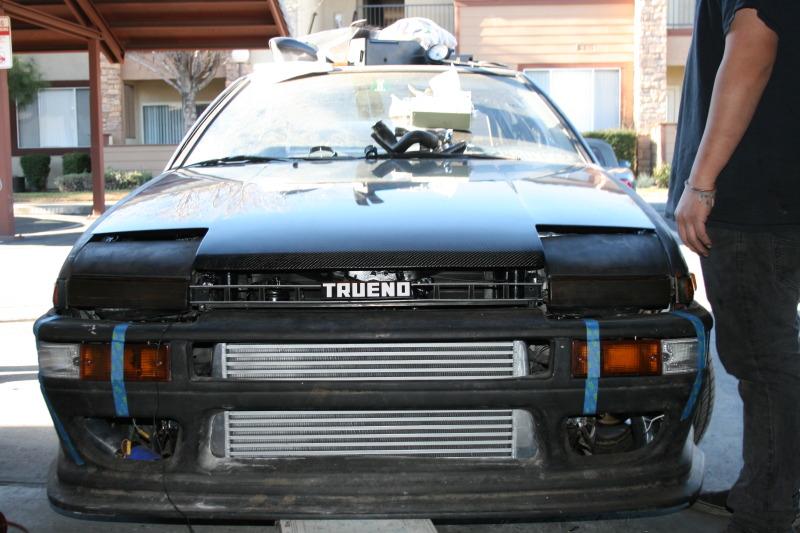
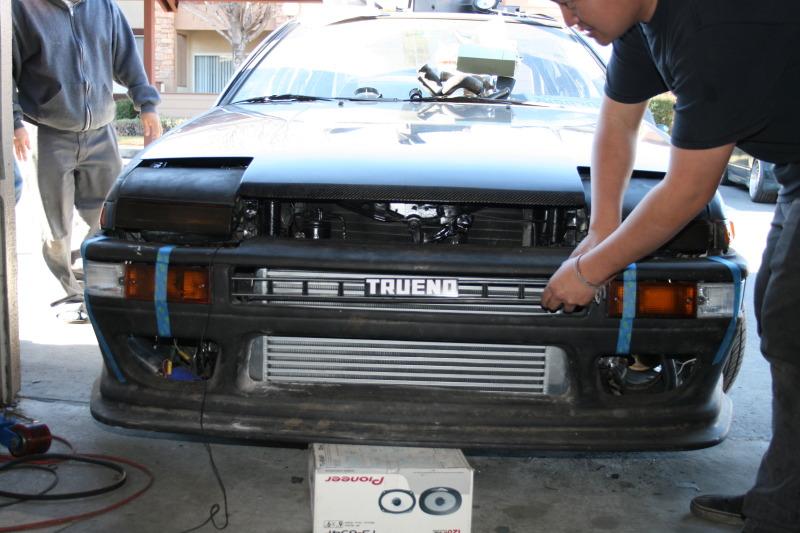
Front bumper test fit to see where the intercooler will lay out, looks more and more like a car again
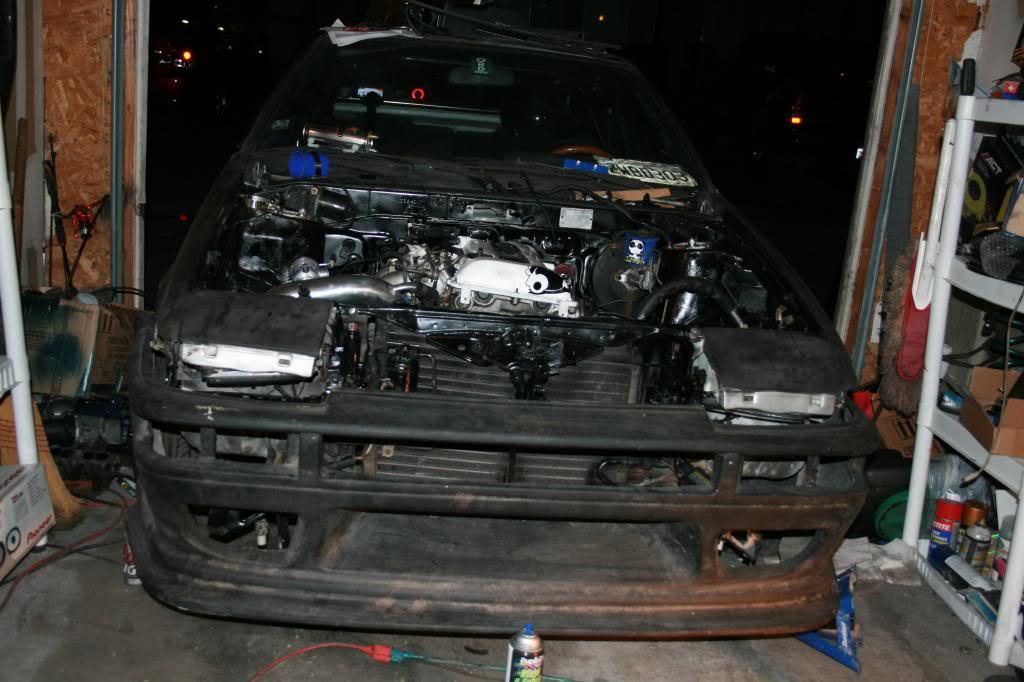
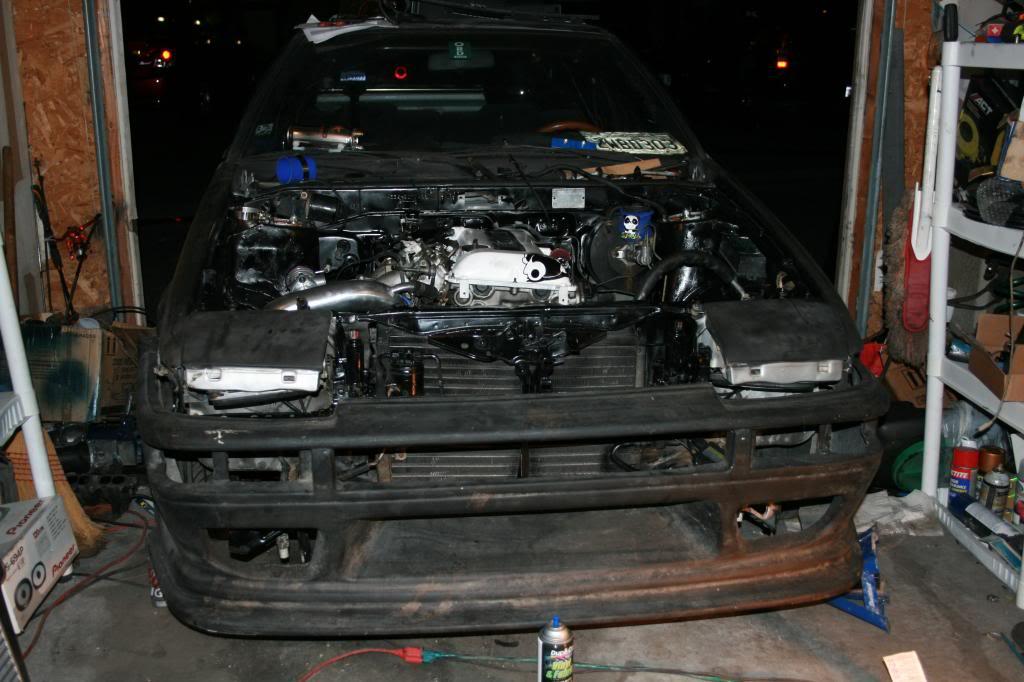
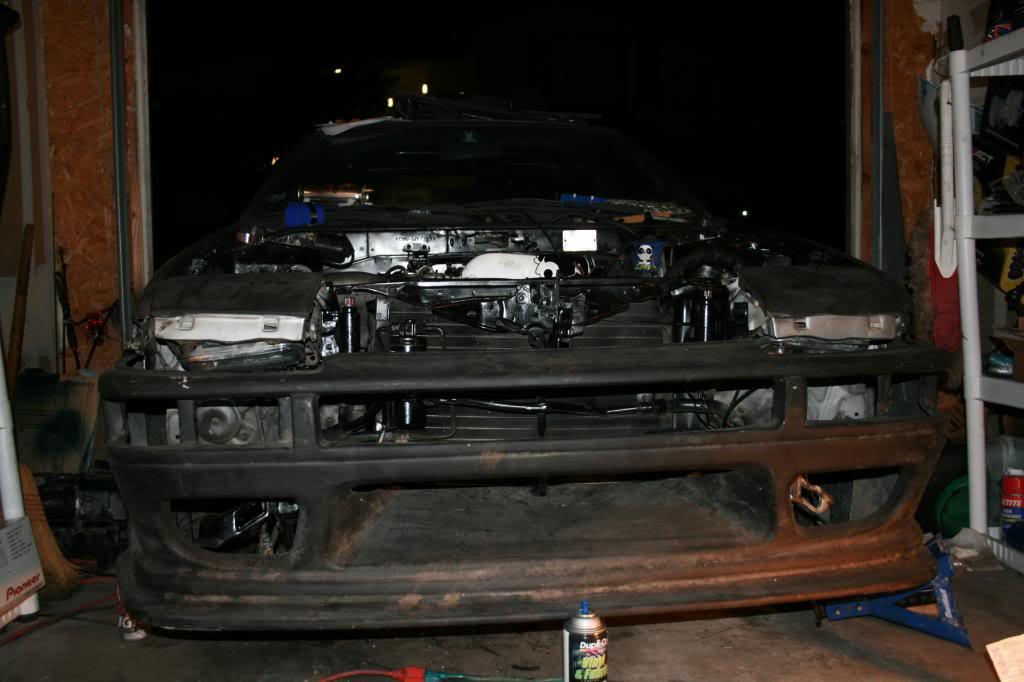
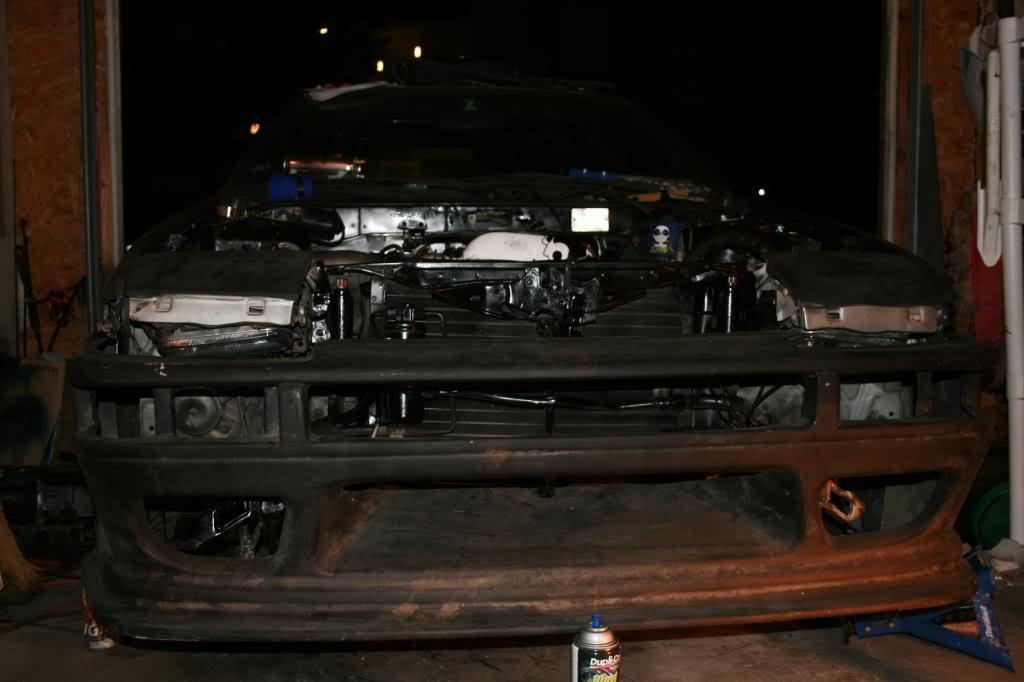
Its a car
Thats all we got done tonight, but i was once again suprised how much stuff really almost bolts right up.
sideways- its Carbon Fiber doors. Thanks ya The Valley cover turned out decent. I was happy with it, plus it was free! way better then 200 bucks they sell em on ebay for etc.
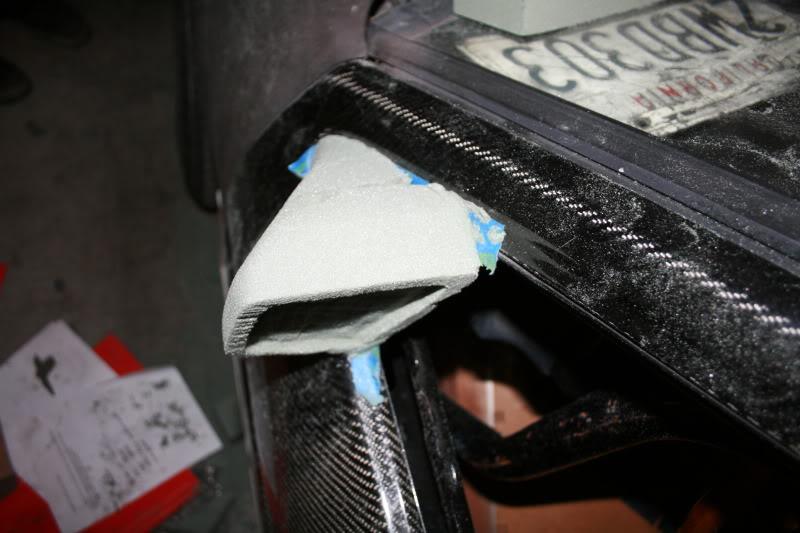
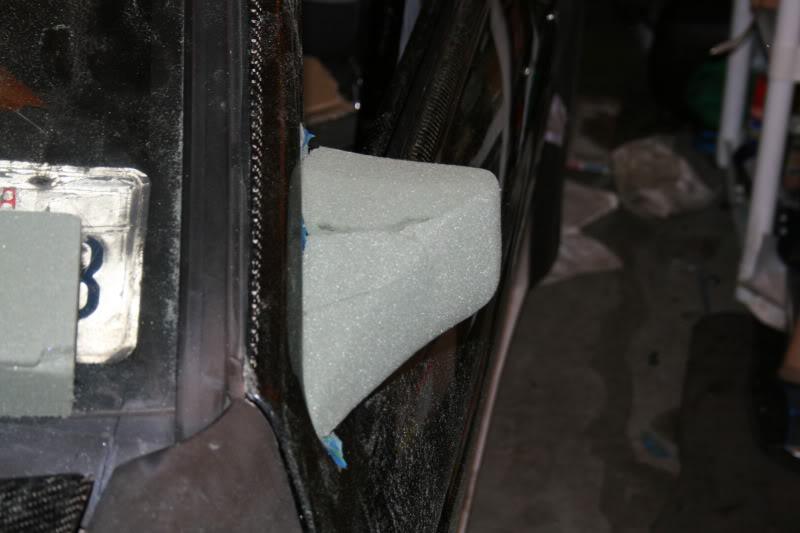
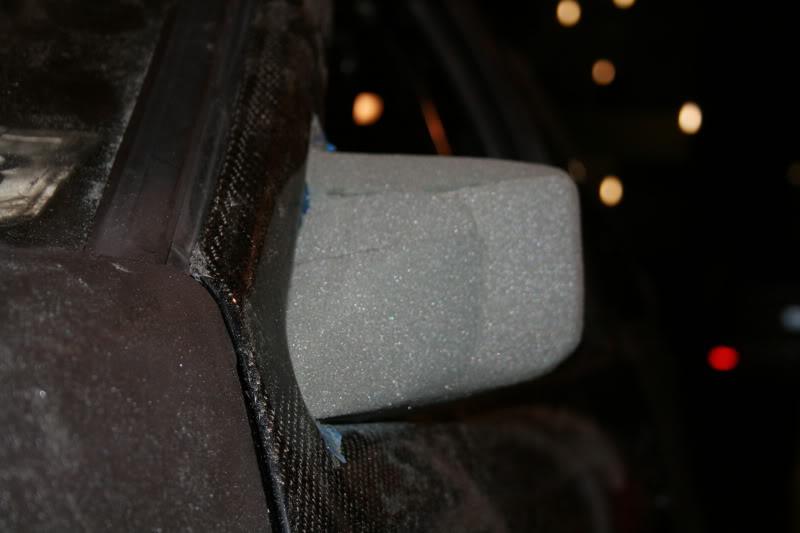
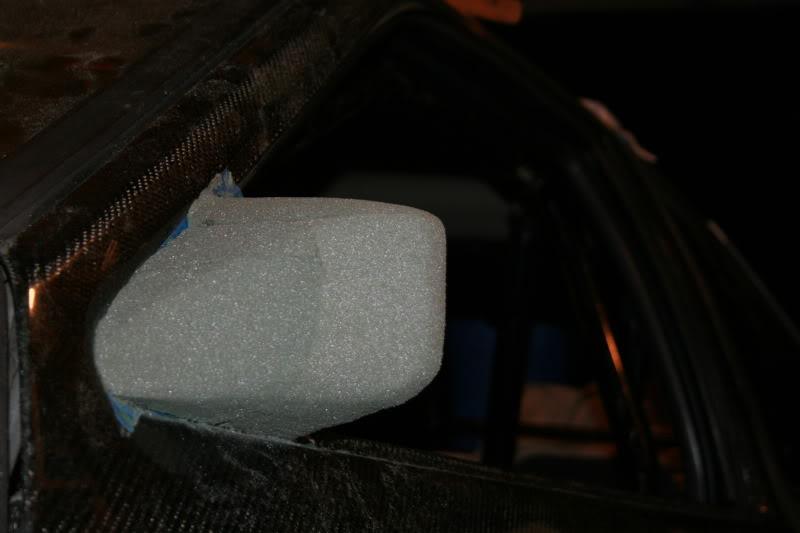
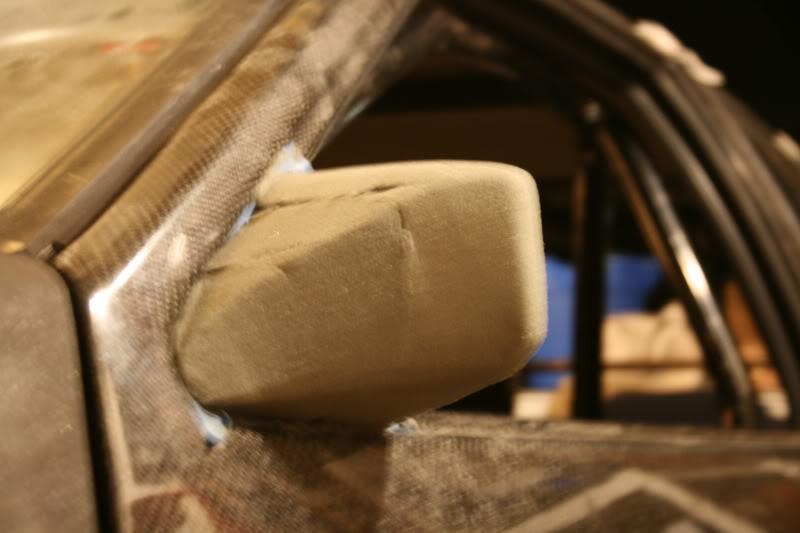
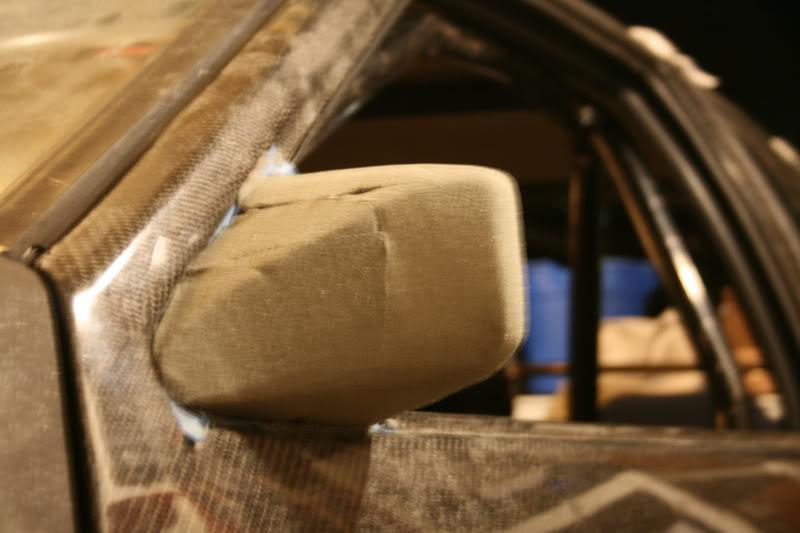
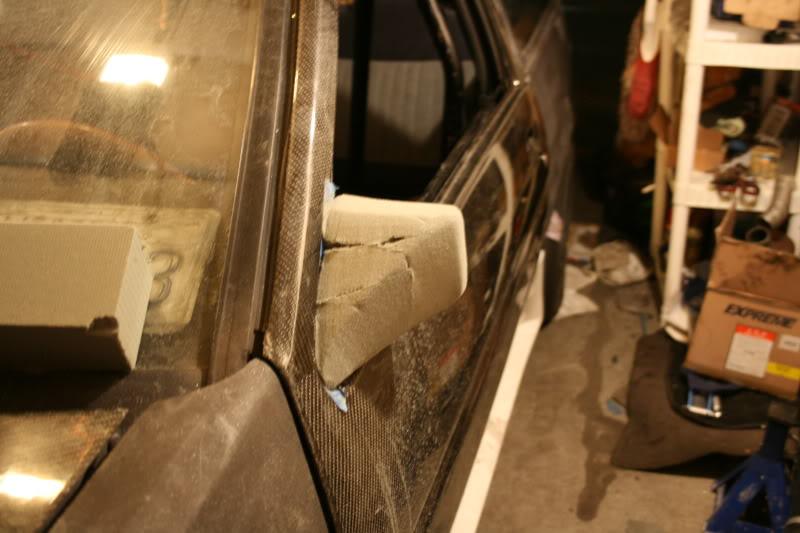
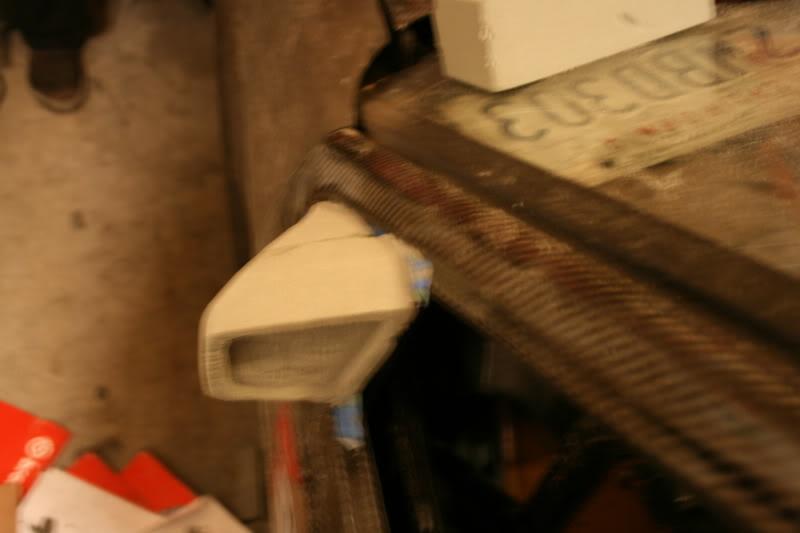
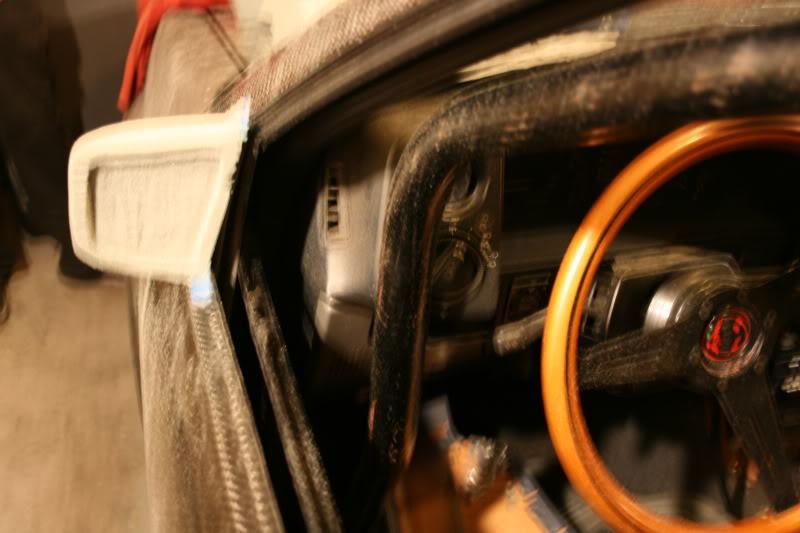
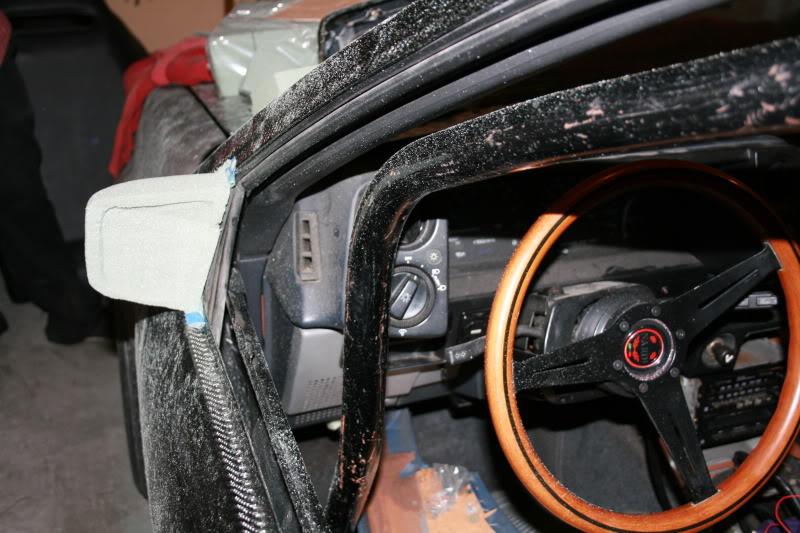
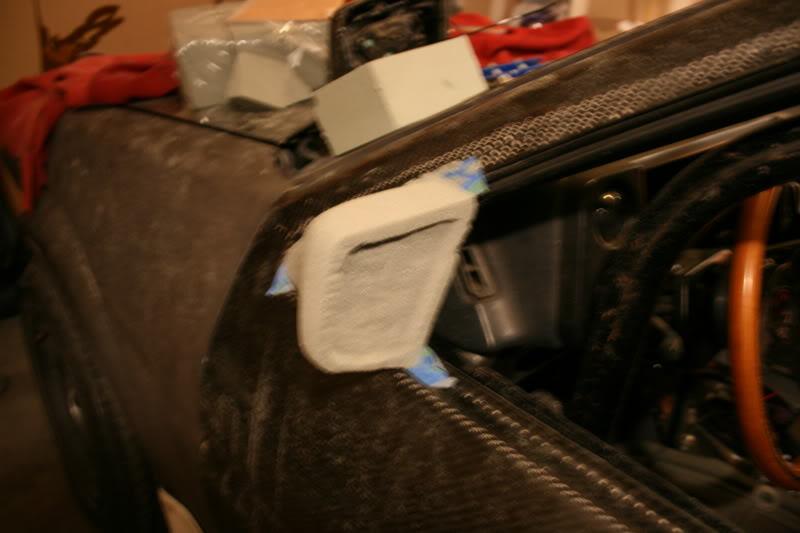
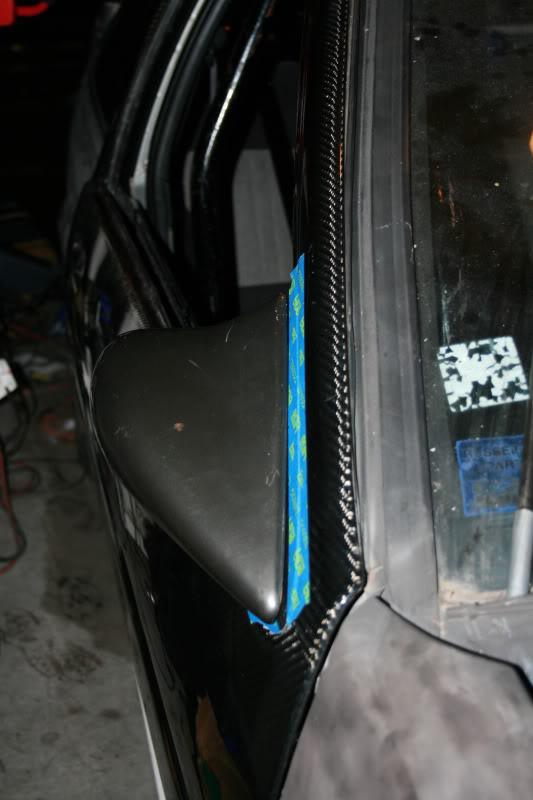
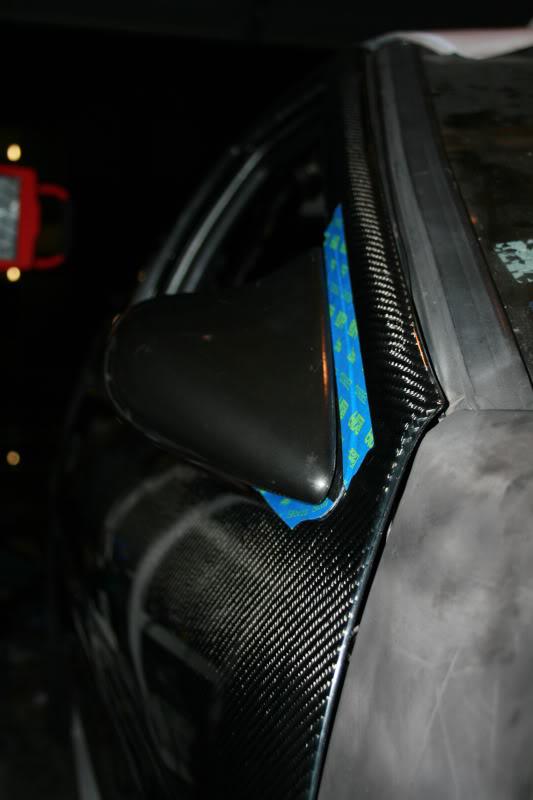
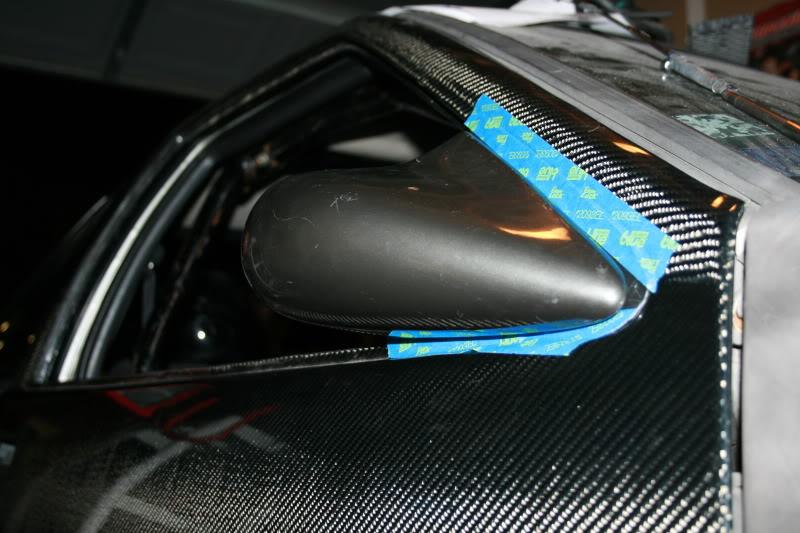
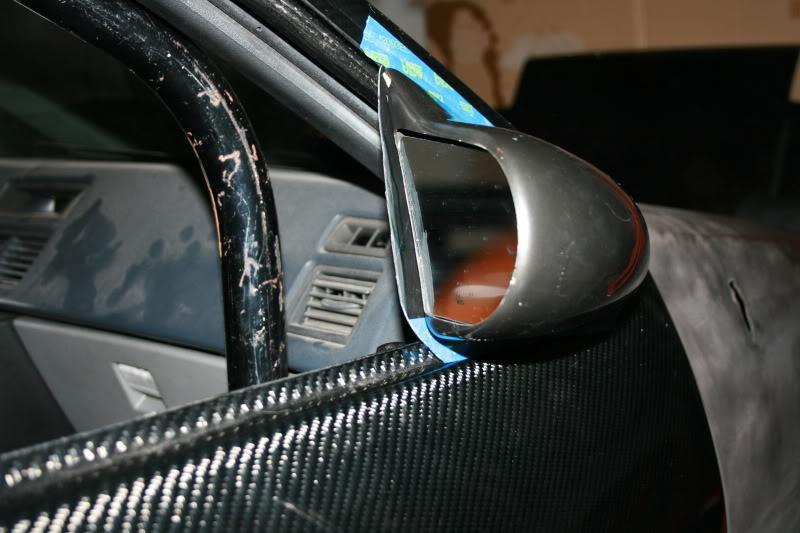
Had a few beers with my buddy xene, who just picked up a MR2 yeahhH!!!! and we started messing with the car, making up some one-off mirrors.
Not sure if they will be done, but I do have extra CF and resin, so why not right.
any suggestions, constructive criticism or opinions is always appreciated.

ya lol no worries. snags suck, but on swaps its to be expected... oh well.
Ya I need to take my mr2 out, its been forever since I drove her!
Some cool stuff should be coming really soon! Motor mounts should be here any day now, same with aero mirrors!
Got megan tension rods for 50 bucks!!!
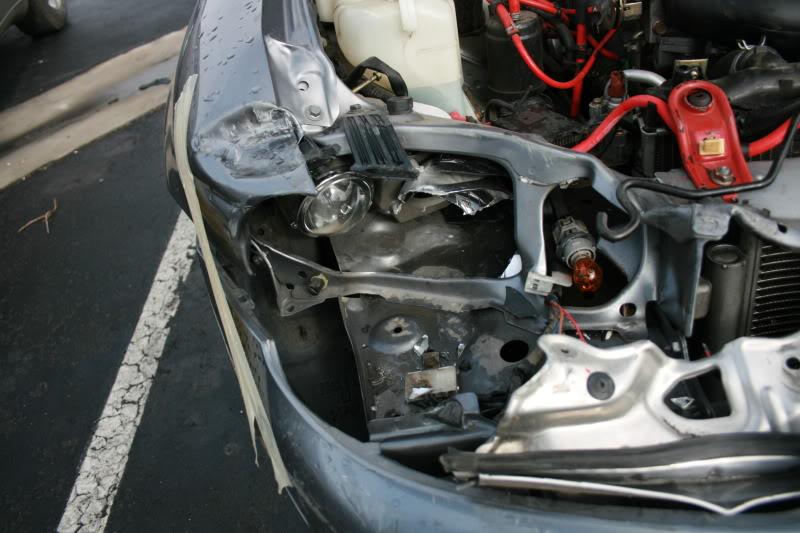
Got into a car accident in my NB 2002 MX5 DD... my back hurts, and the car is pretty mesed up... hood is smashed, radiator support is bent, radiator busted, ac condensor cracked, passenger headlight and passenger fender destroyed and front bumper... FML...right before finals week.
but on a brighter note,
Got my motor mount adapters in!!!
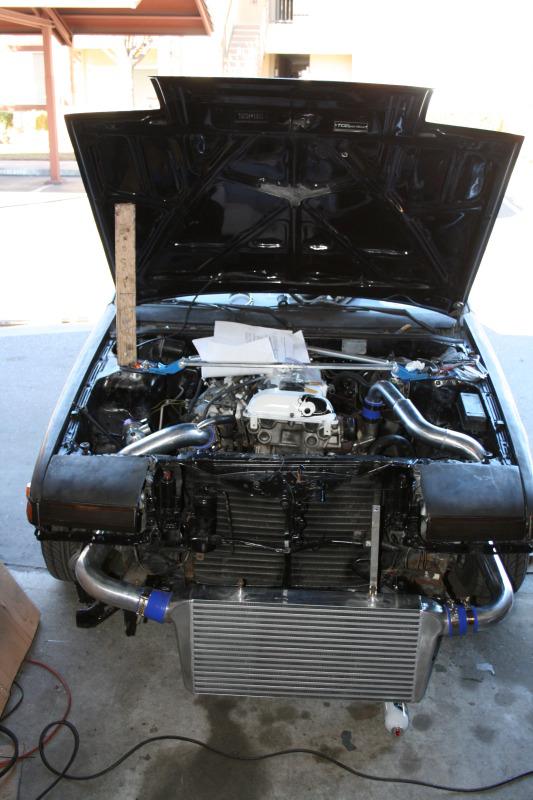
Motor finally fully bolted in
Thanks, Ya I am glad I was not hurt too. 1 because no one wants to be hurt. and 2, because I really did not want to be striped down naked in my own hospital by all my friends and coworkers lol! Its like a bad nightmare coming true!
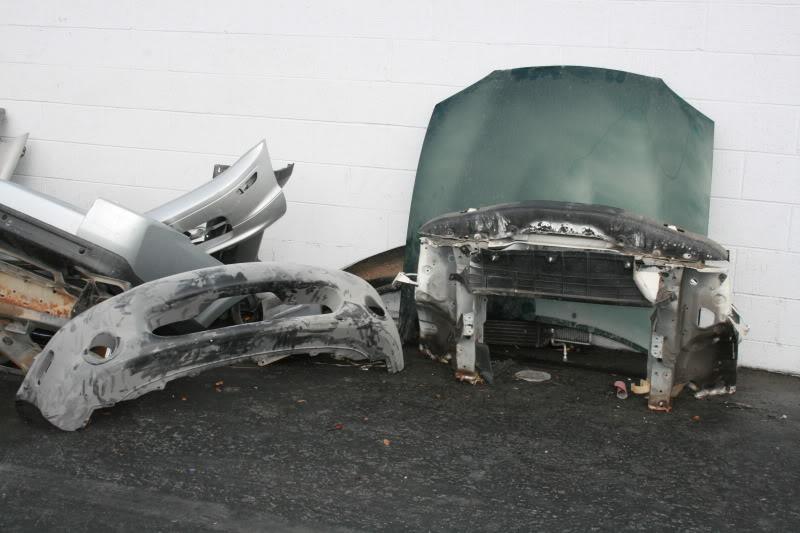
I actually got really hooked up from the miata boards, got a new front bumper, fender, headlights, radiator, ac condenser, hood, and radiator support for 600 bucks! there goes the AE86 fund, but my car should be back on the road in a week when the body guys get done installing and painting it all!
So for now I am broke, and I will be stuck installing what parts I have for the AE86, but It might be a min before I get the last needed parts to get her running (fuel pump, driveshaft)
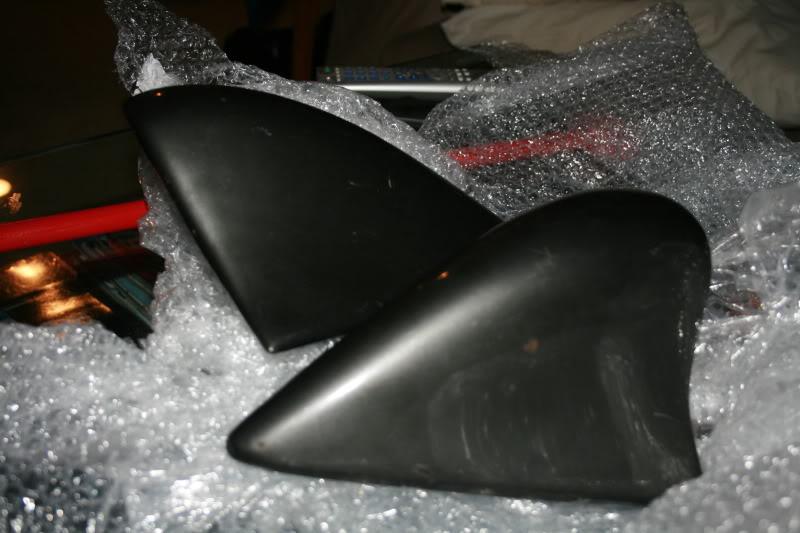
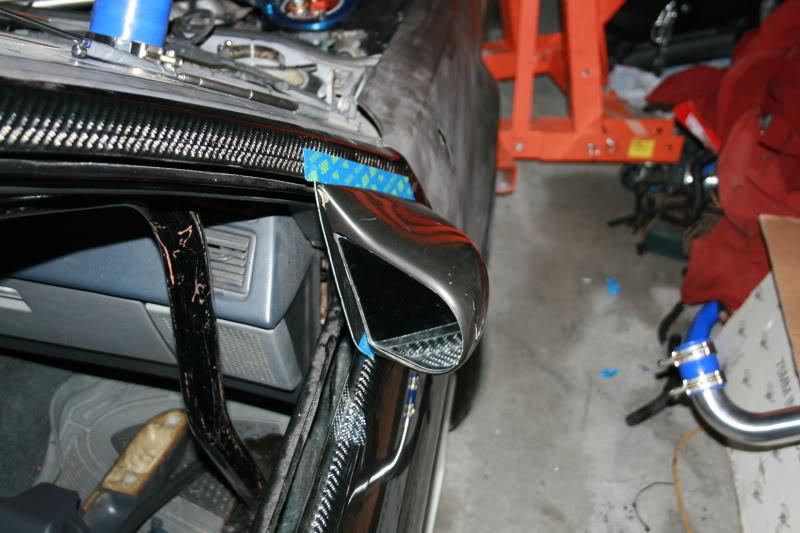
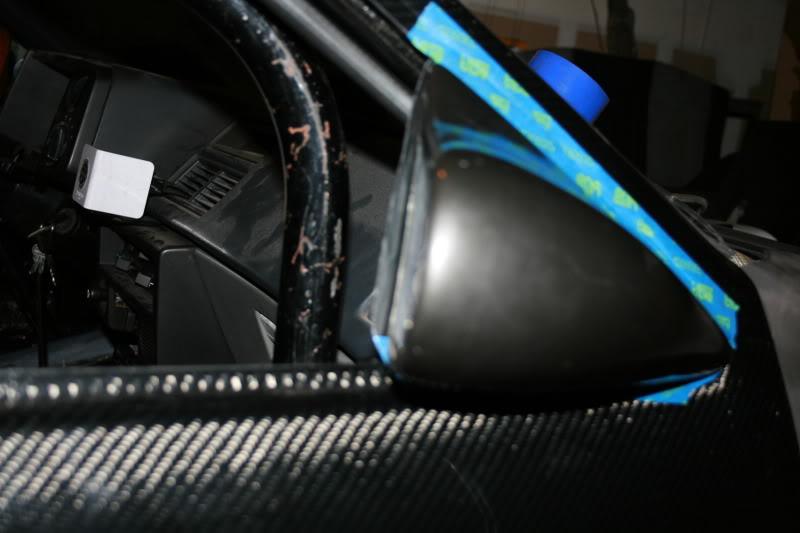
I did get some cool stuff from Nippon in!
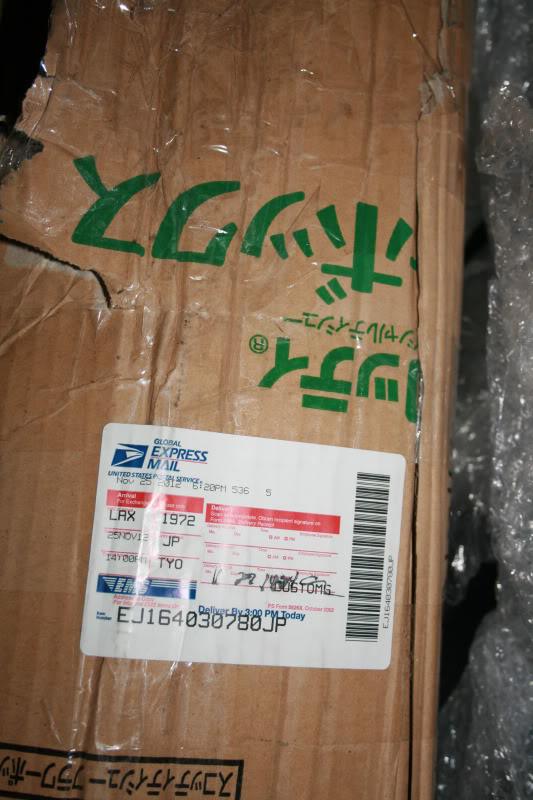
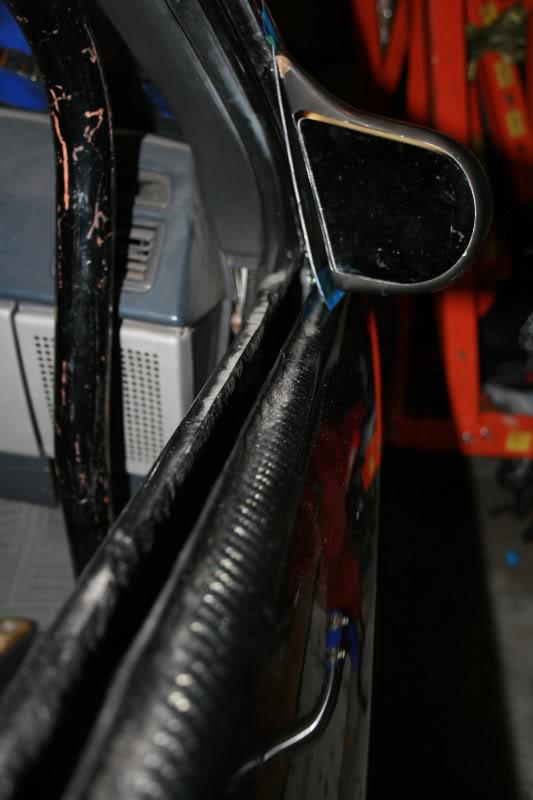
AERO mirrors!!
well no updates on the ae86. But I figured I would post the damages to the mazda NB... looks sad...
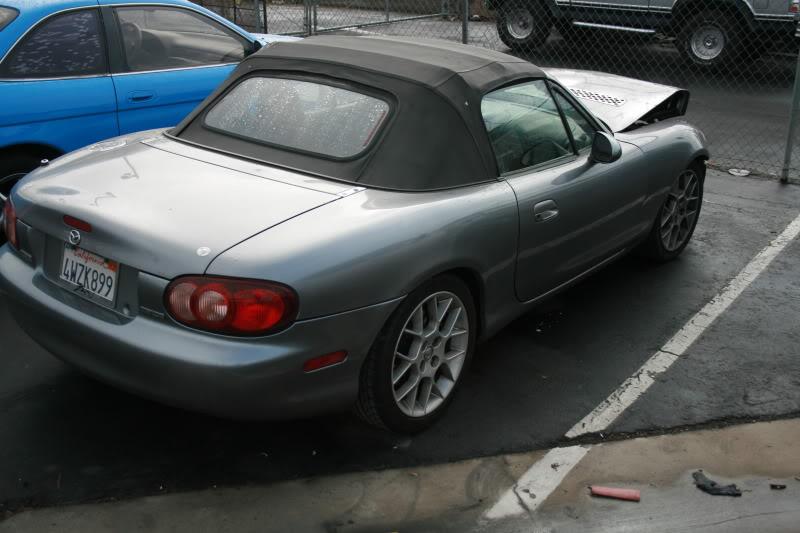
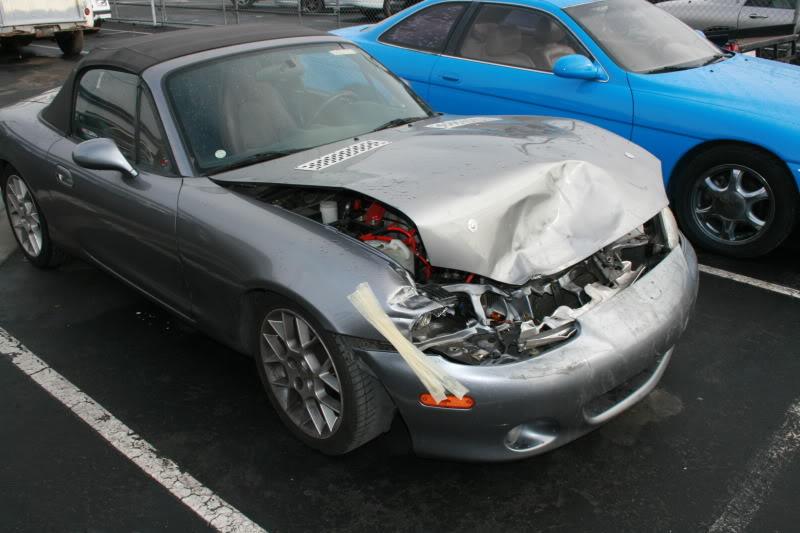

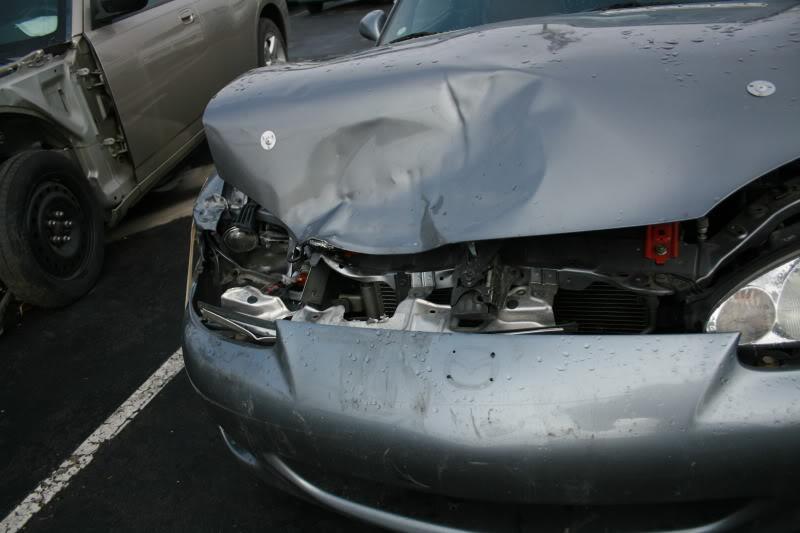
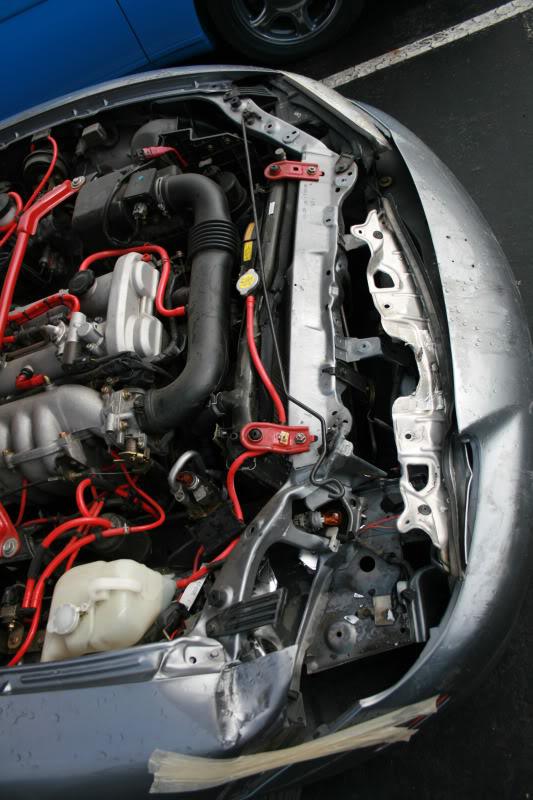
But I got all the replacement parts so its on it was to get fixed.
Here are some pics of them mounted...ish. I have CF doors so I need to make mounting plates cause they the CF doors dont come with any, but these would have bolted right up like oem! they fit amazing!!!
Been stuck at home, MX5 is almost out the body shop, should get it any day now. Finals are pretty much done, last one is one tuesday but I did all my crazy hard ones this week. So I had to some to work on the AE today.
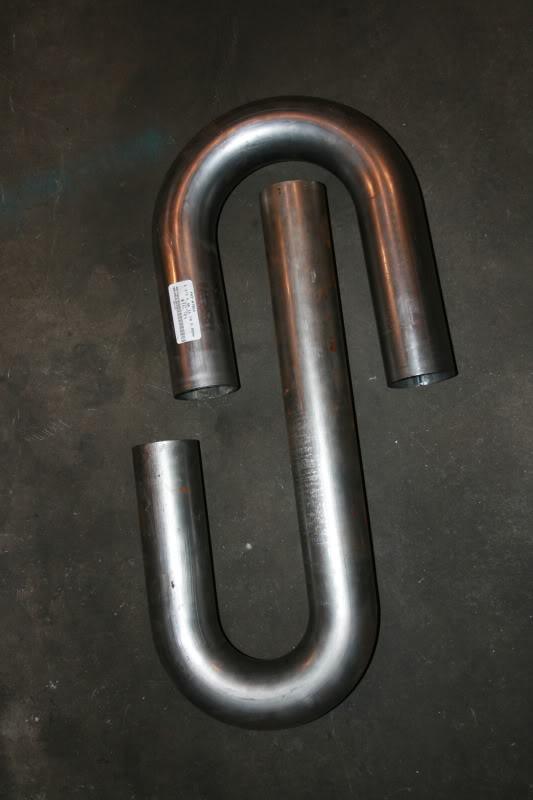
Found a RatRod shop that had mandrel bent piping, lol seems like the Inland Empire has never heard of this, cause I had to go to 6 shops to find it, and no one else seemed to know what it even was lol!
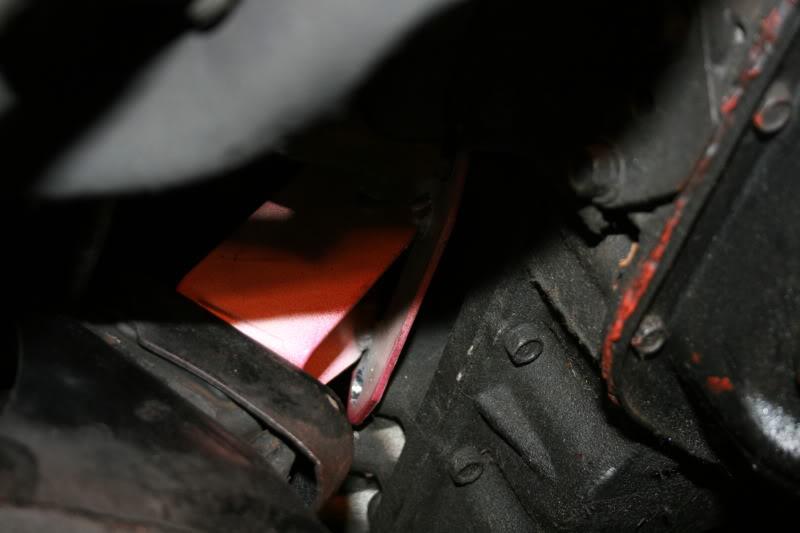
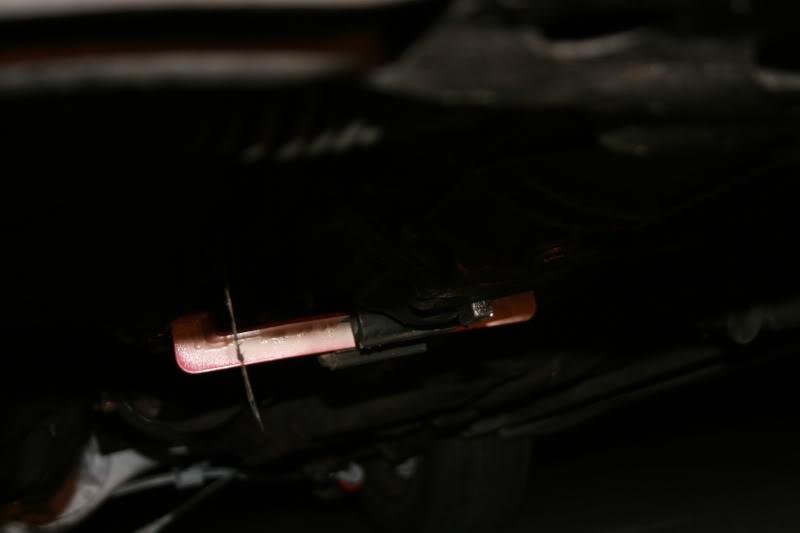
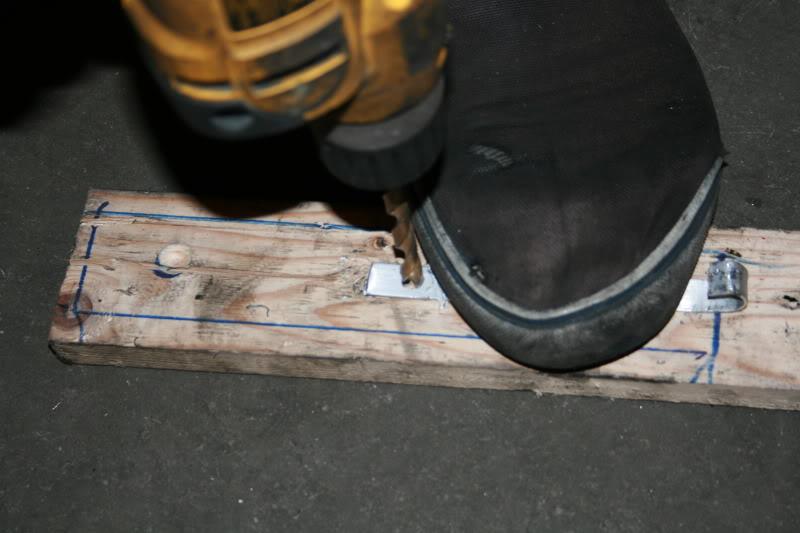
Got some steel cut, and made my own frame spacers, with the help of my buddies better drill bits lol!
some pics of the motor mounts
trans mount
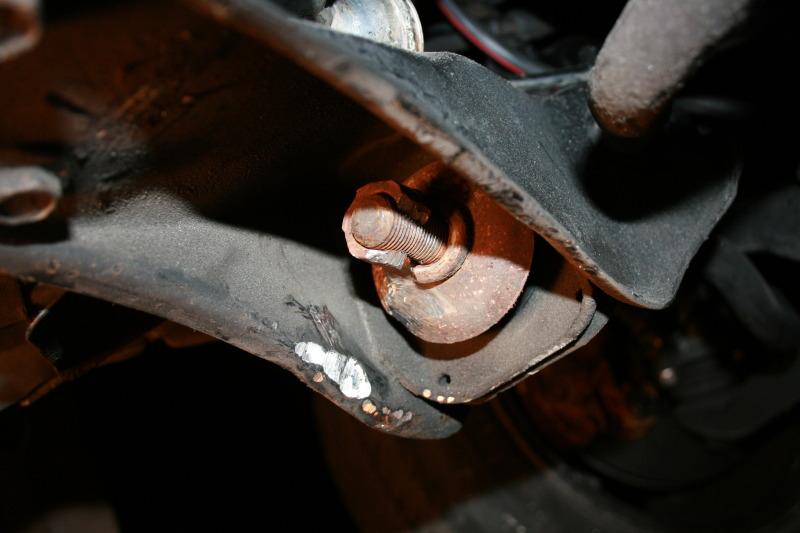
Installed the Megan Tension Rods, wow that FU*%ing bolt was one there crazy tight!!!
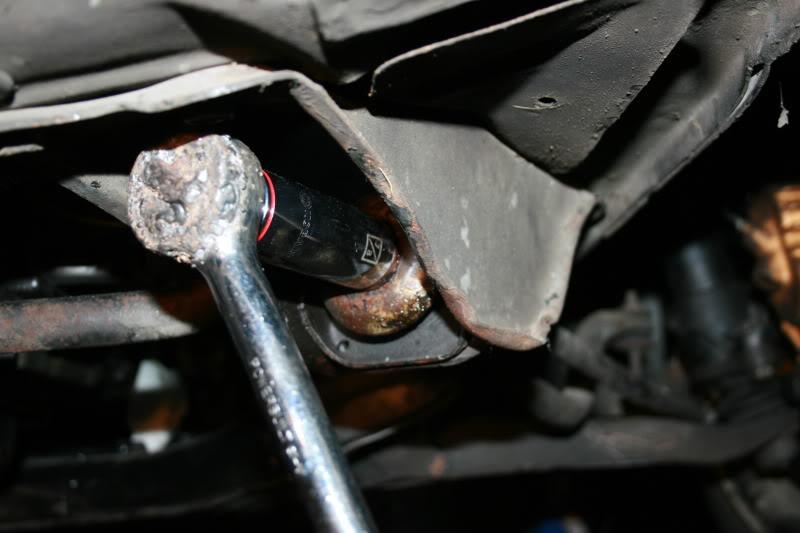
Old rusty nasty oem tensionrod
Sexy Beefy Megan Tension rod

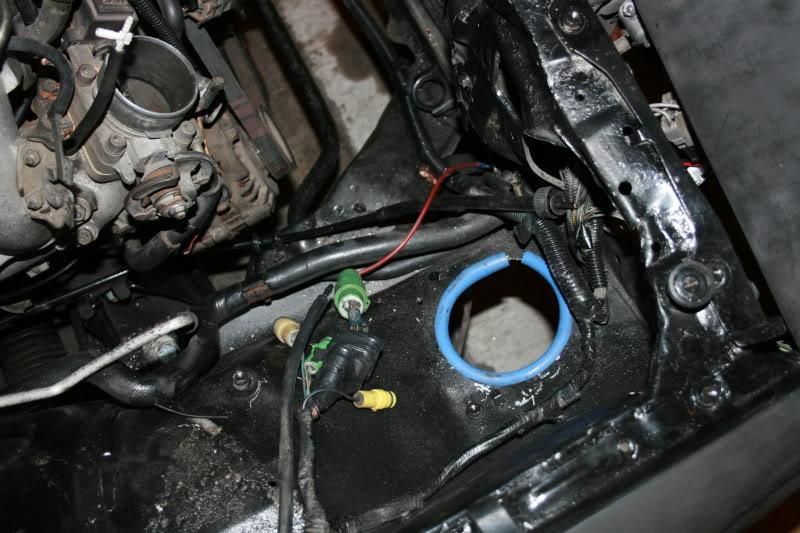
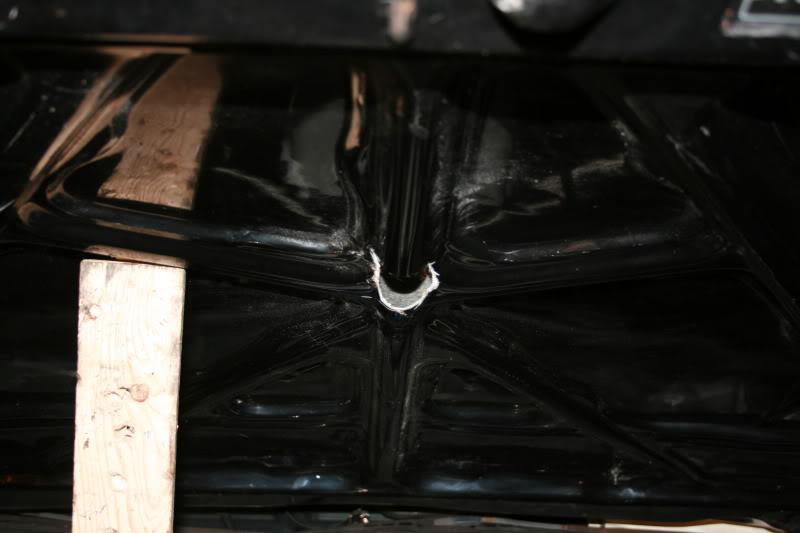
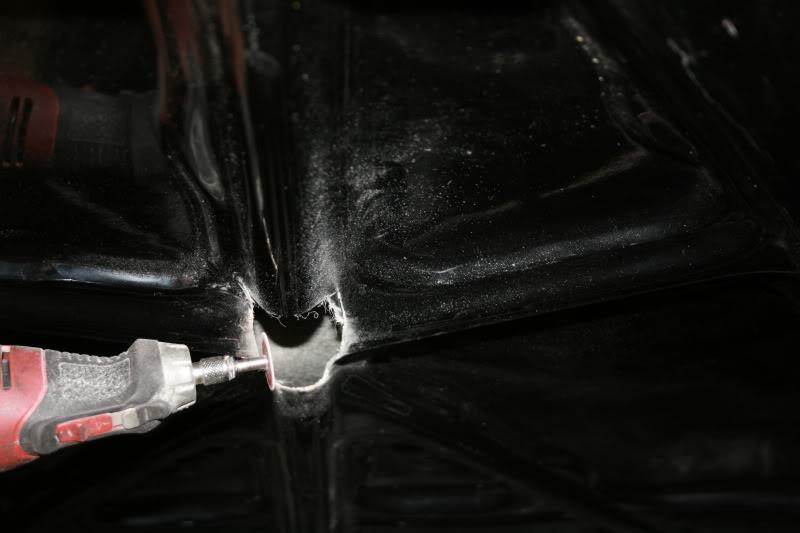
Drilled a hole for the intercooler piping, and wrapped a old hose around it to make sure it wont cut the coupler.
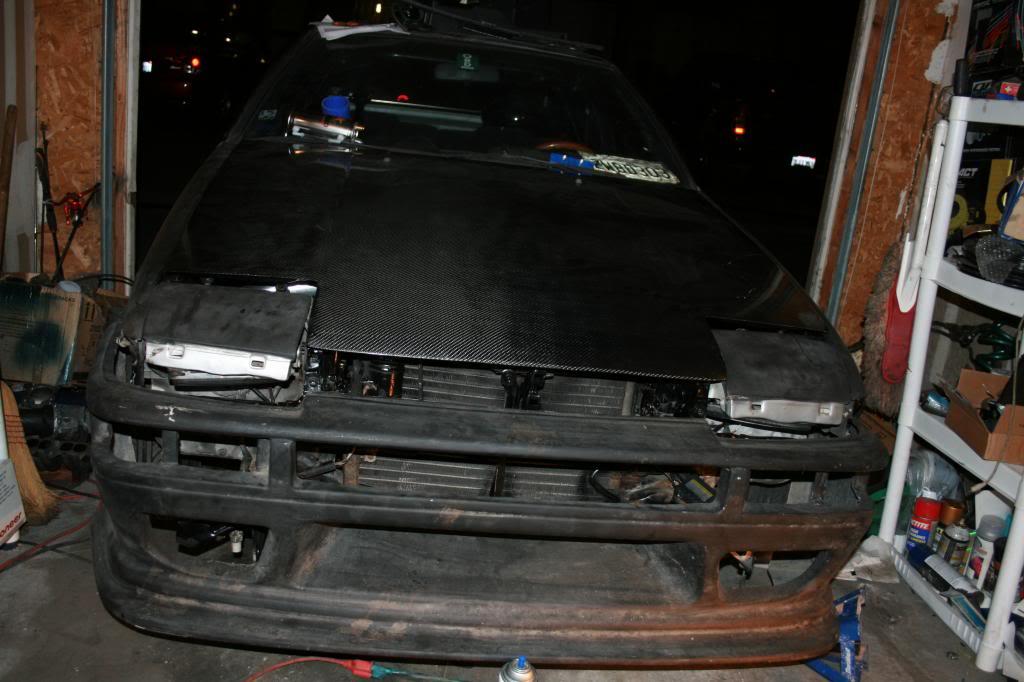
The Hood would not close all the way even with my custom frame spacers, so I called the company that made the engine mounts, they said I may have to take some of the support frame of the hood.. kinda sucks... oh well.
TCS hood, I am gonna cut you!
Hood pretty much sits closed now....
Car coming alone... slow but steady.
thanks, I got a little update ![]()
To start AE86, and beer
got my hatch gas prop rods to work. I got the eastbear hatch second hand, and the P.O. had busted out the hatch bolts that where glassed into it. So I had to make longer brackets, still need to cut it down to size. But hey at least it works right now!
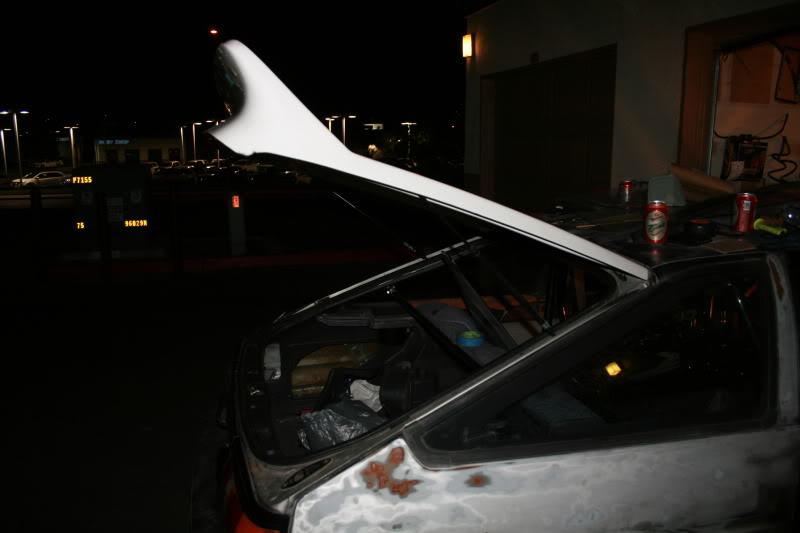
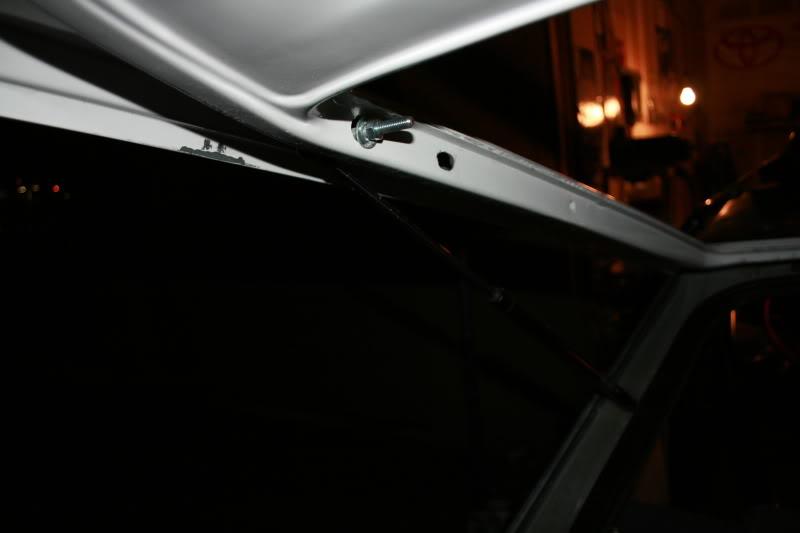
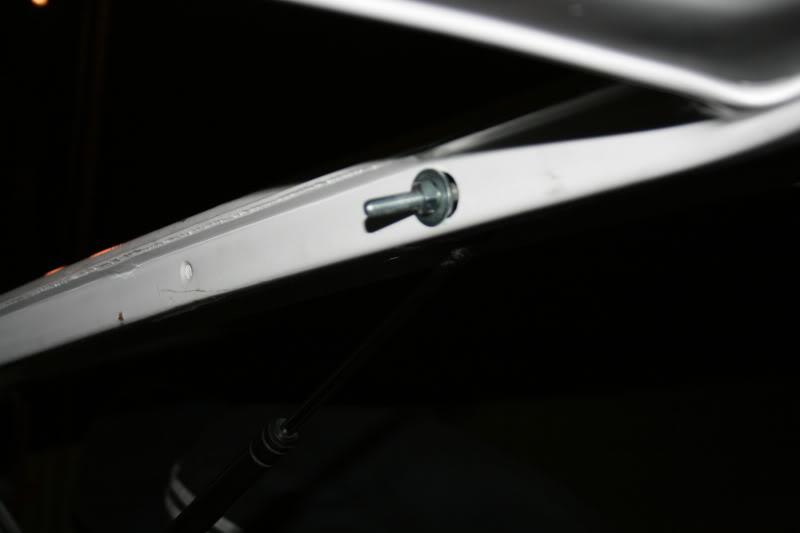
Bracket made, now one more to go!

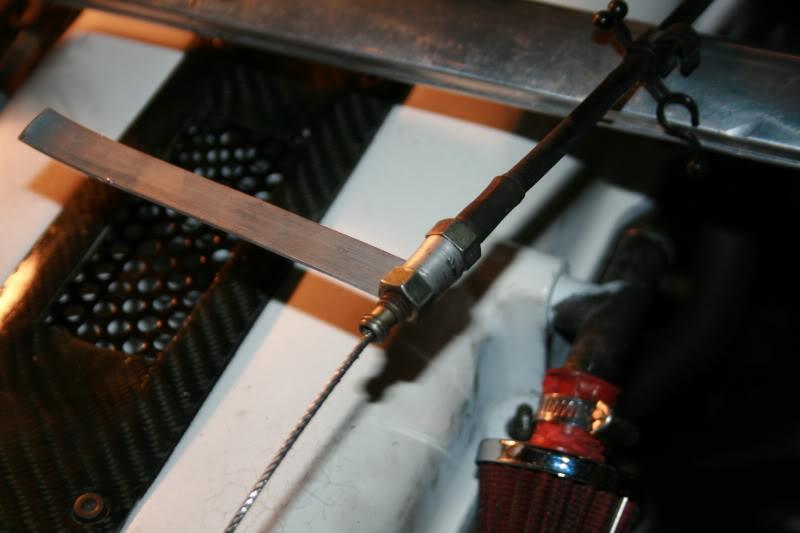
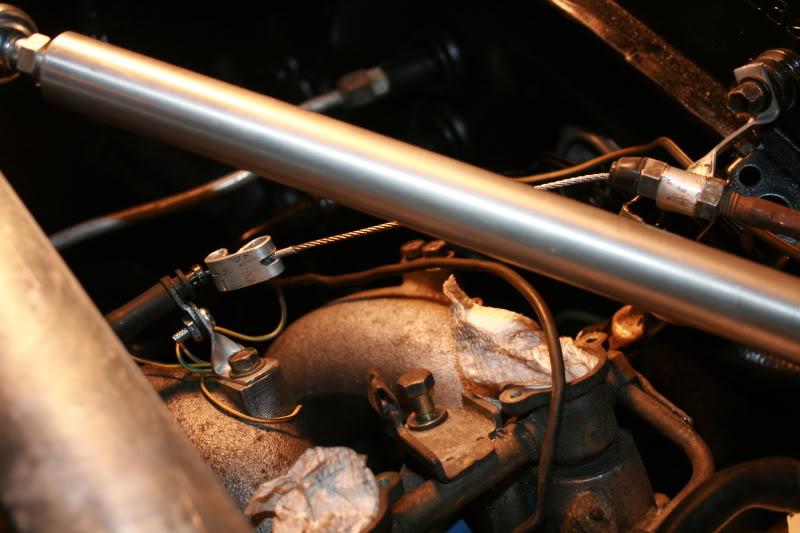
Adapter plate to hold the two throttle cables together
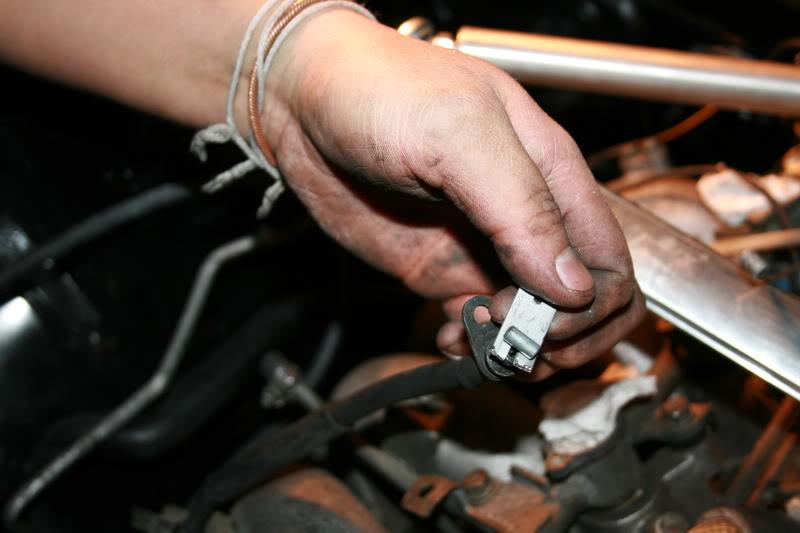
All done, throttle cable connected and feels nice!
![]()
So I went to put the other Megan Tension rod on, and man what a PAIN! the bolt was rusted on so bad, I had to grind it off! WTF lol took for ever, not fun lol.
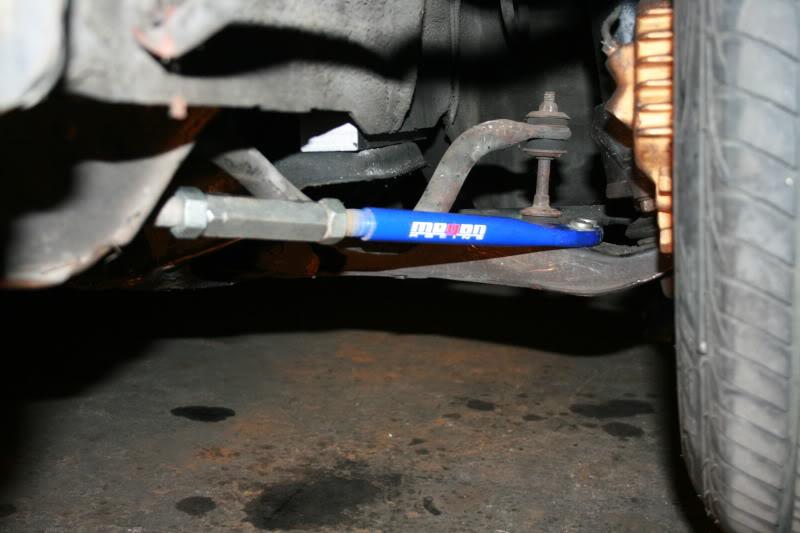
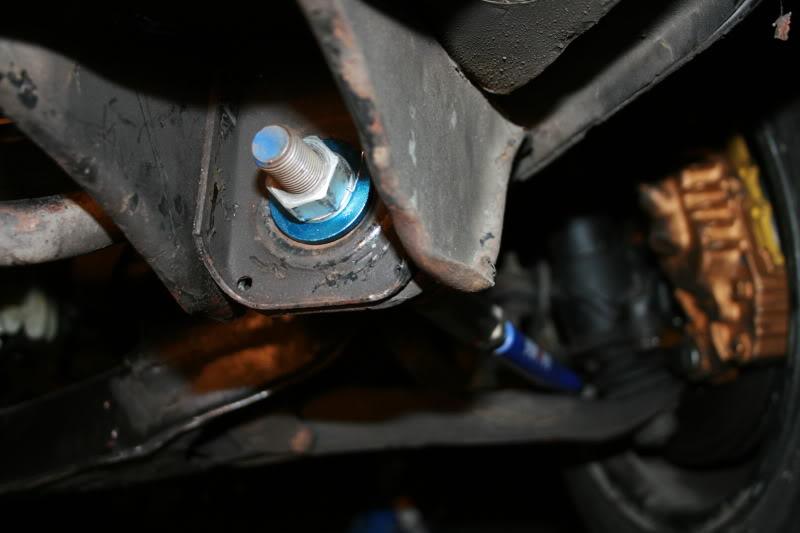
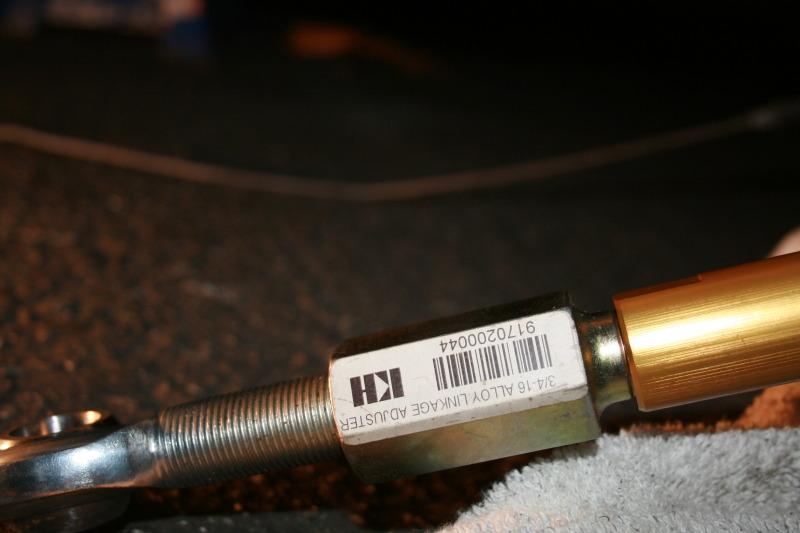
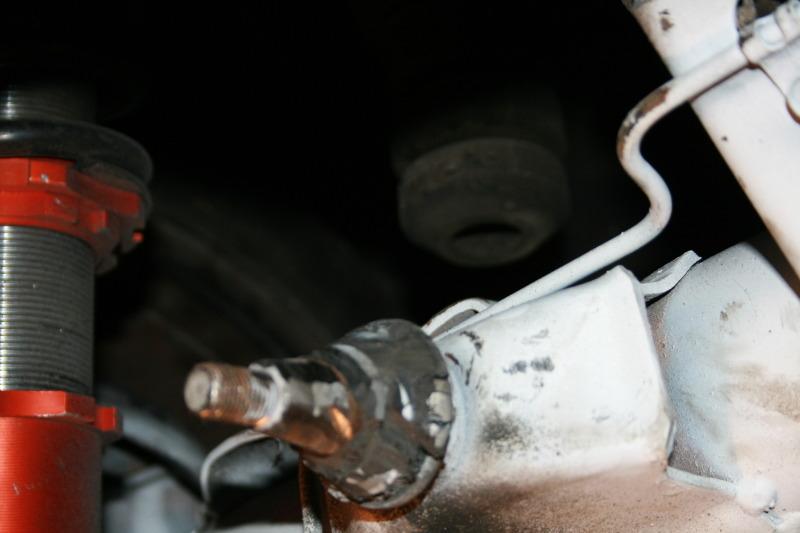
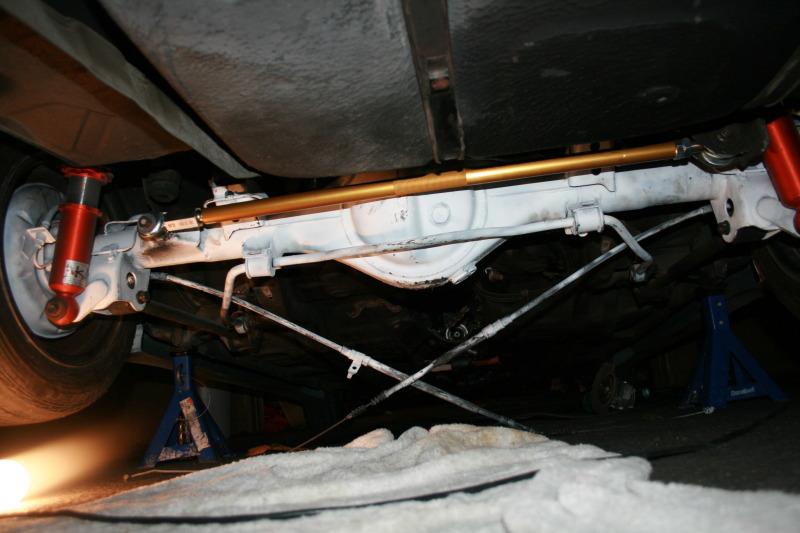
I also finally finished the Panhard bar/ lateral bar. So the DIY set up does not fit a celica supra rearend just FYI for anyone else wanting to do this. I had to order a extra extension from K and H an local store here. K and H metals supply part number 917020044 3/4-16 alloy linkage adjuster Then grind down the metal around the bolt "it had a little ring around it" so I could get the bar to slip over it.
I Also got the hood to close and lock properly finally, cut down the inside of the hood a bit, I forgot to take pictures, but I will post them up when I can.
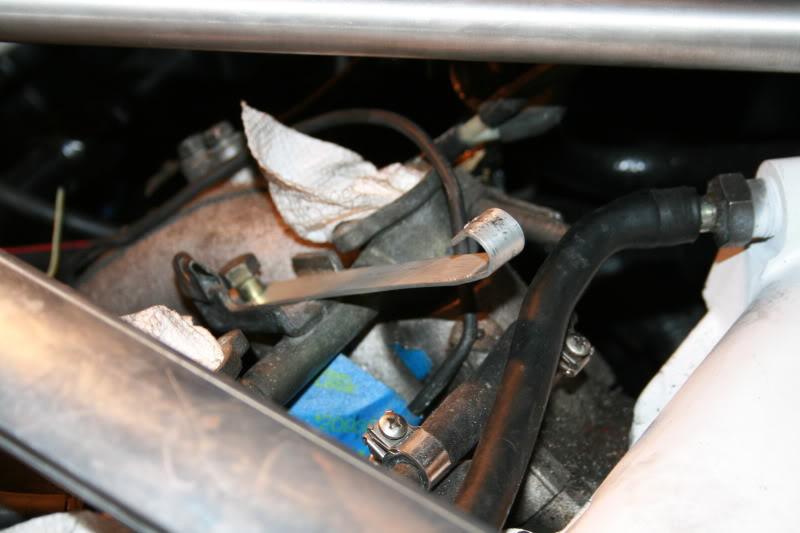
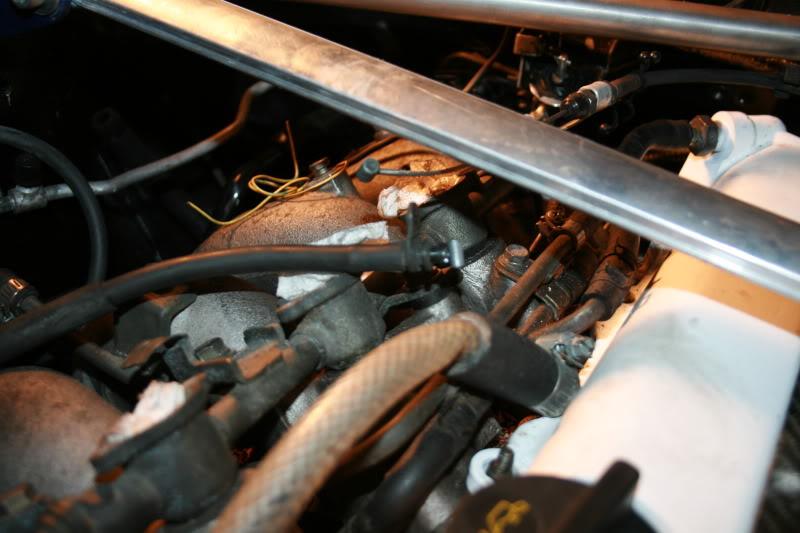
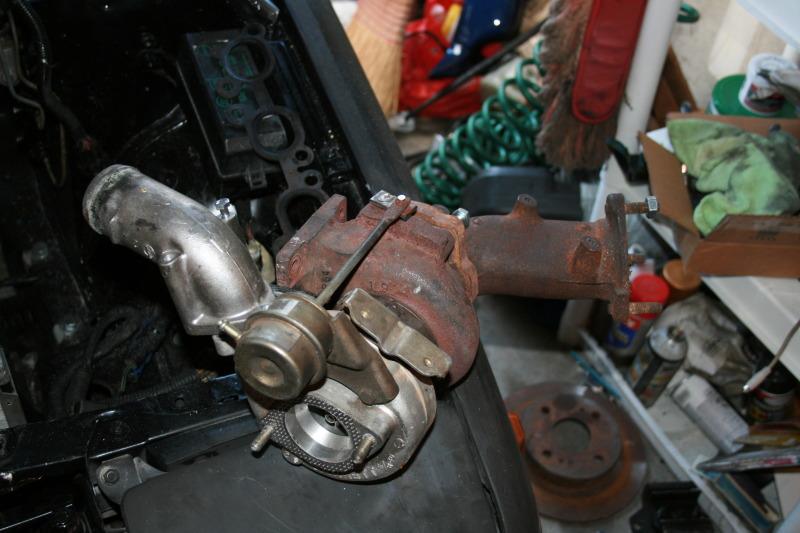
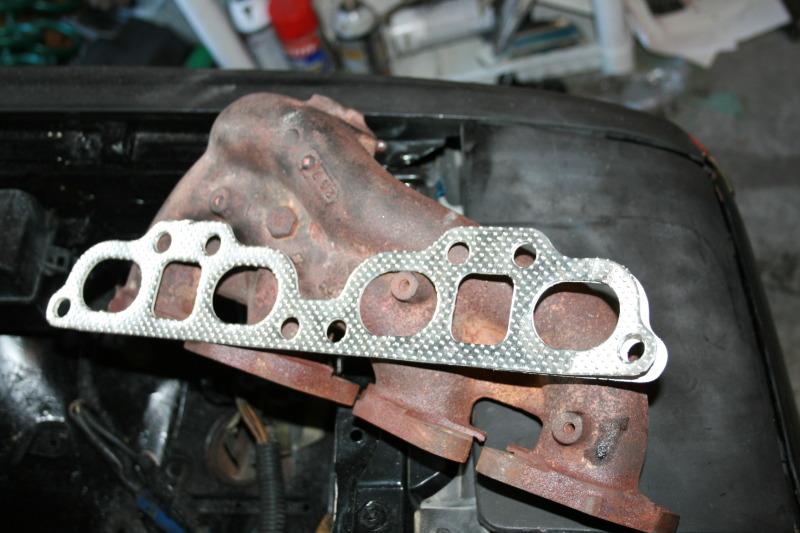
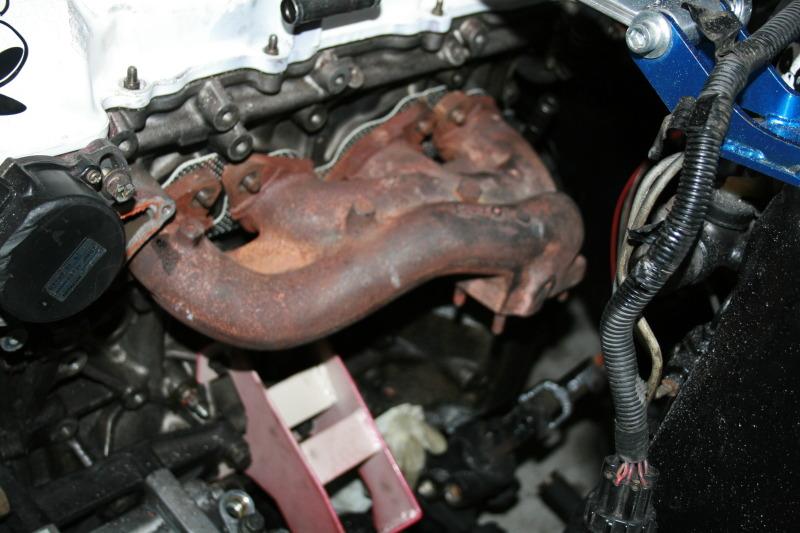
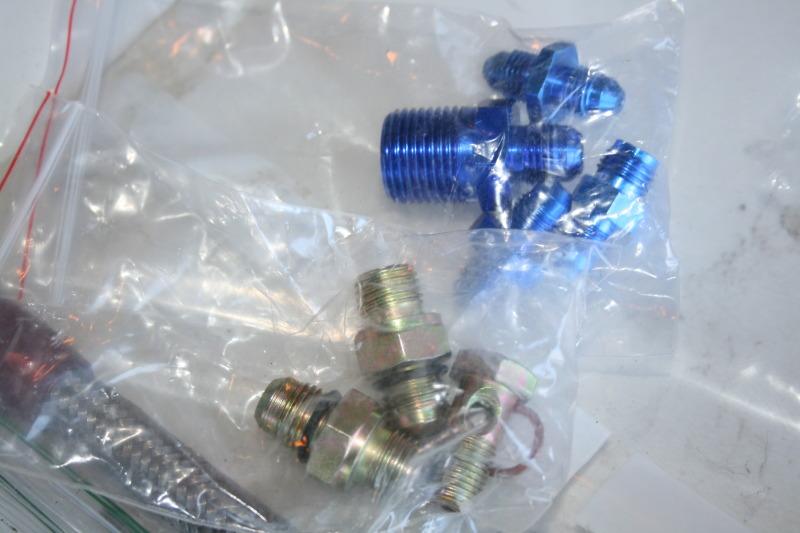
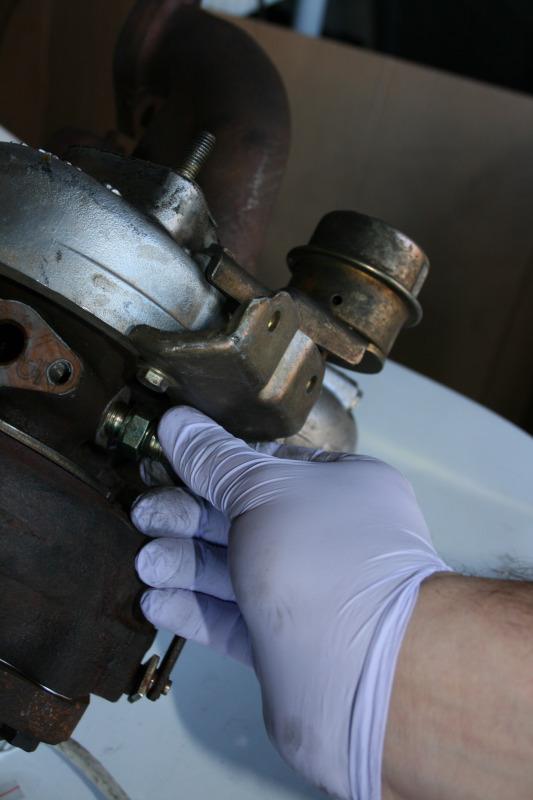
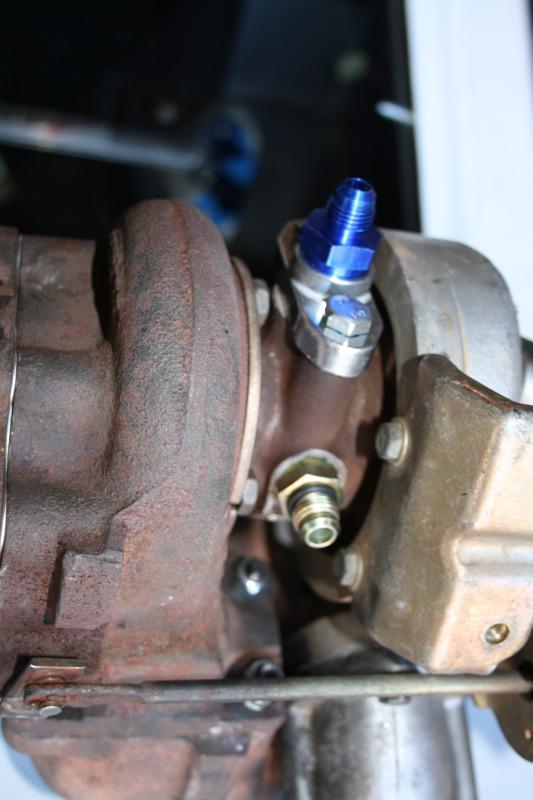
Started mocking up the stock turbo and exhaust manifold. Putting it all back together etc
Braided lines, new gaskets
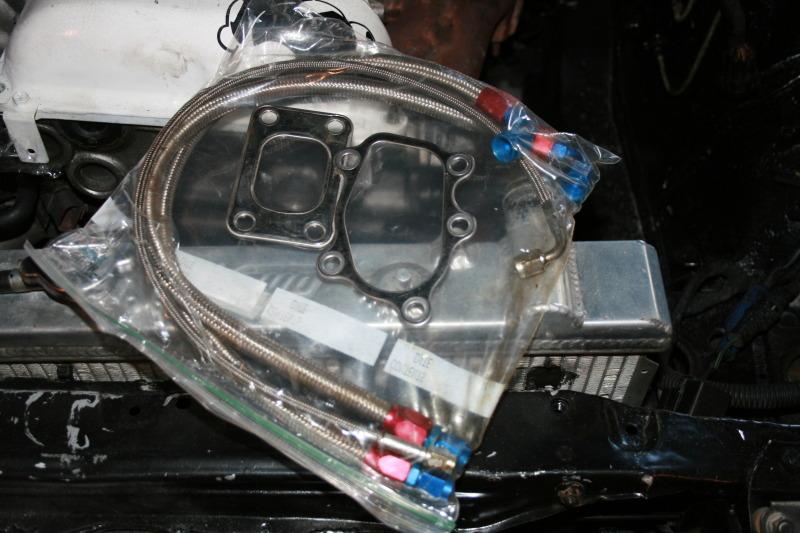
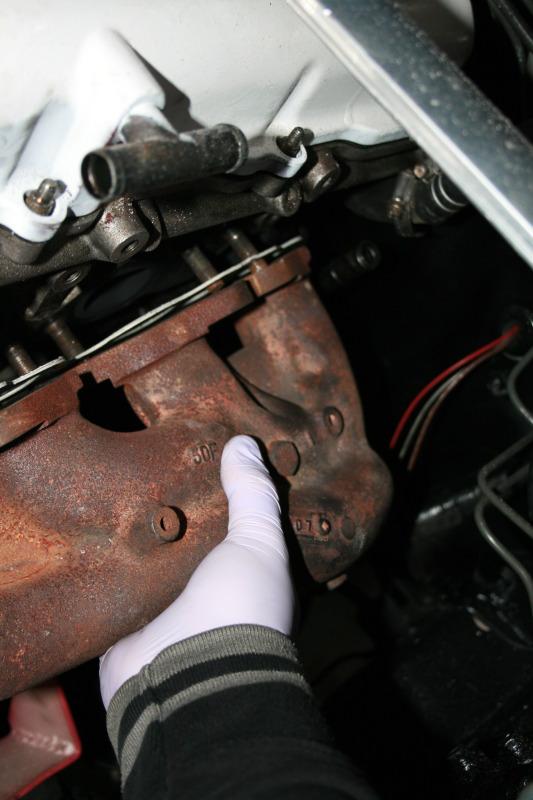
exhaust manifold
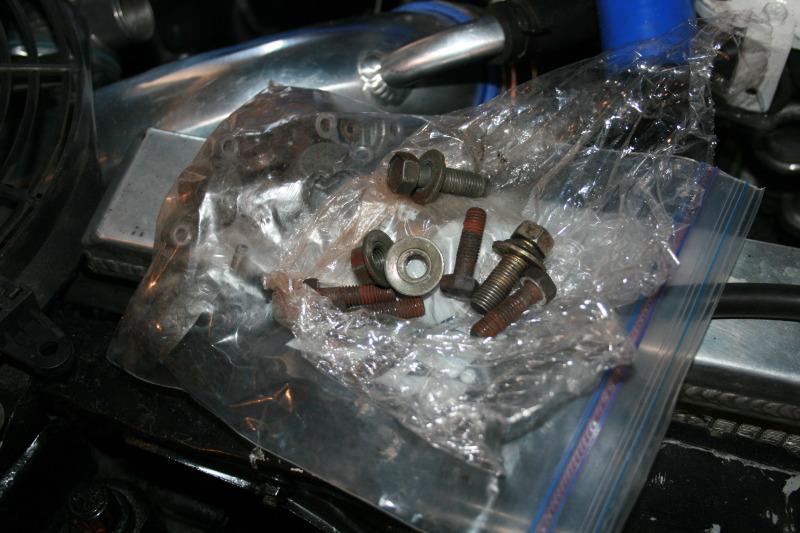
assorted bolts etc
Torquing everything down
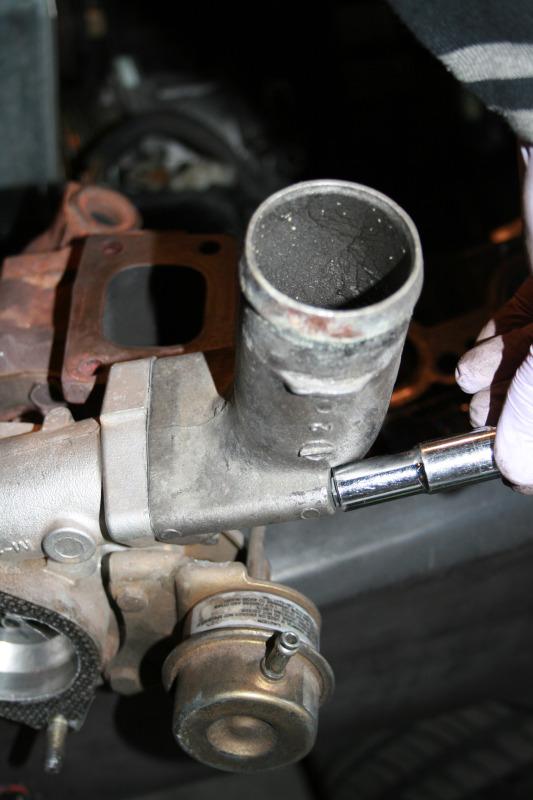
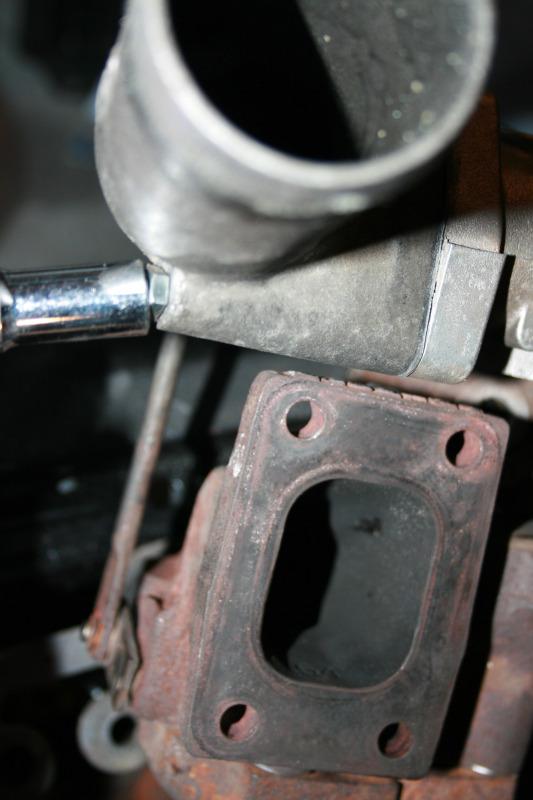
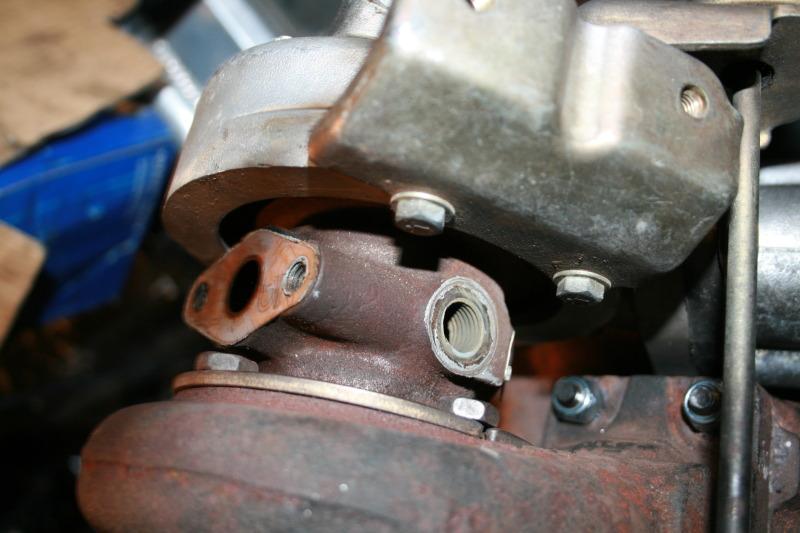
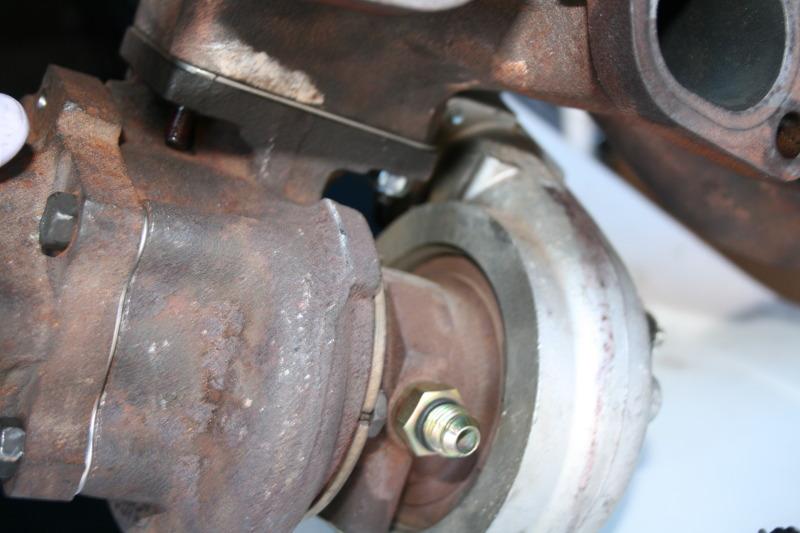
Just realized I am missing my oil feed and oil return fittings. Hopefully my buddy still has them at his house, or he can get me some from his work ![]()
Been working 80+hrs a week since I have no school right now and the Hospital has been crazy busy in the E.R., but I finally have cash on hand, and a good amount too!
That is the double edged sword that is my life, either no cash to work on the car, or lots of cash no time hahahah.
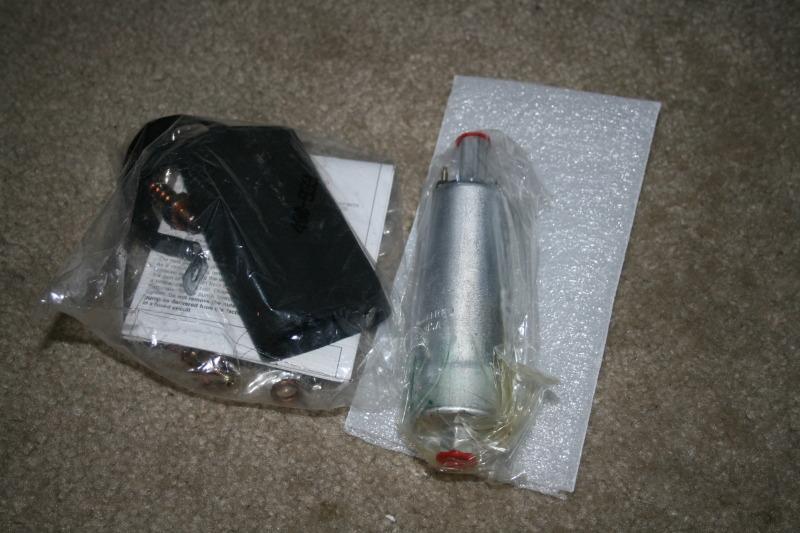
Got The last bits to put my car together, now I just need to actually work on her!
Replacement oil feed, oil return, coolant AN fittings, steel braided lines
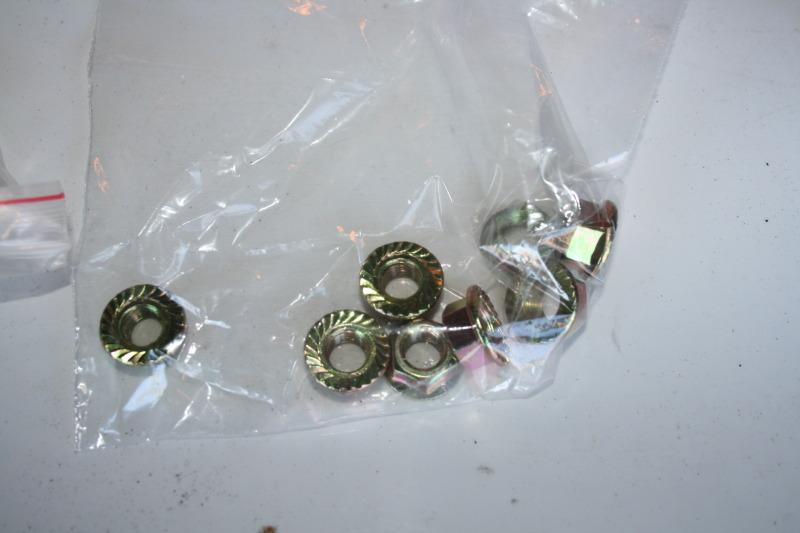
exhaust manifold nuts
Inline external Walbro GSL 392 (external255)
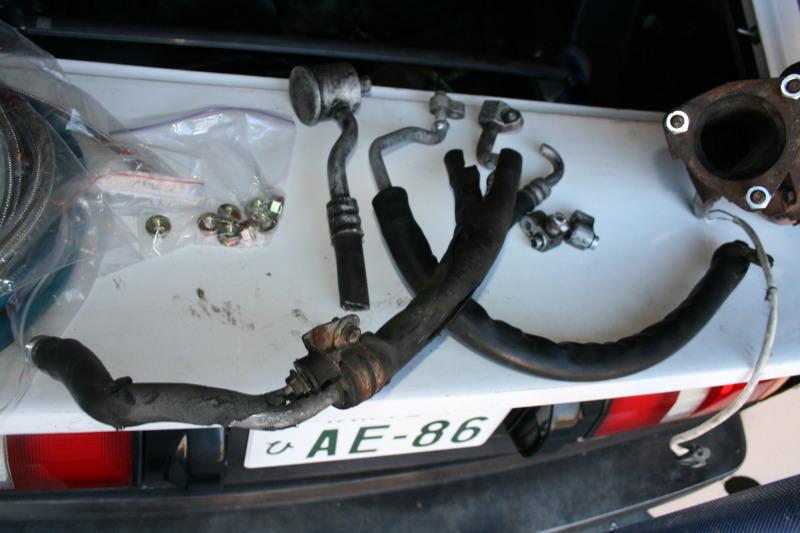
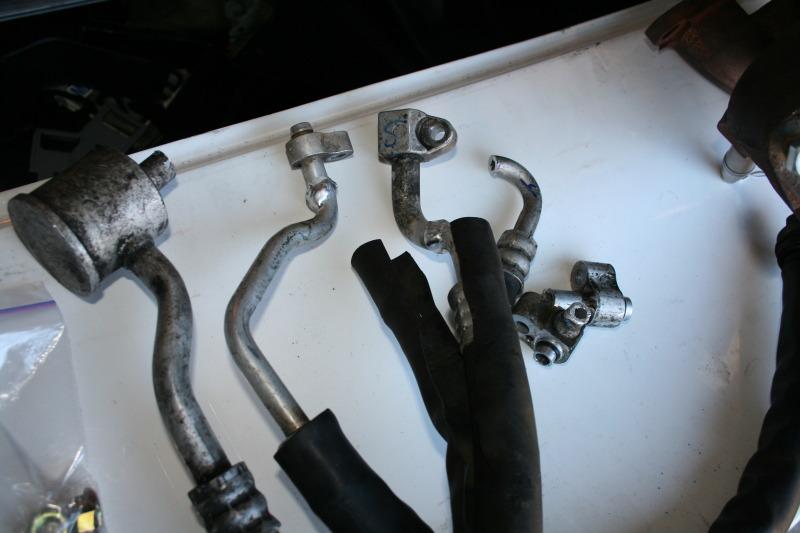
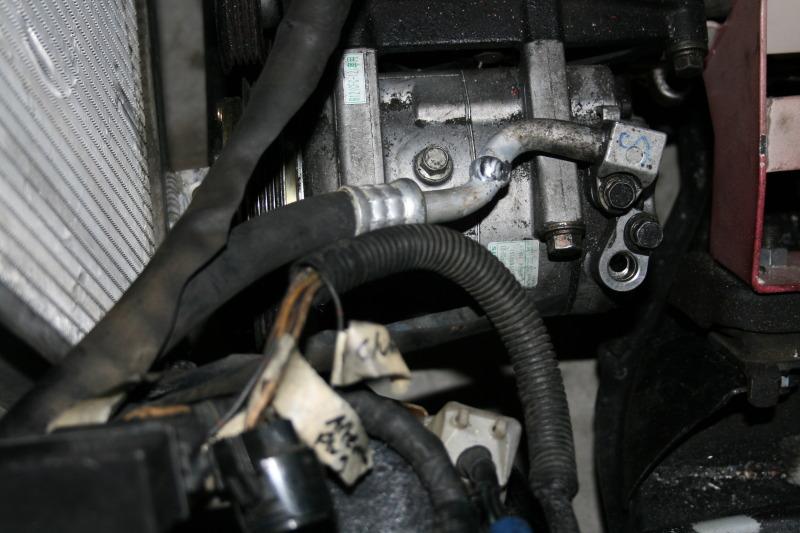
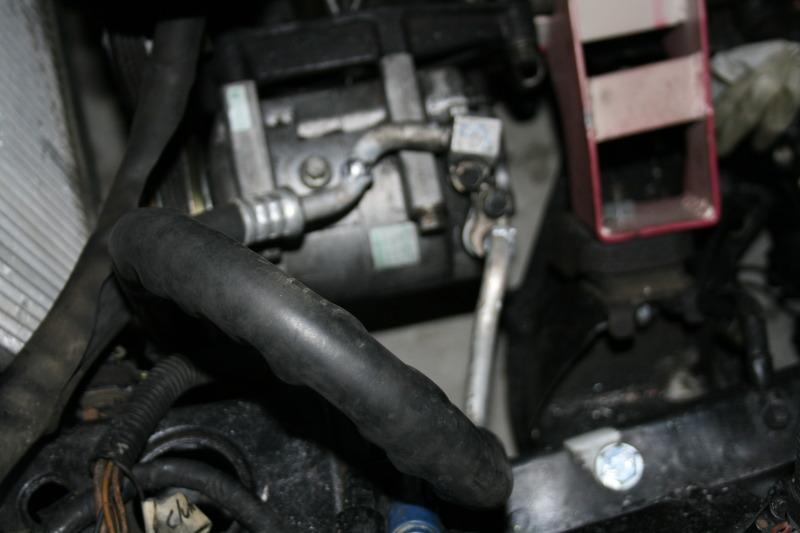
AE86 A/C hard lines re-welded with SR fittings
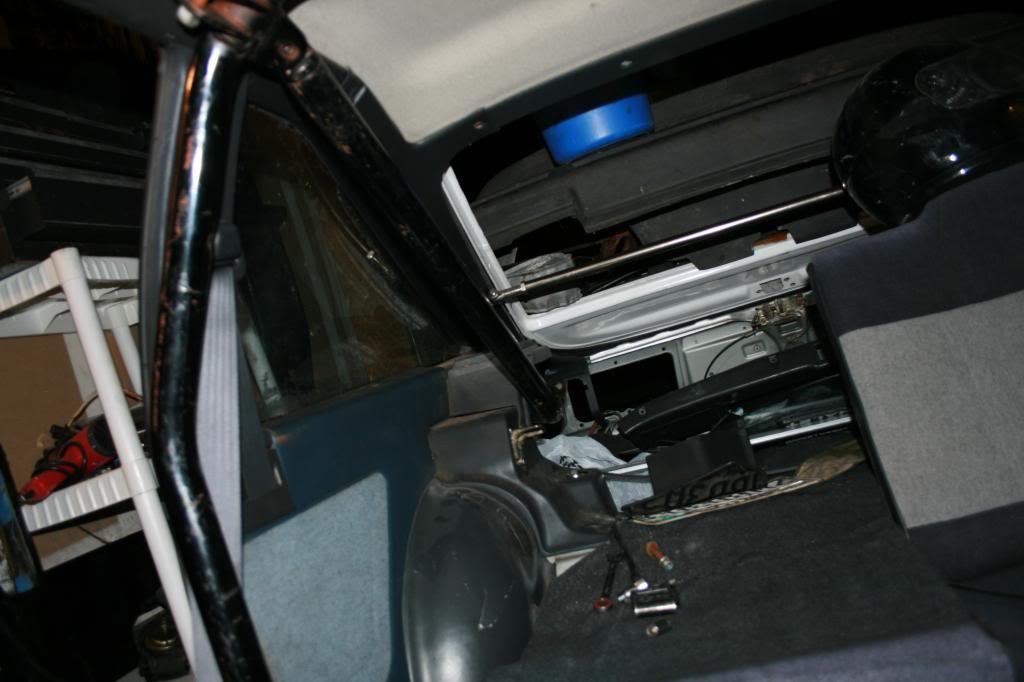
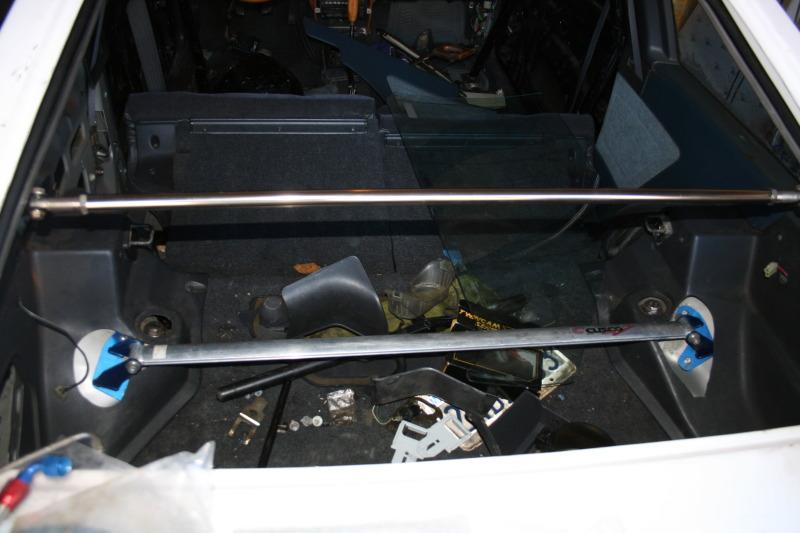
Installed the rear cusco strut bar... kinda think its a POS as it does not bolt to anything with structural value... lol. I am really surprised CUSCO made this...? but hey it looks cool so oh well. The cage and sway bars will be doing most of the work stiffing the suspension so, this can just make it look cool i guess.
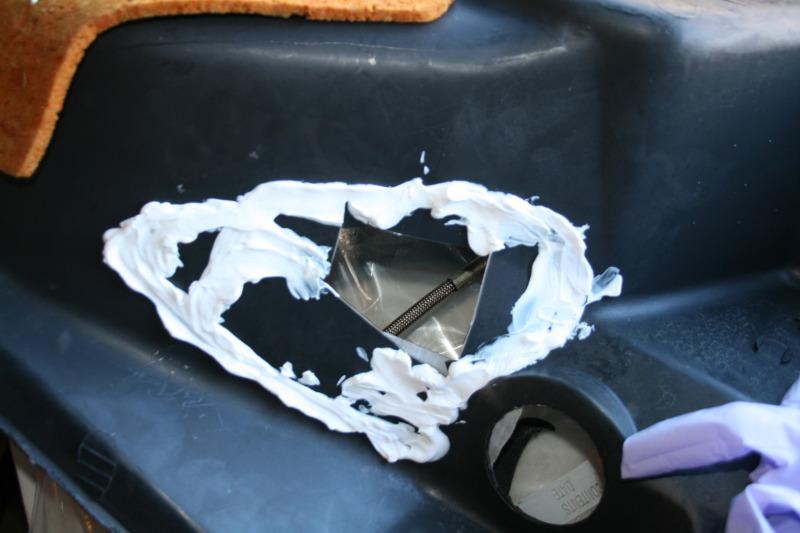
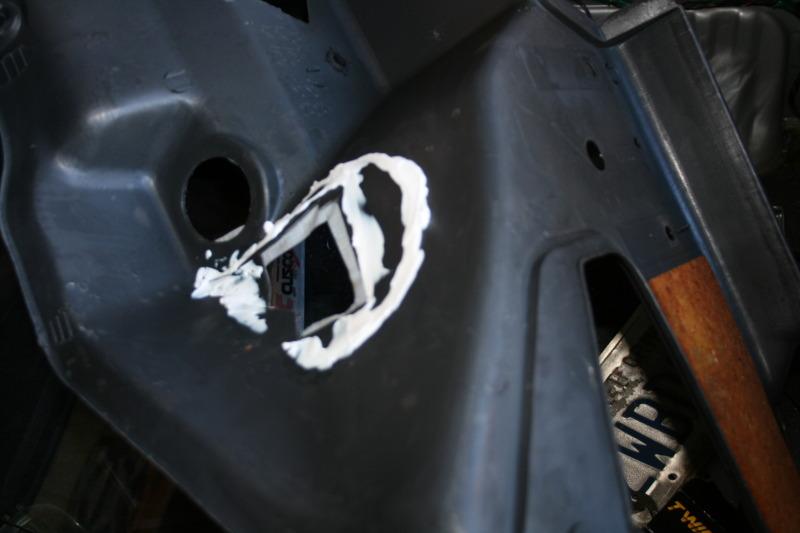
since I jacked up the rear plastci panels I am trying to reapaire them so it will fit better. I may lay bride fabric over it, and match all my interior that way.
starting installing the the A/C lines
and the turbo fittings.
a few small things done, but man its freezing for CA right now its 36 degrees and very winder my god lol CA is not supposed to be this cold, especially southern CA!
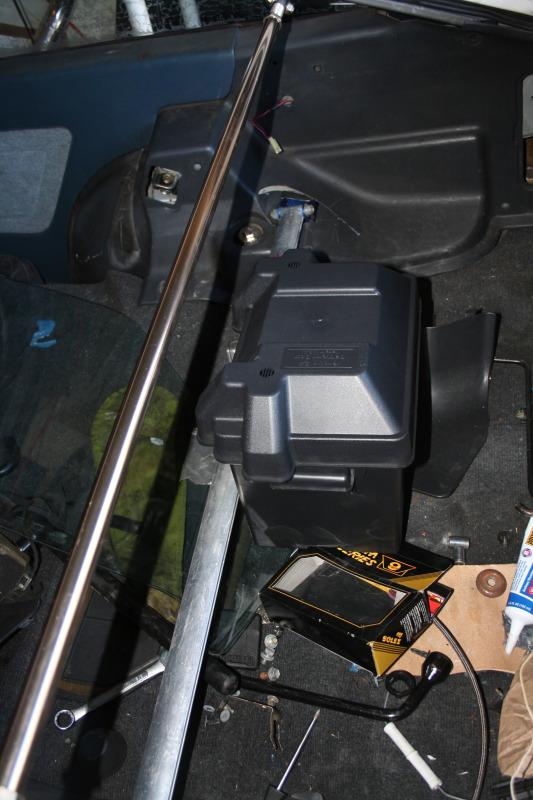
Put the rear trunk panels back in, going to need to cover the cut marks though with something, maybe stickers for now, then later alcanter. I also got a Battery box so I can move the Battery to the back
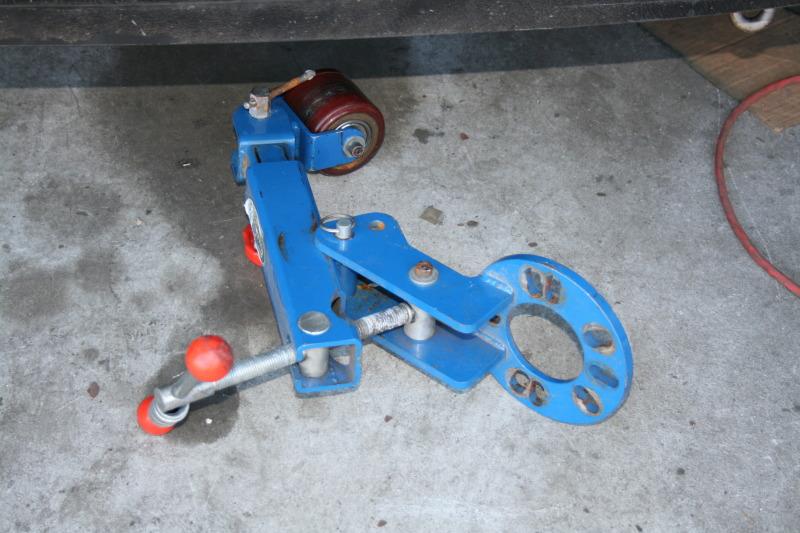
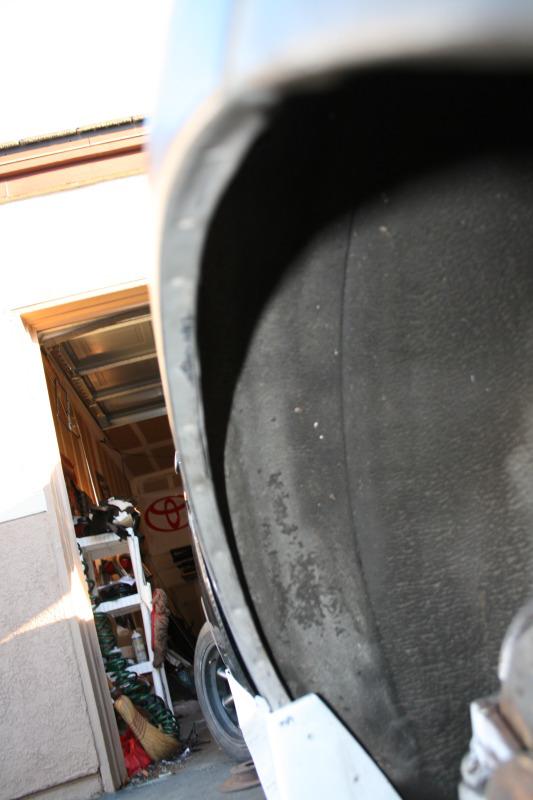
My friend Bruce let me borrow his fender roller, so I can roll and pull my fenders!!!
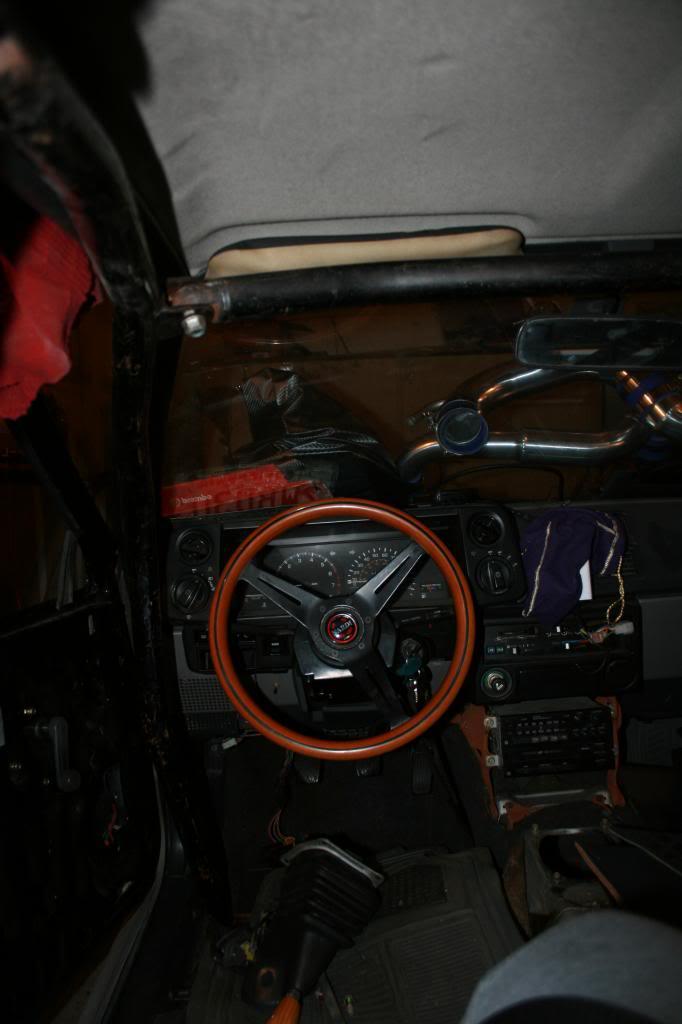
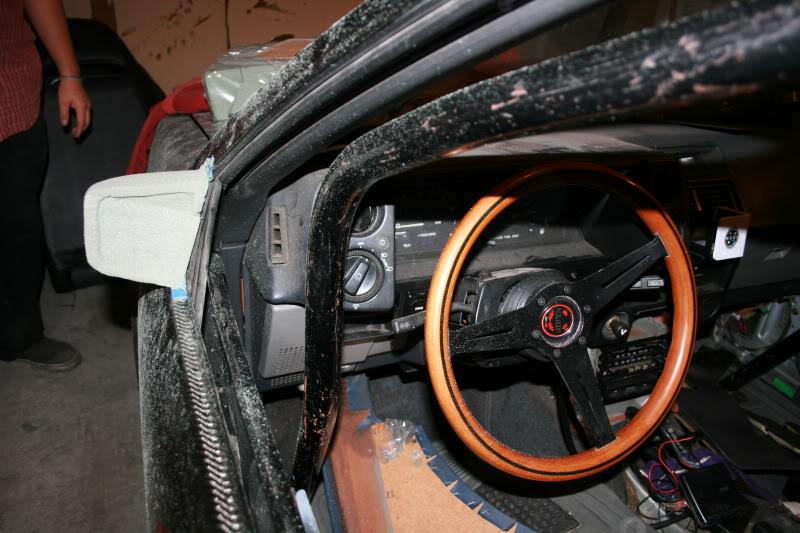
Removing the Dash so Xene can wire up my gauges, though I am really on the look out for a NX1600 digital dash, if anyone has one hook it up!!!

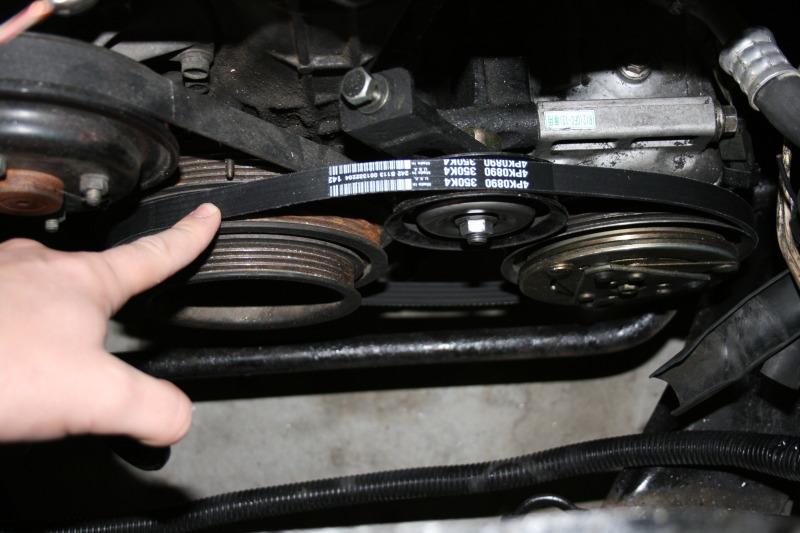
Got a AC belt too, getting closer and closer every day!
Hahhaha thanks! Yeah it takes a certain passion... or obsessiveness/ nature to do these things. That or negligence to the facts of how much there really is to do lol! Cause I always feel like I am so close to getting it done! I actually think I enjoy building more then anything, when I can see what I want to build in my head, and put it into flourishion, to me is just the best. That and I am kinda Jew-y and I look at the financial Investment to do this all my self, VS buying a premade one. Hopefully when this is done if I did my spread sheet right, I will have about 5,500 invested and I should be able to flip it once I am bored with it for about 10-14,000. So it should be fun, I just can't wait till she is painted and has a finished look and feel. But man It just sure is getting close!
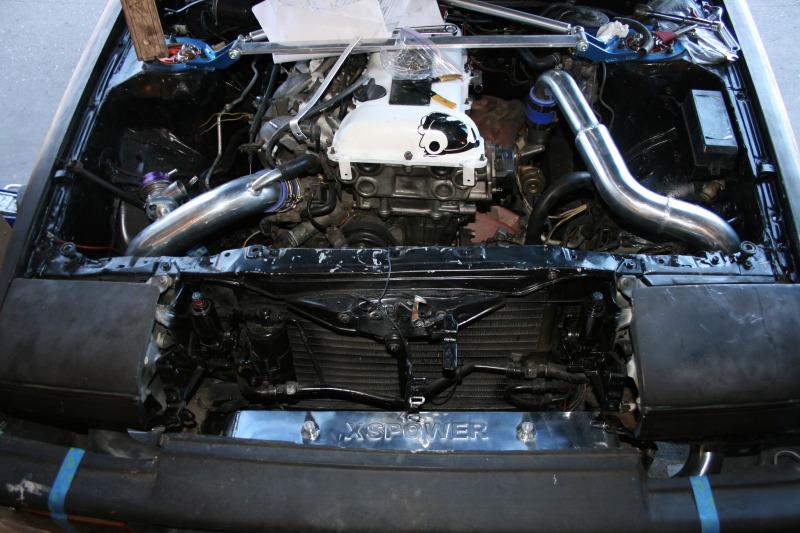
Started fitting up the otherside of the intercooler.
Test fit
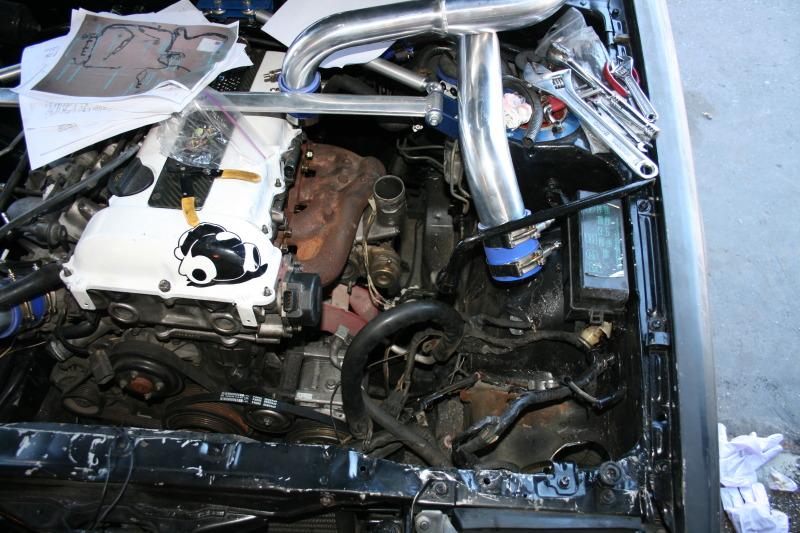
drilled my hole
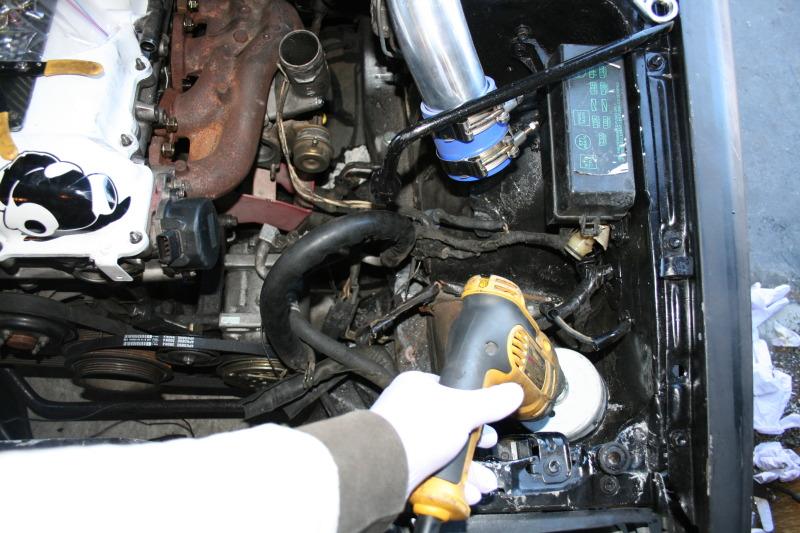
yeah Hole
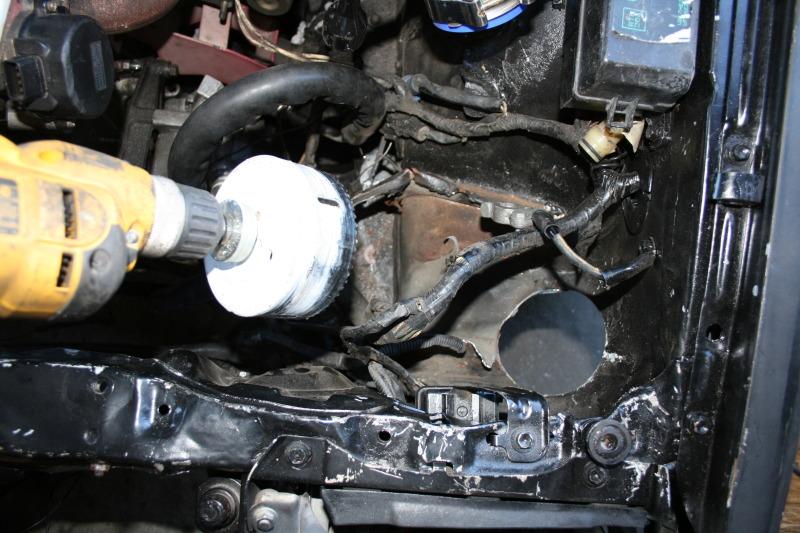
some tubing to make the sharp edges not cut anything.
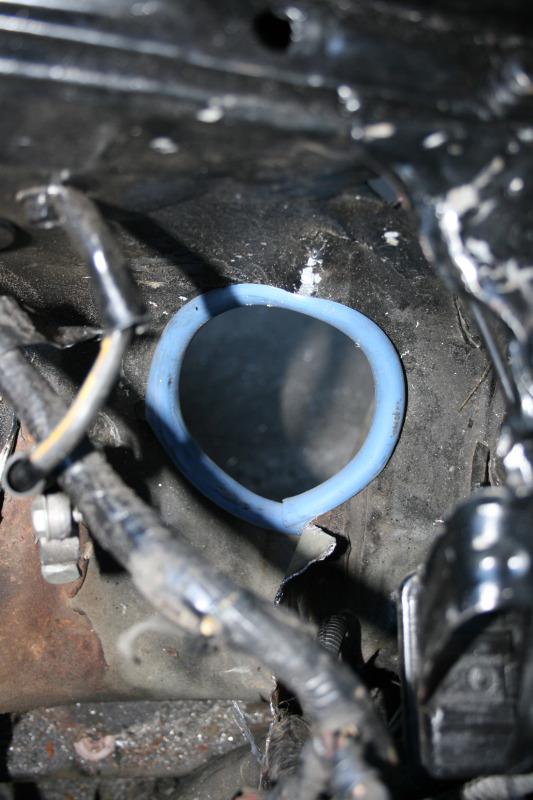
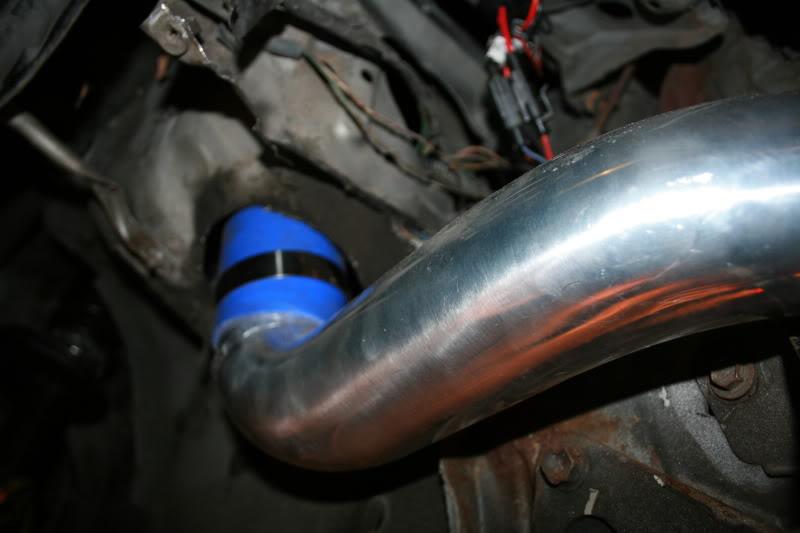
intercooler piping installed.

Its a little too long on the passenger side, so I will trim it down.
Intercooler support bracket.
Should i put the badge here
Or here
or none?
OEM fender lip
Rolling fender
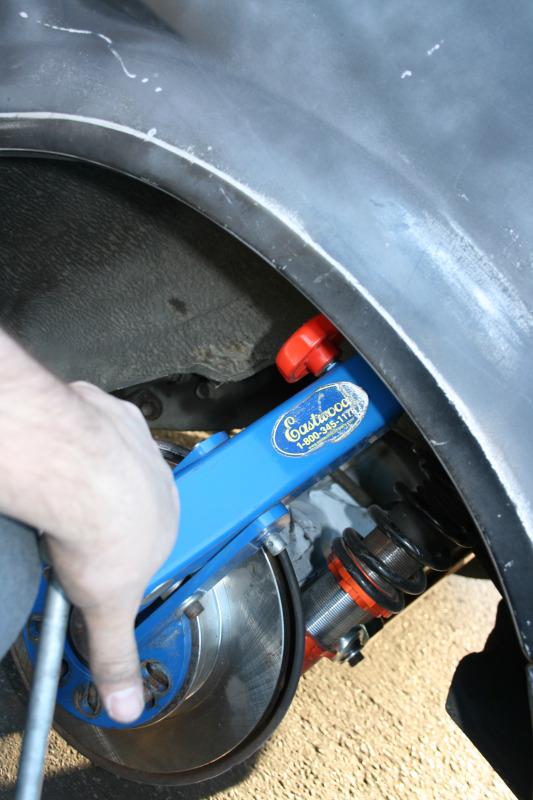
Rolled fender ![]()
Man I am so excited! Just ordered a NX1600 Digital Dash, should be very cool, and if all turns out well and installs. I will be the only AE86 with a NX1600 digital dash
I also am about to Carbon Fiber Fender flares! that should look killer on my A
Thanks guys, as soon as I get some more work done to it, I will post up more. Im waiting on the NX1600 digital dash, and with my friend Xene (wiring genius) I will put up a DIY, and hopefully the CF flares will come this week too.
The never ending project ?
Posted by Diggymart on 12/21/21 @ 1:49:05 PM