You must be logged in to rate content!
16 minute(s) of a 82 minute read
1-24-2013
From:
To:
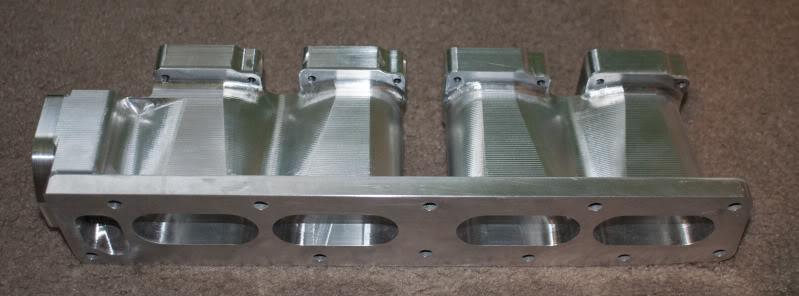
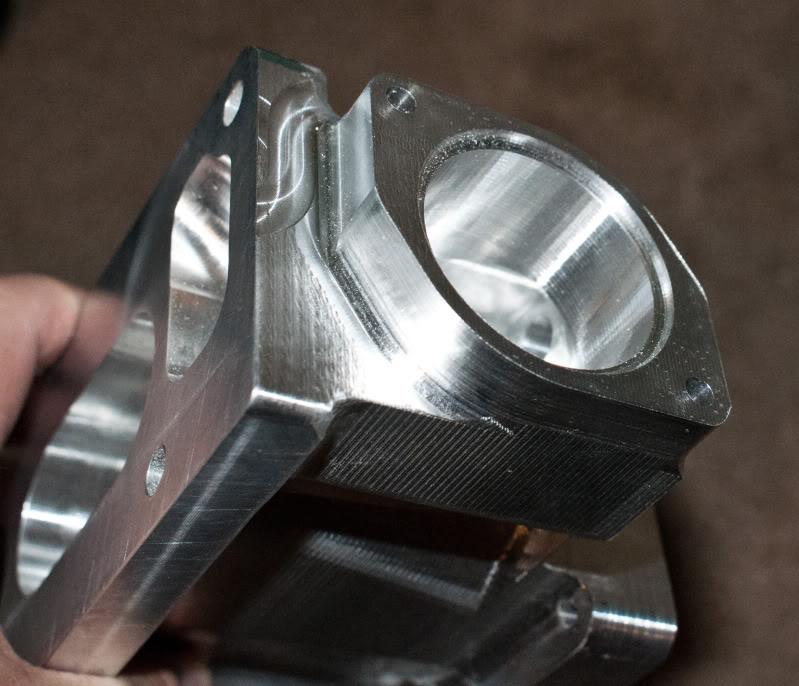
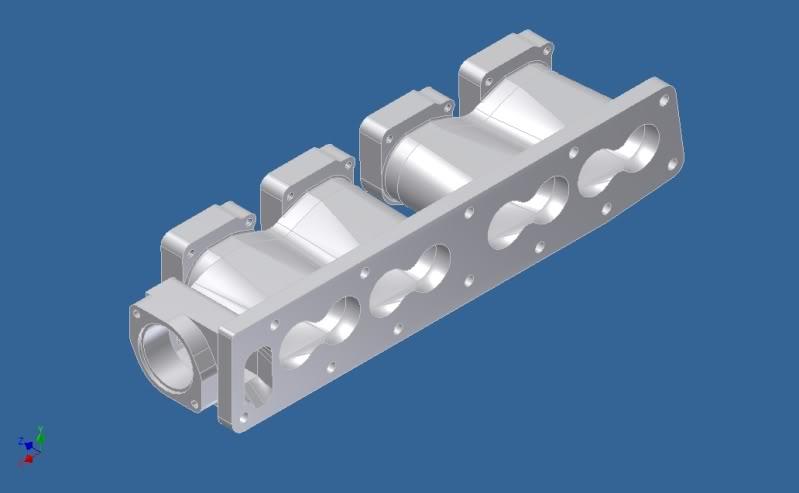
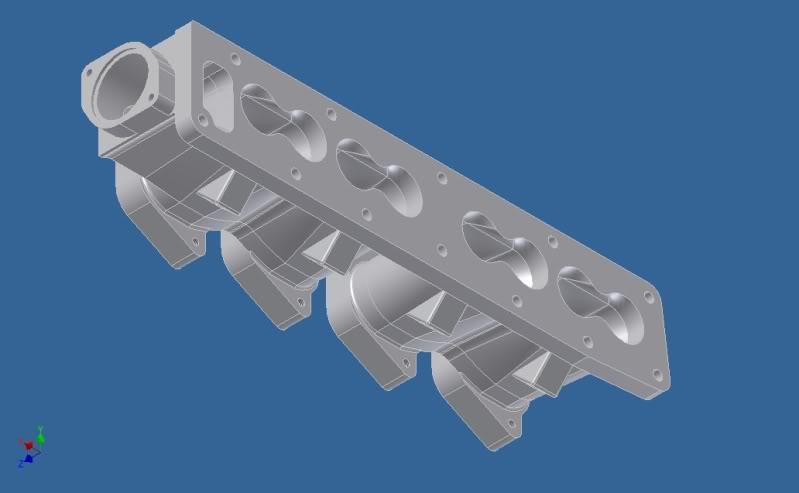
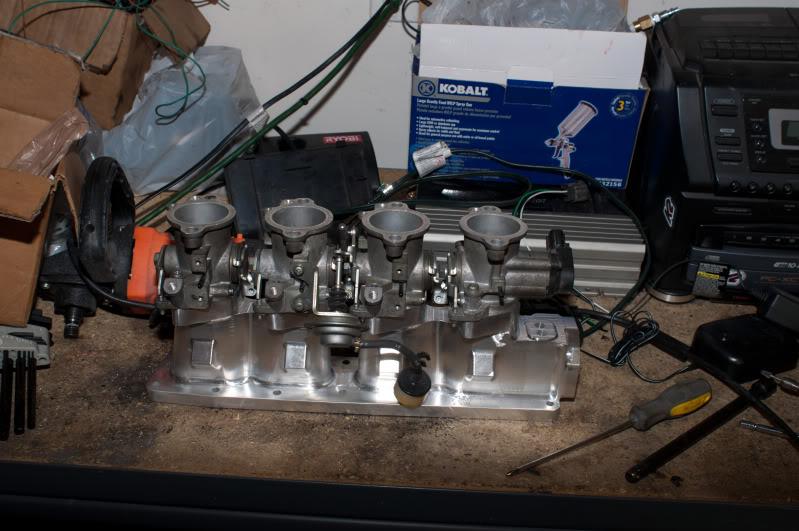
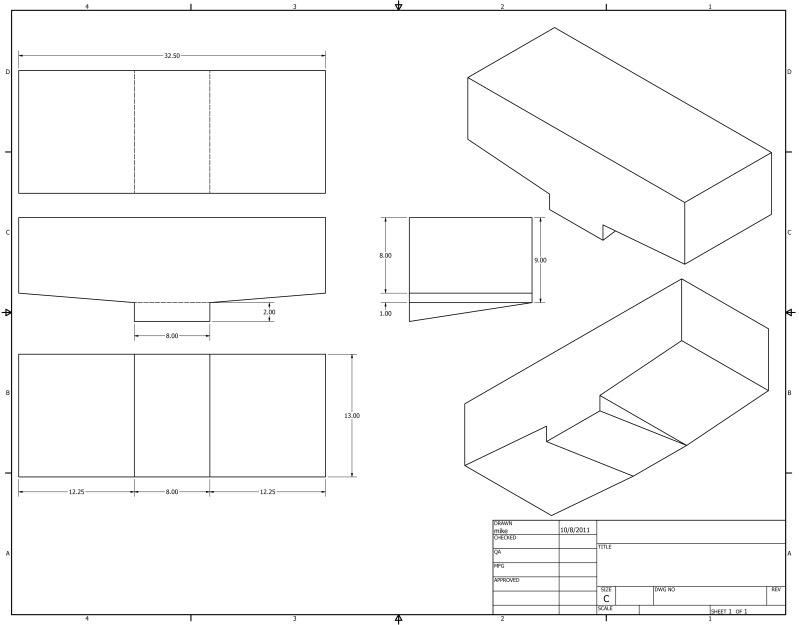
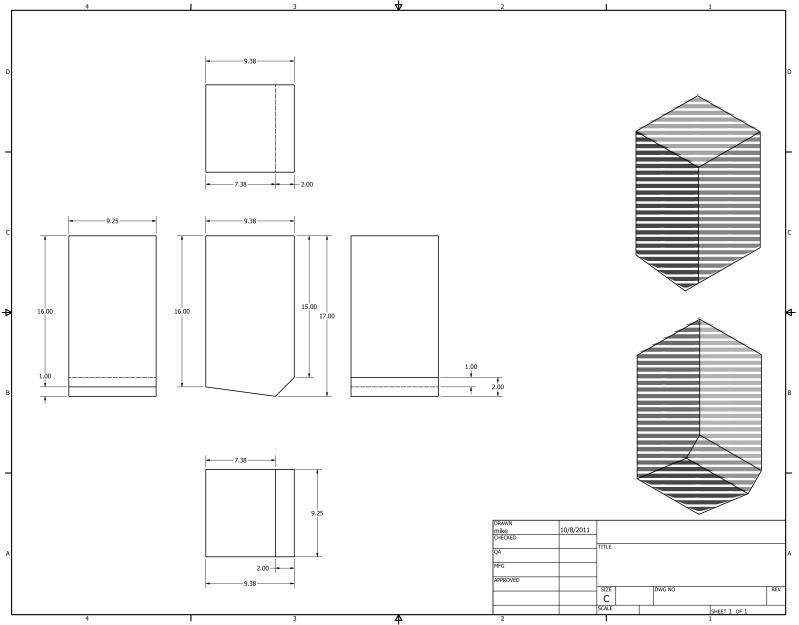
The machine shop still has a couple hours of machining to do on it to clean up the edges and they said they're going to polish it up. They still have to match the taper on the ITB bores as well. The figure '8' piece on the head flange had to be redesigned due to restrictions caused by the type of CNC machine they have. They're going to make a 1/2"-3/4" thick spacer flange that will have those curves included.
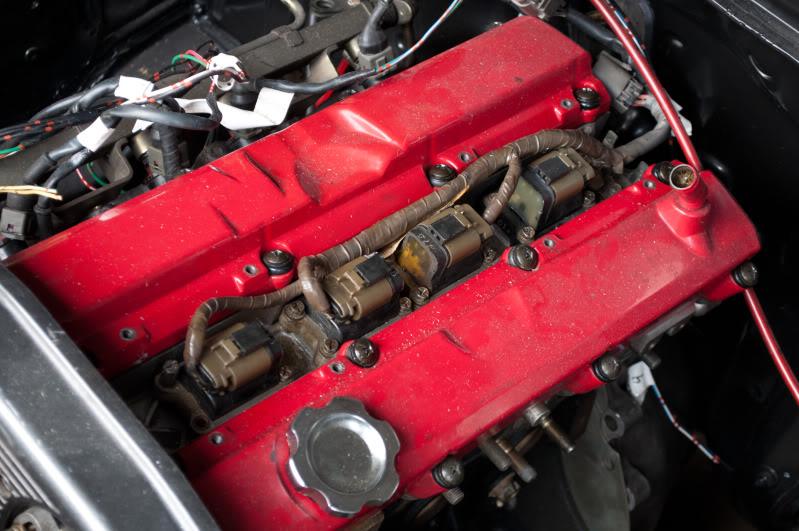
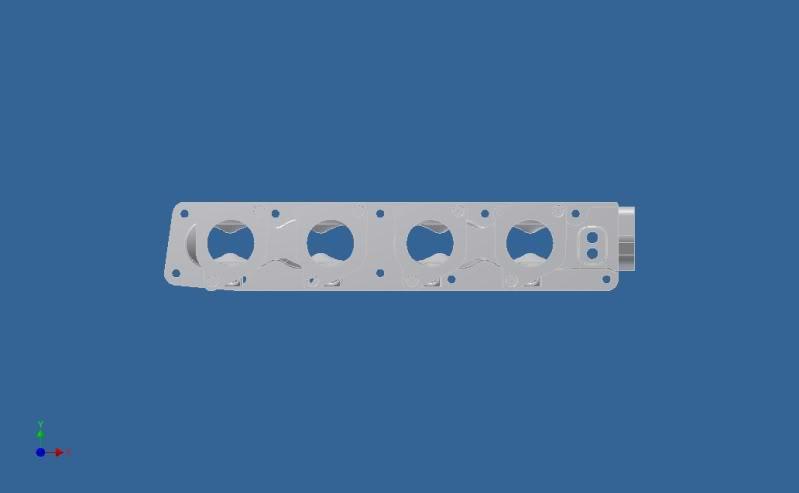
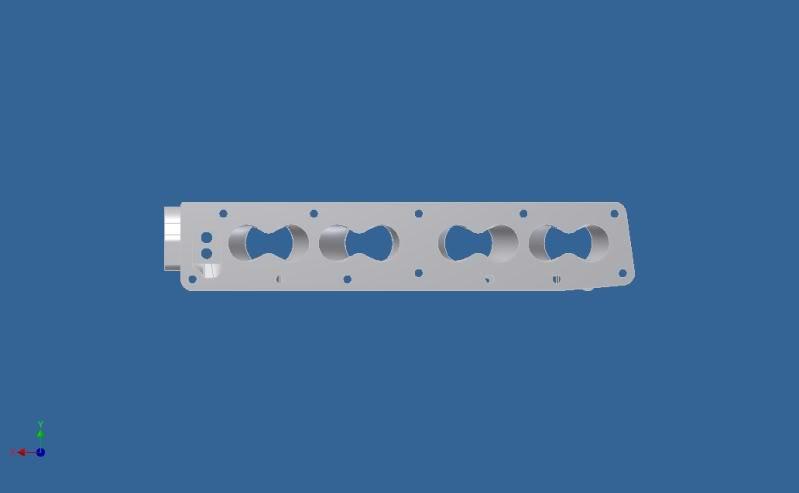
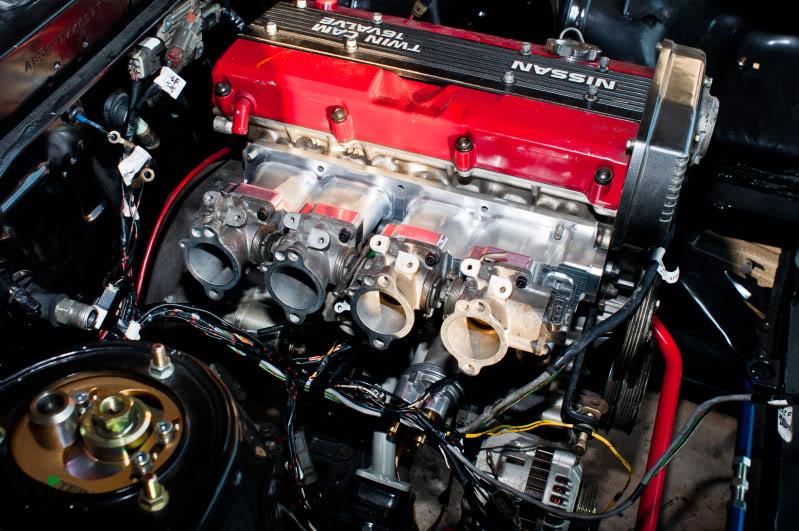
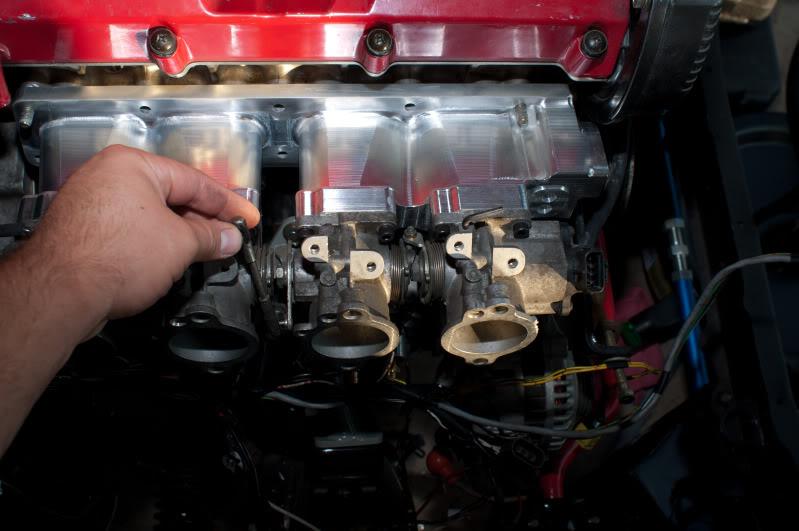
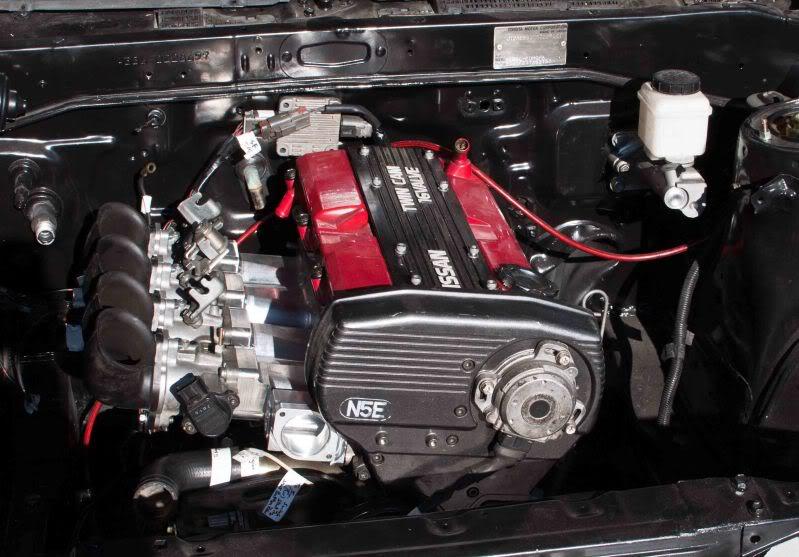
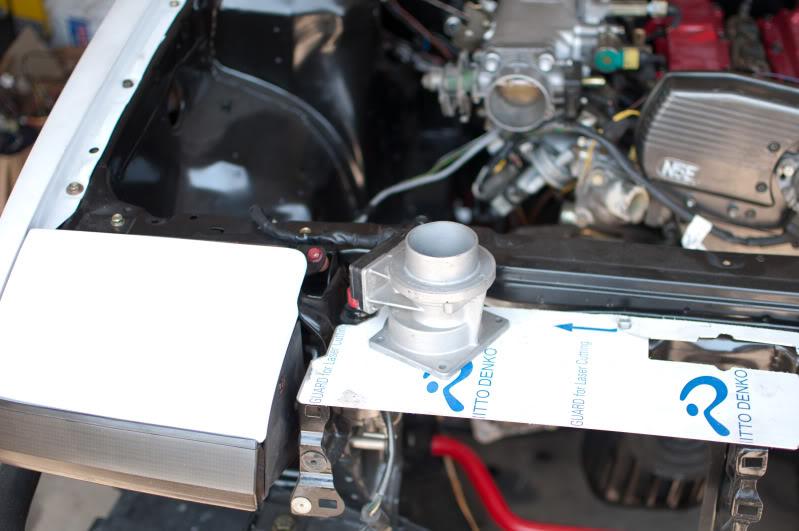
Well, I've been nervous about actually sizing it up against the head. I've only been able to test fitment by printing my workflow images from AutoCad/Inventor. Seems everything is going to be okay though:
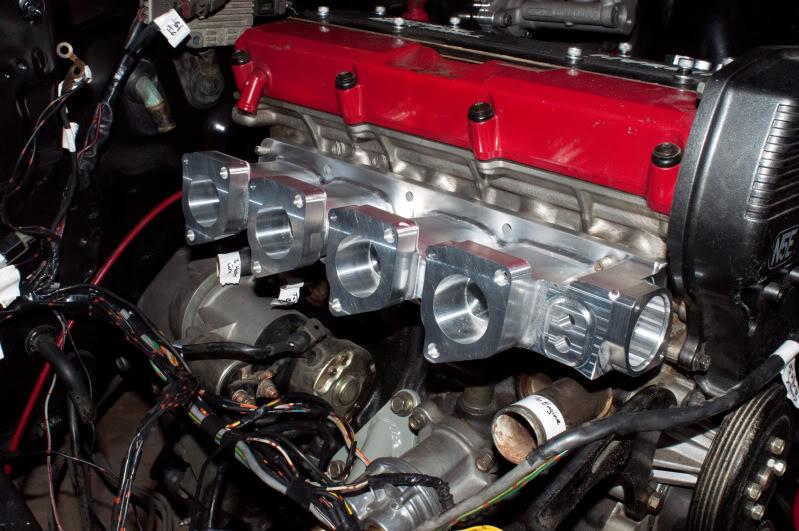

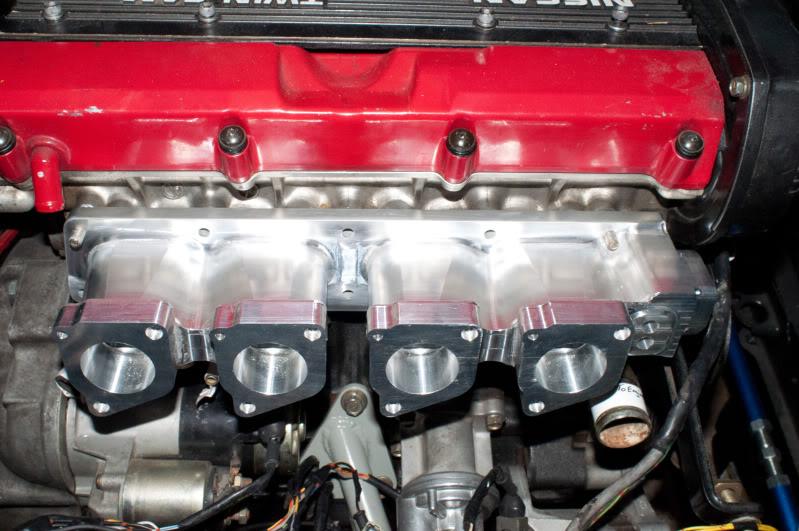
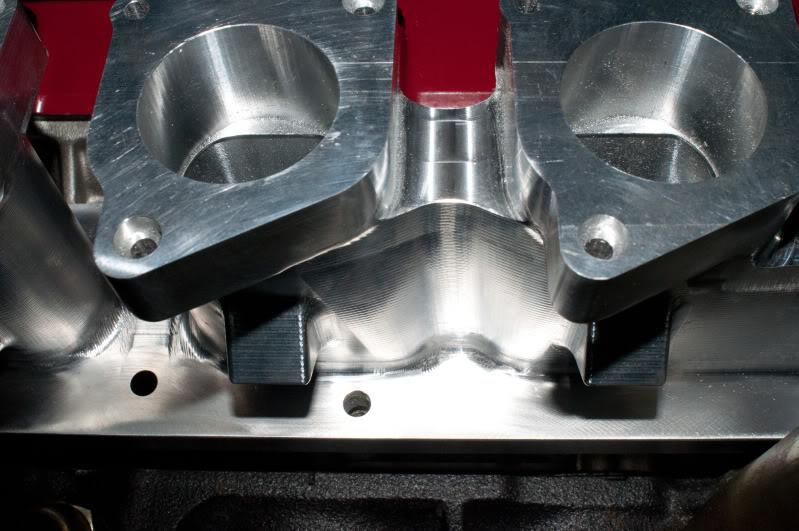
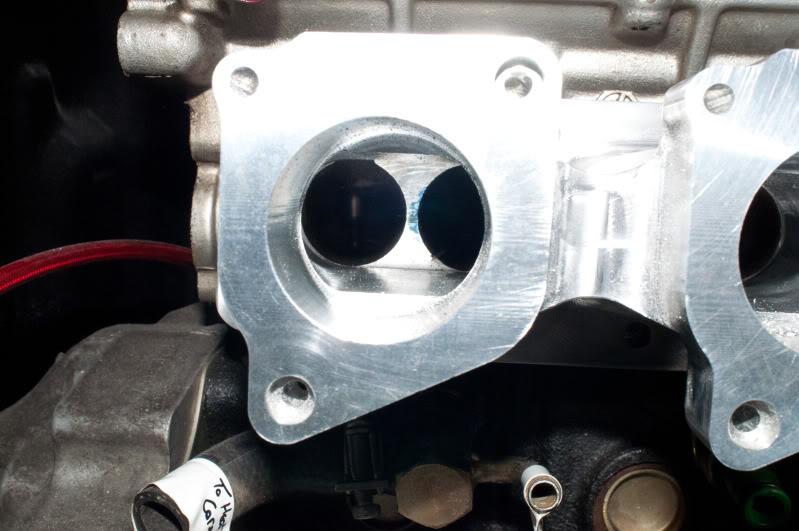
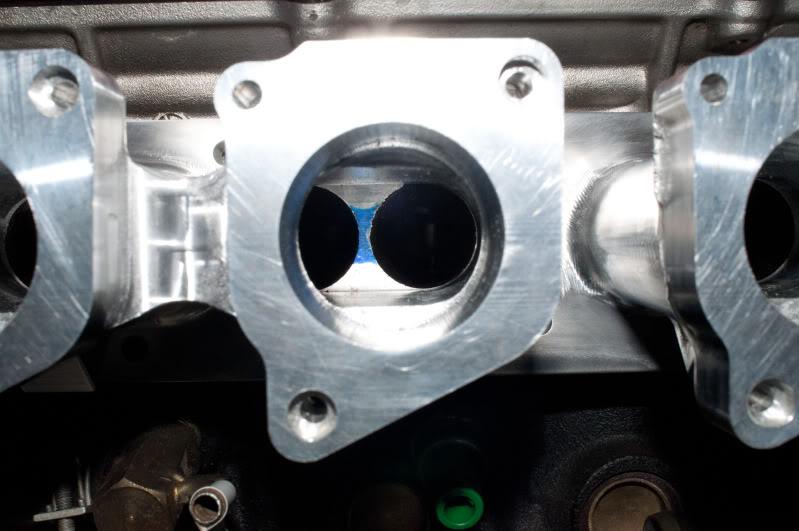
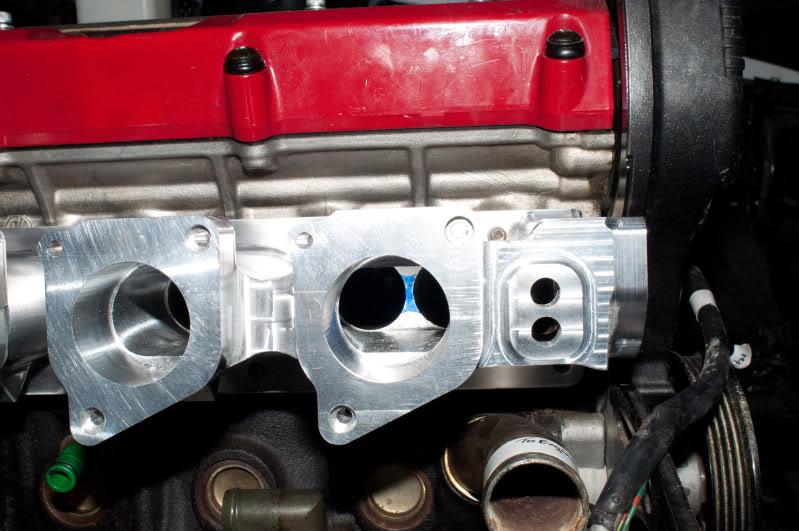
It's not seated completely against the head in the images. I need to clearance the bolt holes a tad bit. Good thing is that all the cylinder ports and the coolant passage line up as I intended them to.
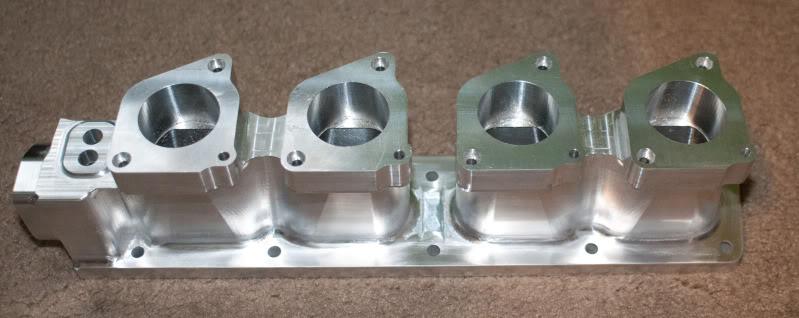
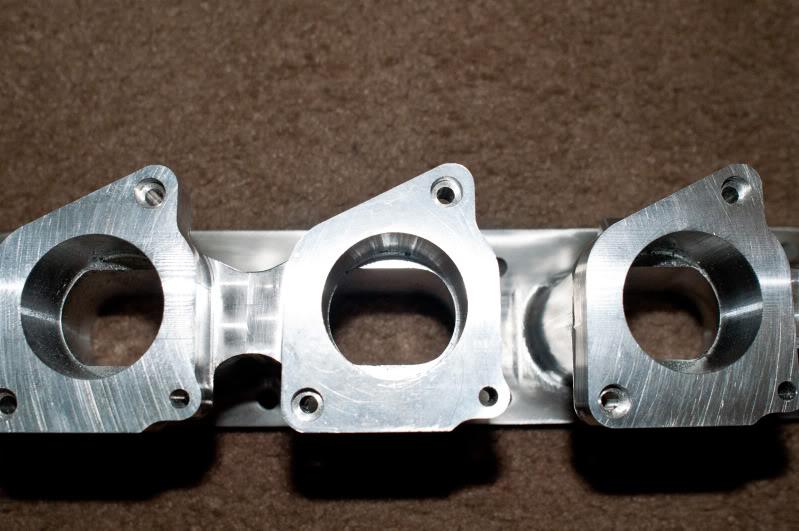
I had the bore milled close to the Silvertop ITB bore. It's actually a little indersized. I planned on using the BT ITBs from the get go, but the ST bore was easier to design. The BT bore will solve any alignment issues that are present.
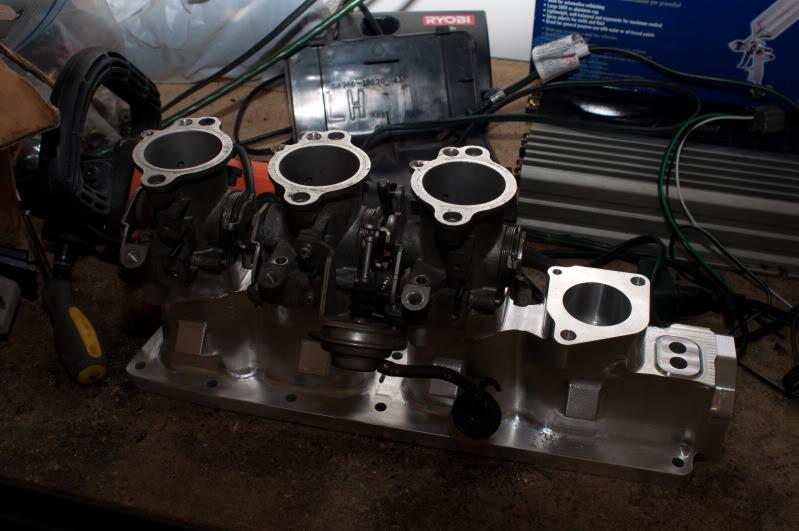

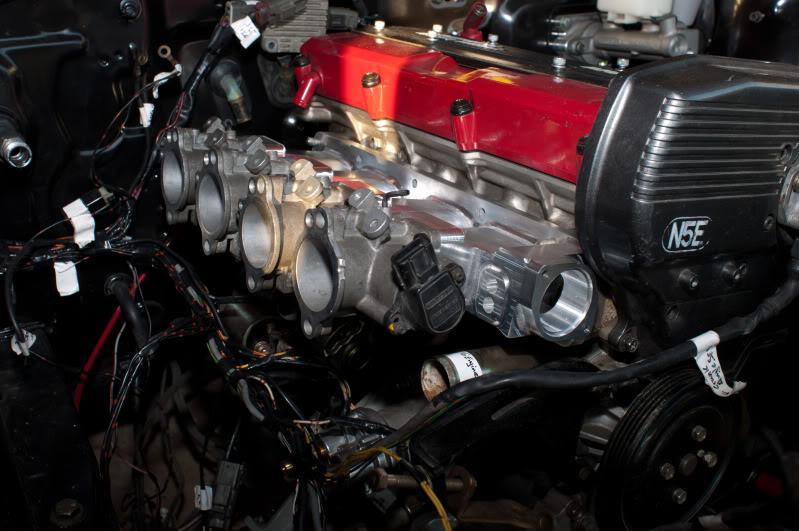
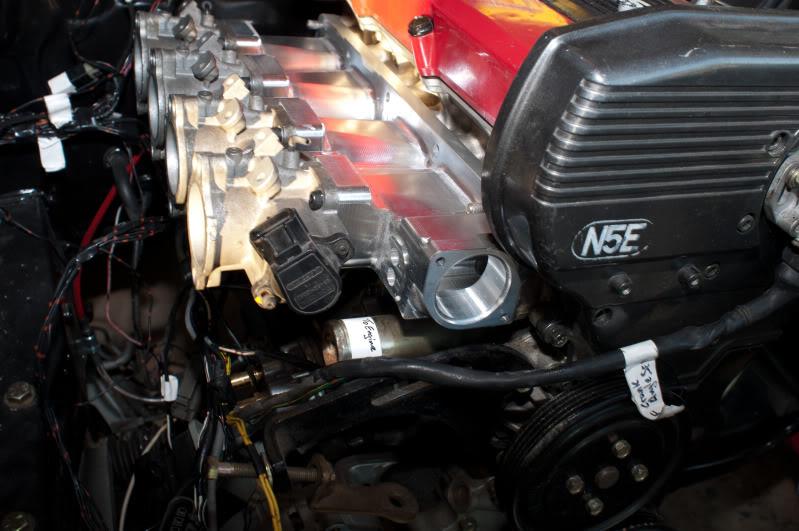
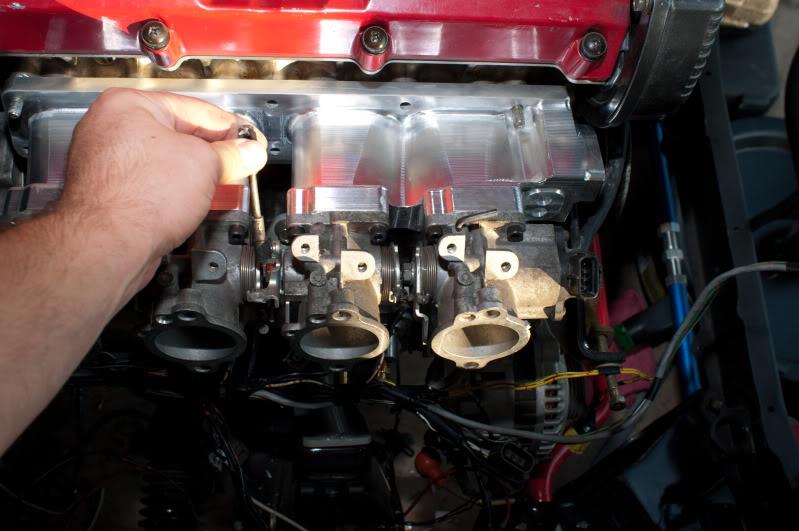


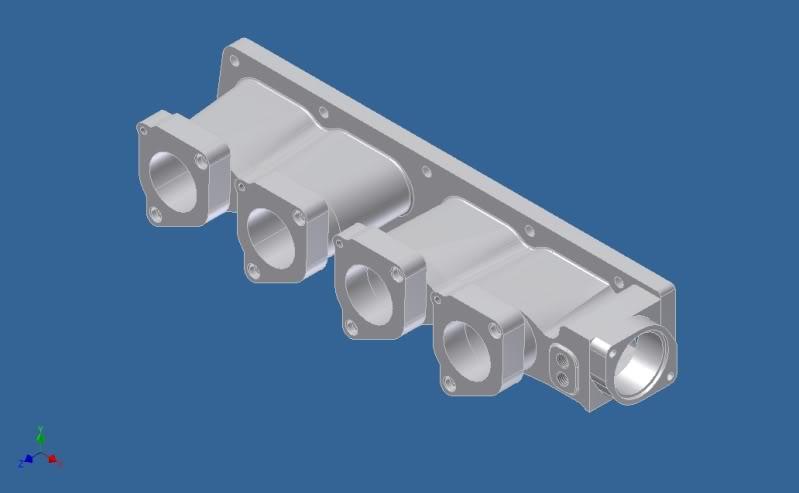
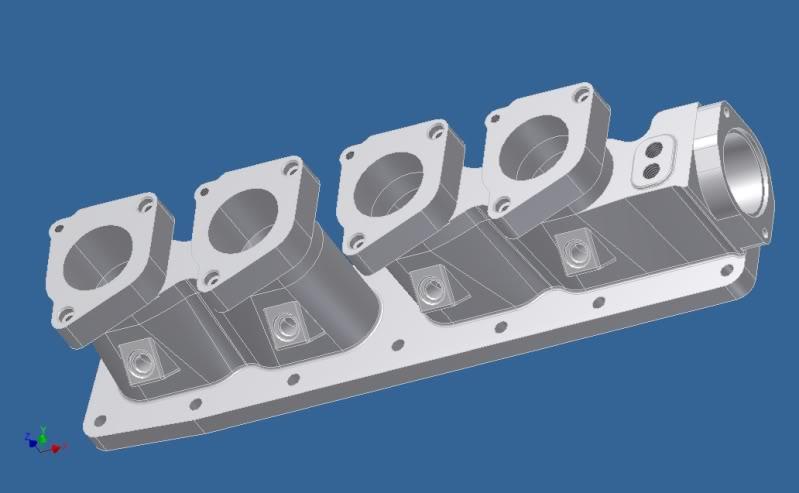
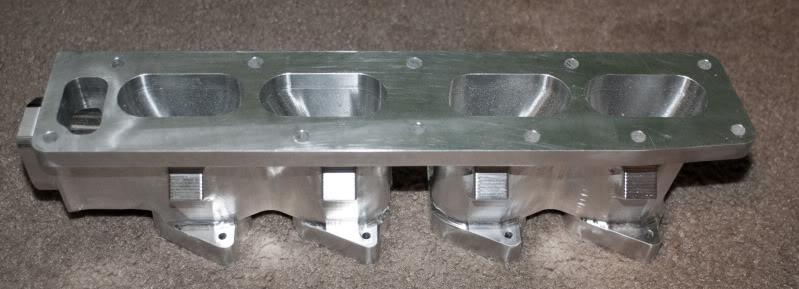
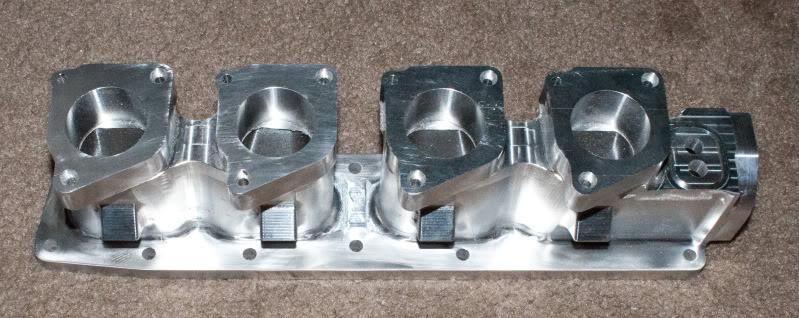
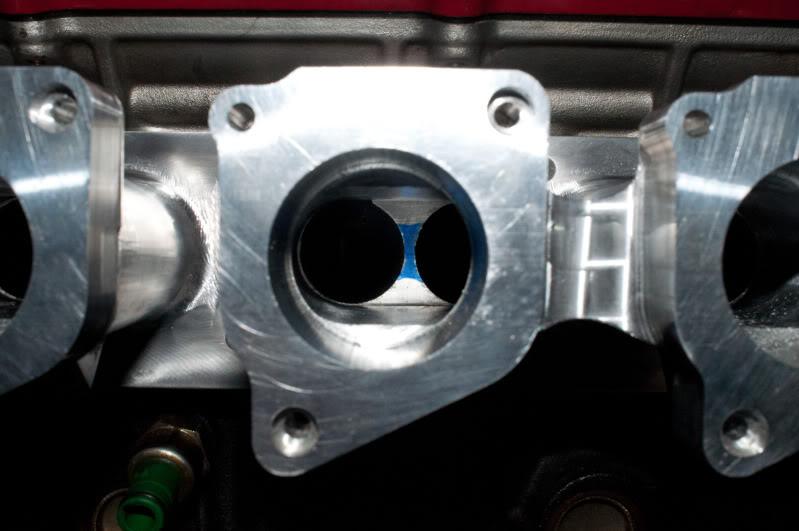
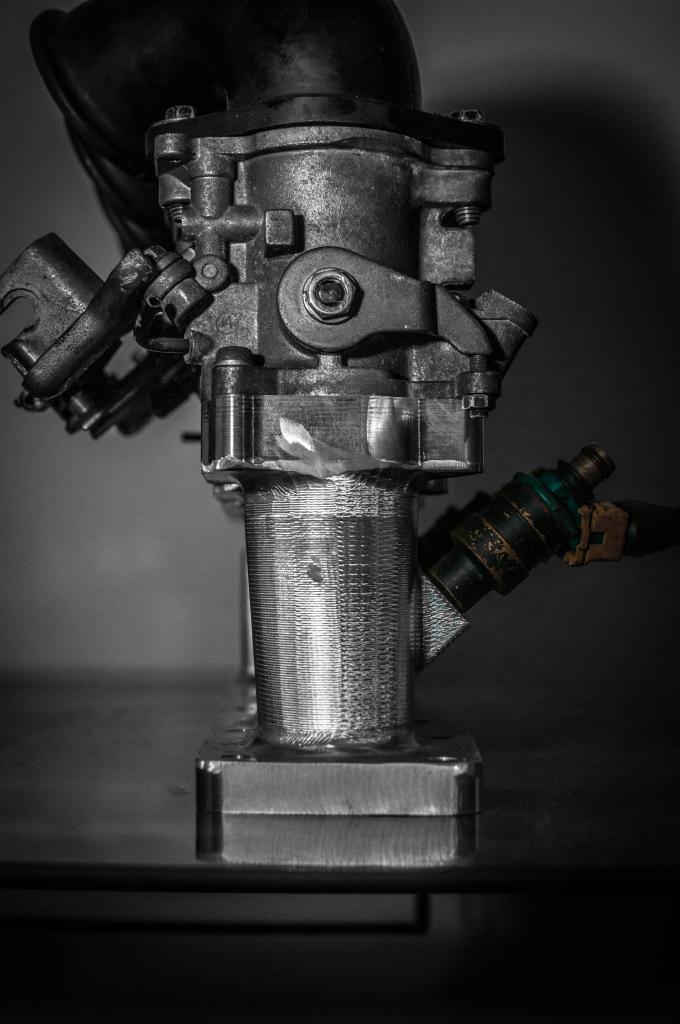
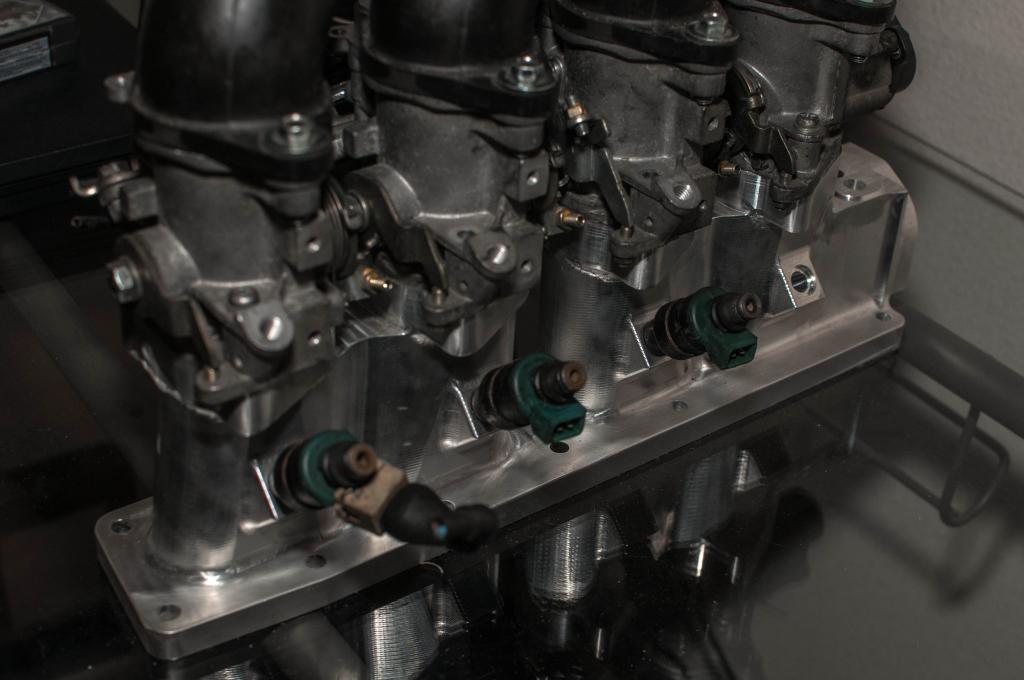
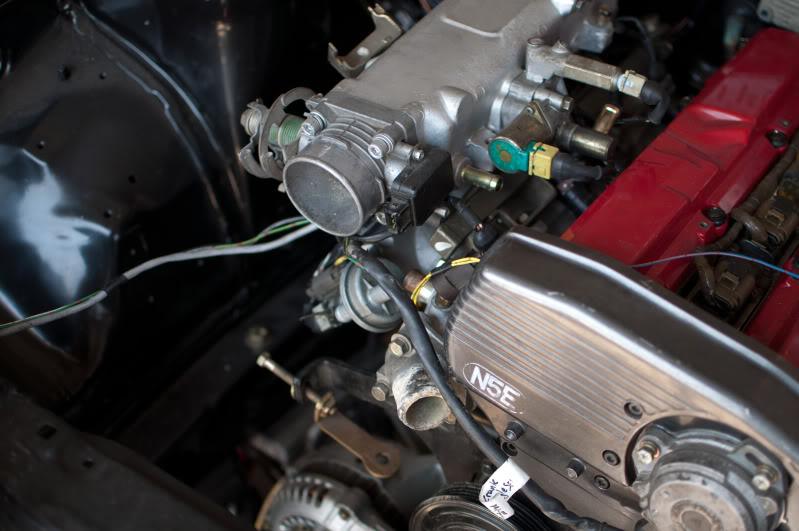
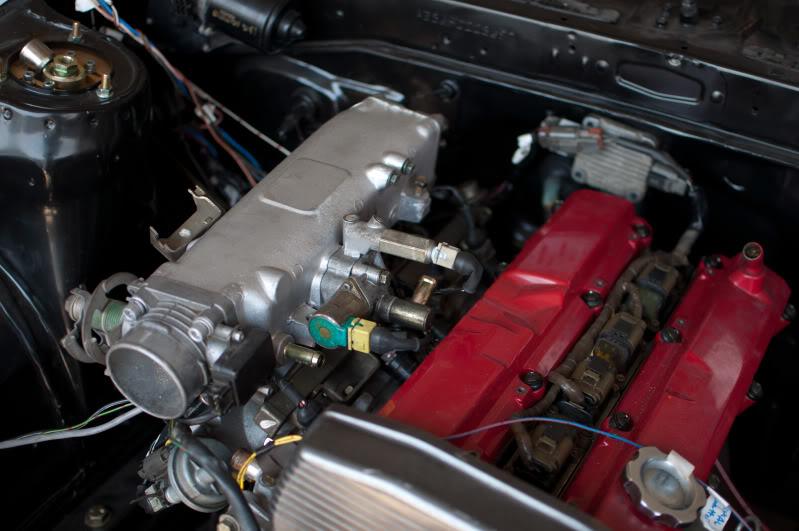
-I mocked up the blacktop itbs on the adapter. The 1" adapter flange is at Noribilt right now getting machined out. Once I get it, all I'll have to do is finish both pieces with a die grinder/dremel. I would say I'm 85% there now. I think it looks damn good.
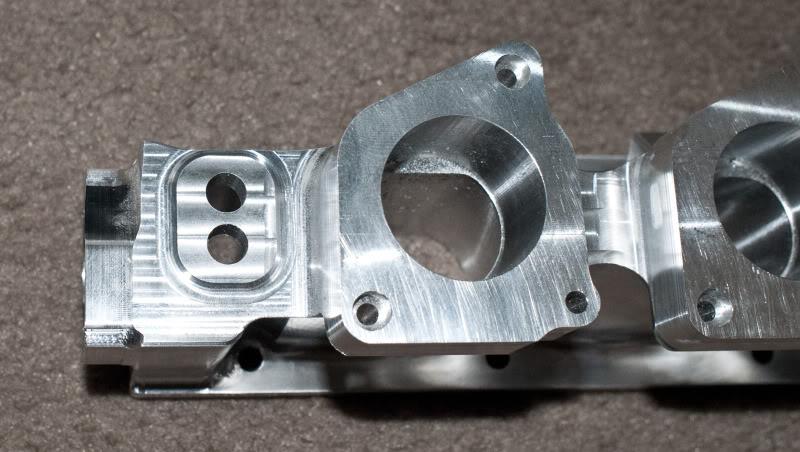
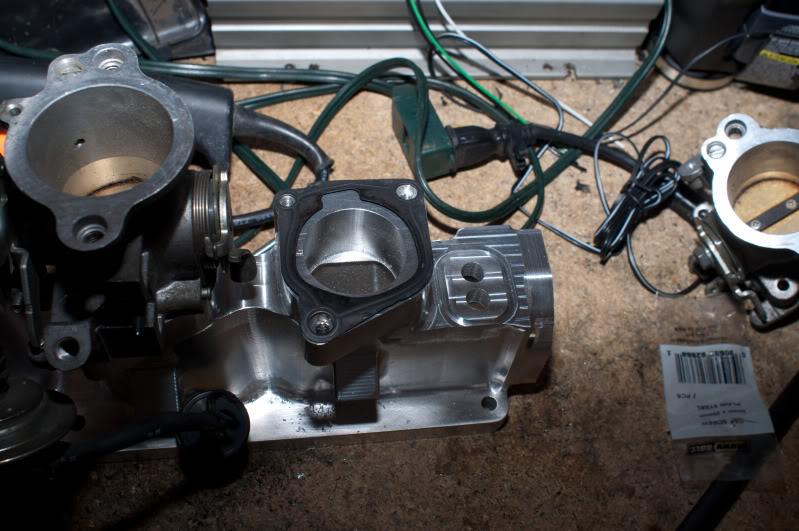
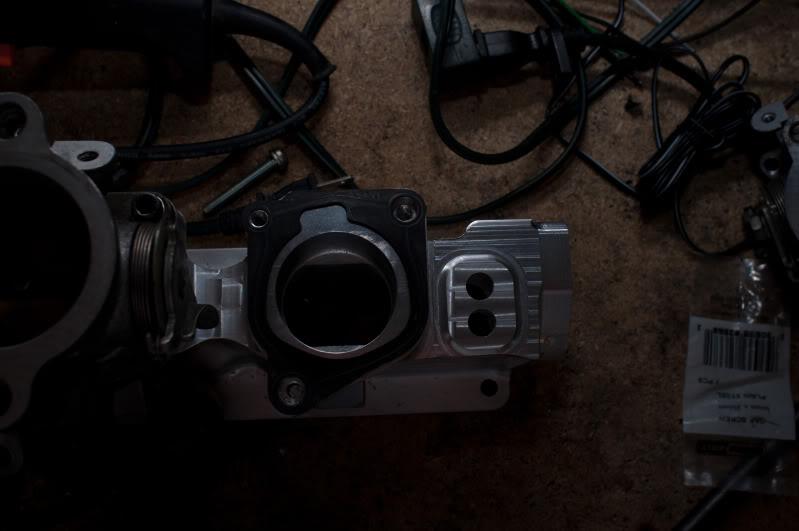
Finally found someone to mill the injector ports. Just need to do a bit of work to clearance them for the injector grommets.
Wiring:
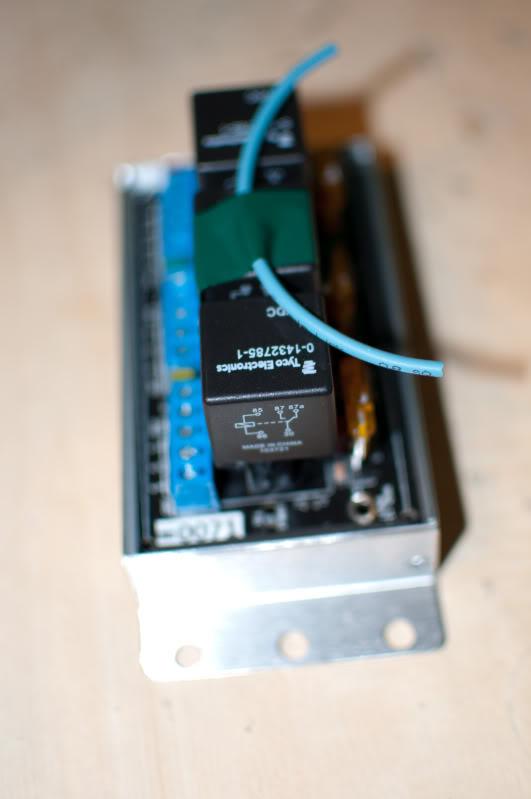
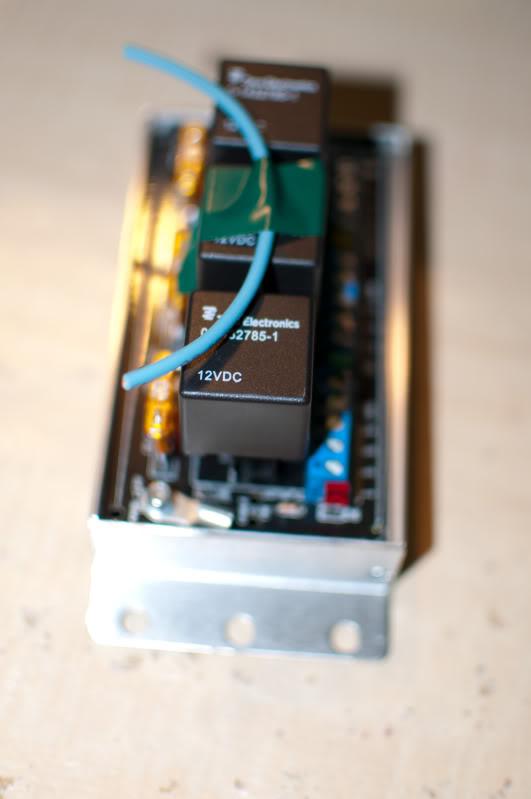
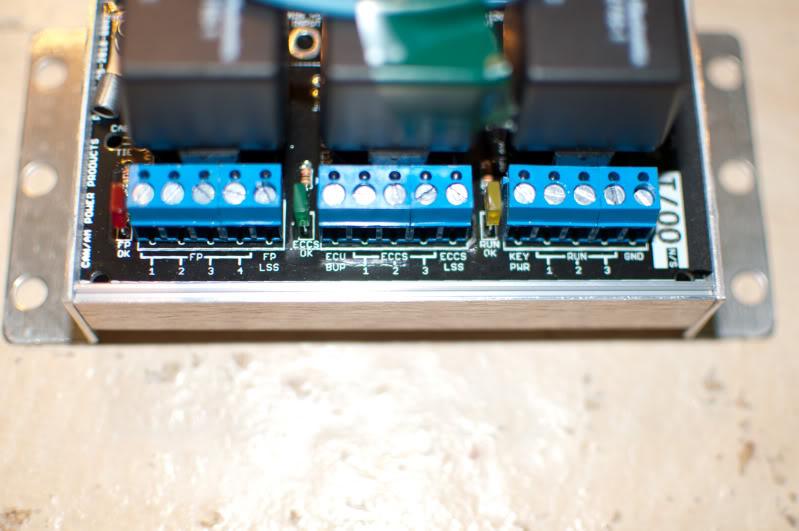
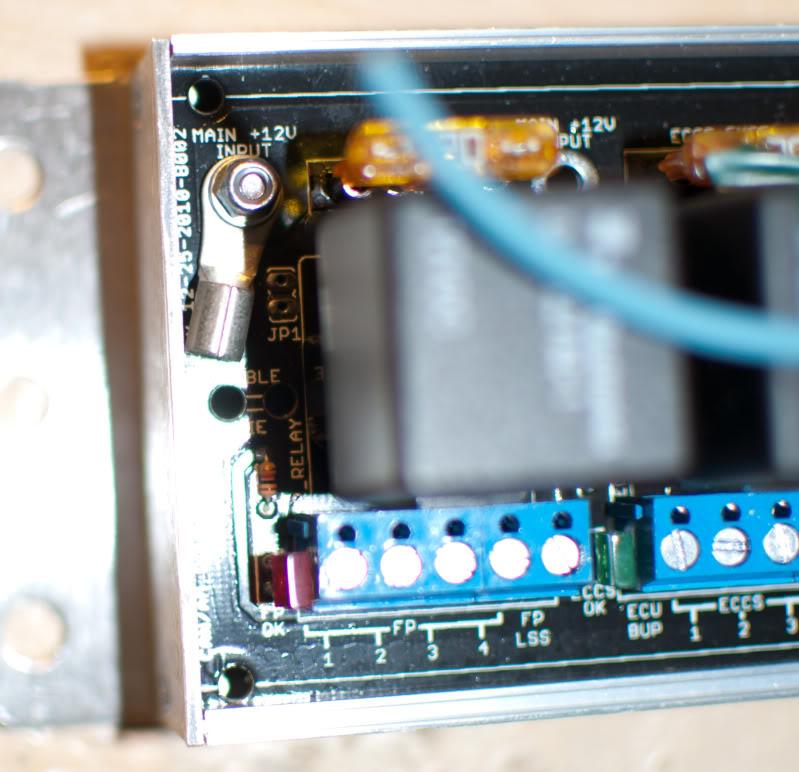
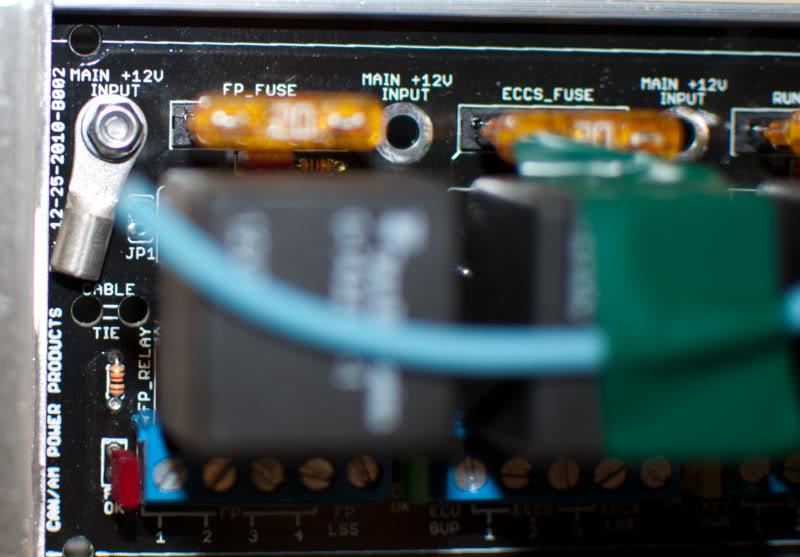
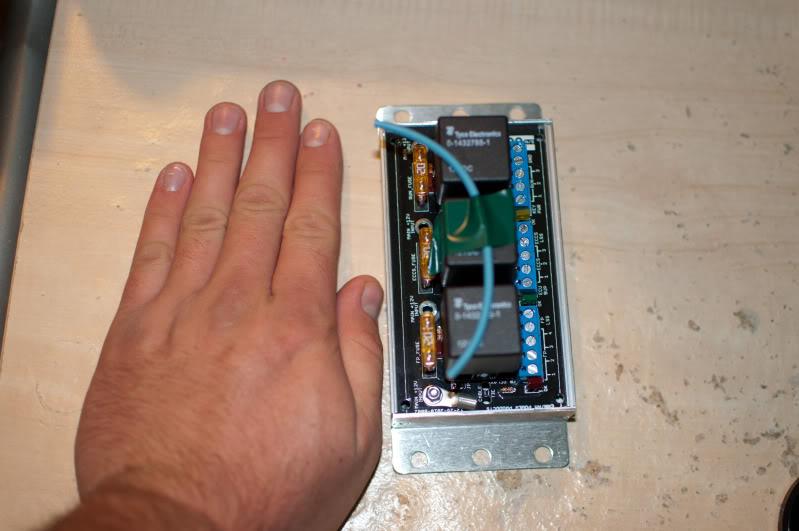
Just received my CAN-AM box. It's a wiring shortcut for Nissan swaps into various chassis vehicles. It was developed by some members of m http://www.community.ratsun.net m :
m http://community.ratsun.net/topic/28097 ... -and-more/ m
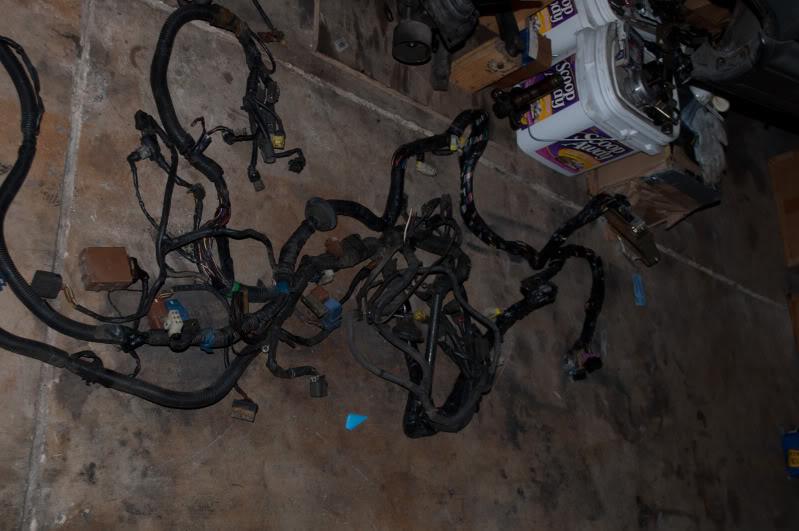
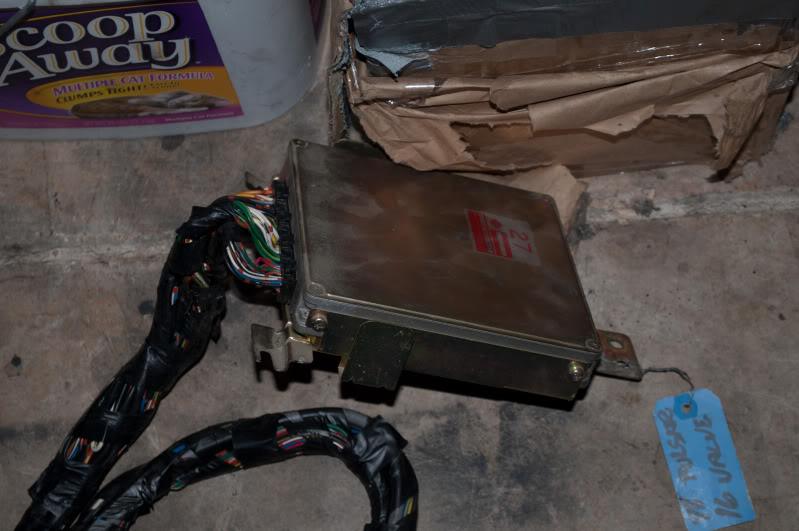
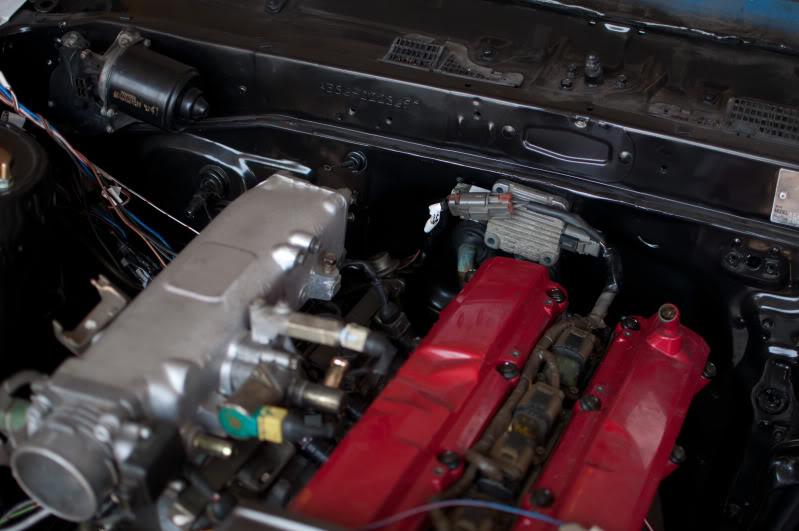
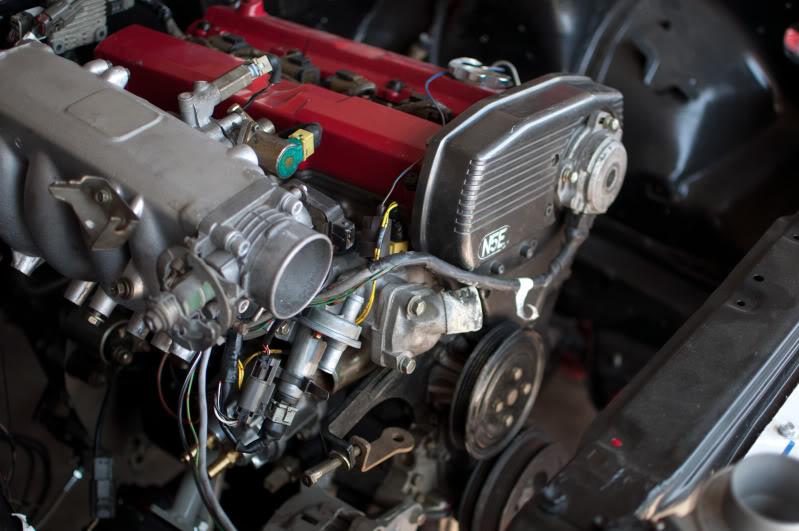
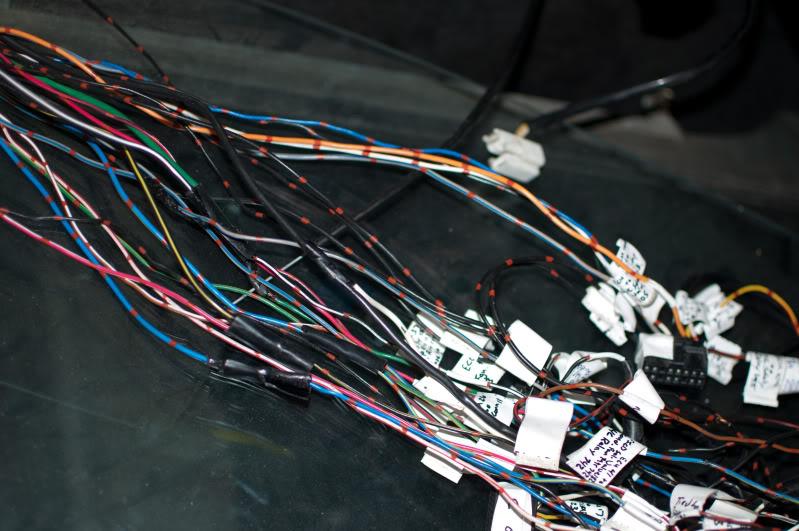
I took a break from the body work to start touching the engine harness. I originally had two engine harnesses (both FWD CA18DE Pulsar harnesses), but I cannibalized one to get good connectors. The other I decided to map out and labeled each connector. Then in a genius stroke, I cut the harness in half, save for the MAF and CAS shielded cables. Did forget to label where I cut each wire on both sides of the cut though, so I had to label each ECU pin and then find the corresponding plugs. In the end it worked out though. I was able to eliminate roughly 5' of overall wiring on each strand and routed everything so it's not too obvious across the engine.

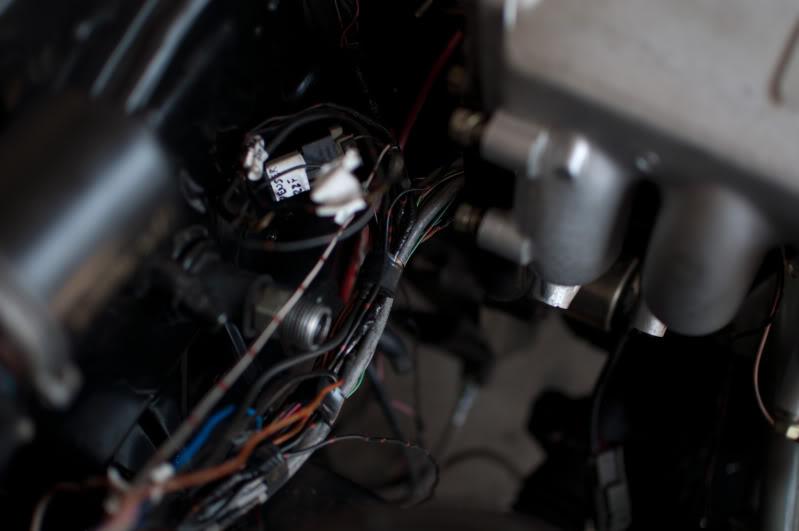
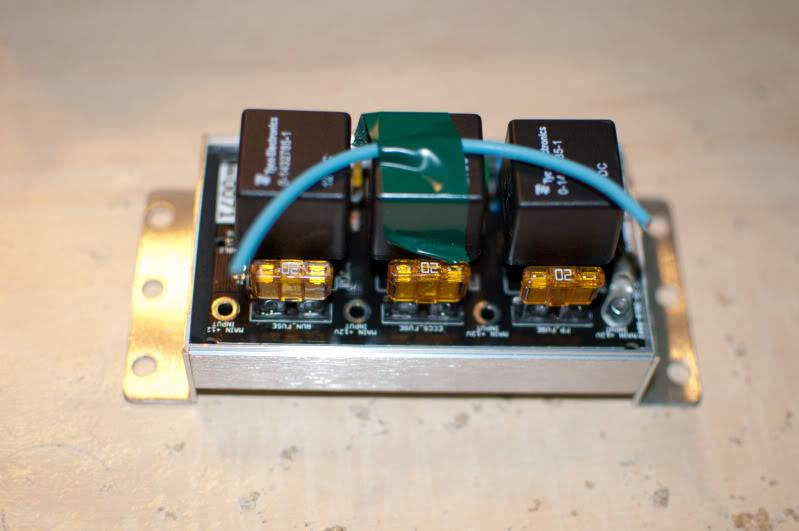
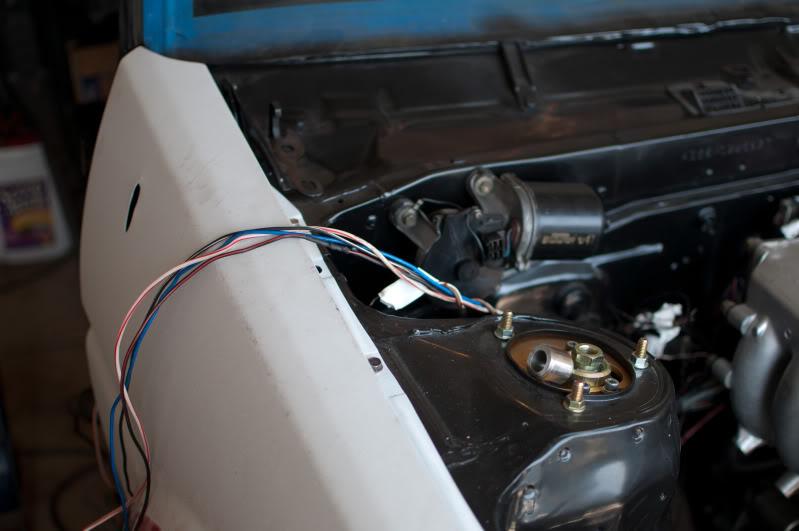
These are a few of the free wires in the bay (others are mostly ground wires I haven't trimmed out or those running to the ingition switch or gauges). These go to the fuel pump relay/efi relay/efi safety relay and I haven't decided on a location for those just yet.
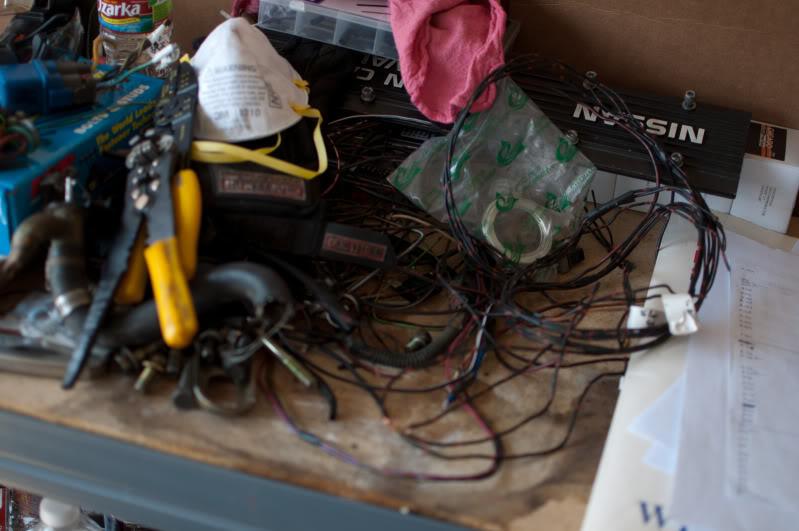
These are the wires that I haven't hooked up from the ECU, either b/c they're components are being eliminated, they're grounds that I still have to run (2 or 3 of the wires), or the components will be mounted right beside the ECU/in an undetermined, such as the efi relay/safety relay .
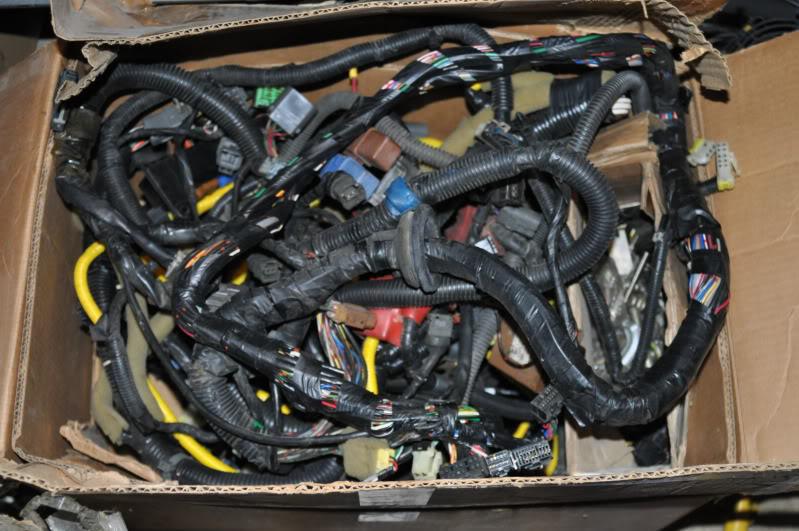
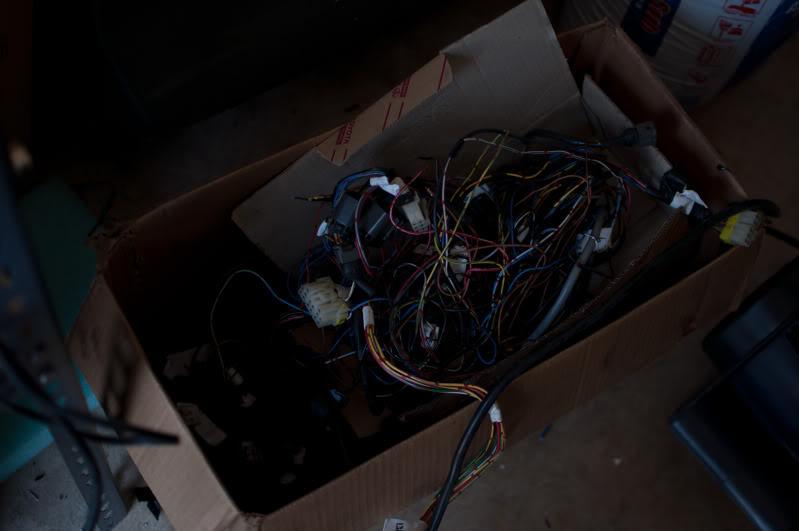
This is all the wiring that I have stored in case I need some extra length down the road, or extra plugs.
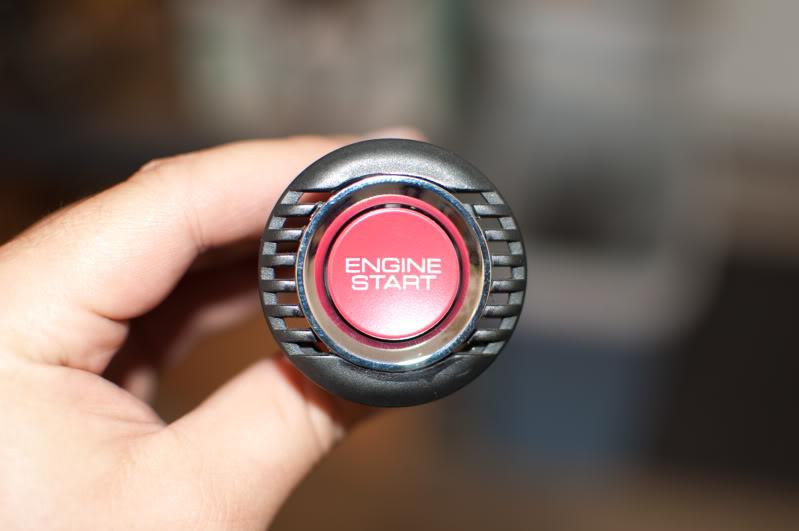
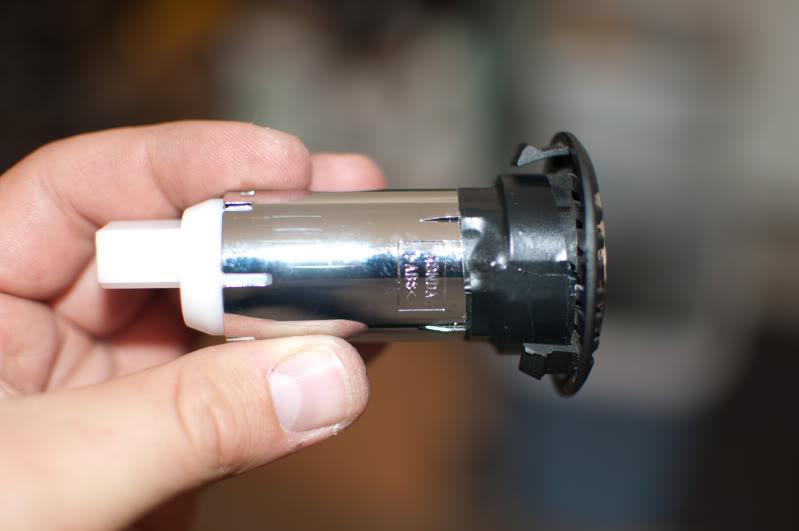
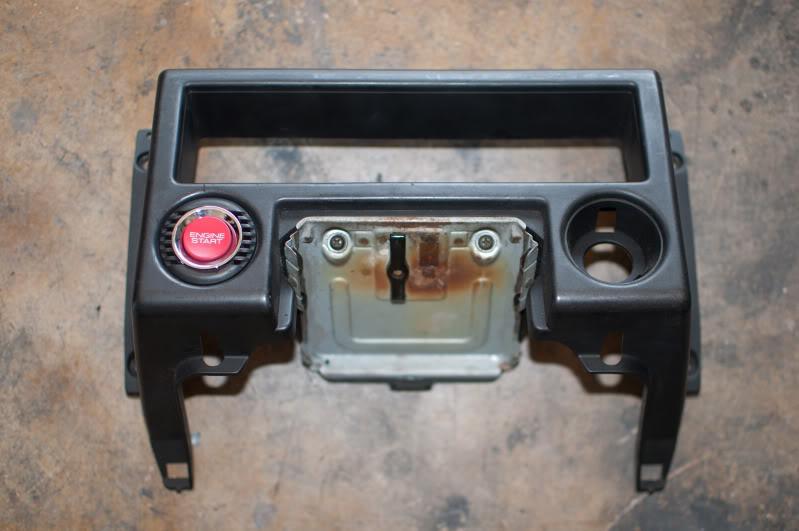
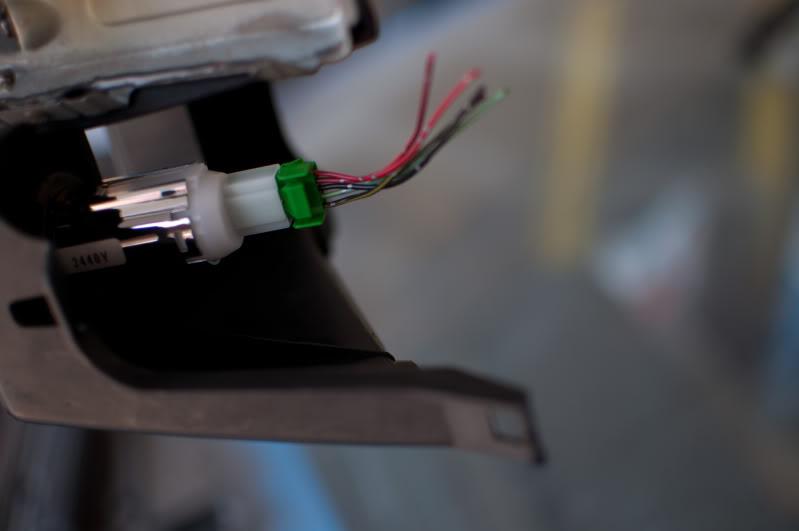
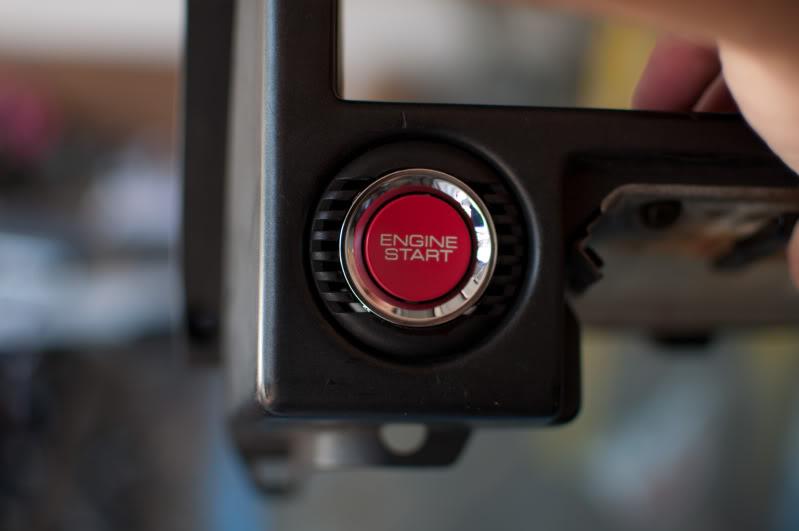
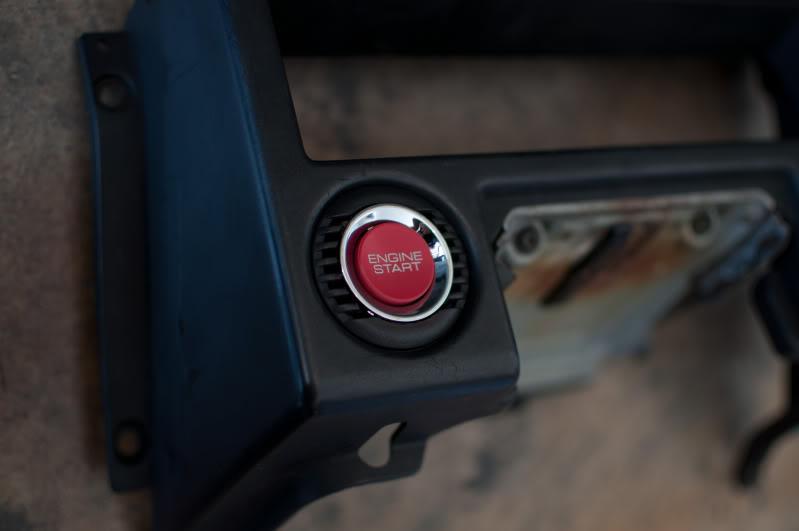
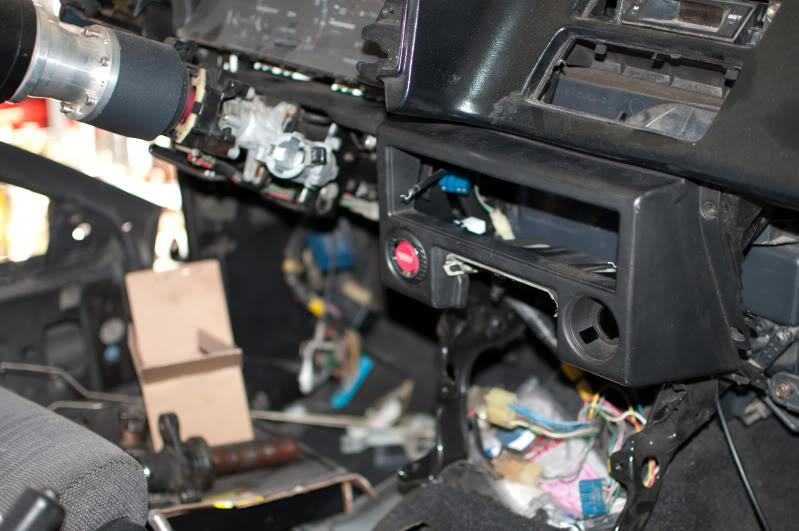
I also started working on how I'm going to finalize the in car wiring. I picked up an S2000 Start Button and found a nice place to mount it.
I've been tidying up the wiring as I go and I decided that I didn't want to run a handful of wires across the interior to try and splice them into the existing fuse panel. So, I purchased this:
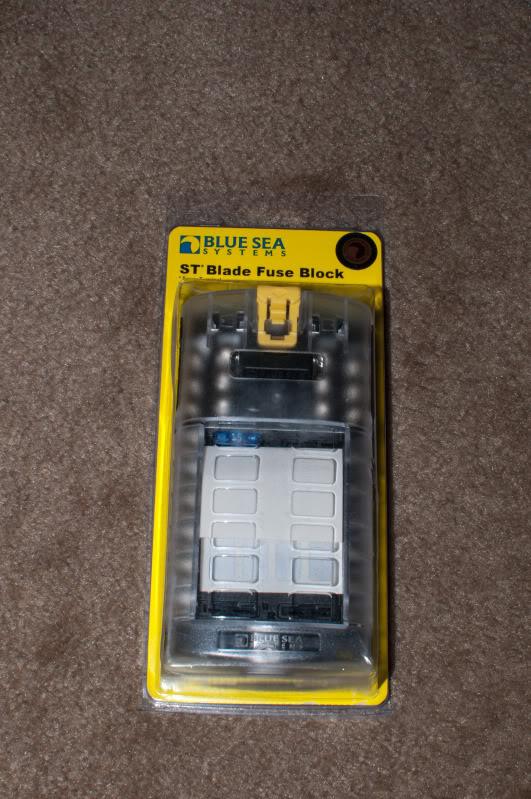

That will be enough for room to add several items down the line if needed. I'm probably going to make a mounting surface for this and the relay board I have, along with any other items that will accompany these. Then I'll put a lockable cover over them so they'll be as tamper proof as I can make them. We'll see how that goes though.
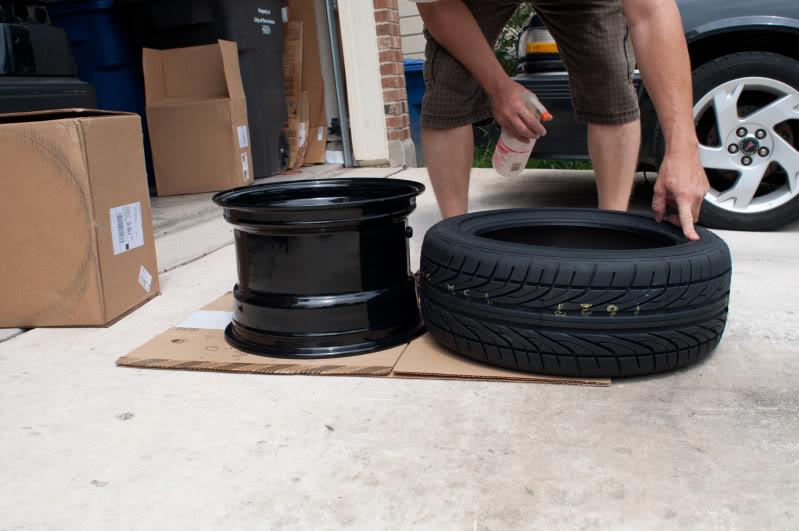
Wheels & Tires:
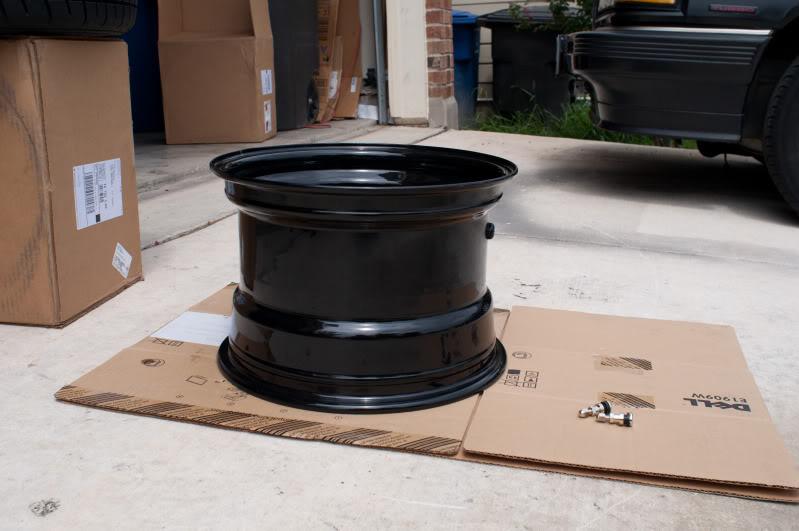
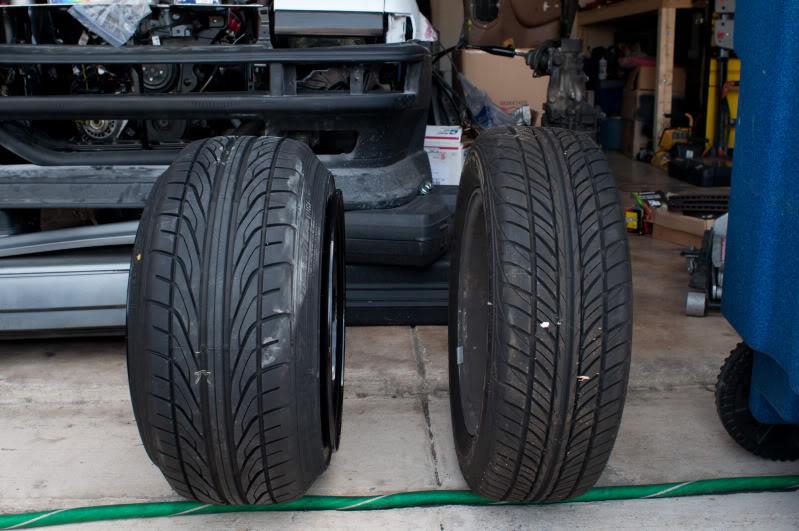
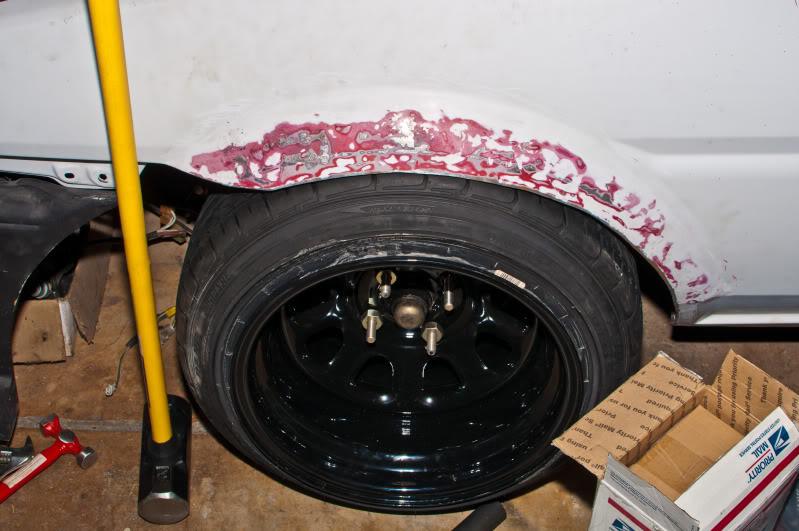
Finally picked up some new shoes for the front. Now I can start working on the rear axle. I guess the next purchase will be a set of axle shafts for the 8.8 so I can start working on getting the rear wheels and tires.
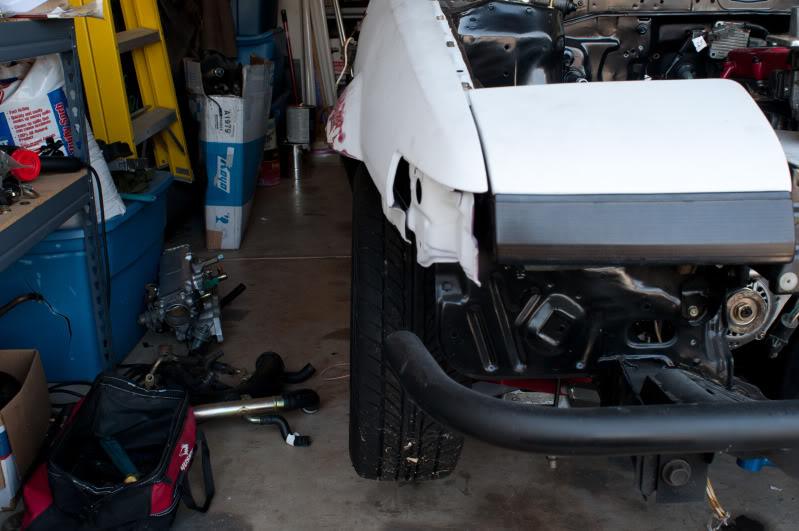
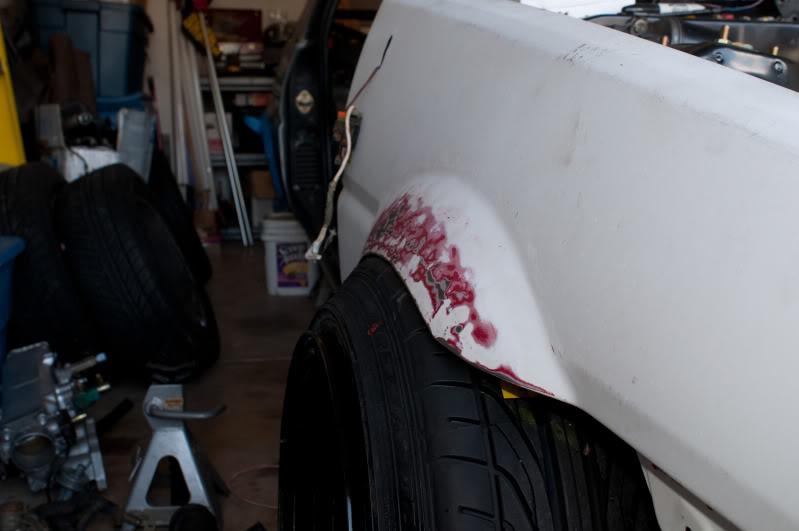
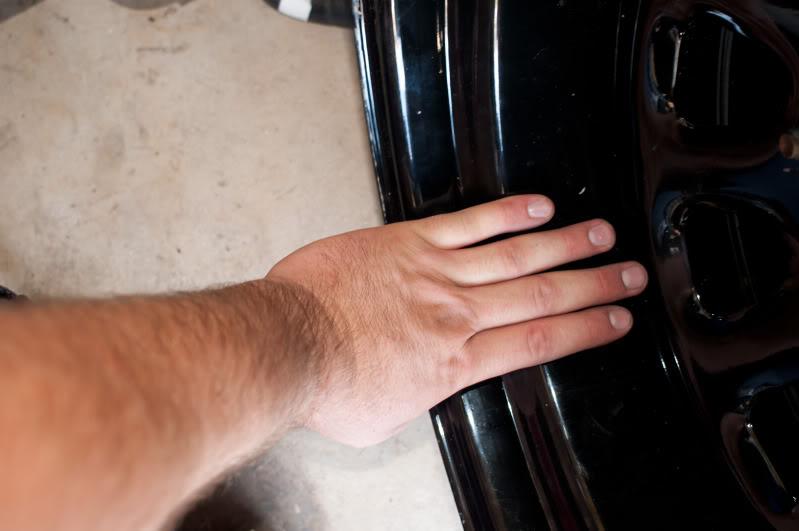
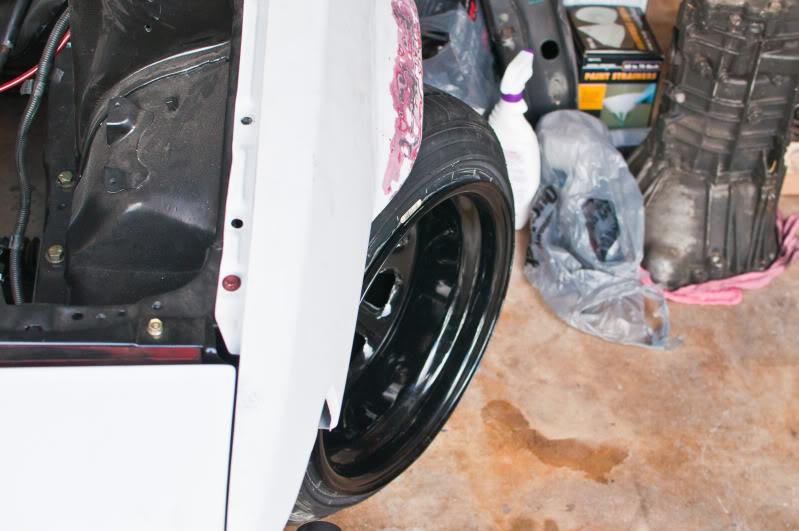
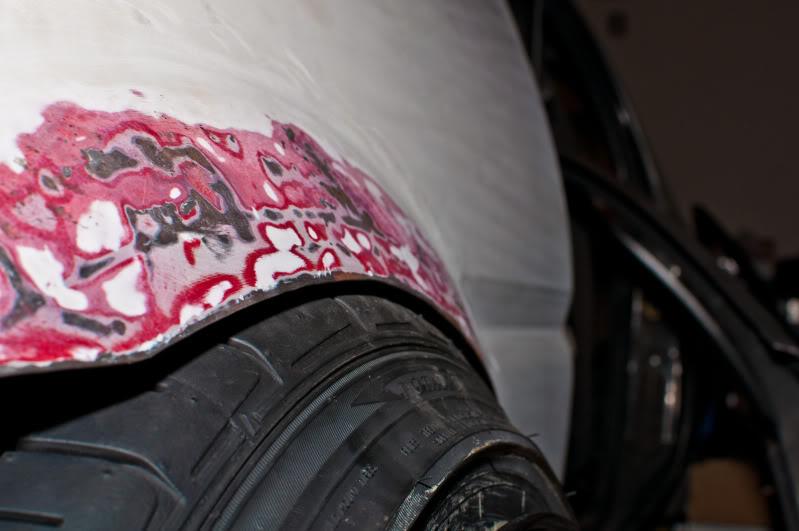
Not at full lock, but I seem to have quite a bit of space to spare. Should be more work on the fenders than anything else.
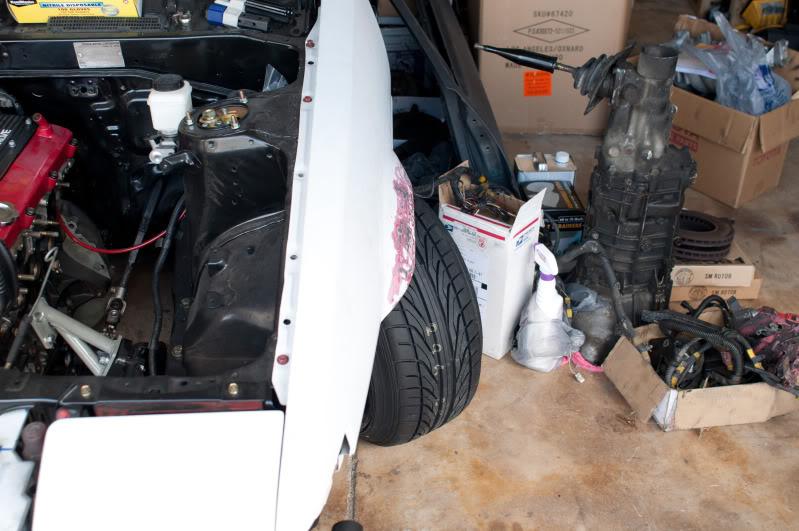
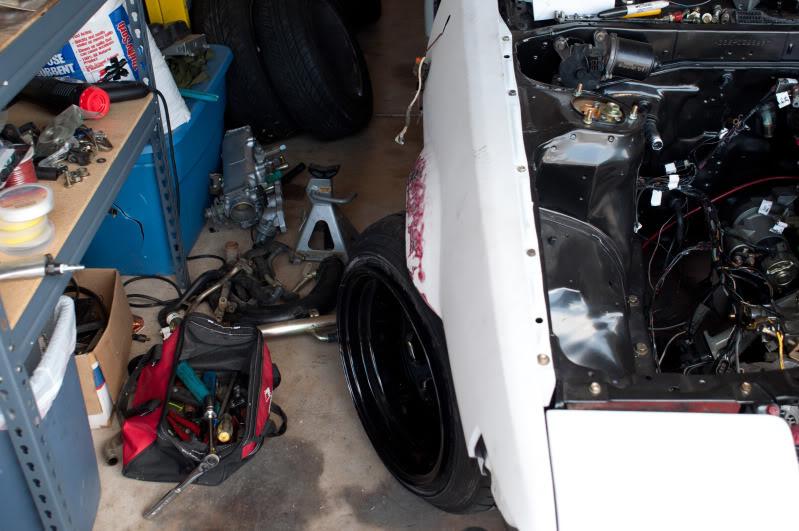
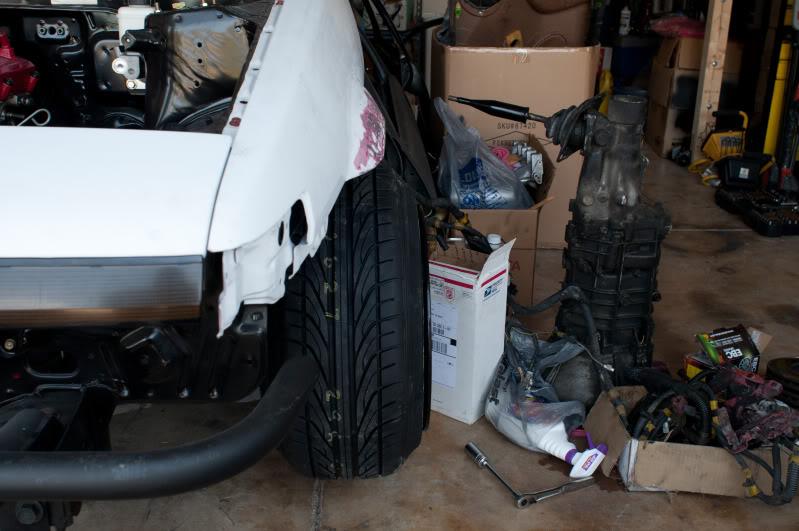
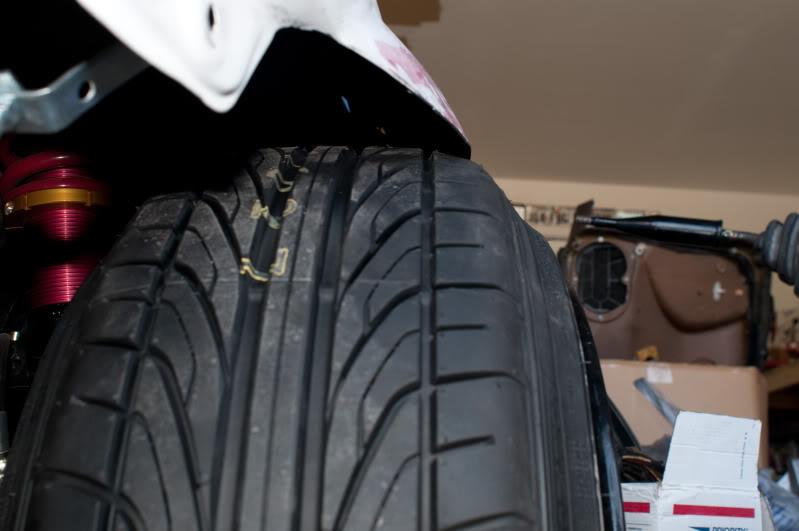
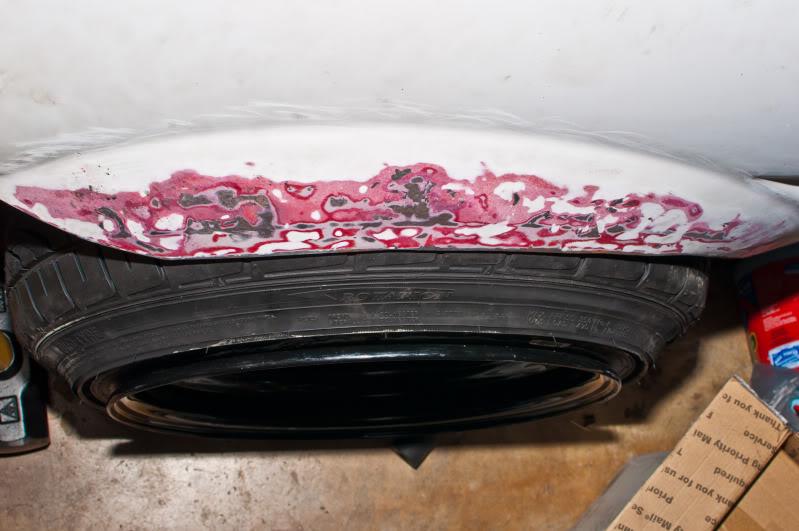
Here are some of the pics. You can see from the inboard photo that there is a lot of clearance on the inside of the fender well. I just need to remove the fender and start working the wheel rearward while modifying the body as needed.
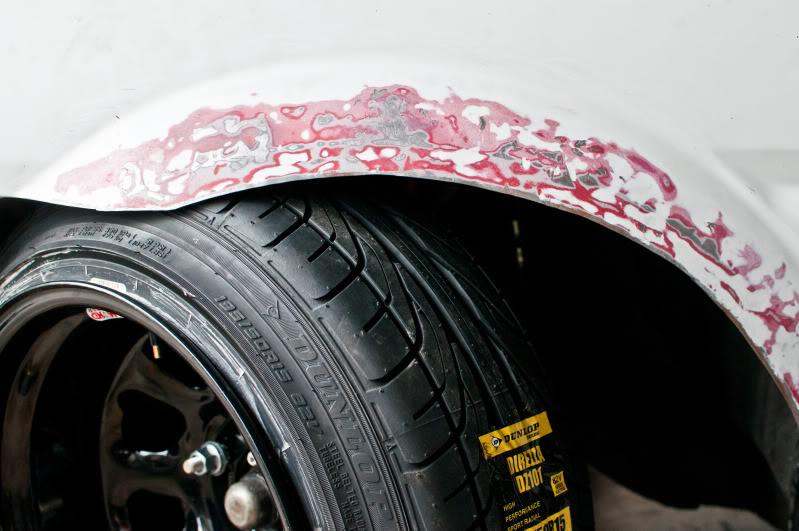

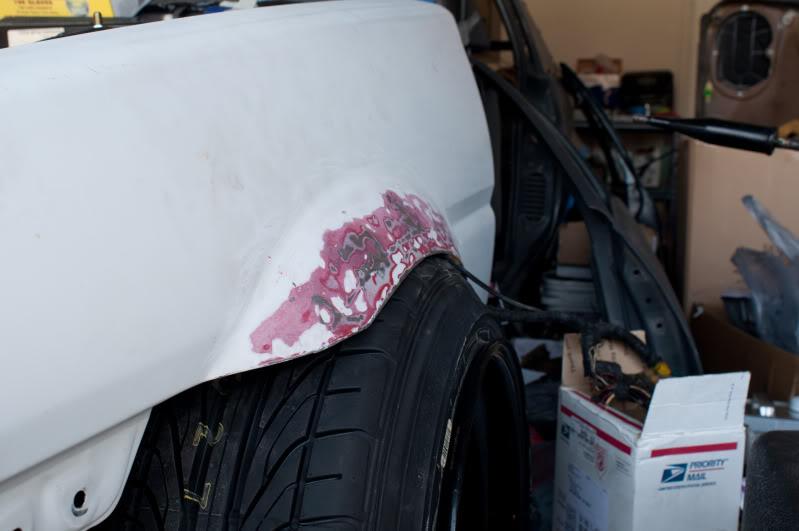
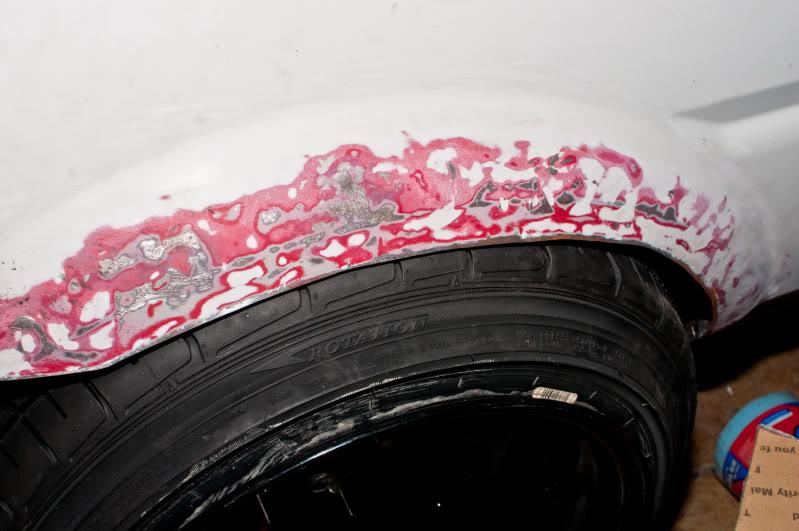
Well, not too much to report. I haven't really sat out and worked on the rolla in a while. I did try some things on the wheel fitment front. I removed the 1/4" wheel spacer on the driver-side to see what effect that had. It brought the tire under the fender much better...to the point where I'm not too concerned with modifying the fenders any more. I still have tons of clearance between the tire/wheel and the suspension. I also started pulling some caster out. Took a sledghammer to make a bit more room, but I won't be able to get the space I want until I remove the suspension so I can really hammer the fender well.
Before:
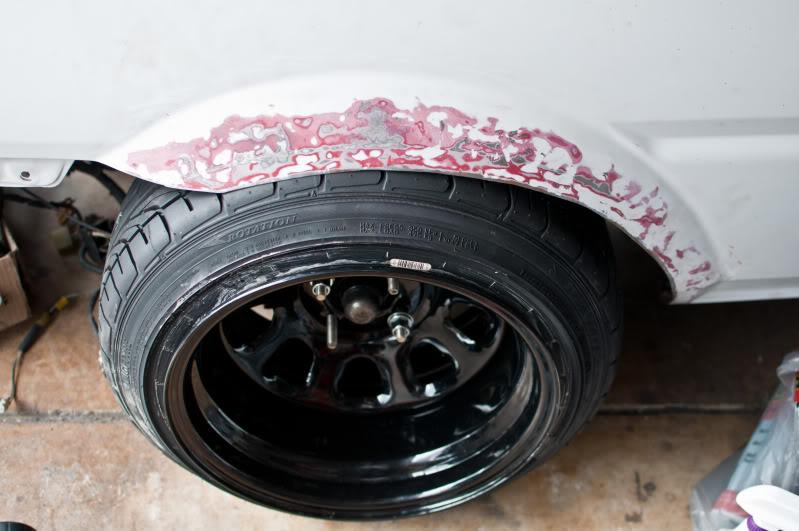
After:
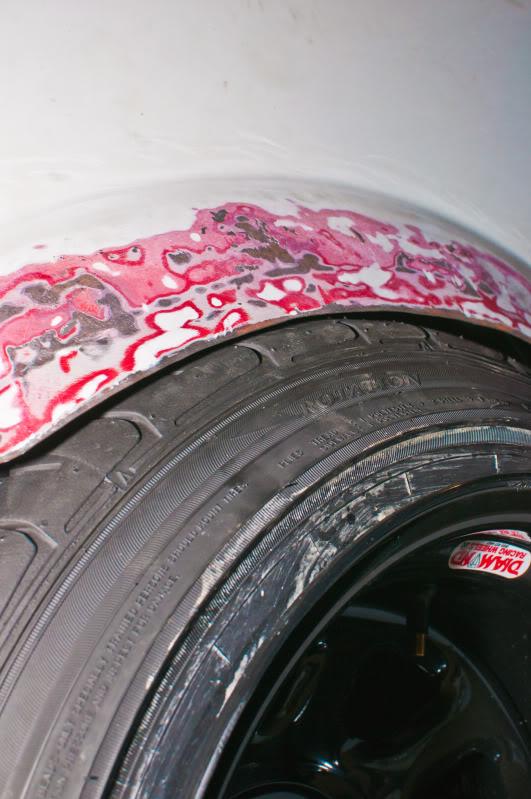
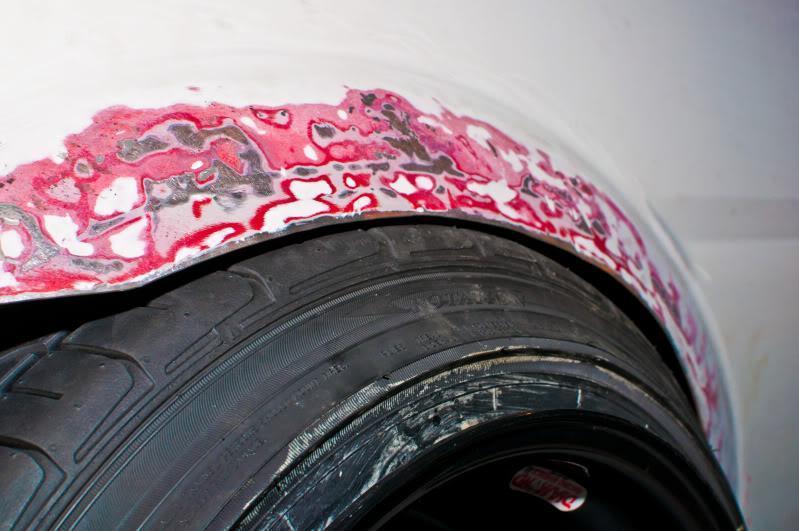
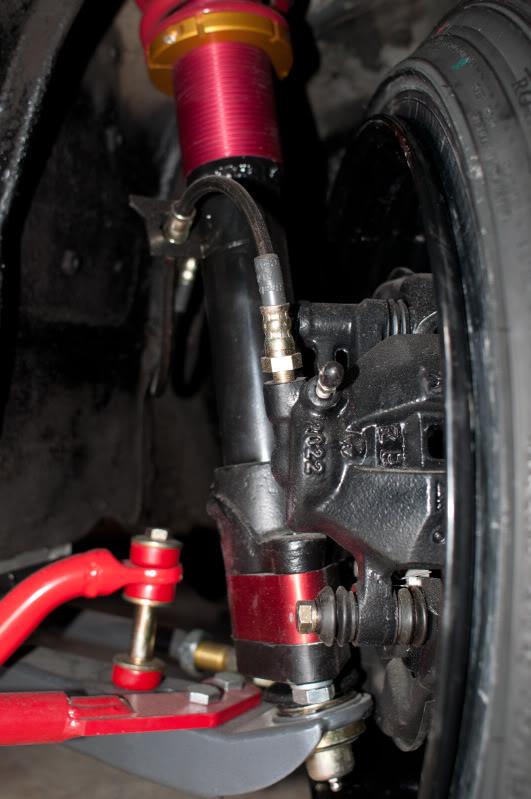
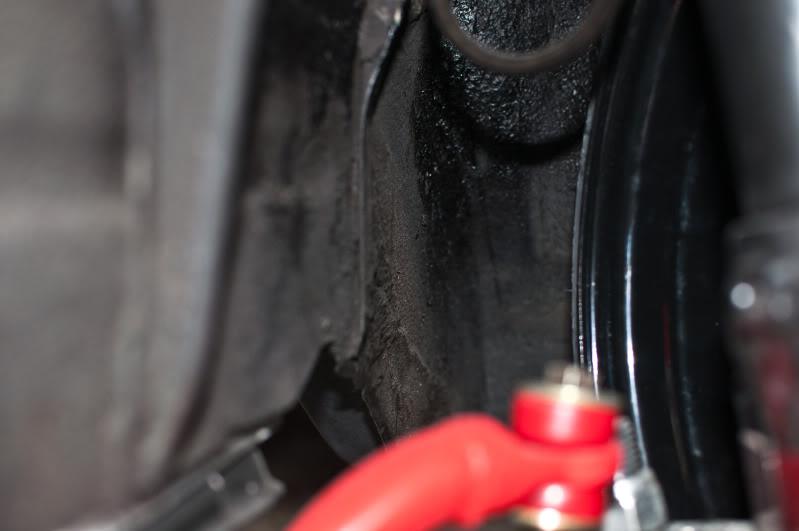
When I had the wheel spacer on, I had the camber plate maxed out and the fender was still resting on the tire. With the spacer removed I've been able to take some camber out of the suspension and the makes me feel a bit better:
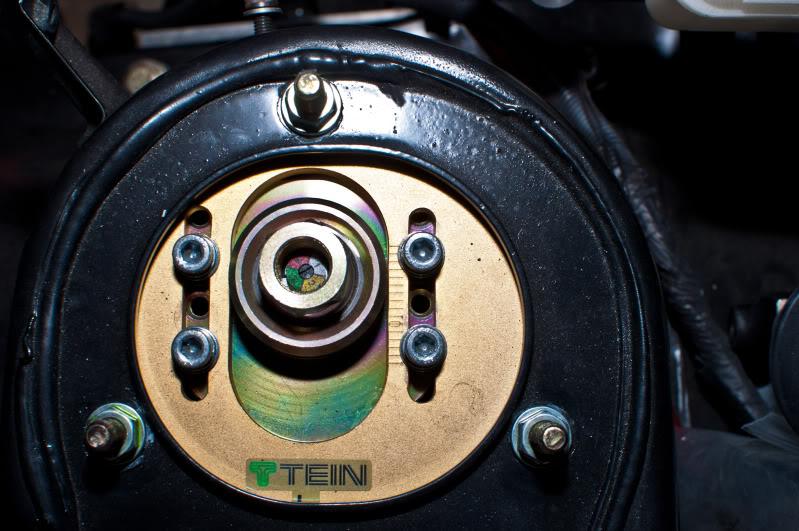
I still have room to pull some negative camber out if I want, or to add some if I feel it necessary. I still want to pull some of the caster out of the driver-side, but that means some hammering first.
Fuel:
I've been talking with the guys in the weld shop at work. They had someone dump a bunch of stainless steel containers that used to hold chemicals for working on the planes. They asked if I could use any of them for personal use:
Fuel Cell
Surge Tank
They're going to start work on them this week. The fuel cell will be right around 15 gallons...maybe a touch under, and the surge tank should hold another 5 gallons (maybe a bit more after I have it reshaped to drain to the engine feed fitting.
I'm hoping the machine shop can get my ITB manifold finished too. They've been busy machining parts for the aircraft so my part had to be put on hold. I'm keeping my fingers crossed.
Most recent update:
Received my Megasquirt-III V3.57 w/ MS3X. I've been playing with Tuner Studio and the Jim Stim and things have been going pretty smoothly.
Nice build and details!
Posted by Diggymart on 12/12/20 @ 10:25:55 PM