You must be logged in to rate content!
4 minute(s) of a 37 minute read
3-2-2010
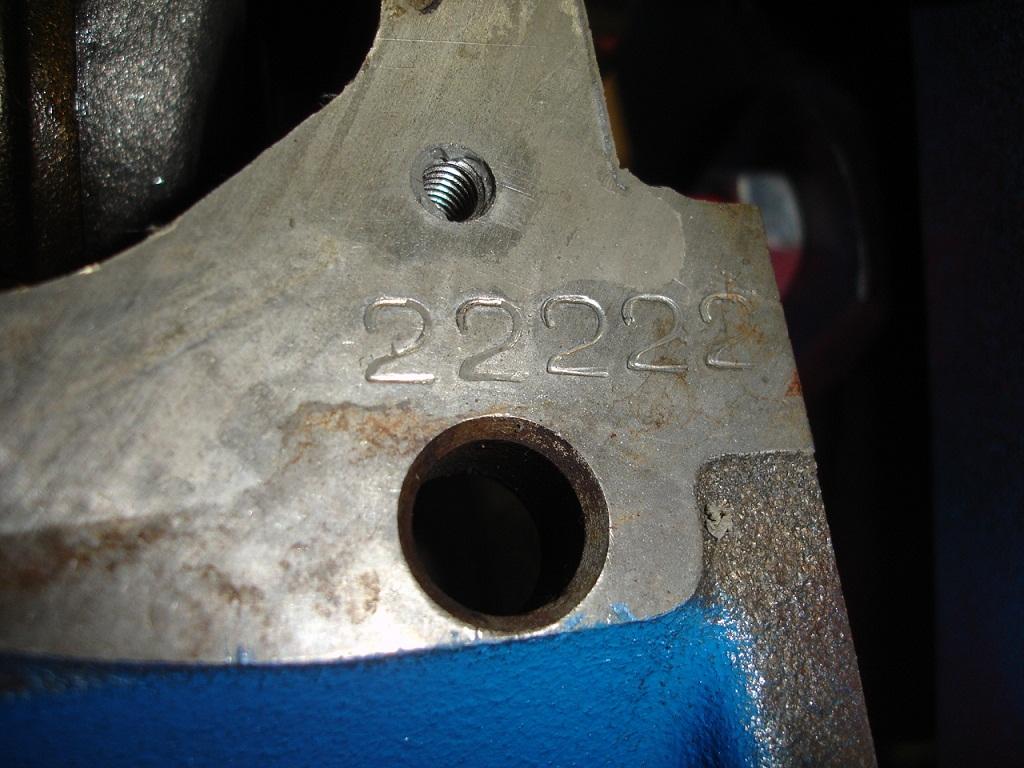
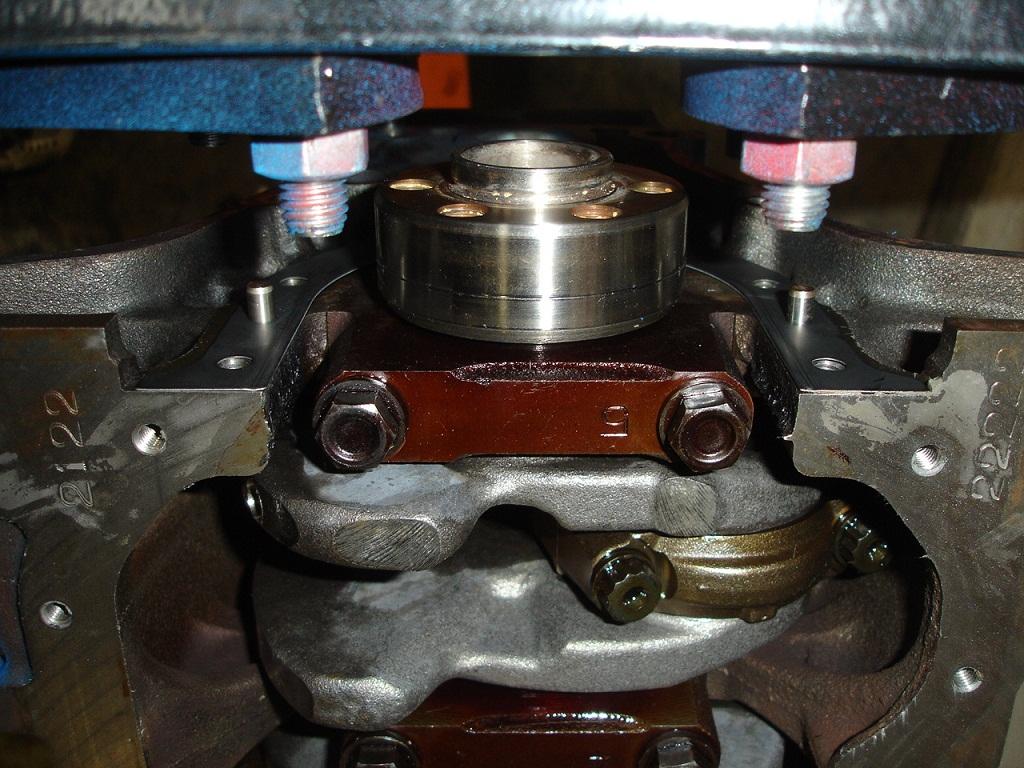
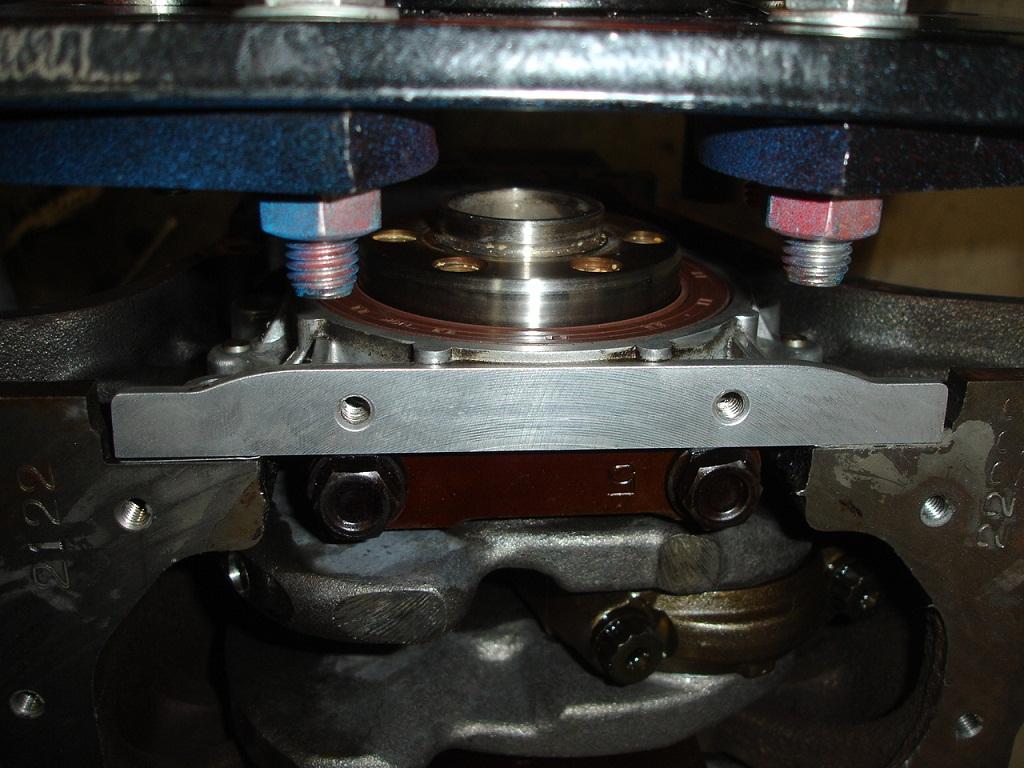
These numbers match up with the numbers on the crank to identify what main bearing to install
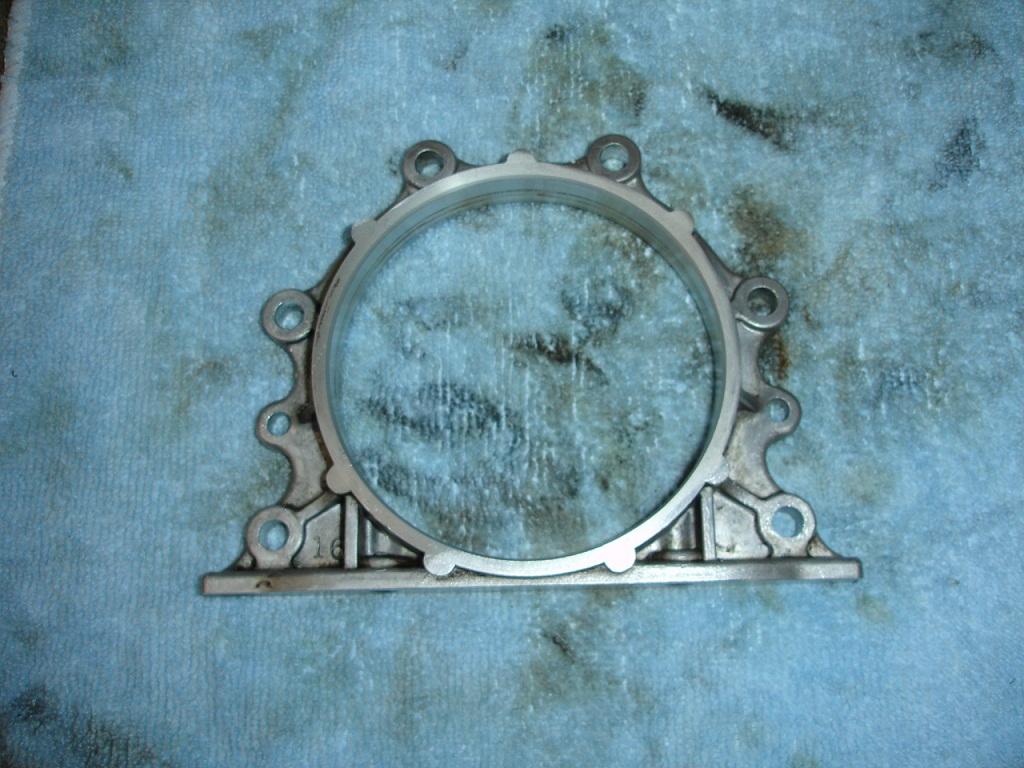
Cleaned up rear main seal housing
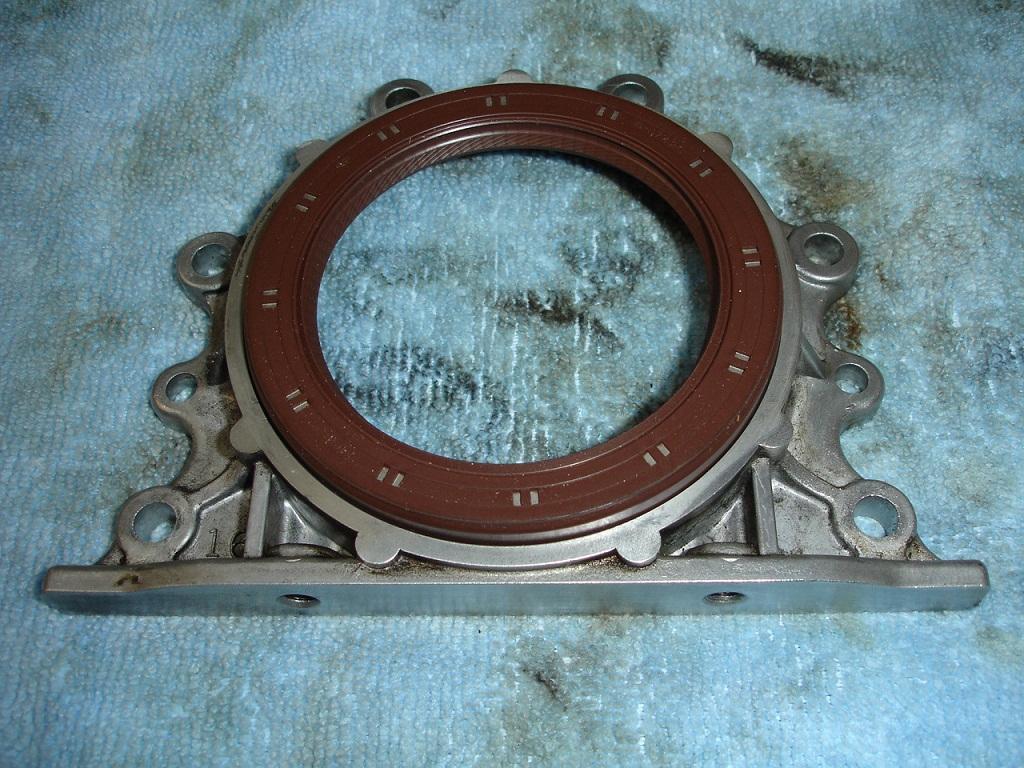
Seal before pressed into housing
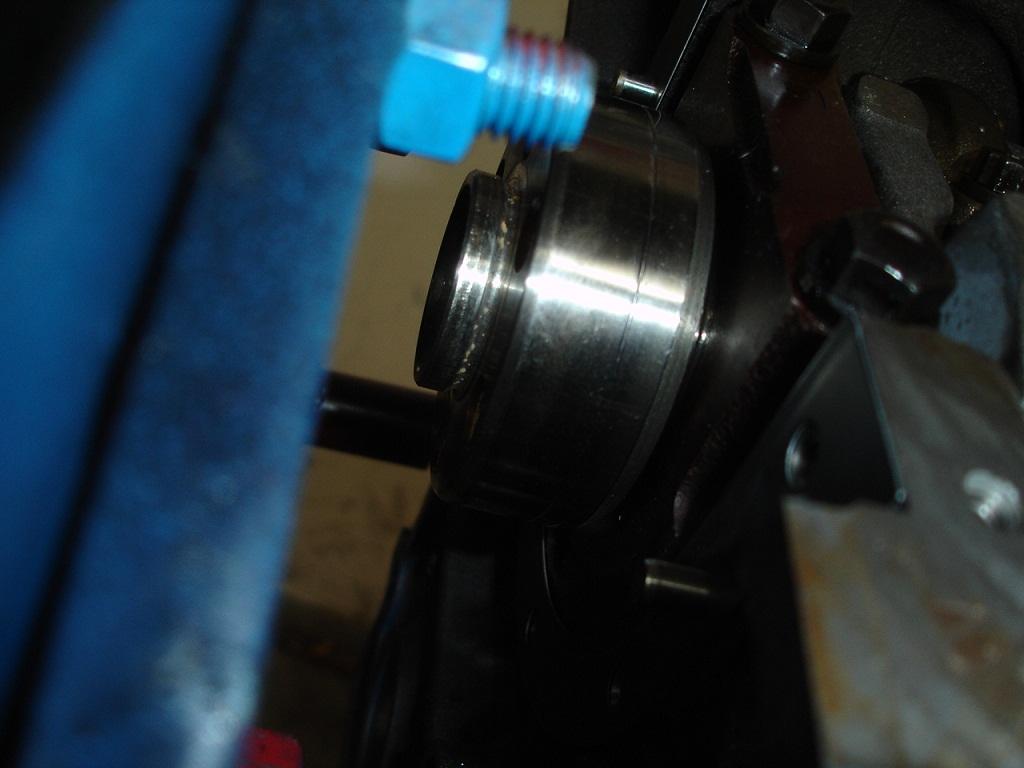
On an engine stand this area is a little tight, but you can get in there
New gasket for rear main seal
Rear main seal installed
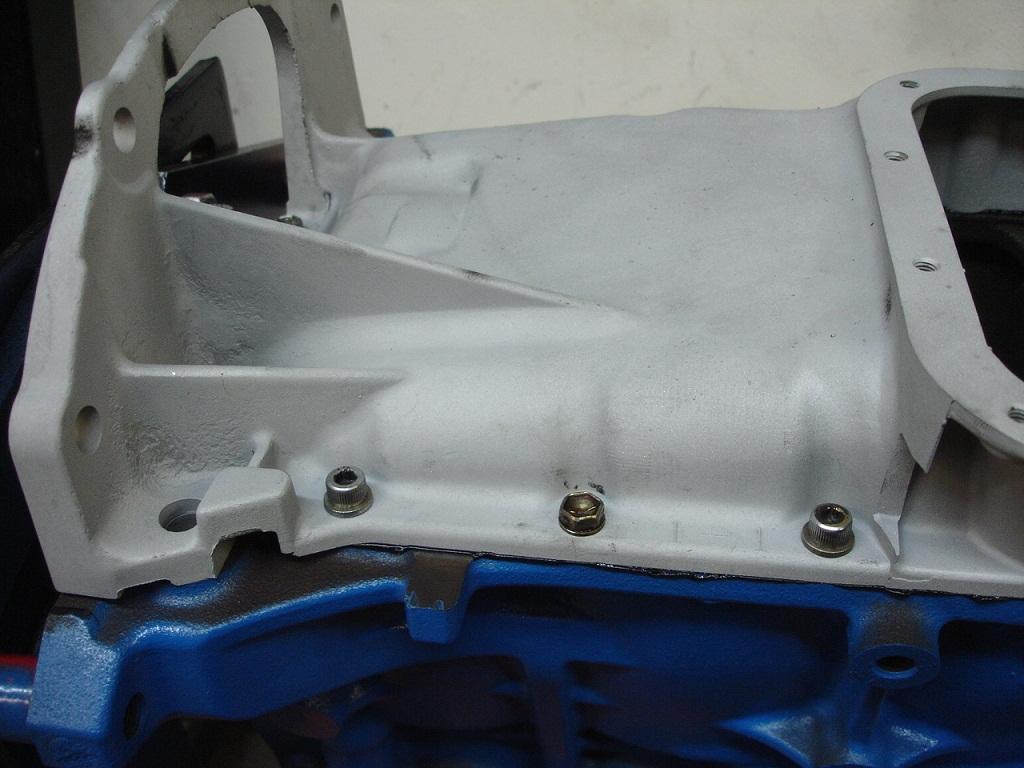
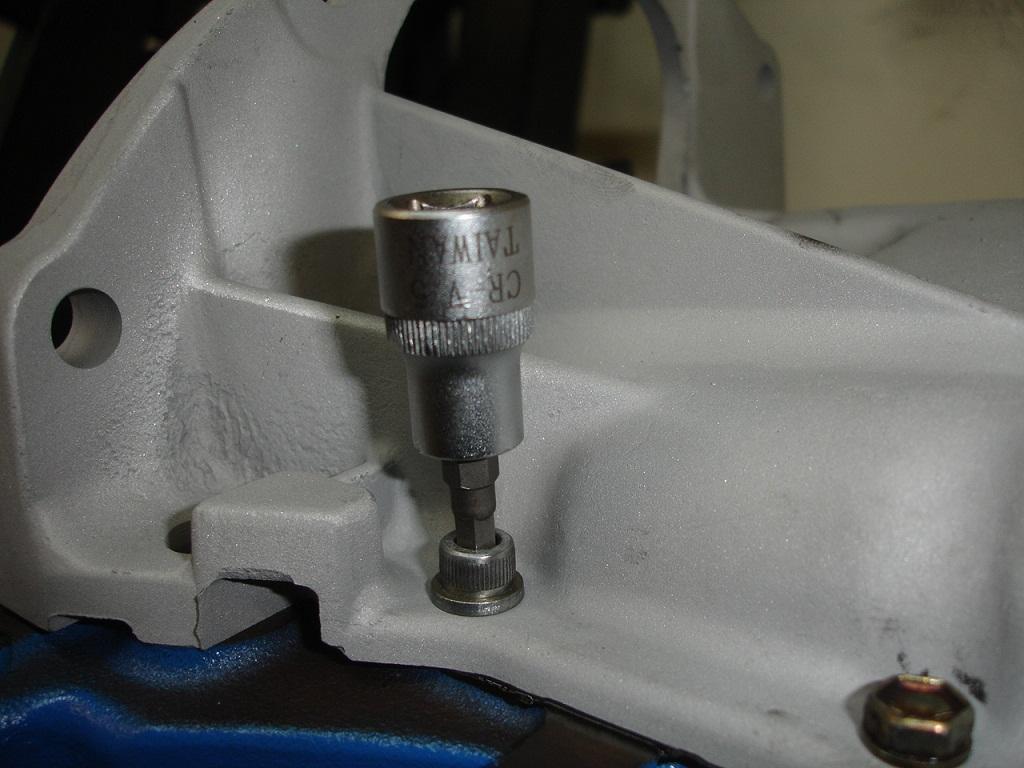
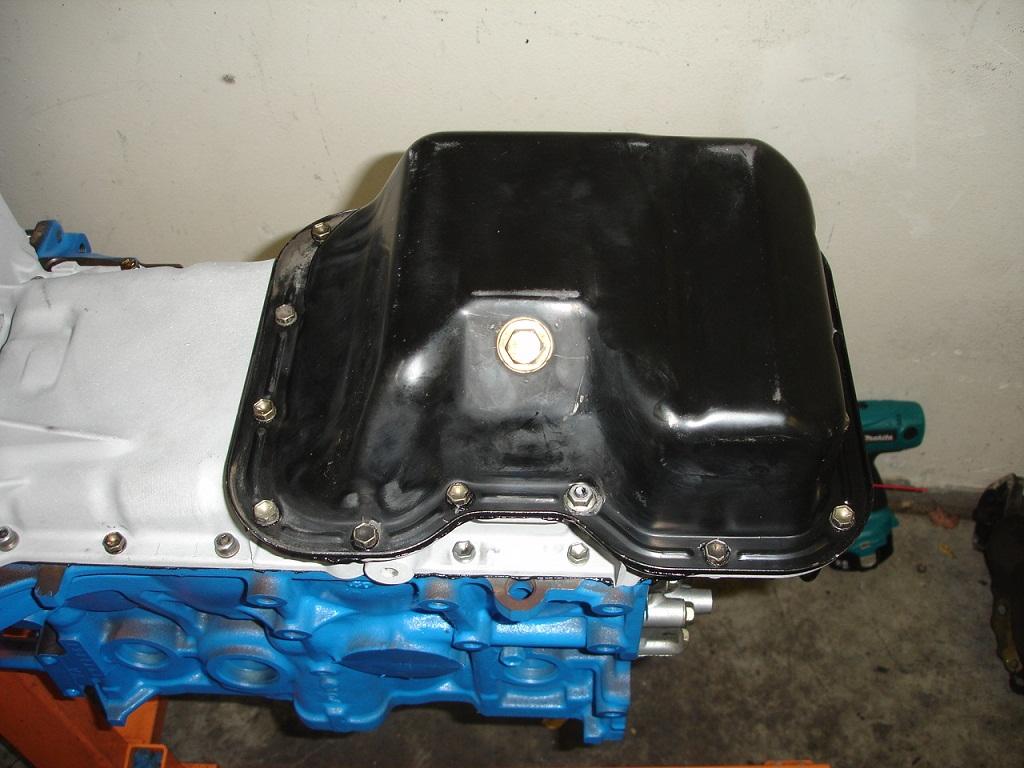
Install #1 oil pan, originally these 2 bolts were hex bolts, PITA to get out so i replaced with regular bolts
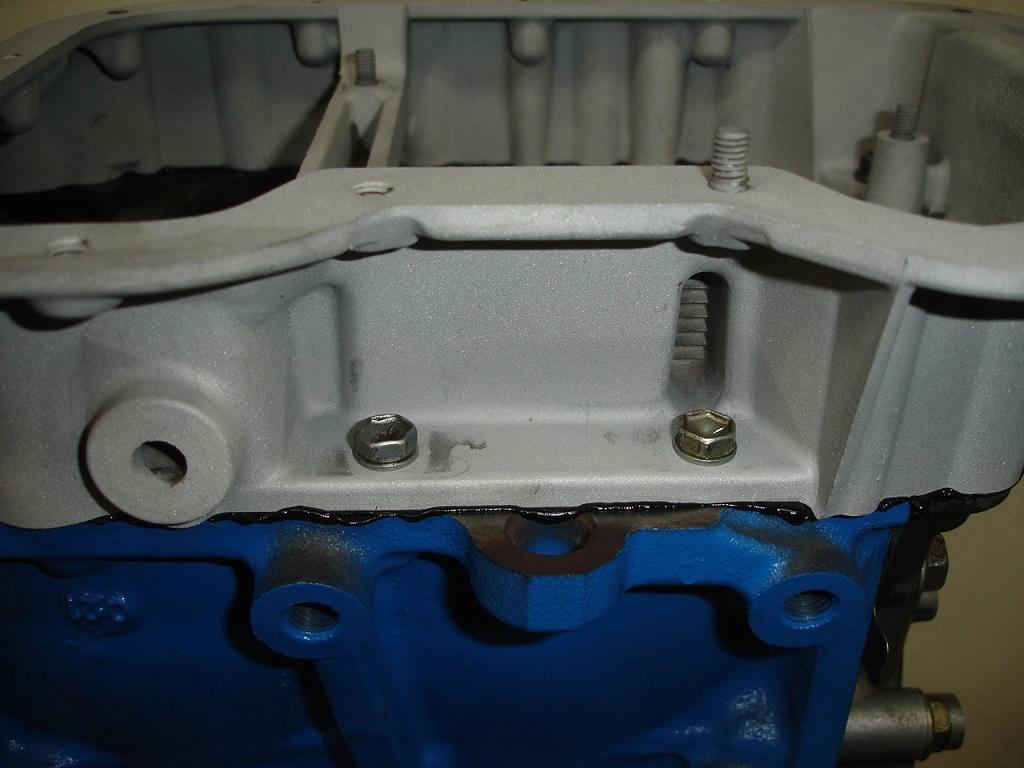
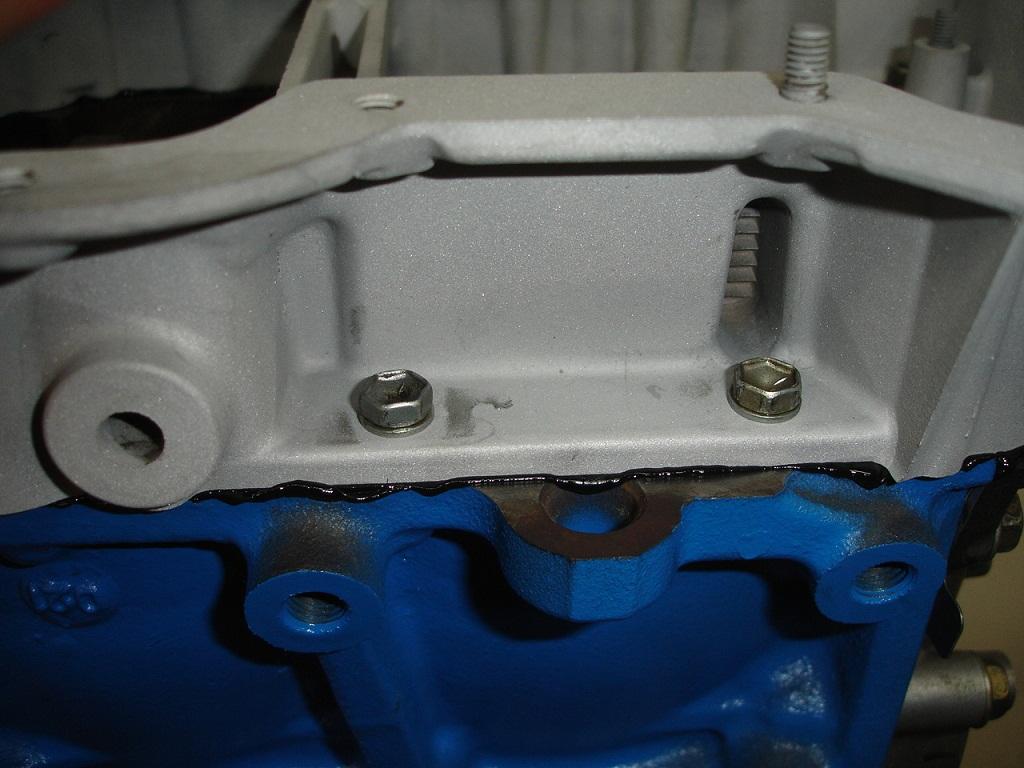
Here you can see the hex bolts and regular bolts that are used to secure the oil pan
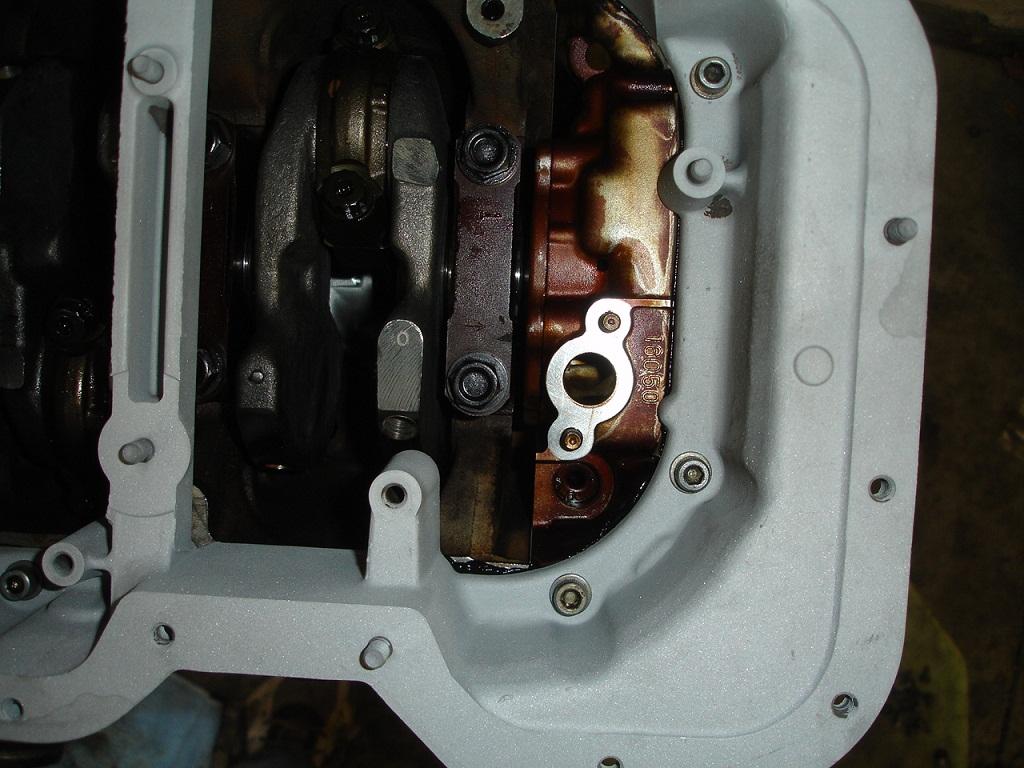
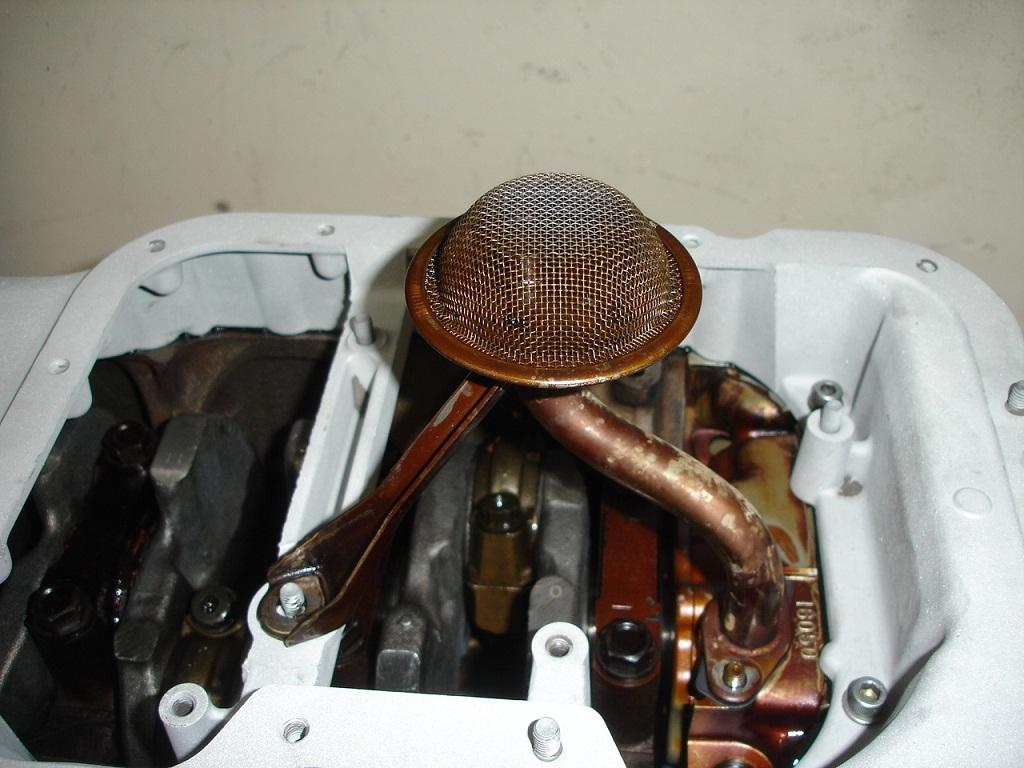
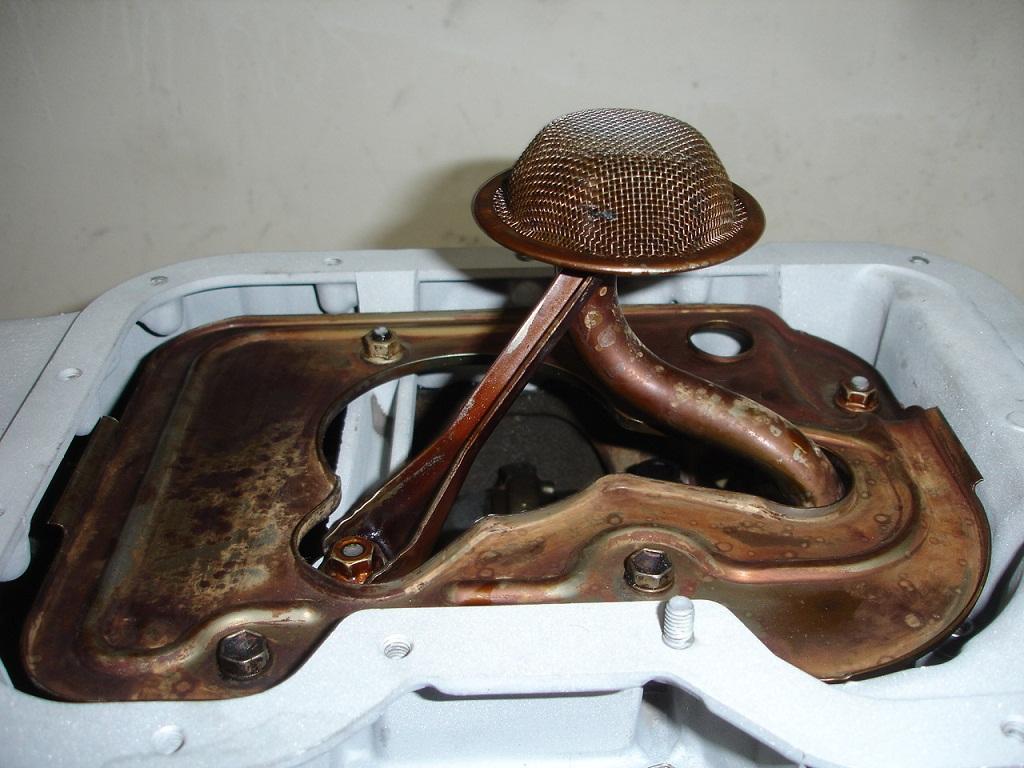
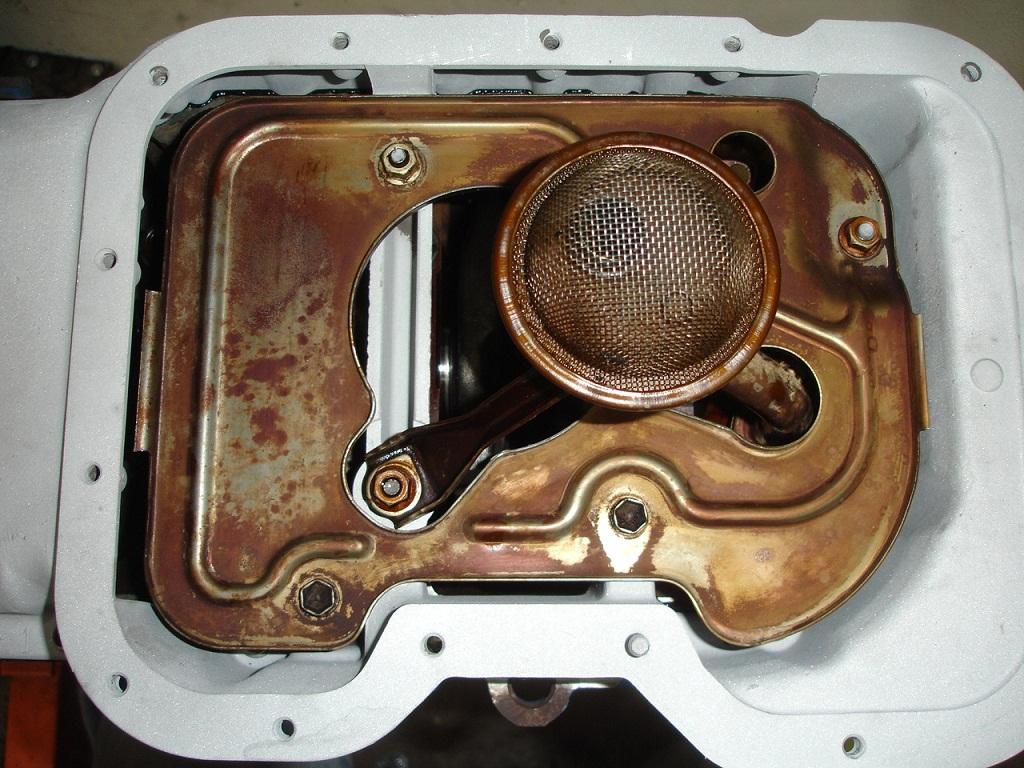
New oil pickup gasket
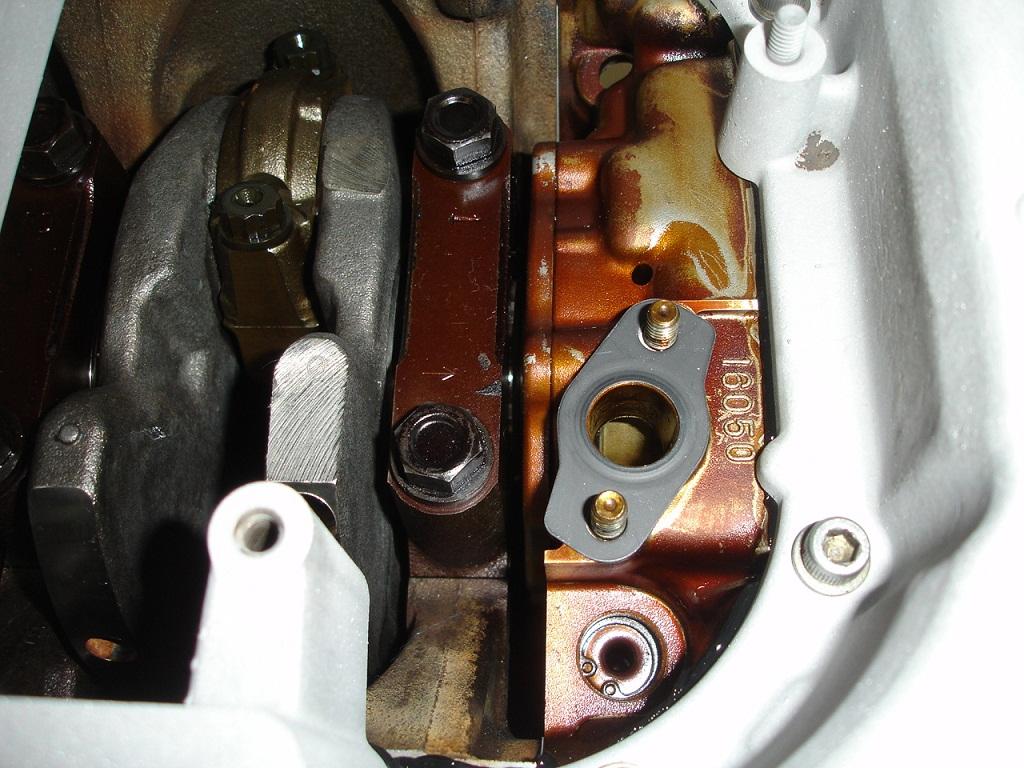
Install oil pickup
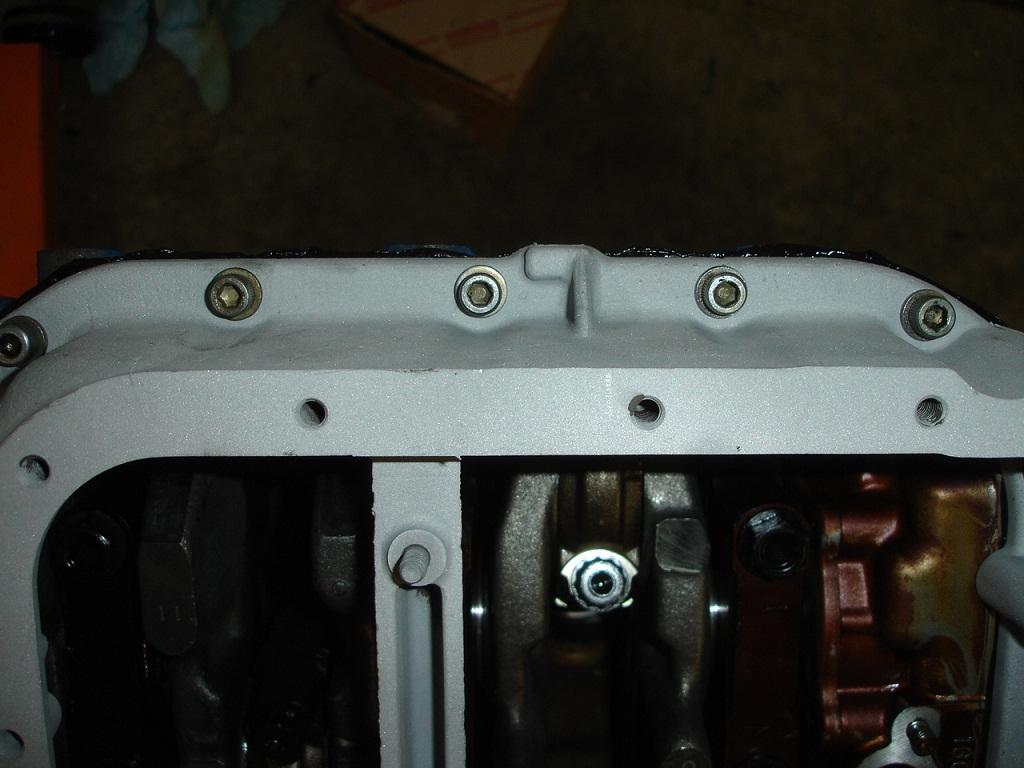
Install windage tray
Install #2 oil pan
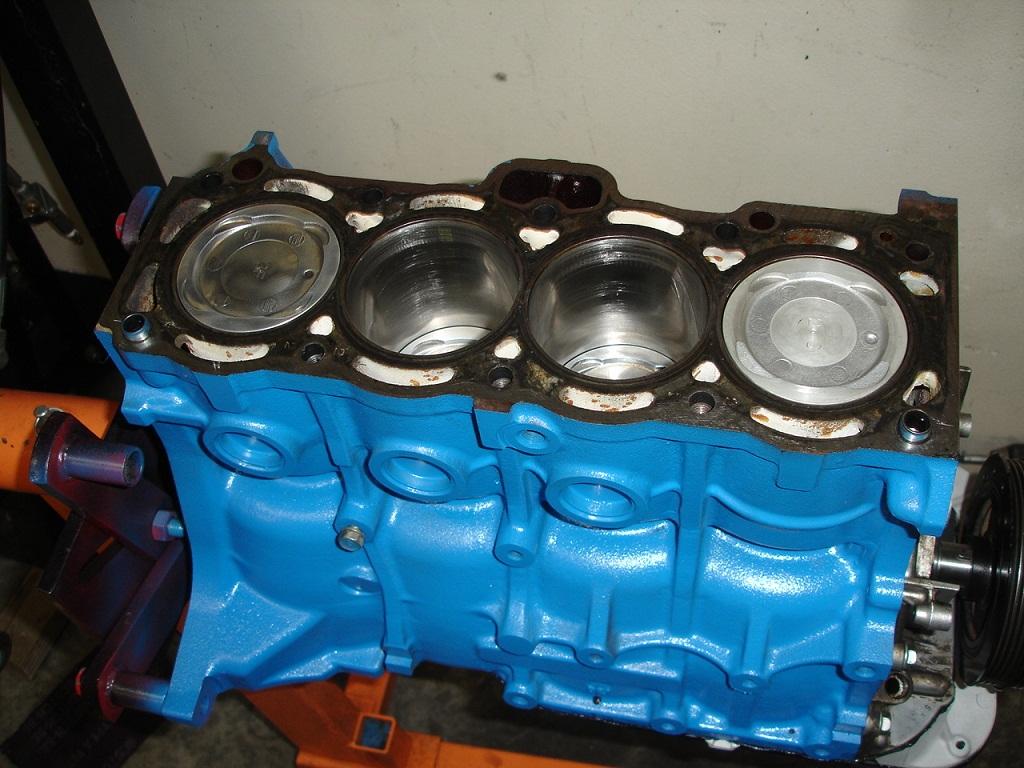
Top view, pistons installed. Make sure assembly rotates
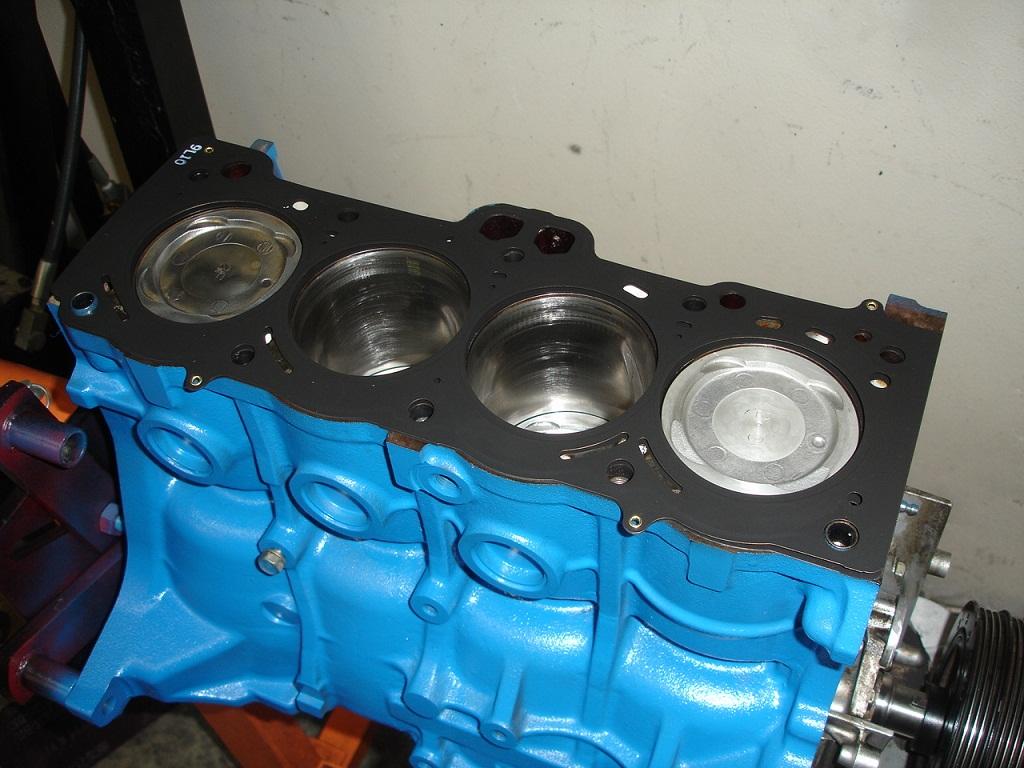
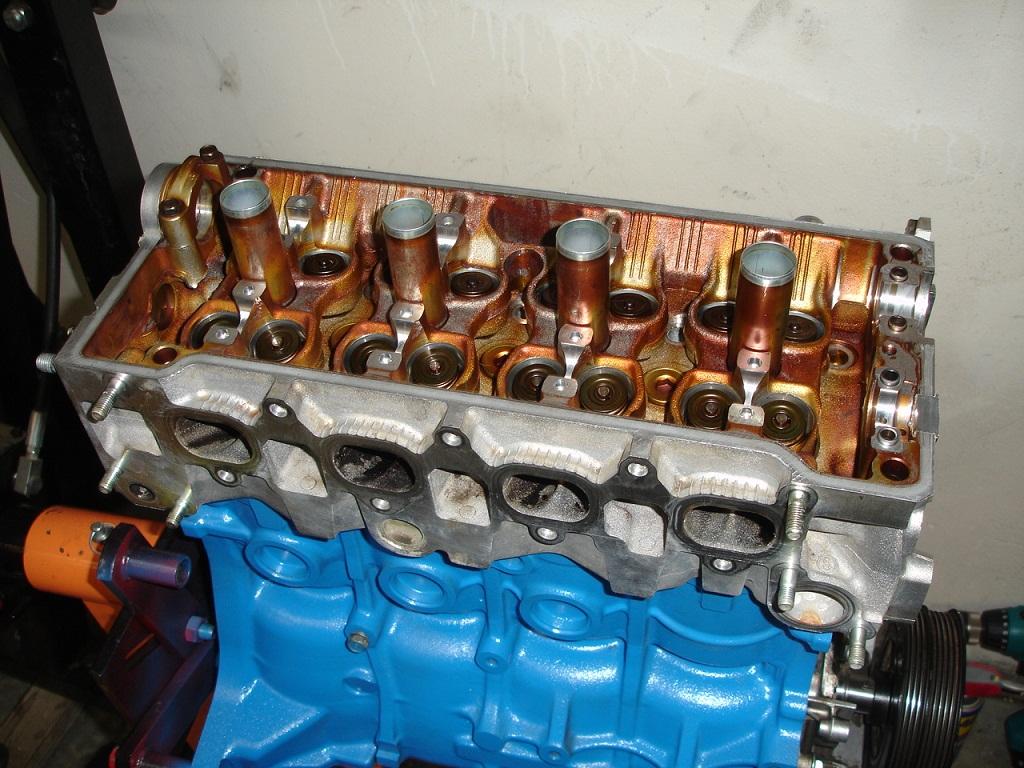
Install new head gasket
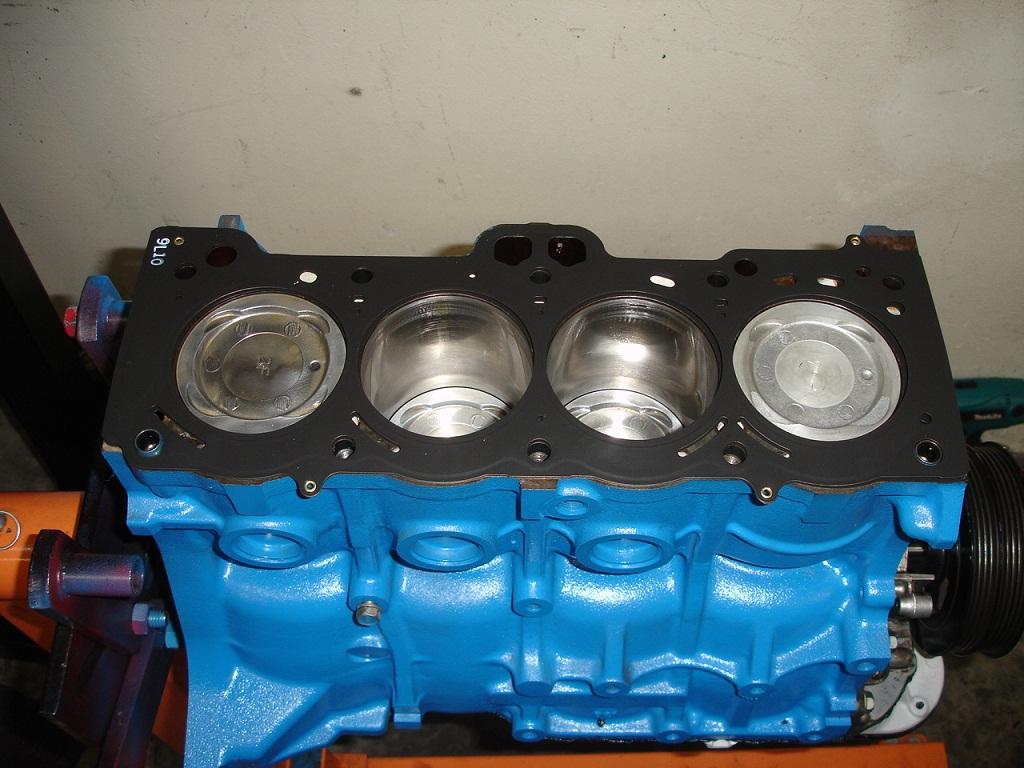
Install head on block, torque head bolts to 22 lbs in specific order, then turn each bolt 90 degrees, then turn each bolt another 90 degrees
Insert shimm and bucket assembly, I oopsed in this pic also, got them backwards
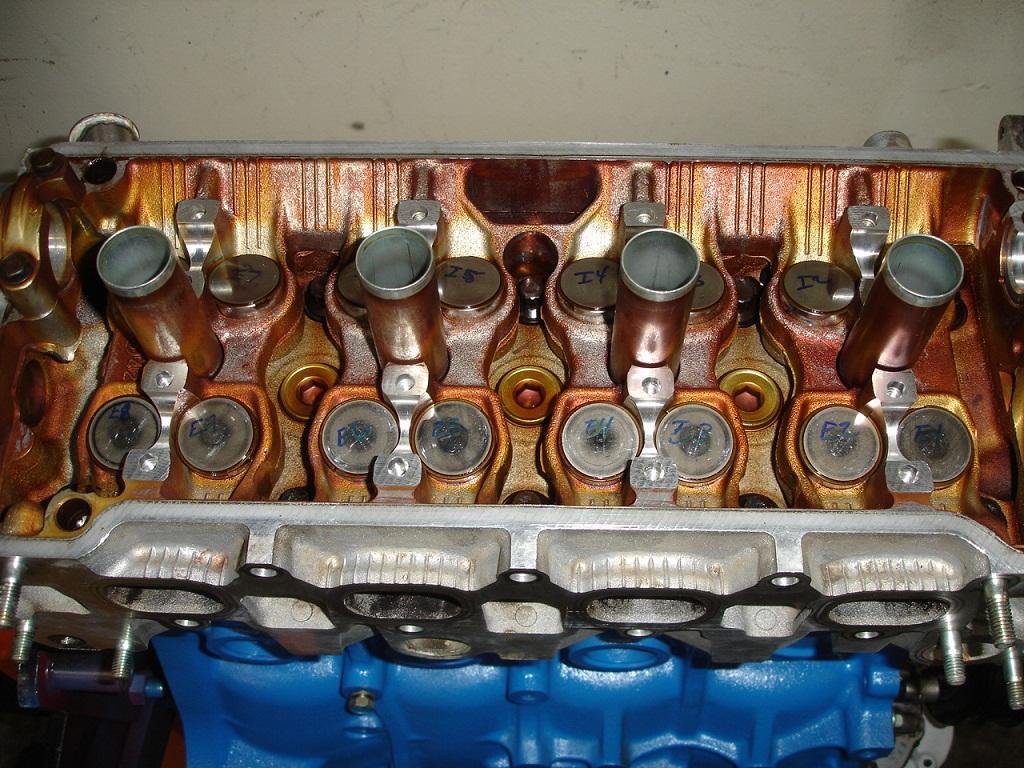
Right shimms installed, exhaust cam in position
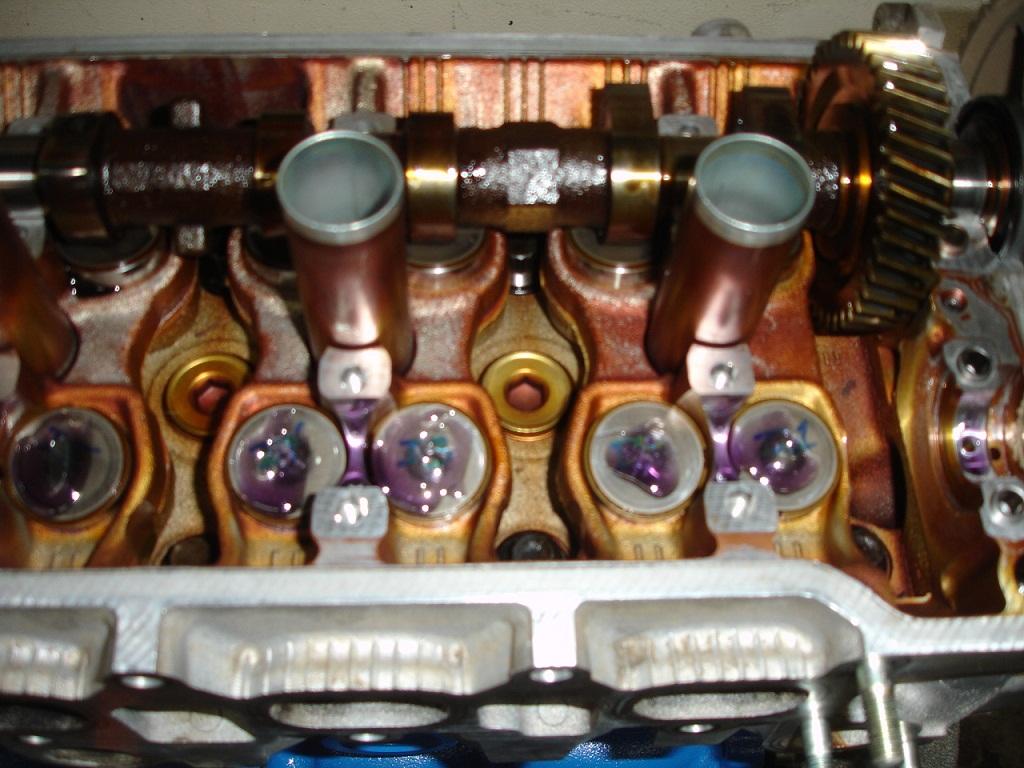
Install new cam seal
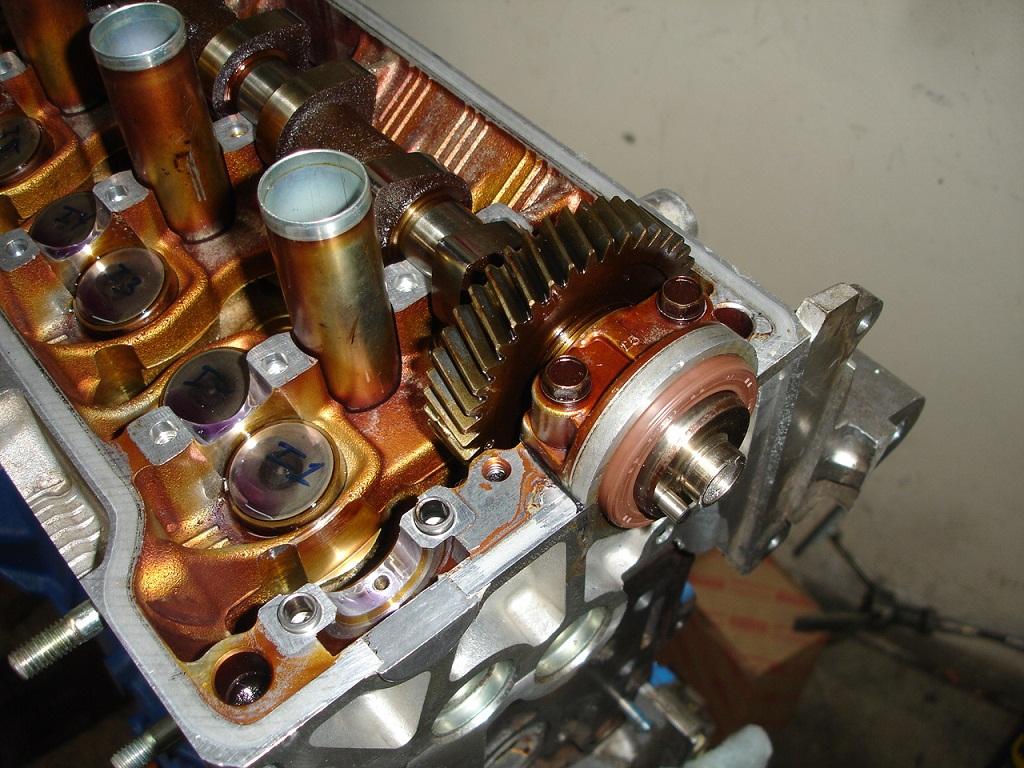
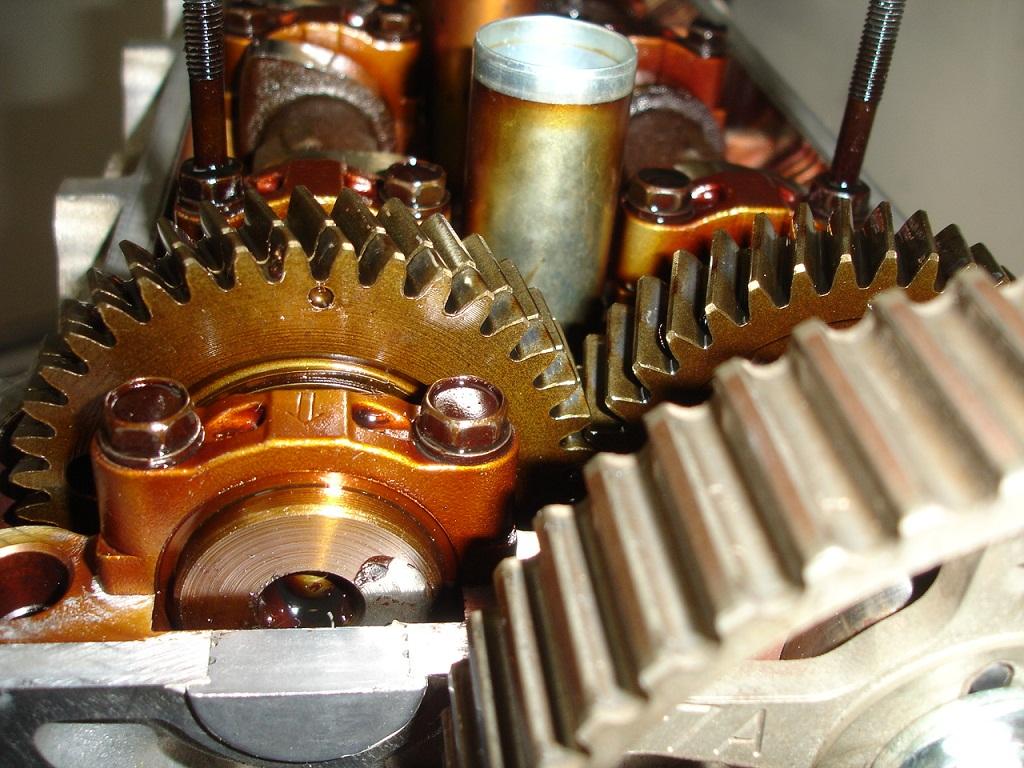
Check timing marks, make sure the dots line up during the cam rotations

Great build!
Posted by Diggymart on 11/4/19 @ 12:20:12 PM