You must be logged in to rate content!
7 minute(s) of a 341 minute read
1-31-2009
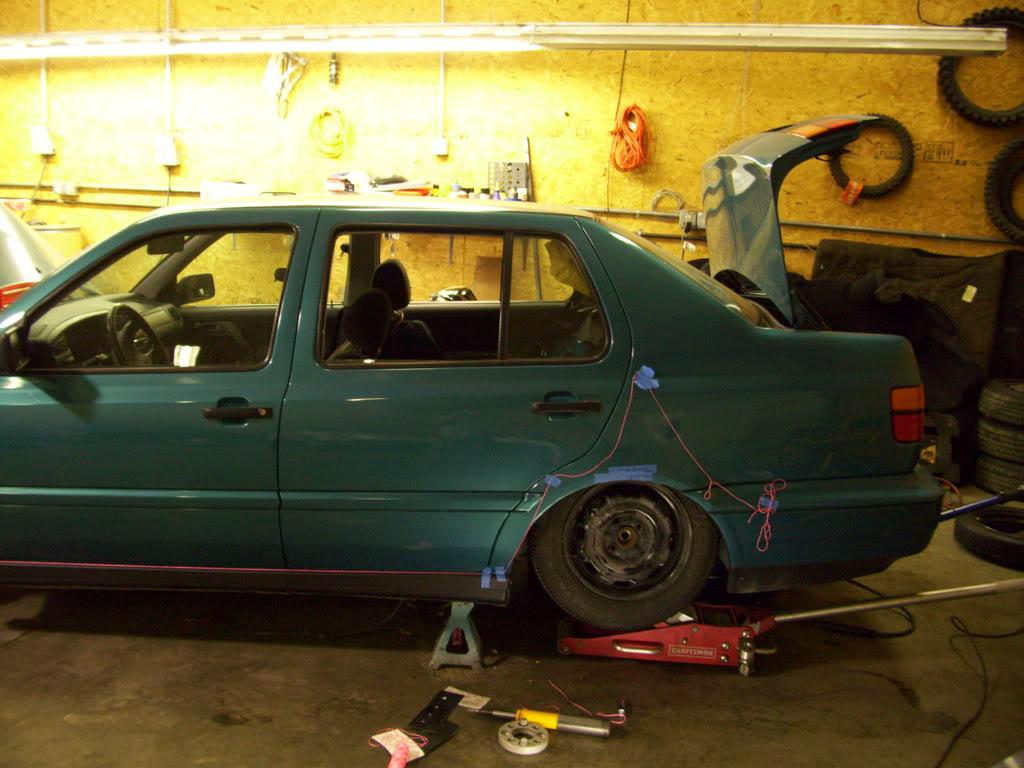
The rear fender cutting begins. I knew early on the corner of the door would be the holdup, I wanted to be sure that wouldn't keep me from getting max low. 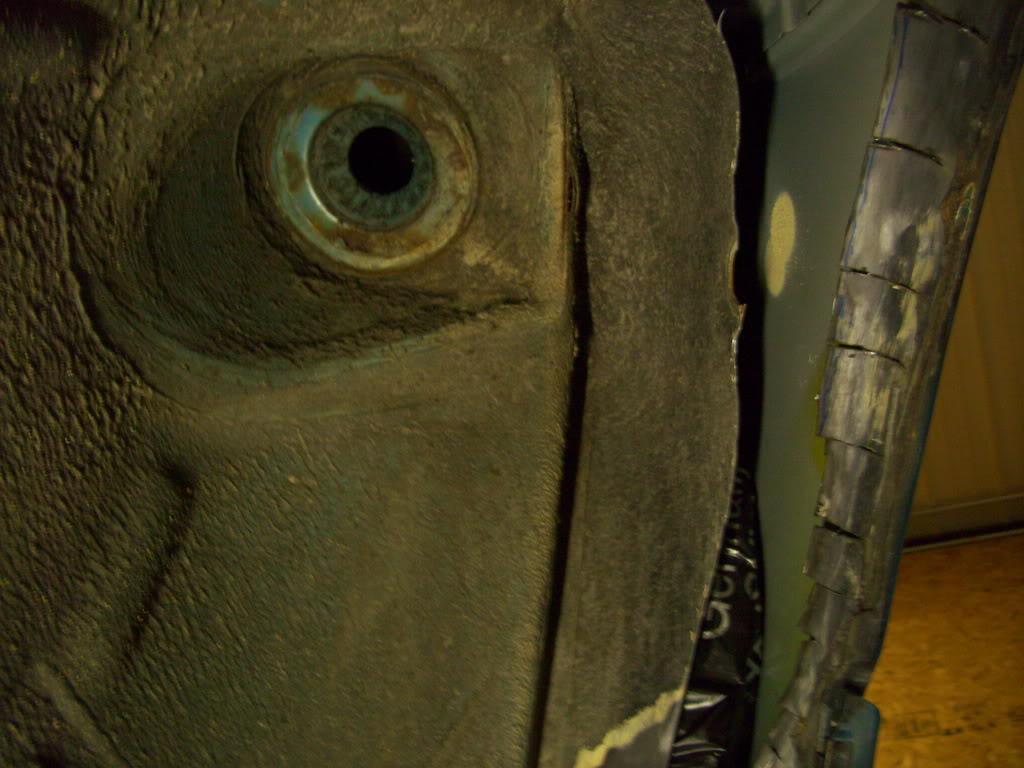
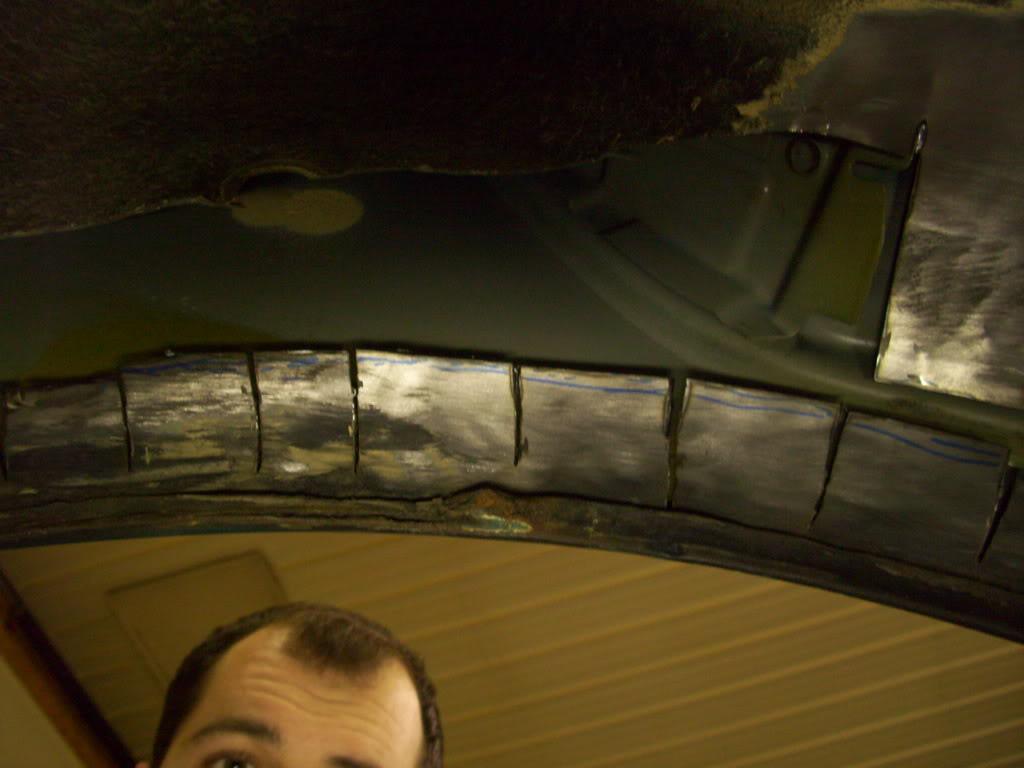
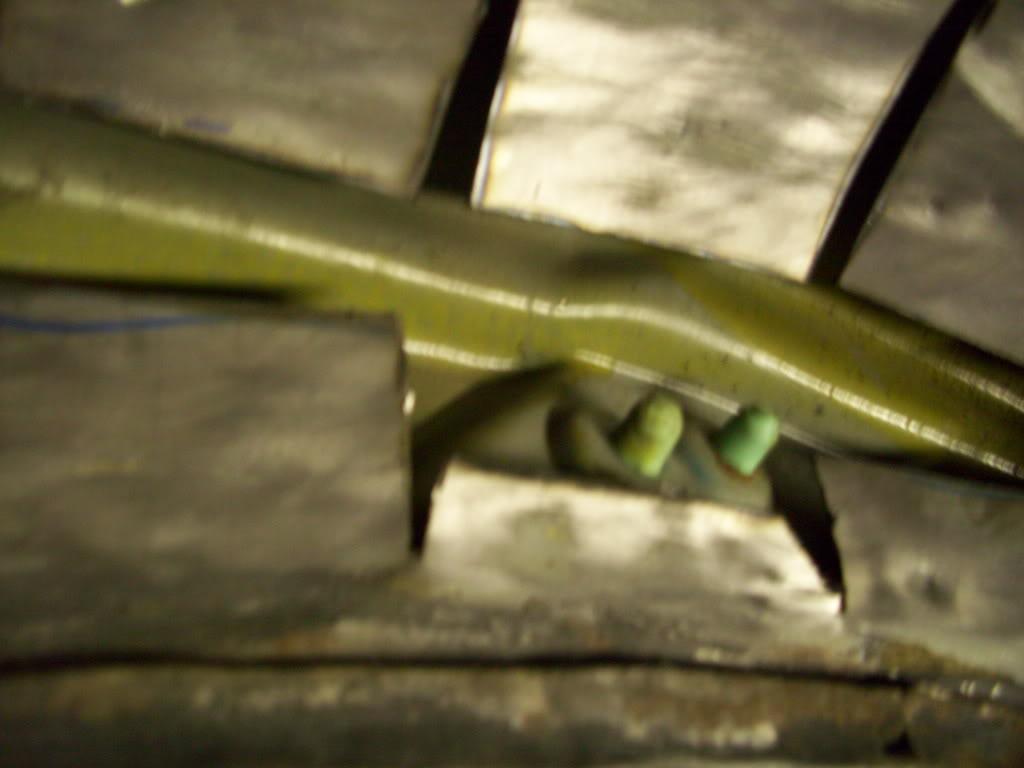
At this point I realize how ridiculous this has become. The rubber studs that hold the clip-in rear molding section will need to be moved, since they will hit the tire
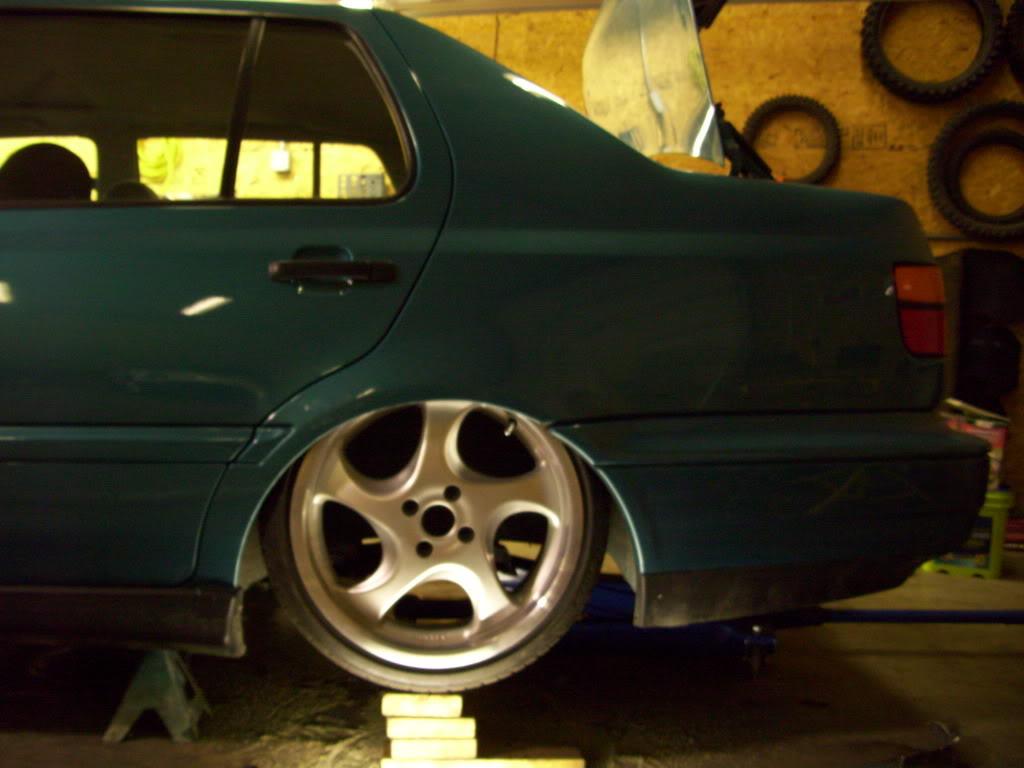
After the trimming, the wheel could still tuck but could be brought out much closer to the fender, with much less camber too.
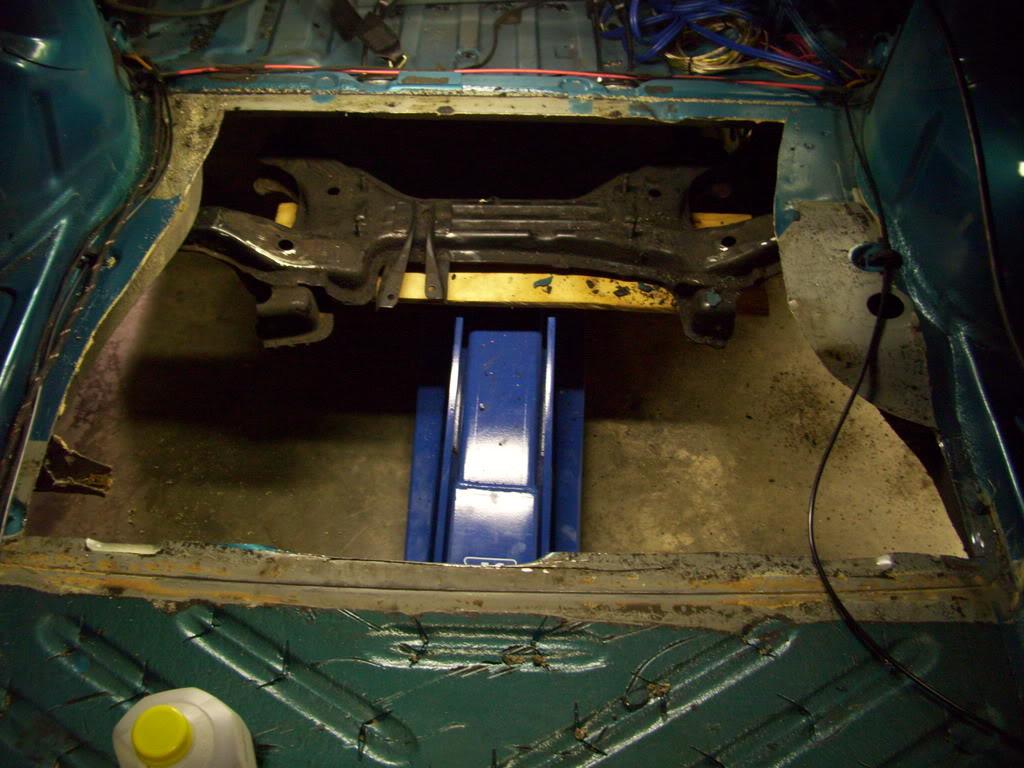
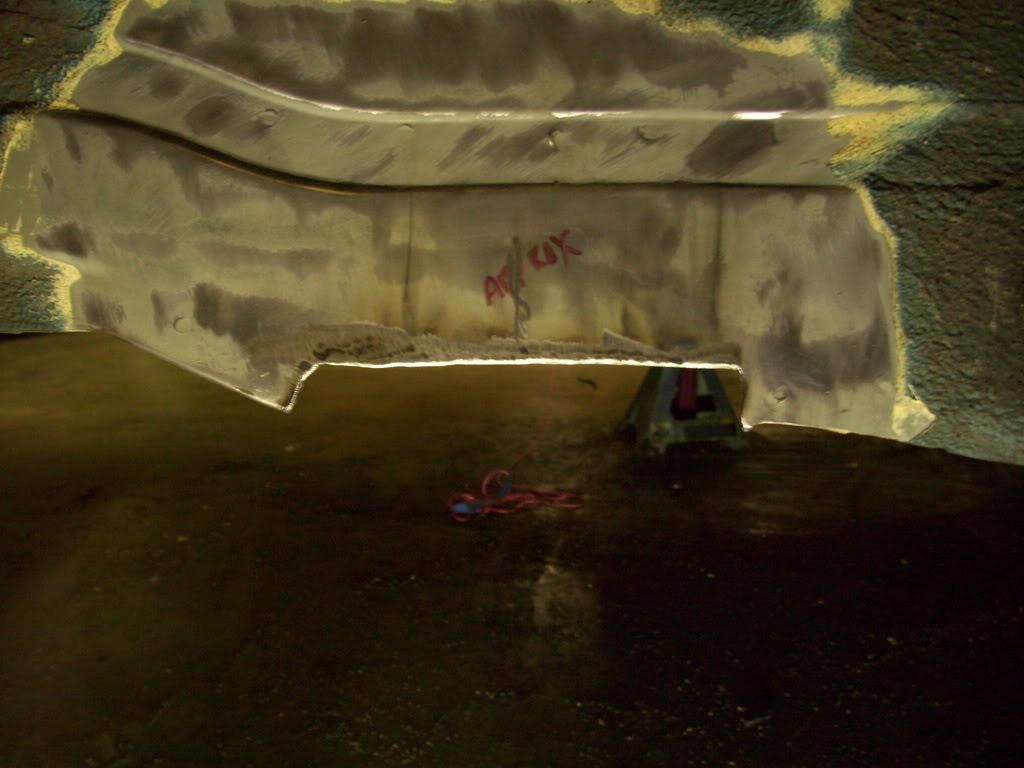
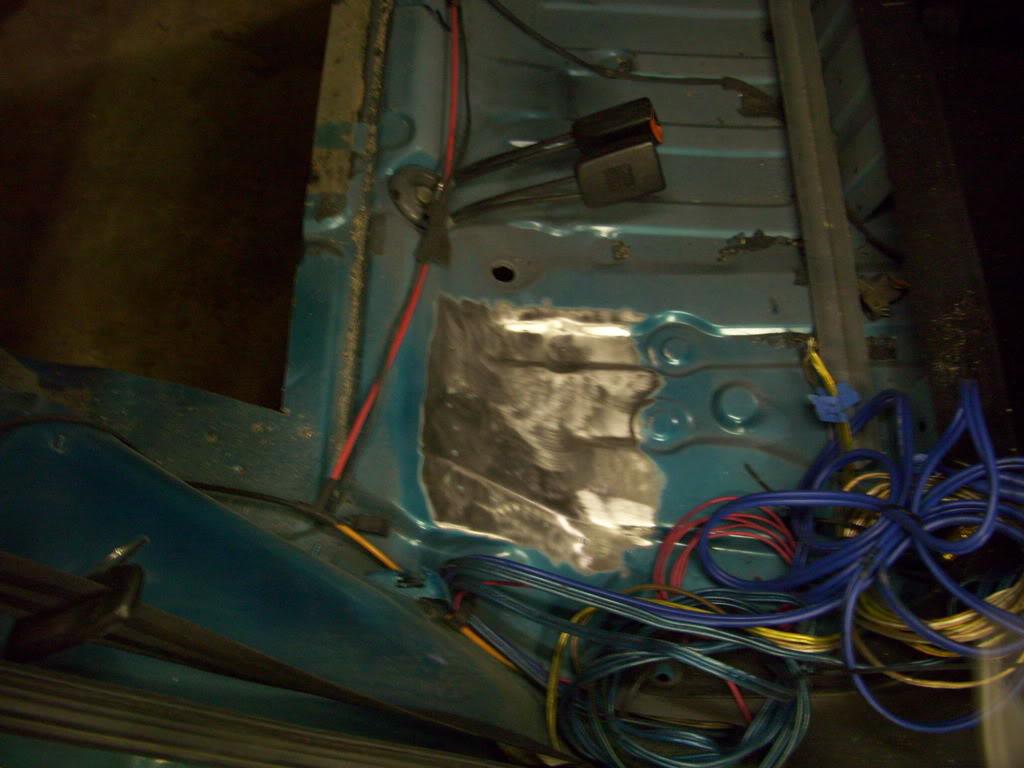
I started stripping the trunk sound deadener where I would need to cut out the floor, to make the cuts cleaner and make cleaning and welding easier later down the road
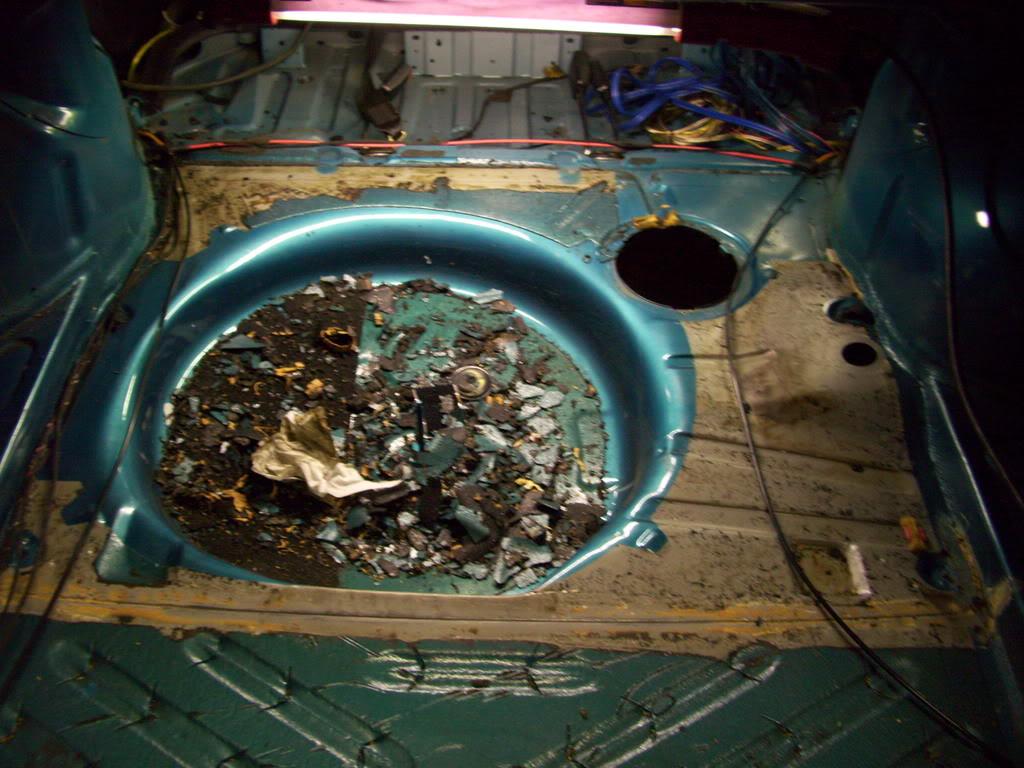
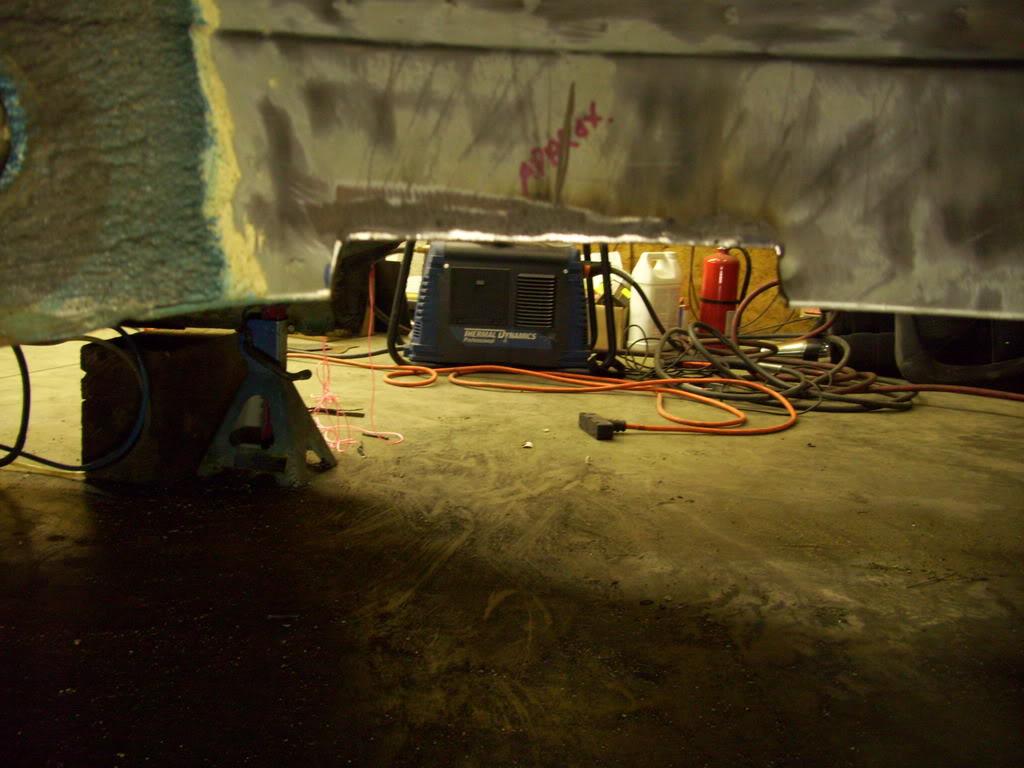
I stripped the undercoating from some key areas below the floor where the subframe would mount
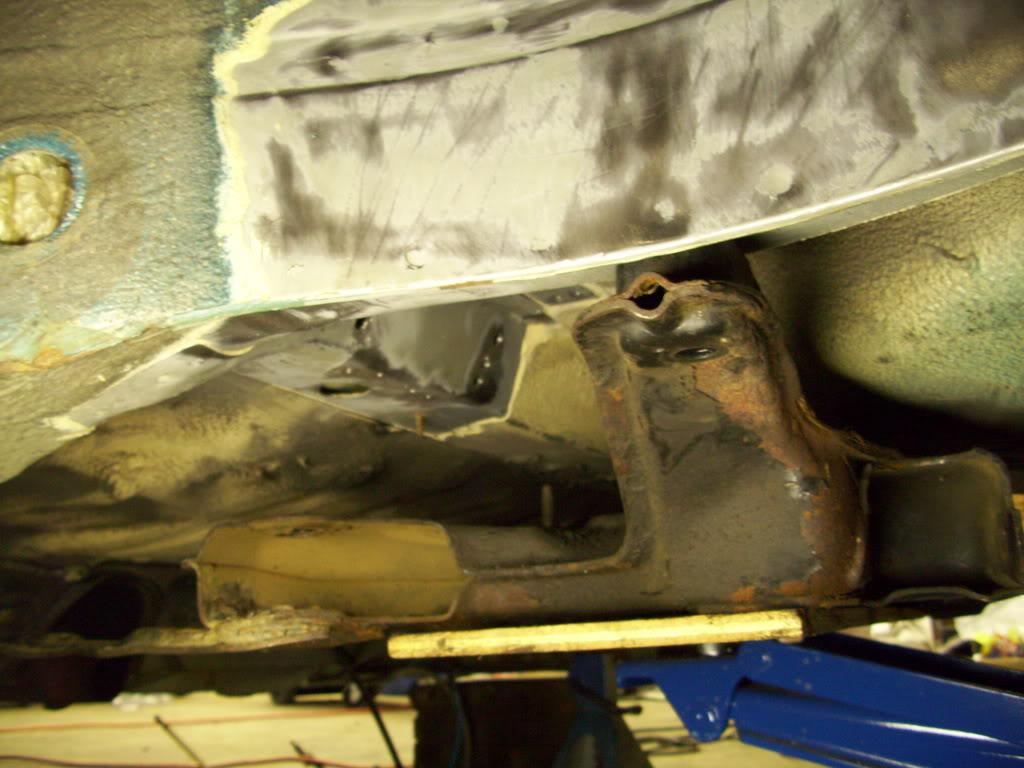
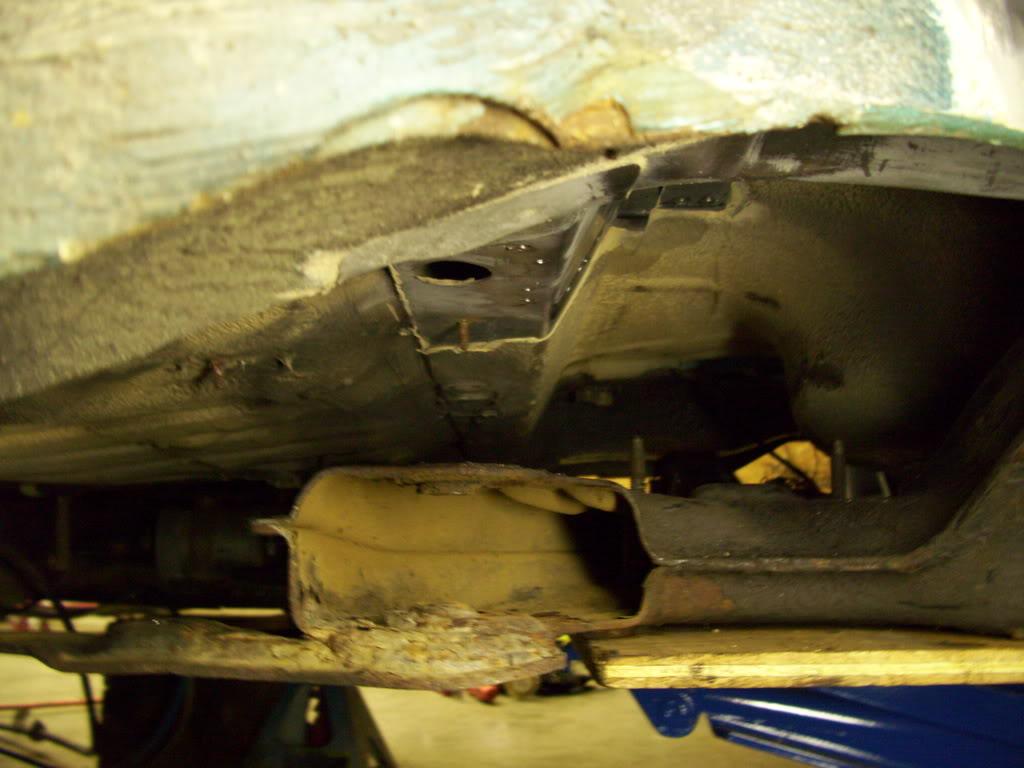
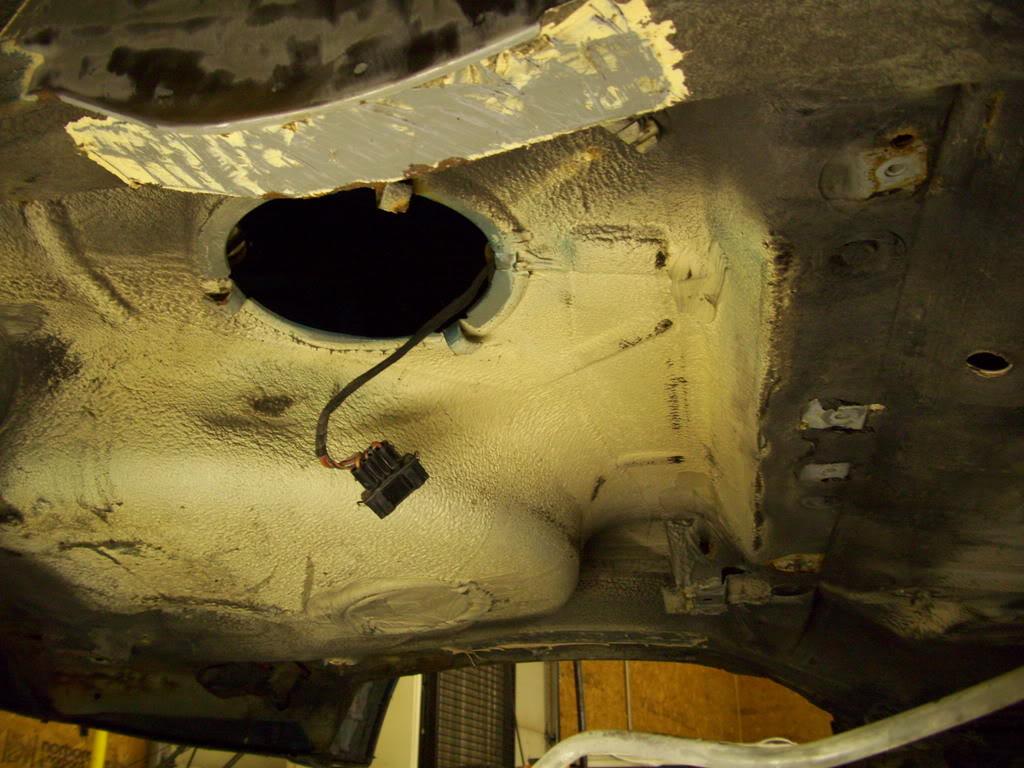
here's a bottom view of the new clean slate!
Feb 3, 2009
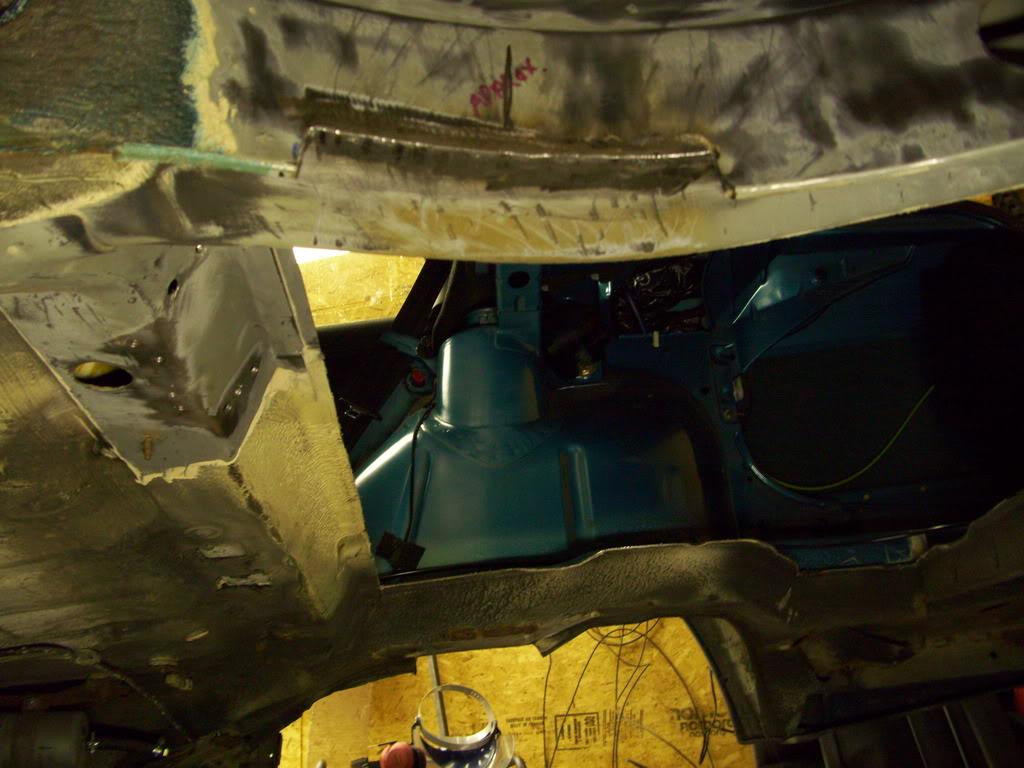
Floor is gone.
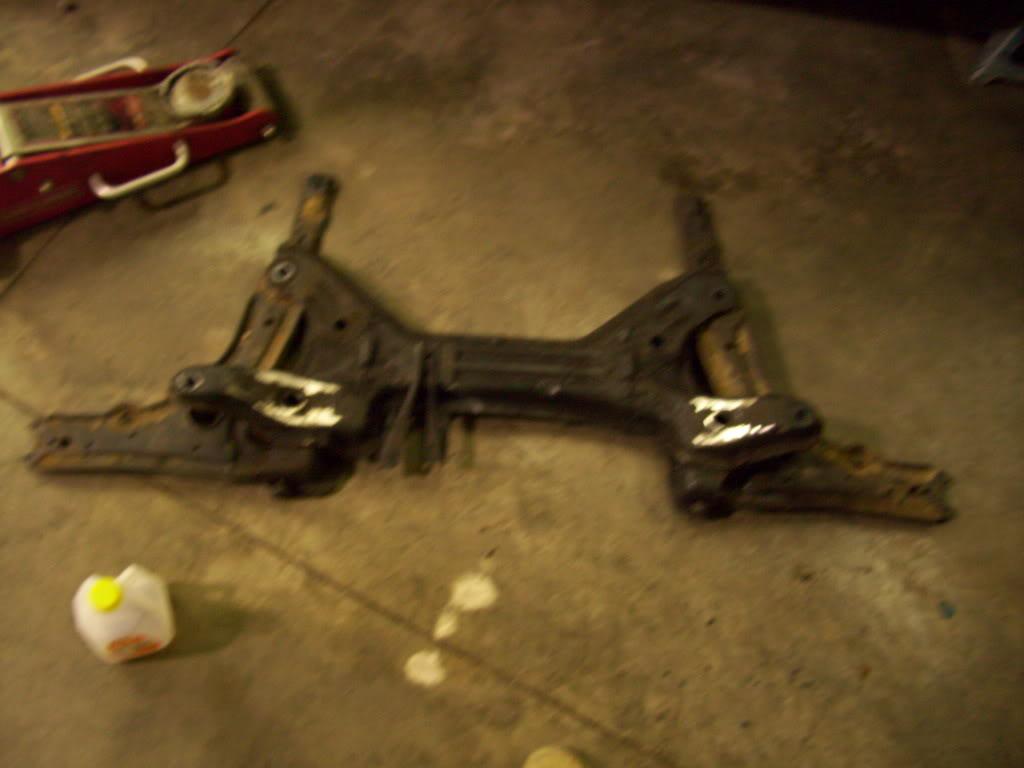
I took out the subframe and took some measurements from it, comparing them against my Mitchell book.
Feb 4, 2009
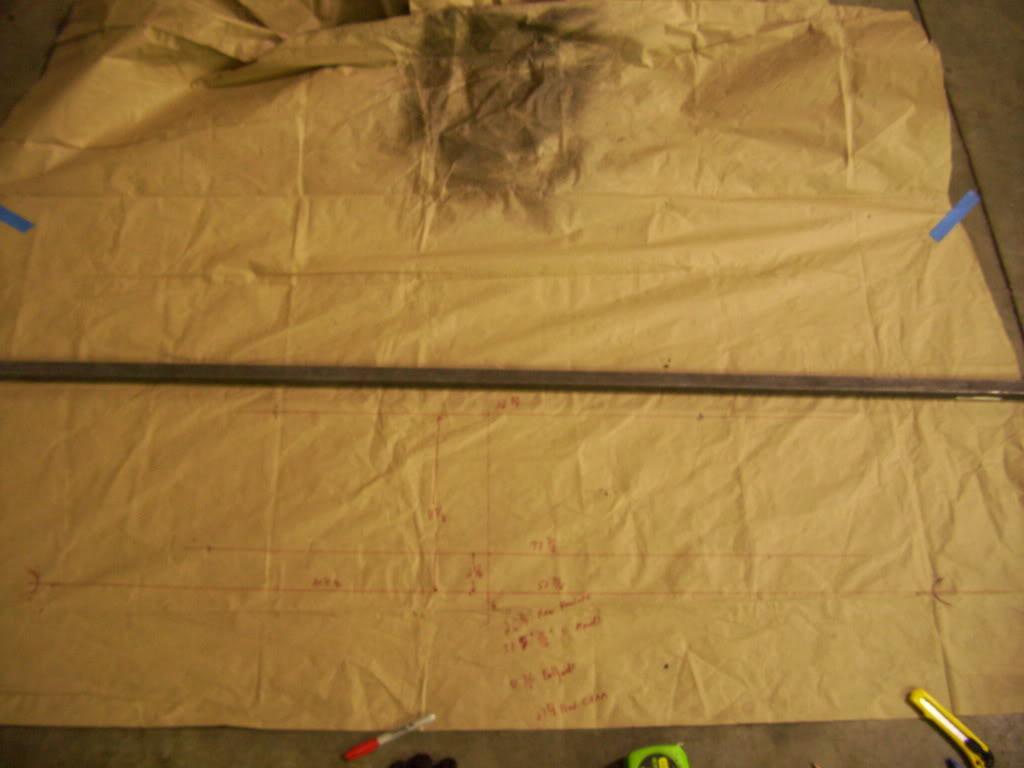
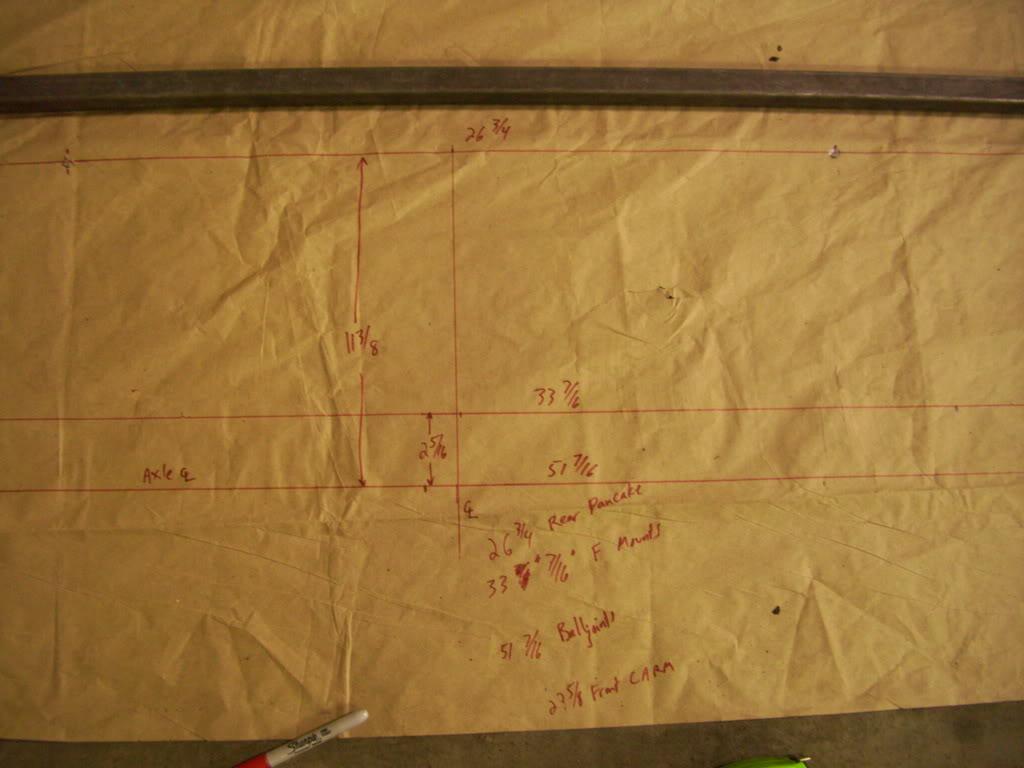
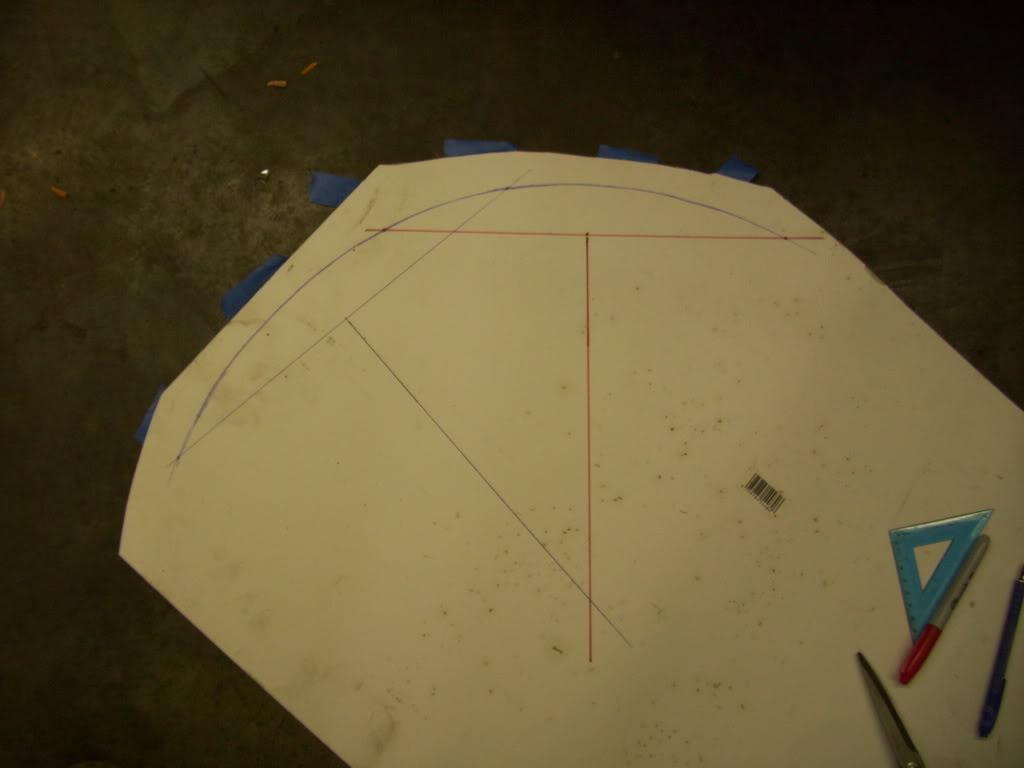
I begin taking measurements for the rear axle centerline. I used two methods and compared them. The first was to trace the steel arch on the unibody, then use geometry to find the center of the circle, assuming it was a perfect circle
Then I stretched a string, level with the bottom of the doors, to the rear bumper. I found the center of the opening
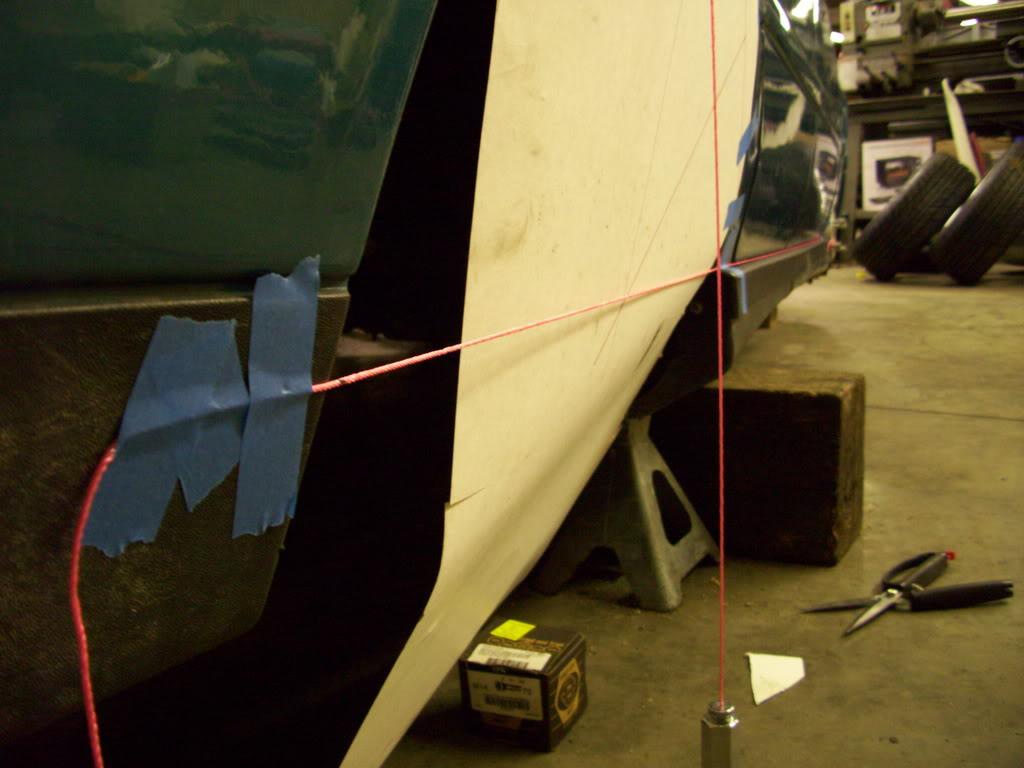
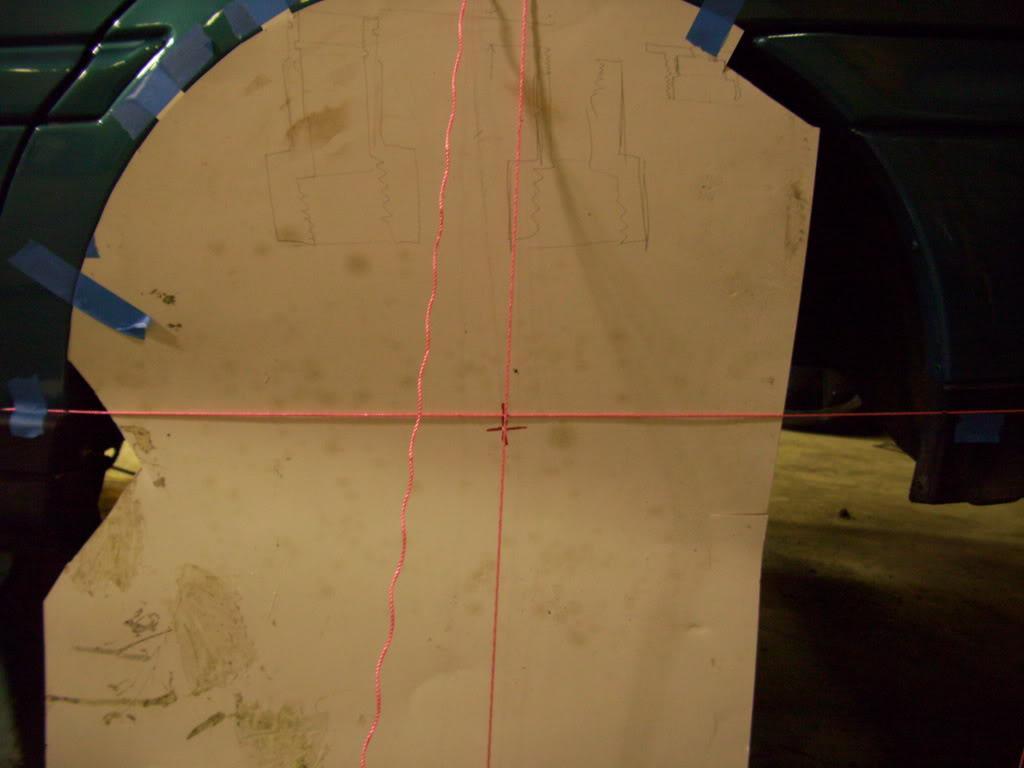
When comparing the two, they were almost identical, so I could use either as a way to center my subframe.
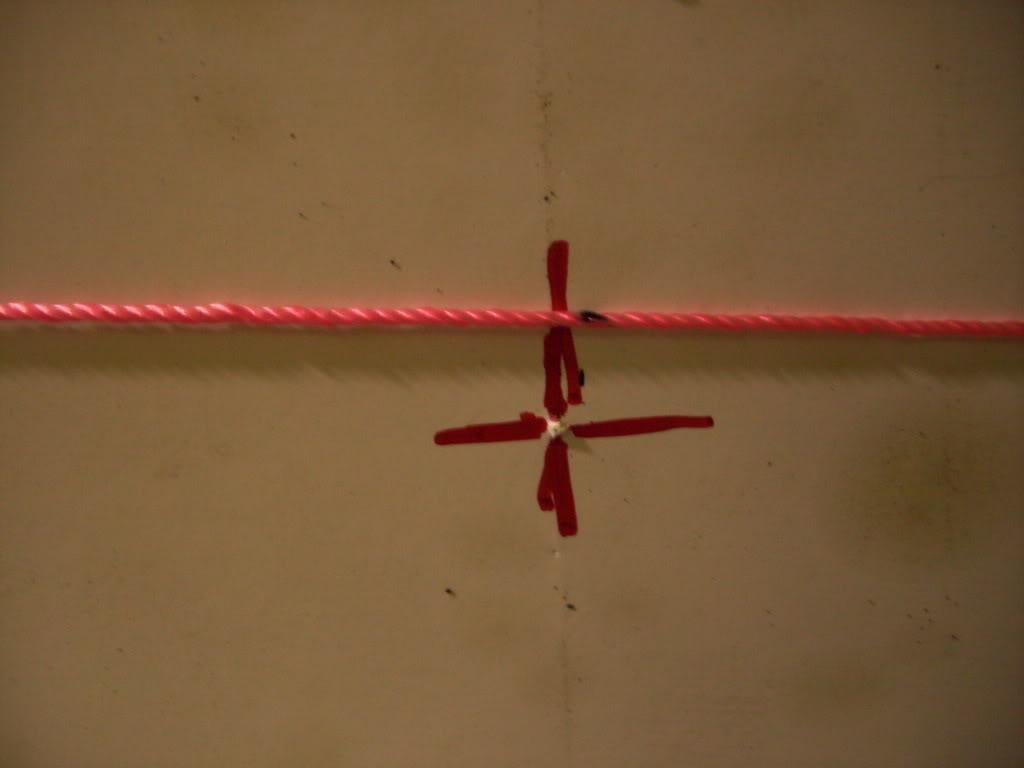
The black dot on the string is the centerline using method #2, the intersecting lines drawn on the paper are using method #1.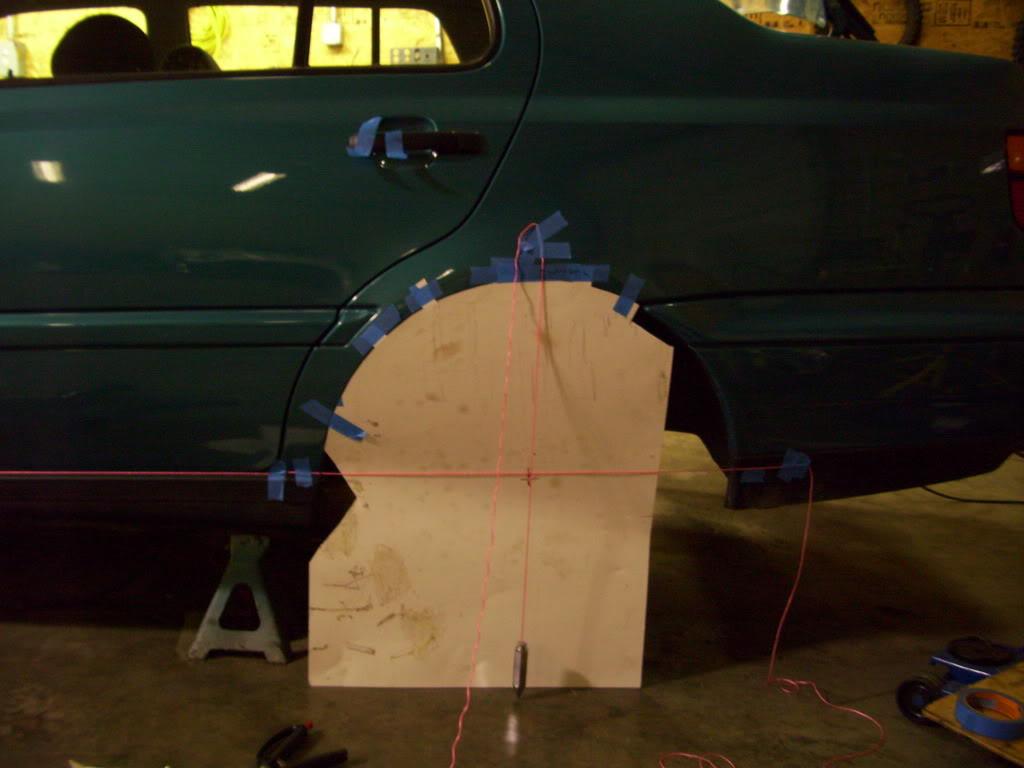
Feb 9, 2009
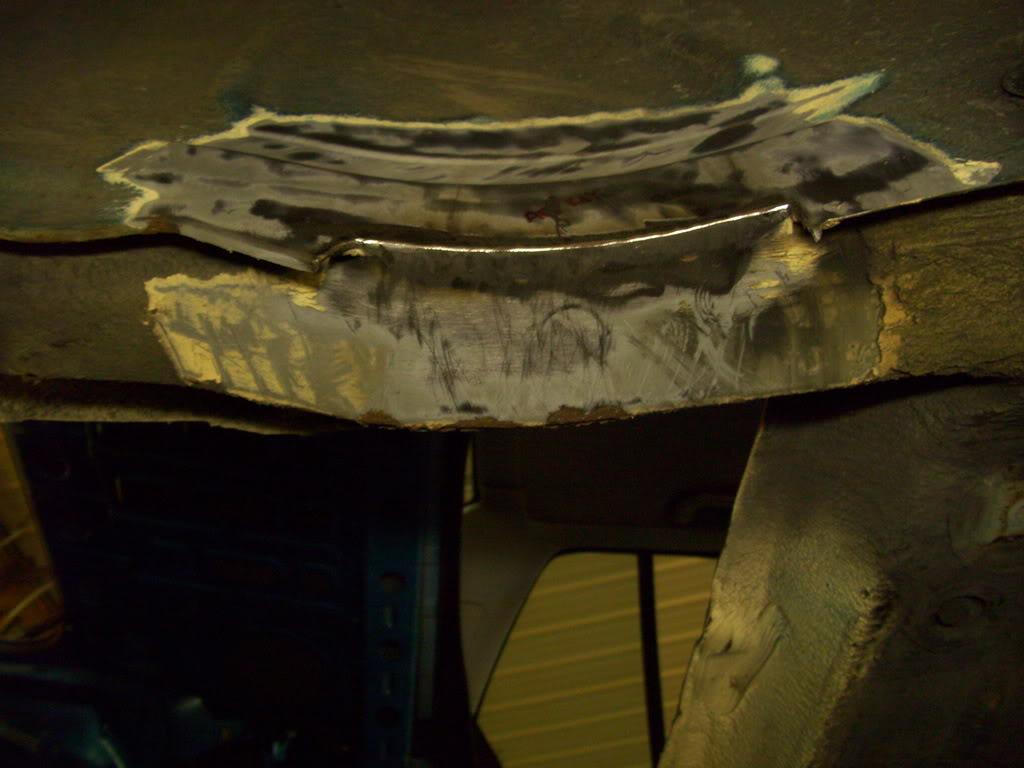
I marked the centerline onto the frame rails, then used my previous measurements to determine roughly where the subframe mounts would weld, and cut out the pinch weld in that area.
Then I welded the two panels together and ground it smooth, since the area would be plated and then re-welded again.
I did the passenger side too
Feb 13, 2009
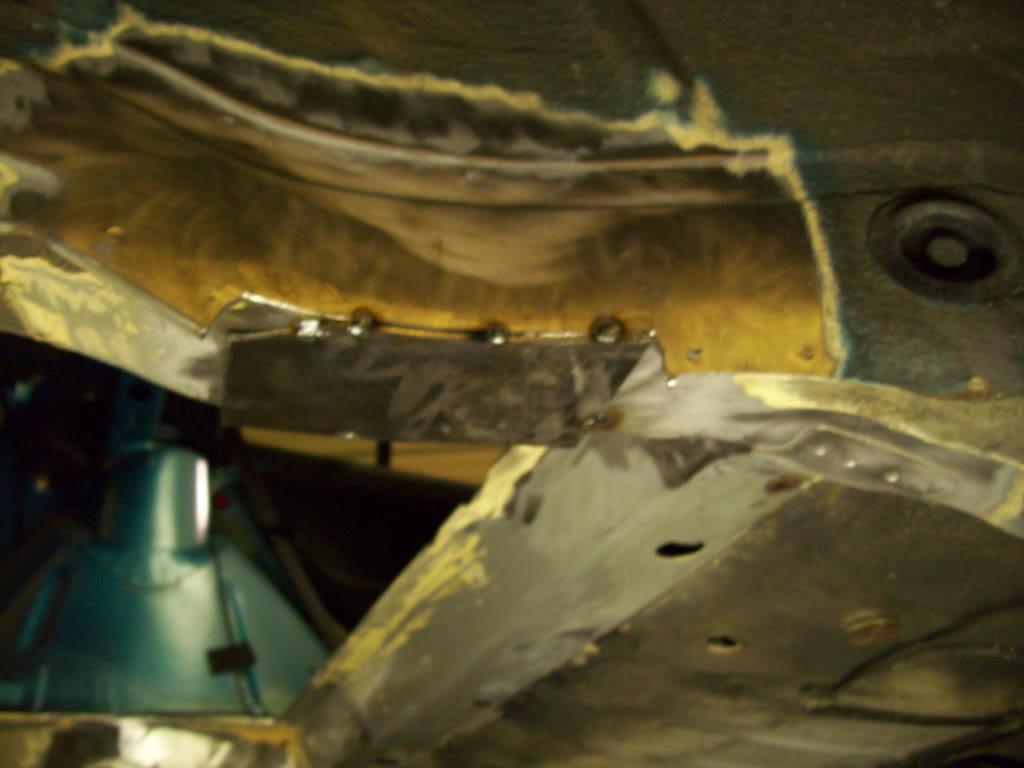
I plated the bottom sides of both frame rails in preparation for the new subframe mounts. 1/8" HR steel pate, 1020 steel. MIG welded (just tacked at this point).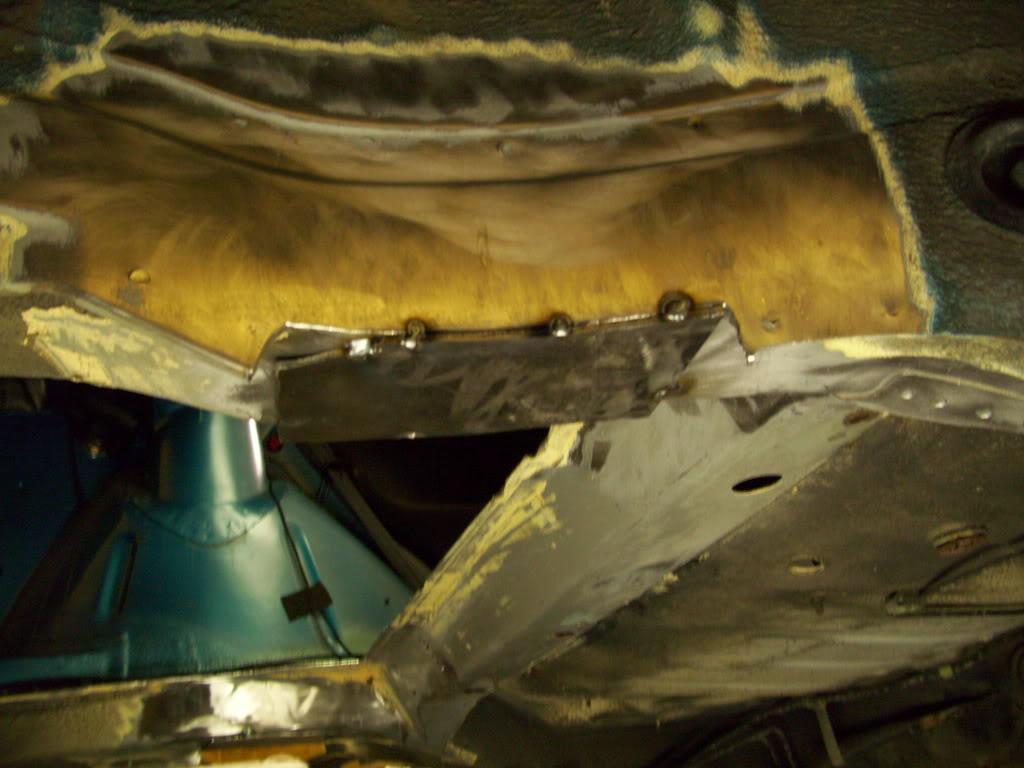
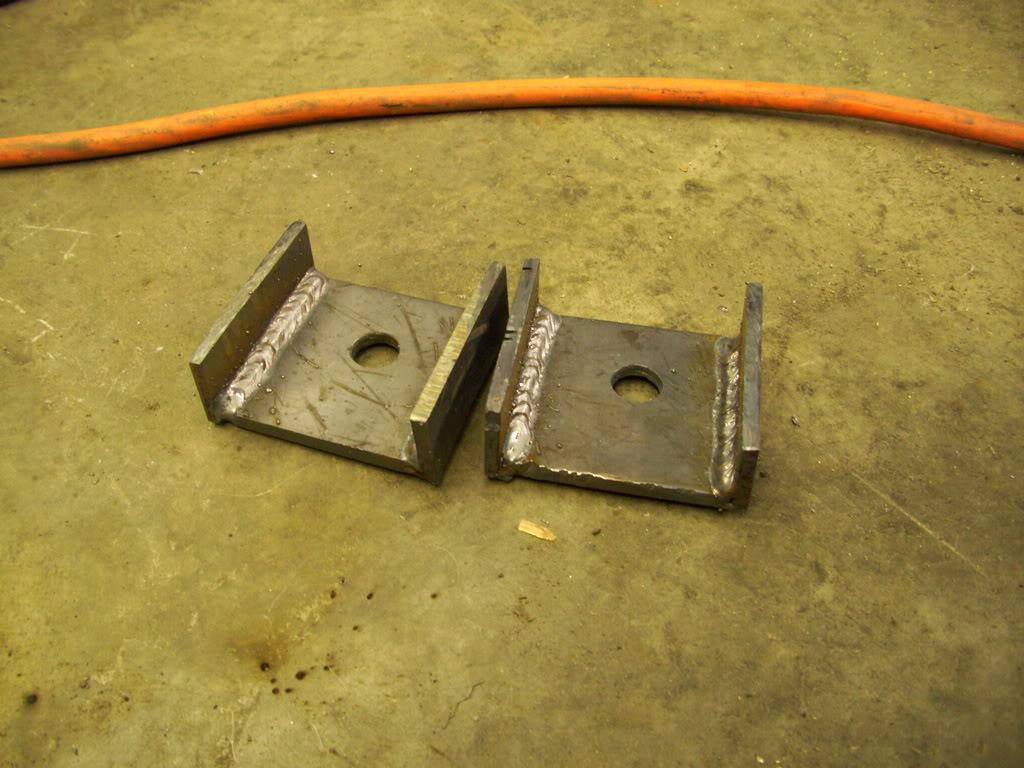
Then I made the rearward mounting points for the subframe from 3/16" steel plate, with a 14mm hole drilled through. The stock holes are 15mm with 12mm bolts for plenty of alignment slop, I will be doing all my welding using 14mm bolts in 14mm holes to minimize any distortion.
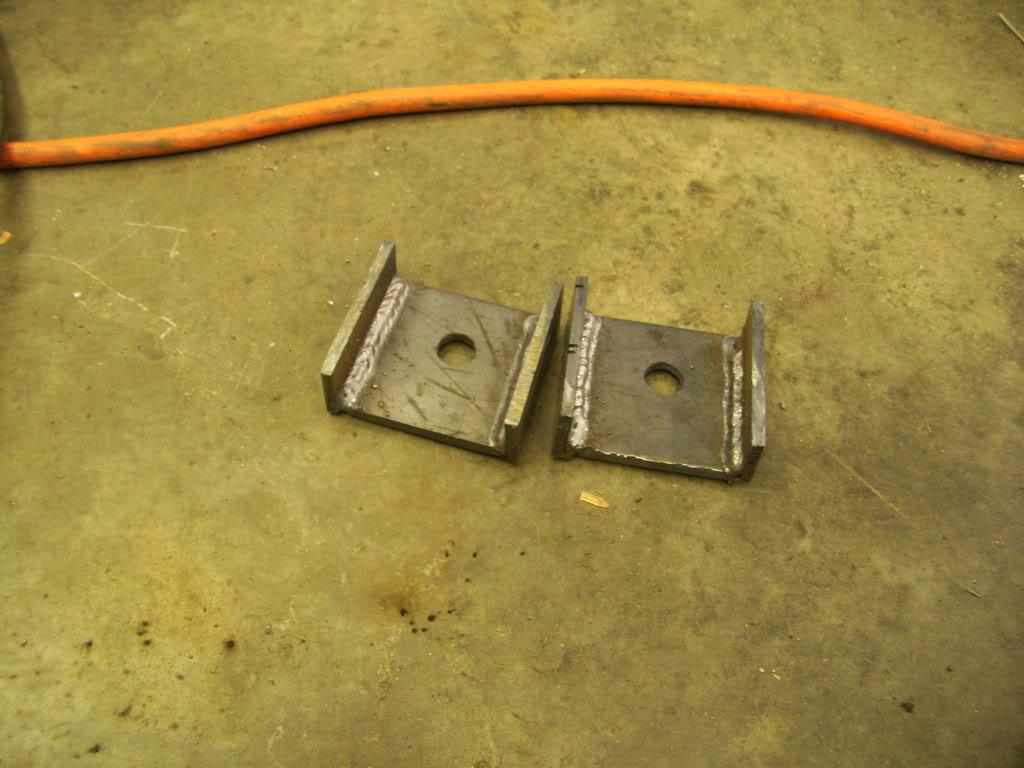
Here they are mounted to the subframe
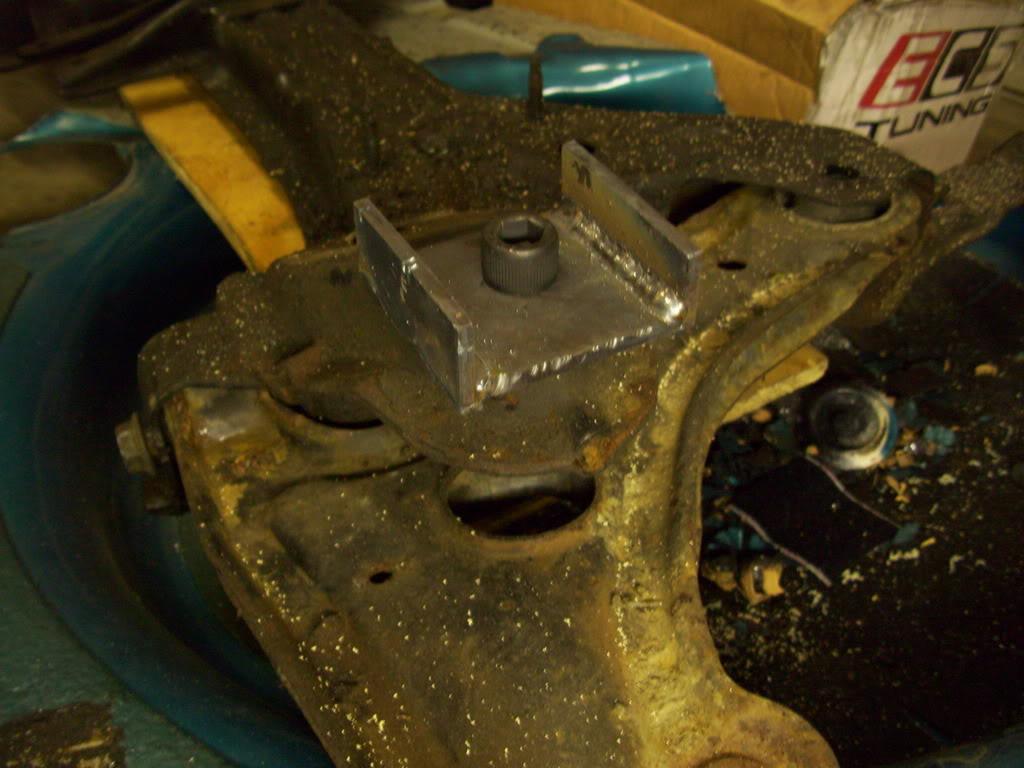
It fit nicely into the plated section
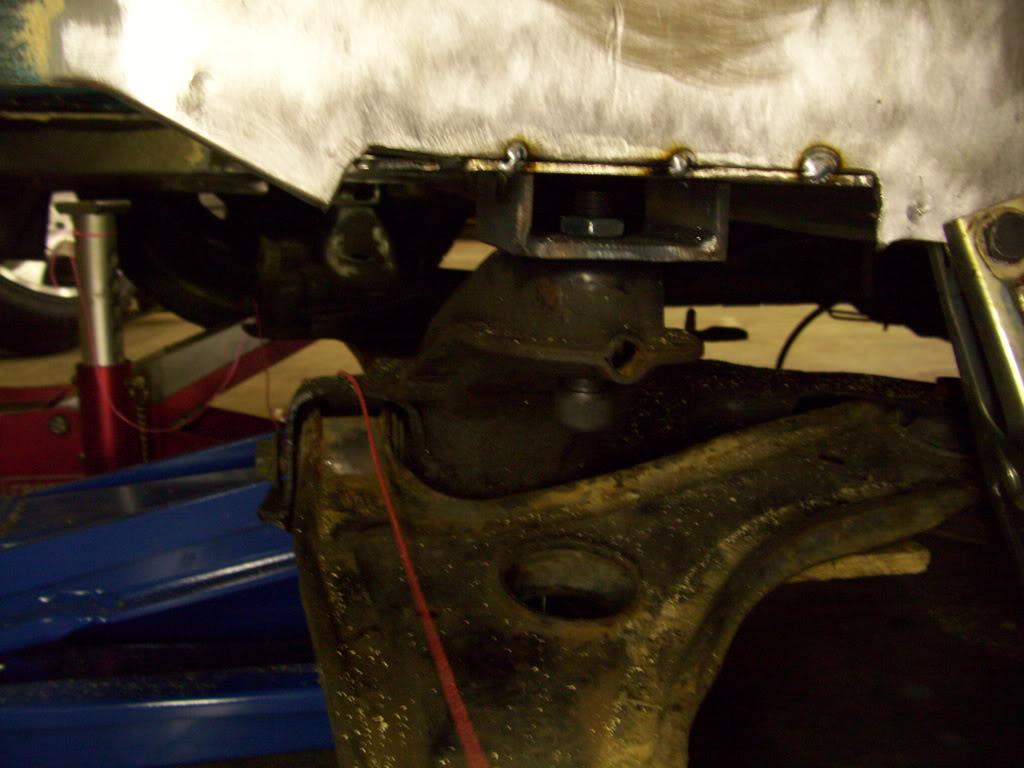
You can see the pink strings I used to cetner everything up, which were suspended on jackstands and dozens of careful measurements were taken.

I mounted a strut into the stock upper mounts, and threw on a wheel
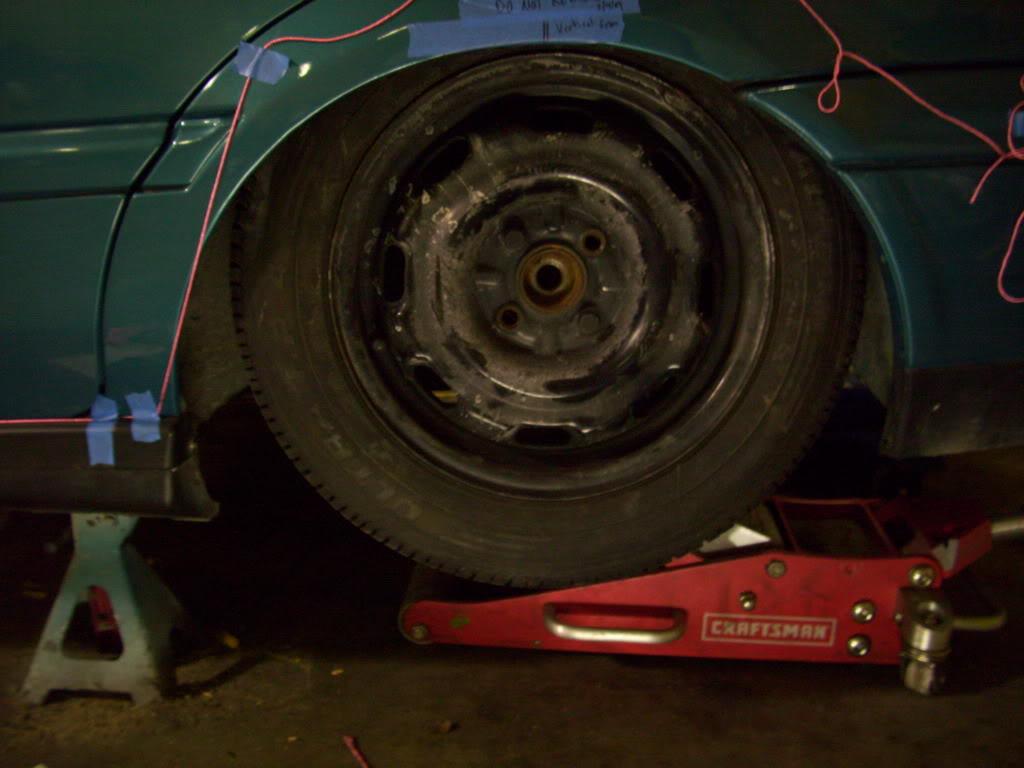
Now this is where things get interesting.
With the axle centerline placed directly on the arch centerline, within 1/16" accuracy, the wheel looked too far back. After some confused thinking, there are many optical illusions at play here. I will need to call in reinforcements here.
In the meantime, I decided to build a new rack since I won't need steering in the rear.
Feb 15, 2009
I removed the rack gear from a stock rack, and welded it up on spacers to bolt to the stock rack location.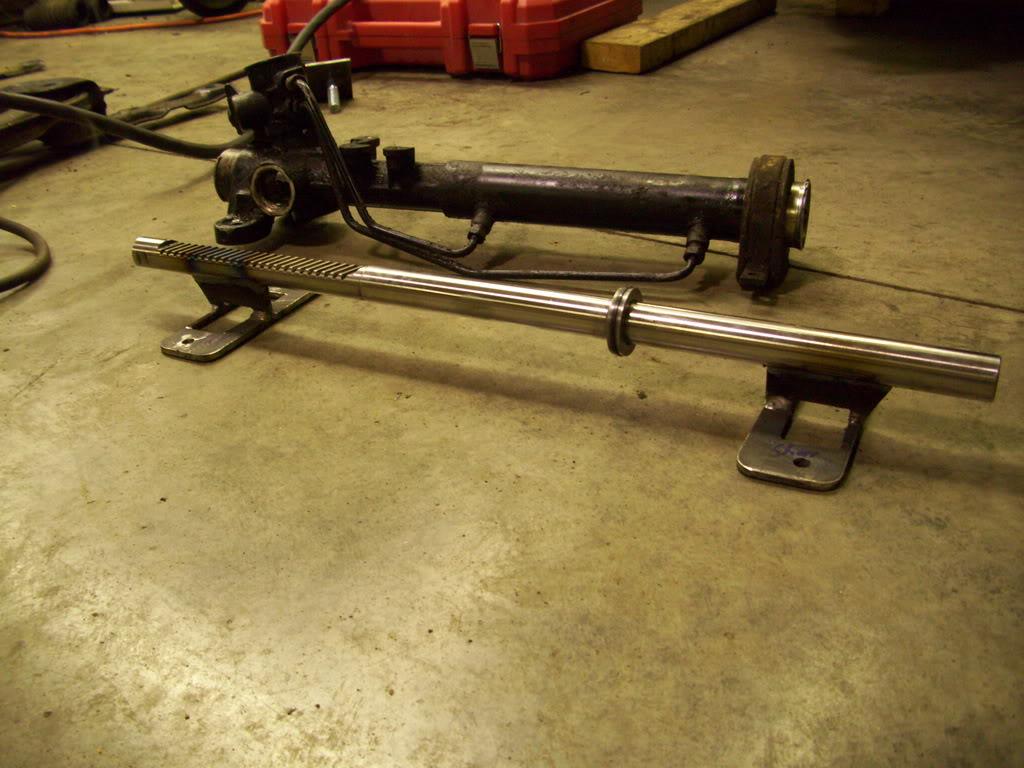
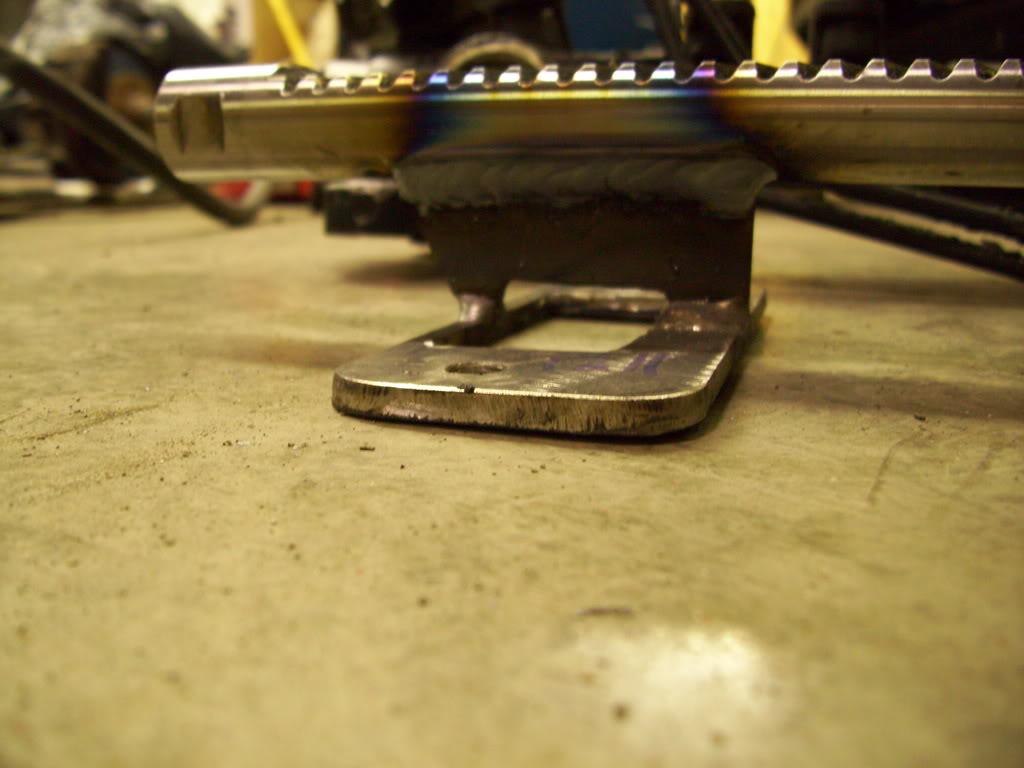
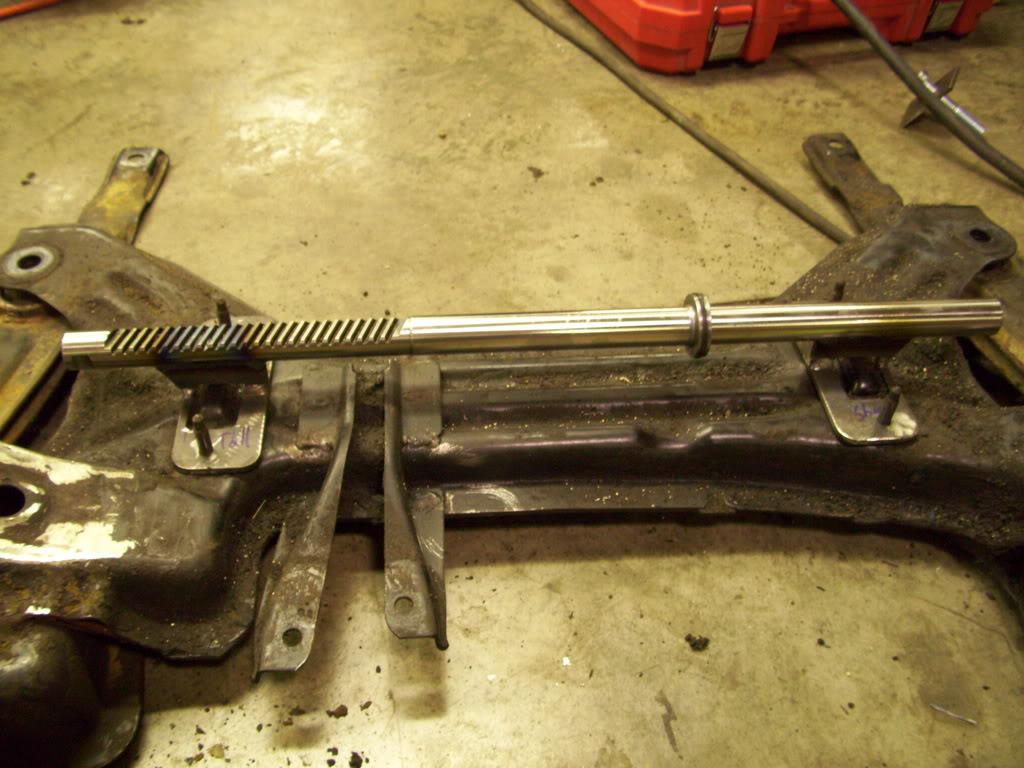
Don't worry, those were reinforced later. This was just to get everything in place without the bulky rack in my way.
I also did some more stripping under the rear seats so I could weld on the bottom side without contaminating the weld.
Nice build! Great photos and detail ????
Posted by Diggymart on 4/23/19 @ 12:52:48 PM