You must be logged in to rate content!
7 minute(s) of a 341 minute read
2-17-2009
My buddy Chris (Stallion on vortex) comes over to help me get the axle centered in the arch. Chris is a very talented designer, he's the guy that does all the renderings you've seen of my car and others.
After a dozen trials, careful measurements, moving spotlights around, taking pictures and looking at the pictures, we decided the wheel needed to move forward quite a bit. I think we moved it forward 3/8" or perhaps more!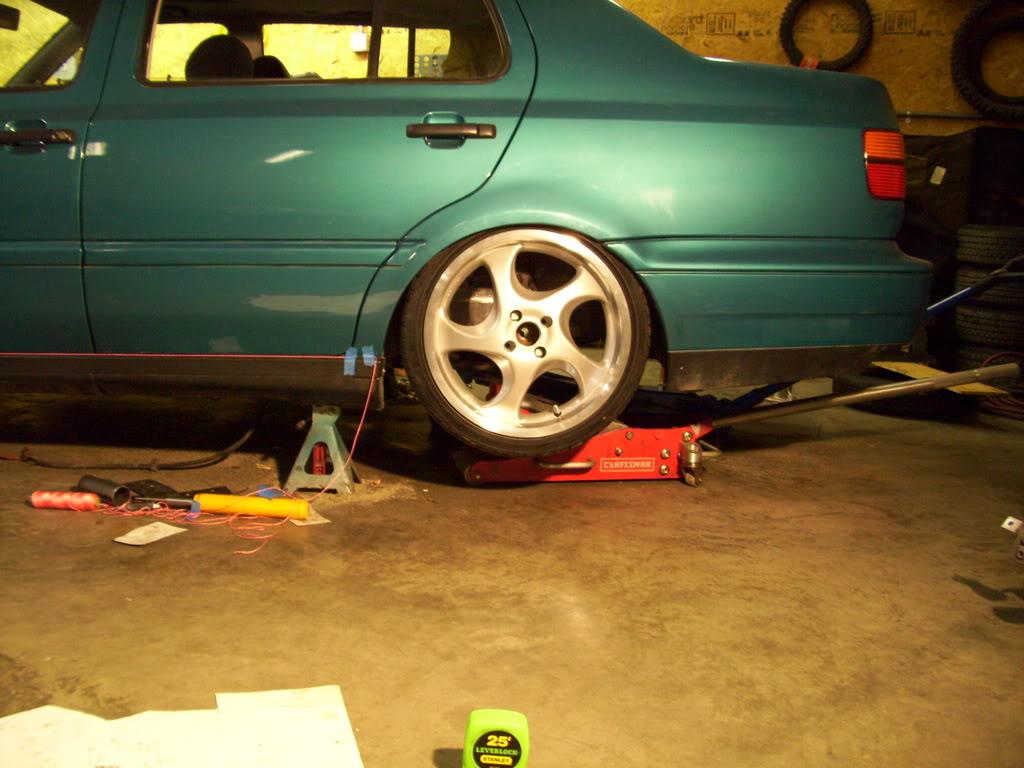
Feb 21, 2009
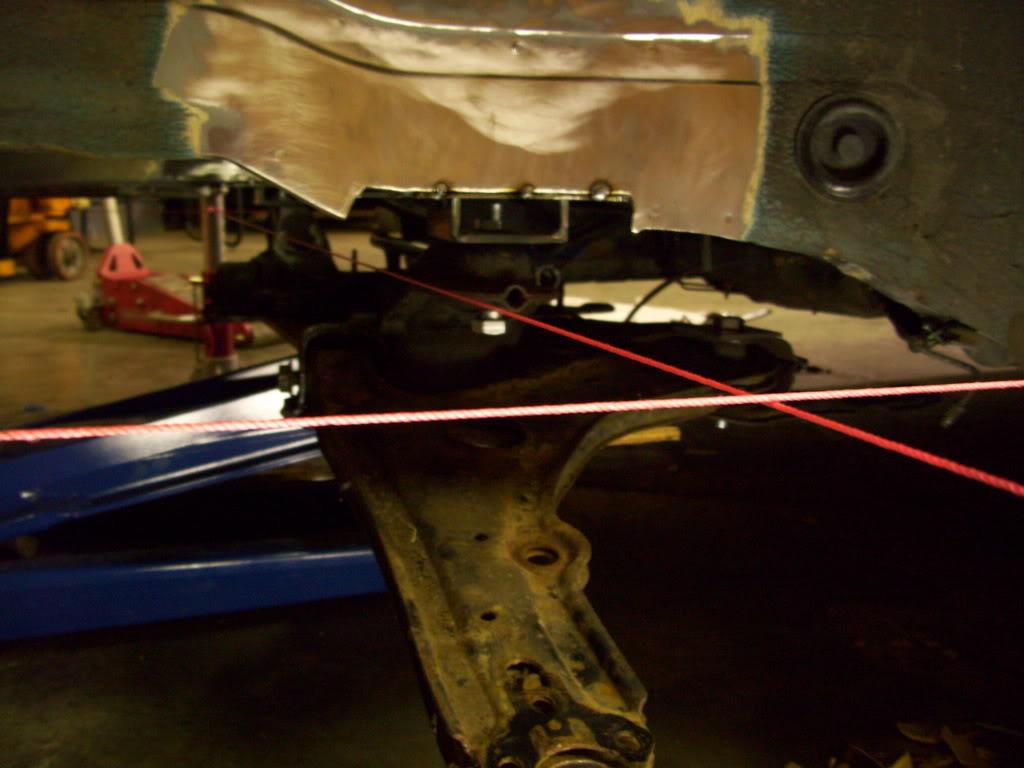
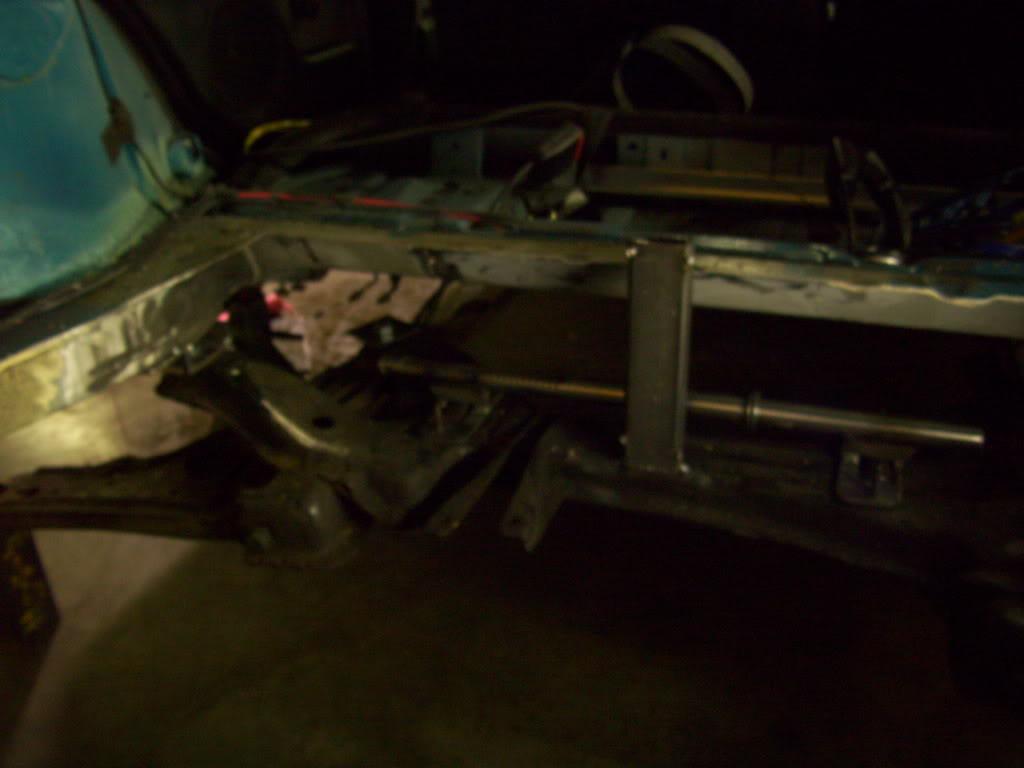
A few days later, I tack the subframe mounts in the new location using the string method again
I also received new wheel tubs for the rear, this time from Tractor Supply. Yay rednecks!
Feb 23, 2009
This happened to the front arches too, but now that I have a camera (Thanks Santa!) I can take pictures of it.
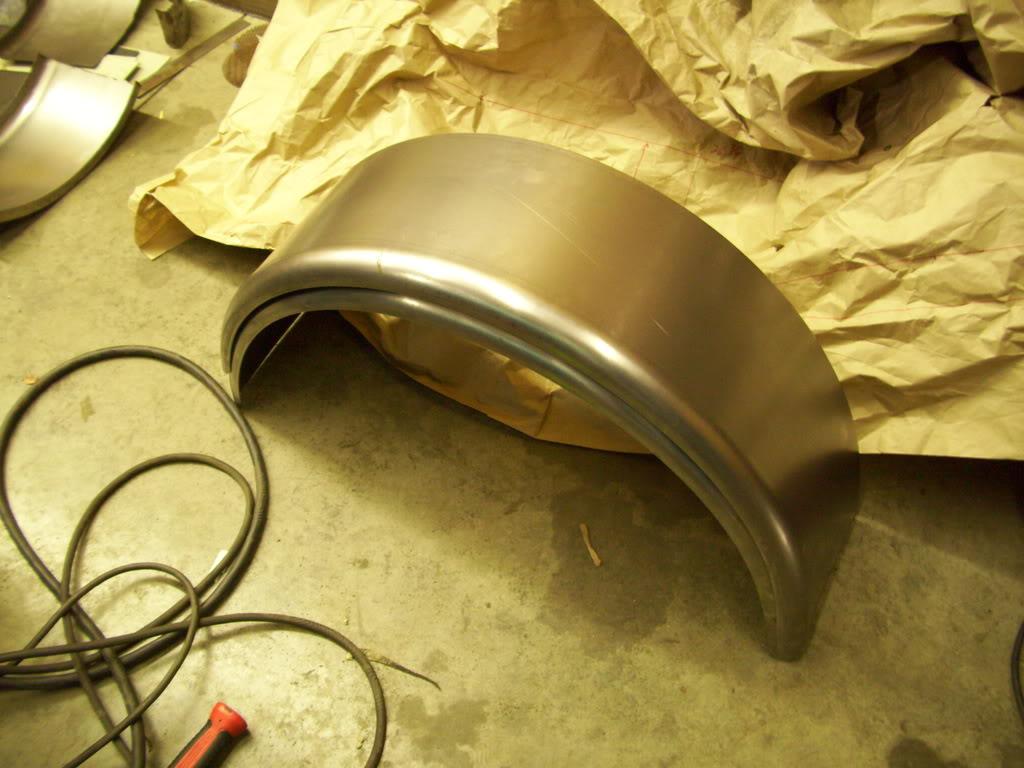
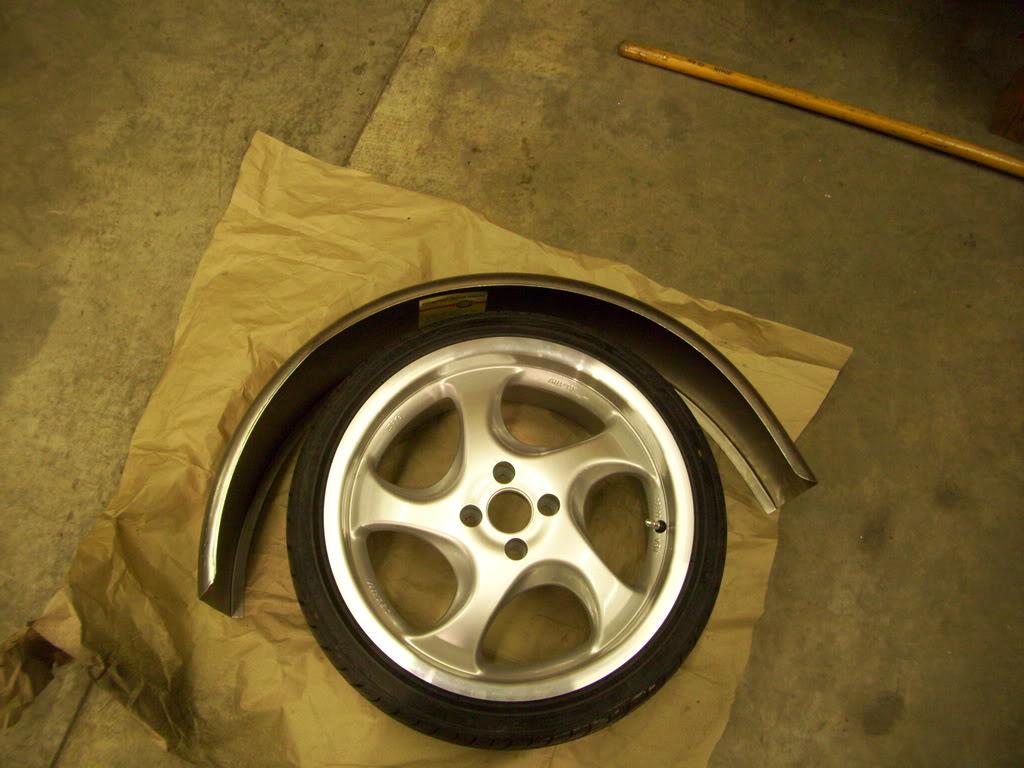
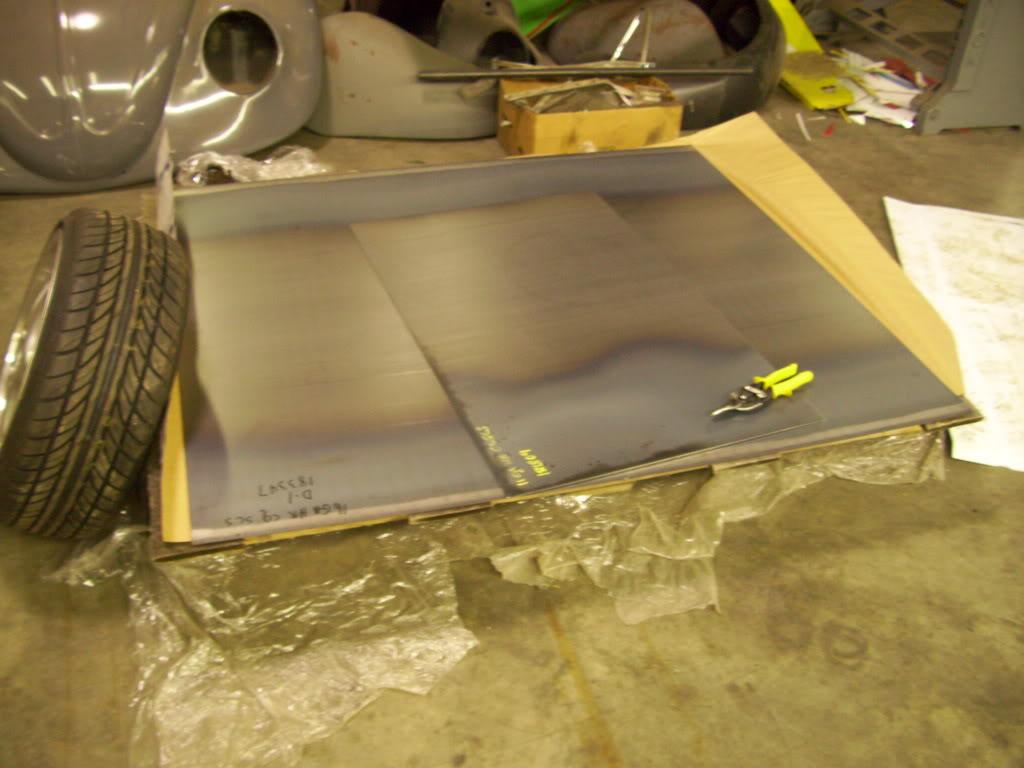
When I received the arches, the radius was sized for a much larger wheel.
So I used a machine called a shrinker to tighten up the radius. It grips the edges of the formed fender and shrinks the metal, which pulls the whole thing into a tighter circle.
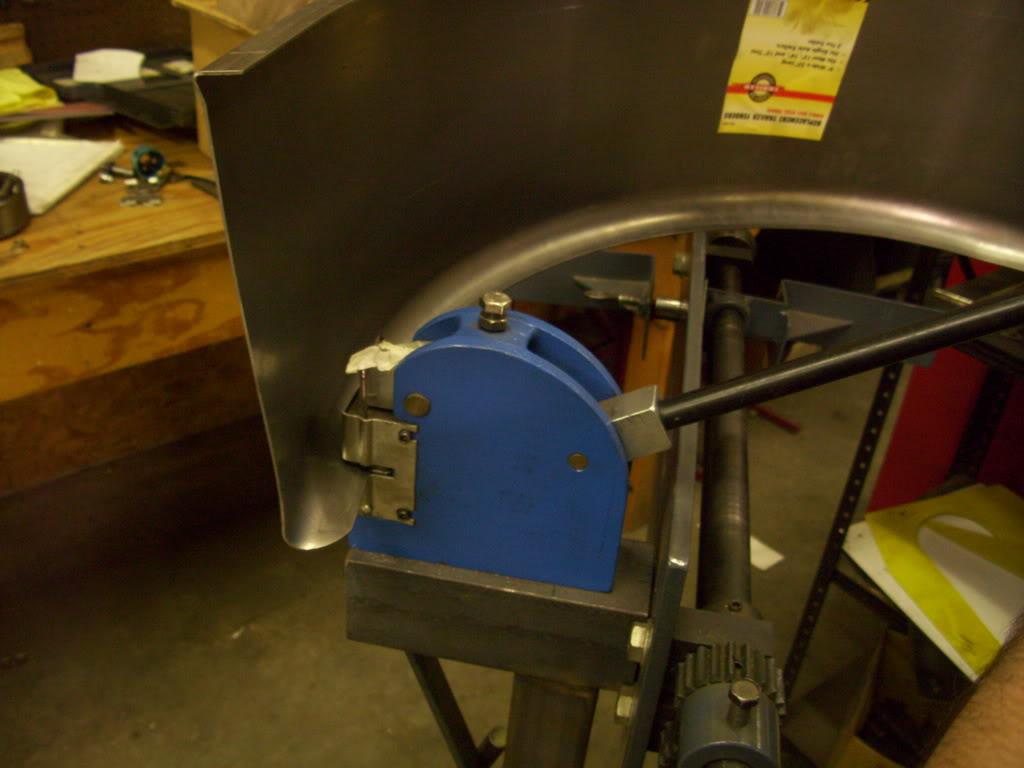
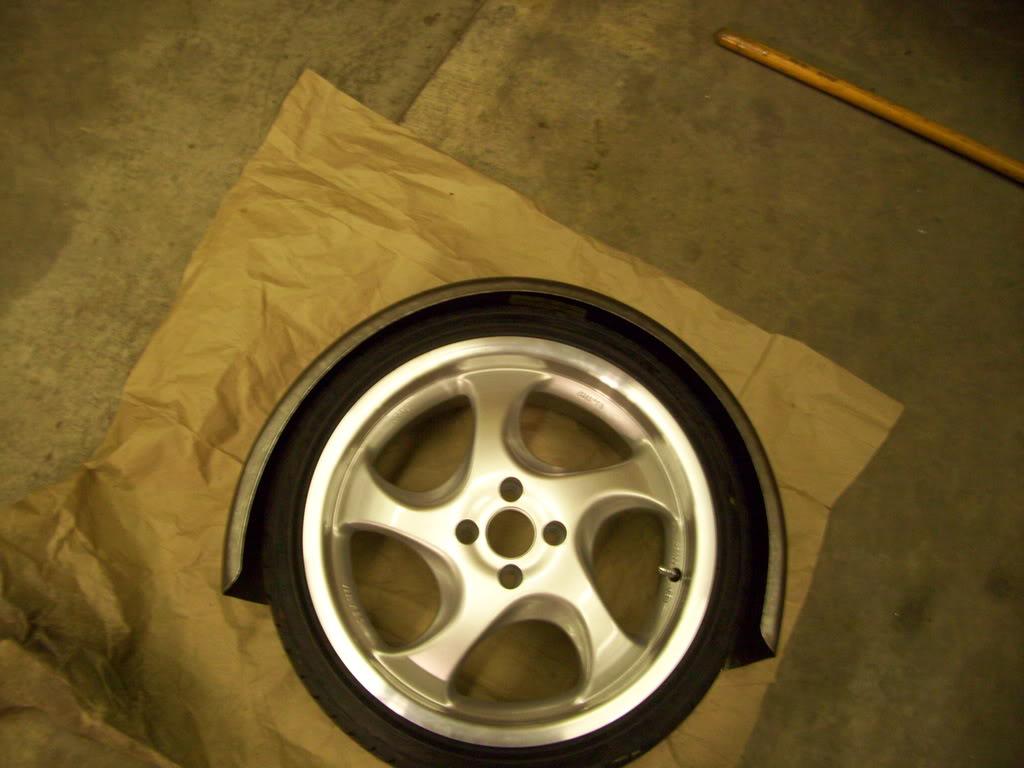
Much better!
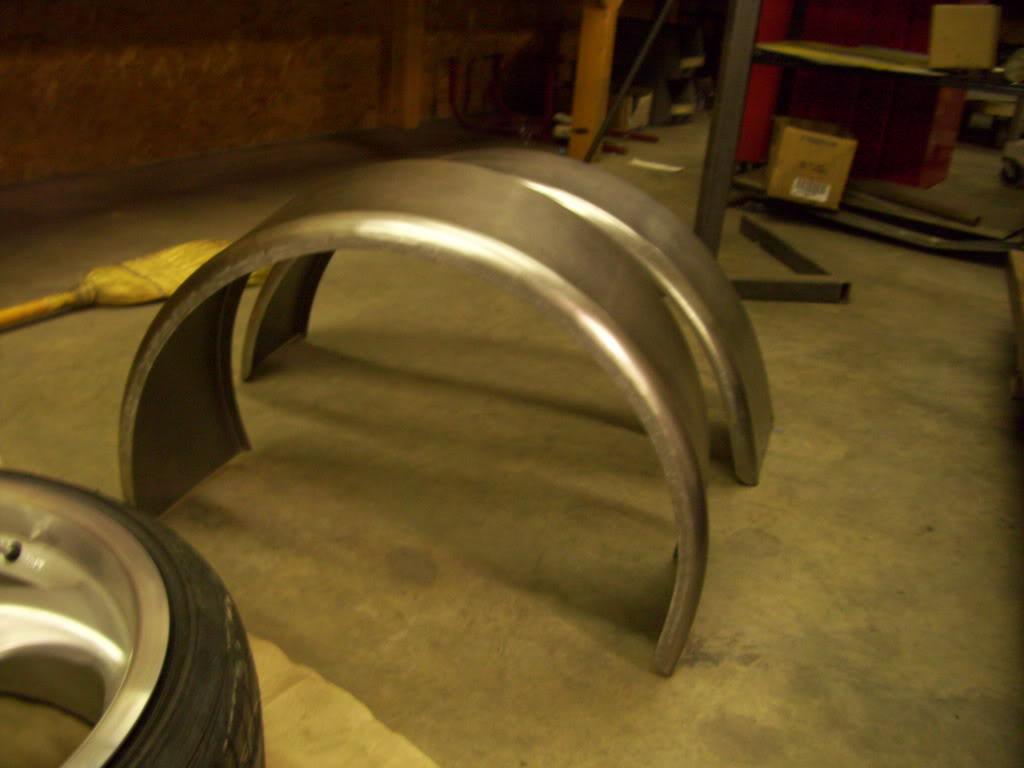
Comparison of standard and shrunken arch:
Feb 24, 2009
I got the subframe tacked in place and can start reinforcing the seat crossmember even further to take the suspension loads.
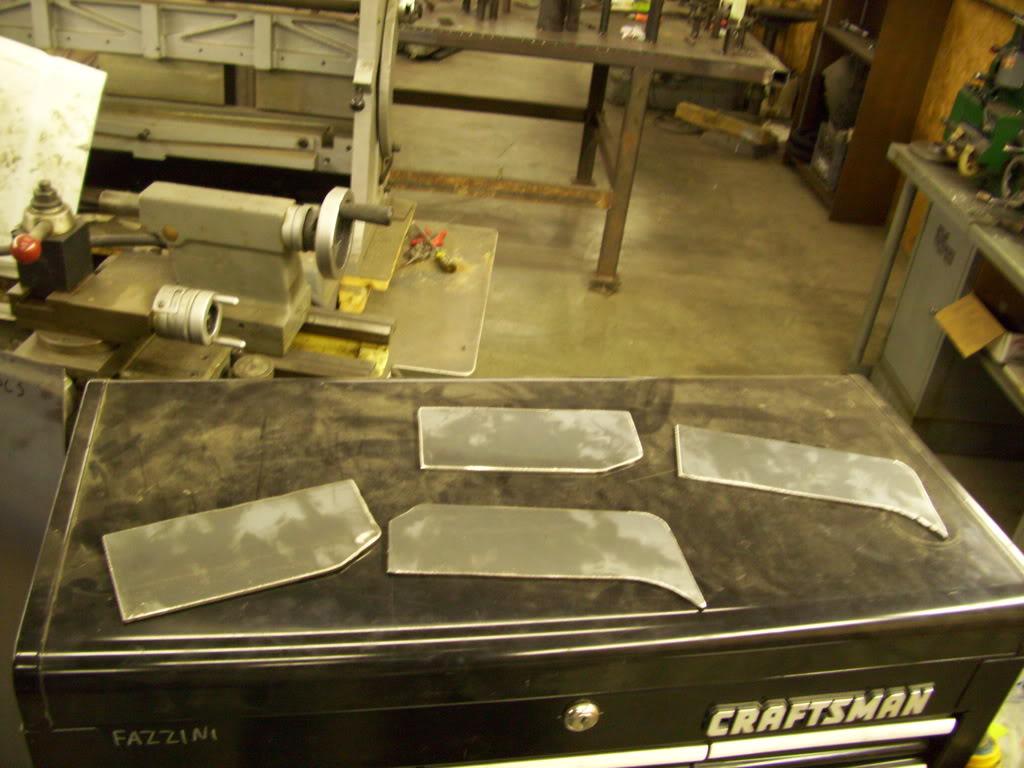
I got a big sheet of 16ga steel sheet for the trunk floor, and a plate of 1/8" steel to use for all the suspension mounts.
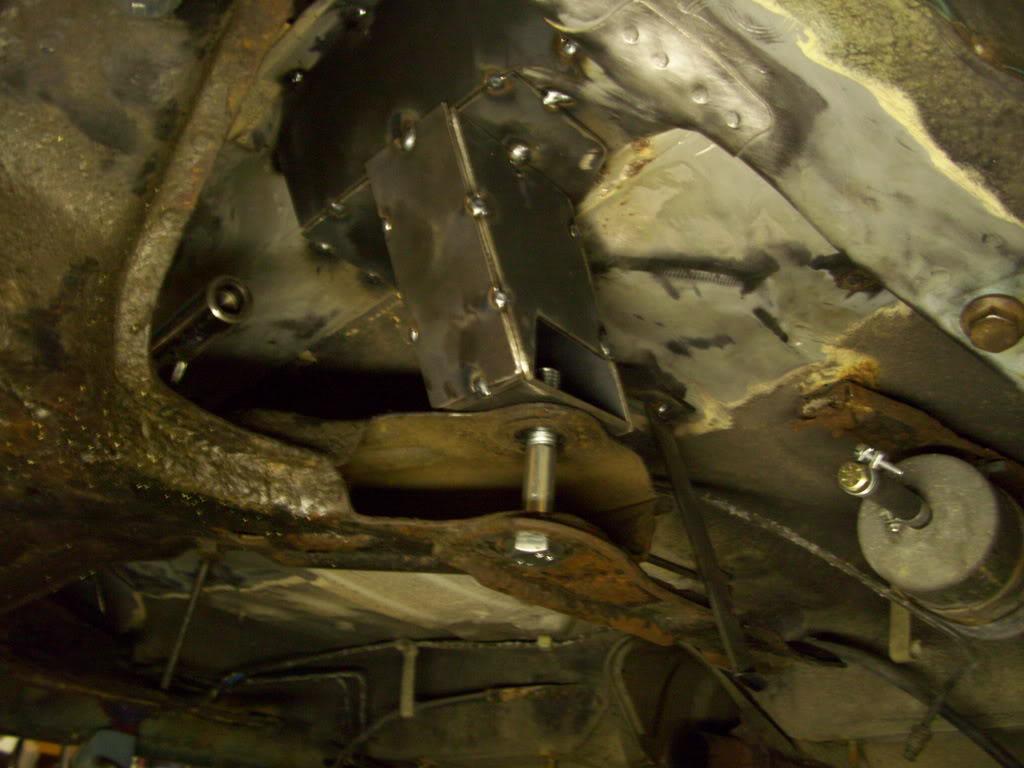
I made some templates and started fabbing up the supports for the rear seat crossmember/front suspension mounting points

Feb 26, 2009
I made a few more reinforcement pieces
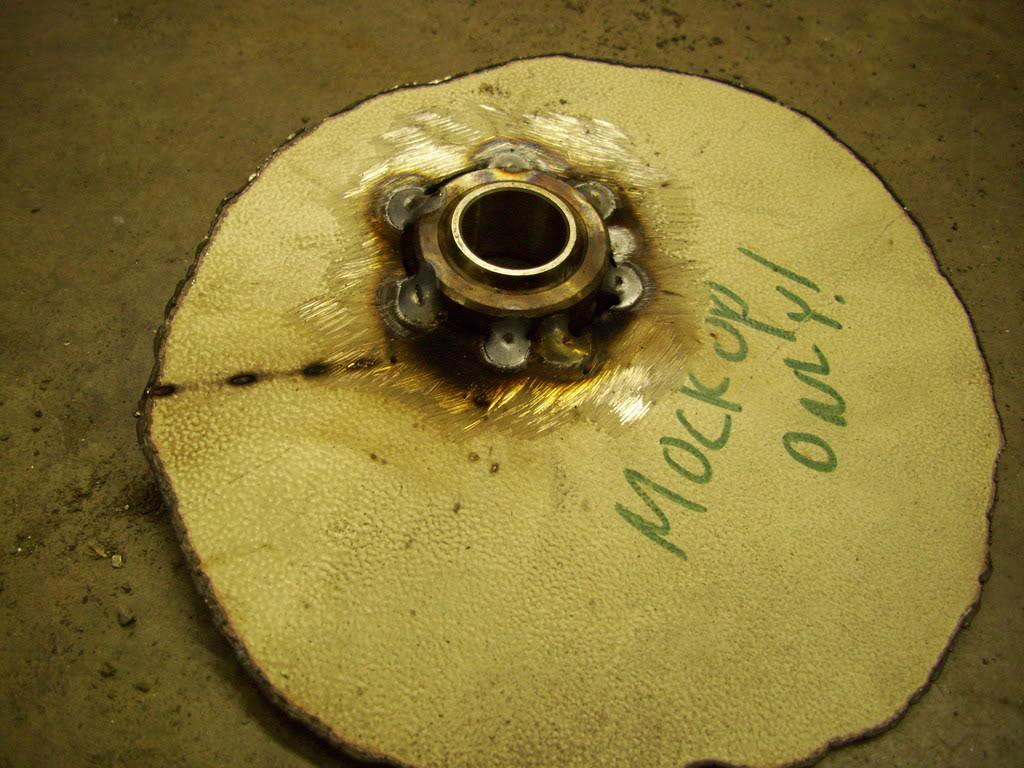
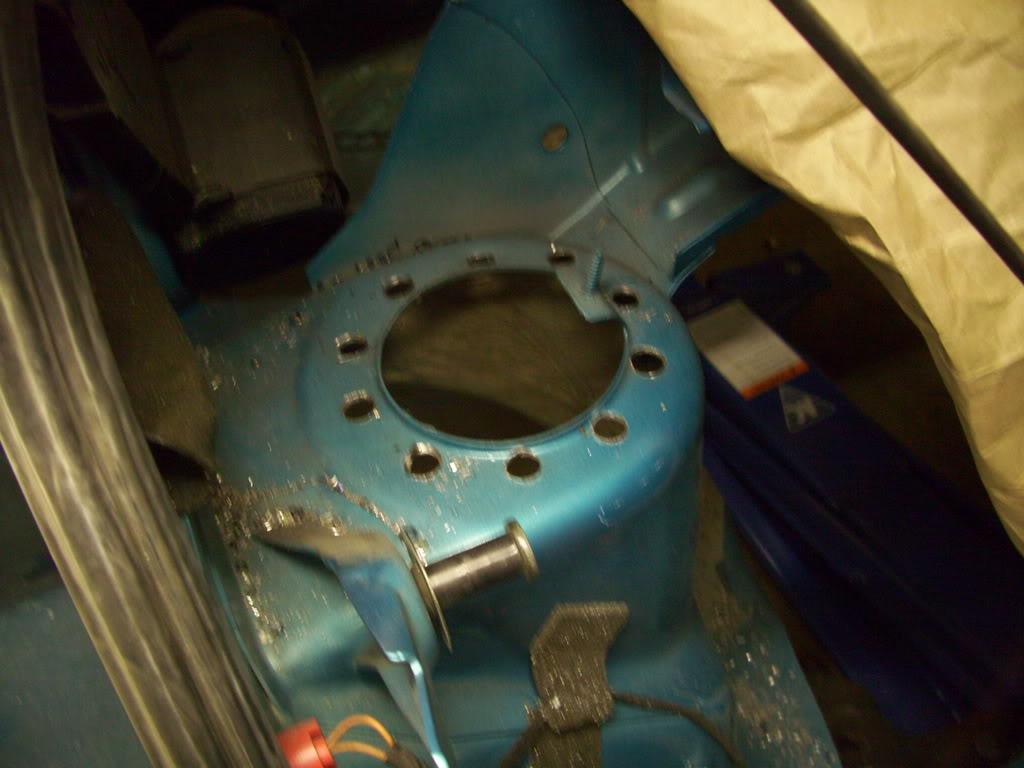
For the rear upper mounts, I planned to use camber plates. Before buying the actual pieces, I made these just for test-fit purposes.
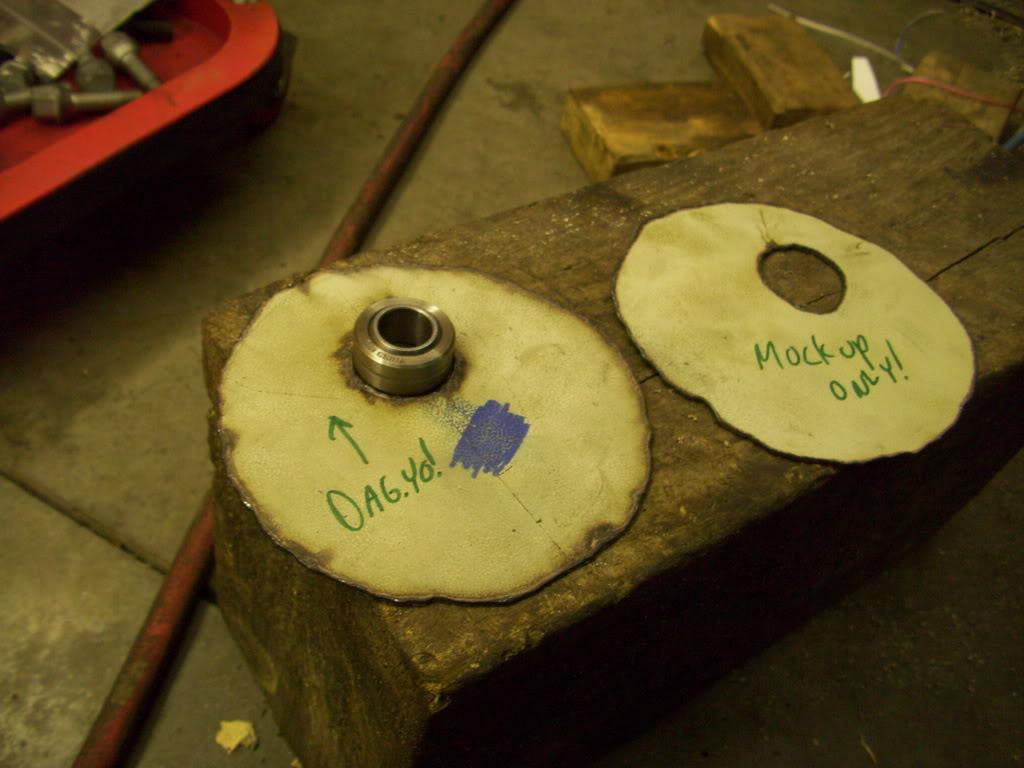
I noted the direction of negative camber so I wouldn't forget.Yo!
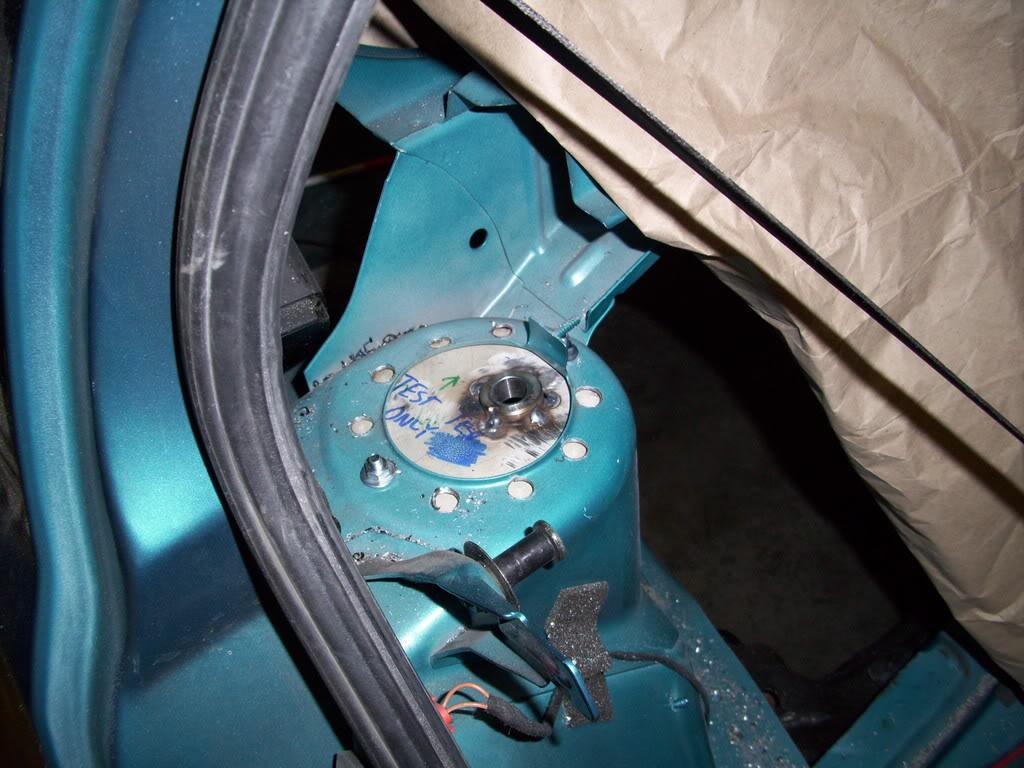
Feb 28, 2009
Just so nobody cruising the internet doesn't read and labels me a tard, I labeled them.
I started cutting out the upper rear mounts to fit the camber plates, but kept breaking drill bits and gave up for the evening
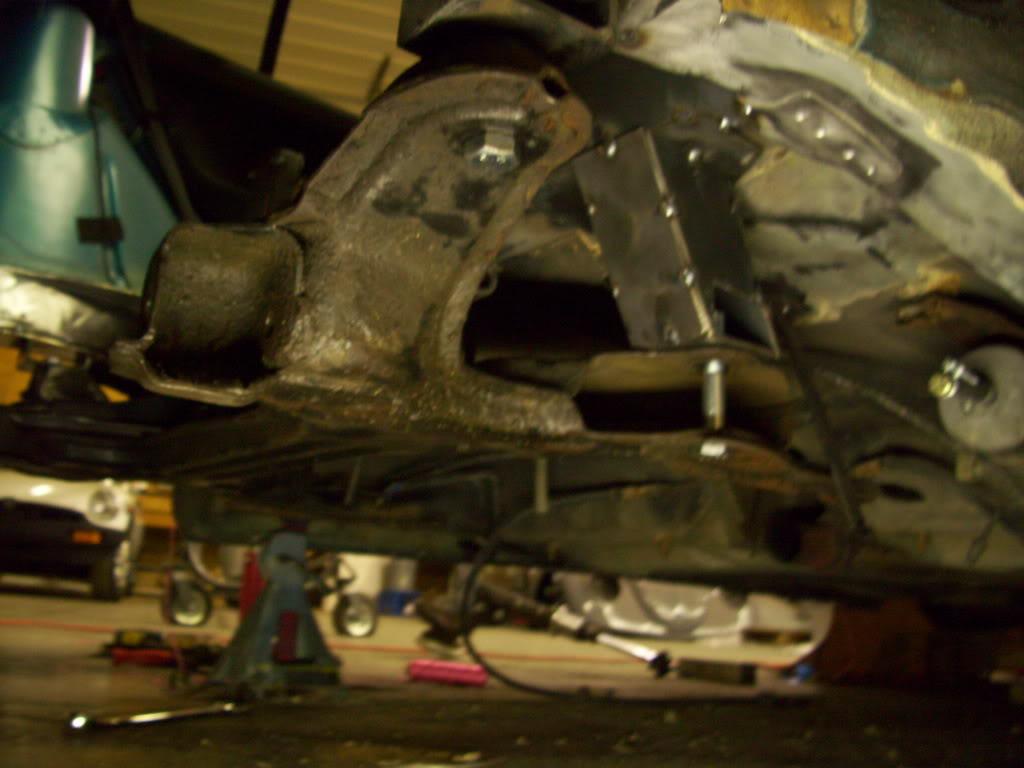
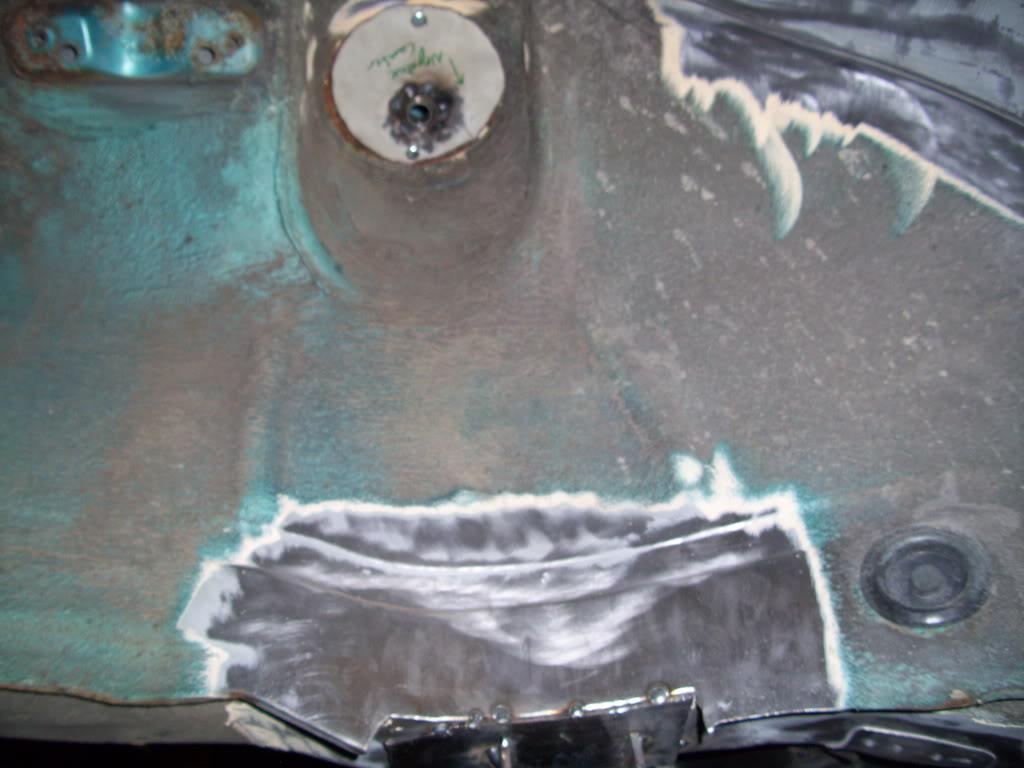
I started tacking up the forward mounting points of the suspension instead. You can see the reinforcement plates I added to the stock steel before welding the new mounts on, in effort to spread the load over a larger area of the stock structure and get the most strength and stiffness form the system
March 1, 2009
I took Paul Teutel's advice and used a step drill bit to remove the spot welds. They strictly use unibits on OCC for a reason - they cut really damn well! Made quick work of getting the old stock mounts out by drilling the spot welds.

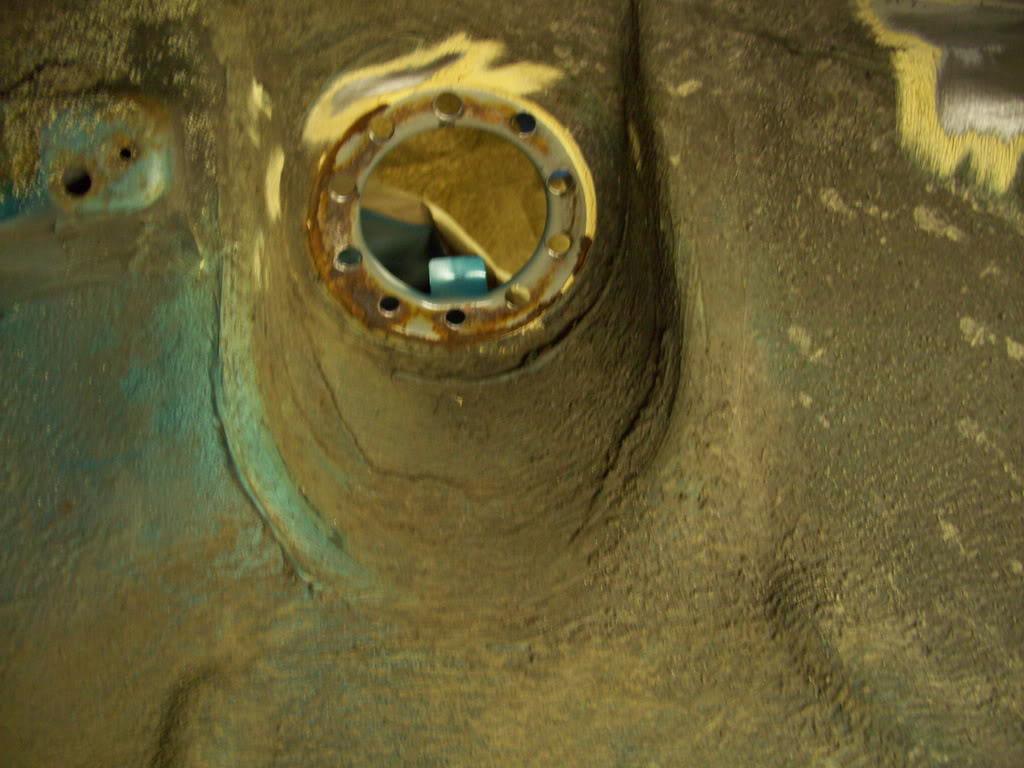
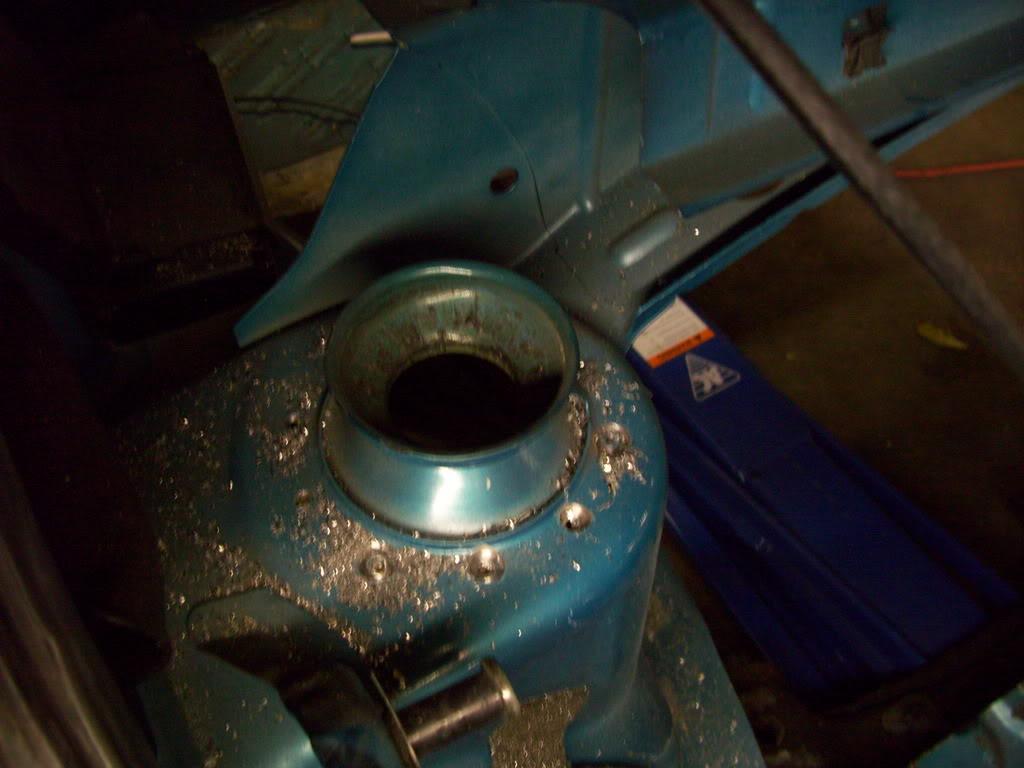
Now I have a clean flat area to mount the new camber plate upper rear mounts.
To be continued..
March 2, 2009
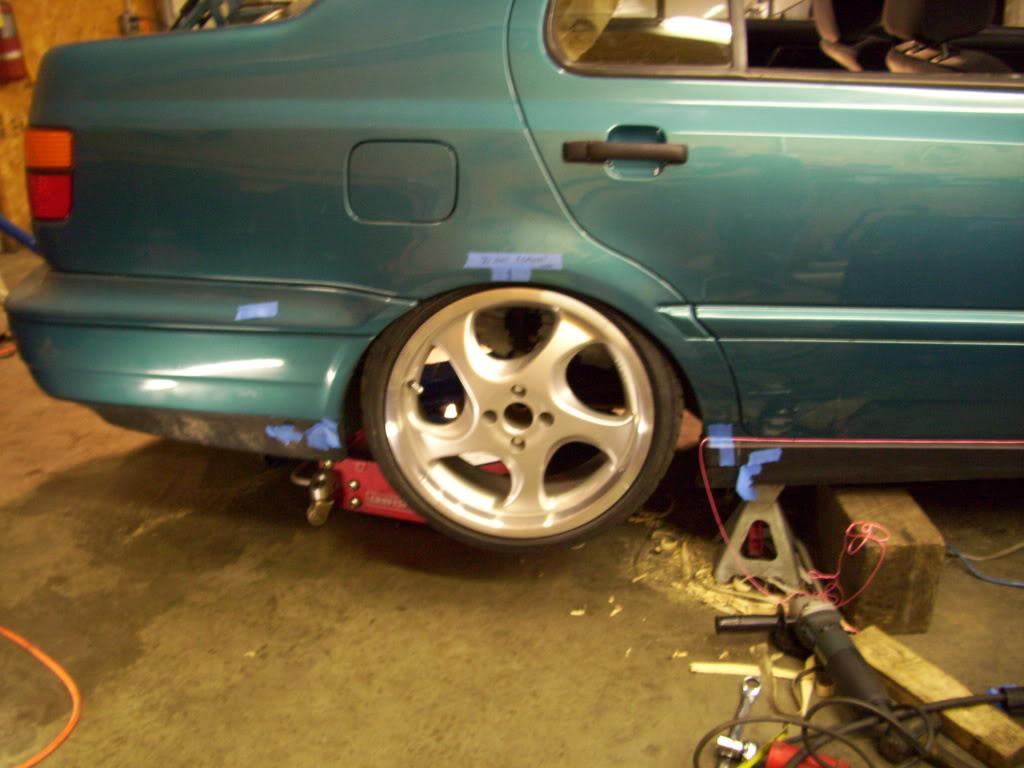
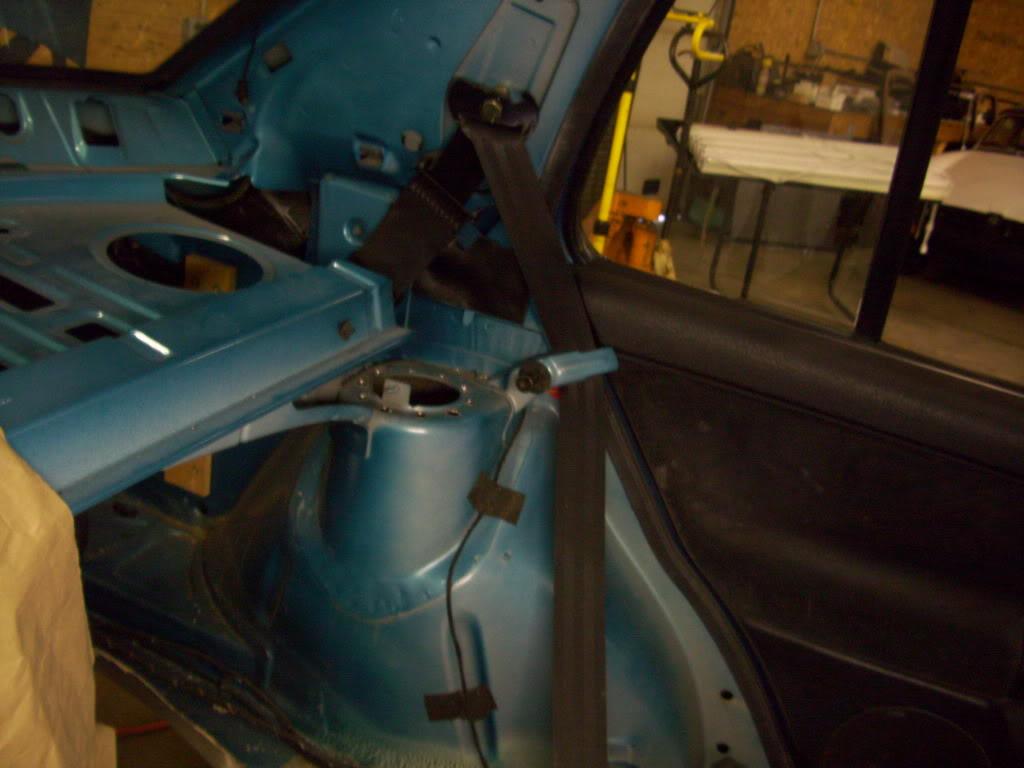
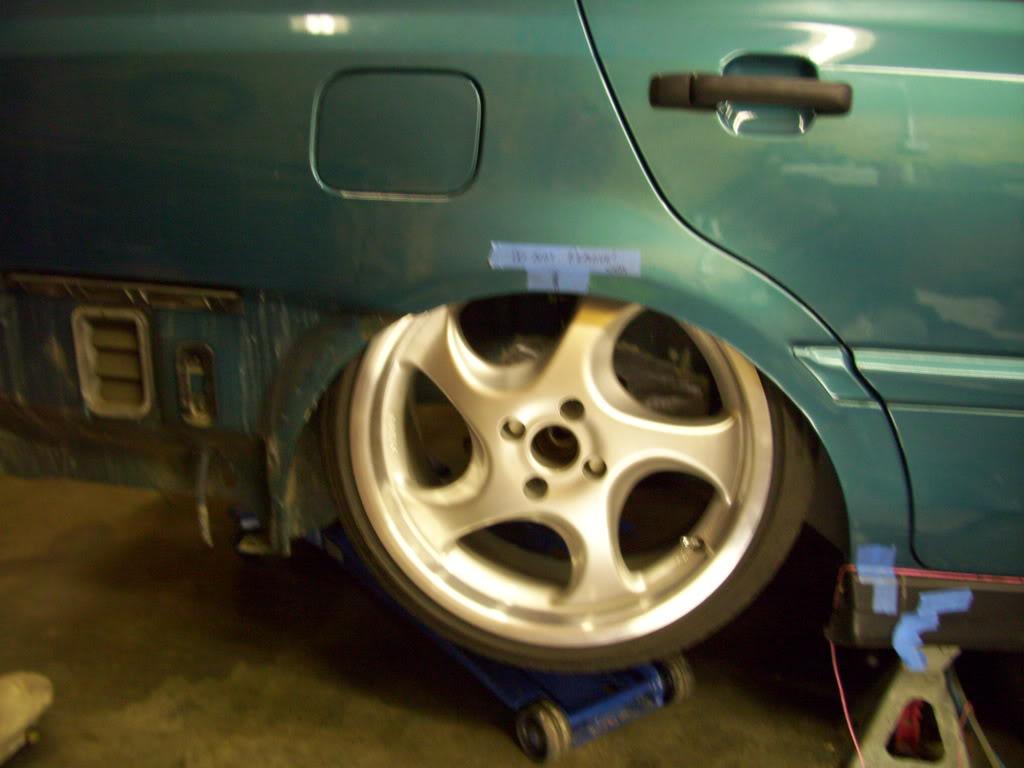
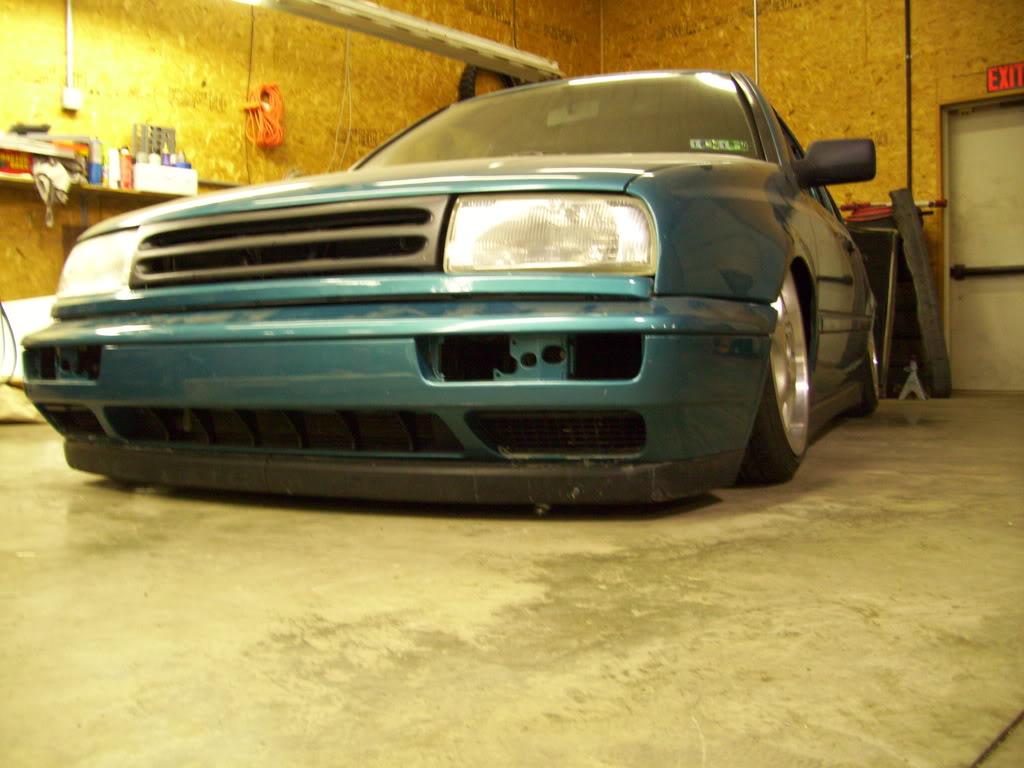
The first real test-fit.
I mounted up the rear camber plates to test the new struts and subframe location

The wheel still rolls at this height!
Now for the good part..
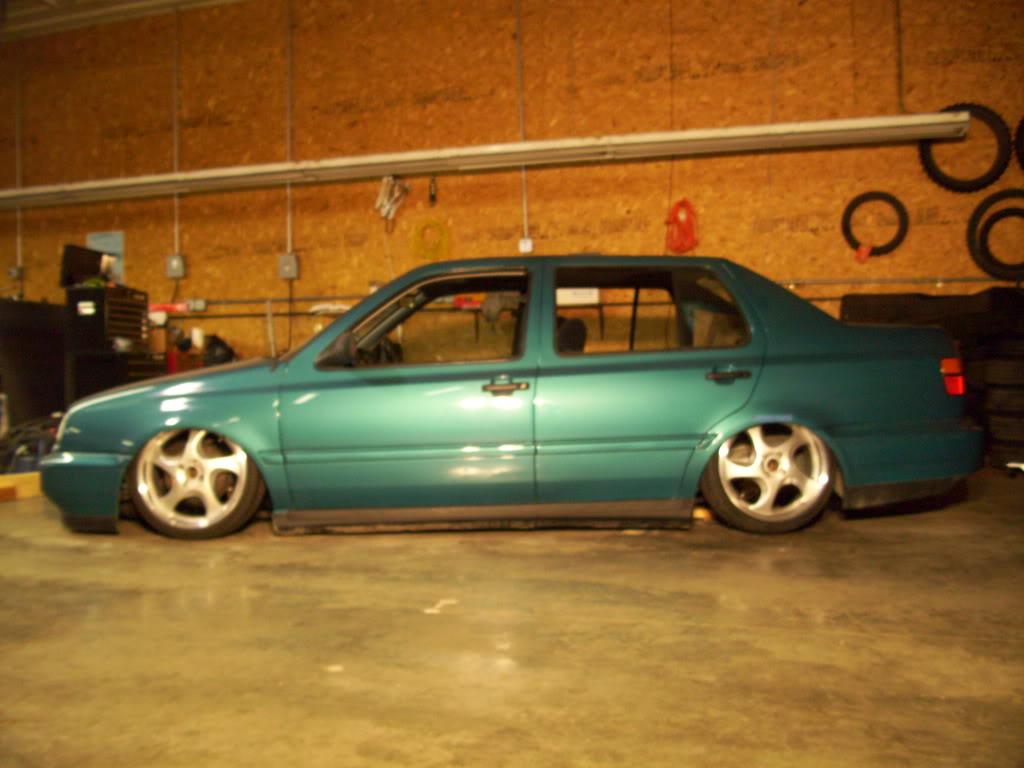
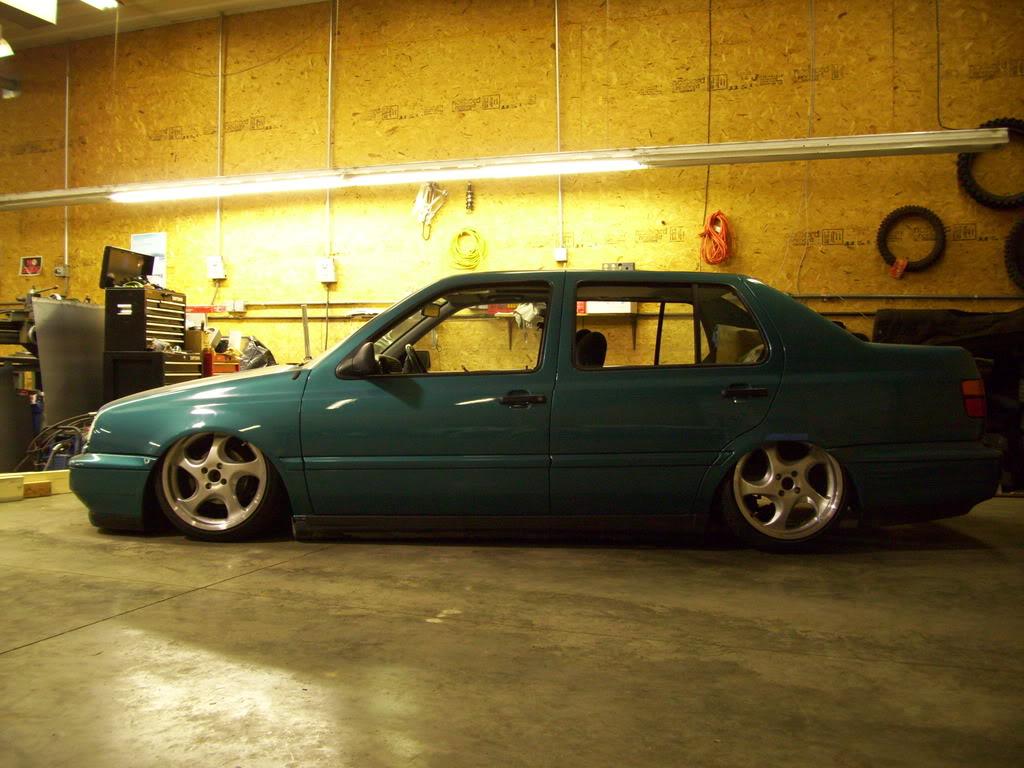
I bolted up all 4 wheels, all 4 struts, and laid the car on the ground. F*ck yes. Exactly as envisioned! Now I just need to finish it
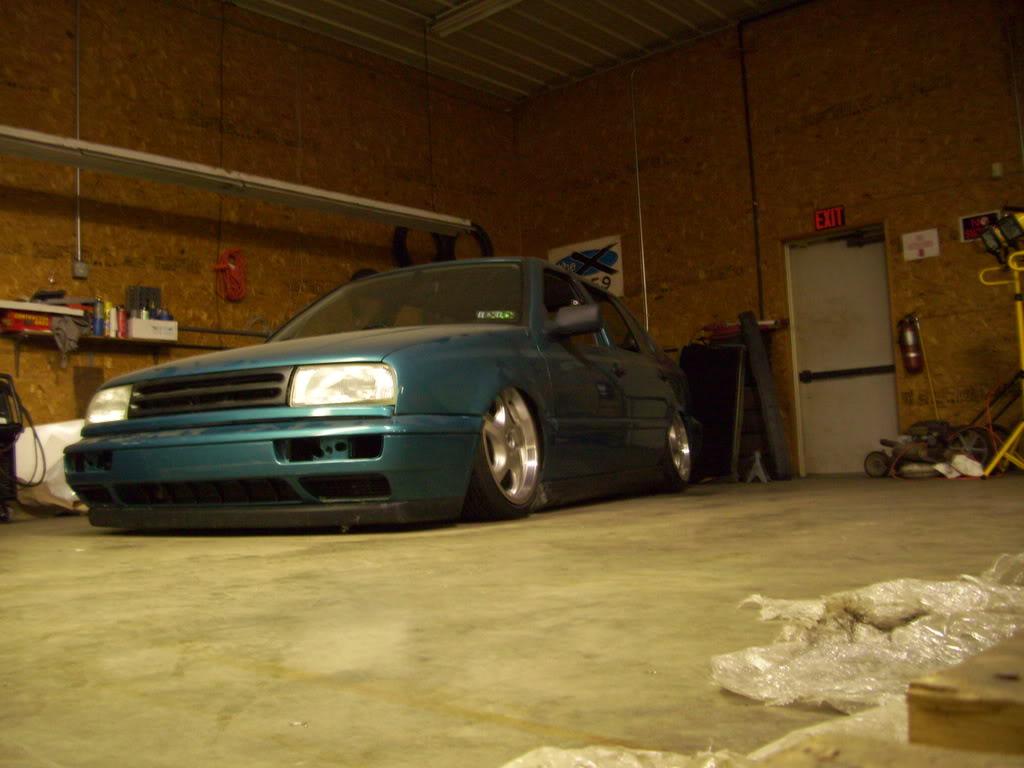
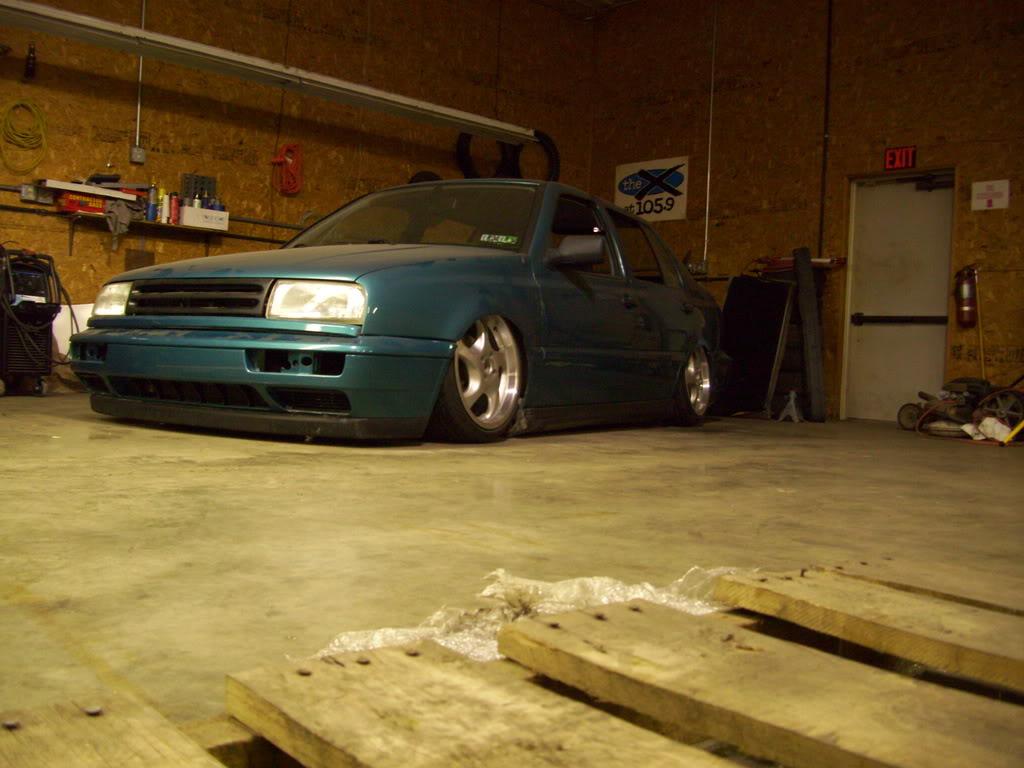
In this view the rear axle appears to need more forward motion, which I later added by moving the camber plates forward
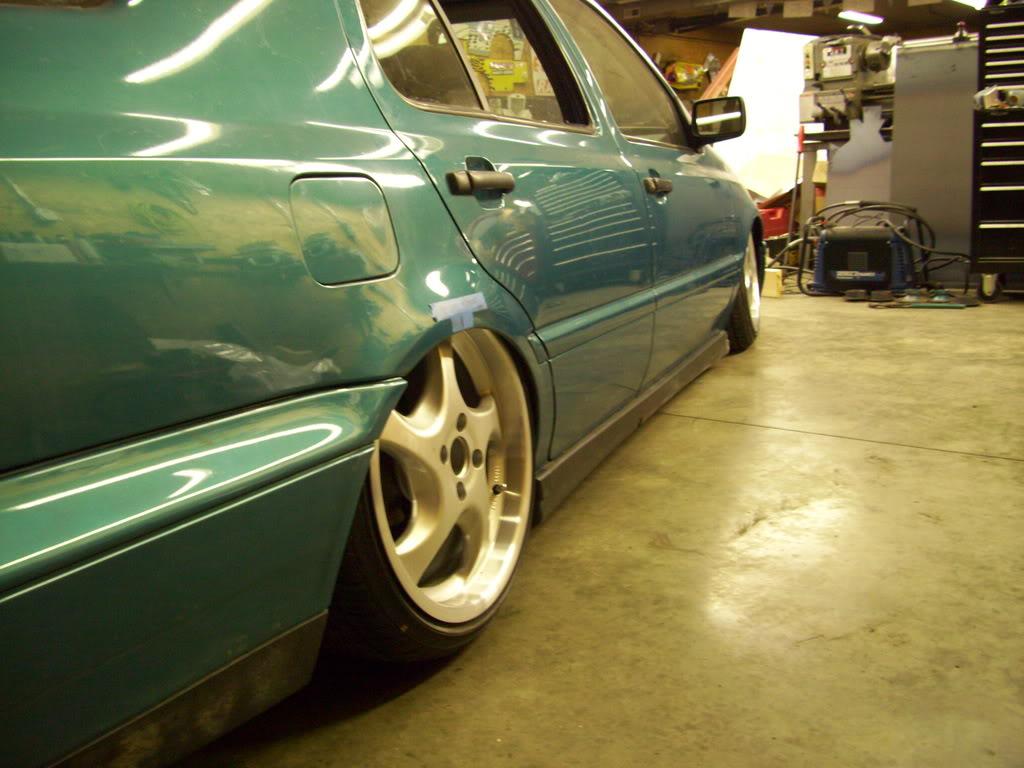
Still quite a bit of camber out back
Mid march, I took a break to visit some friends in California, breh. I wasn't slacking; I was on vacation I met several friends from college, all huge car guys, in LA for 5 days of nothing. I got a tour of California Street Rods, saw the PPI R8, Toured both SpaceX and JPL (NASA), took a tour of the Fast and the Furious filming locations (Including Torretto's market and Dominic's house). We discussed things like drag coeffients, aerodynamic lift gradients (one friend is an aerodynamicist at GM), heat treatment qualities of exotic metals, the details of compex machined and cast light-alloy parts and multi-axis machining, (other friend is a rocket scientist), Formula SAE, lowrider jettas, Turbo S13s, overpriced hand tools, and girls. Well worth the time off!
Nice build! Great photos and detail ????
Posted by Diggymart on 4/23/19 @ 12:52:48 PM