You must be logged in to rate content!
9 minute(s) of a 341 minute read
3-18-2009
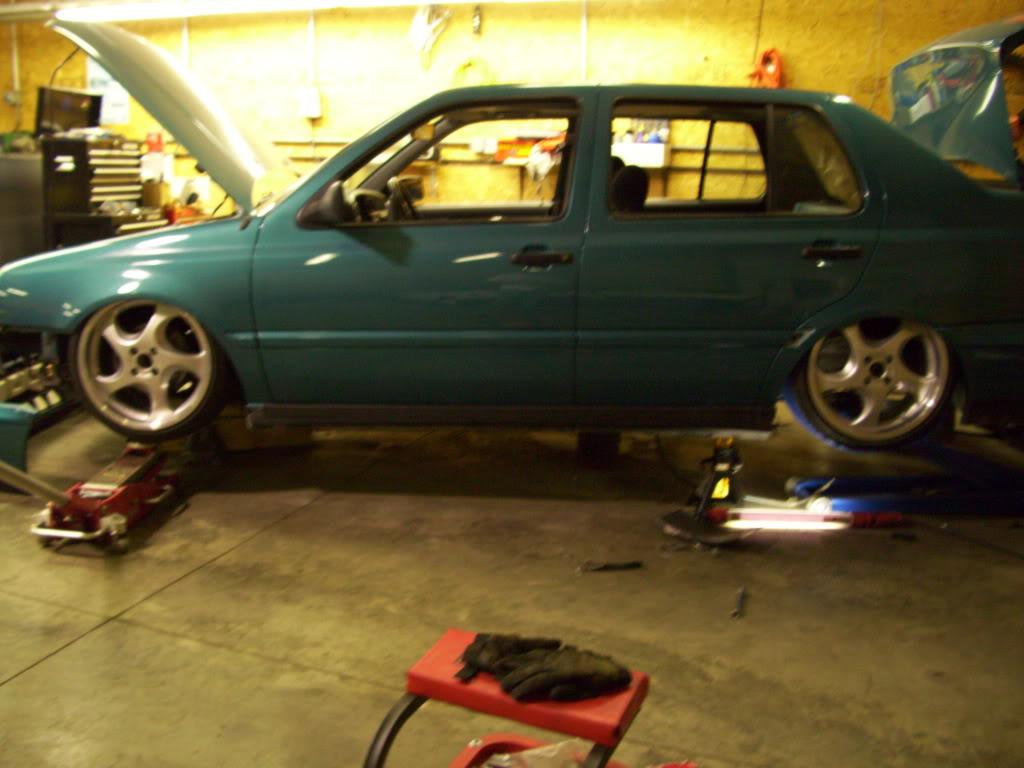
I moved the rear axle forward a little further, another 1/8" further. After studying the pics for two weeks and thinking about it, I couldn't make it work with moving the camber plates.
March 22, 2009
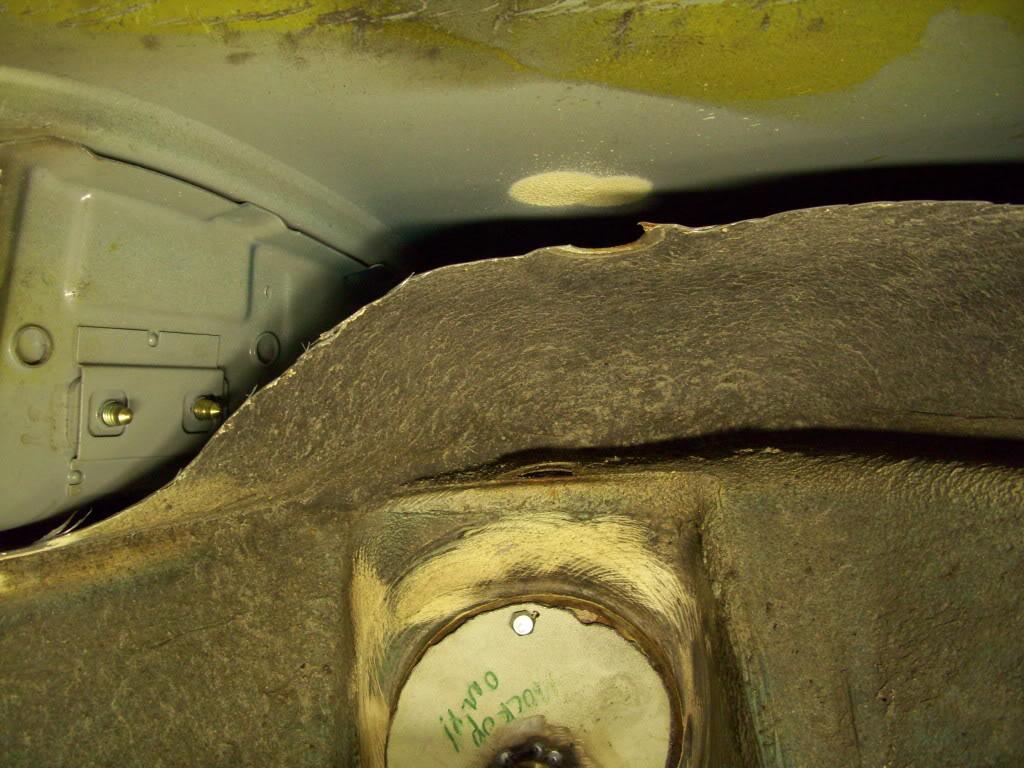
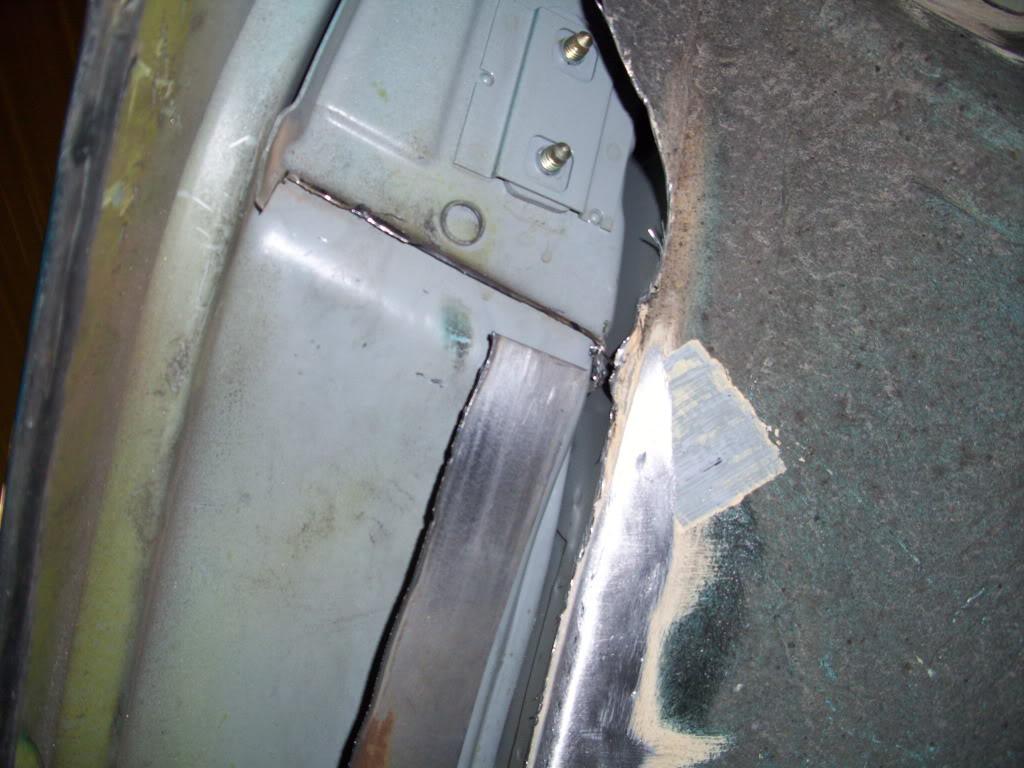
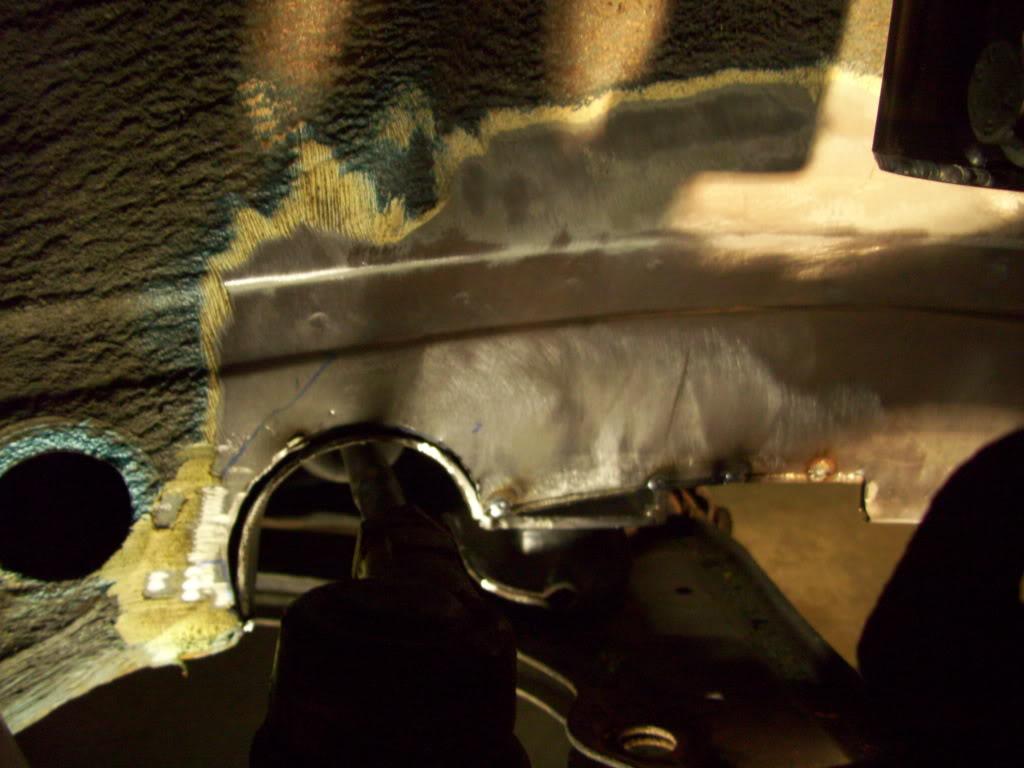
I cleaned up the cuts in the rear inner arches, in preparation for welding in the new wheel tubs.
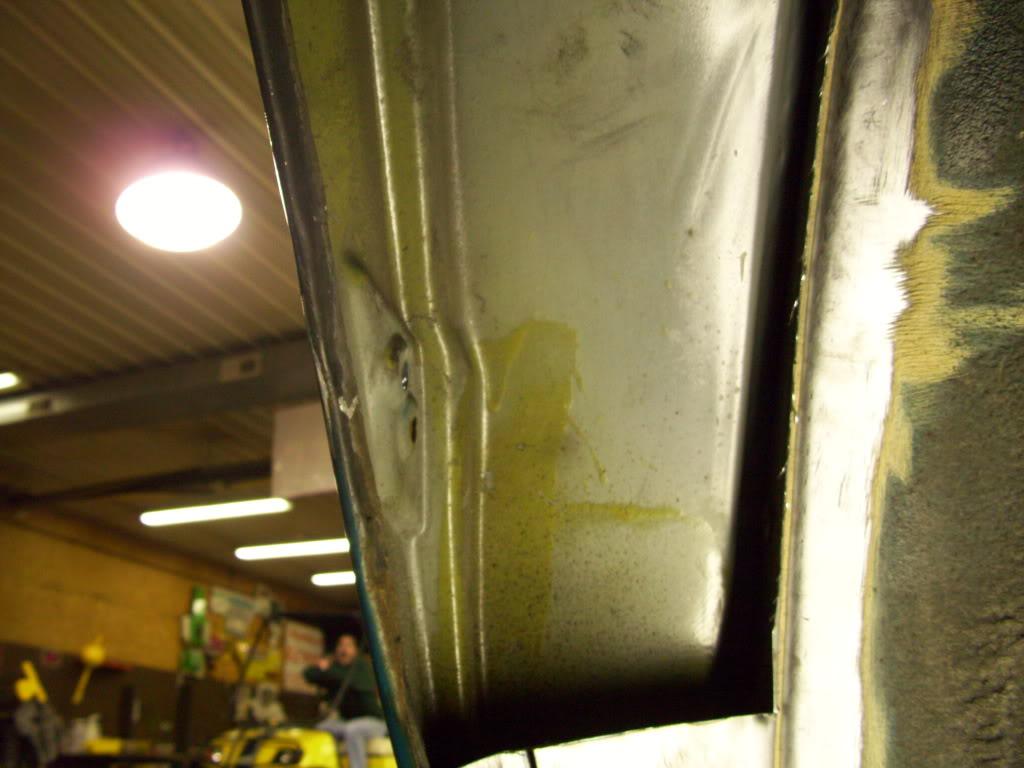
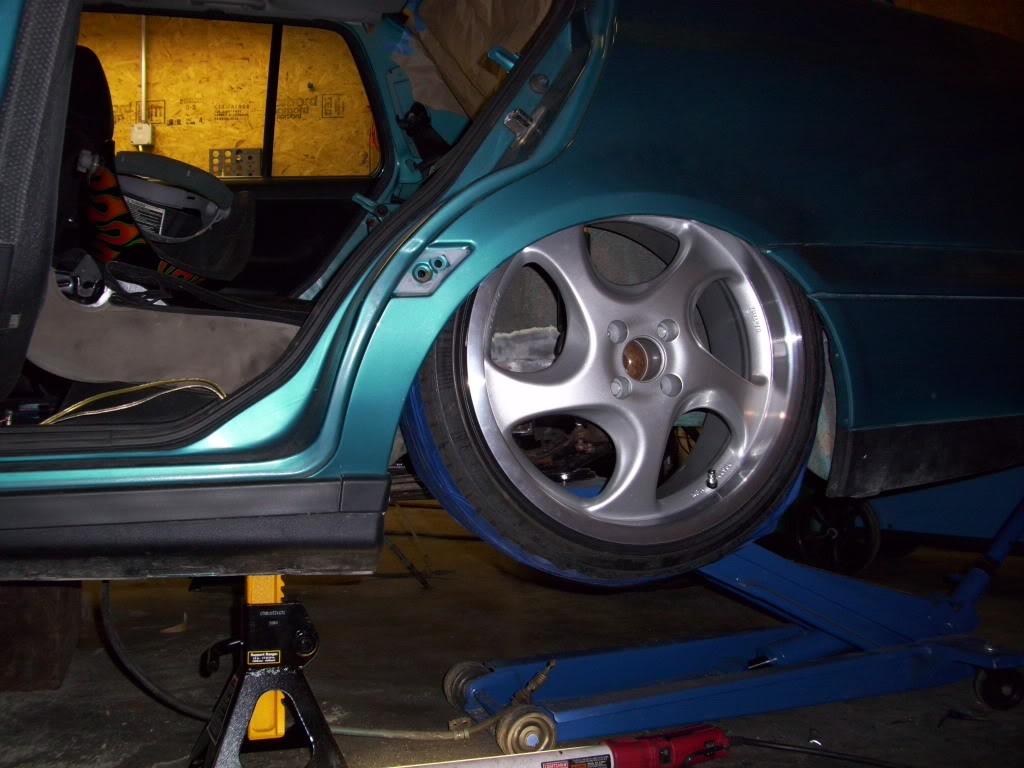
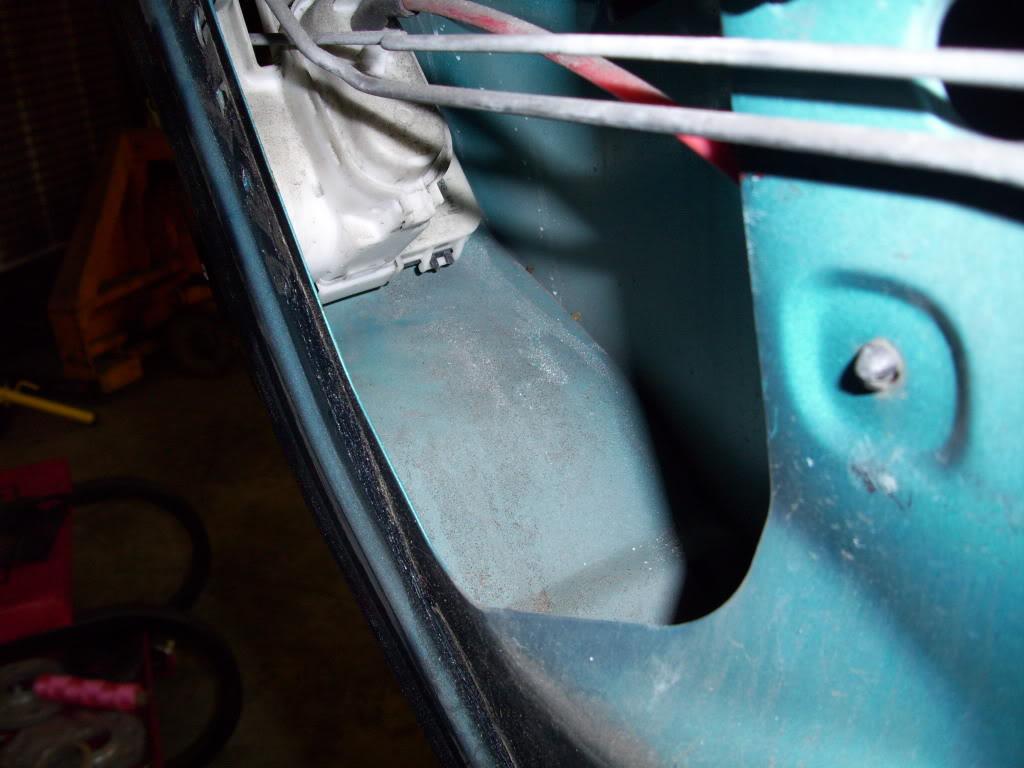
Here the bottom of the door latch striker would be one of the limits of low, so I needed to trim it.
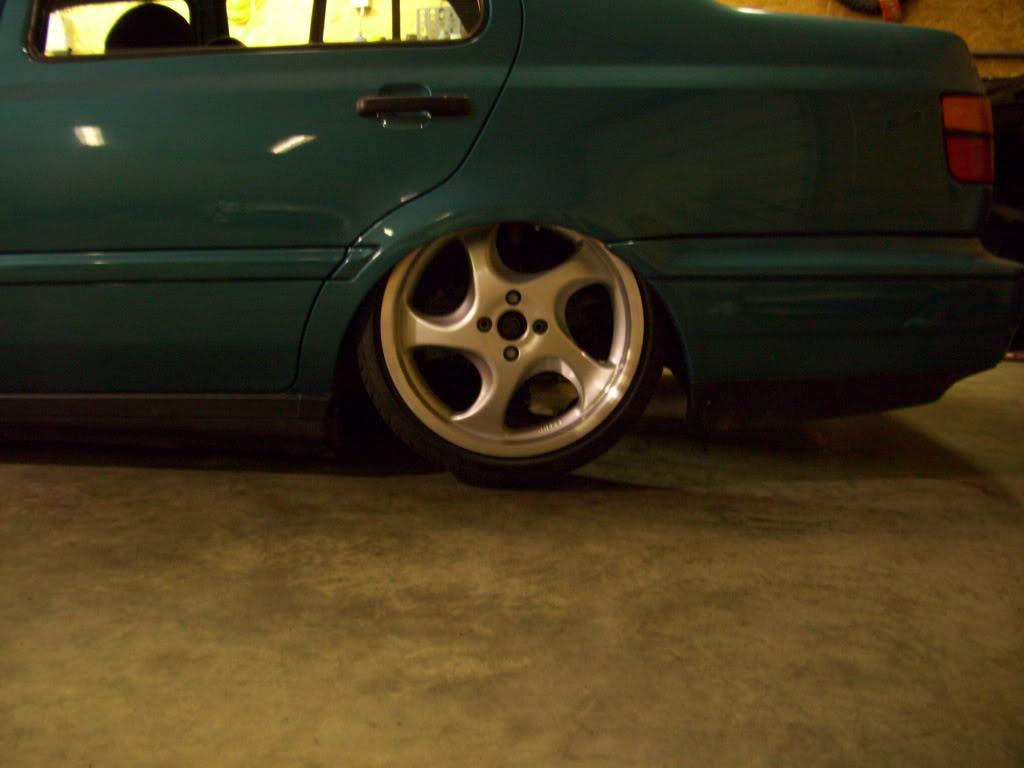
I had to cut out the rear quarter panel under the bumper to get the wheel close enough to the rear bumper, that way I could run a more aggressive offset.
I trimmed the bumper to match too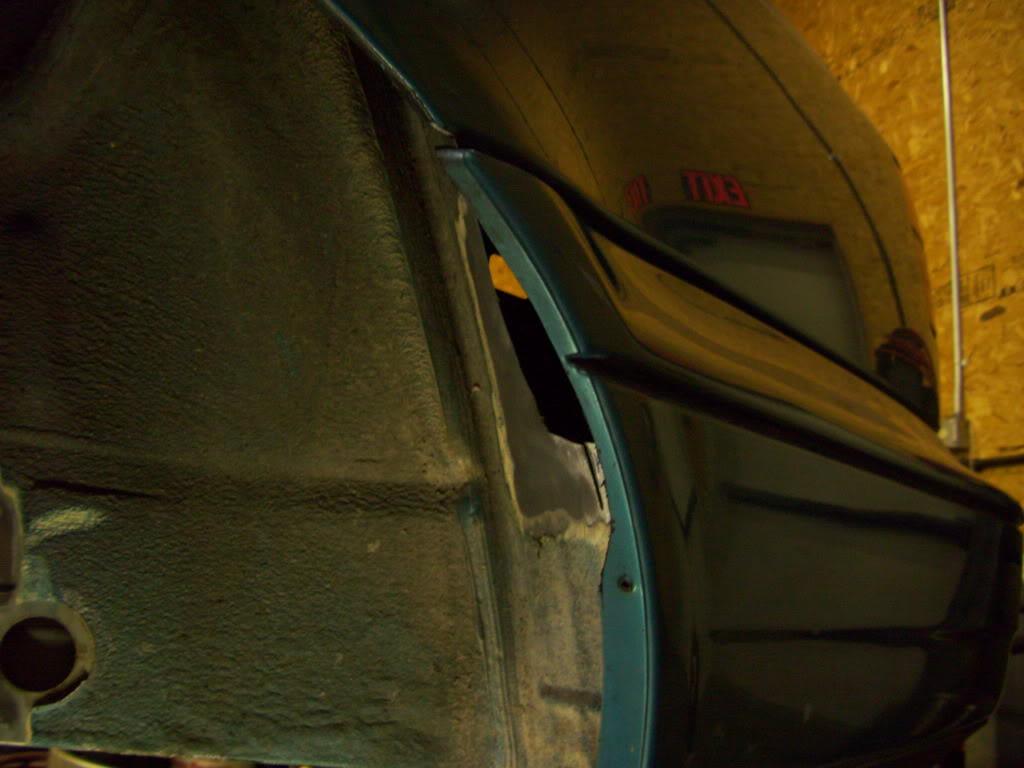
March 28, 2009
I looked into the possibility of tubbing through the door. After some careful consideration and some more test-fits, I determined I could do it if I wanted but it wouldn't be necessary. I wanted to avoid this to maintain as stock of an appearance as I could
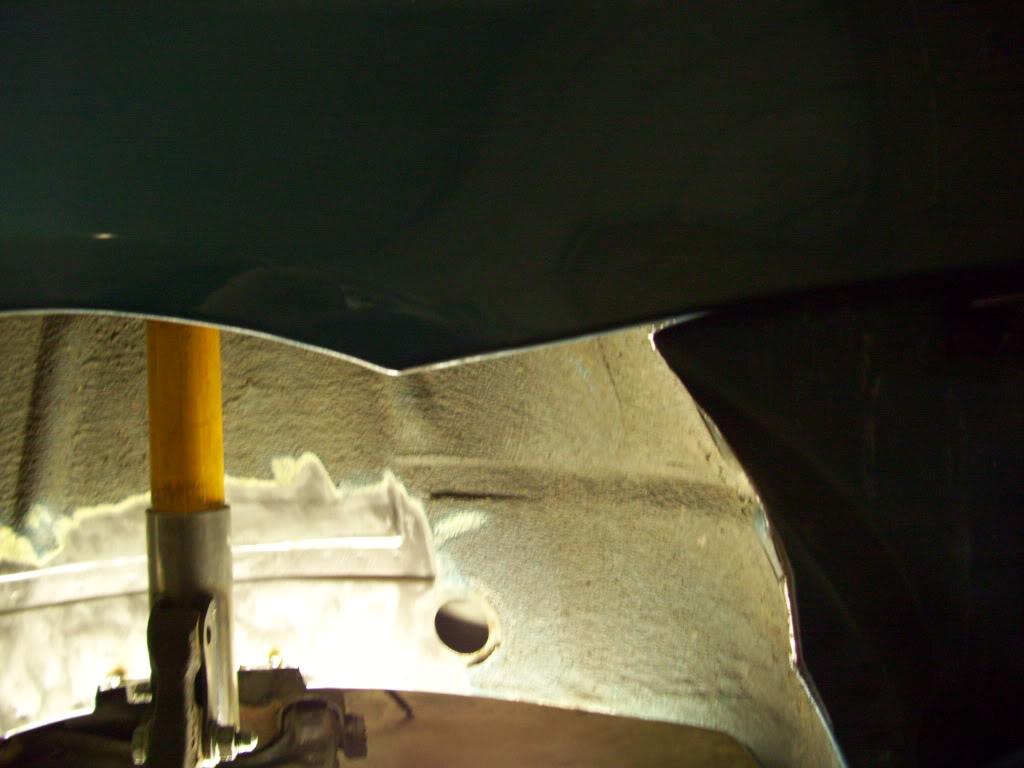
Trimmed the latch plate even further
Here the potential clearance issues are pretty clear!
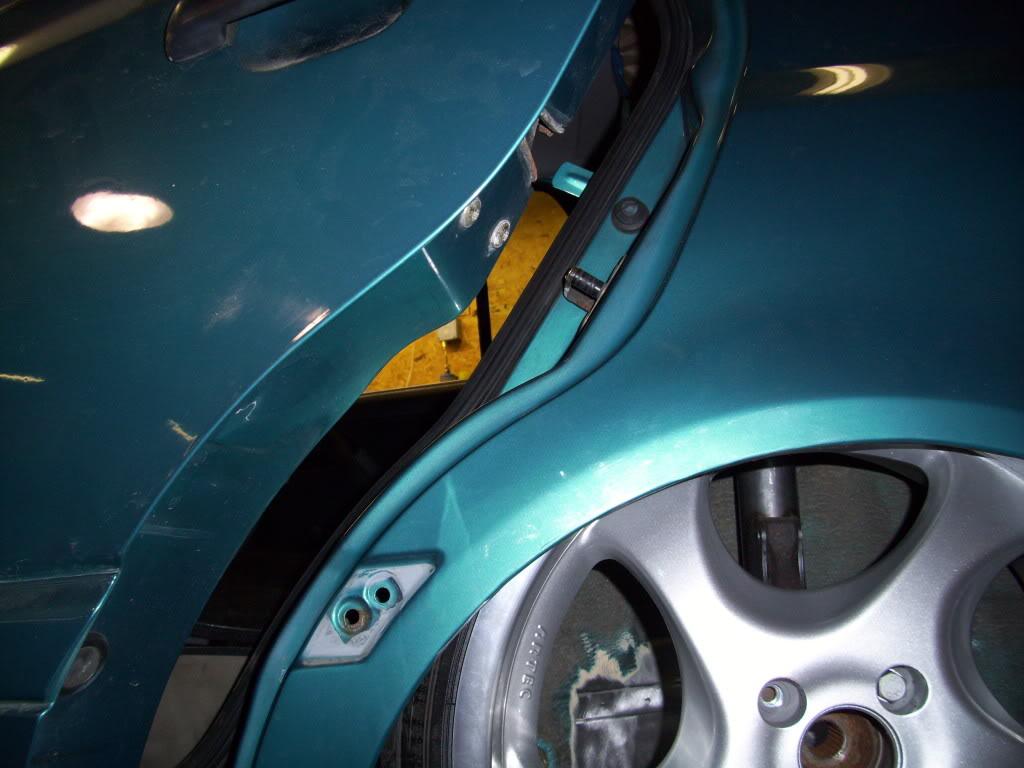
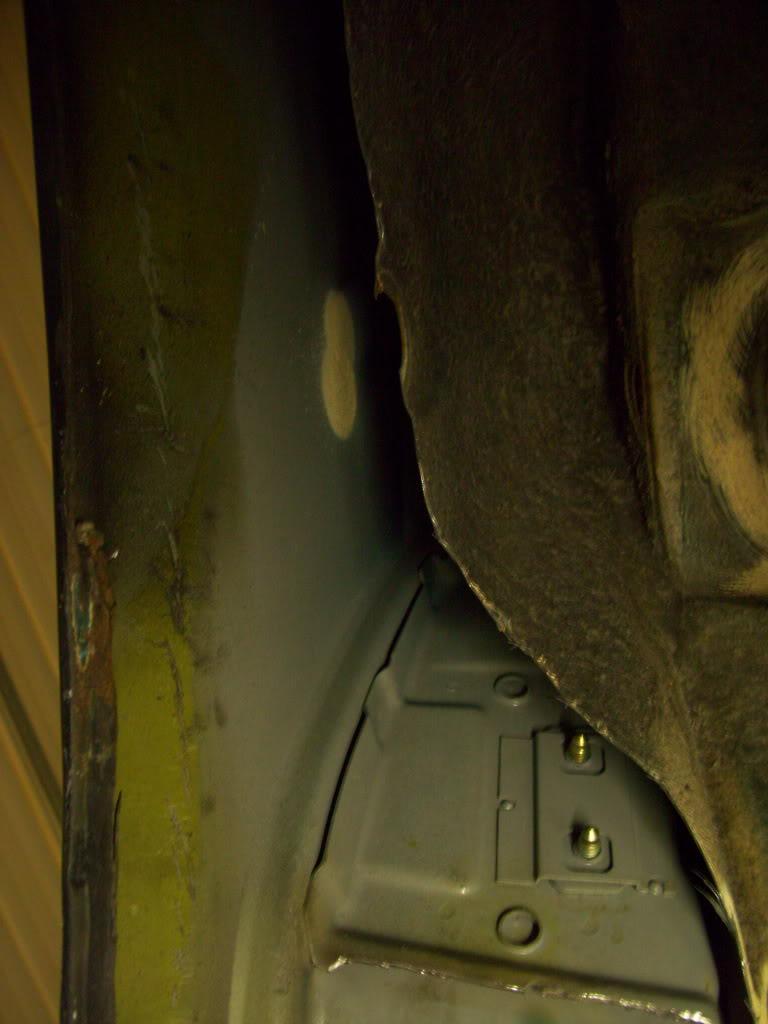
I can still get plenty of reverse rake without cutting into the door, so I decided not to .
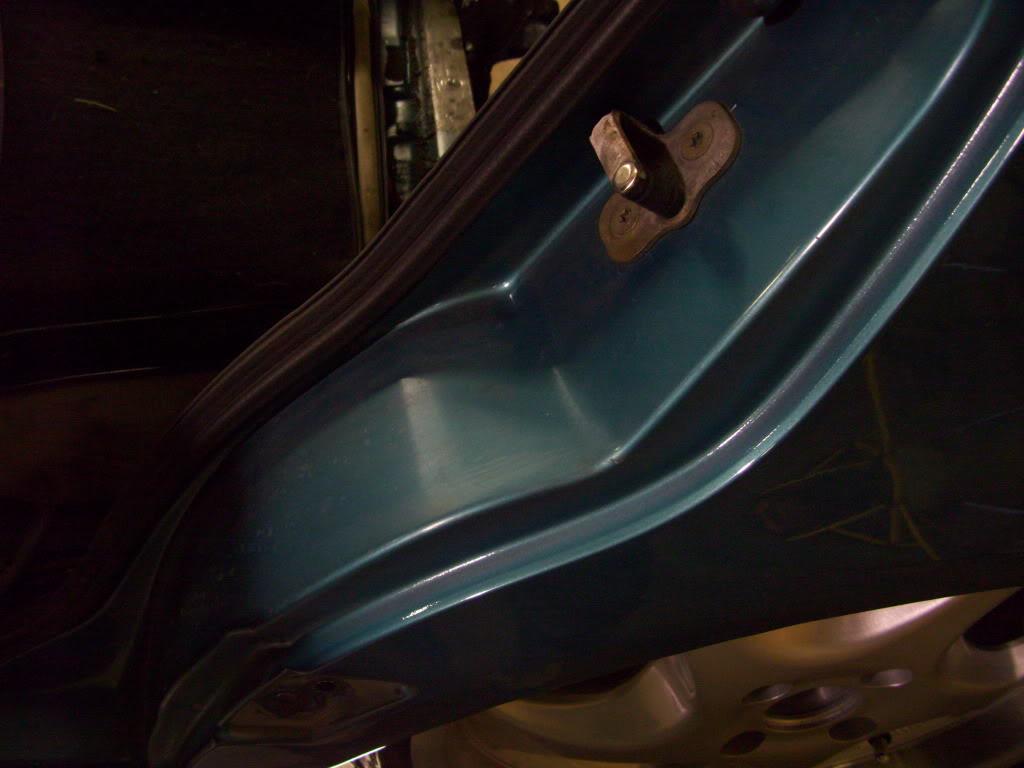
But I took some pics of the inside of the door, just in case I wanted to cut it
I added a piece of steel to simulate the wheel tub while doing the test-fits. This made sure the tire wasn't resting between two tread blocks and getting me a little lower than would be otherwise possible once the tubs were welded in.

April 1, 2009
Holy hell, this was a weeknight?!? I must have been up late or super motivated or something lol. I have like 30 pics from this day.
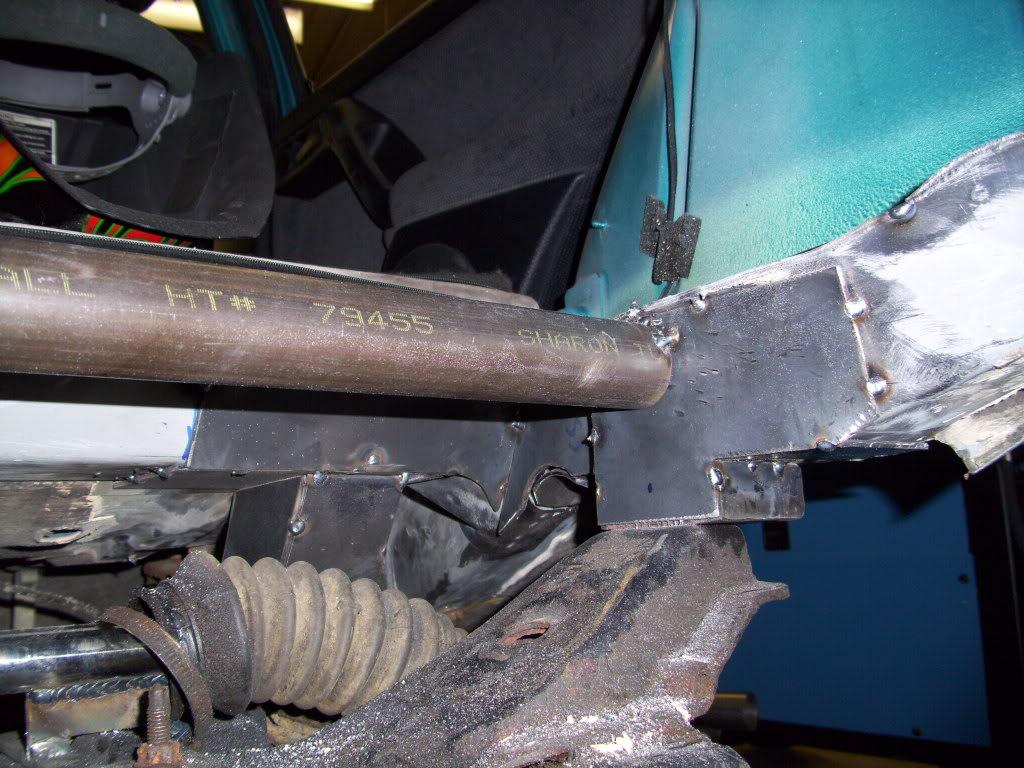
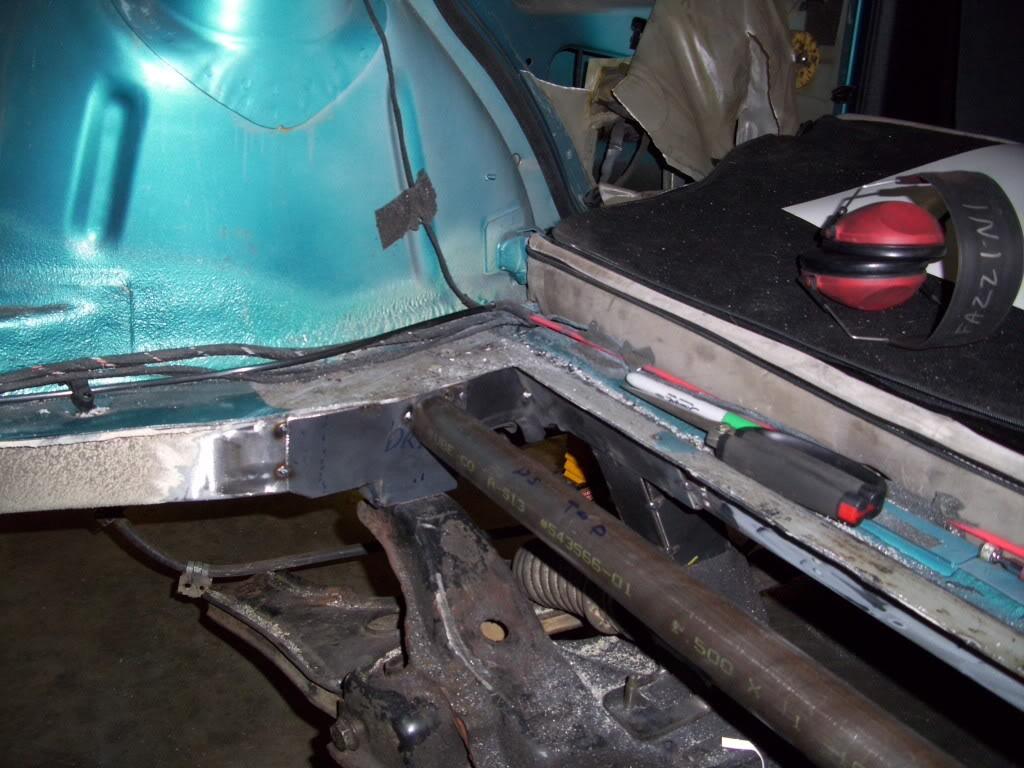
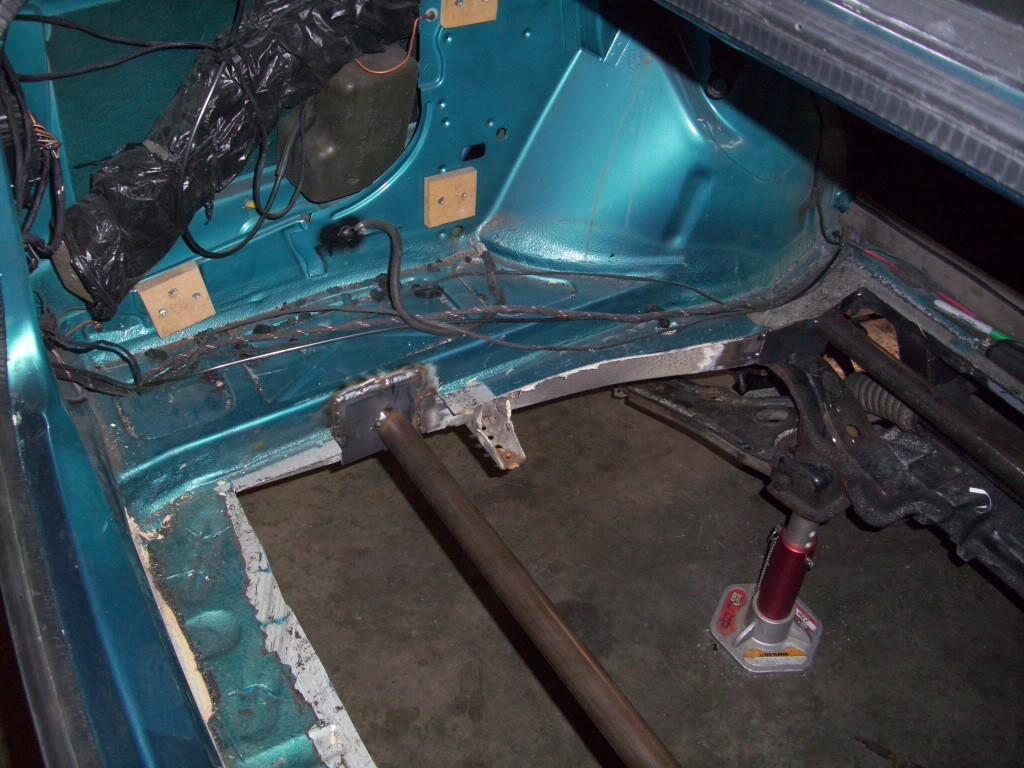
I began notching the rear frame rails for the rear tie rods.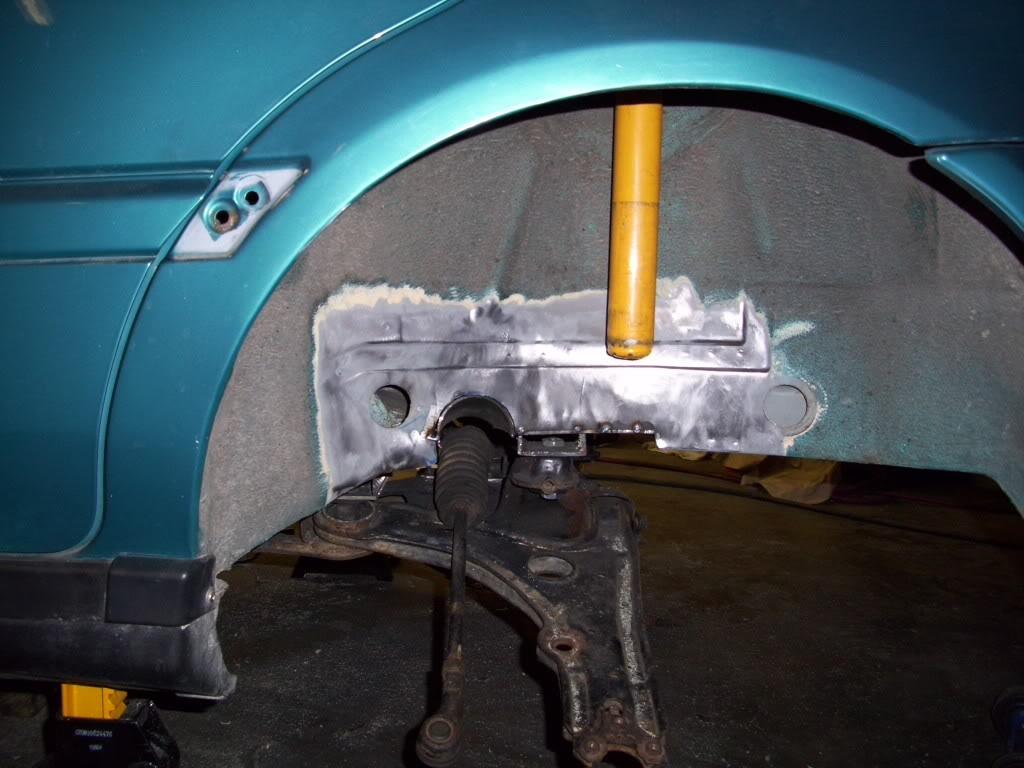
I welded in a piece of 1/8" thick 3" diameter steel tubing.
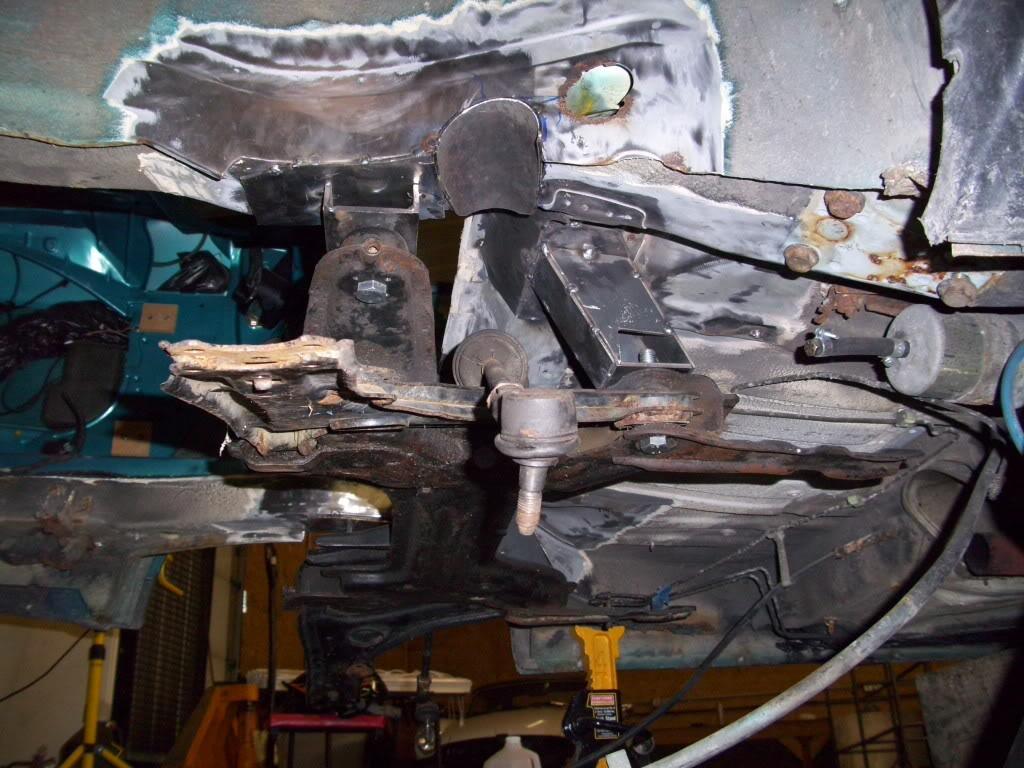
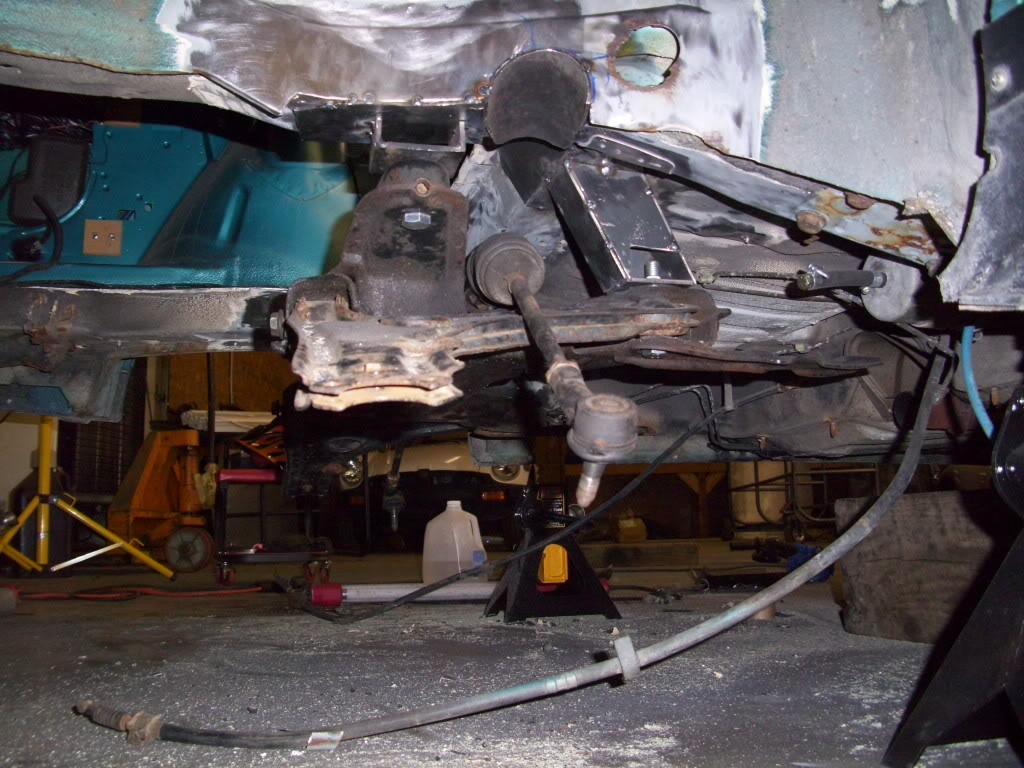
You can see the notch angles quite a bit, to match the angle of the tie rod. Rather than cut straight through the frame rail, and weeken it greatly, I cut the notch at an angle to maintain as much thickness in the frame rail as possible.
Tube tacked in
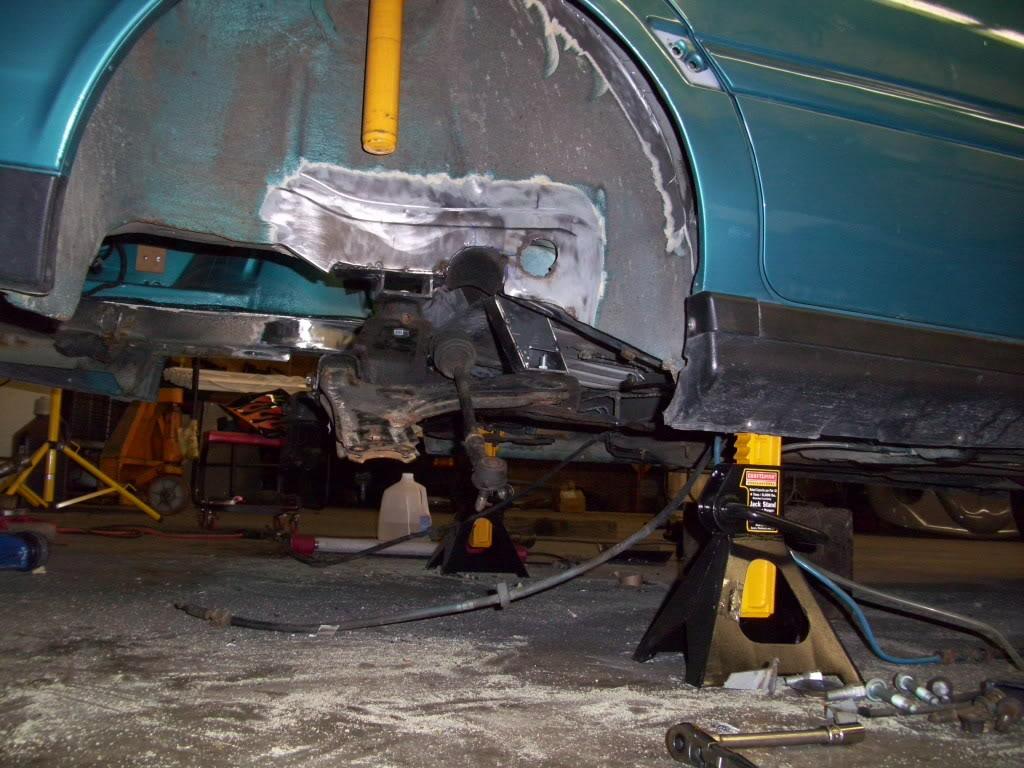
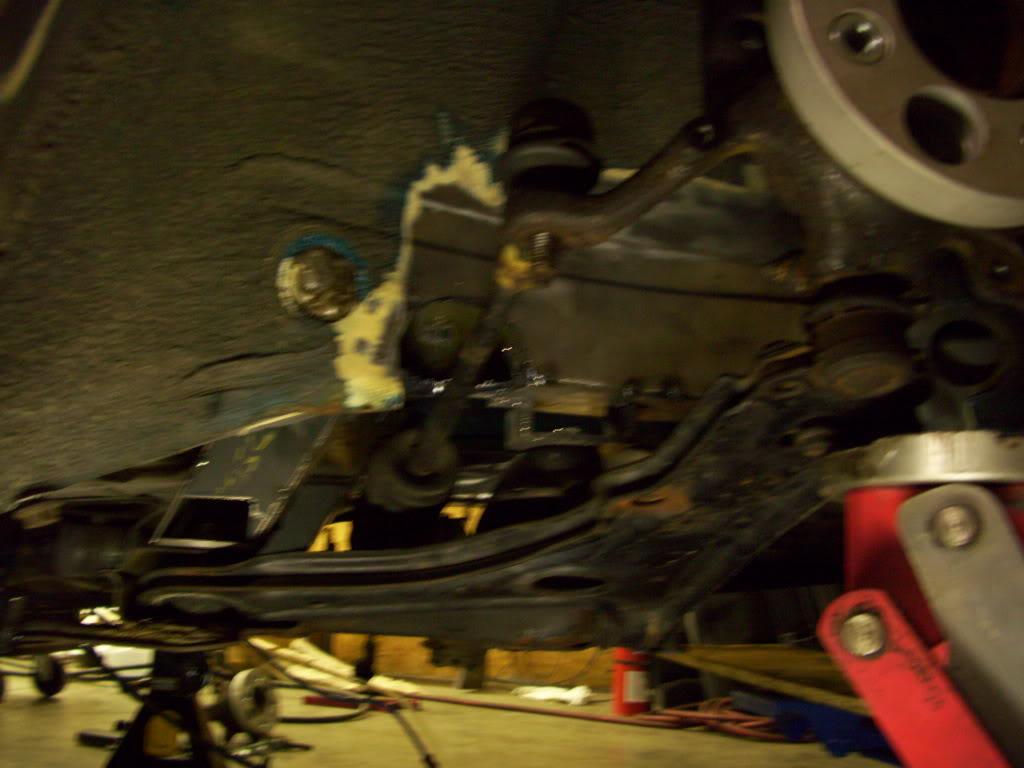
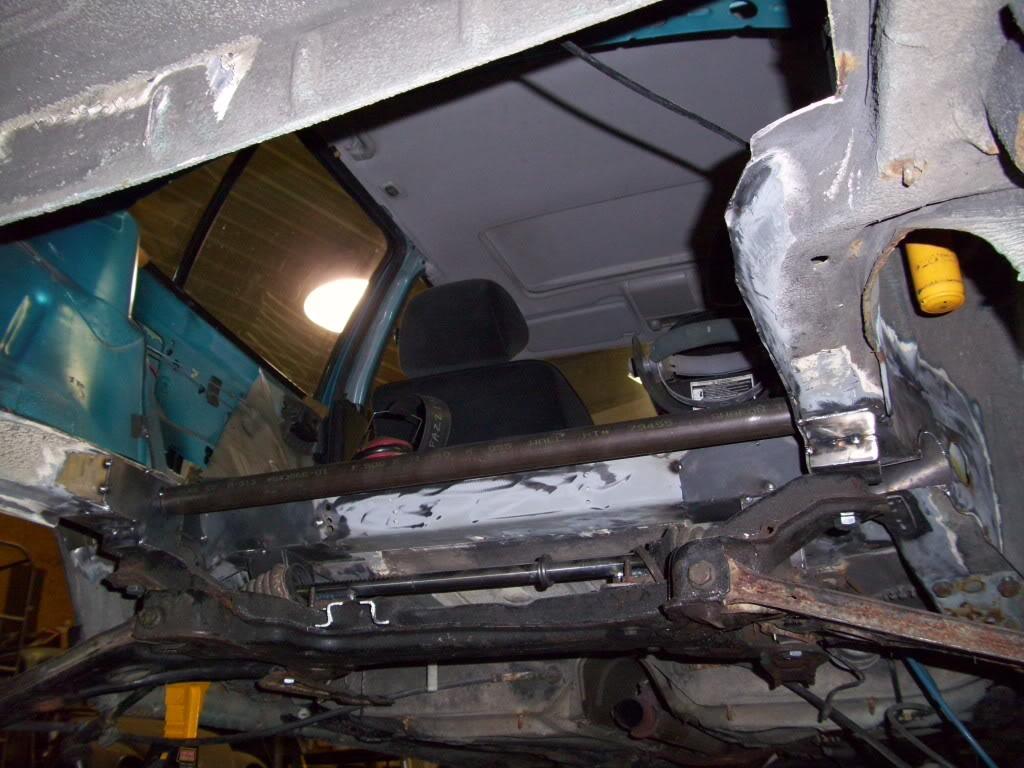
Lots of clearance, and the angle was perfect.

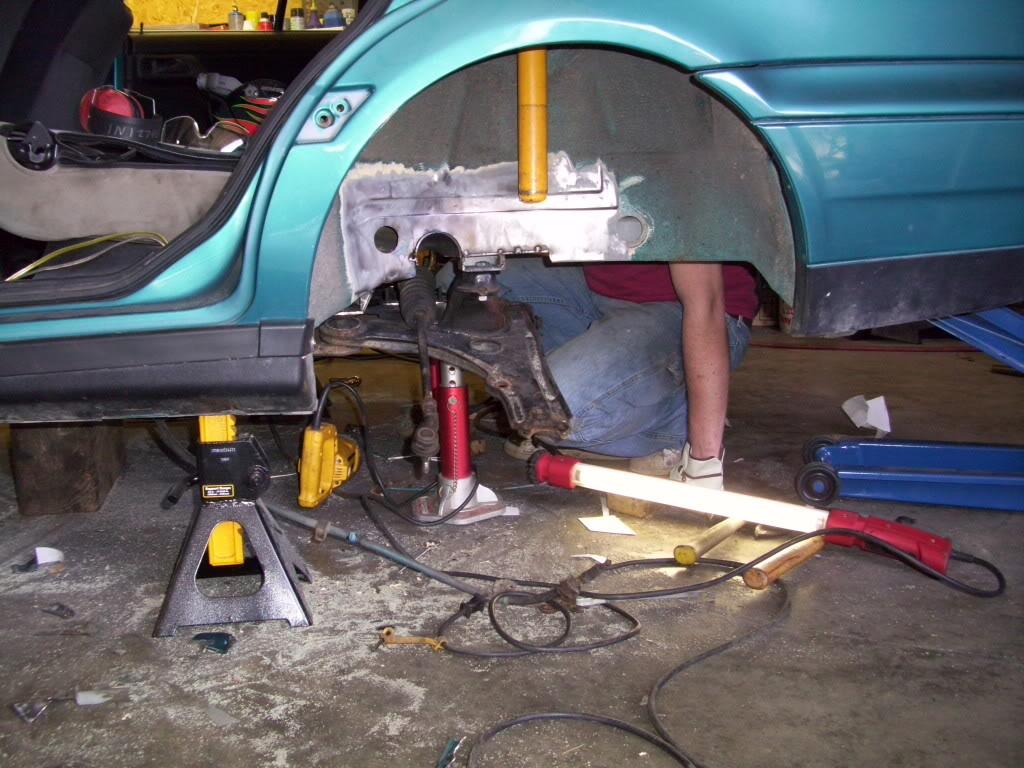
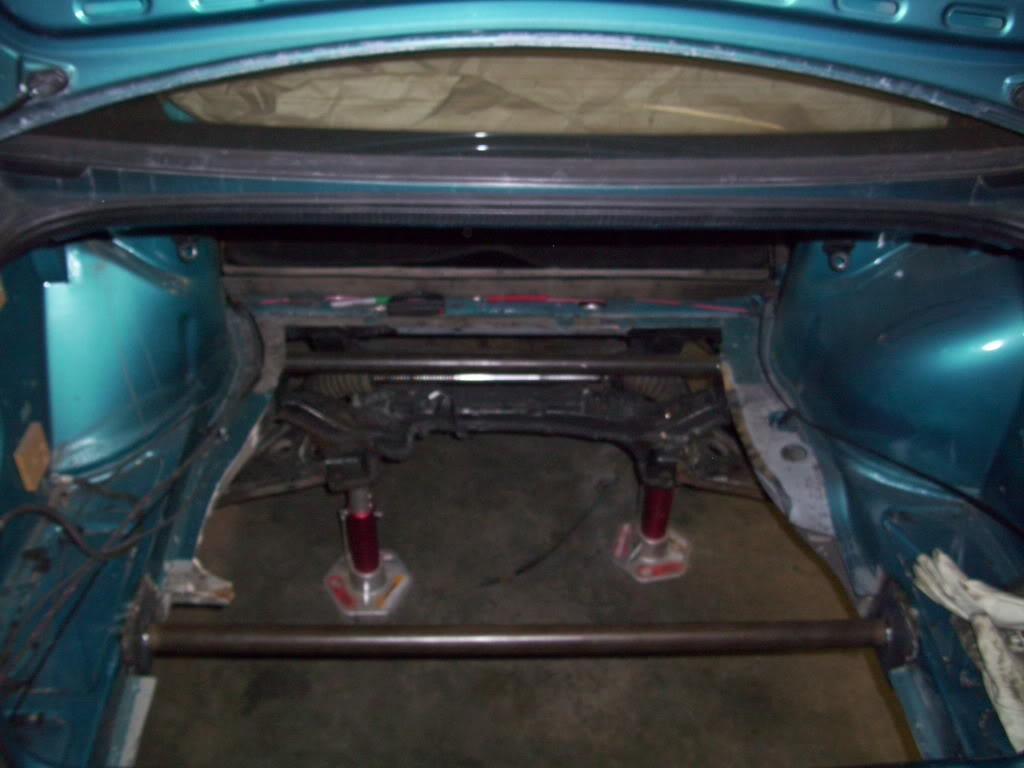
With the spindle on and tie rod bolted in place
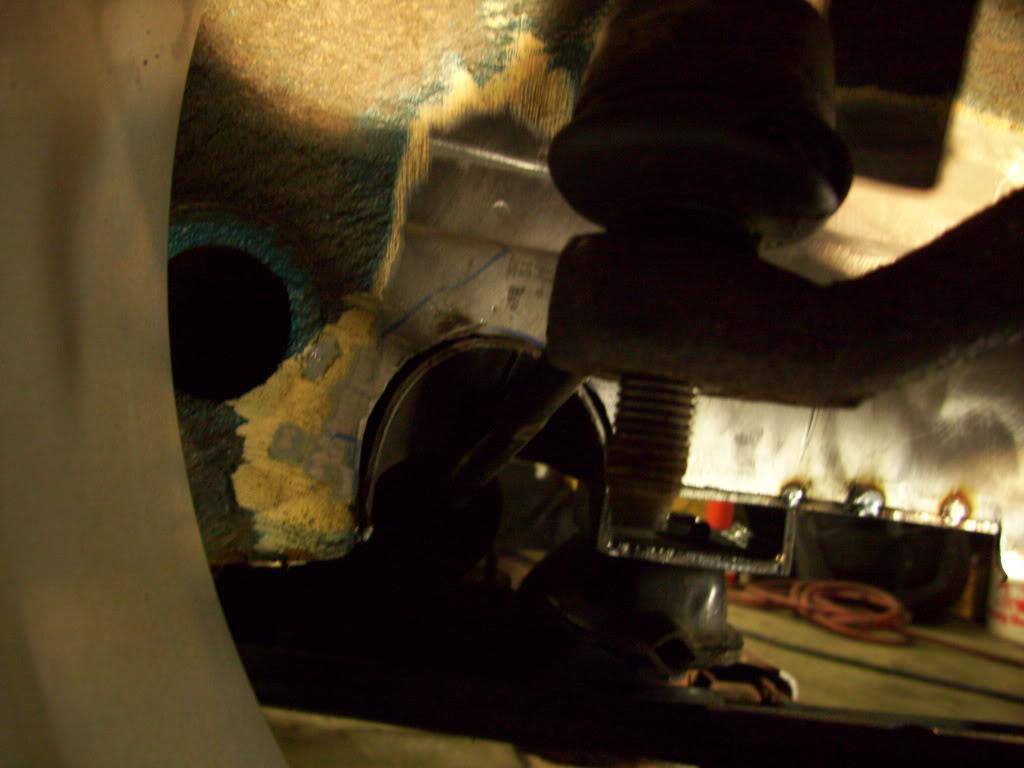
Wheel, now fully in control by the tie rods and control arms and camber plates! No more just setting it up on the jack.

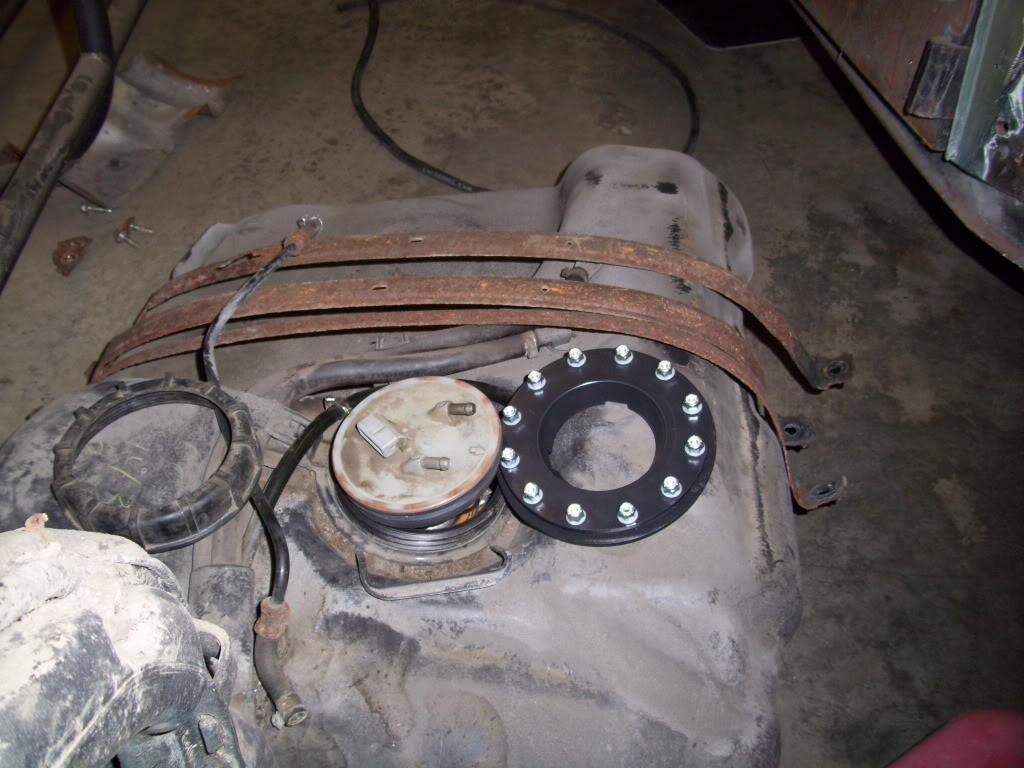
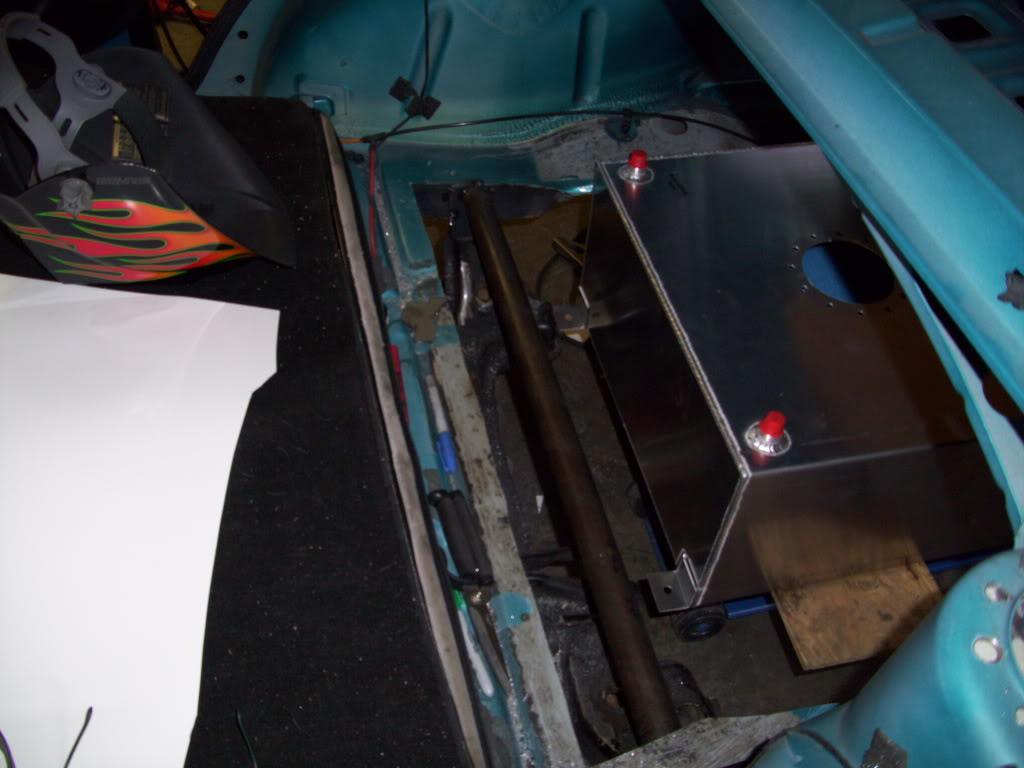
Since I had to replace the stock fuel tank, I bought a rectangular aluminum fuel cell from Summit. I set it in place to check the rough positioning.
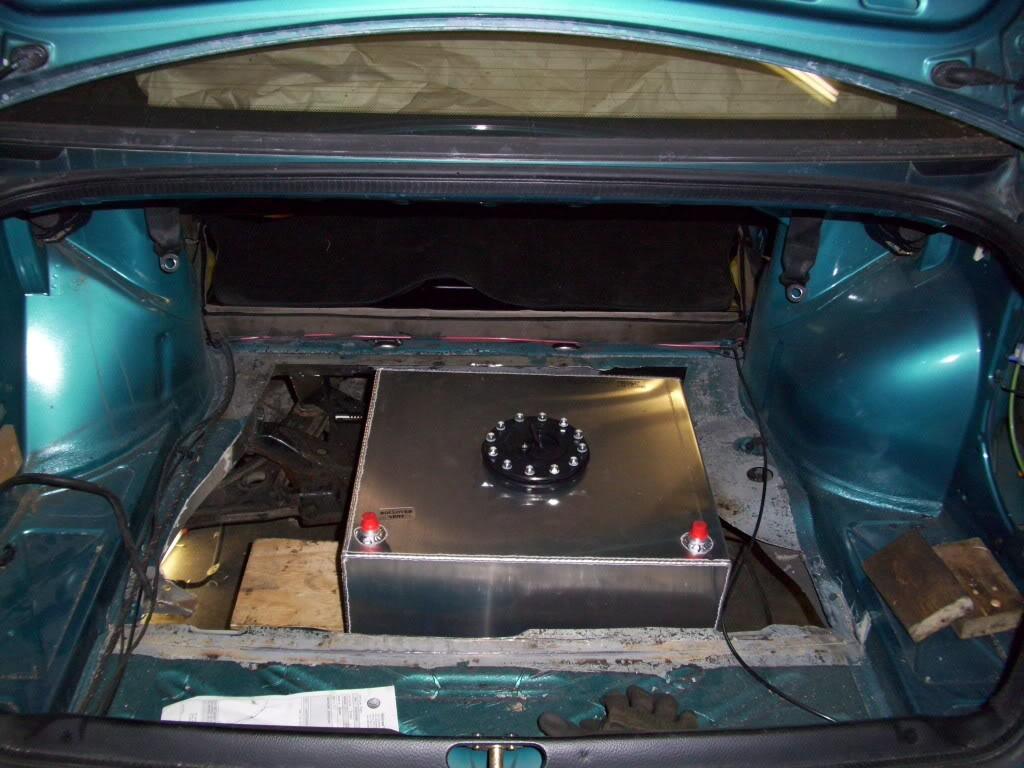
I labeled this pic 'Cut and paste' in my photobucket lol. Basically what needs to happen! I planned to use the stock pump mounted down inside the cell, so I needed to bond the stock supply/return/electrical connections into the lid of the fuel cell
Now the details of the fuel cell...
I planned to keep all the fuel below the trunk metal, and all the hydraulic stuff above. The hydraulic motors are electric, and can sometimes spark - even during normal operation. Sparks + gas tank in a small trunk = mega explosions, so I needed to separate the two. I decided to keep the gas down, which is also out of hte passenger compartment. This requires a full floor over the top of the cell, a custom fillerneck somewhere completely outside the body, and some custom plumbing. Add it to the "To Do" List!
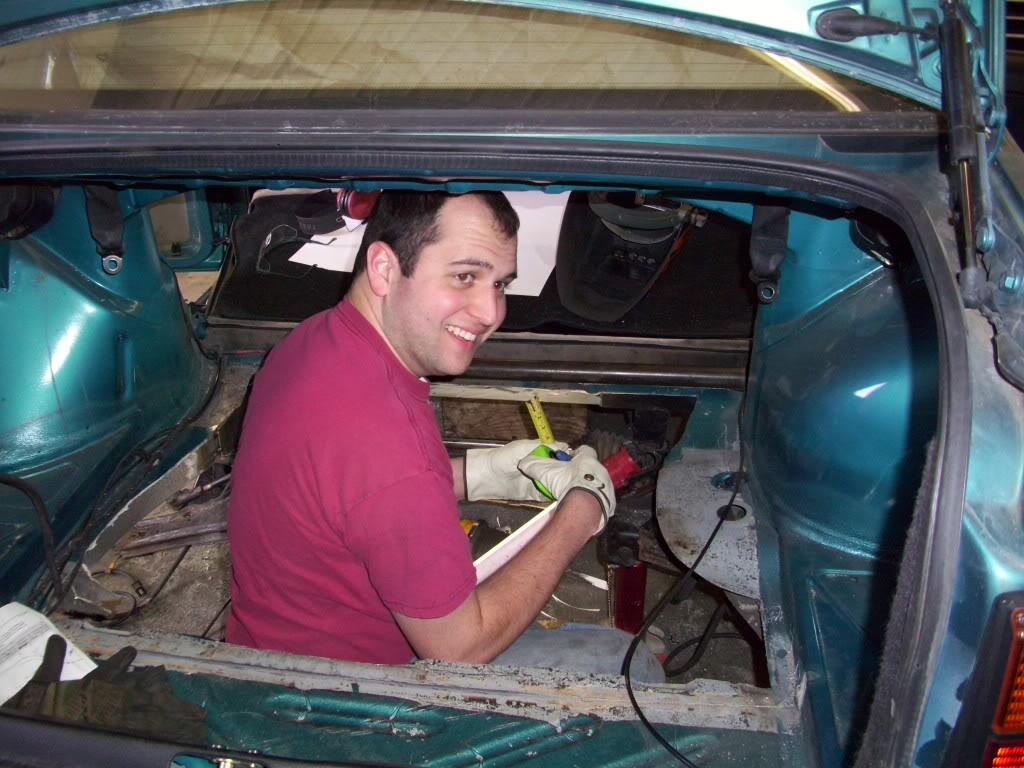
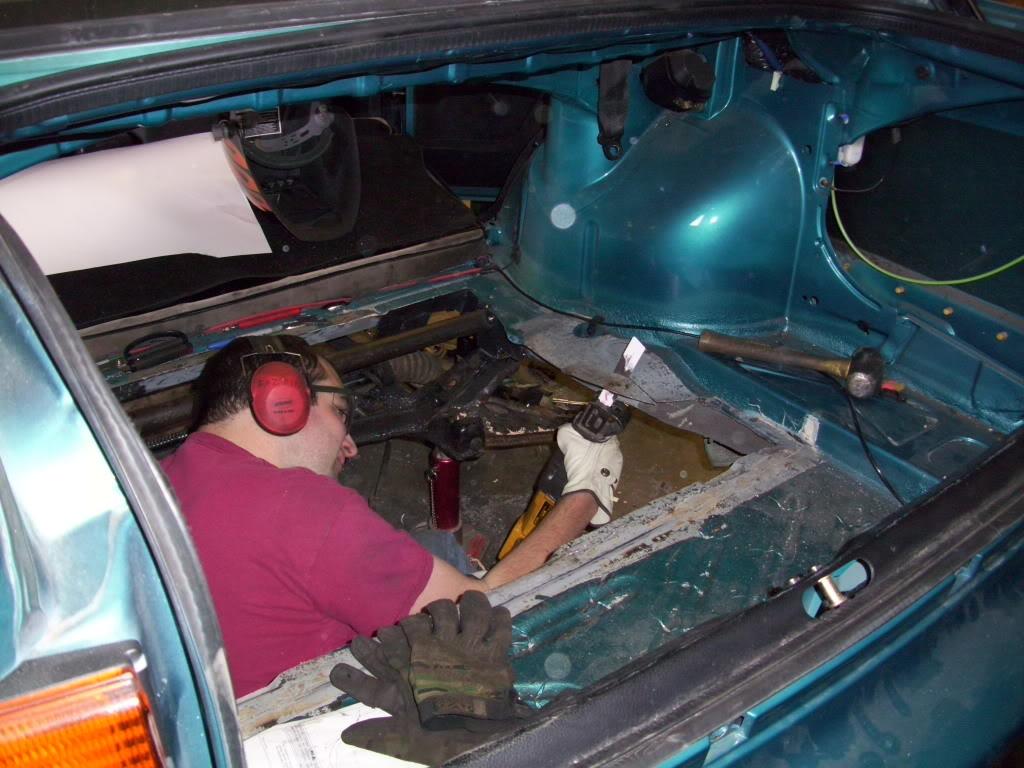
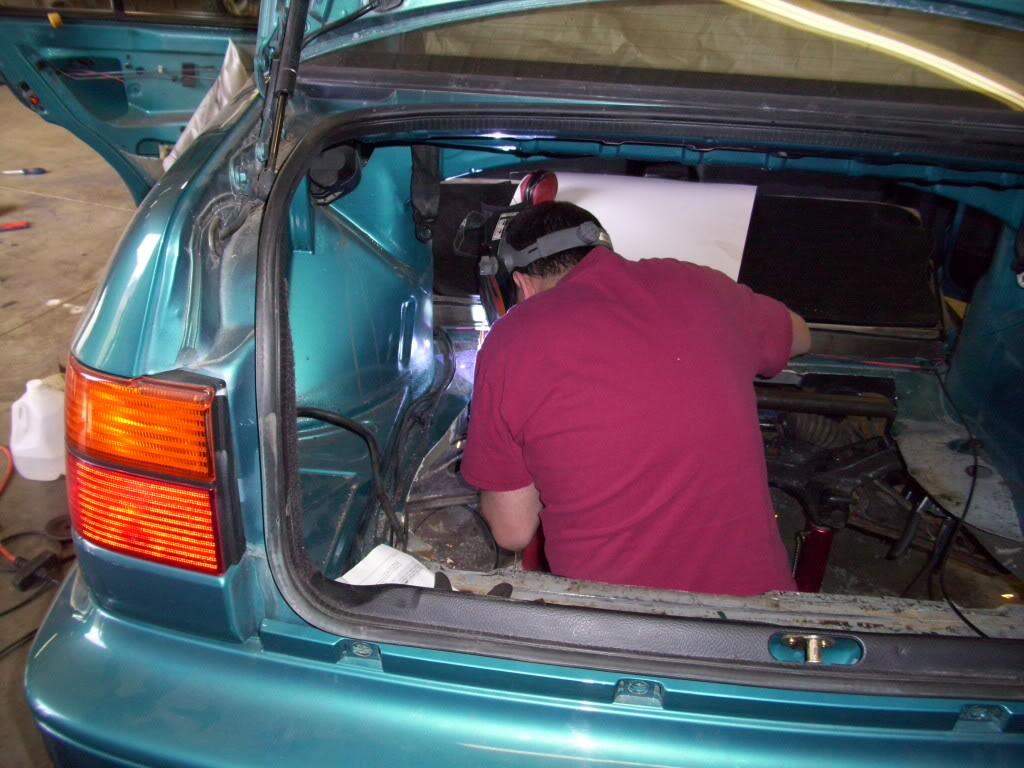
I must have had a friend stop by and take some pictures of me working.
This pic just looks weird lol
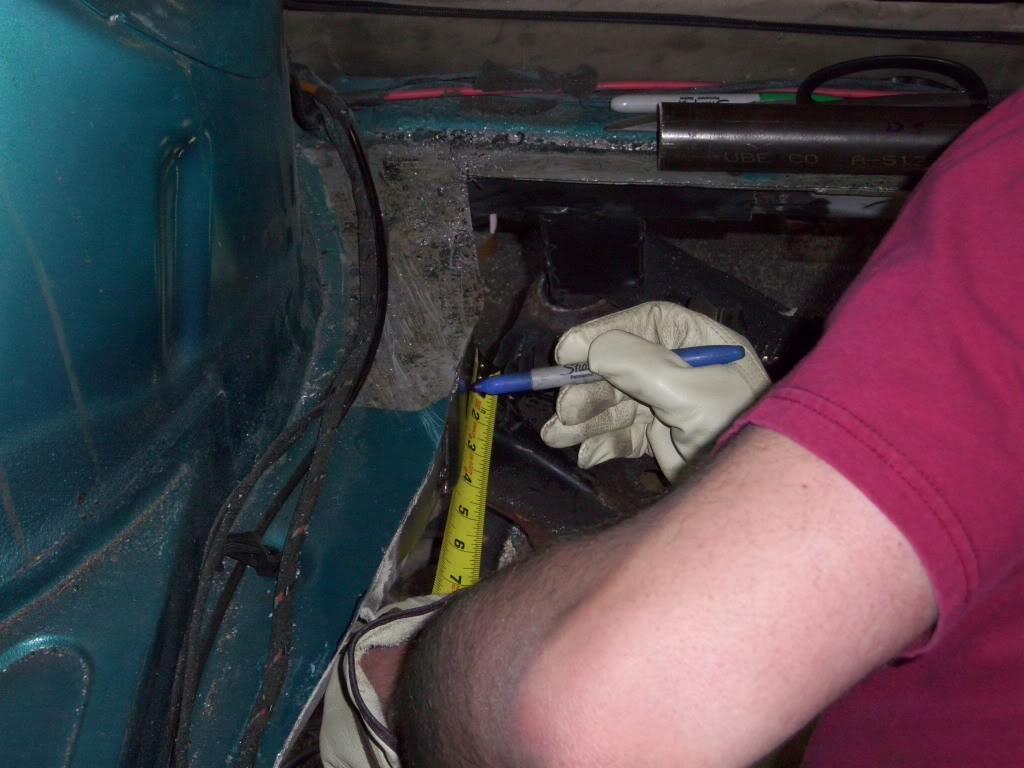
Measure twice, cut....well... like three dozen times
I look like a ratard.
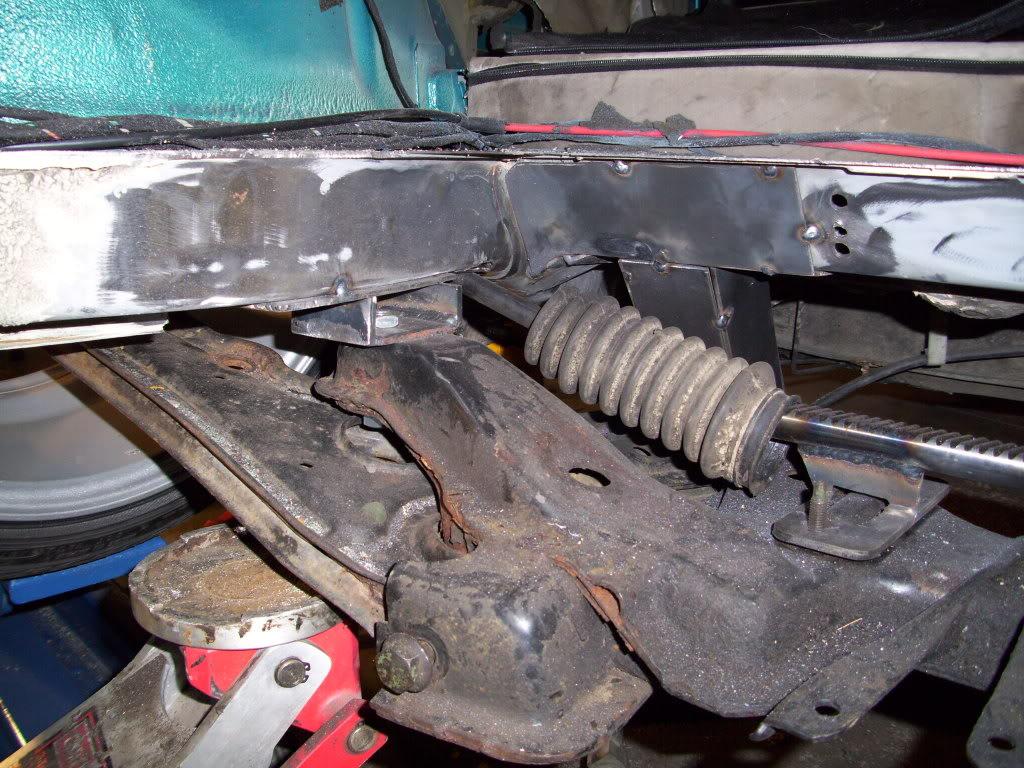
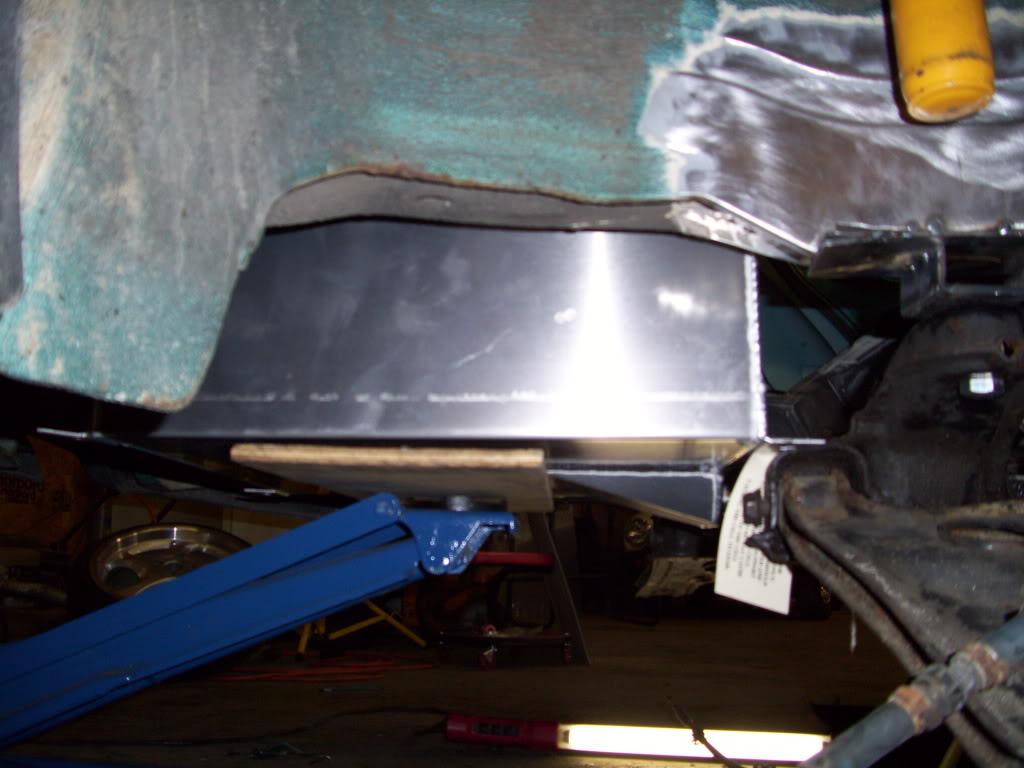
I welded the first crossmember into place, as well as a bunch of reinforcements around the subframe mounts. I wanted this area to be the strongest on the car, since it would be taking all the rear suspension loads.
I did a bit more cutting
and some more welding
This crossmember will also serve as one of the mounting points for the fuel cell.
April 6, 2009
I welded in a second rear crossmember, behind the fuel tank. This would also serve as a mounting point for both my hydraulic pumps and my fuel cell, as well as stiffen up the chassis.
I welded 4" square plates from 1/8" steel onto the chassis rails before adding the tube, again to help spread the load and make a stiffer and stronger setup.

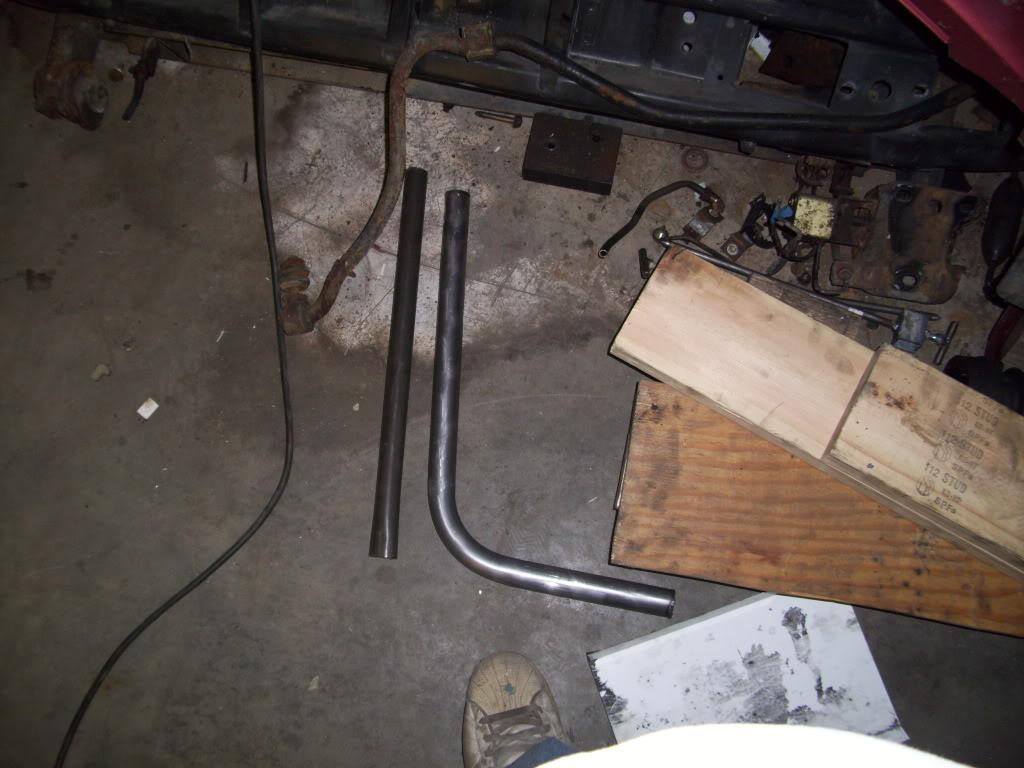
I also did some test bends with the tubing bender to see how it bent with the 1-1/4" .065w steel tubing, which I will use for the strut tower brace and fuel cell mountings.
Nice build! Great photos and detail ????
Posted by Diggymart on 4/23/19 @ 12:52:48 PM