You must be logged in to rate content!
9 minute(s) of a 341 minute read
5-3-2009
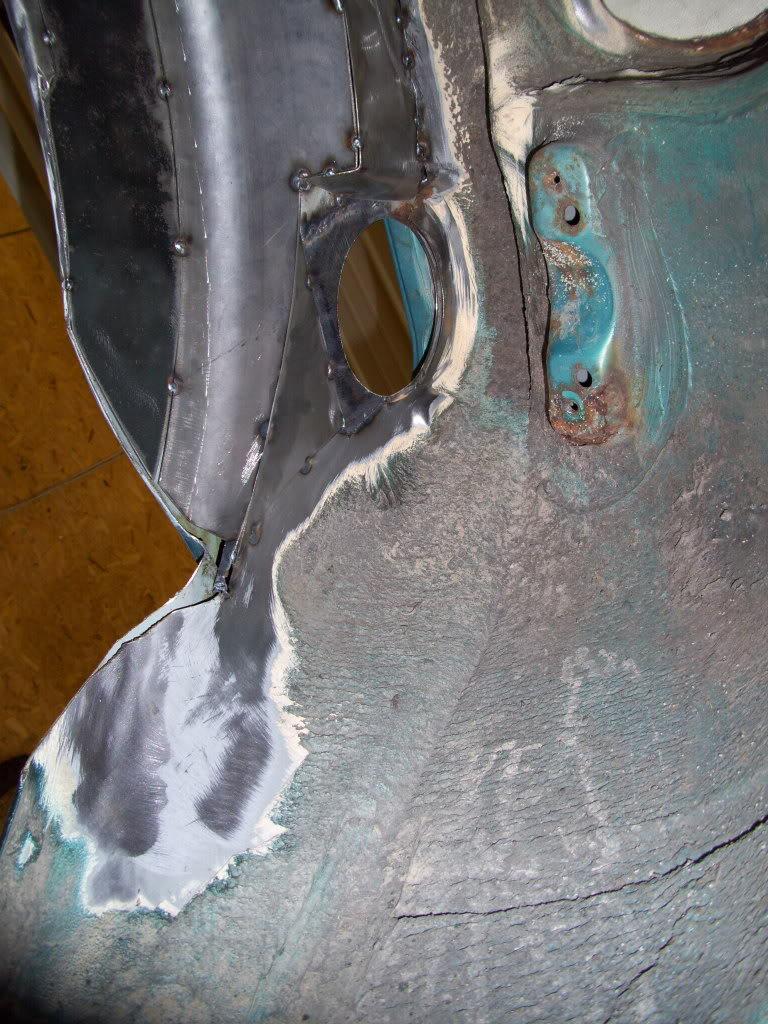
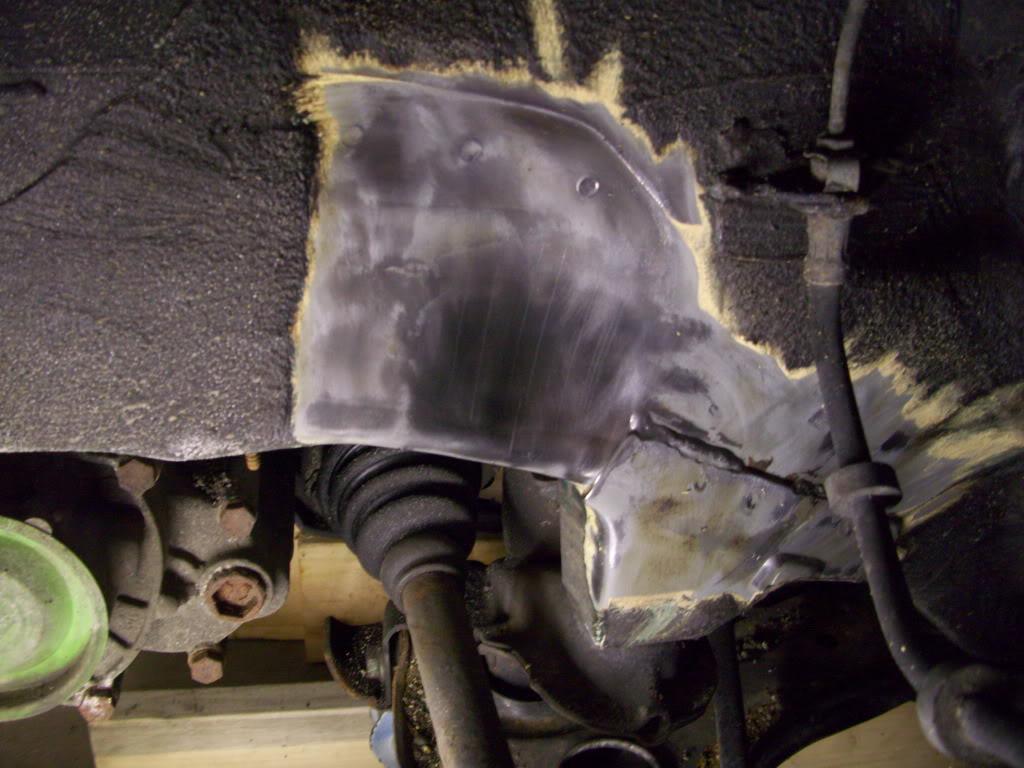
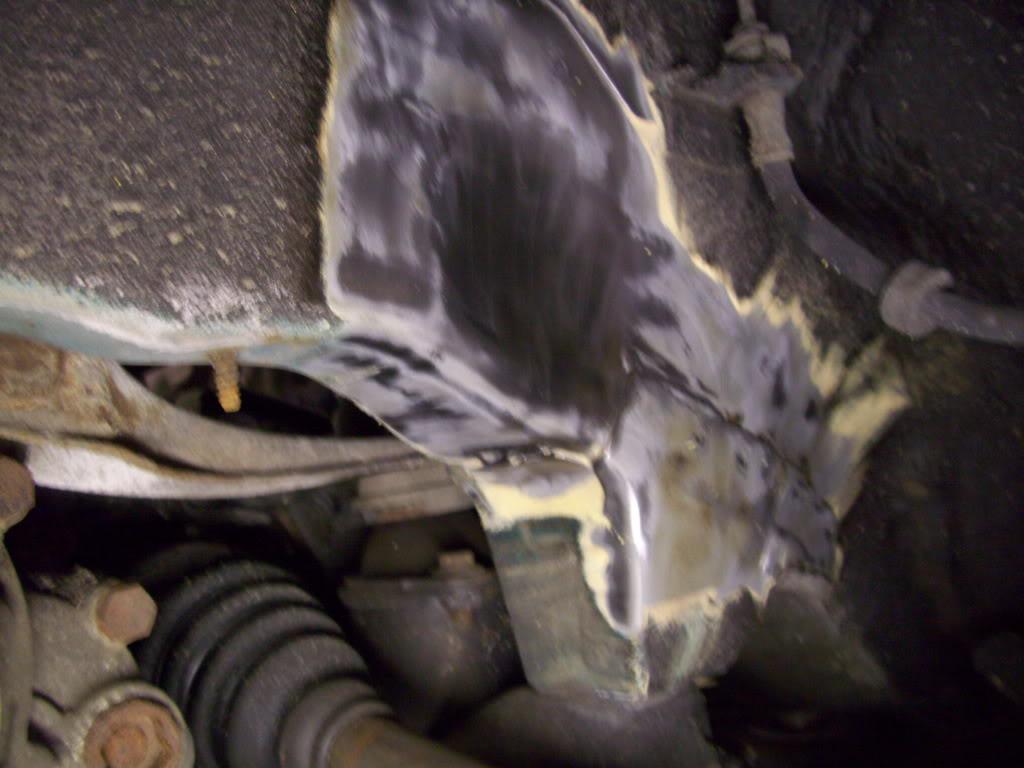
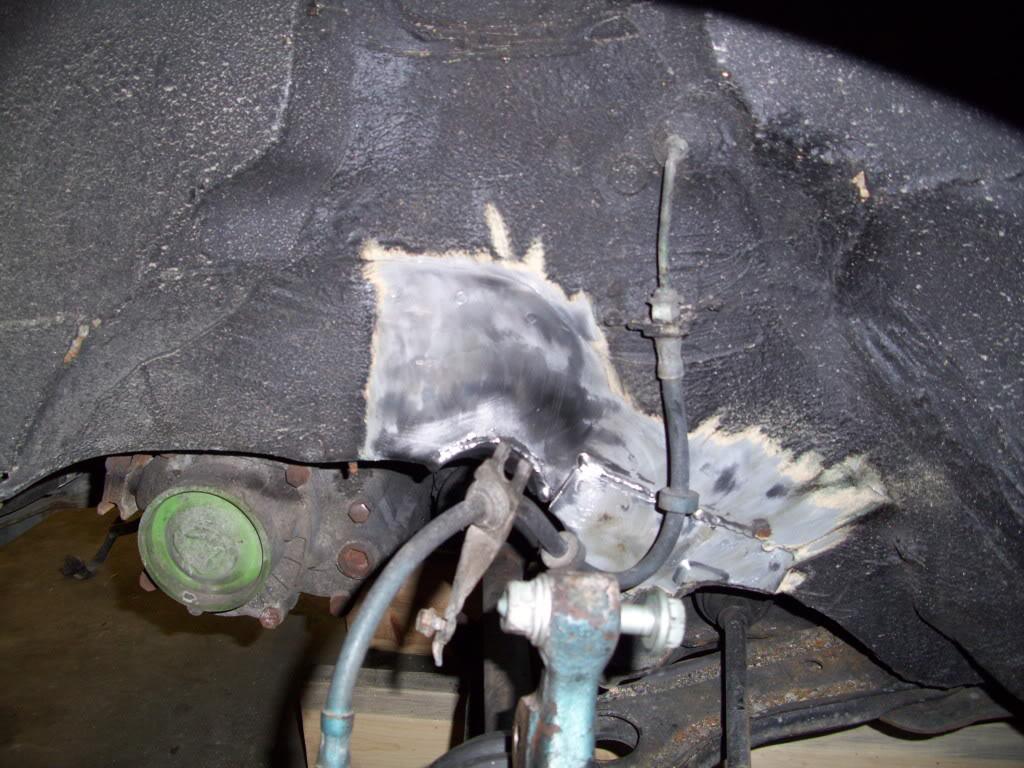
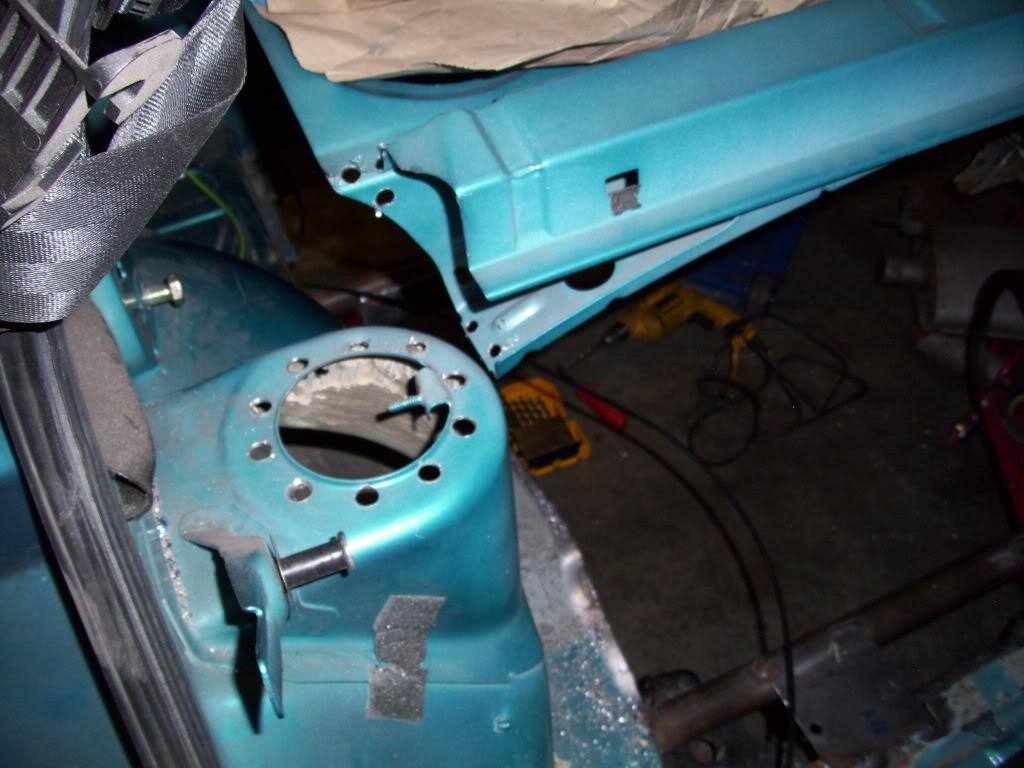
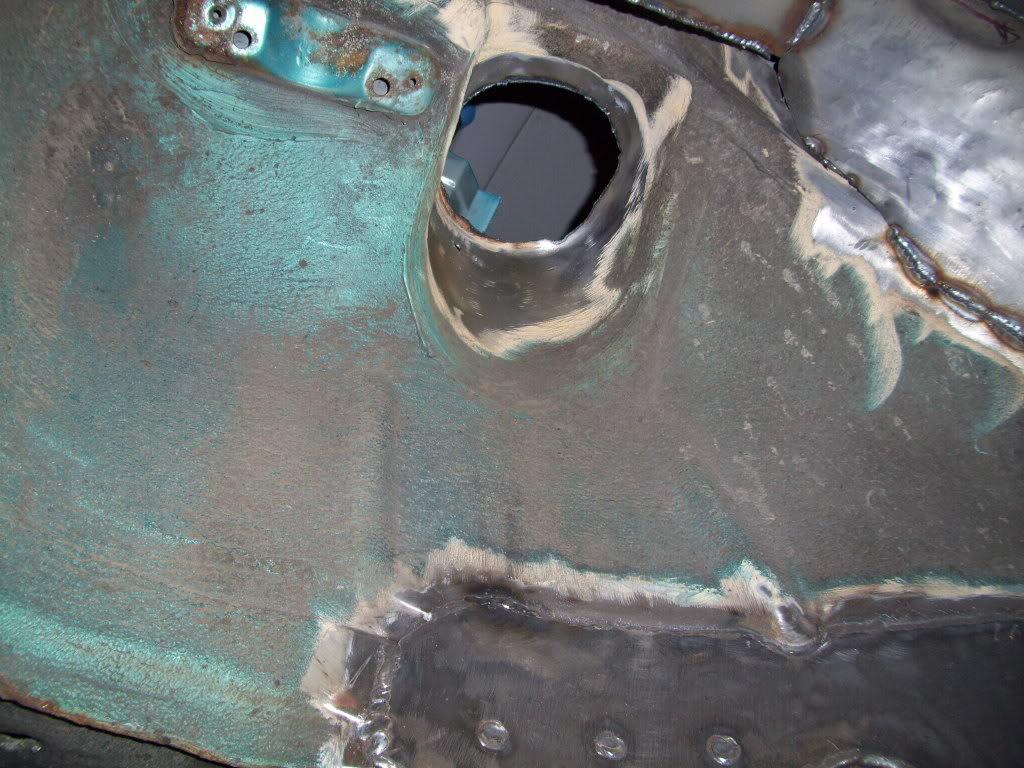
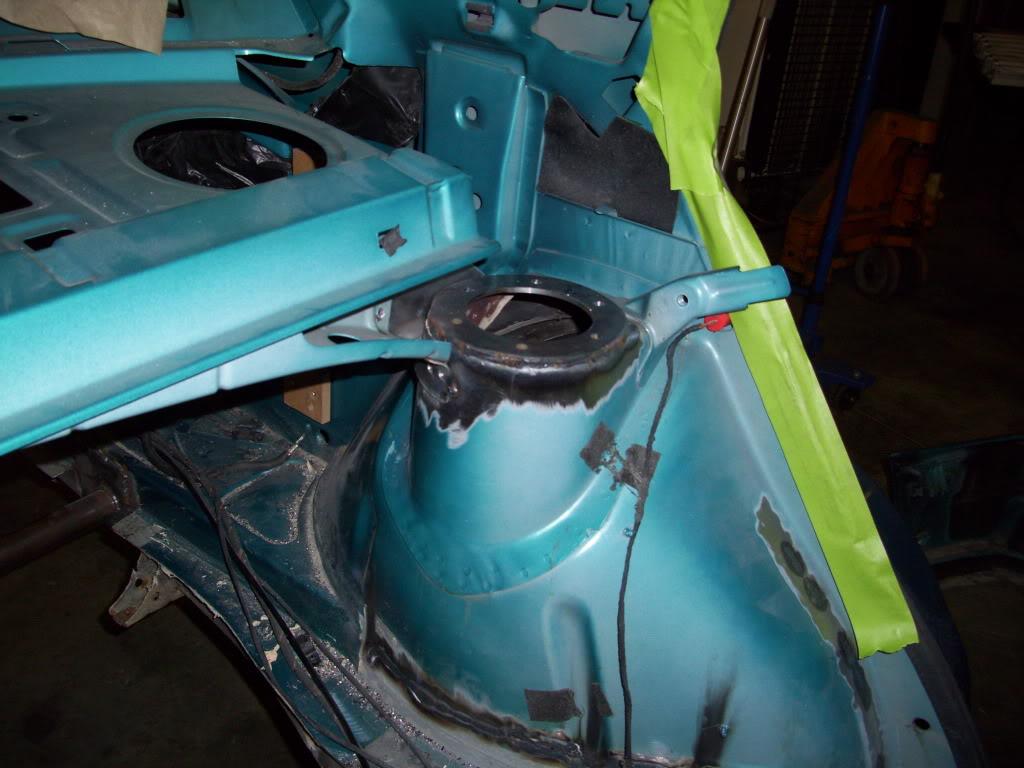
I continued work on the rear wheel tubs, including some rust repair work around the fuel filler area.
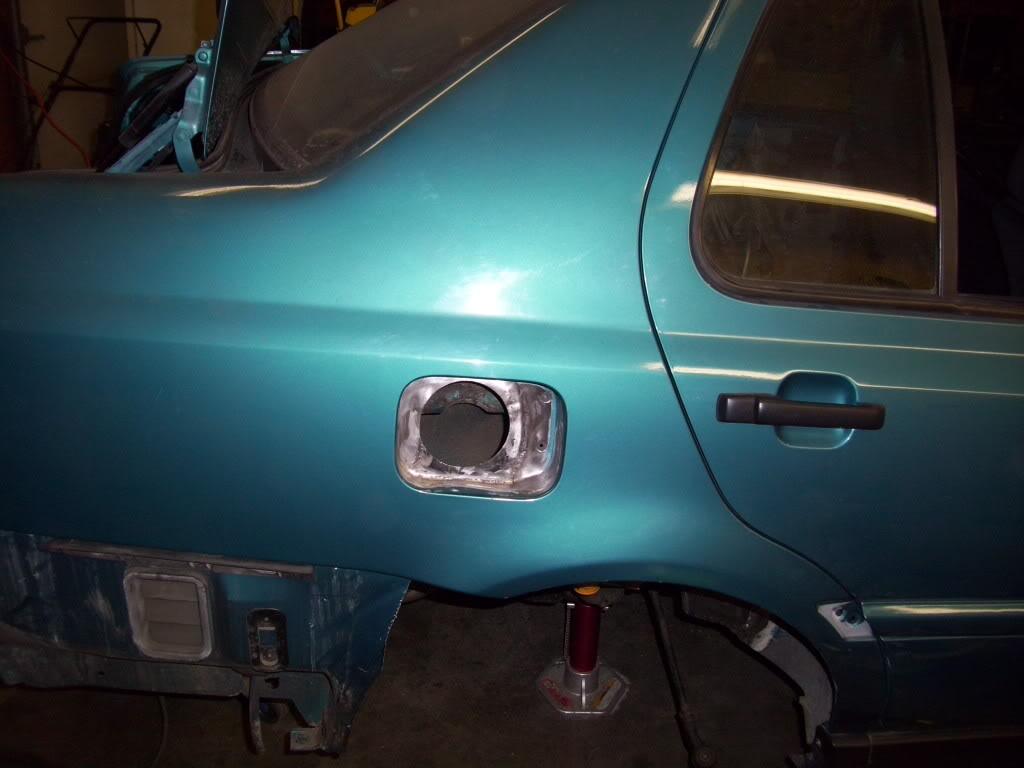
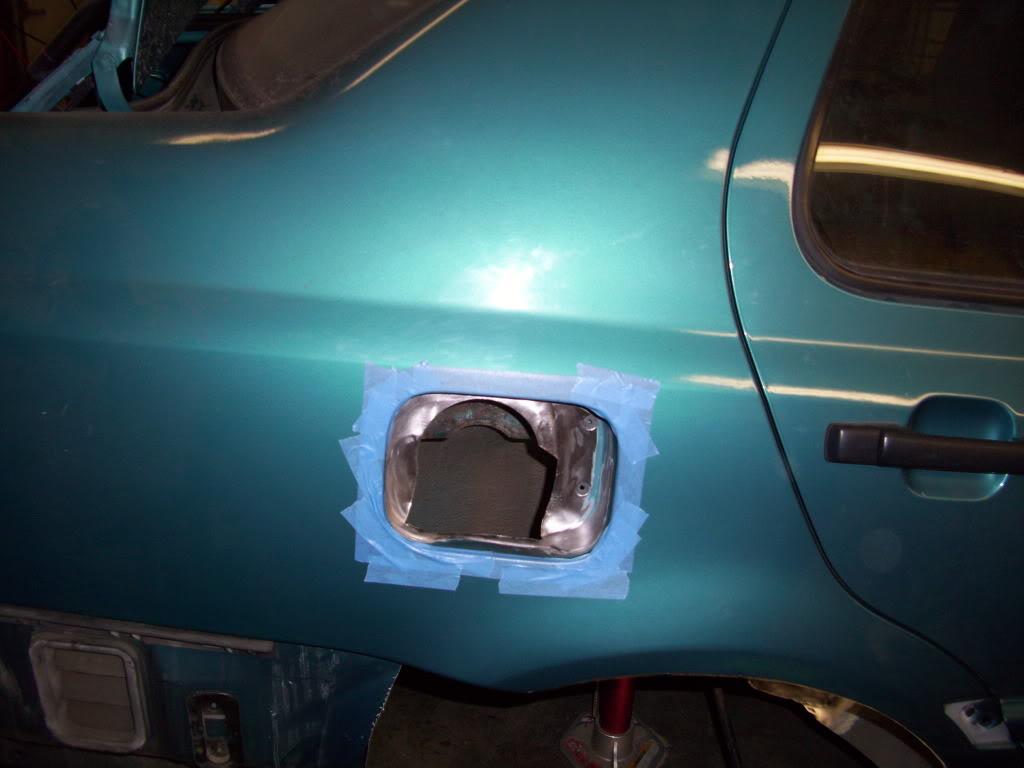
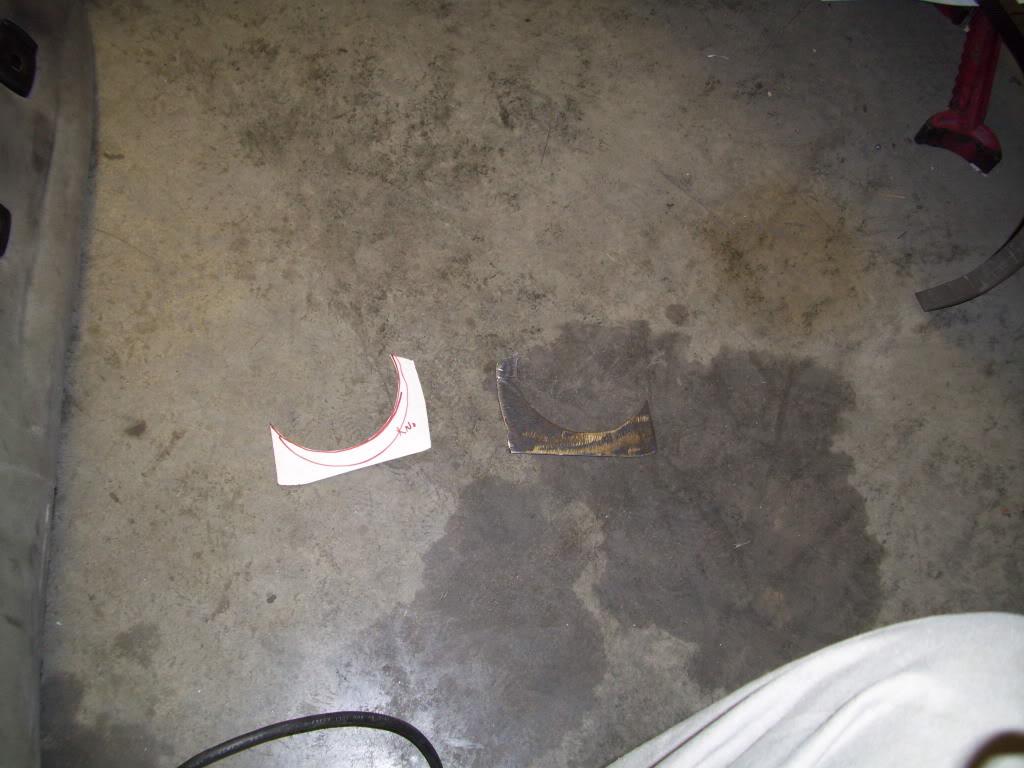
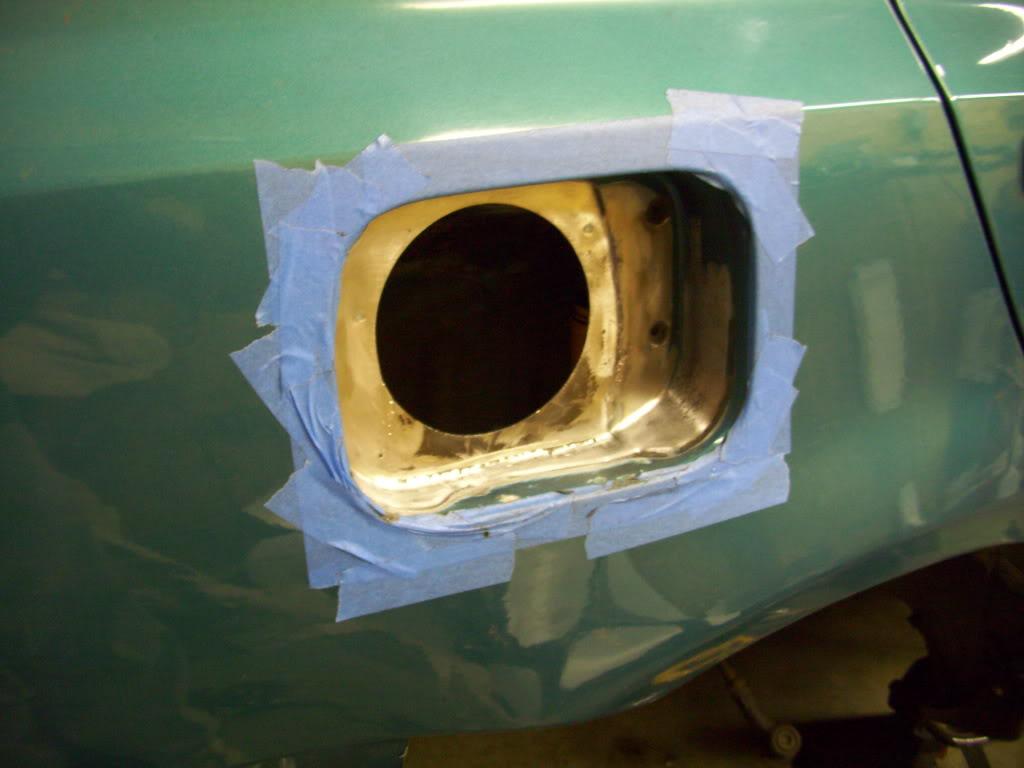
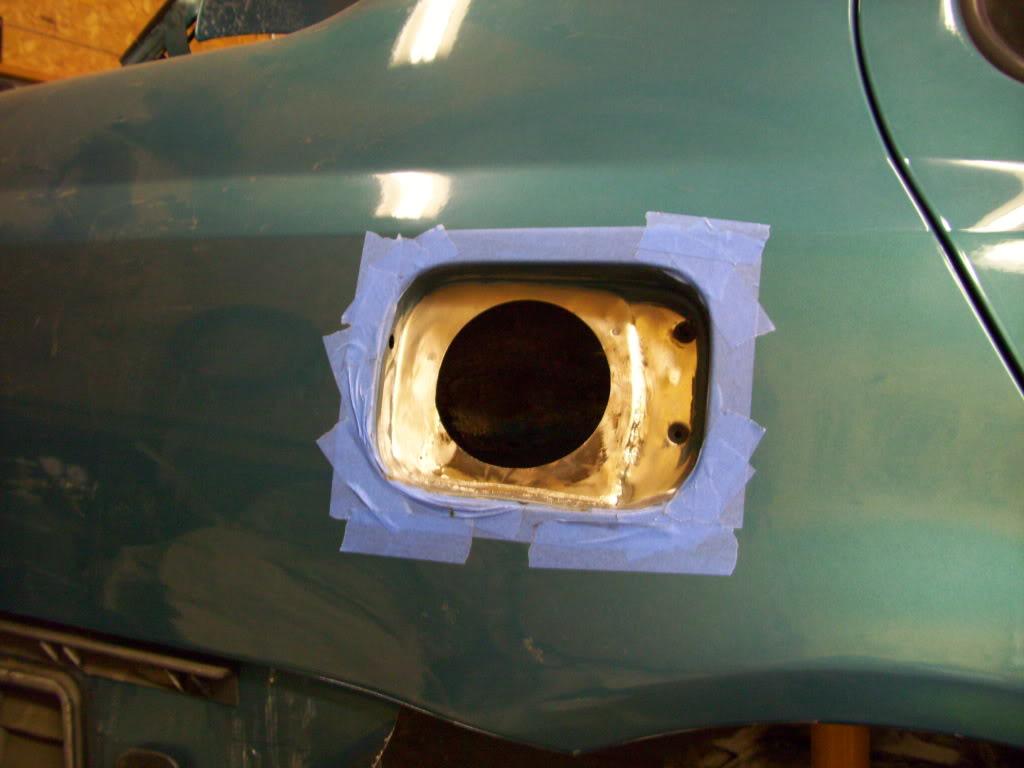
This is all from the passenger side tub, around the fuel filler neck area

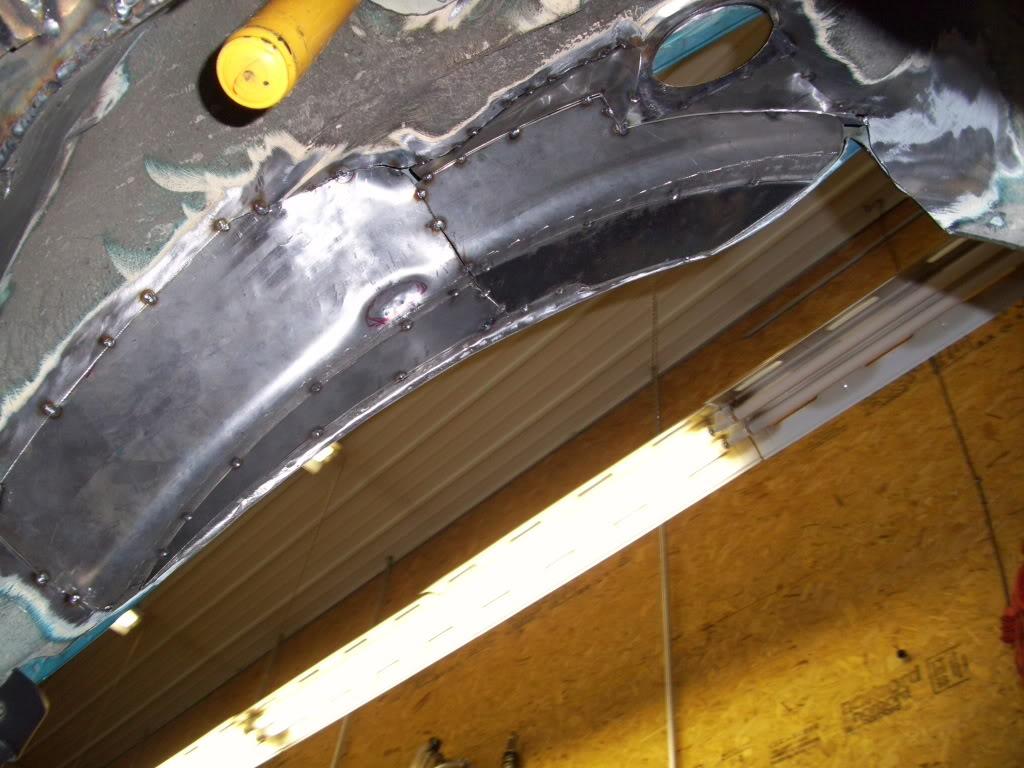
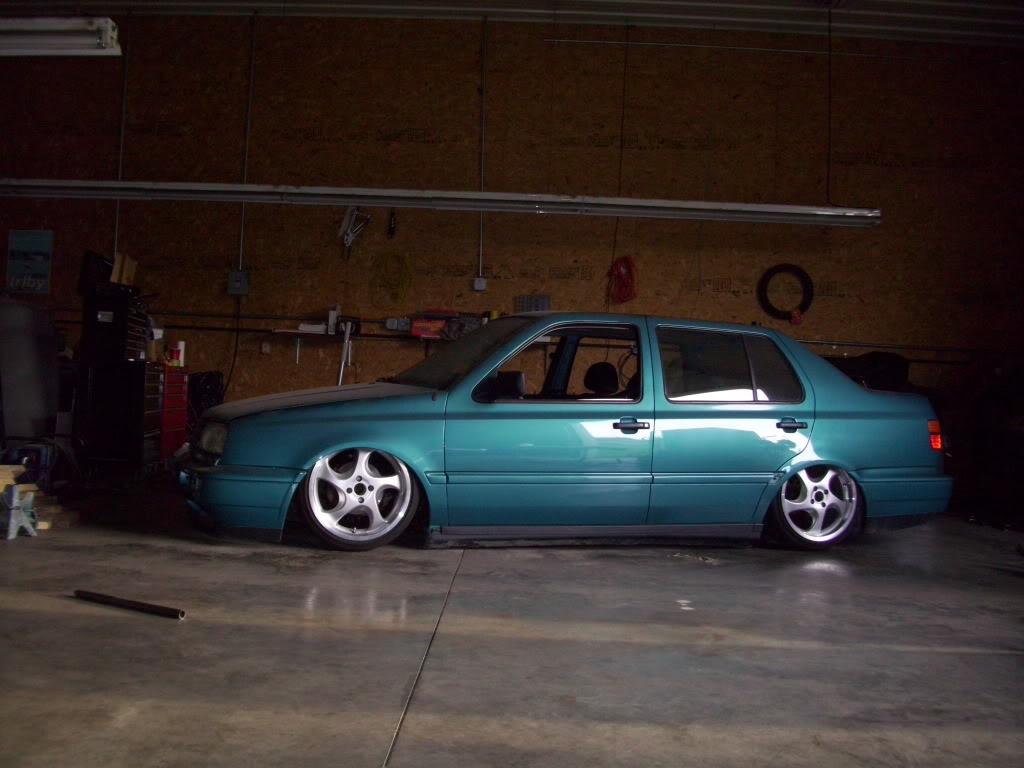
Yet another test fit. The rear was 1/2" lower with the tubs all tacked in place, so that's good enough for me! It leaves some room to run larger wheels, plus I don't have to cut through the door


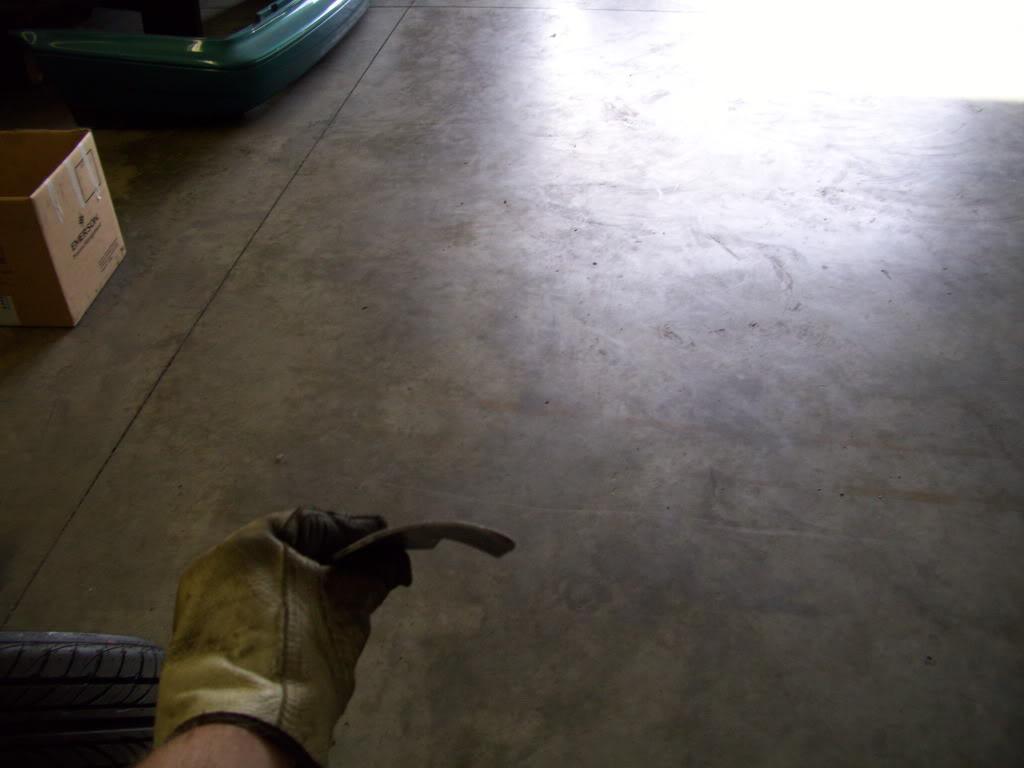
The tire is sooooo close!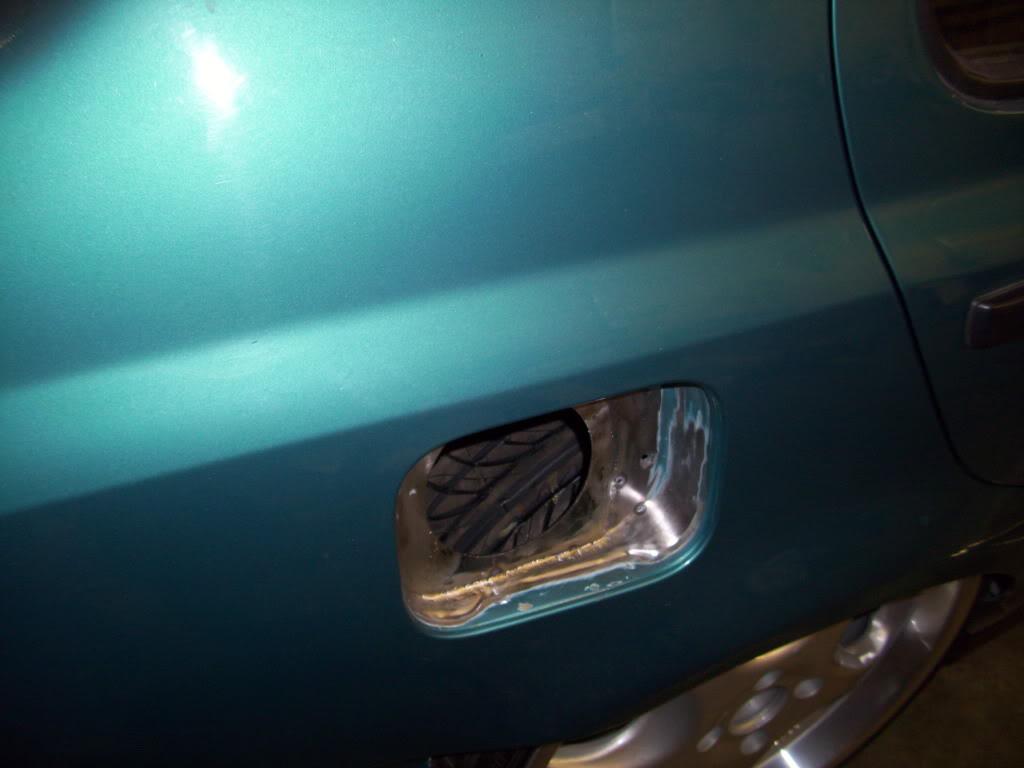
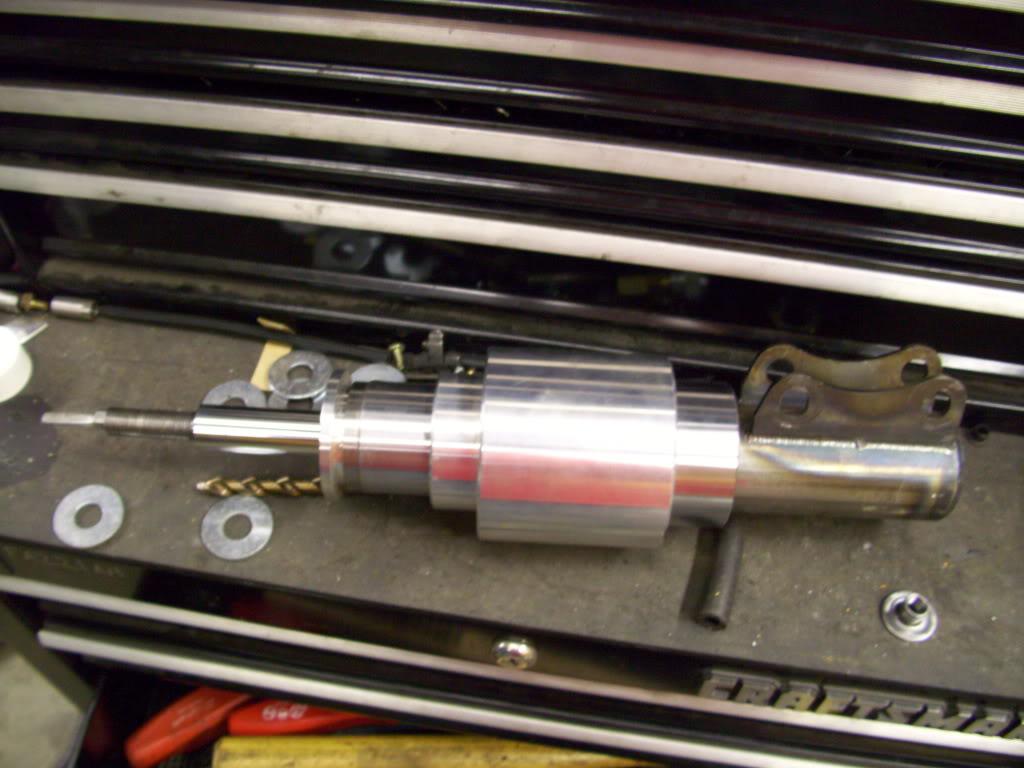
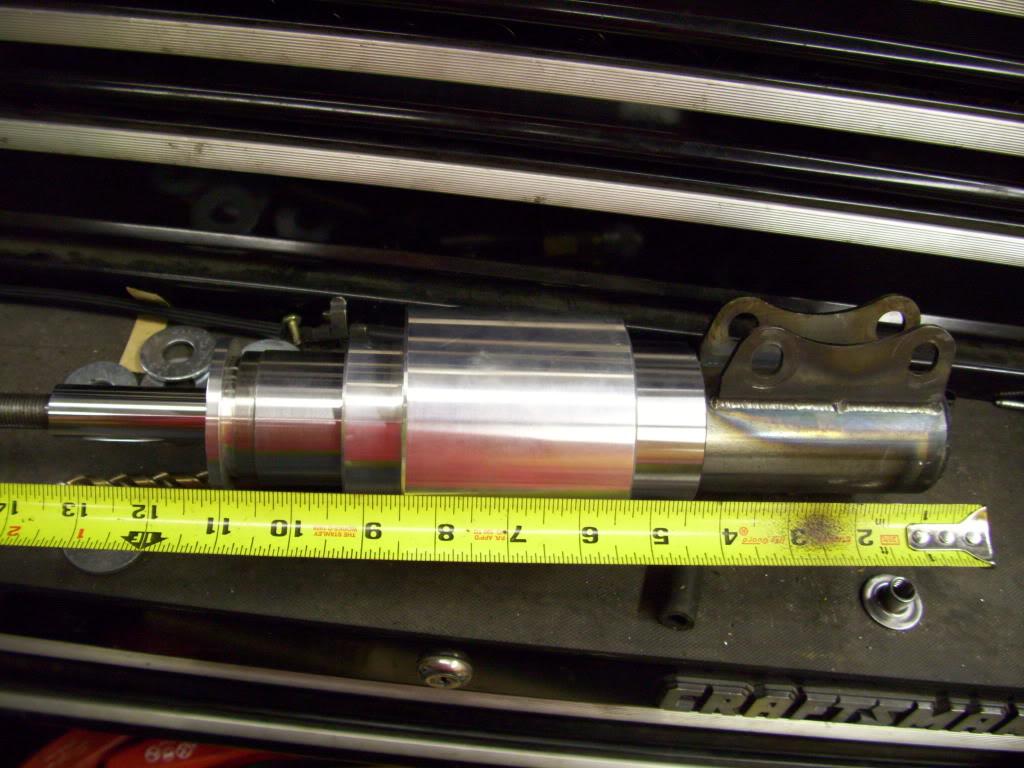
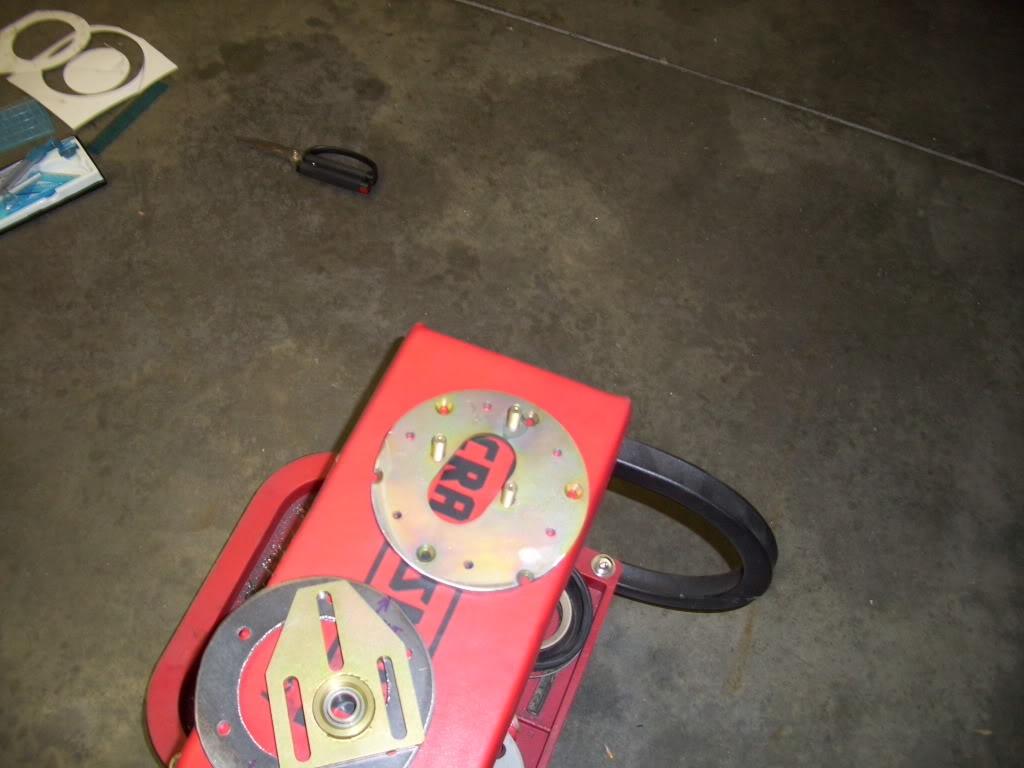
I got some more hydraulic parts back from the shop, and changed the design a bit since the last pics several months prior.
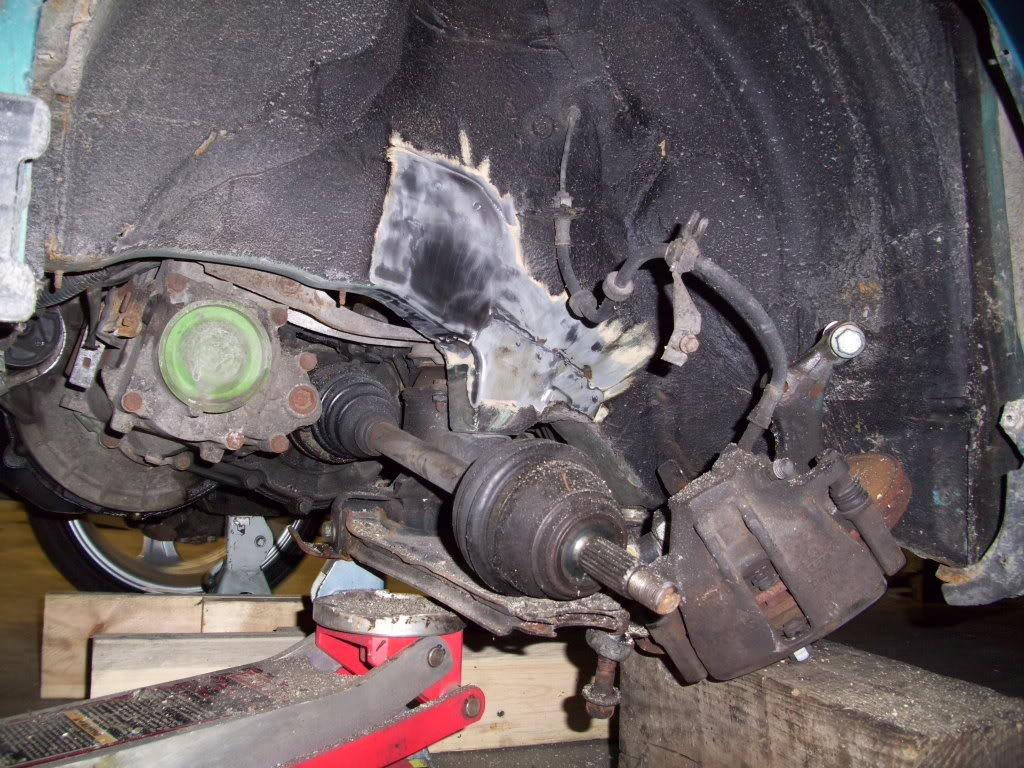
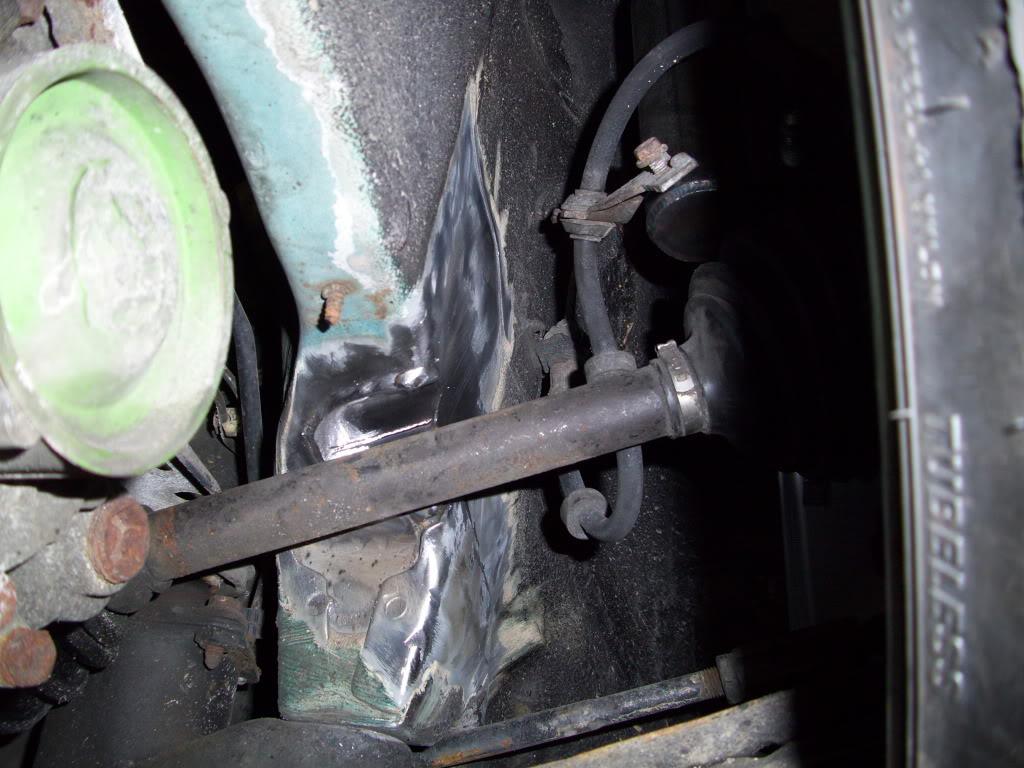
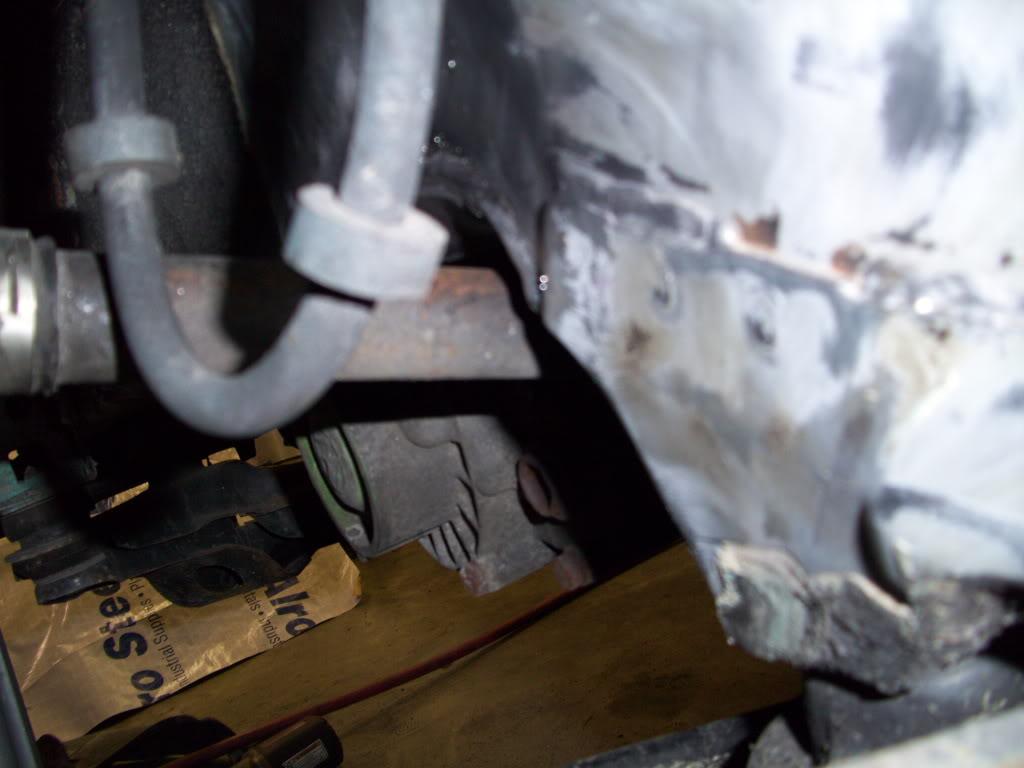
I also determined the front drivers side needed a c-notch. It still laid frame, but the axle was buried against the chassis. So I made this wee little baby notch.
When stripping the paing, I found these weird vertical tooling marks on the chassis. Difficult to photograph, but you can faintly see them. Has anyone seen this before?
Again, I angled the notch to match the axle angle and make it all as small as possible. As notched frames get more and more common, we can't forget how sketchy this really is without proper reinforcement. Minimizing the structural impact on the chassis should be a consideration.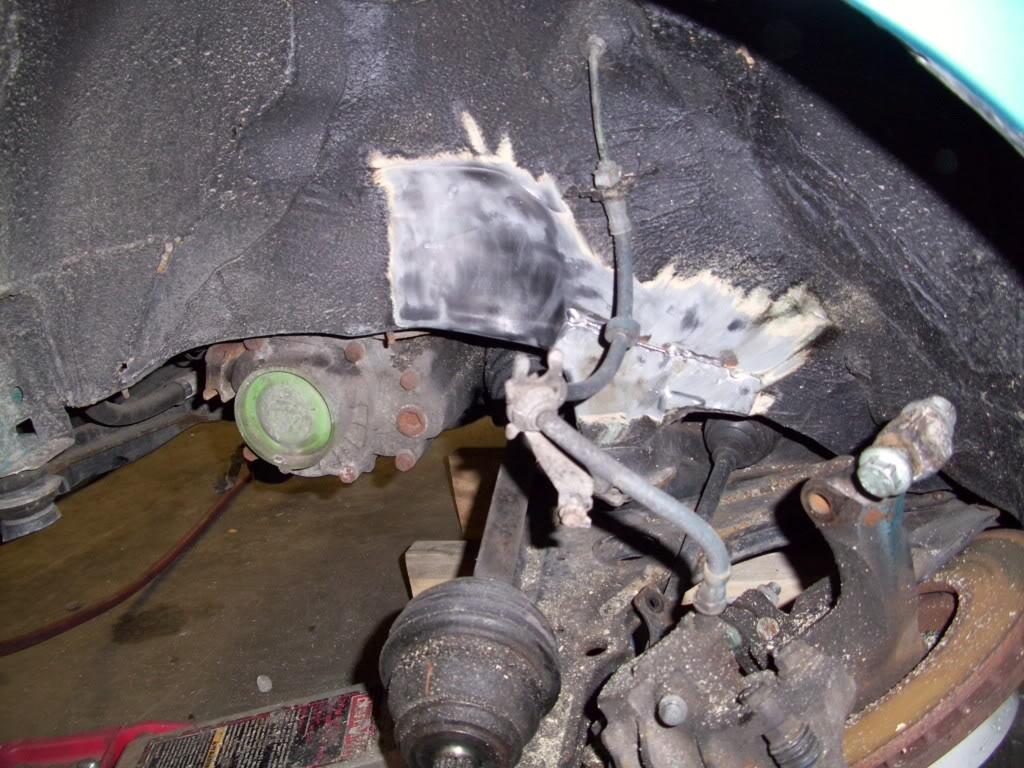
May 9, 2009
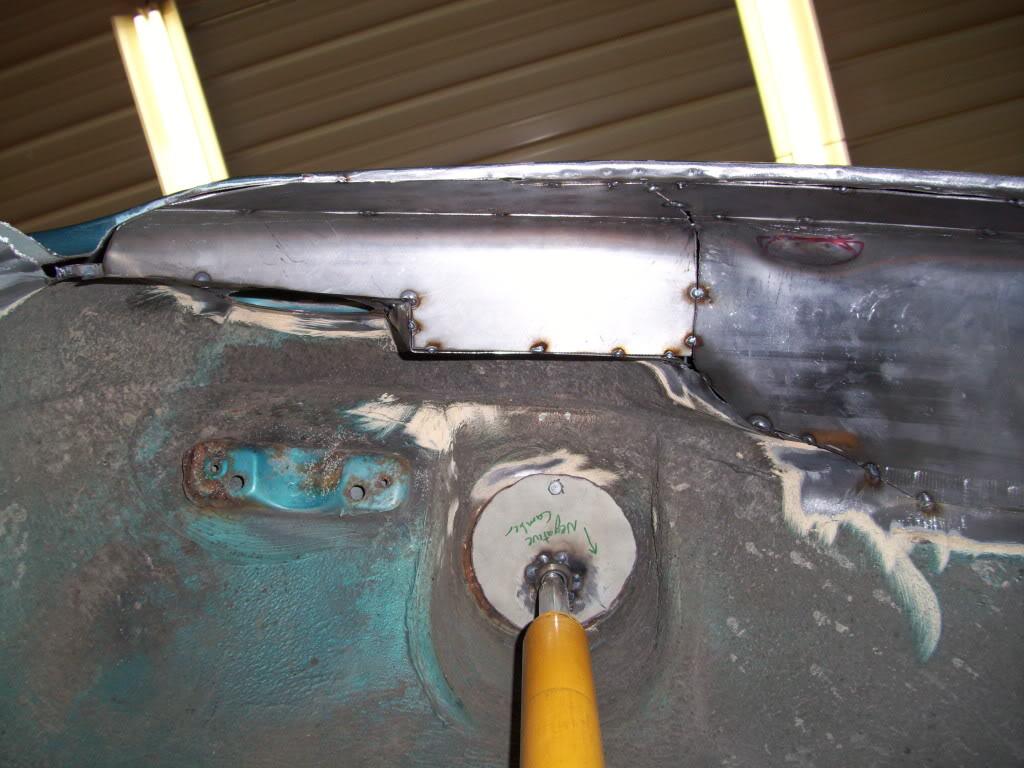
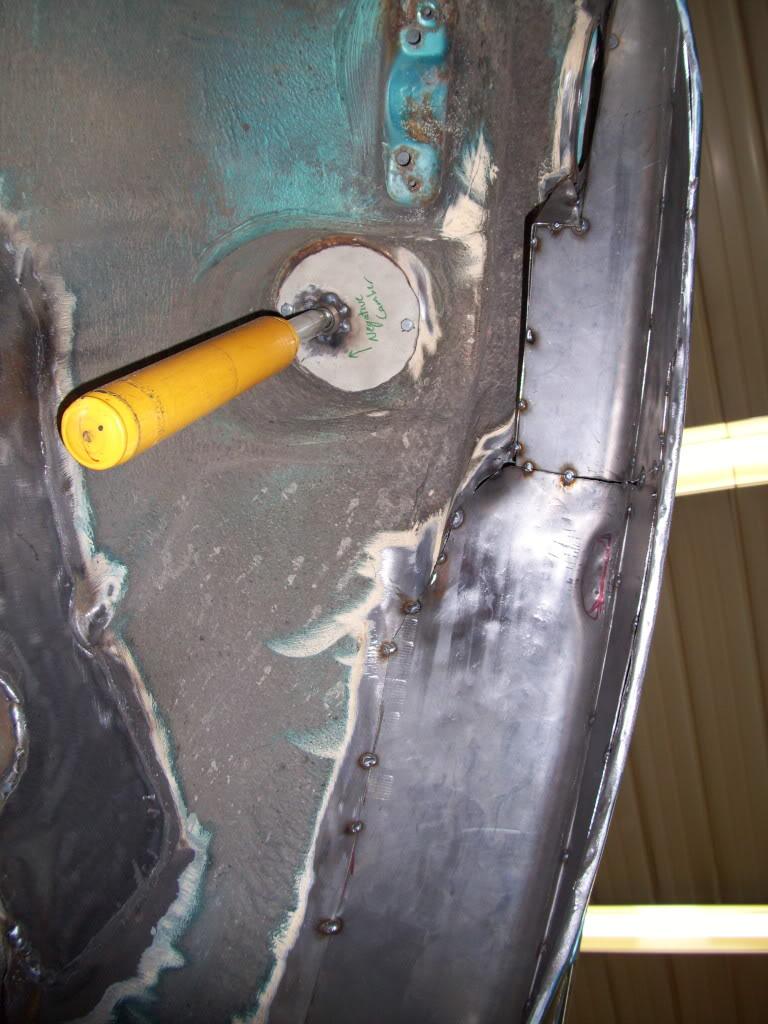
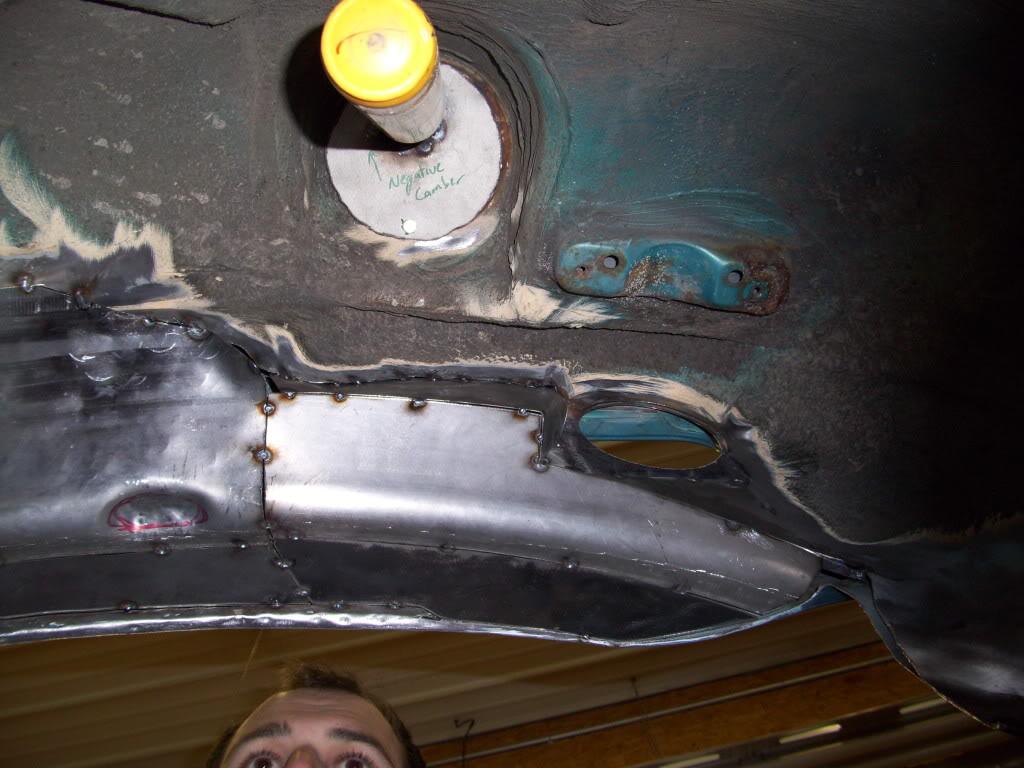
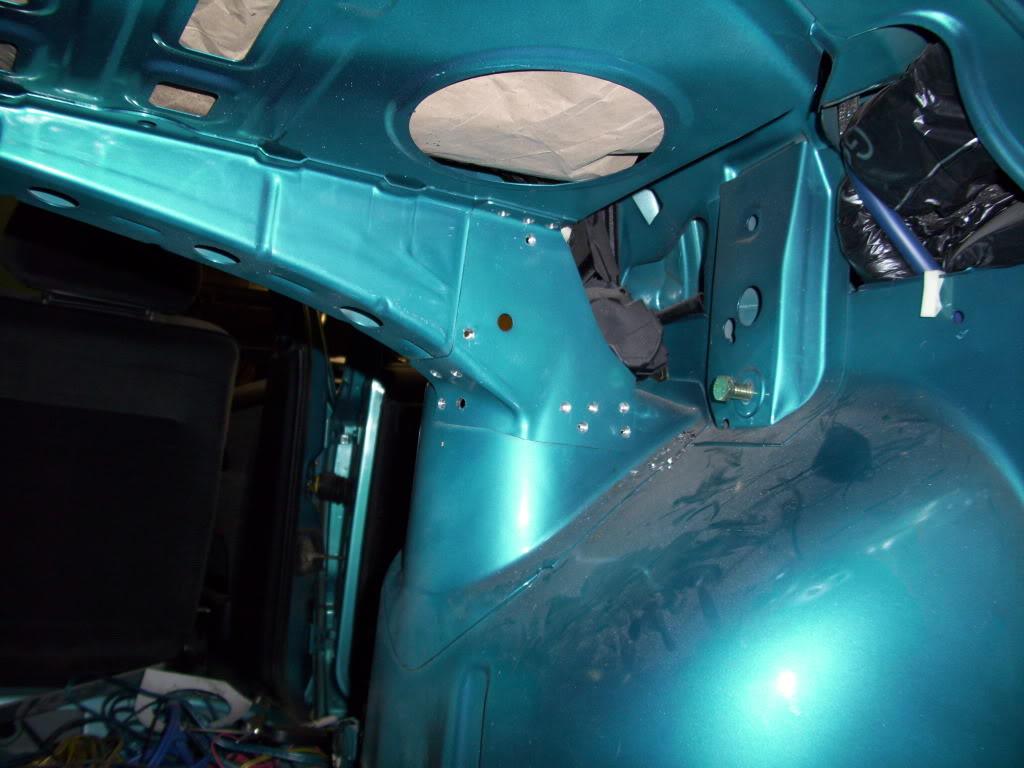
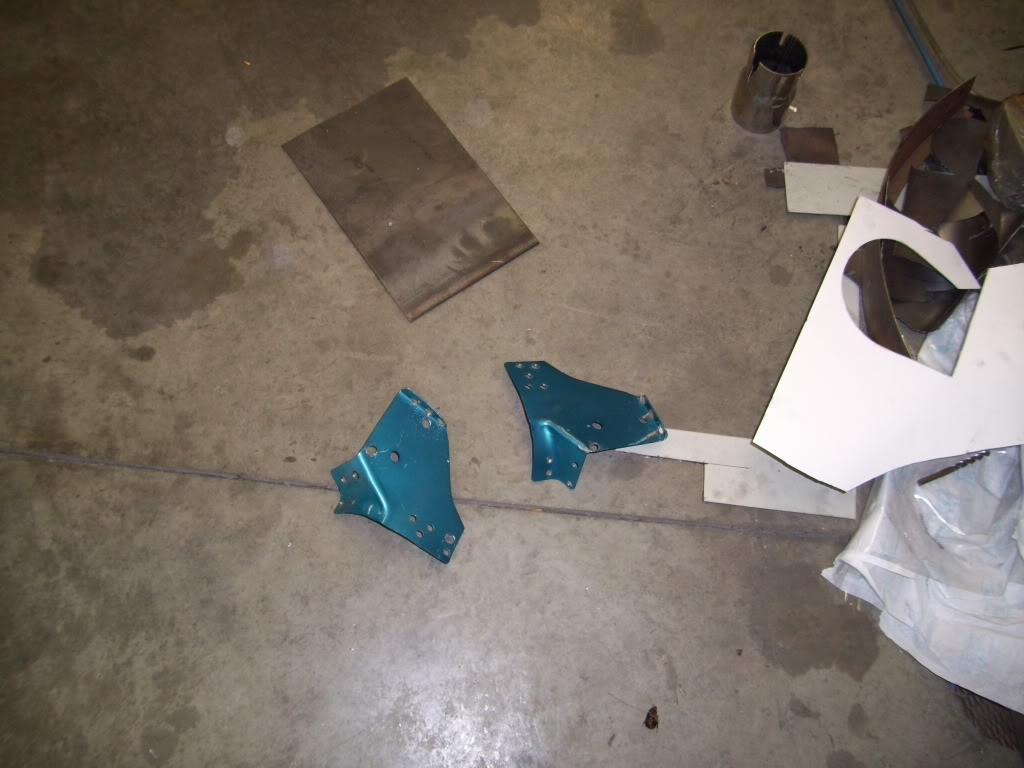
I got some Eurosport camber plates for the rear, and had to cut out the rear shelf brackets in order to weld all around the rear tower.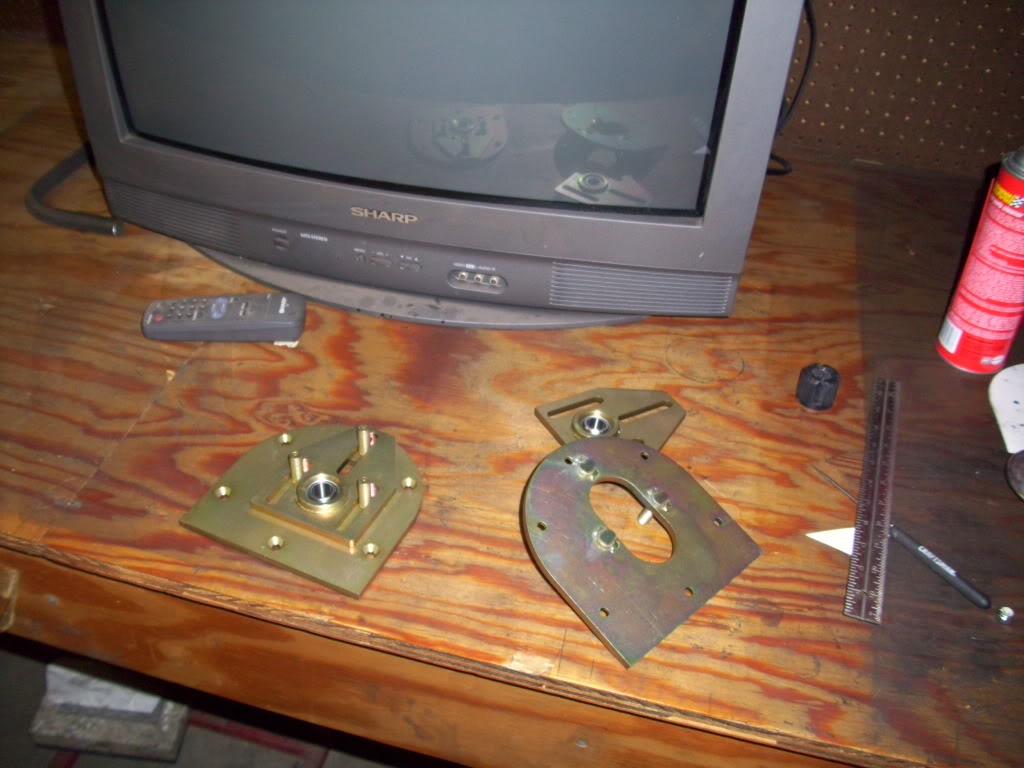
May 11, 2009
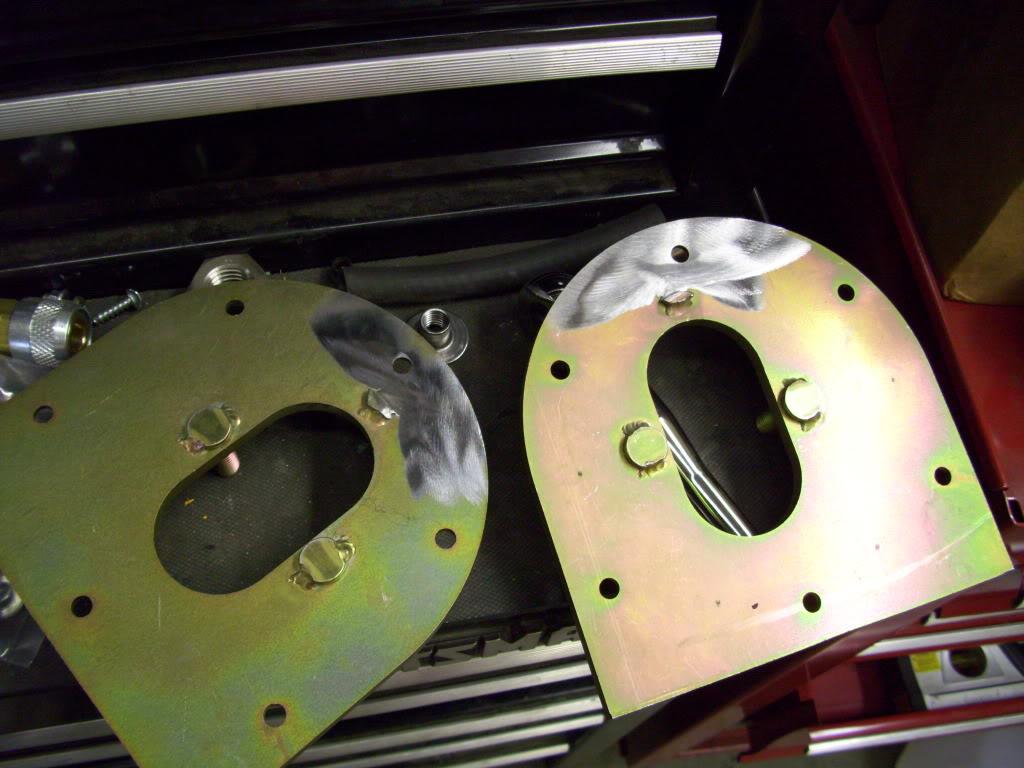
I normally don't have much bad to say, but these Eurosport camber plates aren't the greatest. I really don't recommend them at all. They work alright for the rear, since it doesn't steer, but I couldn't imagine having these in the front of a street car. These will probably be replaced with Ground Controls in the future, which are absolutely badass in all ways. These squeek and bang and are just a bad design. I had to completely modify them into what I wanted, so they turned out alright then.
I ground off the one stud and welded it flush. These are both in various states of completion
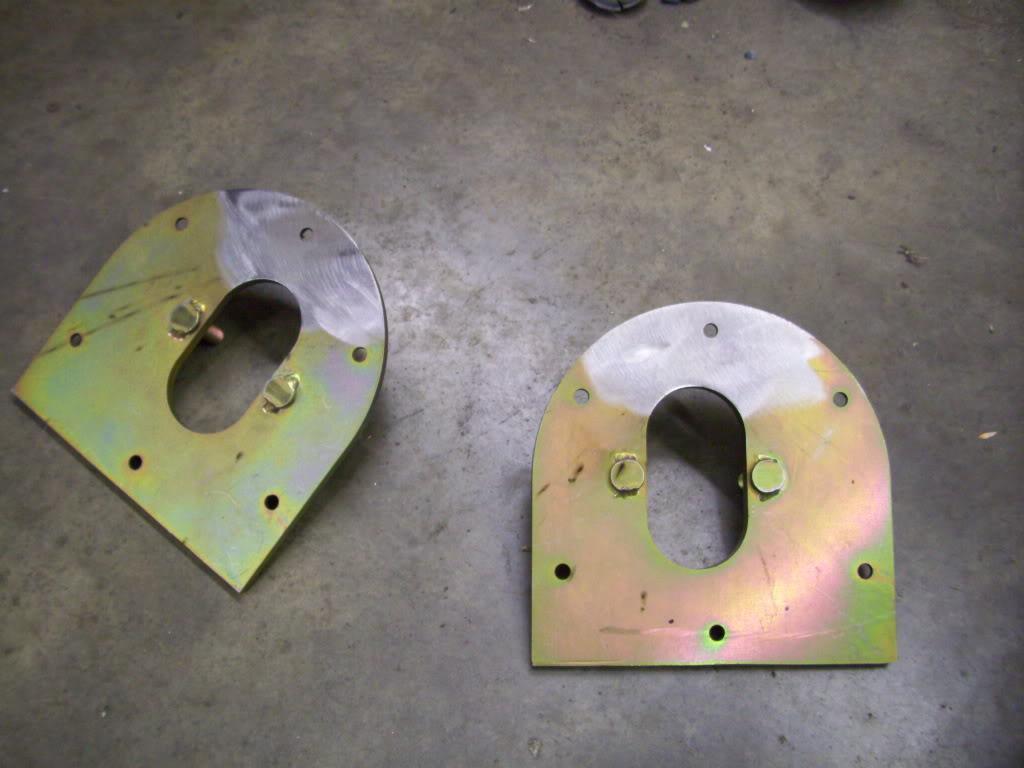
I made this steel ring, which will weld to the chassis. Then the camber plate will bolt onto this. Using a standard bolt pattern, I have the ability to rotate the camber plate in 60º increments to make it a caster plate, camber plate, or some combination of both. This allows me to fine tune the position of the rear wheel, both front-to-rear and side-to-side by changing the caster angle or SAI angle.
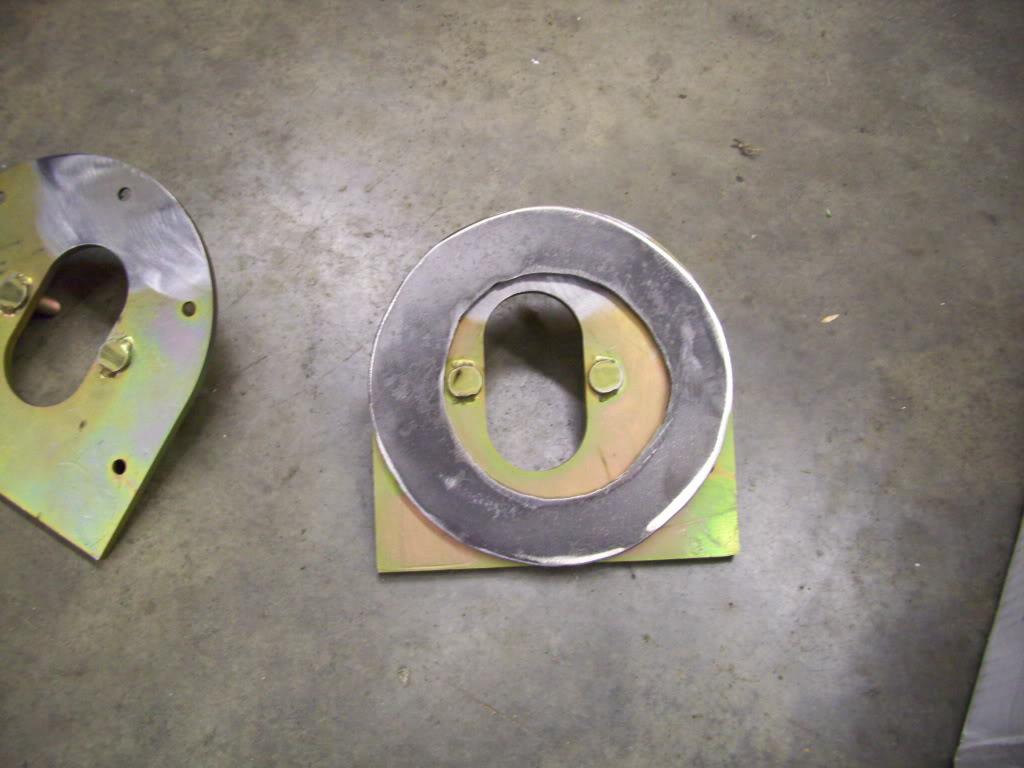
I cut the plate round for clearance.
Camber plate:

Or combination camber/caster plate just by turning it by one bolt.
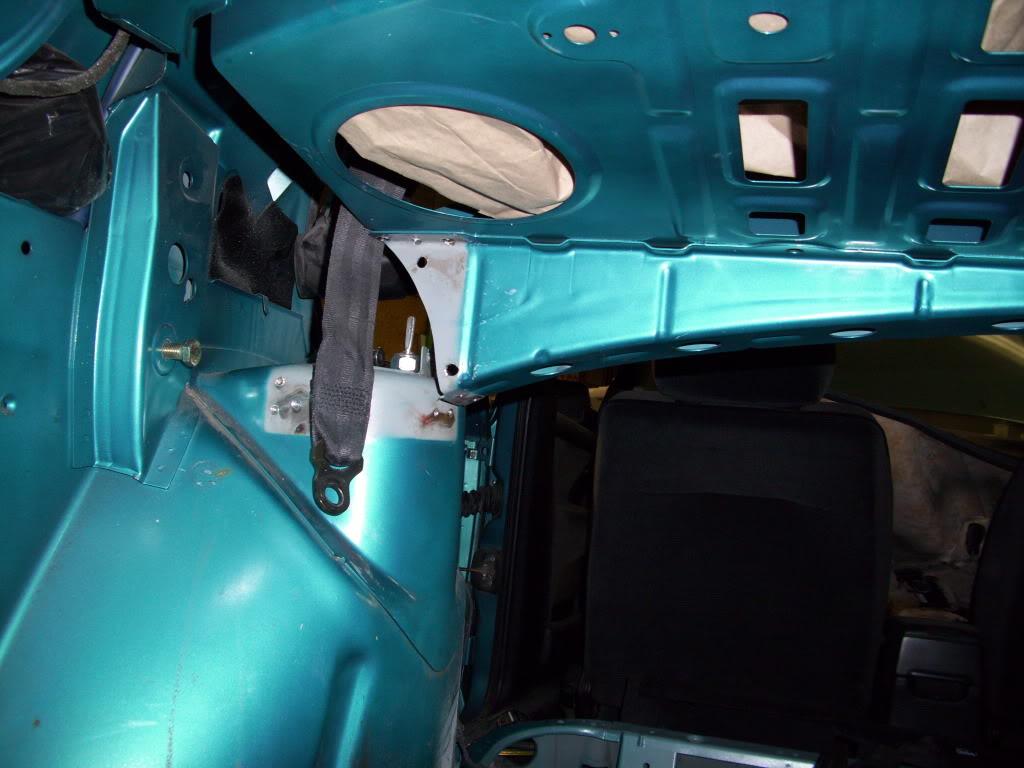
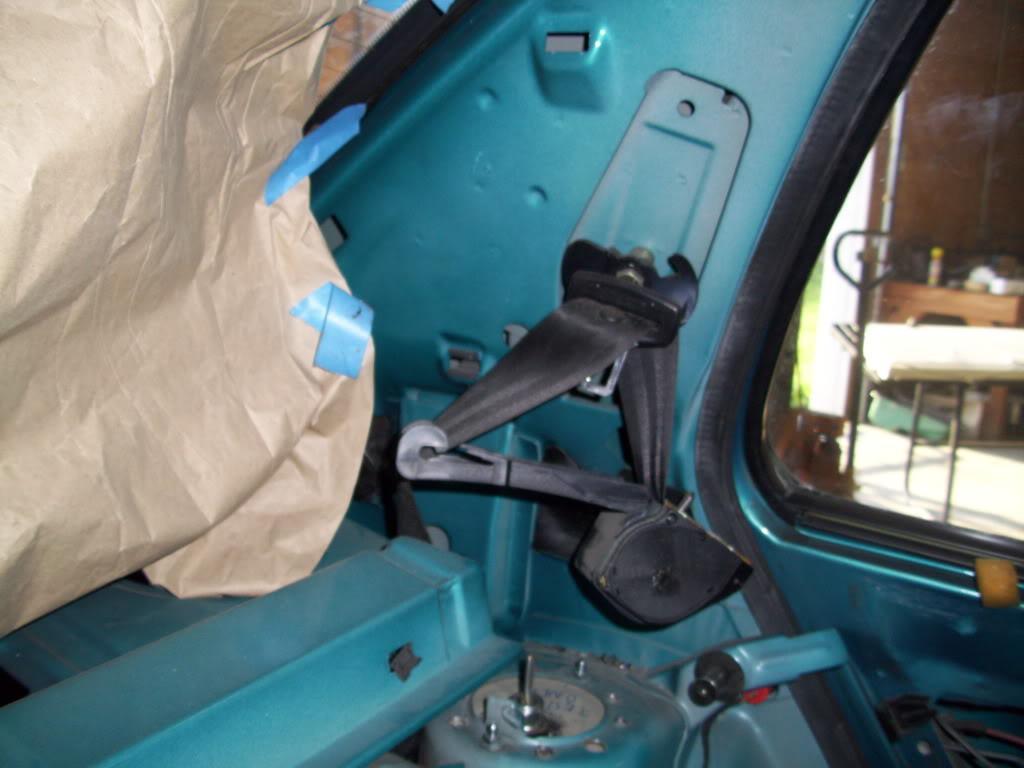
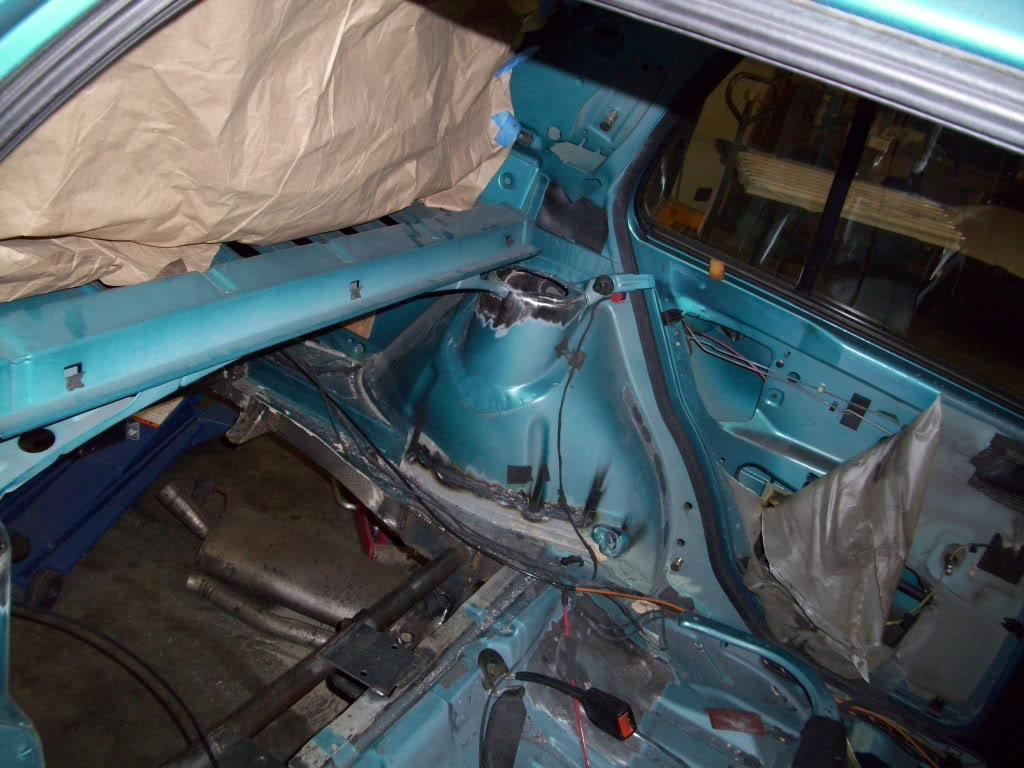
I took a bunch of pictures of hte rear seatbelts for future reference, in case I forgot how to put them back together.
May 17, 2009
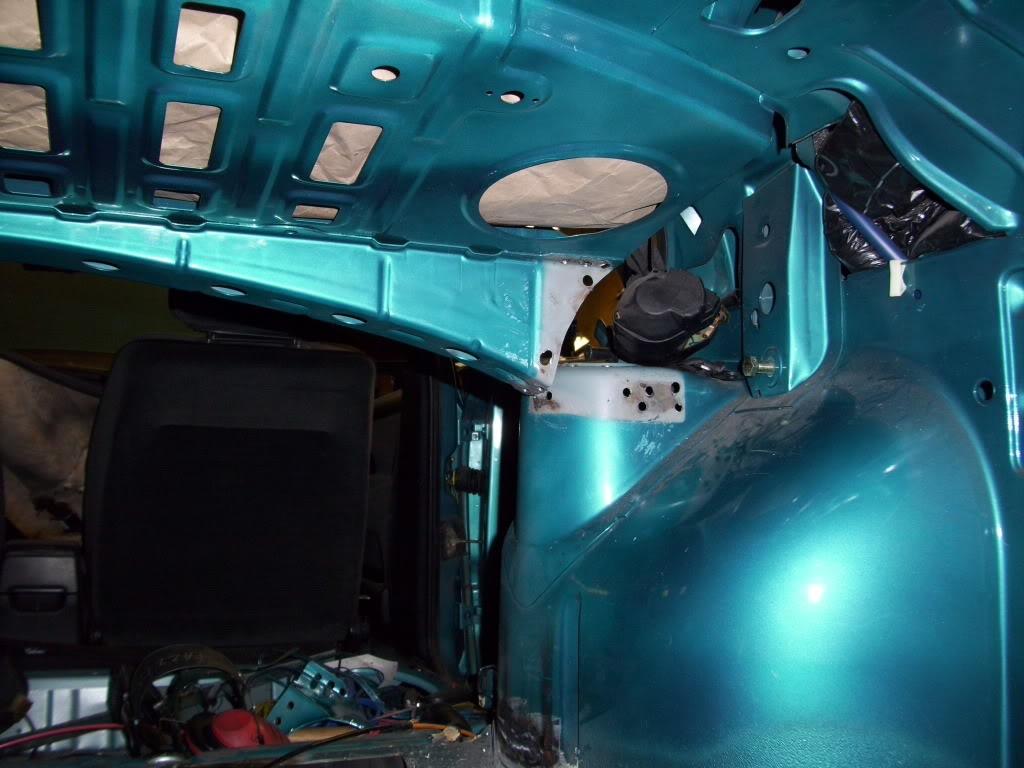
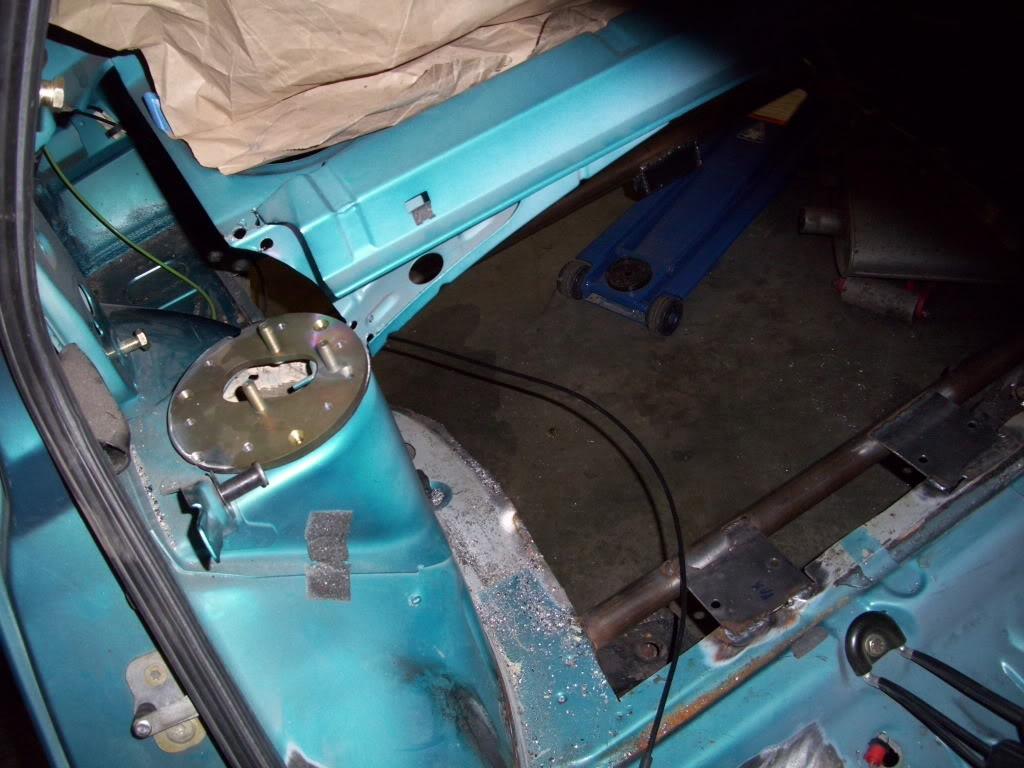
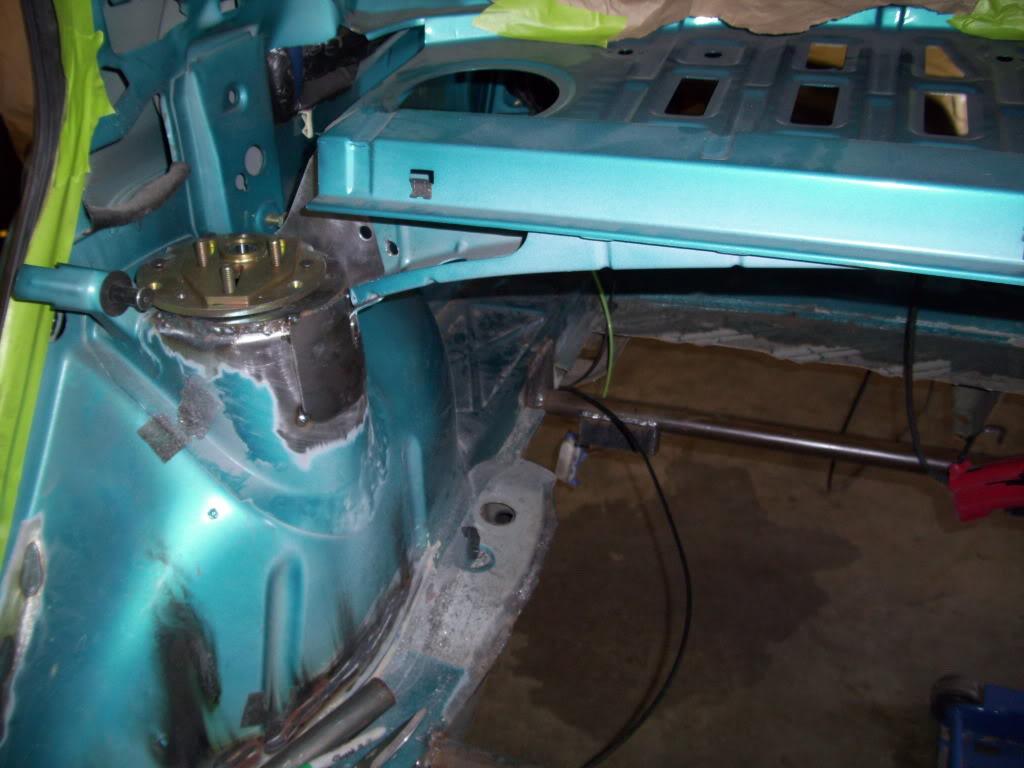
I welded the rear camber plate mounts into the towers.
Put the rear shelf brackets back in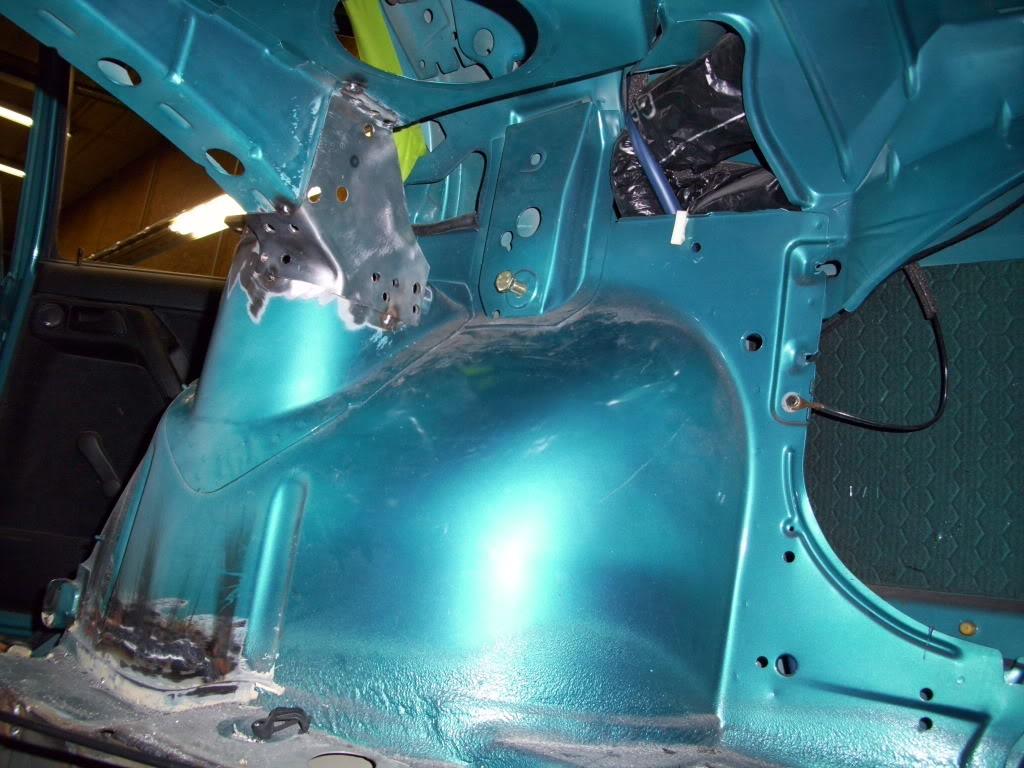
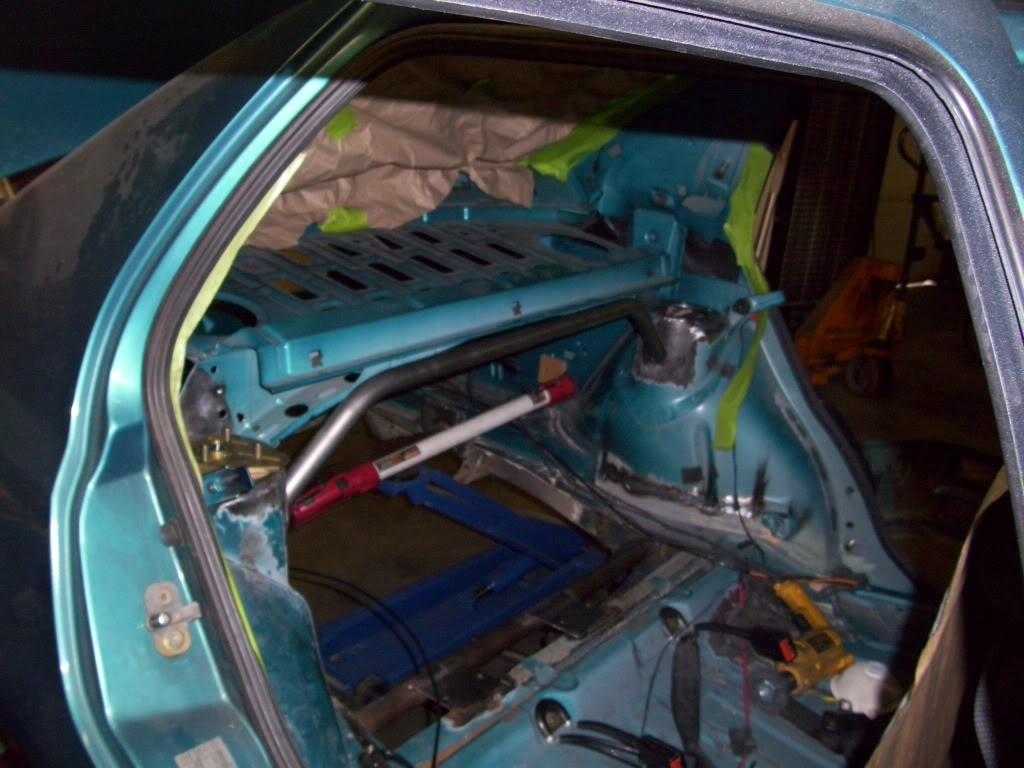
Then I welded in a strut tower brace.
First I cut a flat template, which will weld to the tower. This is 1/8" steel plate, again plating the area where tubing intersects the unibody steel to spread out the load.
Then I roughed it into shape with a sledge.
Stop! Hammertime.
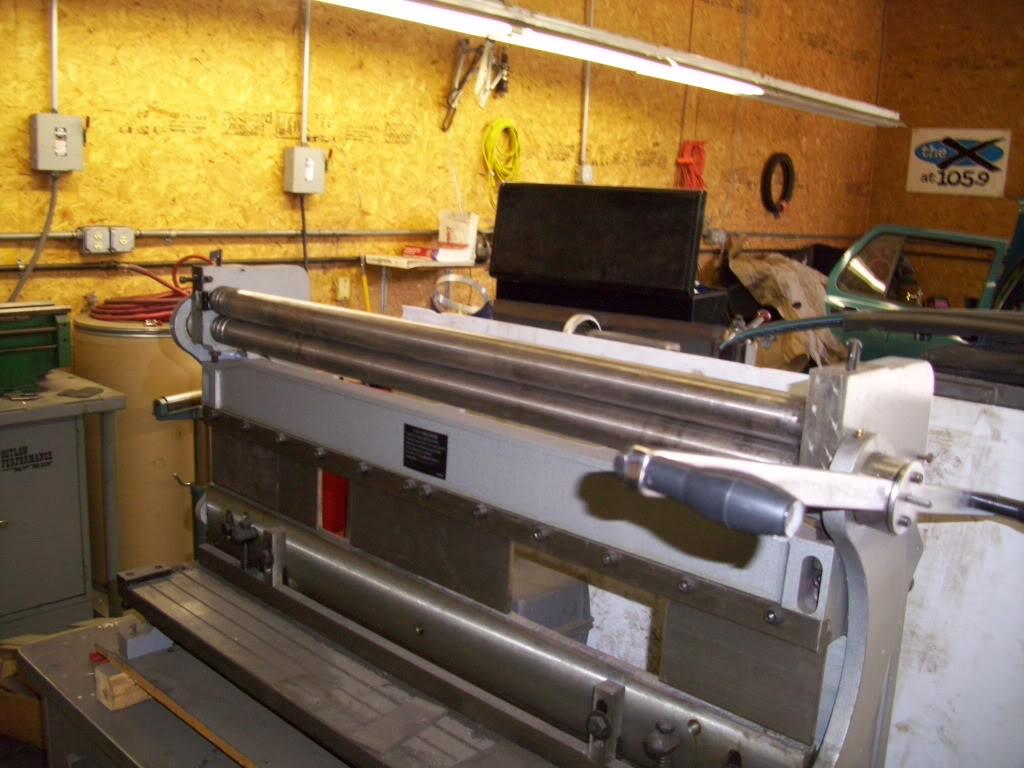
Then I cleaned up the hammer marks and got a uniform curve in the slip roll. The rolls aren't strong enough to curve the 1/8" steel in one shot without the hammering.
Perfect fit!
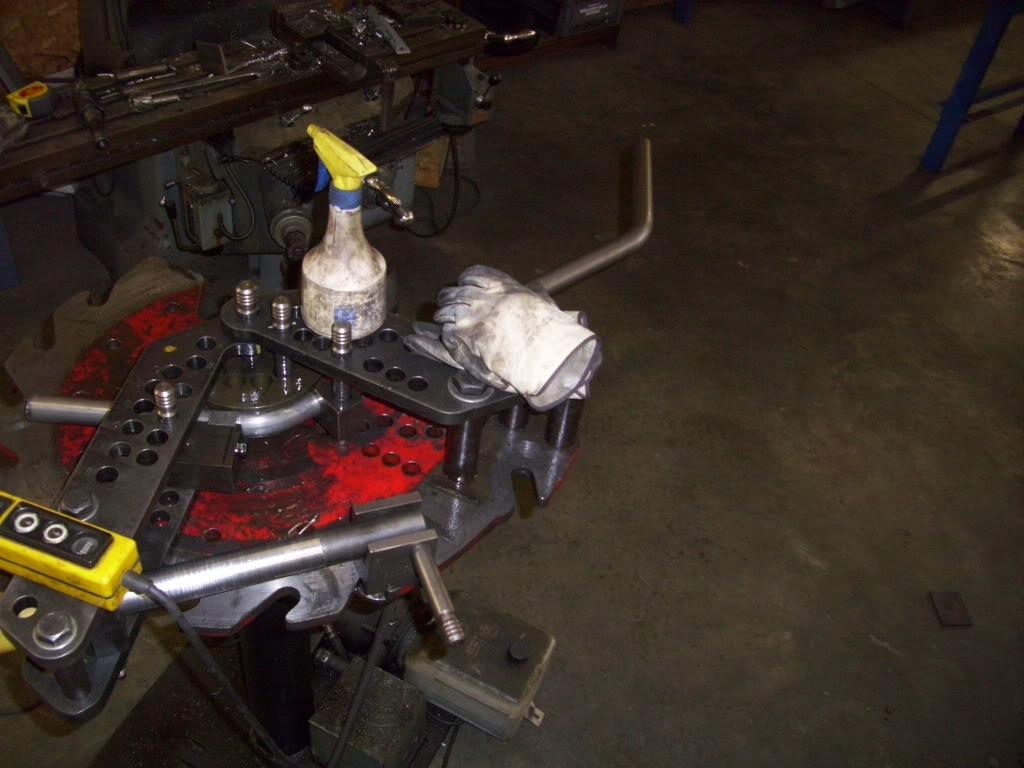
I fired up the tubing bender, and made a tower brace to roughly match the curve of the stock rear shelf. I couldn't match it exactly, but I did two bends.
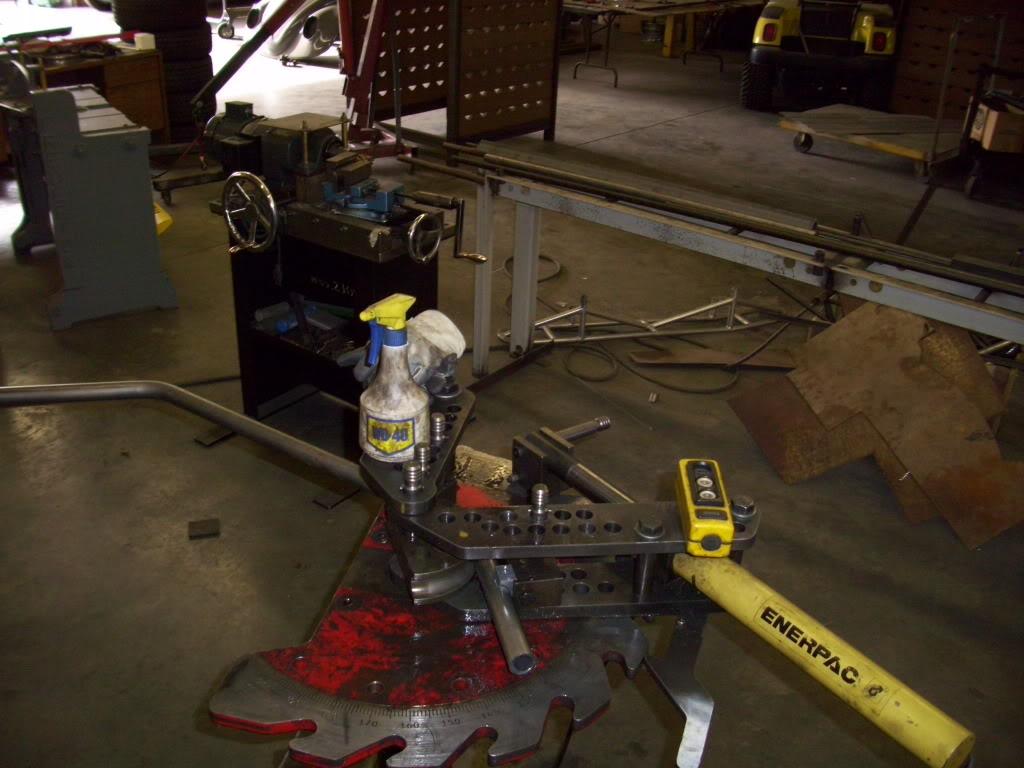
I didn't like the first one, the angle was too low on the strut tower
So I bent up another one
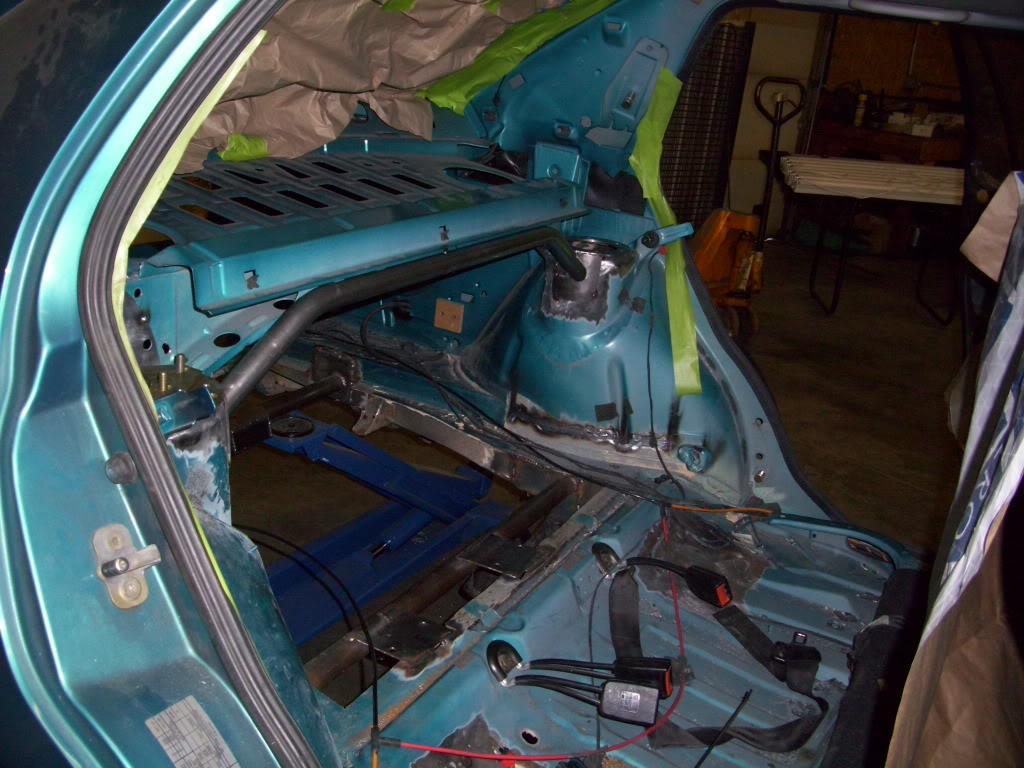
The angle matched good enough that with carpeting, this will all be hidden. Keep all the wild stuff under the skin.
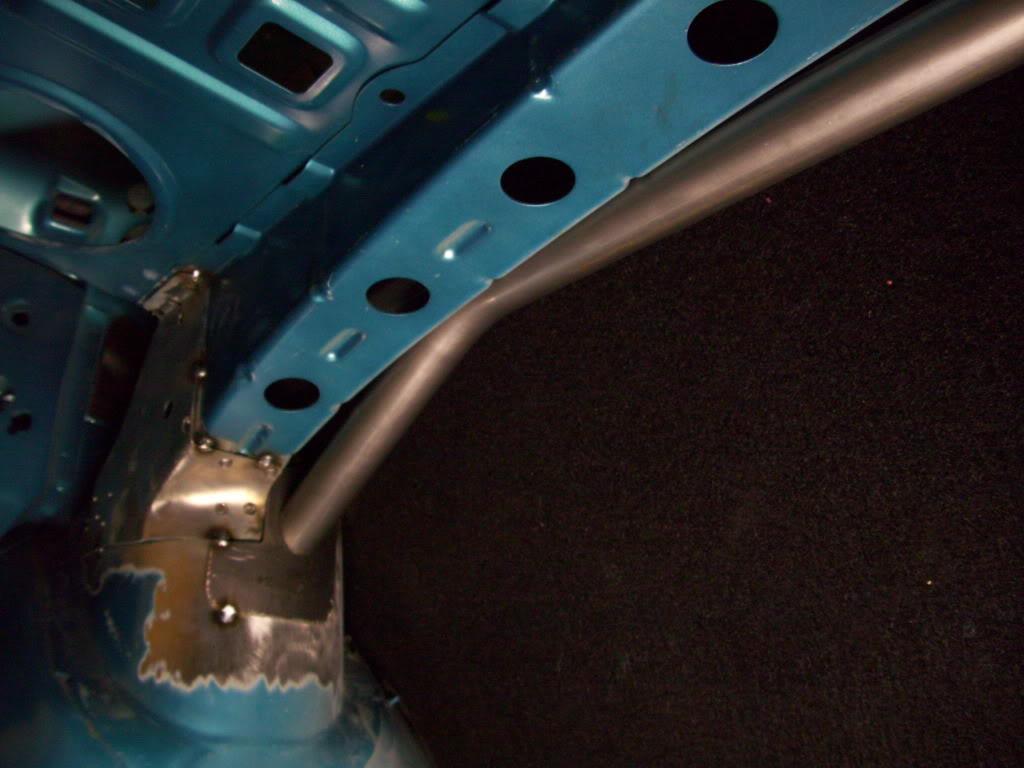
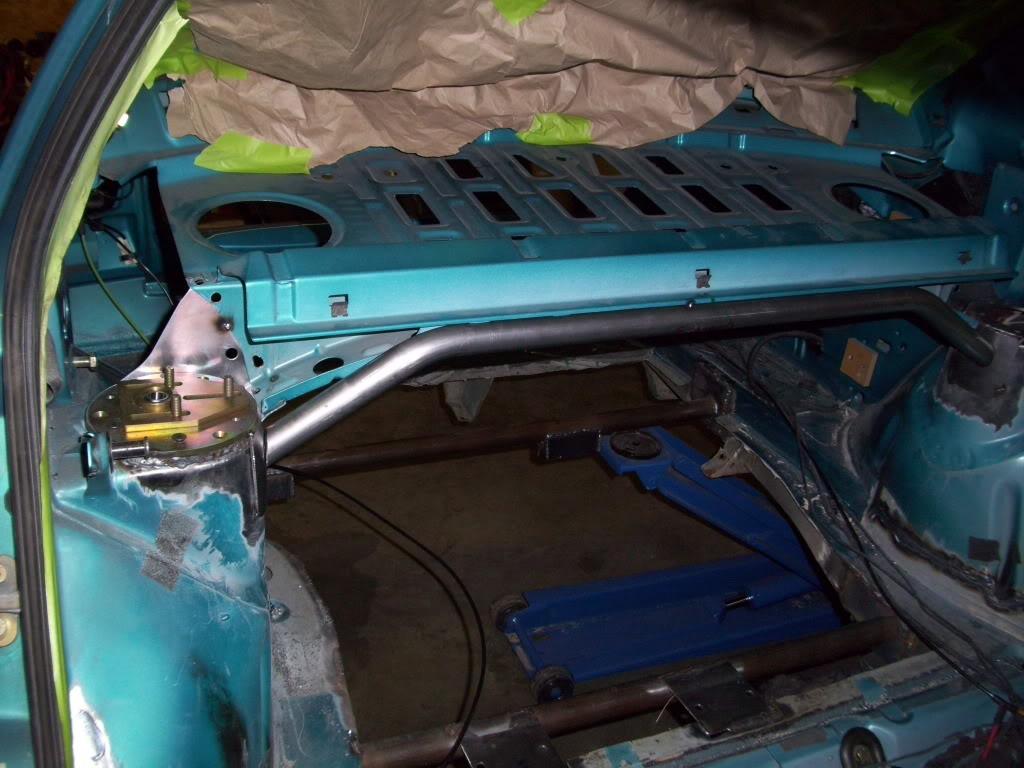
The brace will be welded to the rear shelf to maximize the stiffness of the whole unit. It was kept close so I could weld right to it without additional plates.

Nice build! Great photos and detail ????
Posted by Diggymart on 4/23/19 @ 12:52:48 PM