You must be logged in to rate content!
7 minute(s) of a 341 minute read
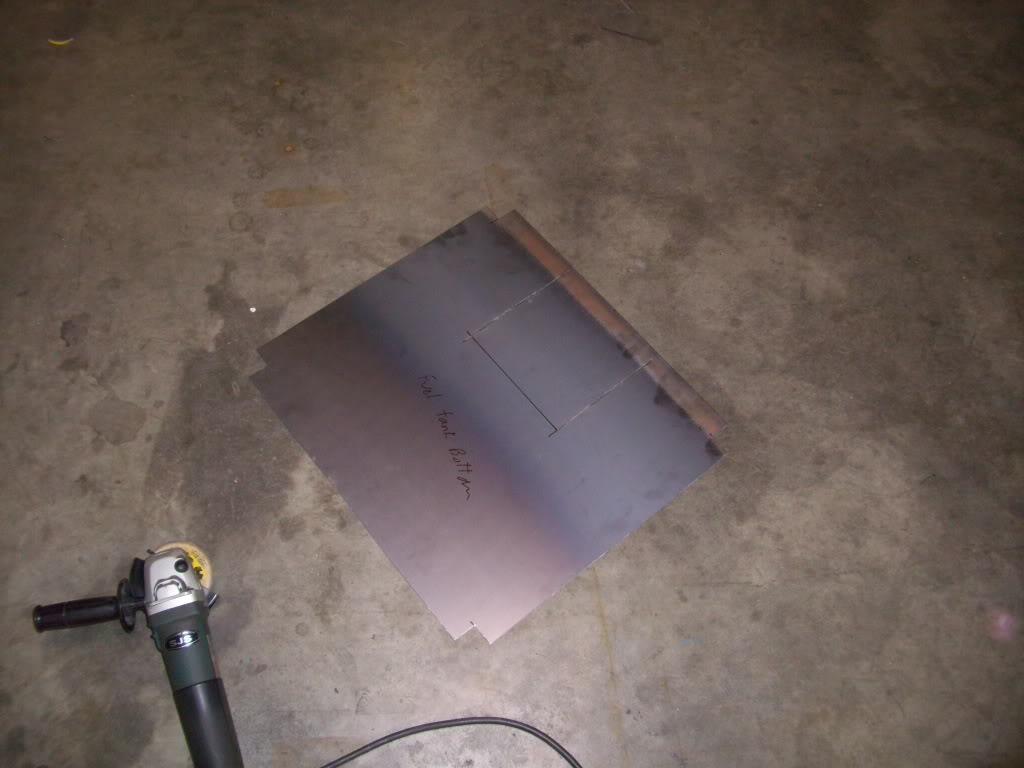
4-7-2009
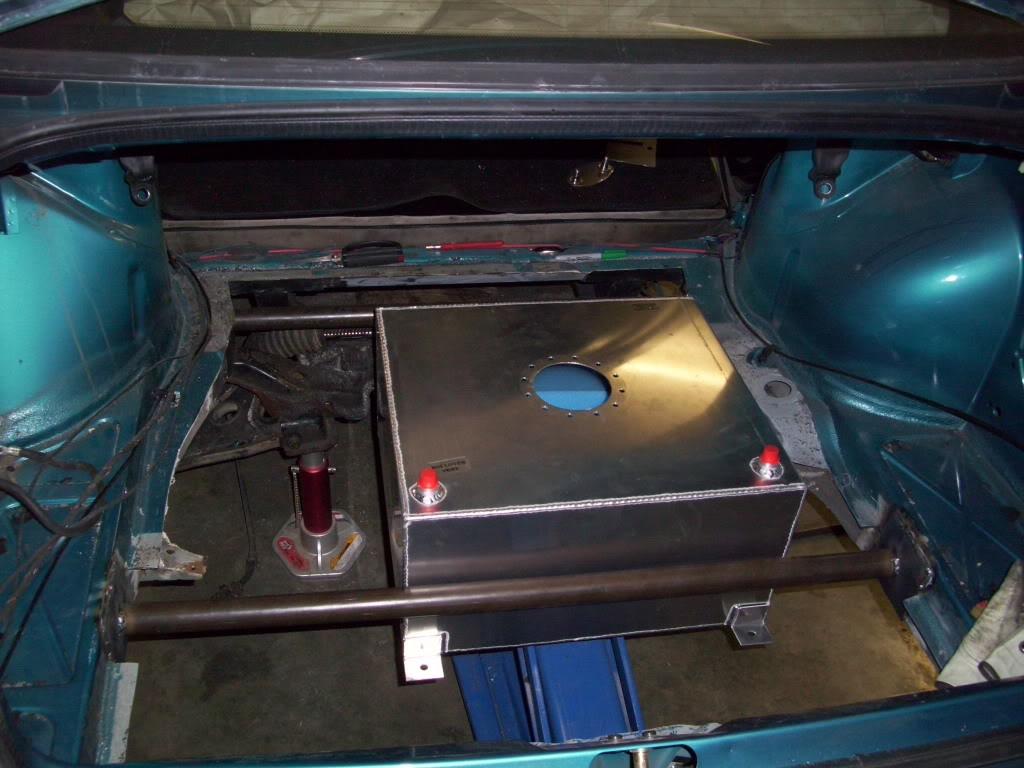
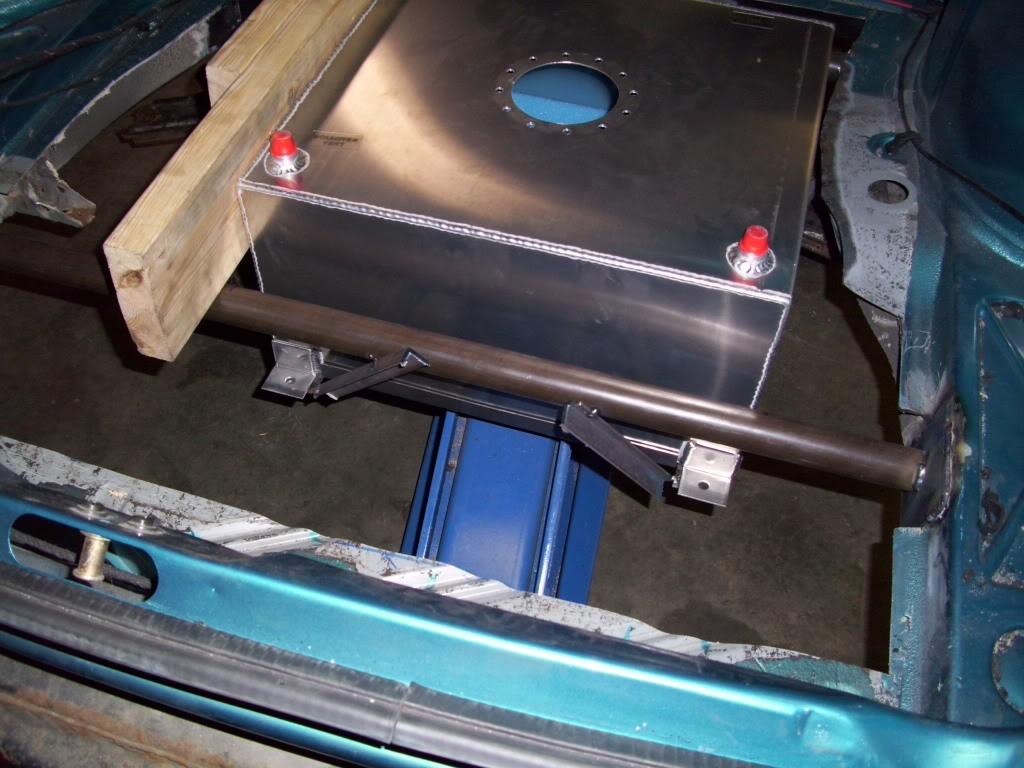
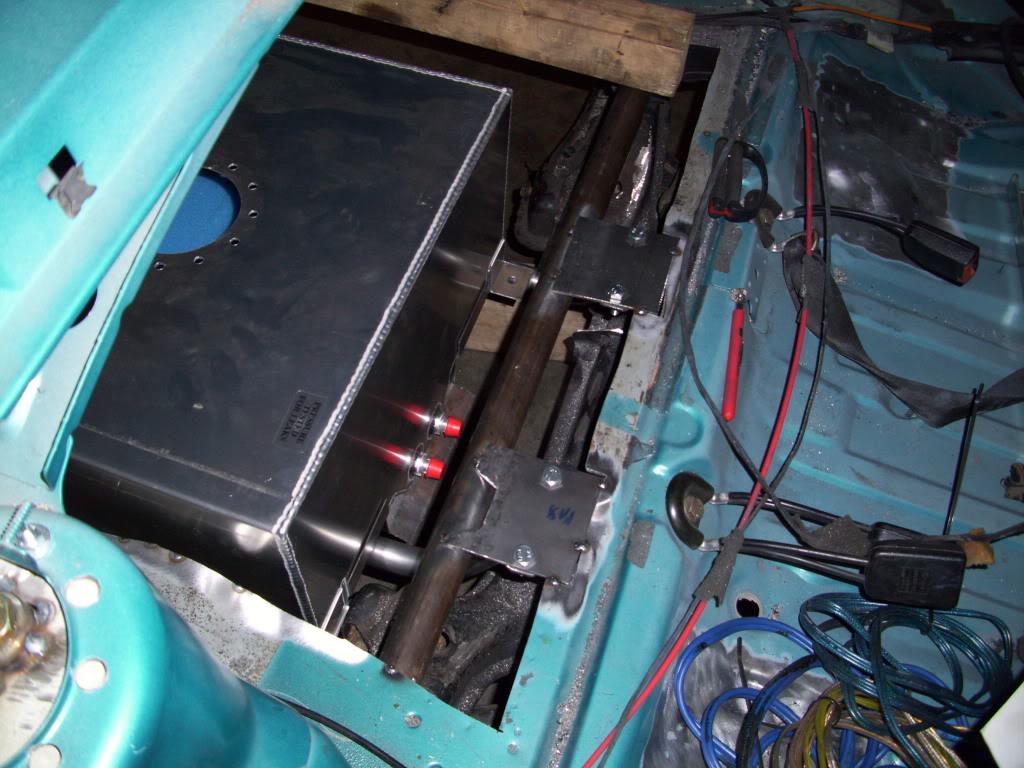
I began fabbing the fuel tank mounts. The plan is to have two long bent tubes which hang from the forward and rearward crossmembers and loop under the tank, which will provide both support and protection.
April 9, 2009
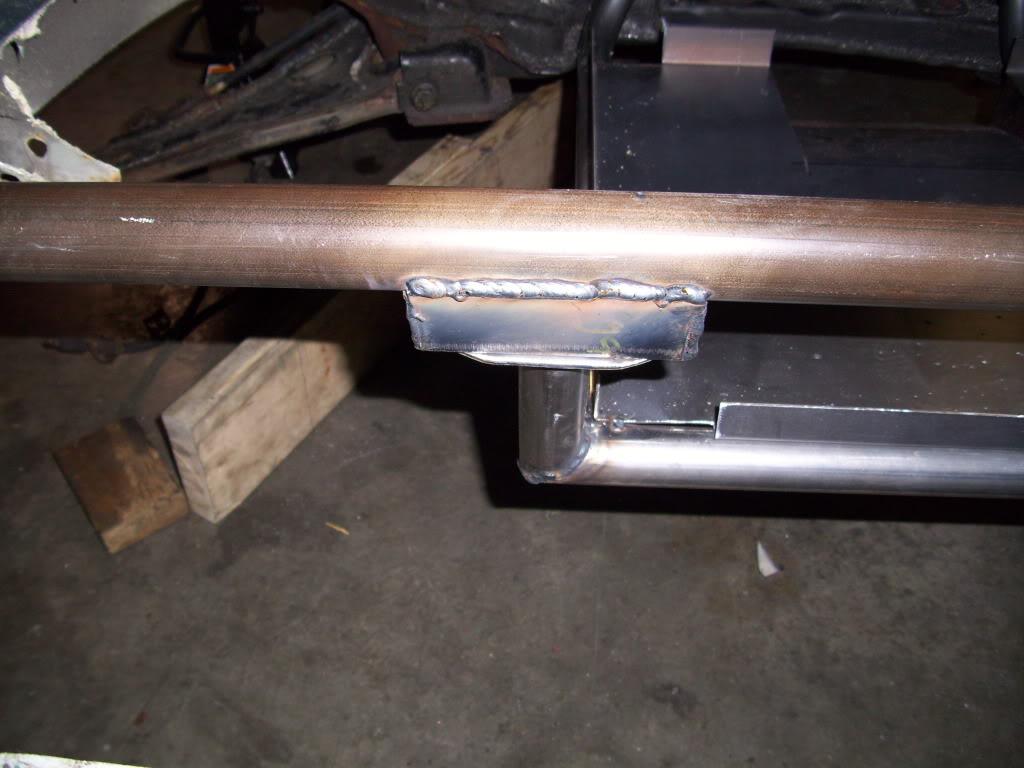
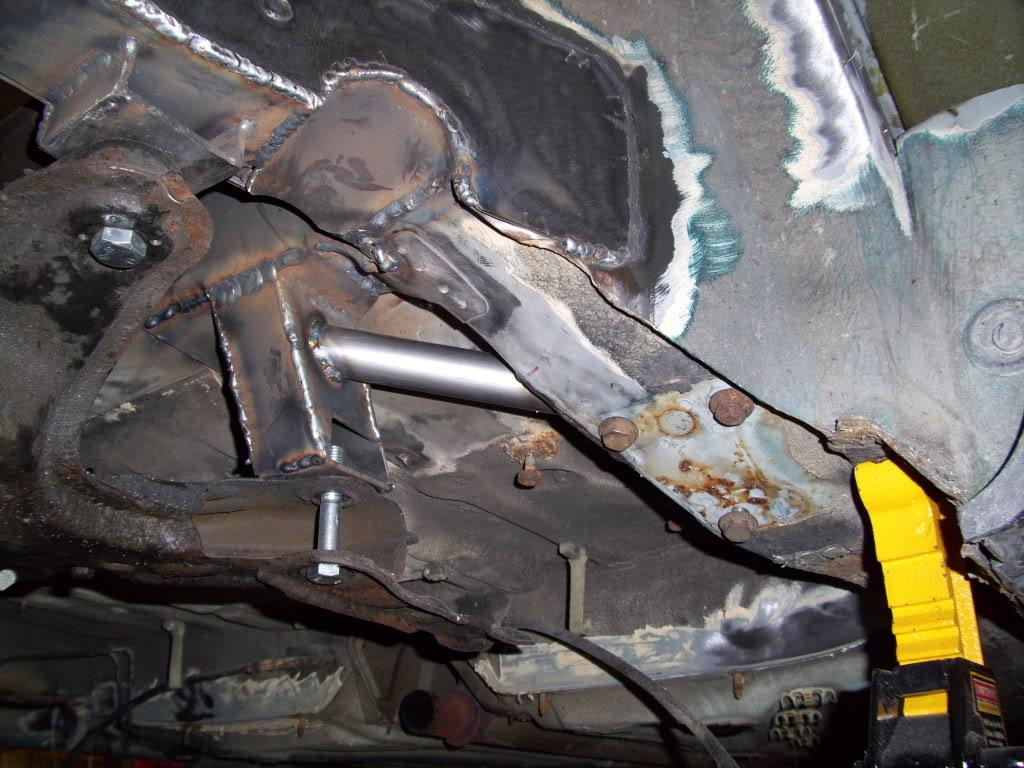
More tank mounting fab. These are the mounts which will mount to the crossmember and the plate that will go under the cell.

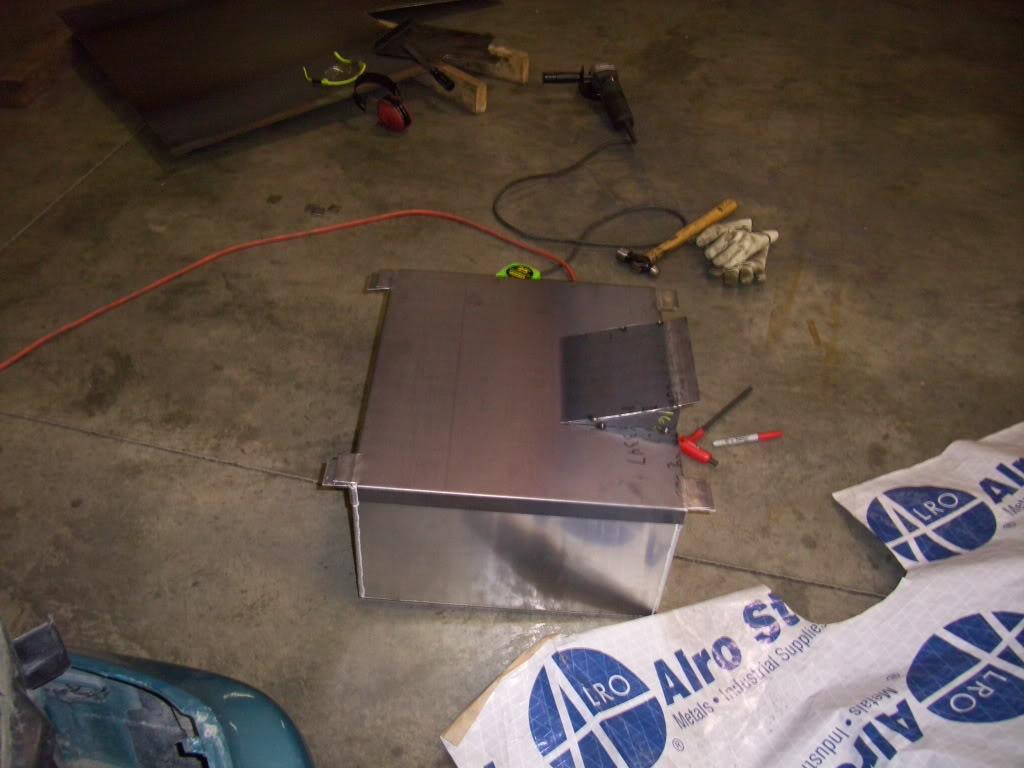
I tacked in some temporary mounting bars to hold the tank perfectly parallel to the trunk floor while I made the bars below.
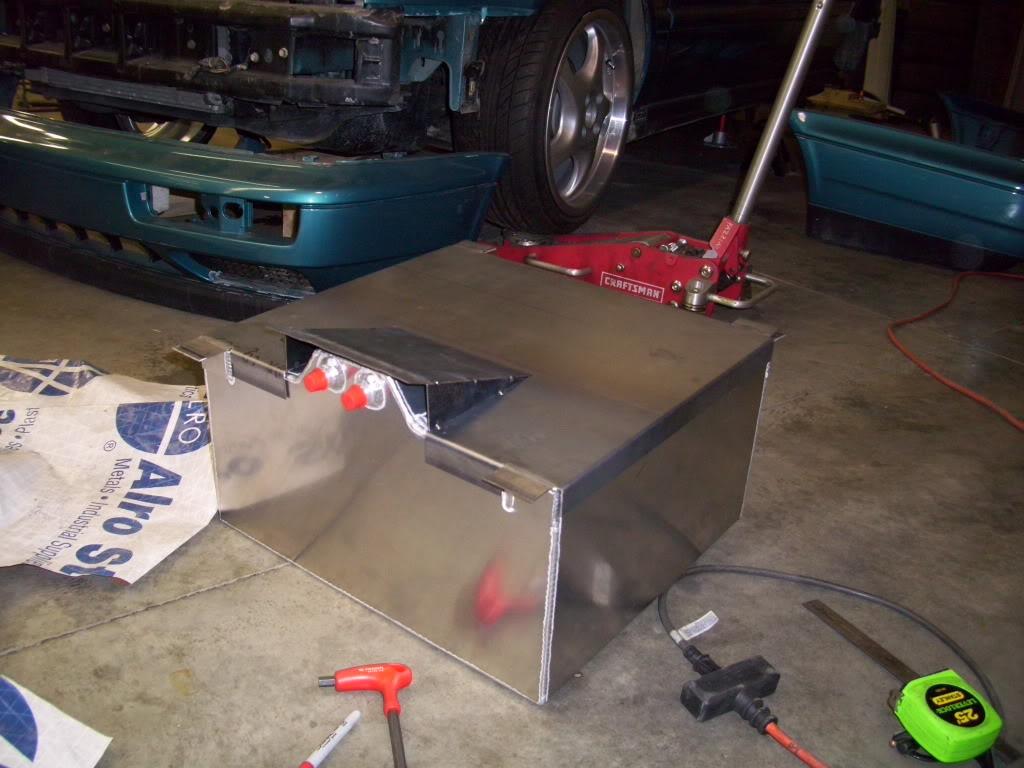
April 11, 2009
Before permanently destroying the stock tank, I decided to run the motor one more time. This would allow me to track down any problems ASAP, so if I had a problem when the fuel cell was in I would know it was the fuel cell and not the other stuff.
I had the fuel cell laying on the floor with hoses everywhere and no exhaust... this was pretty sketchy
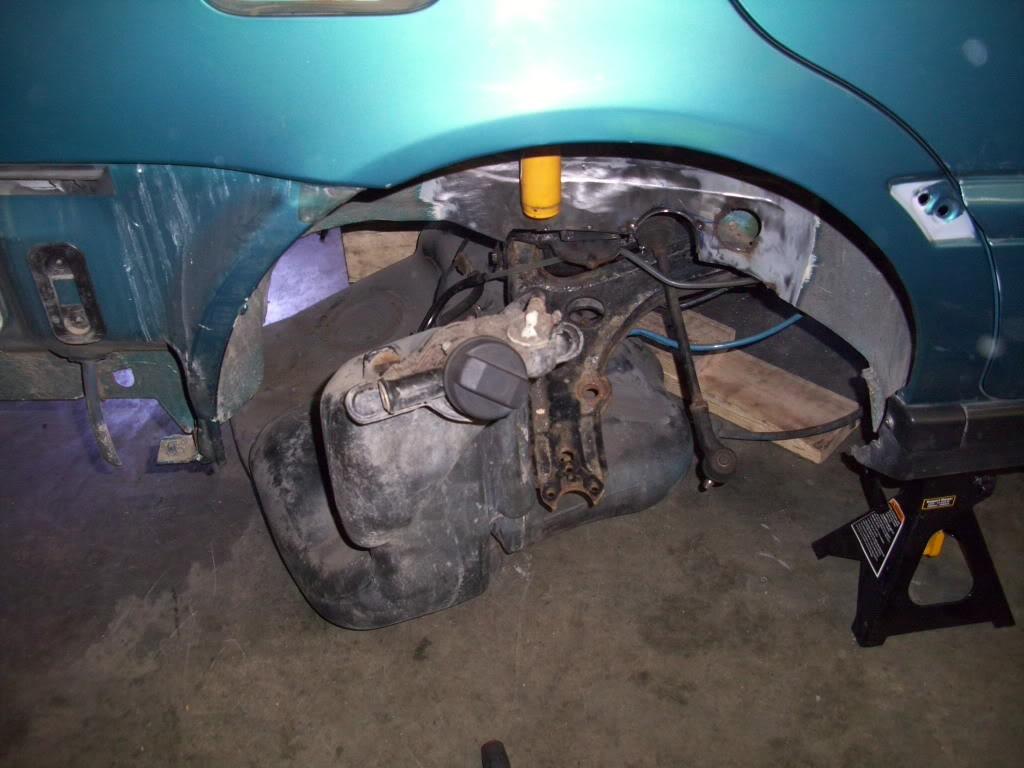
But the motor ran! For the last time until August!
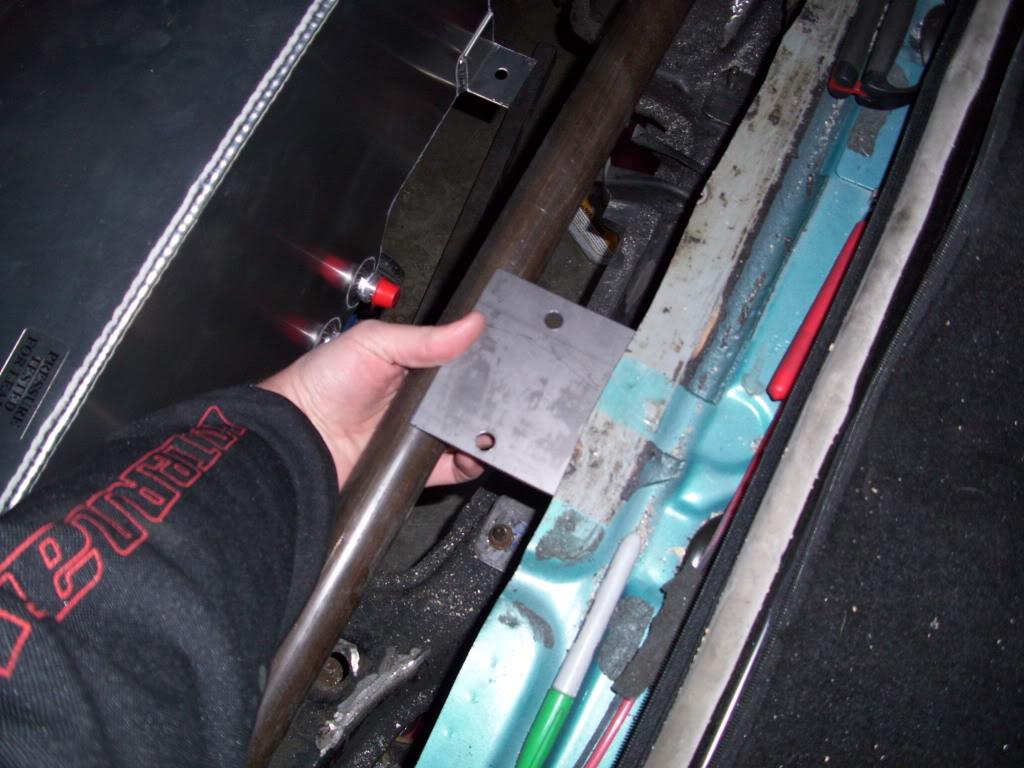
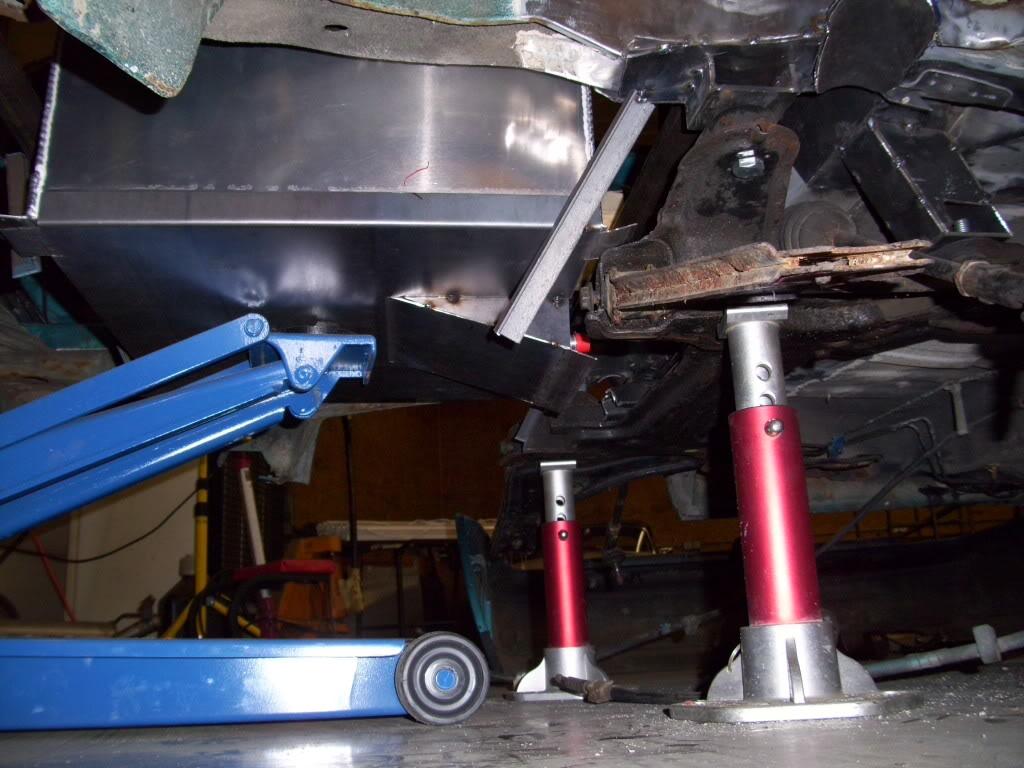
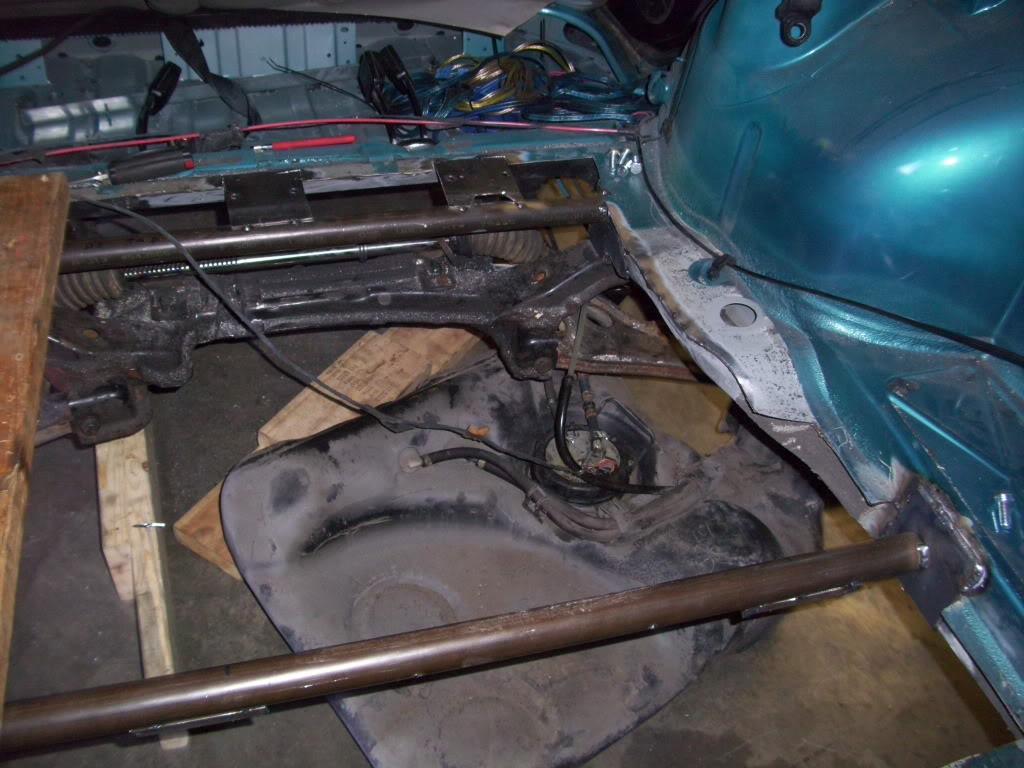
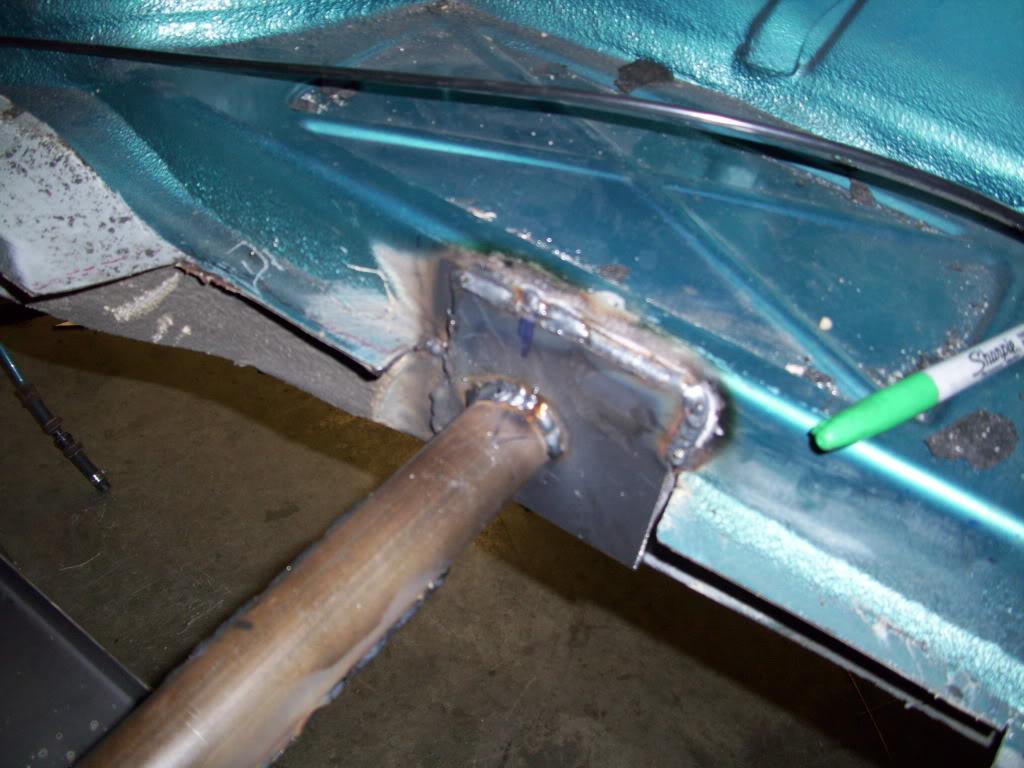
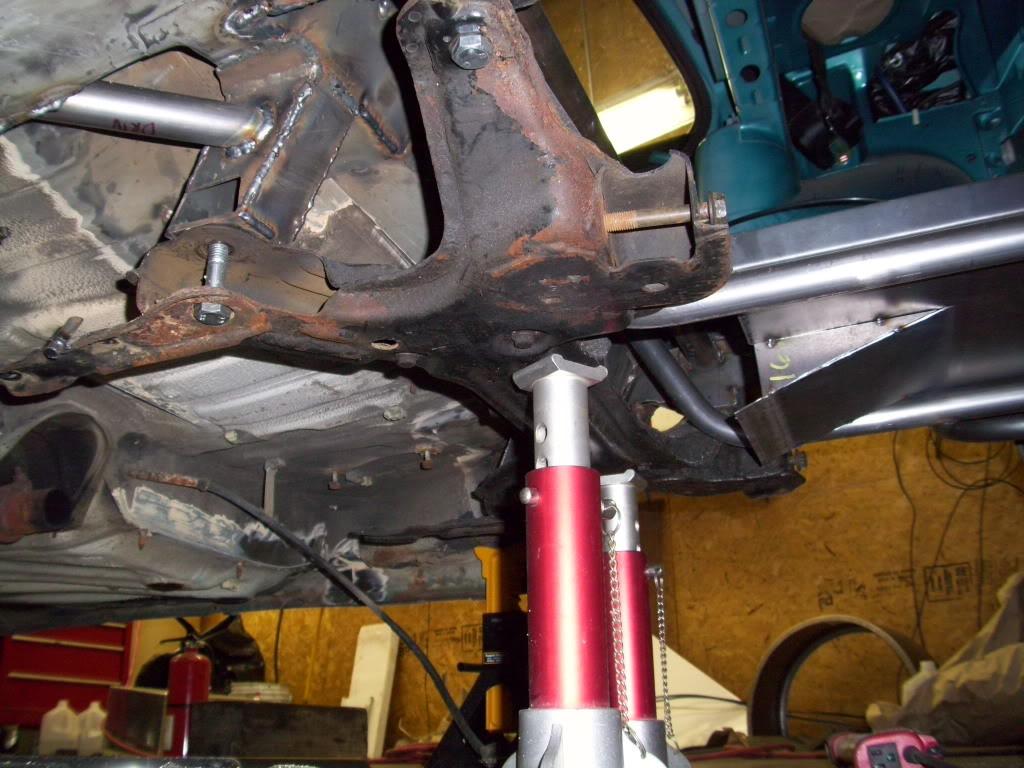
Then I built the cradle for under the fuel cell.
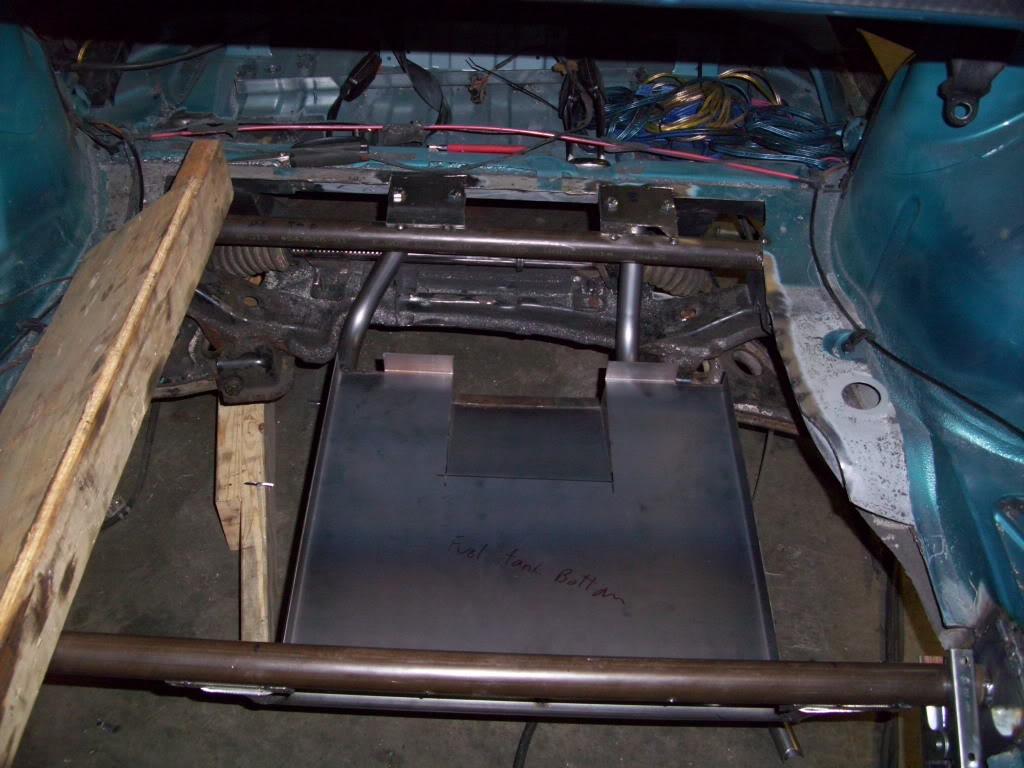
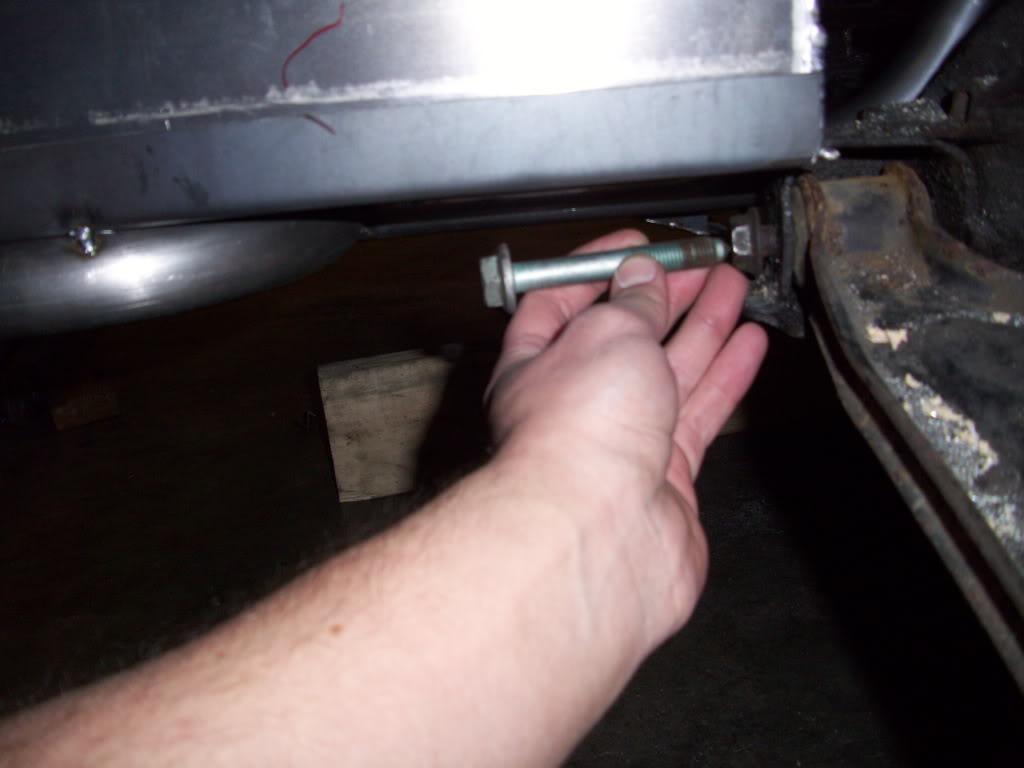
I added the little loopy thing in that last pic so I could remove the control arm bolt without dropping the tank.
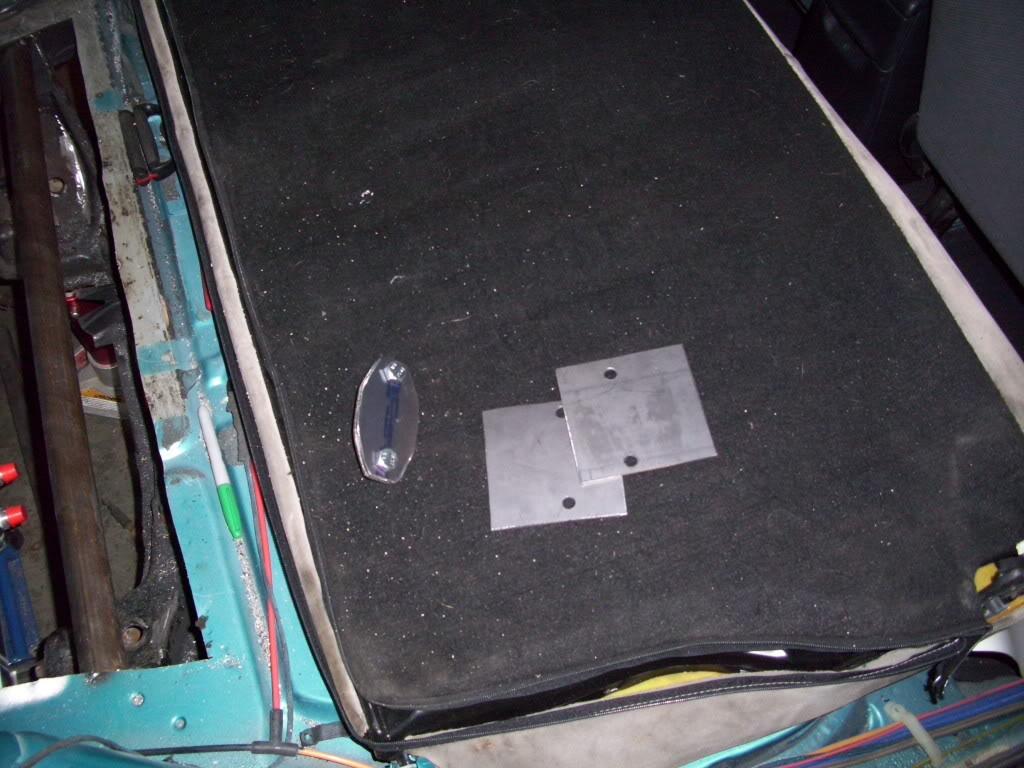
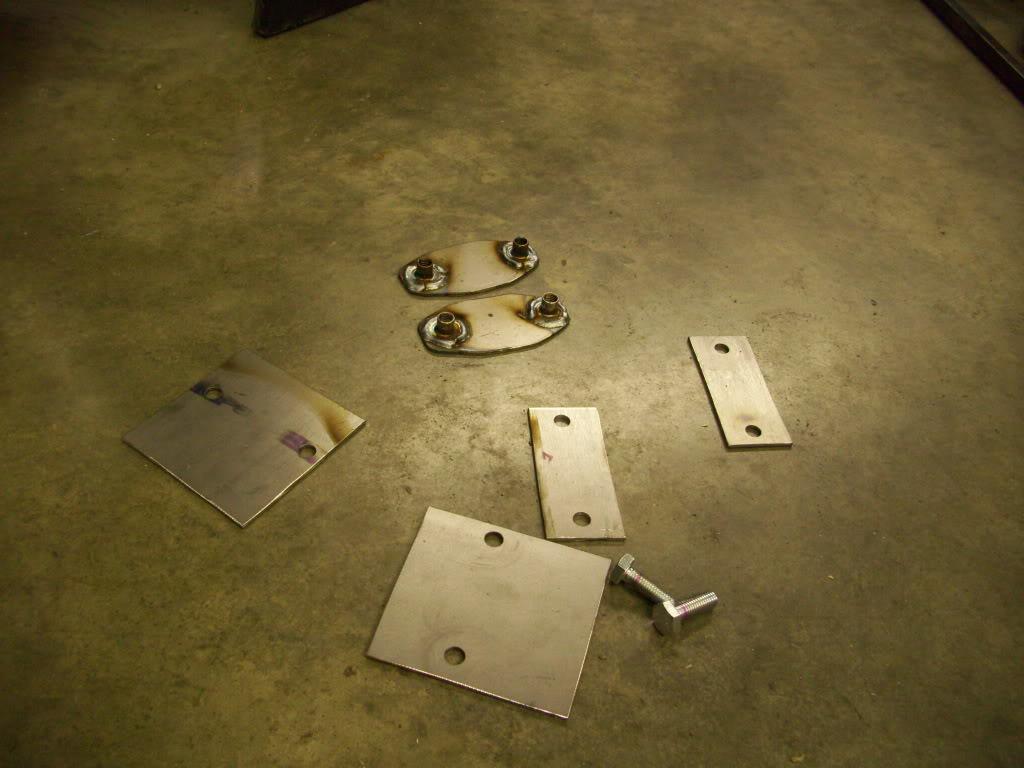
April 13, 2009
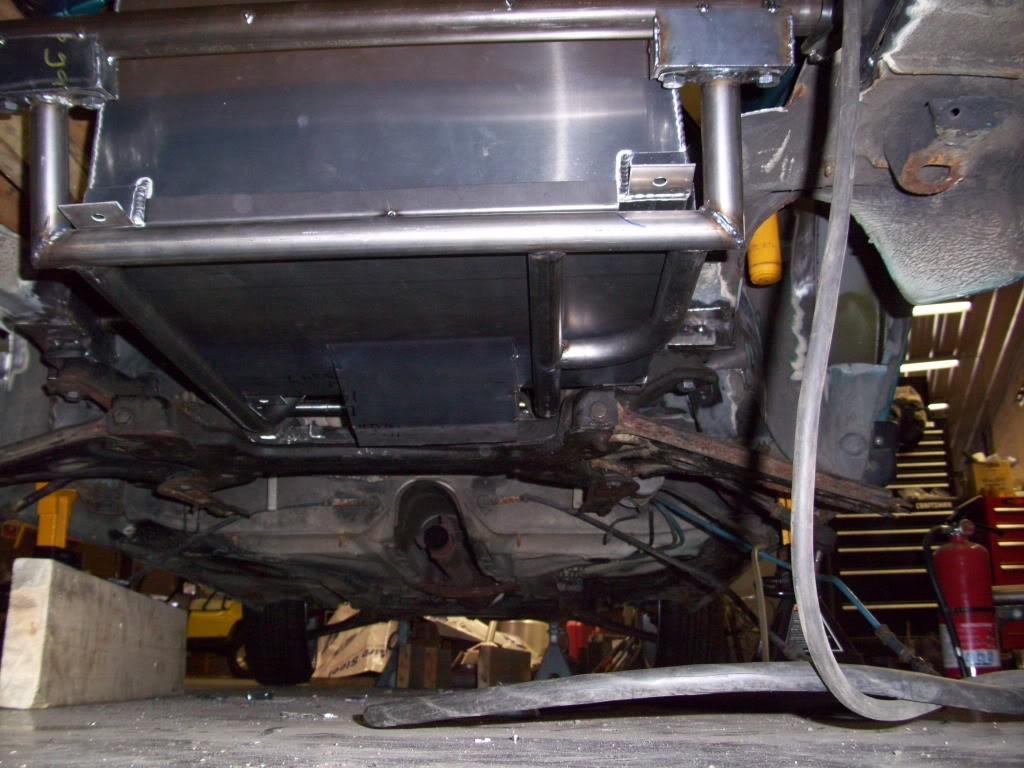
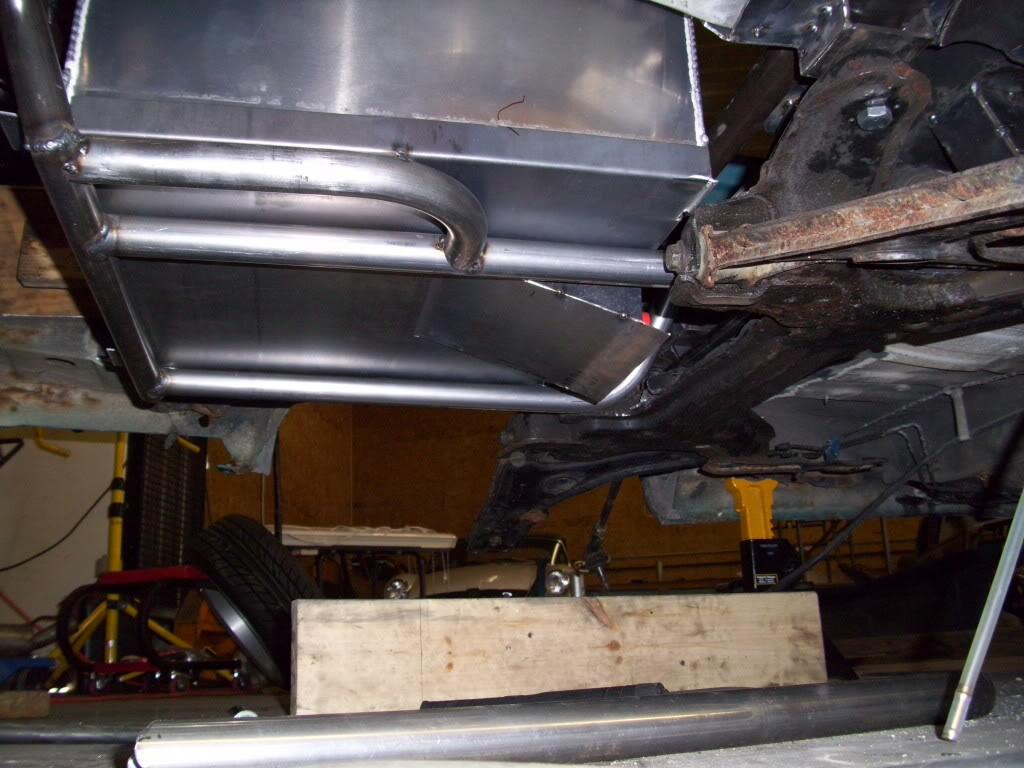
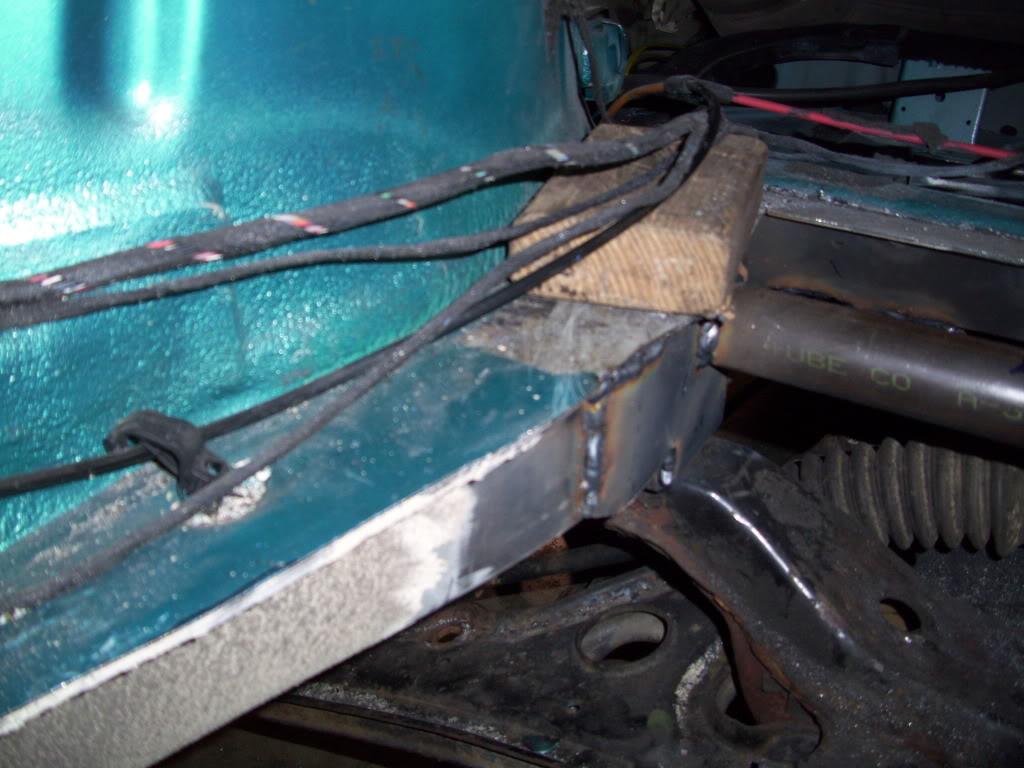
Apparently these Summit tanks aren't very flat on the bottom
though I screwed up the cradle, but the tank was so warped it didn't sit flat. This was fixed later.
I mostly just did some (crappy) welding this day
Seam welded some parts of the trunk floor which was removed

April 20, 2009
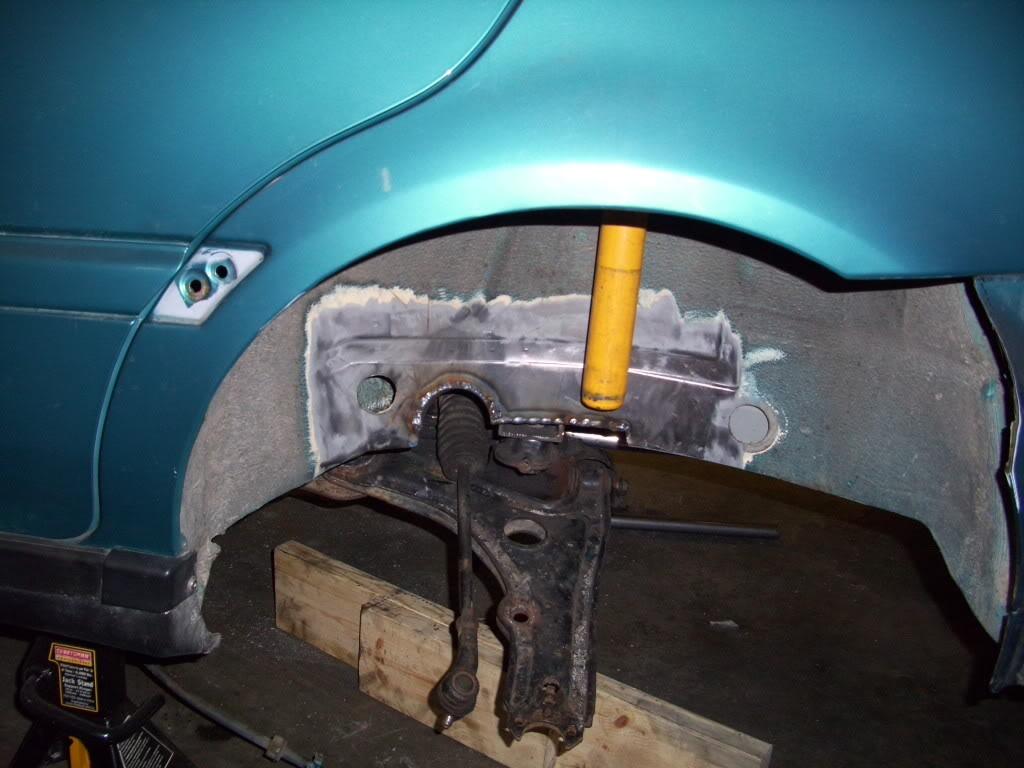
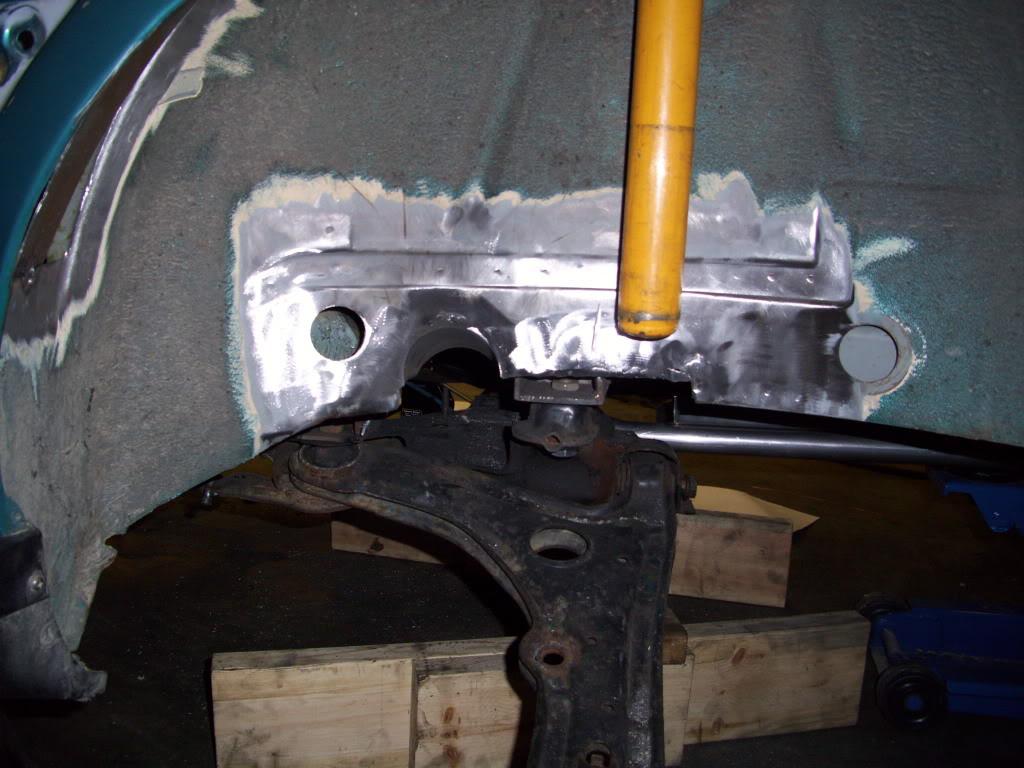
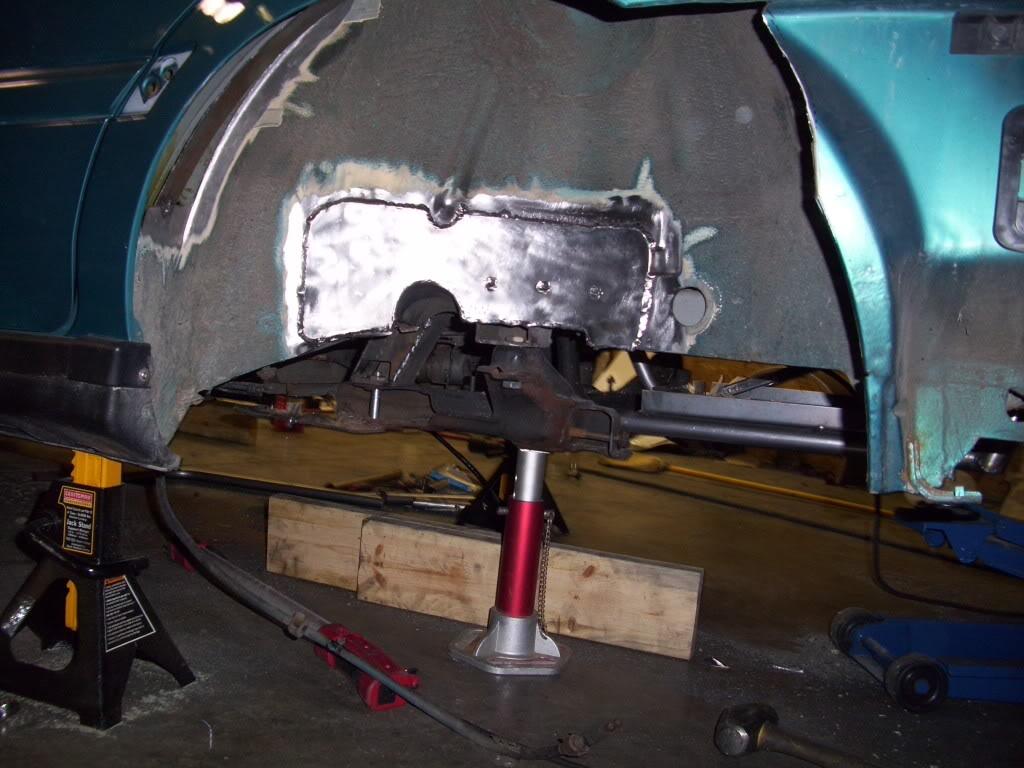
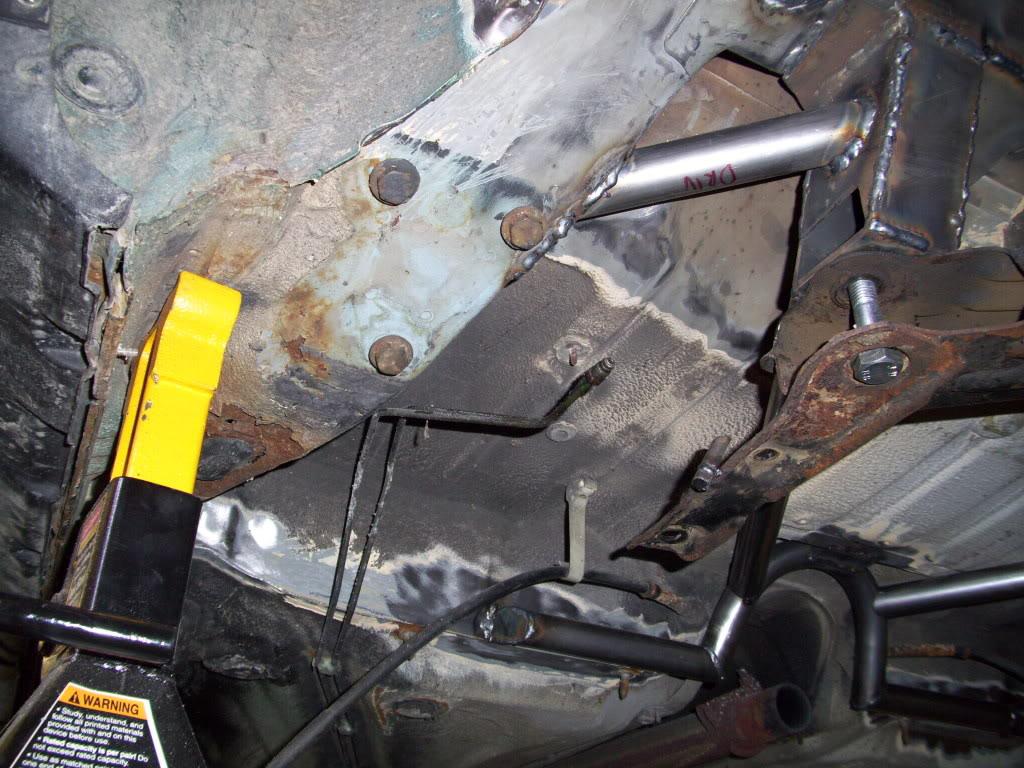
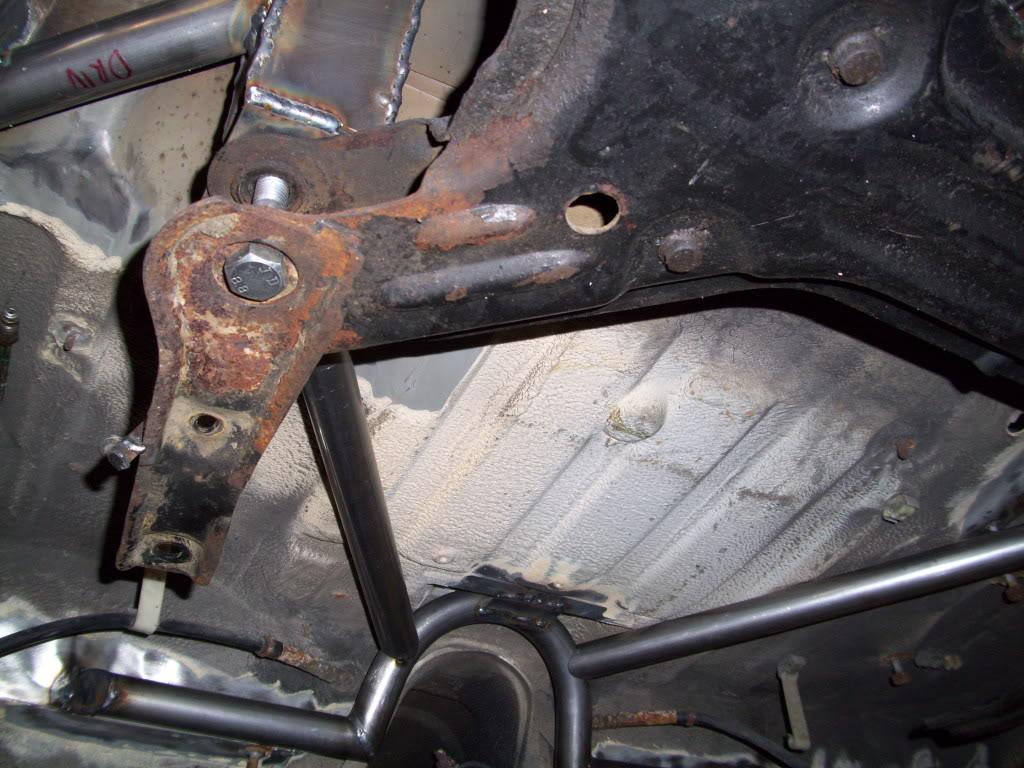
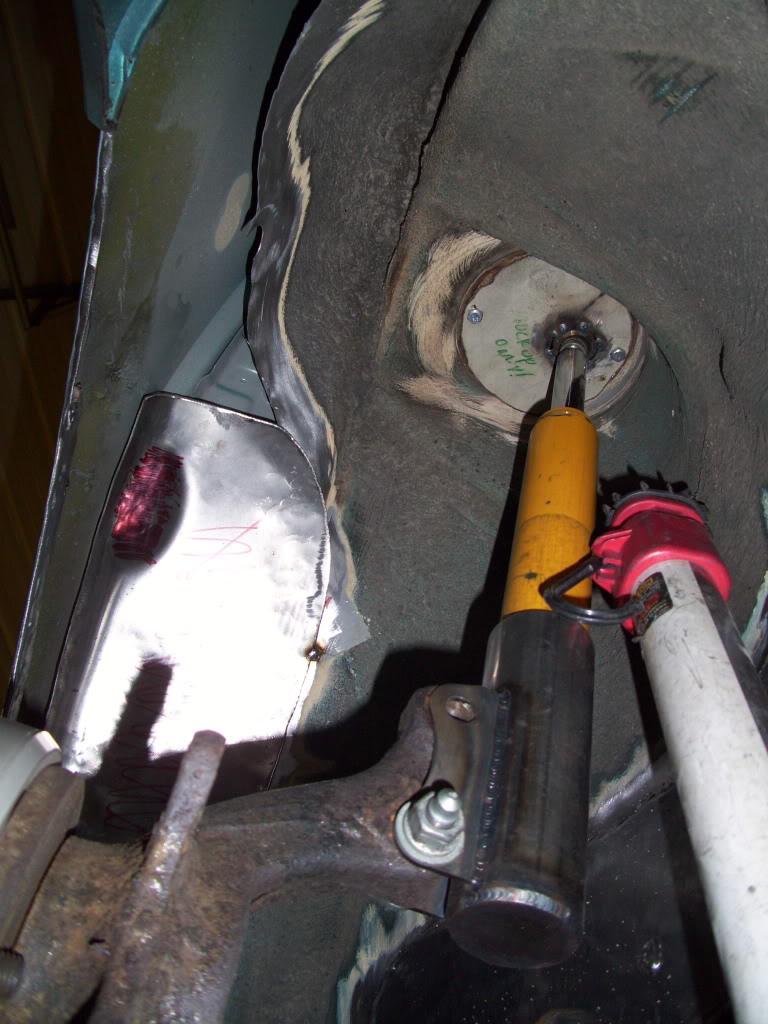
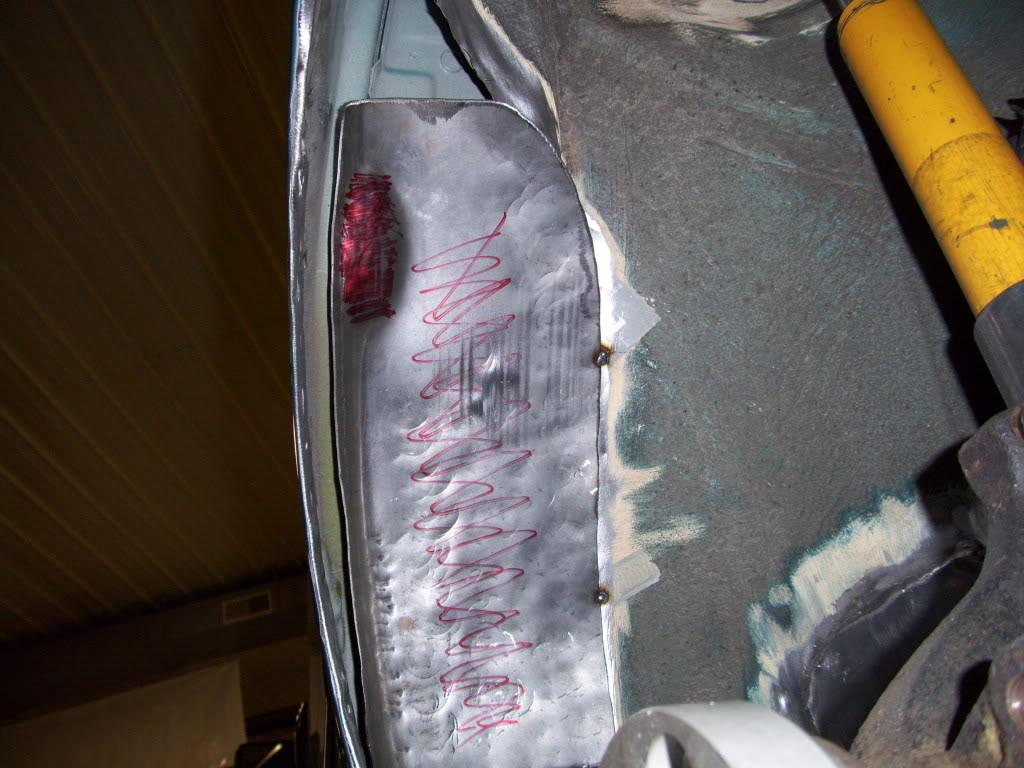
I ground down the welds around the tie rod notches so that I could add a large plate around the whole area to retain strength where the notch was, and to add strength where the subframe mounted.
I also lowered my roommate's mk5 on black wheels and Koni coilovers.
April 25, 2009
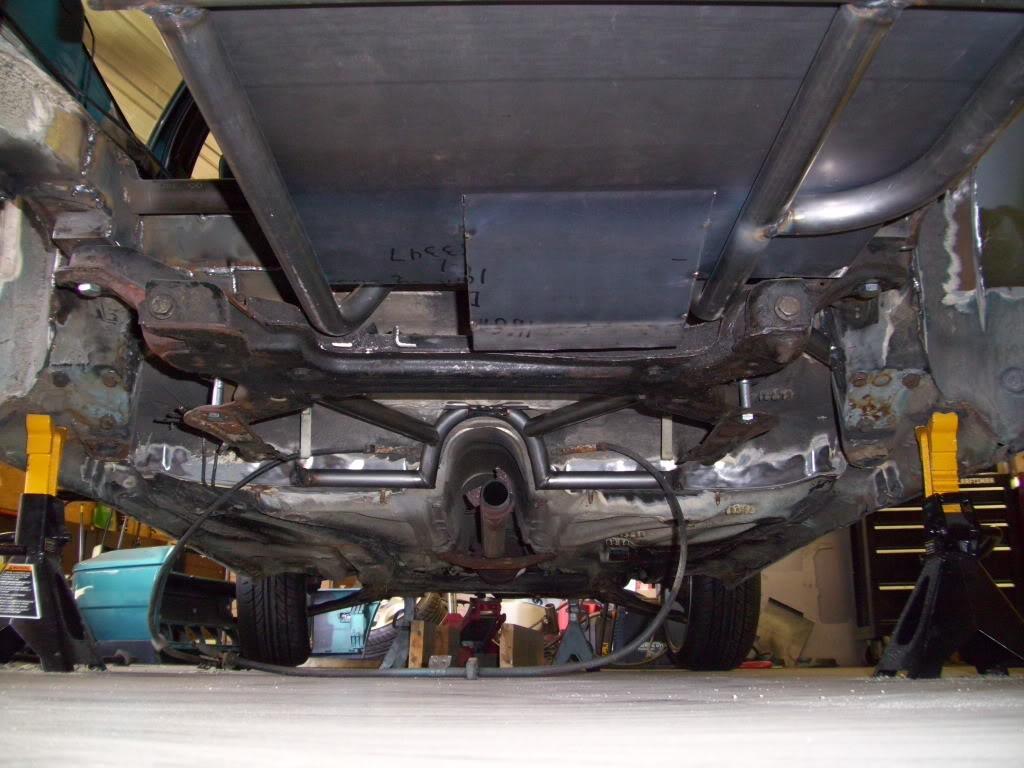
I cut and hammered out some plates from 1/8" steel to weld onto the frame rails.

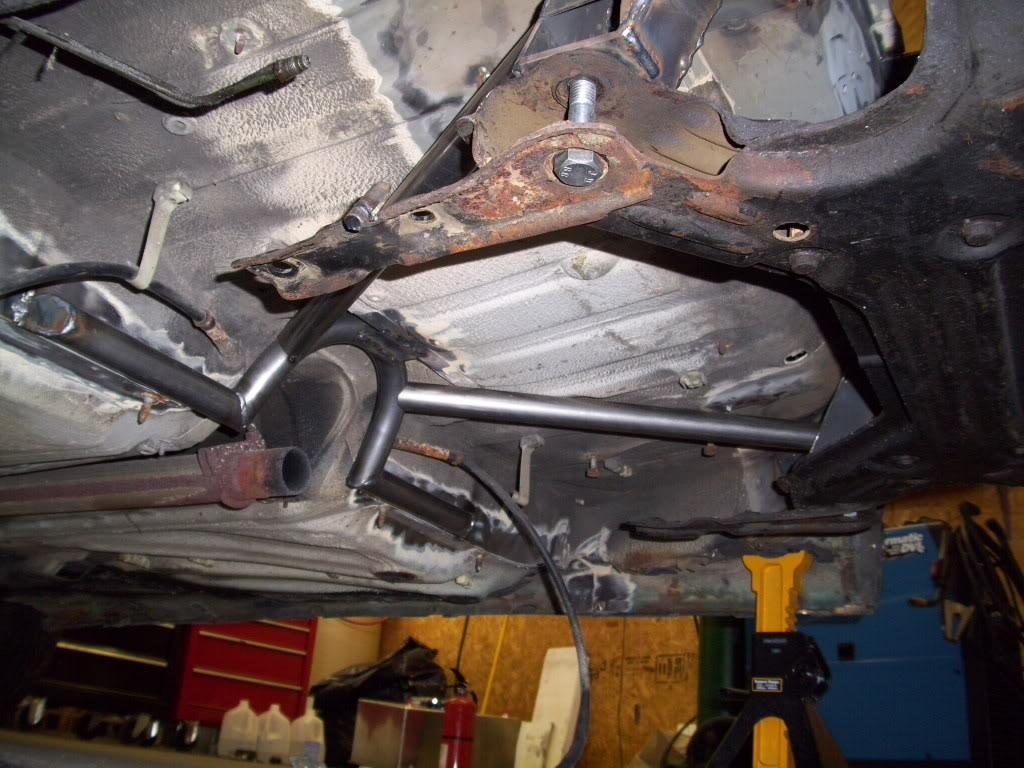
I added these short diagonals from the forward subframe mounts to the old rear beam mount area. This ties the subframe into one of the most structurally sound parts of the unibody.
Then I made a hoop over the exhaust and added some forward diagonals, again to add some strength to the whole rear end. The exhaust tunnel and forward seat crossmember (under the front edge of theseat) are also very strong due to their shape and thickness, so I wanted to take advantage of this strength.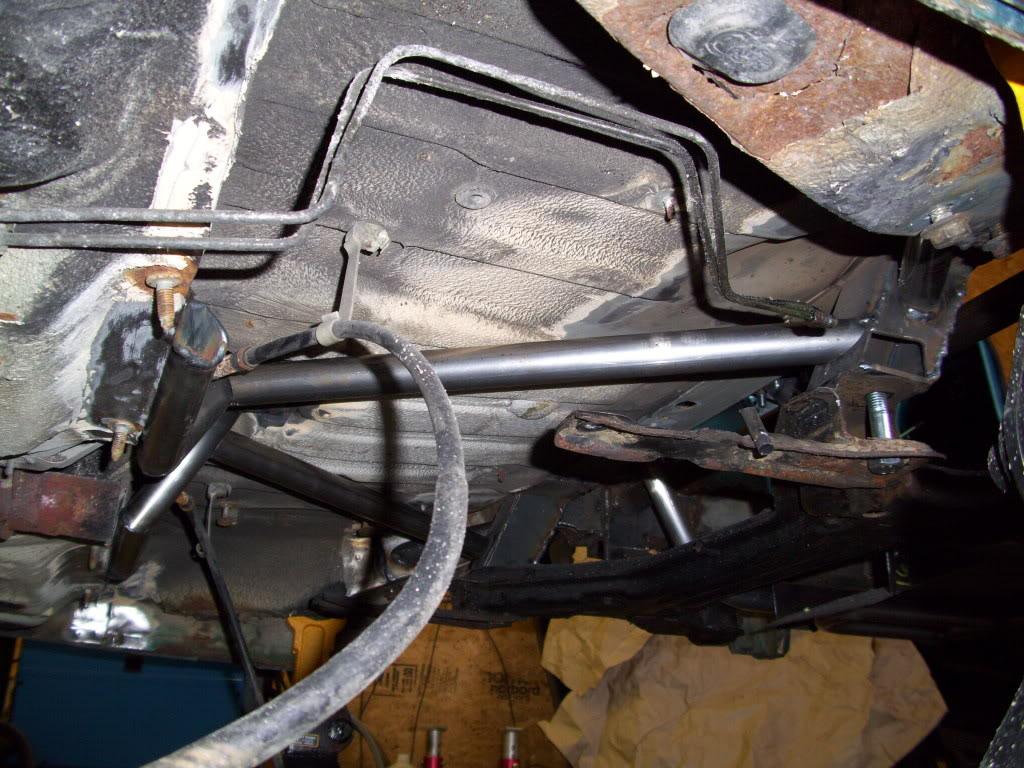
It was a nice day, so I took a picture of the 33 acre back field.
April 27, 2009
I started hammering out some panels for the rear tubs. These weren't quite as simple as the fronts, there was a lot of immoveable stuff in the way and I didn't have room to make a nice clean round tub. I had to do a lot of hammering and hand-forming to maximize the amount of room for the tires.

I marked it all up so I could roll the tire while jacking on the control arm and see where it was hitting. Once I saw where it was hitting, i could hammer more until it hit somewhere else. Repeat until it hits directly under the door jamb, which cannot move.
Nice build! Great photos and detail ????
Posted by Diggymart on 4/23/19 @ 12:52:48 PM