You must be logged in to rate content!
9 minute(s) of a 720 minute read
6-11-2011
Well, I rethought my additional air intake. I didn't like the way it was so close to ex. mani, and heatsoaking from bottom of radiator, plus it was long as hell.
I have been trying different set ups. Might go with this idea. Just a trial fit here. Still would like to use a 90* ABS plastic pipe elbow to catch a little more air. Have to see if that is doable as this is the same snorkle, but turned upside down. Need to source another snorkle and 90+ elbow to see.
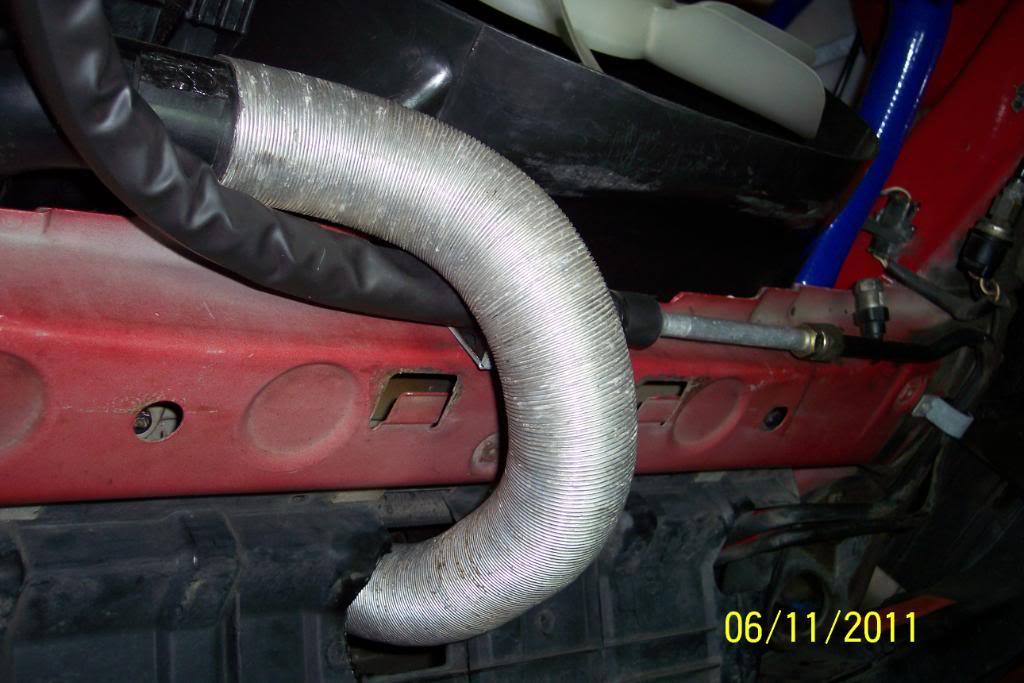
This routing keeps the piping away from heat better, is shorter(only 3 feet long total, as opposed to 7 feet the other way) for hopefully more real "ram air" effect, plus it's lots lighter too.
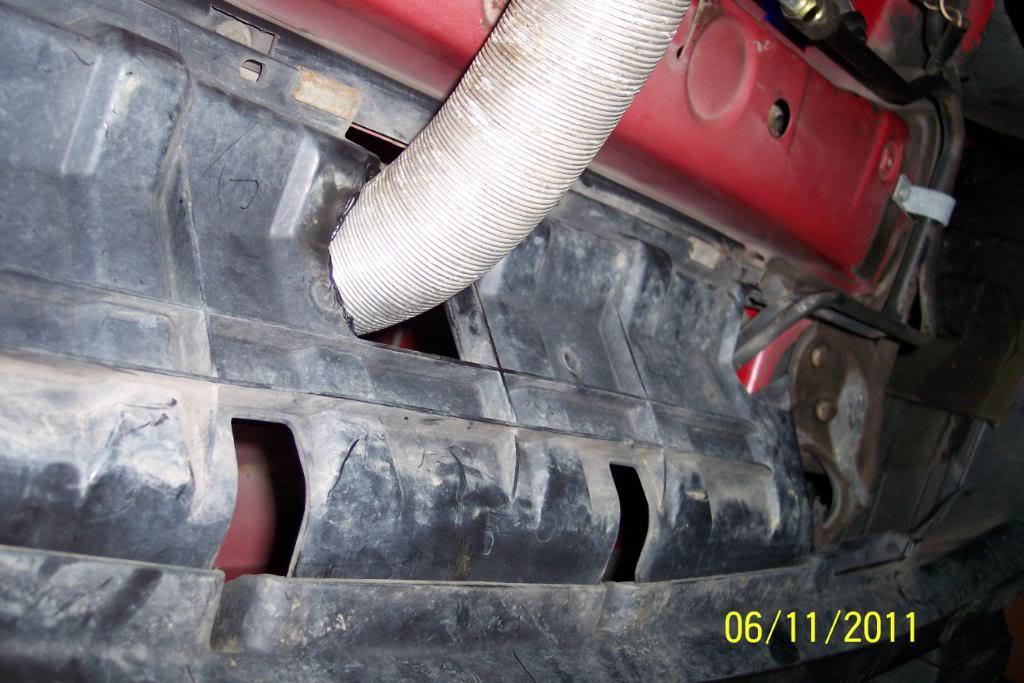
Of course, again this is using all OEM Volvo 240 parts. I routed the hose through a rectagular hole ,that was already present in the center of the air dam/radiator "scoop" panel. I enlaged one side 1/4" or so.
Also...I'll have to notch/cut a U cutout in the bellypan to run this set-up. And make a seal for it. I also plan to slide a piece of 3.50-19 motorcycle inner tube over the preheat pipe to further insulate it, and protect it from punctures where it goes through the scoop panel..
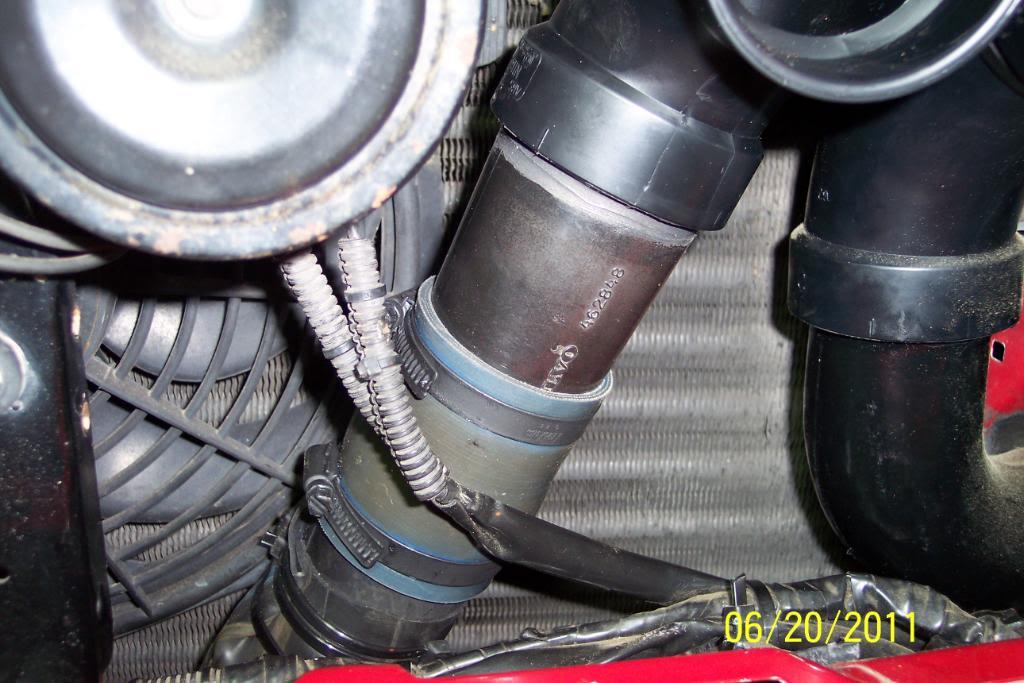
We're talking about the snorkle on the left here...... Right one goes to airbox as it normally does...............................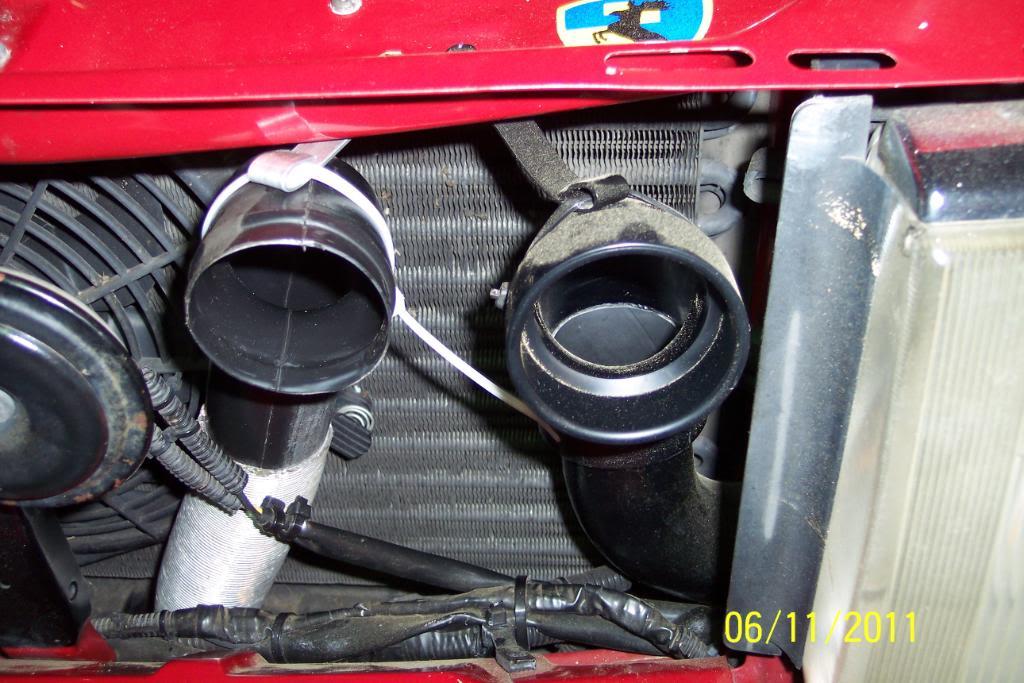
And the other day, I decided I wanted some interior floorboard courtesy lighting. I used the "Fasten Seat Belts" bulb socket & bulb as it never gets hot.. Wired two per driver's side, two passengr side and hid them behind the flared heat duct that protrudes down through the underdash felt pads. And wired them to the door jamb's light and key buzzer button. So they work with the dome light on the delay timer.
Then I thought I'd also like to have the same lighting but on a manual on/off switch. So I found a rocker switch with rounded "body" and a yep, you guessed it, blue LED.
Mountd it on the bottom forward left side of the bottom of the steering column's cover/box.
So, now I have delay timer entry/exit courtesy lighting in the floorboard area. And courtesy lighting in the floorborad area while driving if I so wish.
Mine's a 1991 244 so it hs the "knee bolster, therefore I let the lights hang down further on driver's side, as the kneebolster still keeps them from view. On passenger side I tied them up a little higher to keep them out of sight. And your feet do not hit them either. Just tie wrapped them to the flared heat duct above the felt pad. Looks & works great. Volvo shoud have done this IMO. Hopefully this will save a doopocket when new passenger gets in up front too.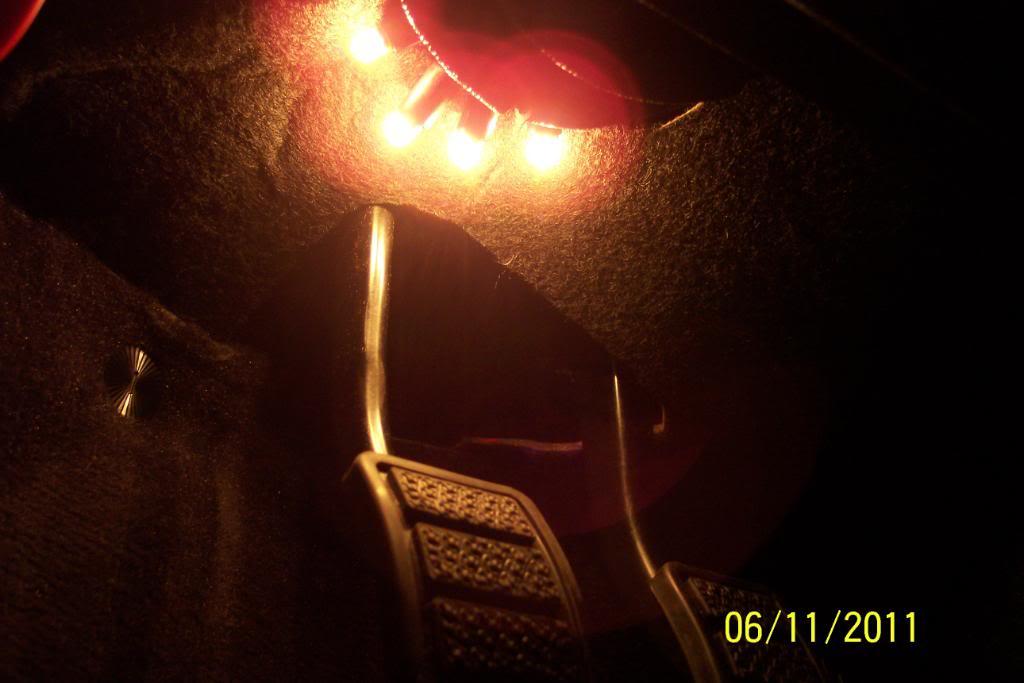
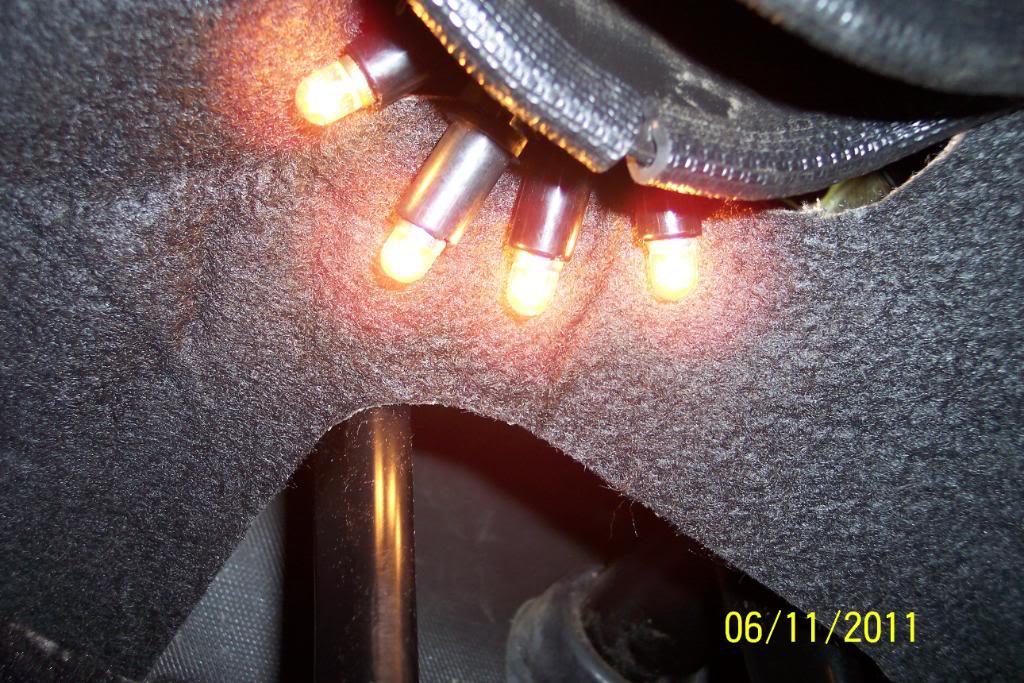
And passenger side, delay timer lights on.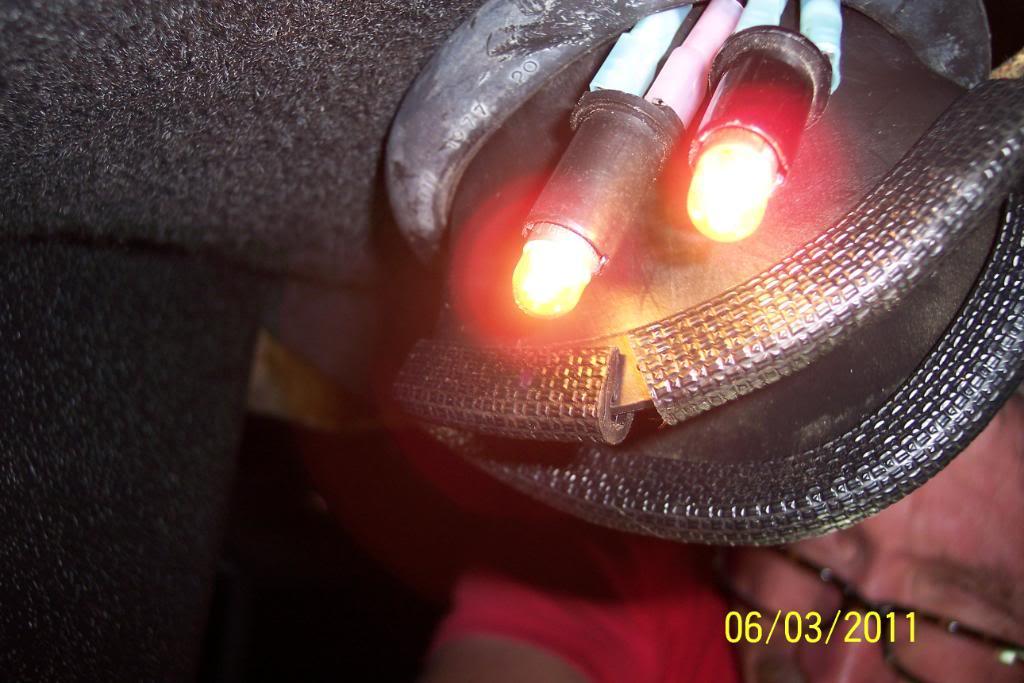
Proof ya can't see them when ya look down.......blue wires are showing because this was before I buttoned it all up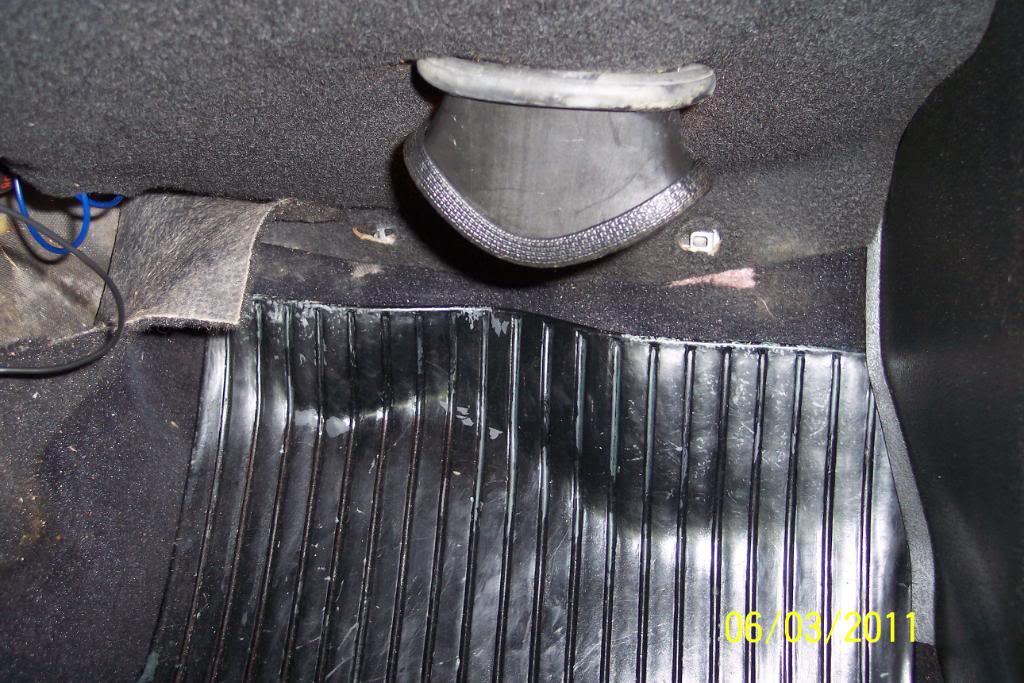
And how I made each of the four harnesses up. Easy peasy.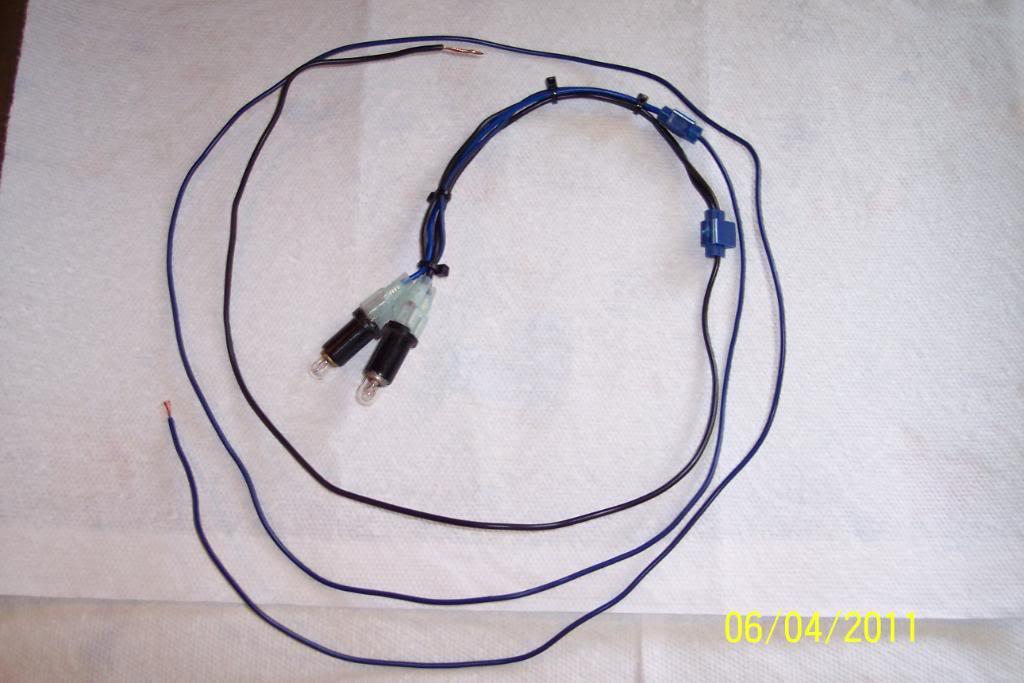
6/15/11
OK, I've been sorting out the lasest mod to the additional air intake to the bottom of air box's preheat hole.
I opened up the hole in the air dam/rad air scoop a little more, and used an old Harley 19" inner tube to insulate & protect the preheat hose. I now need to make some type of bracket to help hold it. Maybe just tie wrap it in place. Not sure yet.
I modded another snorkle I had in my vast collection of them,and ABS glued and RTV sealed another 90* ABS elbow onto it. I'll be using a 1982 242 Turbo silicone hose to join the preheat pipe to the new snorkle.
I'll also tie wrap both ends of the inner tube to keep water/dirt from finding it's way between the inner tube & the preheat pipe.
This is a mock up, but pretty close to what it'll look like after I adjust the snorkle /90* elbow positioning, paint it's mounting bracket black, RTV the turbo hose to the preheat hose & clamp it, and the snorkle..
I think this is going to work just fine after I cut a U shaped hole in the belly pan to allow it.
What I used..........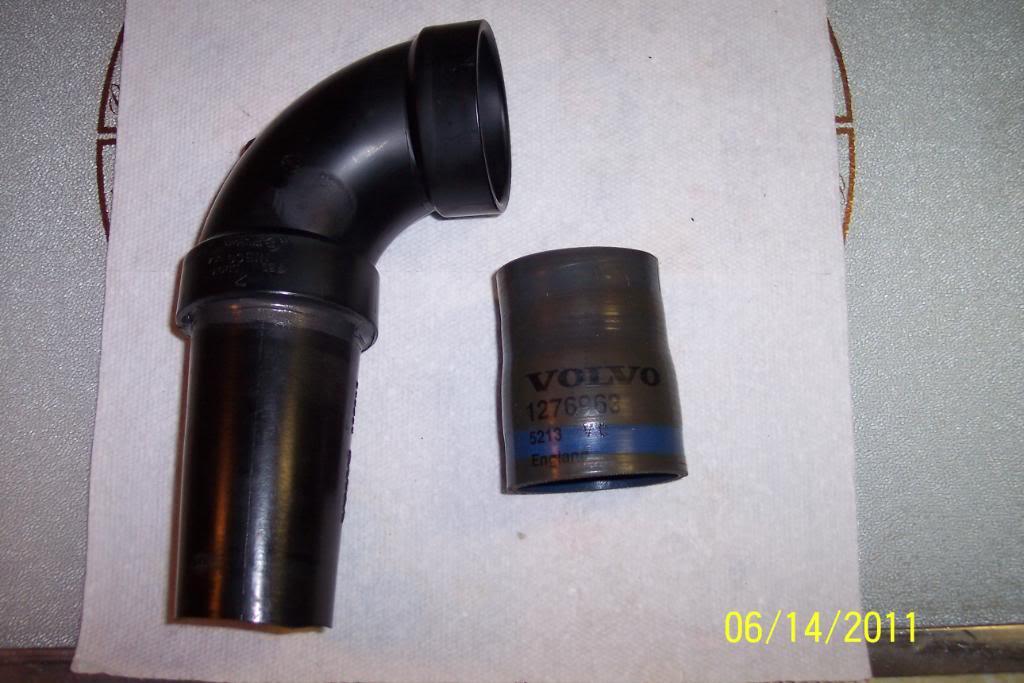

And how it fits........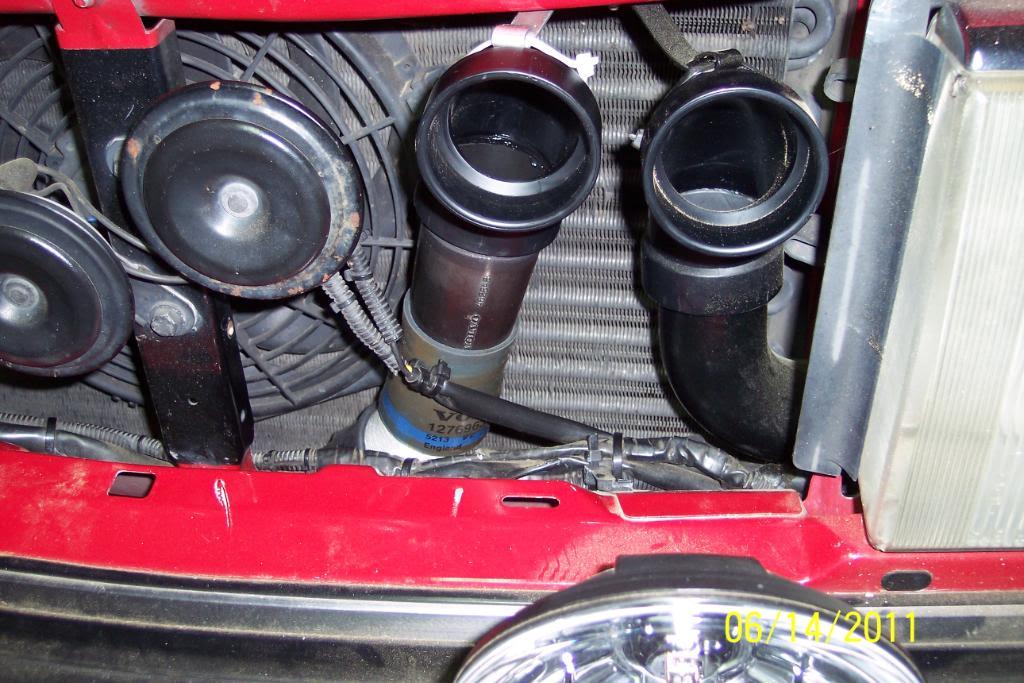
The Harley 3.50/19 inner tube insulation. Well whattaya know, it has a blue stripe on it. Matches the other blue items well IMO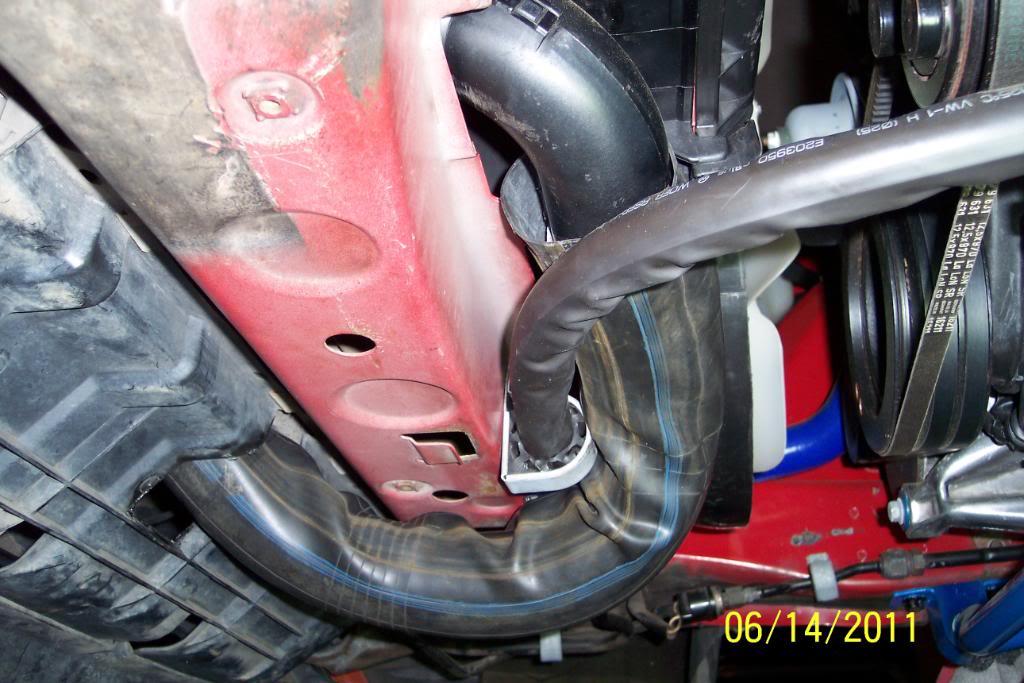

A look from a few feet back....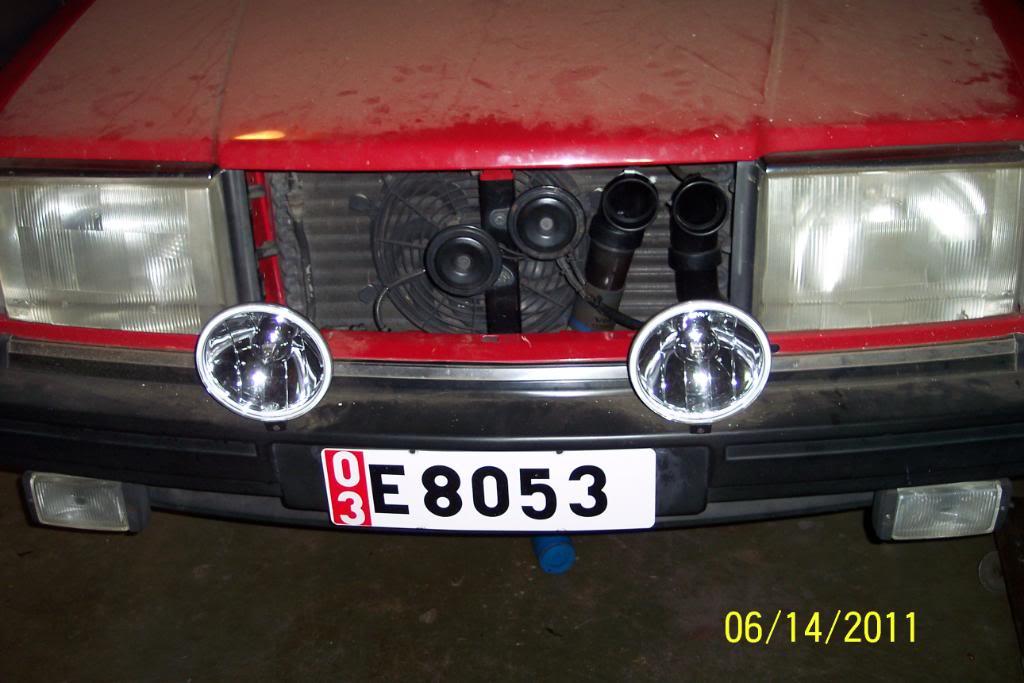
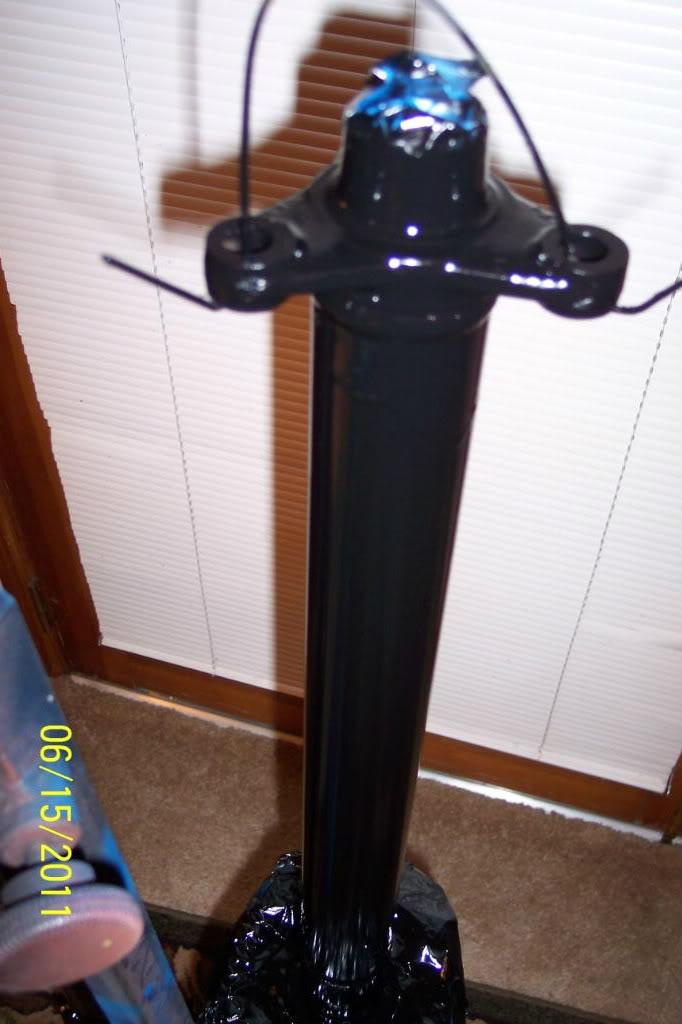
OK, finished the driveshaft rebuild. Rebuild consists of: 1) New Corteco guide bushing, 2) New FEBI/Bilstein guibo/flex disc, 3) Euro center support rubber (I know gonna go with it), 4)New SKS center support brg, 5 & 6) 2 new Precision/Federal Mogul U joints greased with 7)GreenGrease Brand green grease(naturally) 8) Painting the completed driveshaft .
I wiped off any & all excess grease on outside of the new U Joints after greasing them
Then washed,cleaned, degreased the driveshaft with Brakleen.
Then sanded & cleaned with Brakleen again.
Masked off the grease fittings with tape, masked off the Guide Bushing with tape, and masked the Center Support rubber & bearing with tin foil & tape
Then painted the drive shaft & also painted the U Joints & yokes rather lightly for rust prevention.
The paint I used is Rustoleum Professional High Performance Enamel in Semi Gloss Black.
Should look nice & somewhat OEM like when it dries.
Pics below;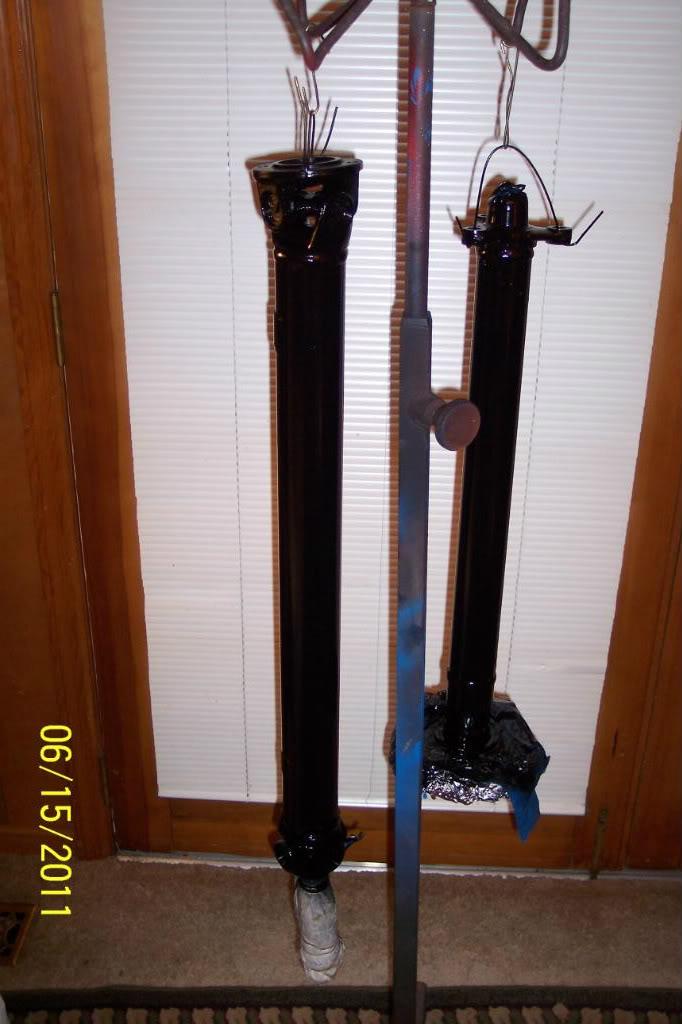
6/21/11
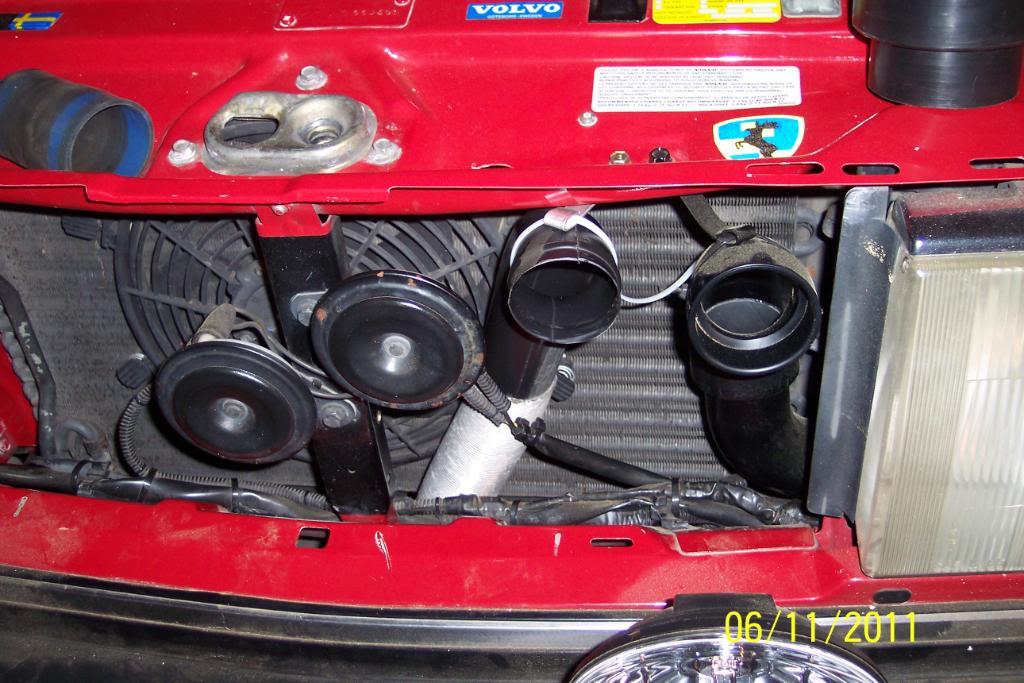
OK. Are ya'll ready for the DOUBLE BARREL? I finished the second cold air intake ducting. I think I like this set up much better than the 1st set up I had on it.
I'm going to "pan in" around the hole in the belly pan to cover up most all of the hole that is cut a bit too big.
I plan to buy a new belly pan before too long. When I do, I'll use the panned in old belly pan, to cut a neater, better fitting hole around the piping in the new belly pan.
I'm considering moving the two horns somewhere out of the way of the A/C Condenser and radiator.
Seems other have done this. Anyone got any tips of where else to mount the horns outta sight?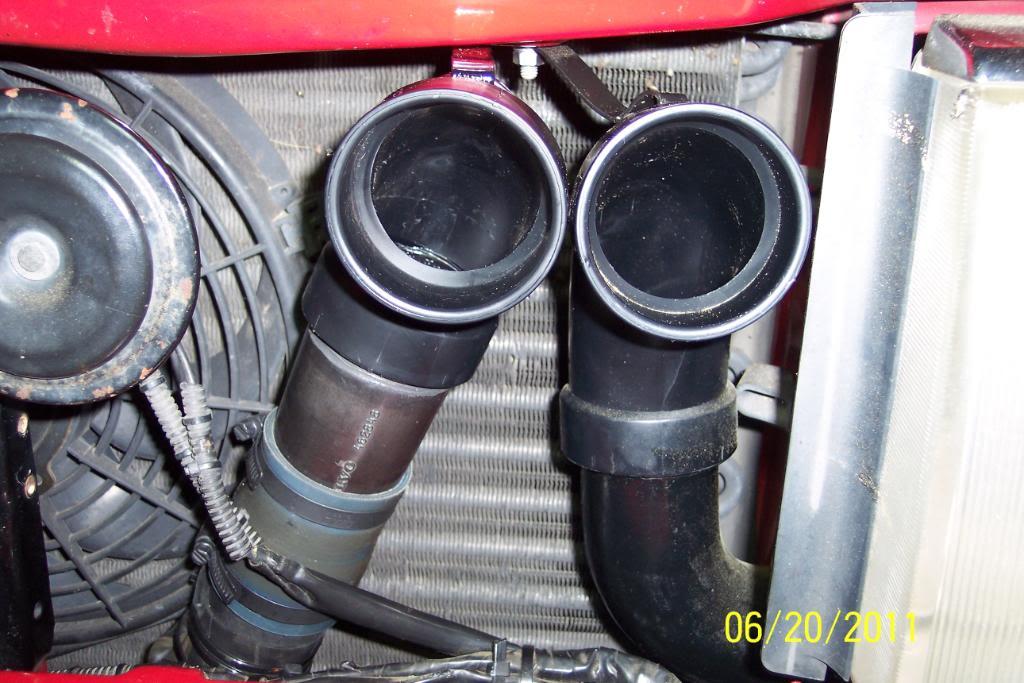

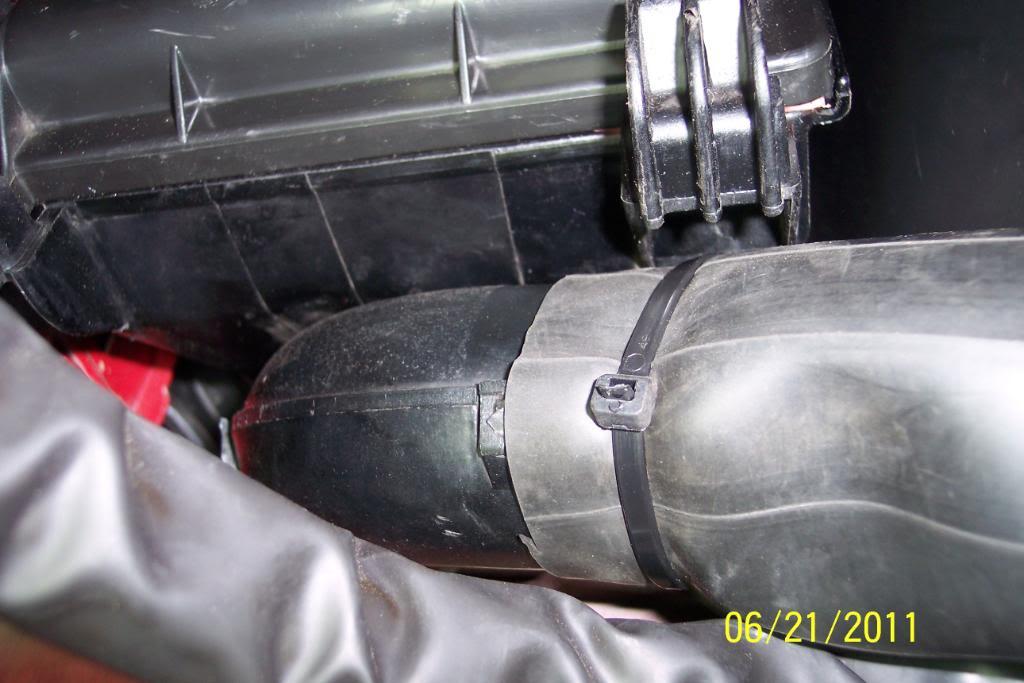
I had to add another OEM plastic piece to the aluminum pipe to make it long enough and to use the Silicone Turbo Hose to join the 90* elbow piece to the aluminum hose. Here's a pic of how I did that. Not beautiful but it works. Used blue RTV as I happened to have a new tube of it.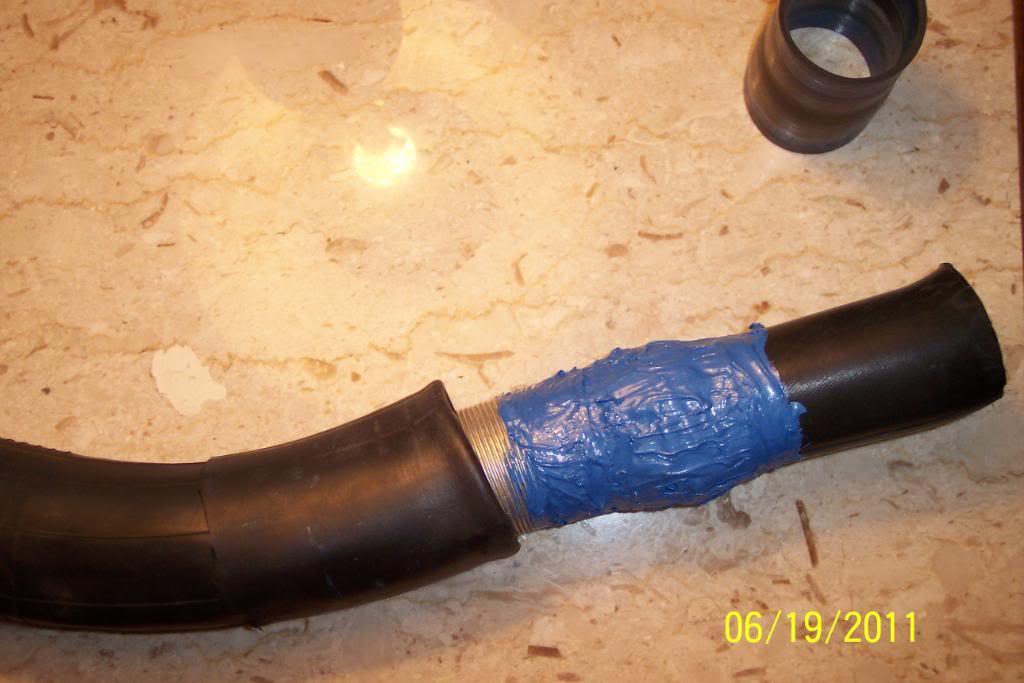
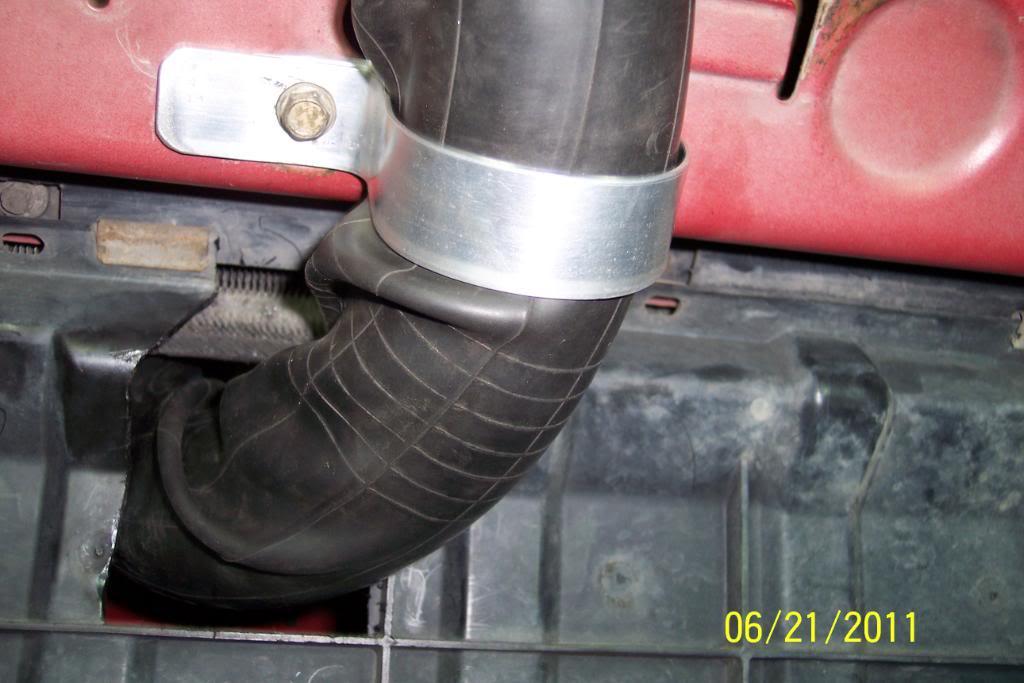
With the belly pan on.....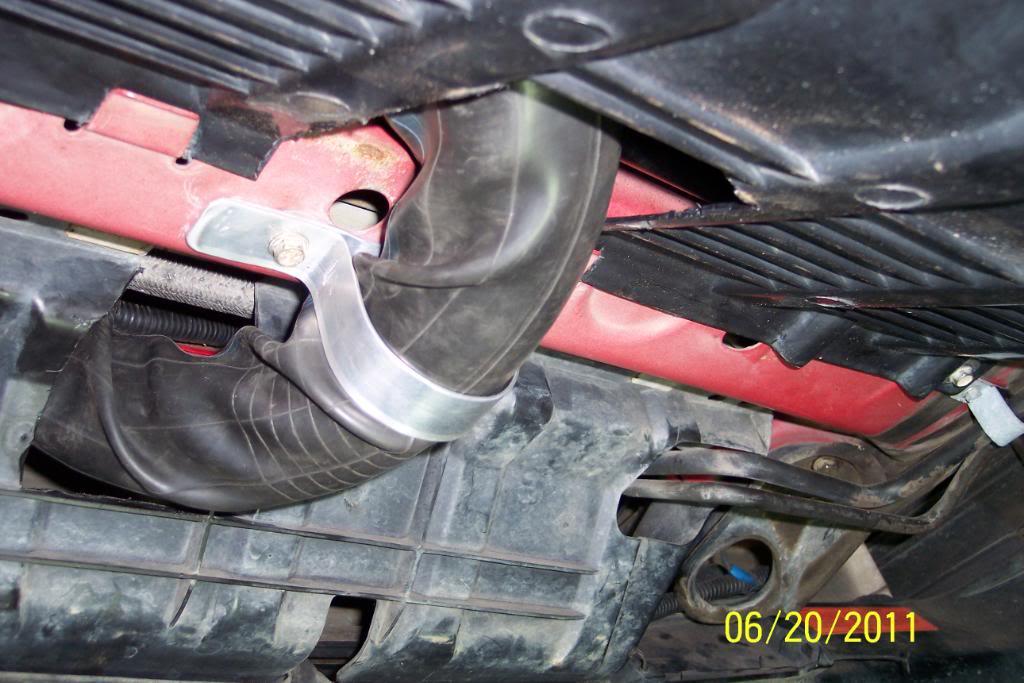


Nice build!
Posted by Diggymart on 3/30/20 @ 2:45:08 PM