You must be logged in to rate content!
9 minute(s) of a 720 minute read
6-22-2011
No, I used to have a lot of ducting for the air to travel through. the right hand side on only has less than 1.5 feet. The left one is only 3 feet long, now.
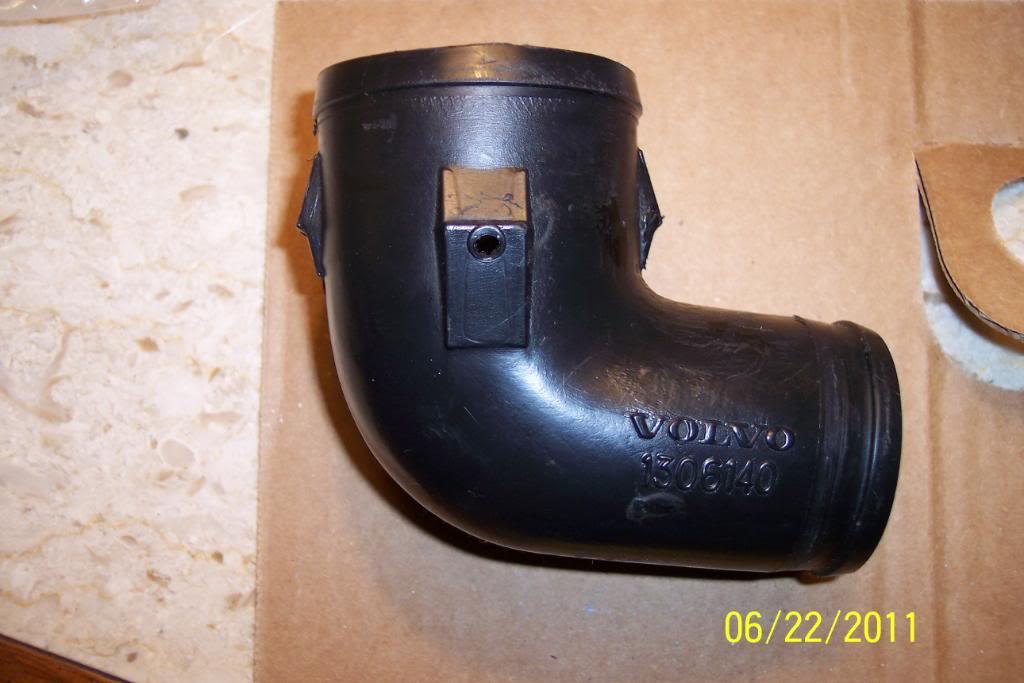
The idea here is the one OEM snorkle's ID is 1 7/8" diameter in smallest place(see pic below). IME this is not large enough to flow enough air at Hi RPM . Especially with a hi perf cam later I have planned for later on, and the 2.5" exhaust I'm going to install.
Hell a Harley carb throat is that big. And it's only 74-88 ci
This set up will allow 2/3-twice the airflow. And does away with any chance of preheat by ex. mani air, and with 90* elbows should provide more, cooler air to engine. And possibly a bit of ram air effect at higher speeds.
And yes it works. Already did this some time ago to my 245. Coupled with a free flow exaust it does make a very noticeable increase in acceleration. And with a better cam later on, it'll really help.
Don't believe me? try it for yourself........and remeber most 86-93 240s are breathing through this restriction, and were never built with hi perf in mind in 1991.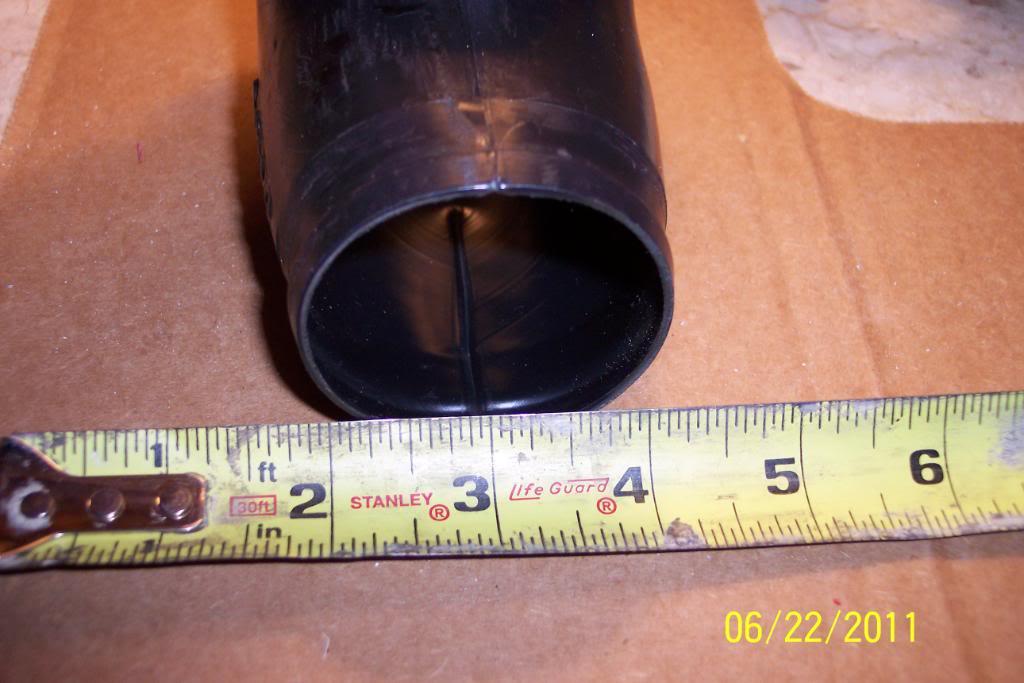
Ok now that we have that cleared up..........
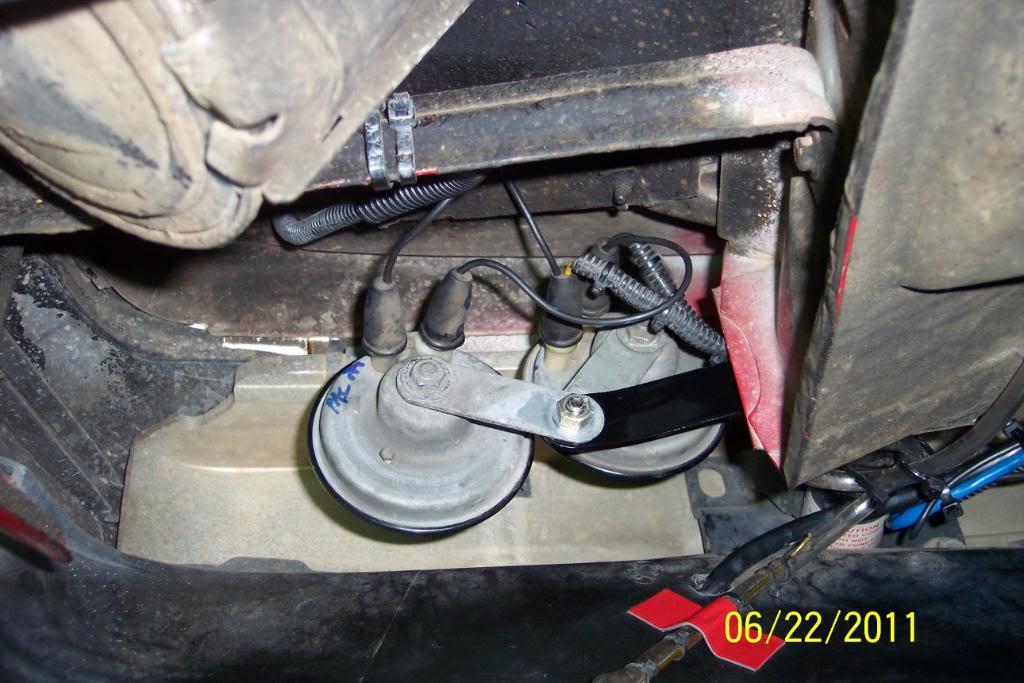
I wanted to move my horns to a different location to allow better airflow to the A/C Condenser coil & rad, seeing s how it was cramped with 2 intake hoses & two horns in front of the coils. I fabbed a stright bracket & mount it to the outboard end subframe rail where the bumper mounts to the bumper shock.
Then bolted on the 2 horns to the straight bracket.. I had to ue a longer(1.25) 8mm bolt. The OEM wiring harness for the horns was slight re routed & was long enough as it was. Cool.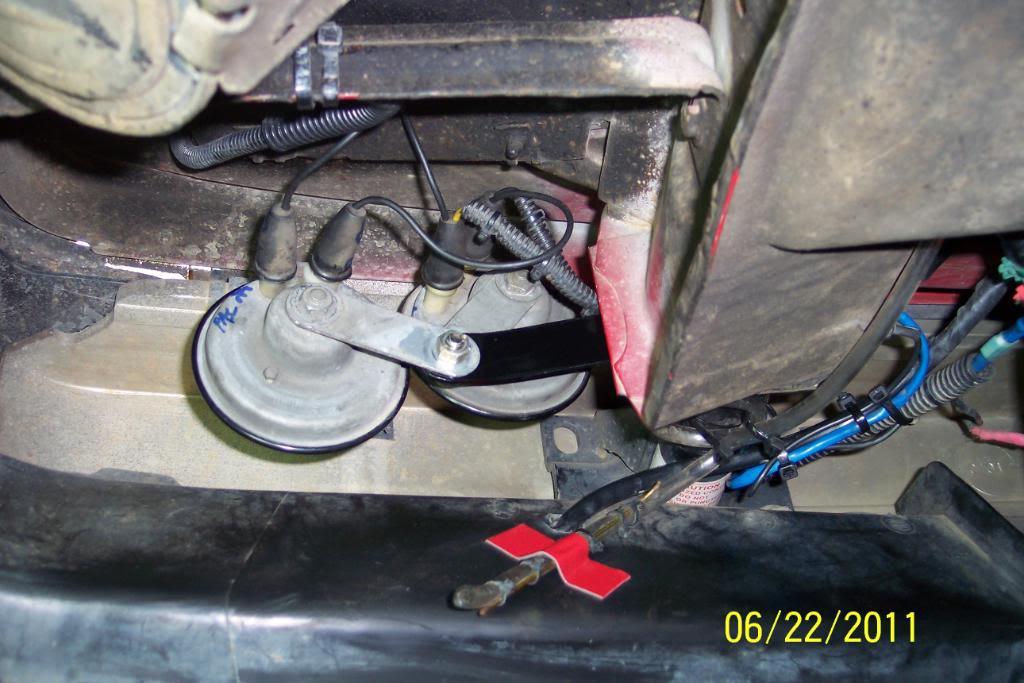
And also cleaned & painted the verticle support behind the grille semi gloss black.
So... from this.......
to this............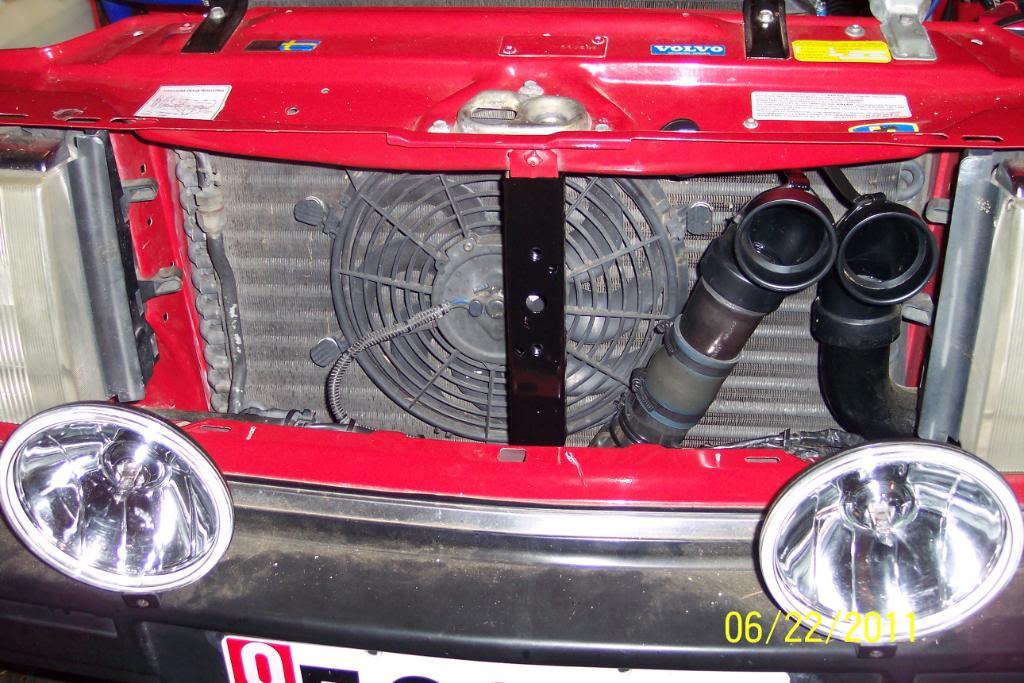
6/23/11
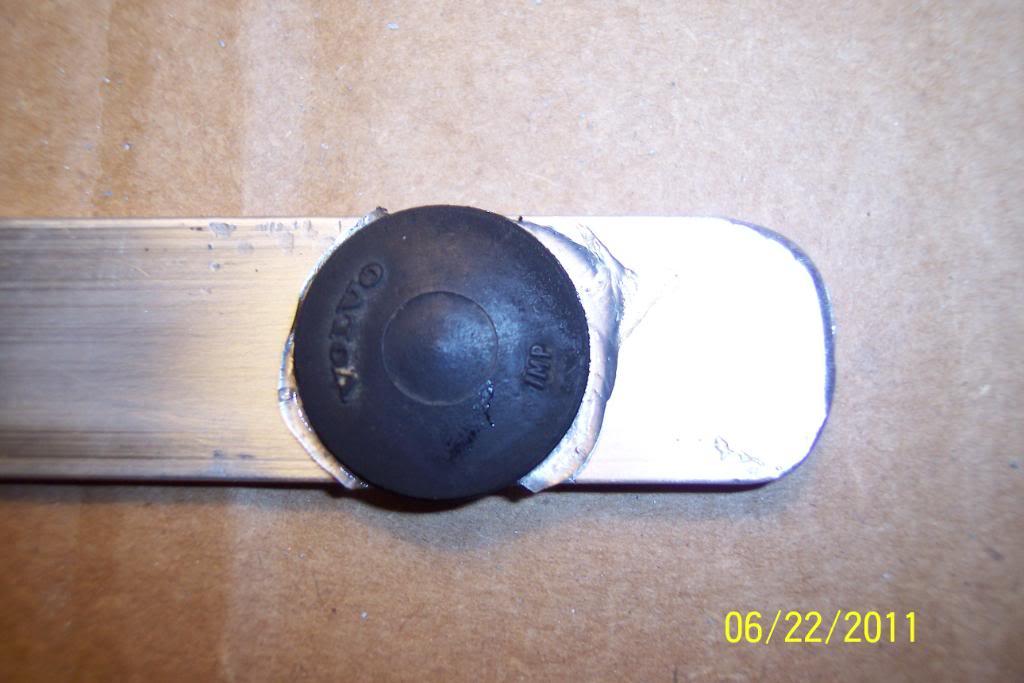
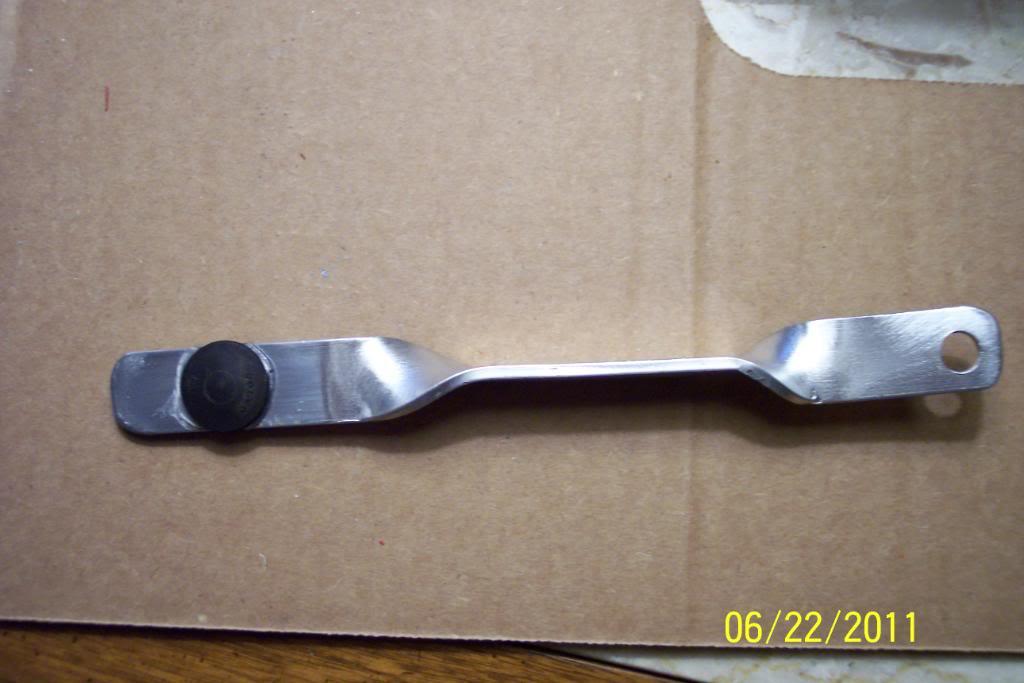
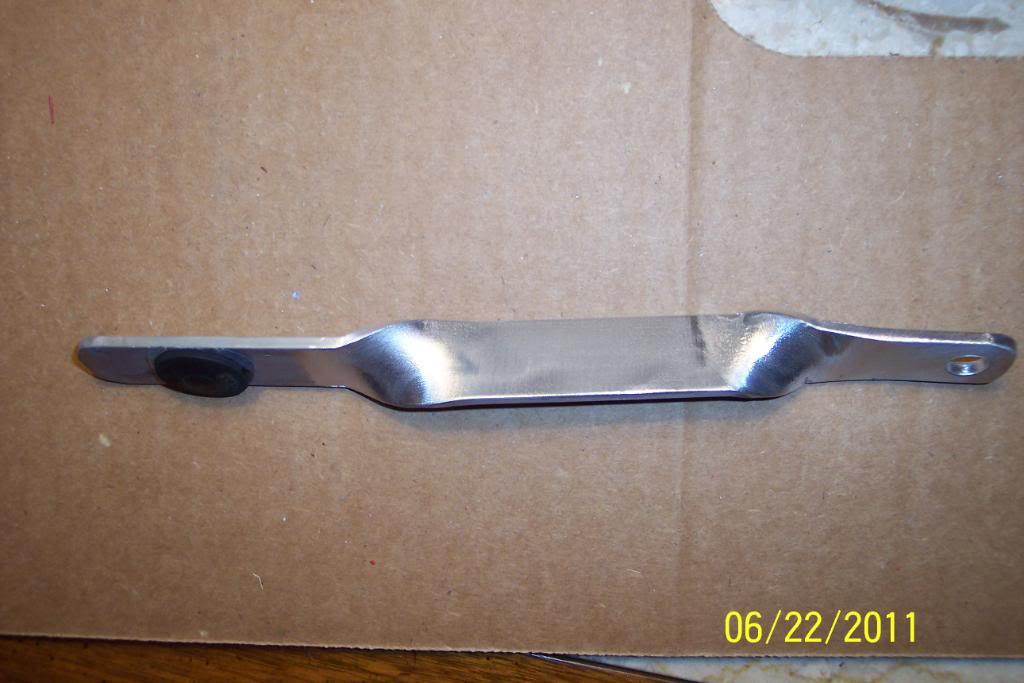
I made a bracket that fits & fixes the problem perfectly. Here's pics of the making of it. The rubber pad is off a 240 frt license plate bracket. I cut & ground off flat the tit off the back off it.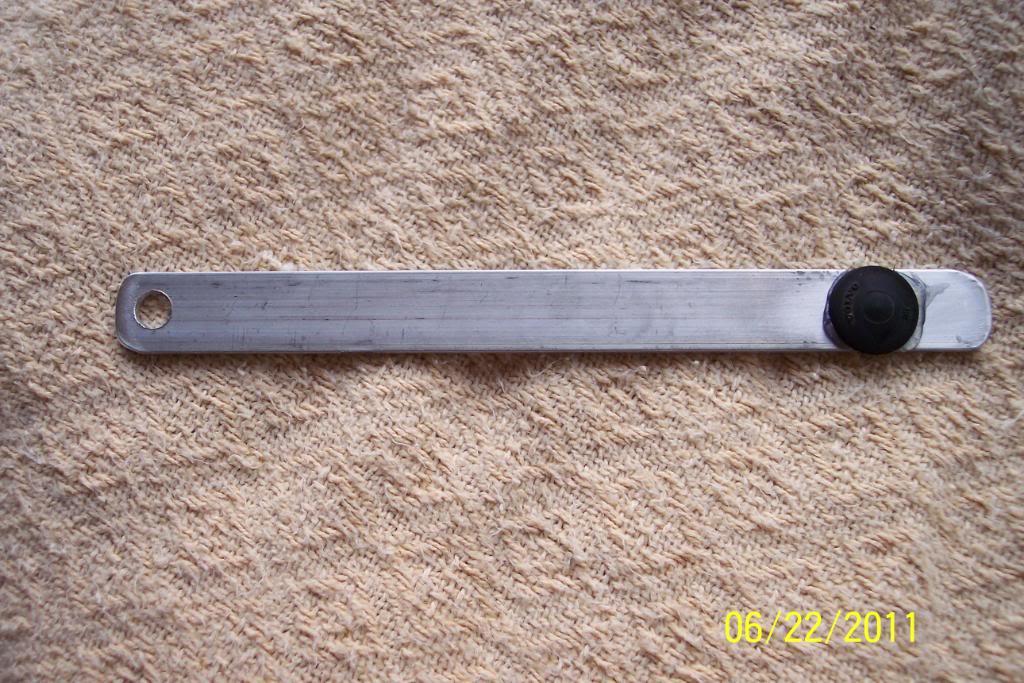
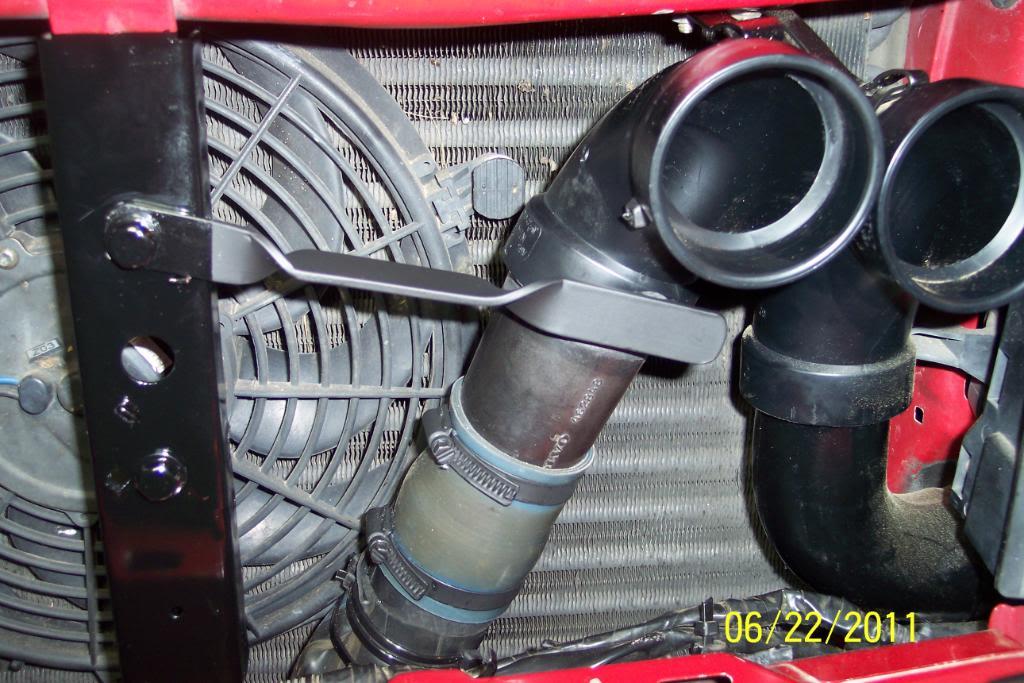
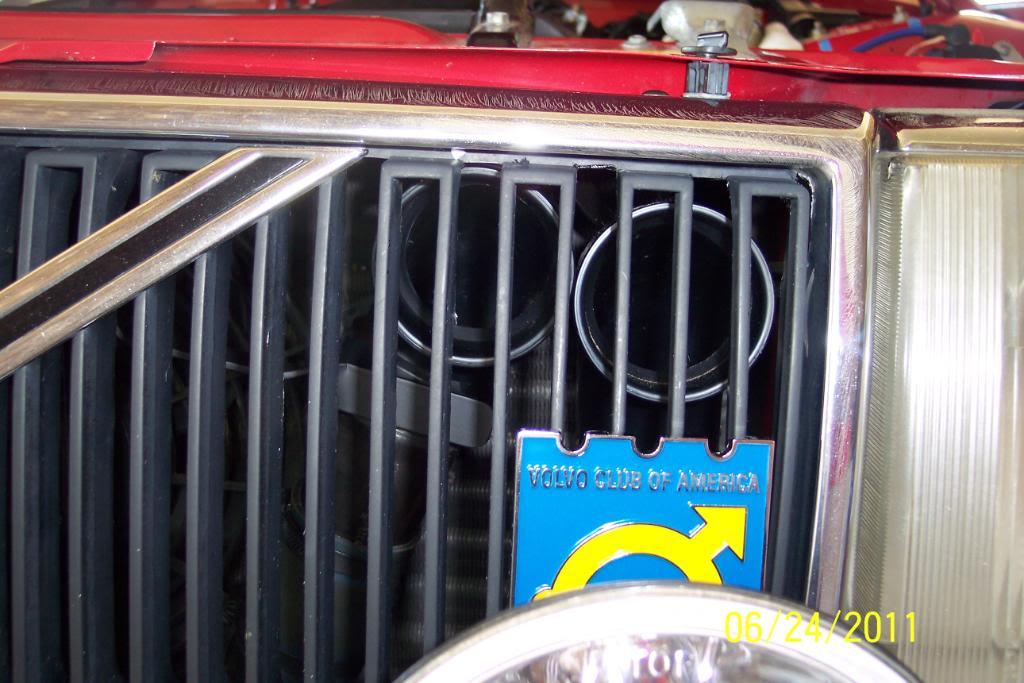
I refitted the grille. It clears AOK with the 90*ers pulled out as far as possible now. So no problems here now. And looks more pleasant without the ugly horns showing through the grille.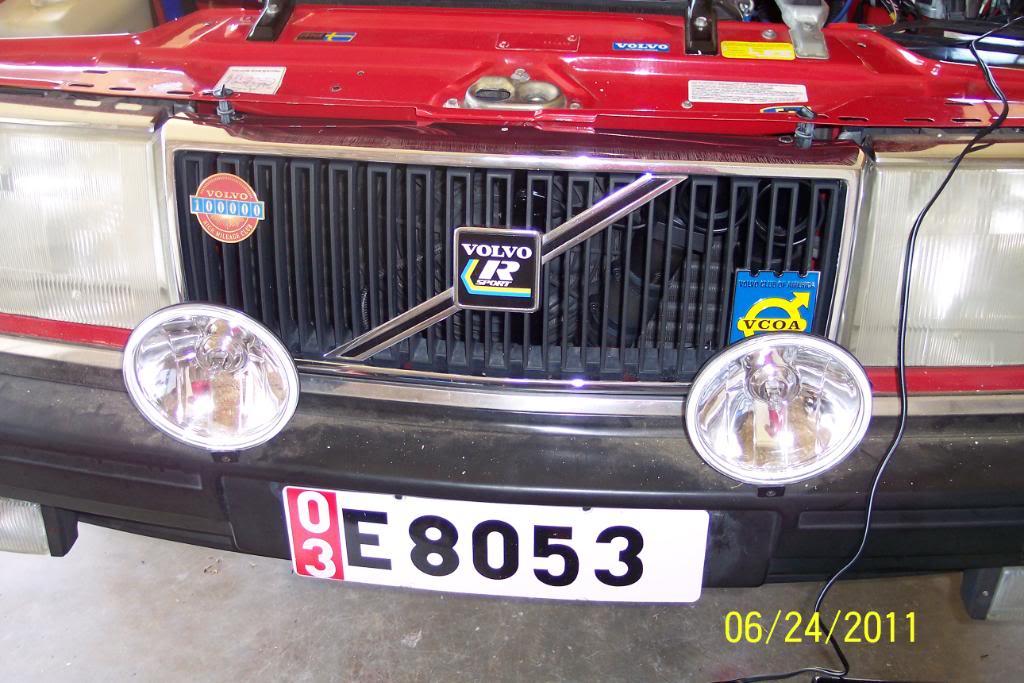
7/3/11
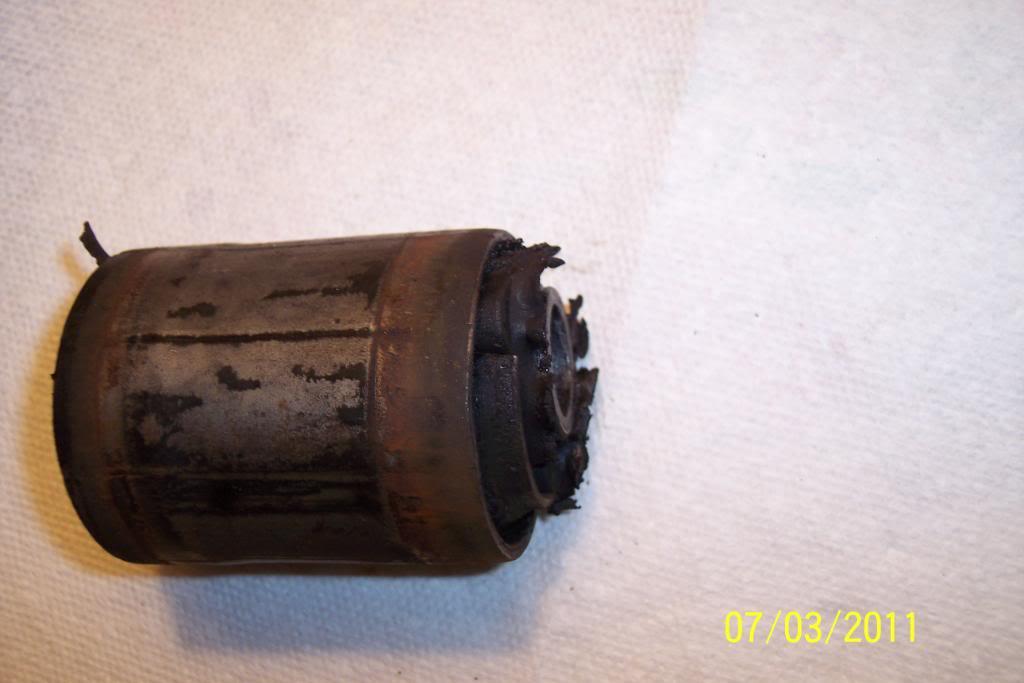
Well, I finally got my a$$ started on removing the LTAs(Lower trailing arms for Matt) and I now have one of those big PITA OEM bushings out of the diff's bracket for them. I used my homemade tool for this.
I made it when doing same susp work on my 79 245 about 12 years ago. Luckily I kept up with where the tool was. And it works pretty well too.
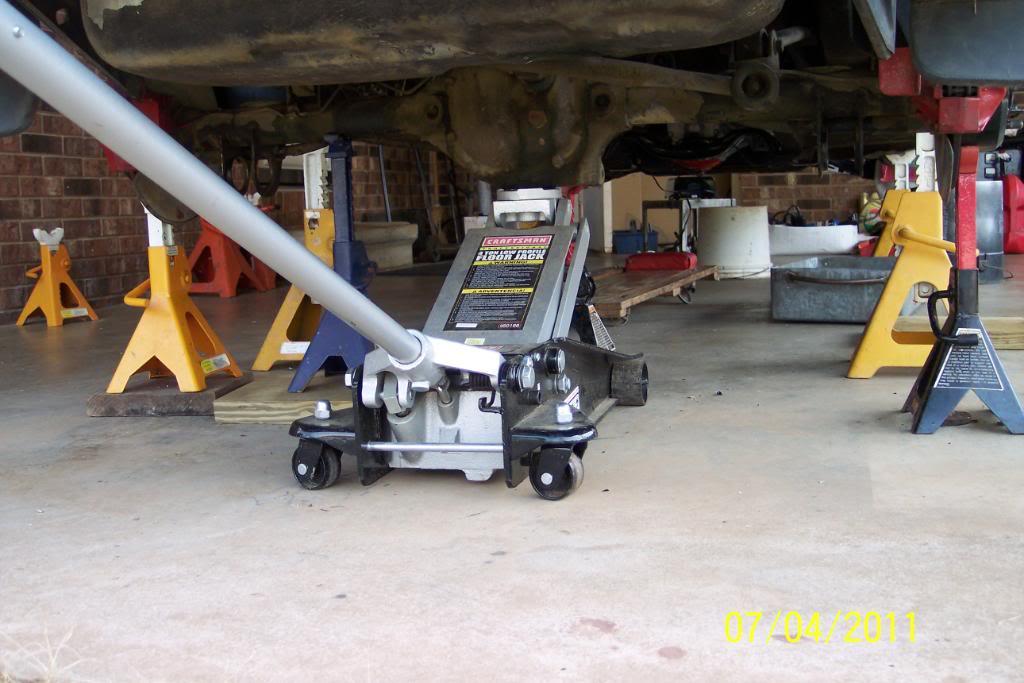
I used several of the small jackstands. One under pinion on diff, one under DS rotor hat, one under axle hsg on PS. And Floor Jack under diff's carrier end. Pass Side Axle JS is soon to be swapped/replaced to to rotor hat. I am leaving the torque rods on, to keep diff located/fromtilting/moving while I do other bushing .Hopefully this set up will work OK. First time I've done it this way though, Usually do one at the time.
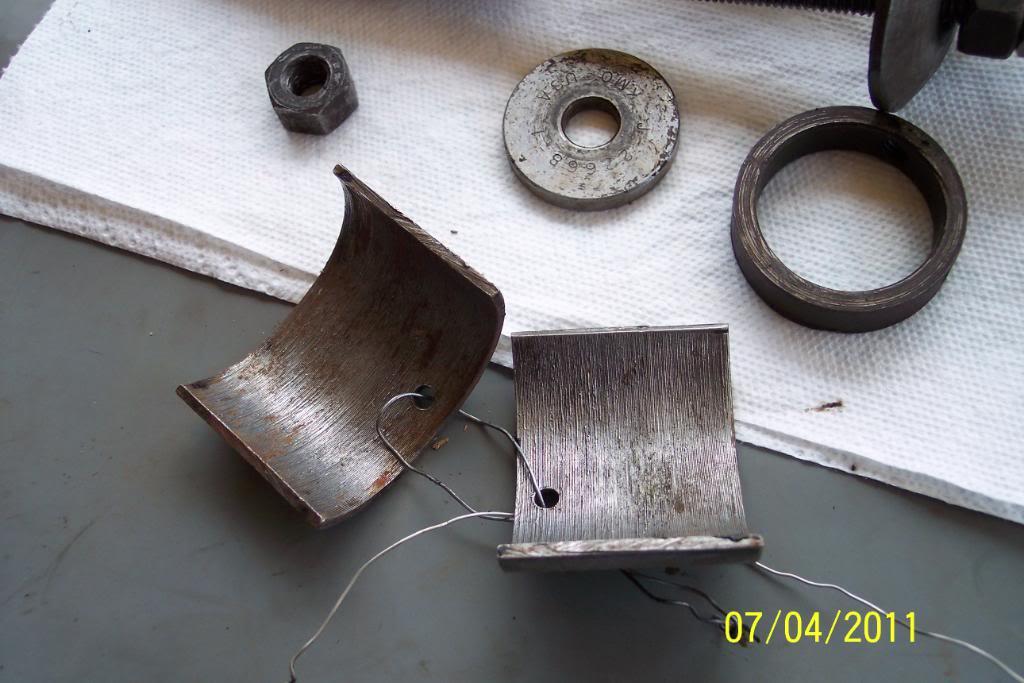
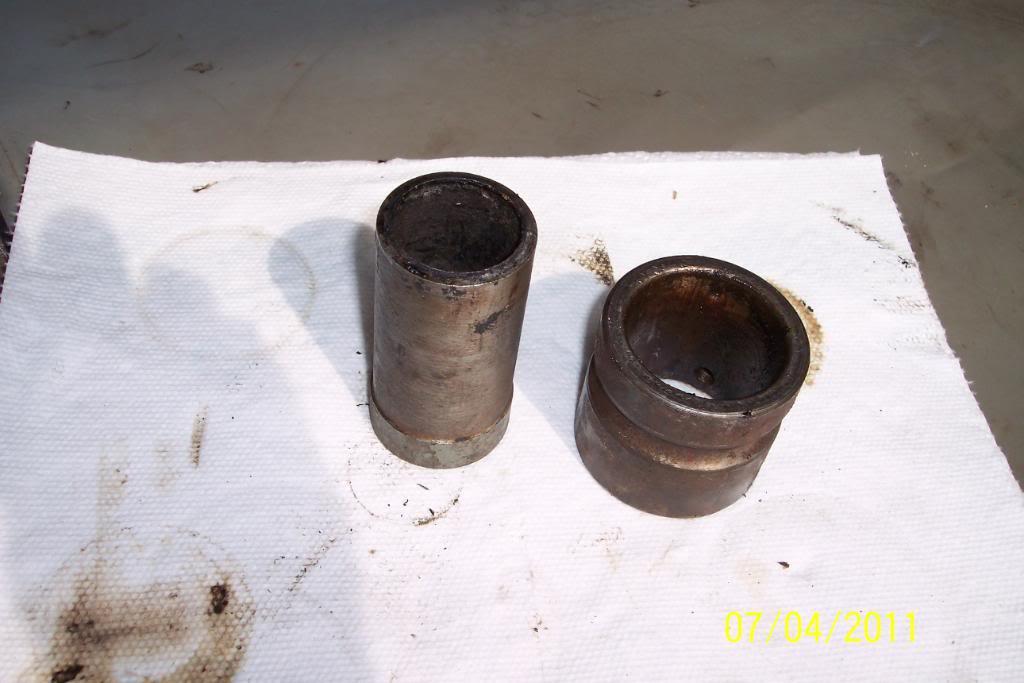
Here's a pic of DS LCA bushing I removed (the big one in diff brackets). I'd say it was past time for new rer susp. bushings . Wouldn't you?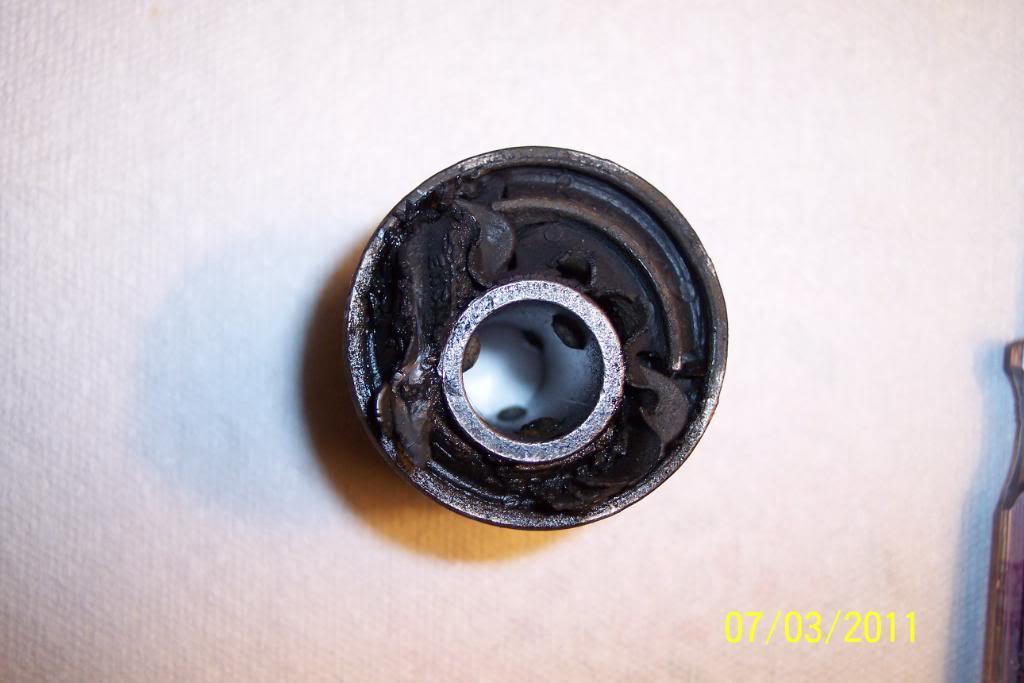
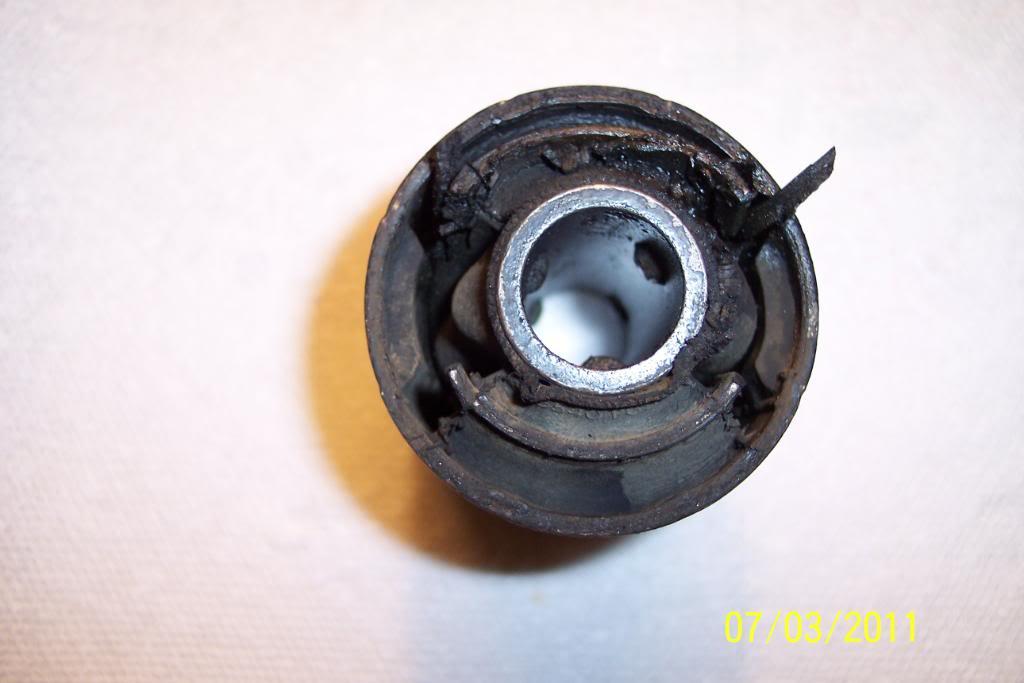
These are not the worst condition ones I've removed for rear of 240s. These aren't toooo bad, but still should be replaced.
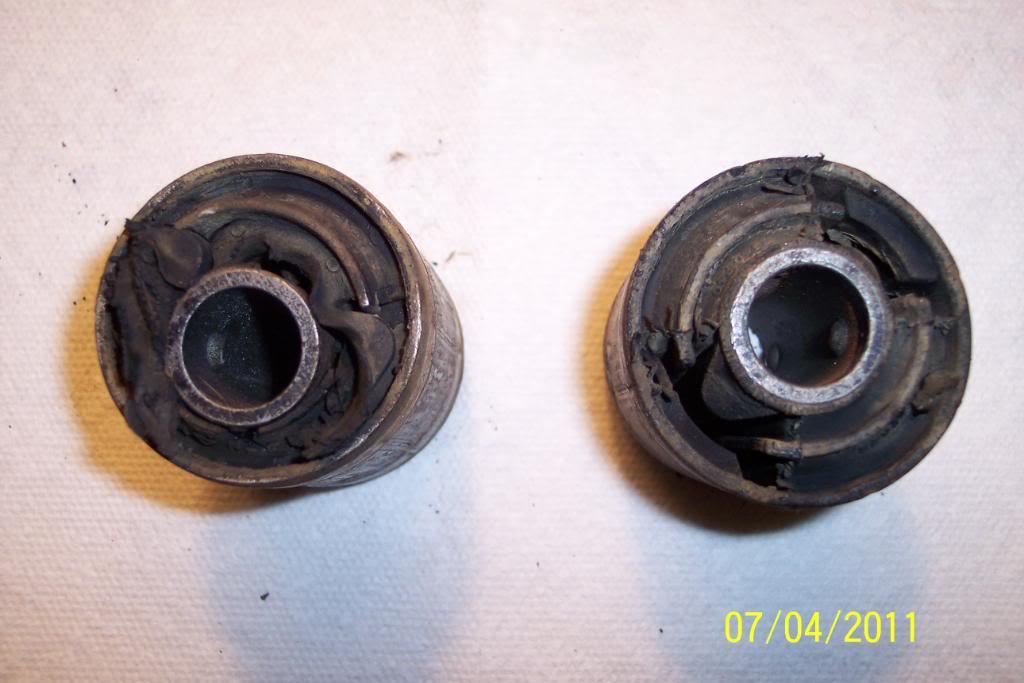
I don't have a new OEM Volvo bushing. The pass side bushing appears to be in much better condition though. (see pics below) now have
I can post pics of how I have the diff/rear axle "suspended" for LCA & it's bushings, removal and the homemade tool I used to press them out if that would help any.
I'm using SuperPro poly to replace them. The later 240 OEM bushings appear to be made weak /er for a smooth ride to me.
But I could be wrong........ I imagine the Volvo engineers had their reasons. Seems I remember someone said, that they should articulate some.
FWIW, the IPD adj panhard rod & adj torque rods come with poly bushes already installed. So I actually only need to install the 4 LCA bushes. Yay! LOL.
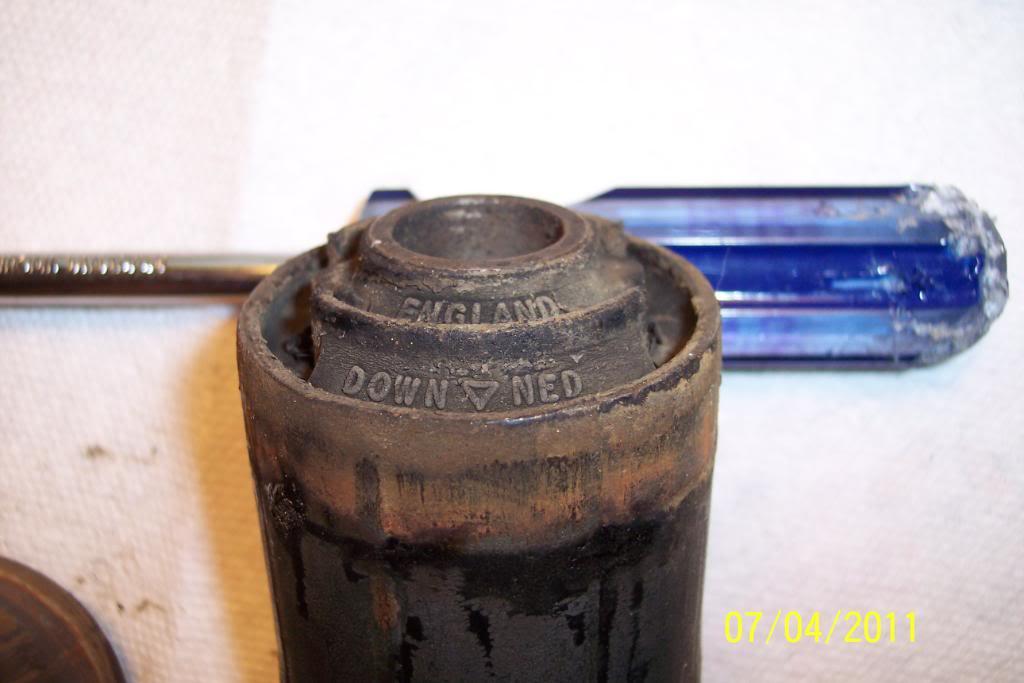
And FWIW, these were OEM Volvo bushes I removed. Says VOLVO on both of them , & then I notice the lettering telling they are made in England .
I was expecting them to be made in Sweden, or Germany. I presume the "DOWN V NED" marking is actually telling installer "downed" with arrow pointing to the downward position bushing is to be installed in the diff brackets/LTA.
I expect this is due to the fact position of bushing is important . Due to the fact the solid rubber portion should carry the downward load, and the hollows should face fore & aft.
Next step is to wash the undercoating off the lower control arms (LCA), and cut the plates I'm going to brace/box them with. Then get it welded. Still deciding how much bracing/boxing I really want to do on them.
Left = dvrs side, and right = pass. side in pics
Necessity truly is the Mother of Invention...........
This is for the big LTA bushings mounted in those ears on the rear axle hsgs.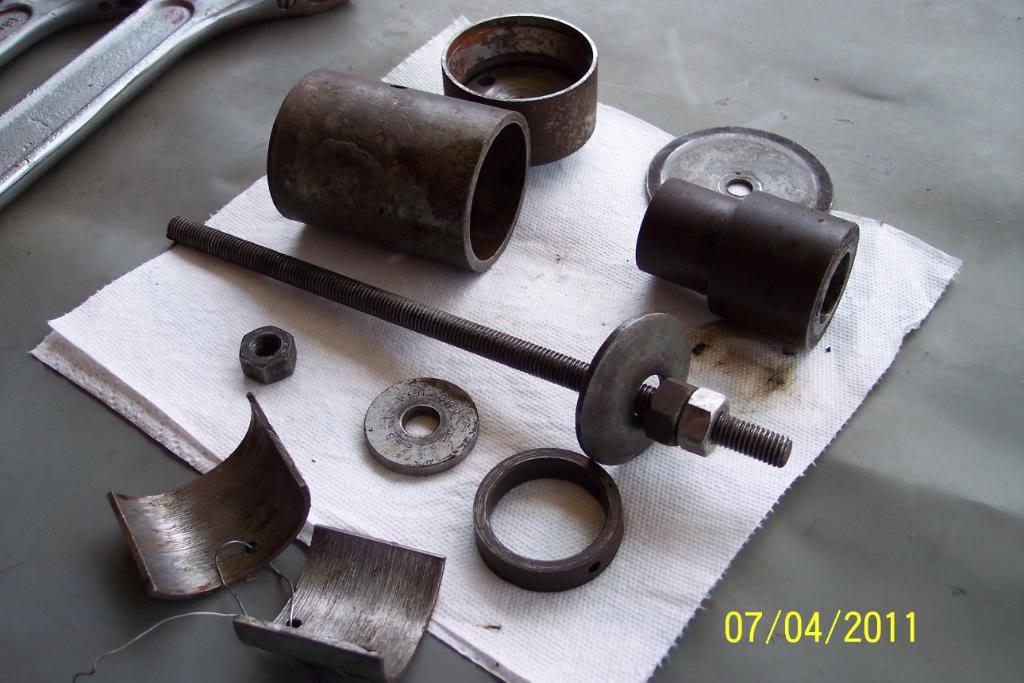
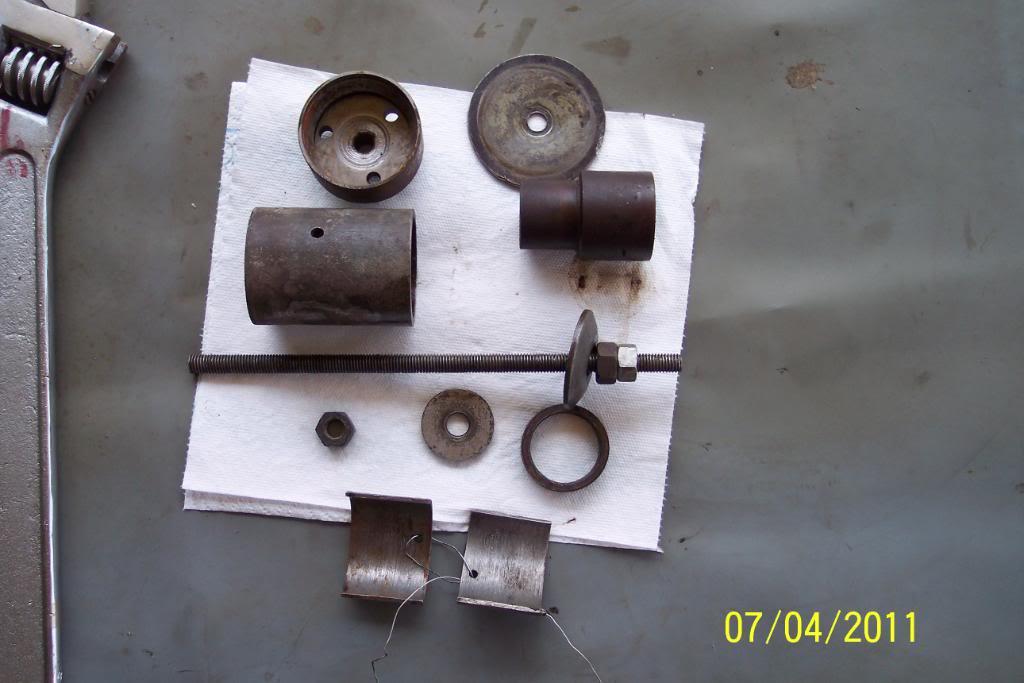
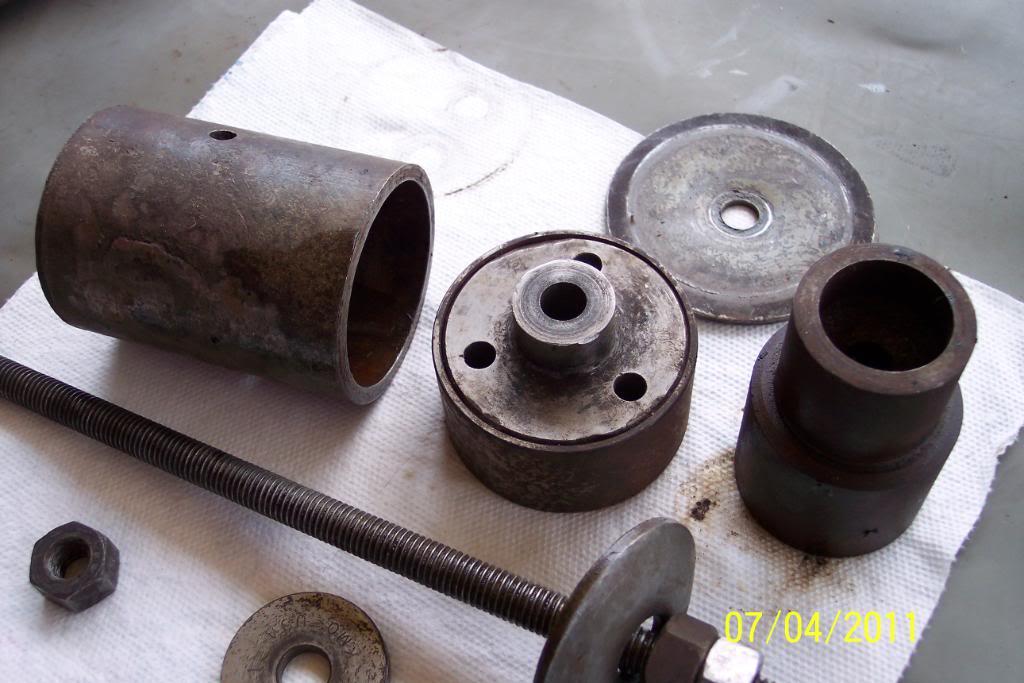
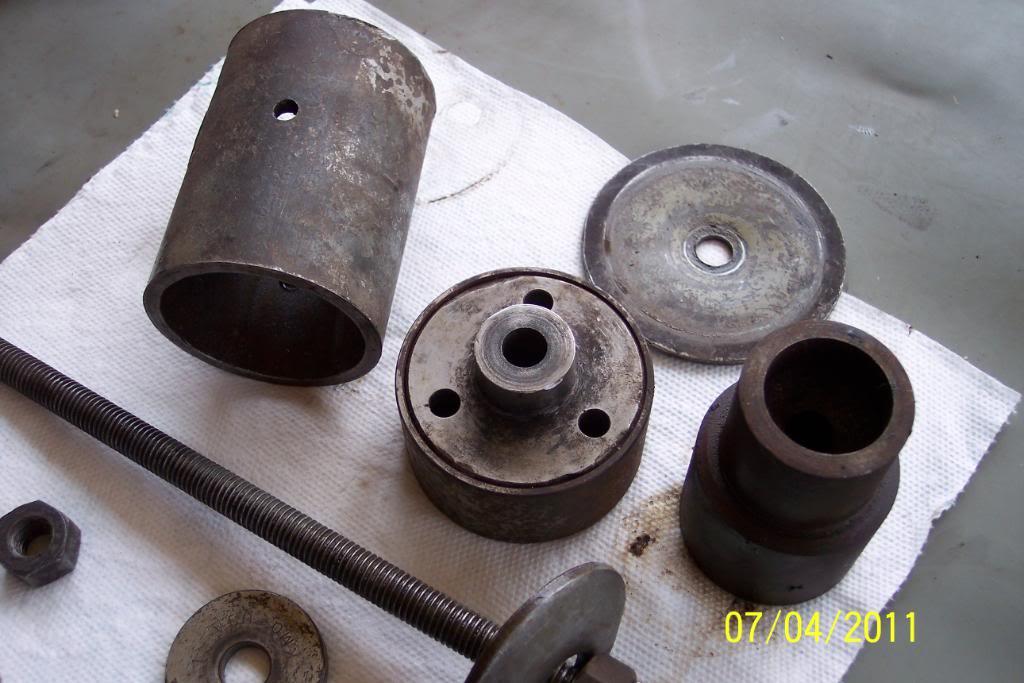
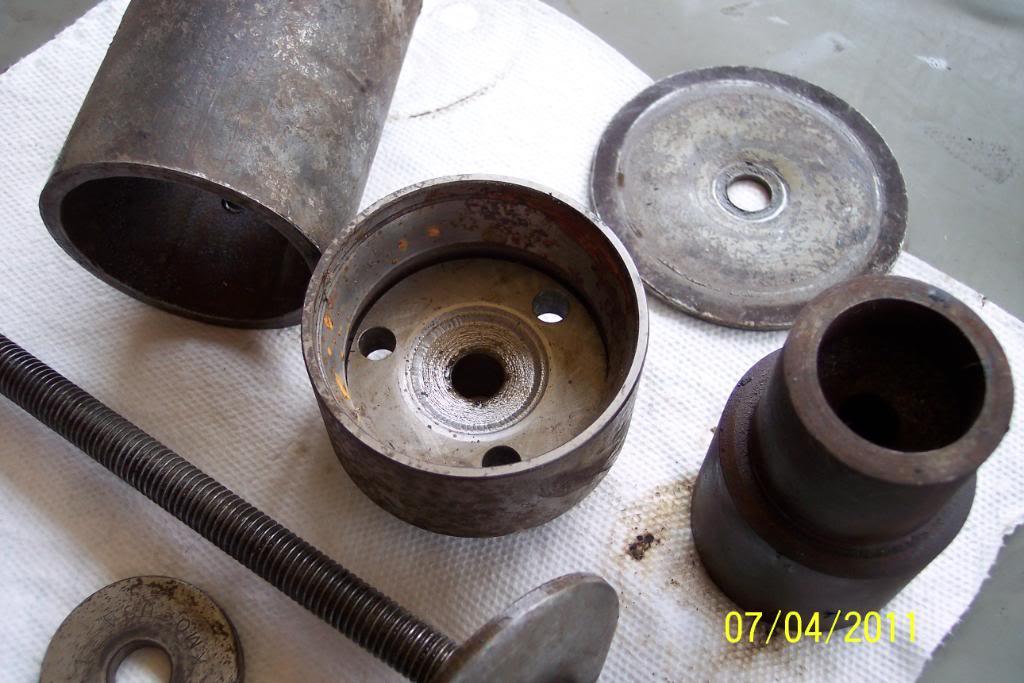
And these two items, along with my homemade 20 ton press with a 40 ton sized frame, presses out the small bushings in the LTA, on the LTA's small end.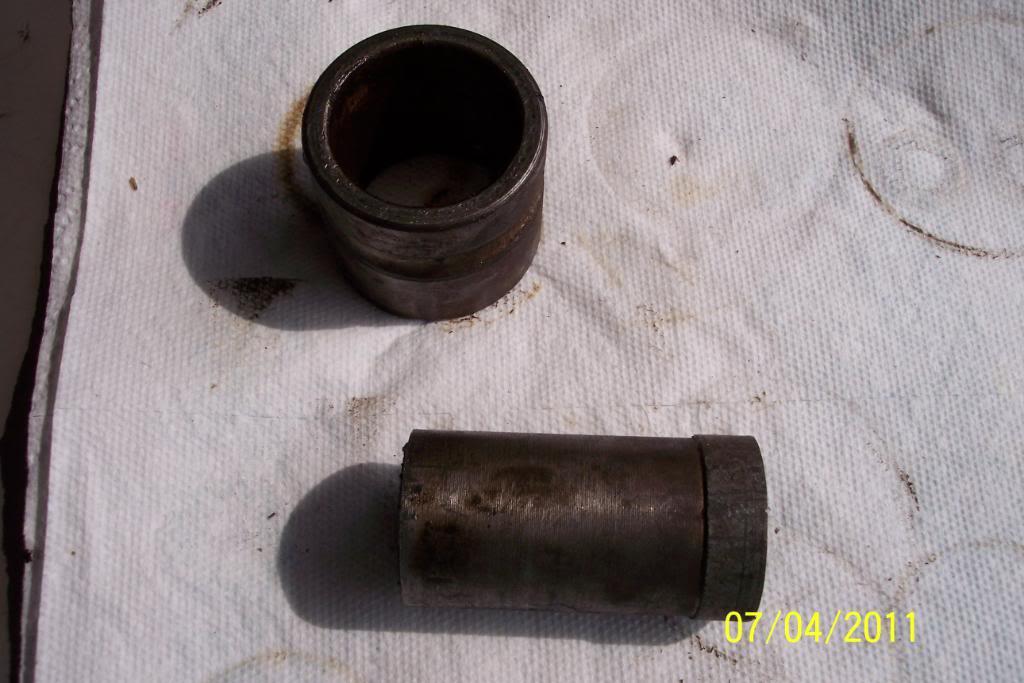
I save any type of round steel or aluminum, brass part, as it's nice to have things to make specialty tools from and it usually comes in handy, & saves a lot of time hunting things that'll lend themselves, when it's time to make a tool.
Pic of how I used the jackstands to support diif & help keep in alignment , enable me to remove both at once, & to help ensure re -installing the LTA will be relatively easy.
Probably overkill, but I'd rahter do too much than not enough & wish I had,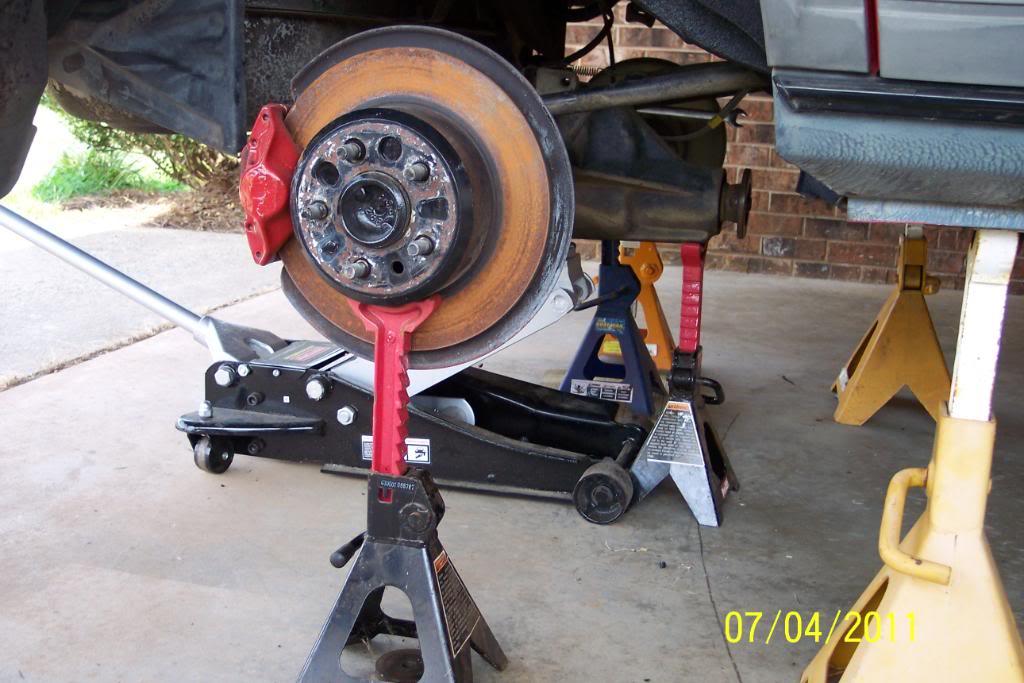

Nice build!
Posted by Diggymart on 3/30/20 @ 2:45:08 PM