You must be logged in to rate content!
6 minute(s) of a 242 minute read
4-5-2008
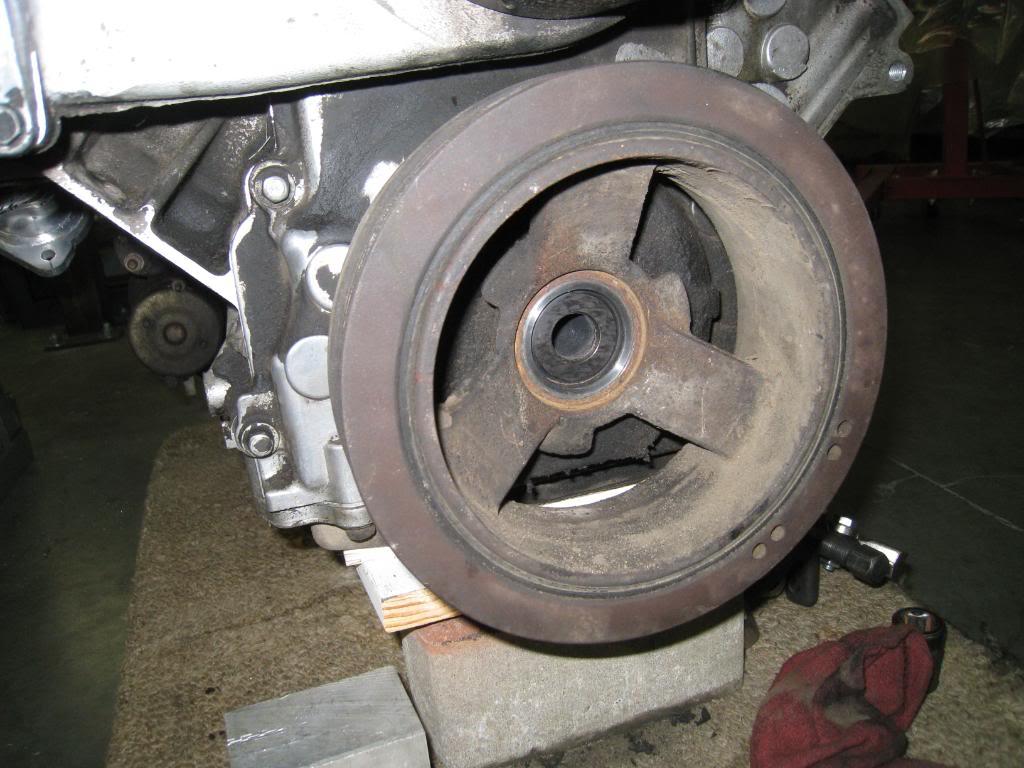
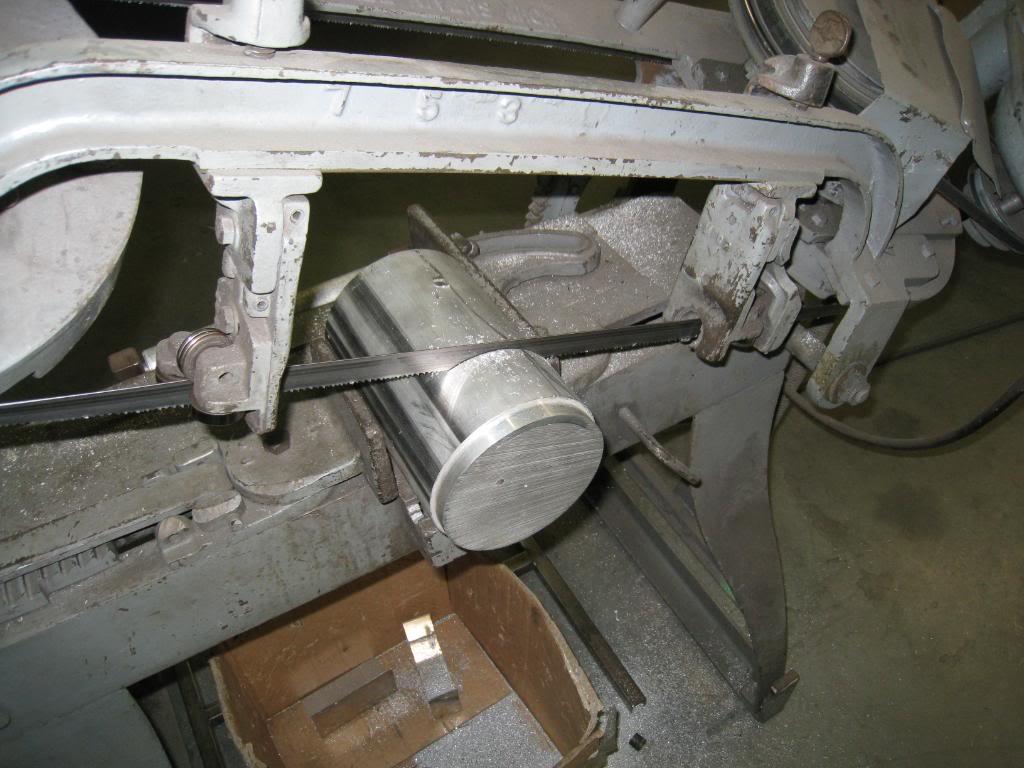
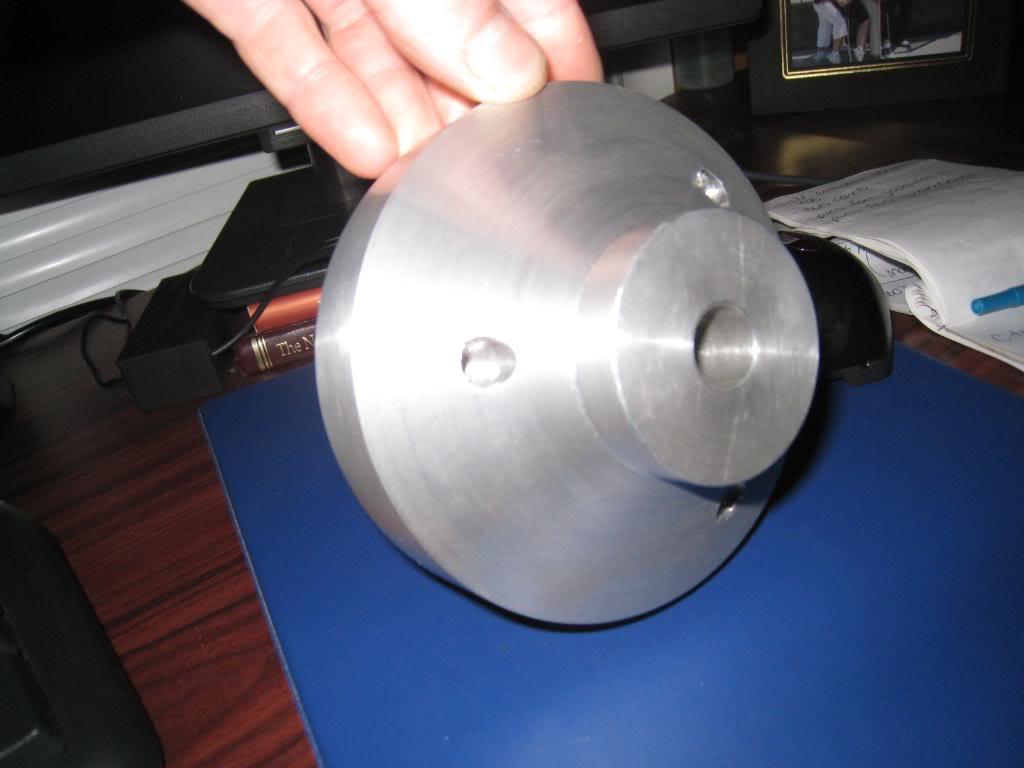
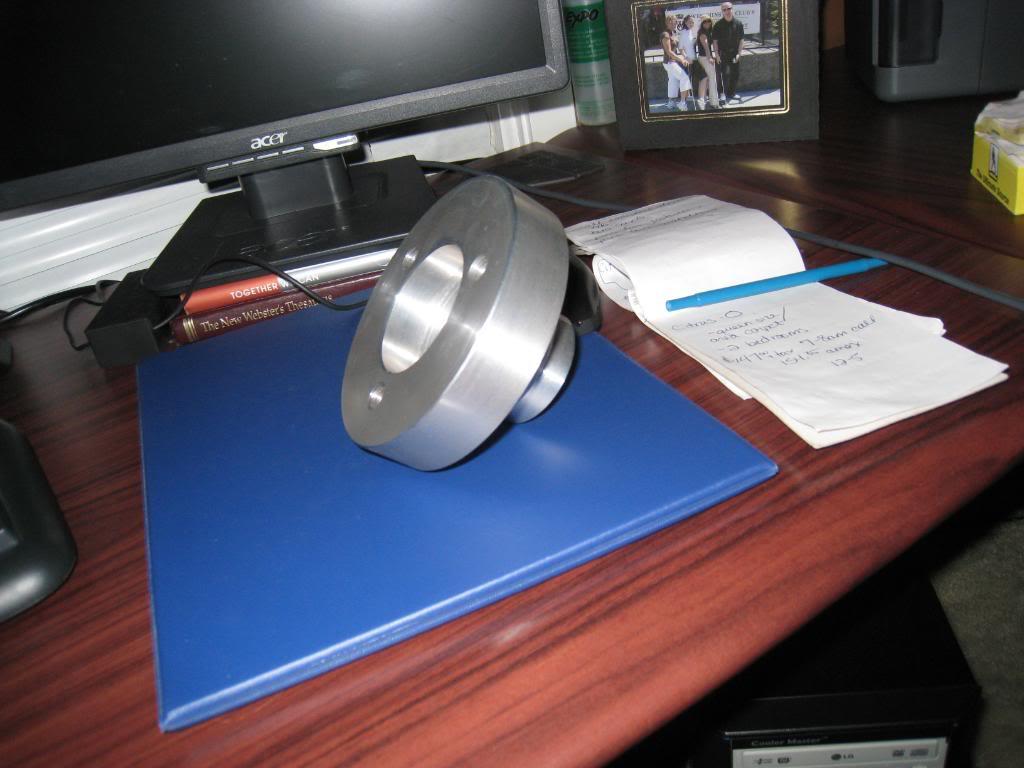
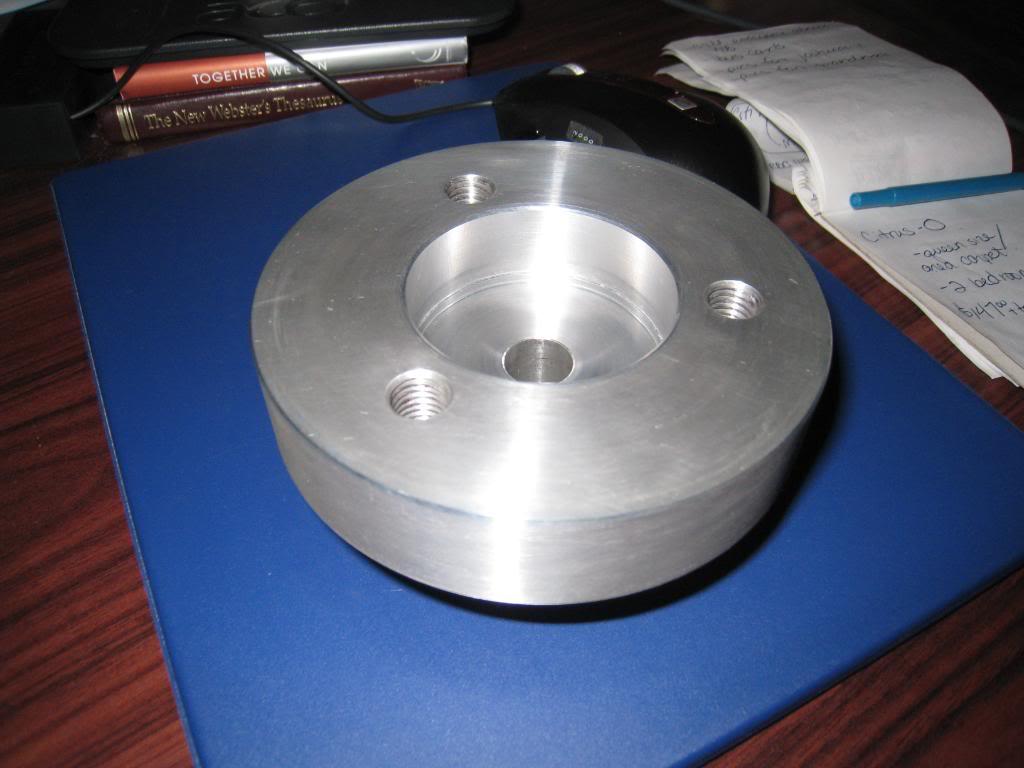
Took the day off of work and went over to a friends shop, Momentum Auto Parts, to use the lathe! Since I am doing a fully custom Procharging on this motor I have to fabricate everything. So I started with this 5 inch chunk of 6061 and made this crank pulley adapter. The plan is to mount the charger on the passenger side of the engine, just over the stockserpentine belt tensioner and a little outboard.
I took a boroscope to the LS1 I got and checked out the cylinders and found that this motor needs a rebuild. No big deal, as Richard from the shop I got it from, KMS C.A.R Parts, told me to feel free to tear it down and if it needed work to bring it back and they would get me another one. Almost thought service like that was dead...
That was a full days work....whew... only 28,000 more parts to fab, assemble, etc., till I'm done!
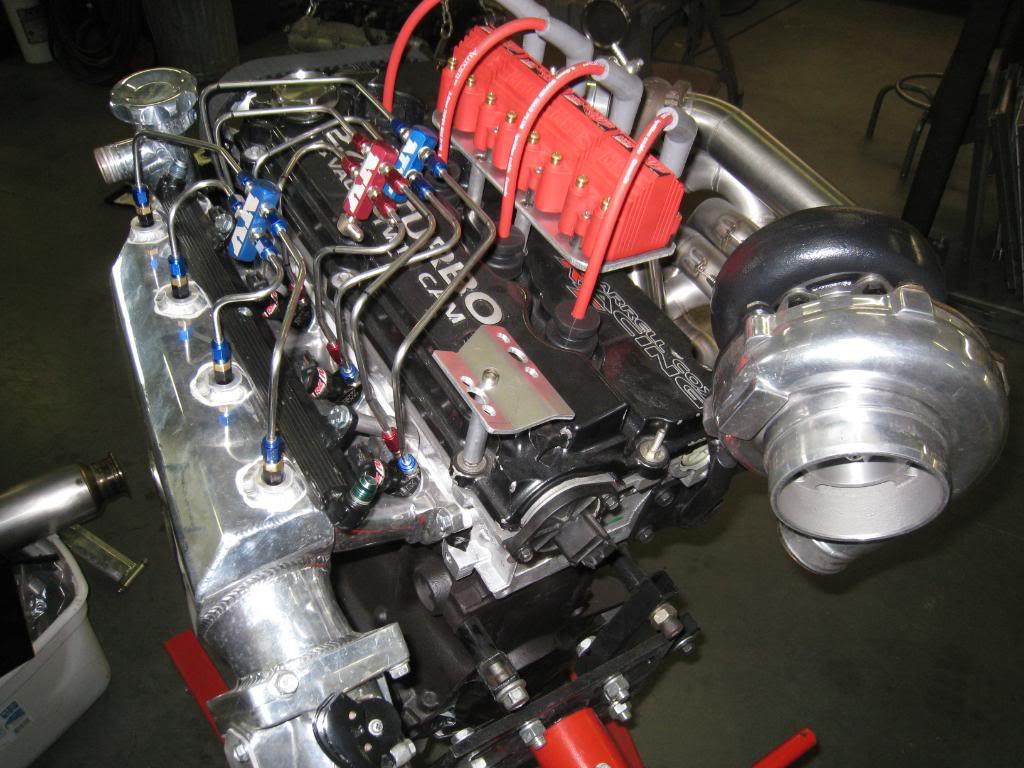
Here's a cool motor thats for a buddy's PT Cruiser...I know,I know,...anyway, rumored to be 750hp...
4/8/2008
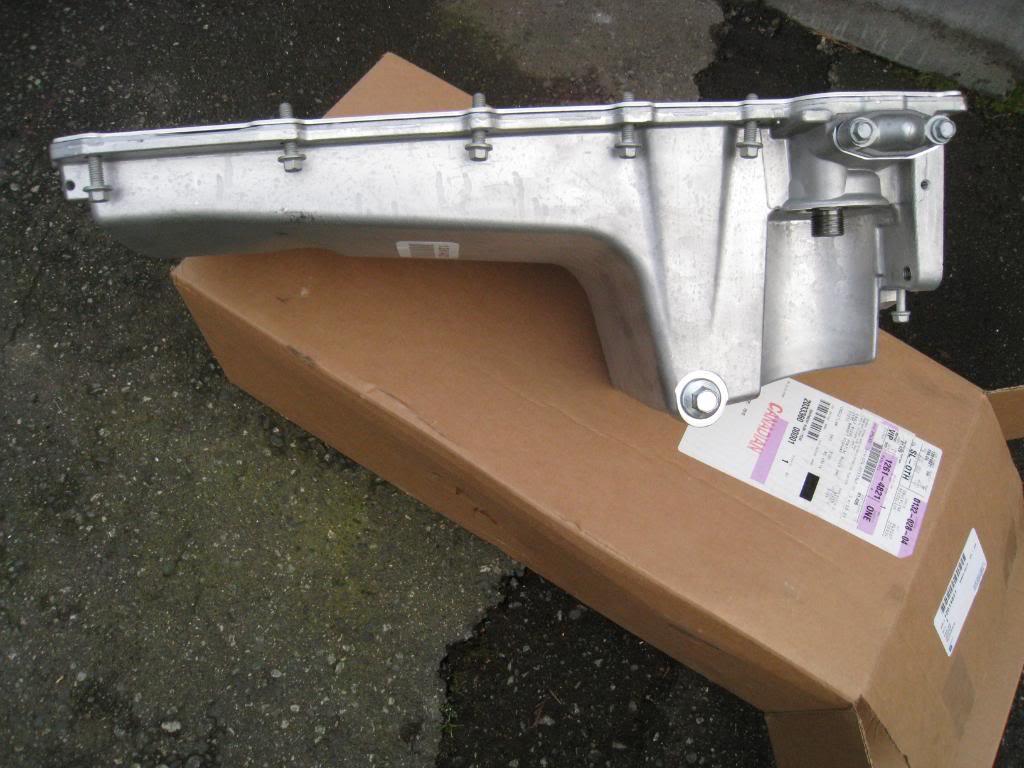
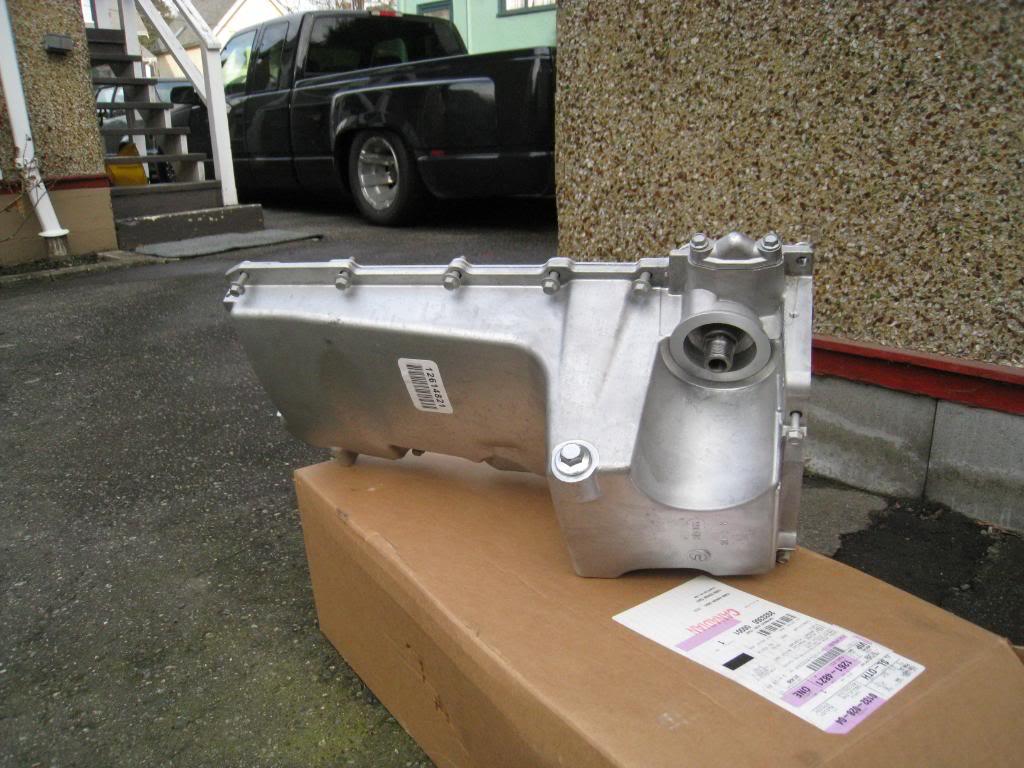
No real progress to report, have to do responsible things too it seems. Did get a couple of new parts though... Here's the oil pan GM # 12614821 ($256cdn) also got the dipstick # 12603506 ($24cdn), and the oil pickup (gm calls it a screen) GM # 12608593 ($57). Still waiting on the windage tray and dipstick tube.
I'm keeping the fuel injection. I am going to fab up my own pump system using 2 walbro 255's in tank run in parrallel. I think the fuel system will be fairly straight forward, being that I am procharging it and am using a rising rate fuel pressure regulator and return system. It's all custom on my car anyway, so I figured with enough research I should be able to make a pretty simple system.
And yes, there are alot of different opinions of what rust free is out there....
I went with the H3 pan as I want the engine as low and far back as possible. I must admit I didn't even try the f body pan, but when I put the dummy motor in without a pan on it, it looked like it would be too close. In saying that I also noted that there is a lot of space at the back of the engine, and maybe the f body pan would work if the engine was mounted in relation to the pan.
I'm going to go visit Art Morrison's shop at the end of the month to look at his front clips, may have a new front end in my future...
4/12/2008
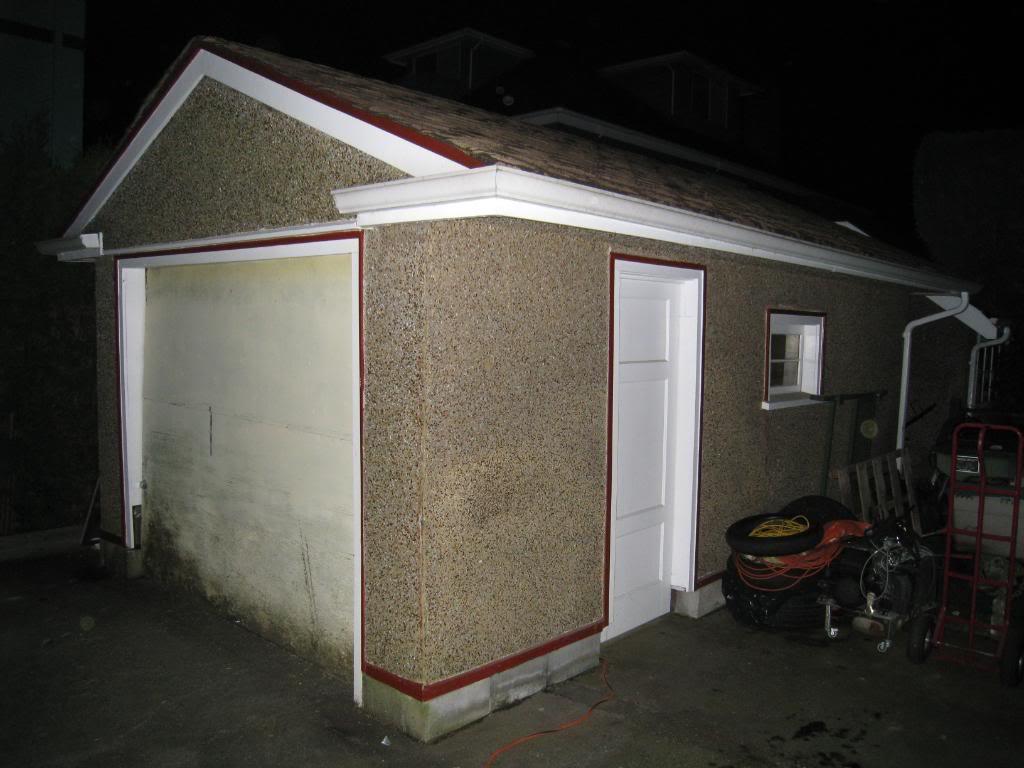
ow big is my garage???
Well, lets put it this way, I may qualify for the smallest garage ever for a project of this size to be done in.
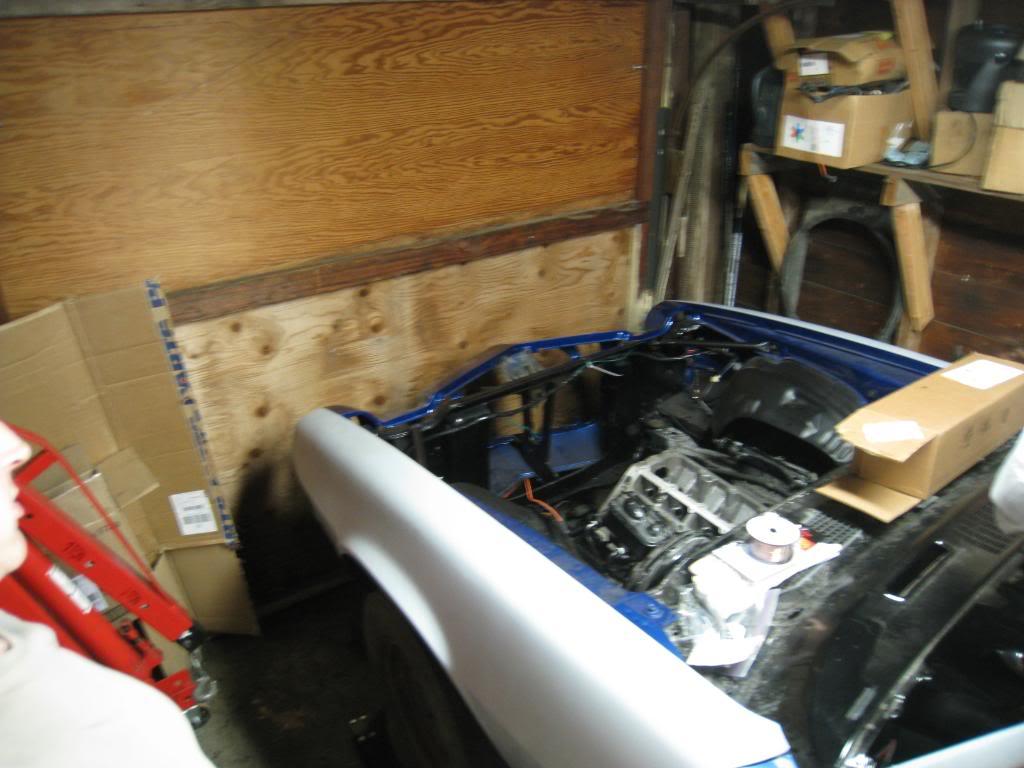
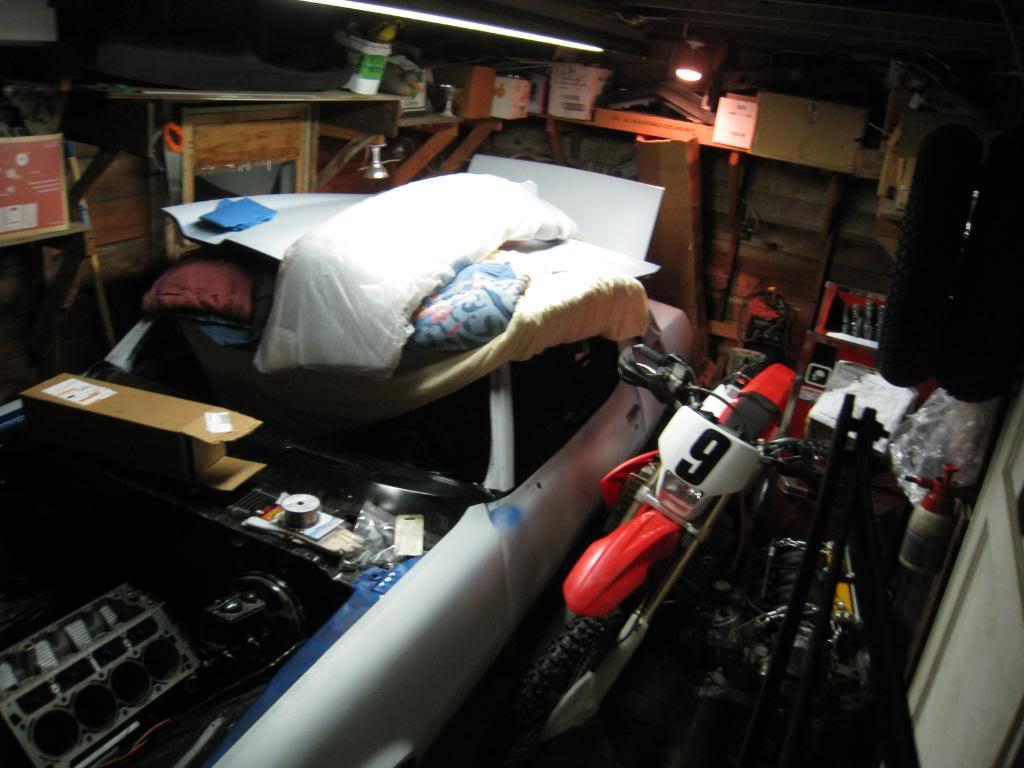
My garage is 10' x 19'. In order to work in it I have to drag out the engine, 2 motorcycles, my tool box (recently brought home, quit my job as a motorcycle tech as it was cutting into my time to build this car...jk), and an engine hoist. The car is on 4 wheel dollies so I can move it around...Yes, I am dedicated and patient.
Ryan, who did your paint? I am in need of a trustworthy bodyman / painter. I'd love to check out your car sometime, PM me when you get a chance.
Here's a few pics of my MASSIVE GARAGE...
The LH8 pan hung down about 2 inches, however, that was using the transdapt style motor mount adapter plates and no shims. I wanted to get the motor as low as possible for handling reasons, and when I did I saw how low the pan was and decided it was not the way to go. I want the pan to be no lower than the cross member. I also noted that the front of the LH8 pan is deeper than the F body pan, and hits the stock steering. I swapped the pan back to the F body pan as it has a more shallow front edge, and found that it was level with the crossmember, but also between 1/4 inch from touching it and just touching it on one corner. I figured that a little crossmember massaging will take care of that gap. I then realized that I hadn't taken into account that the alternator sits very low on the drivers side. I put it on and found that I couldn't steer. Damn. Ended up lifting the motor maybe 1 inch and all woes are cured, except the pan to crossmember clearance, but again, thats a couple minutes with a grinder and reweld the seam.
If I went to a rack and pinion front clip it would all be perfect, but for now, I can adjust motor mounts...
The headers are for a 99 camaro, they are JBA manifold replacement type. (pic in an earlier post) I know they aren't the best choice, but they were cheap and I have aspirations of a twin turbo set-up...
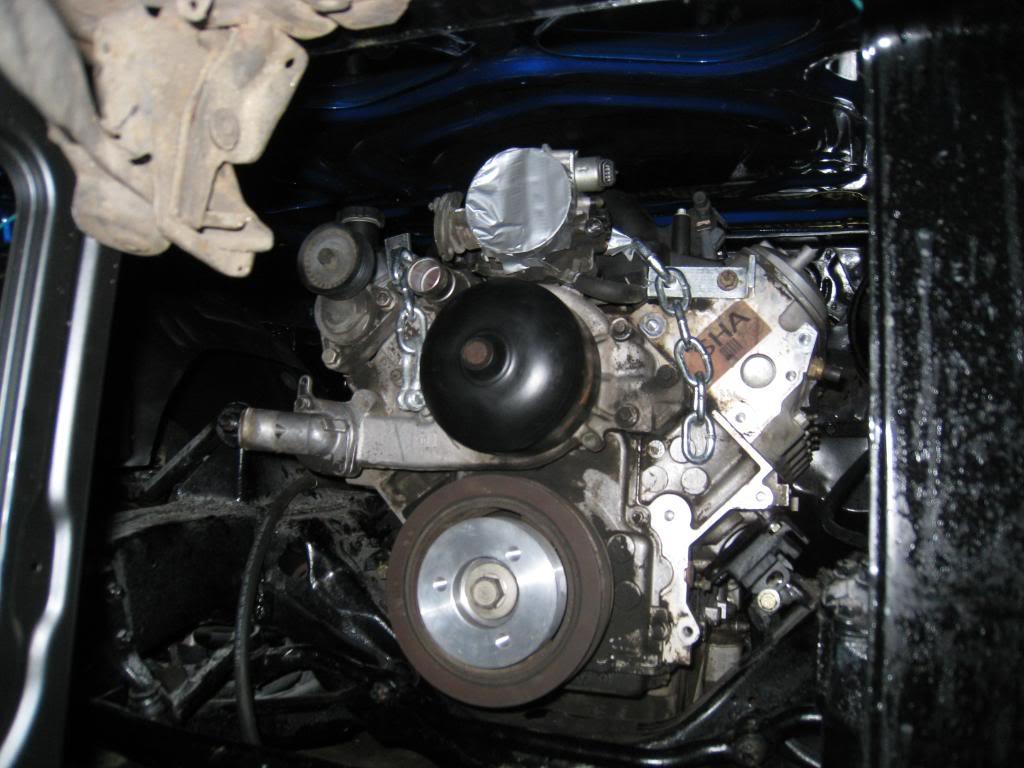
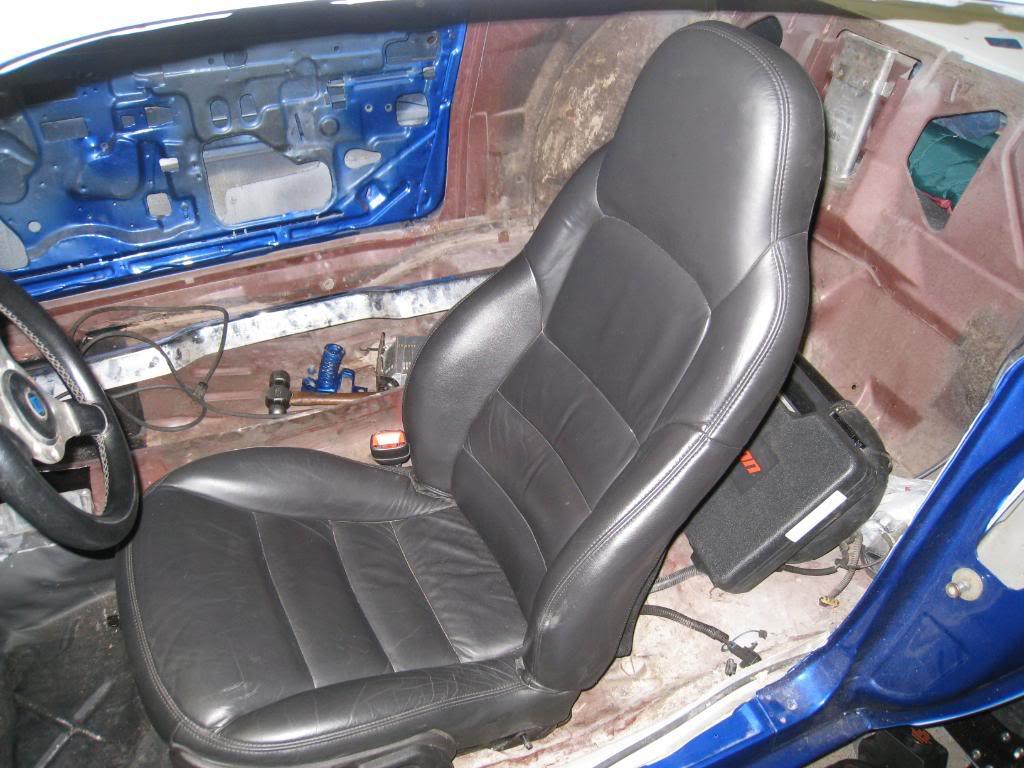
Here's a couple of pics... '07 Corvette seat, note the hood to throttle body clearance, thats with the motor jacked up to the height it needs to be.

Great build!
Posted by Diggymart on 2/14/20 @ 5:54:05 PM