You must be logged in to rate content!
6 minute(s) of a 242 minute read
3-3-2009
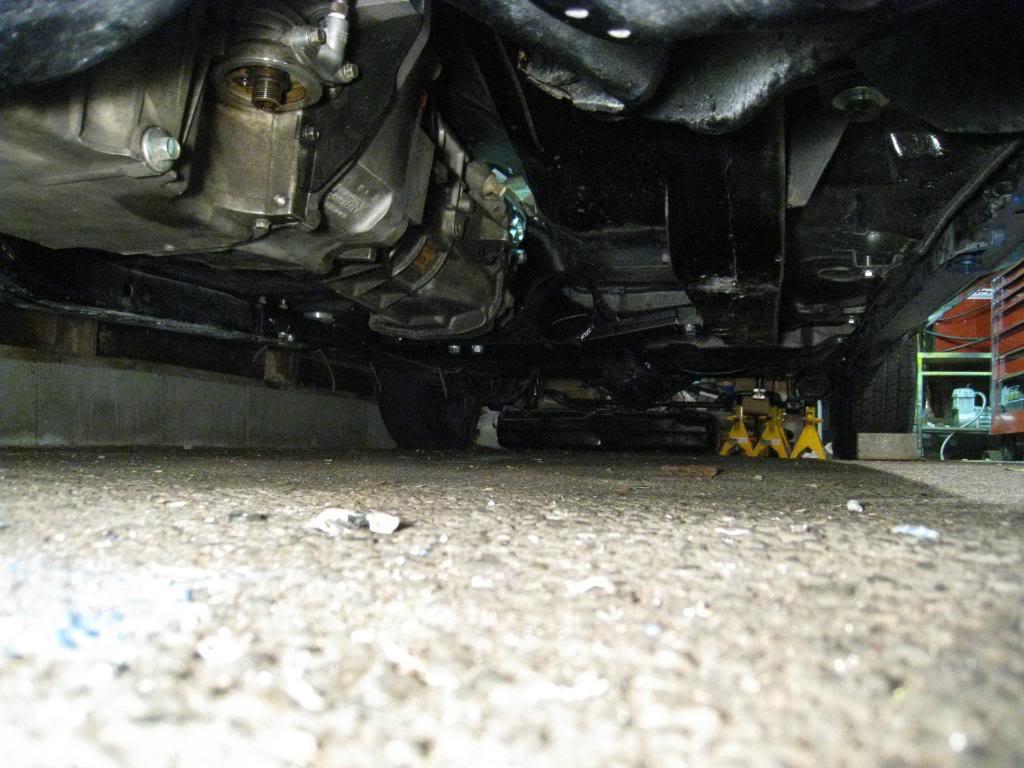
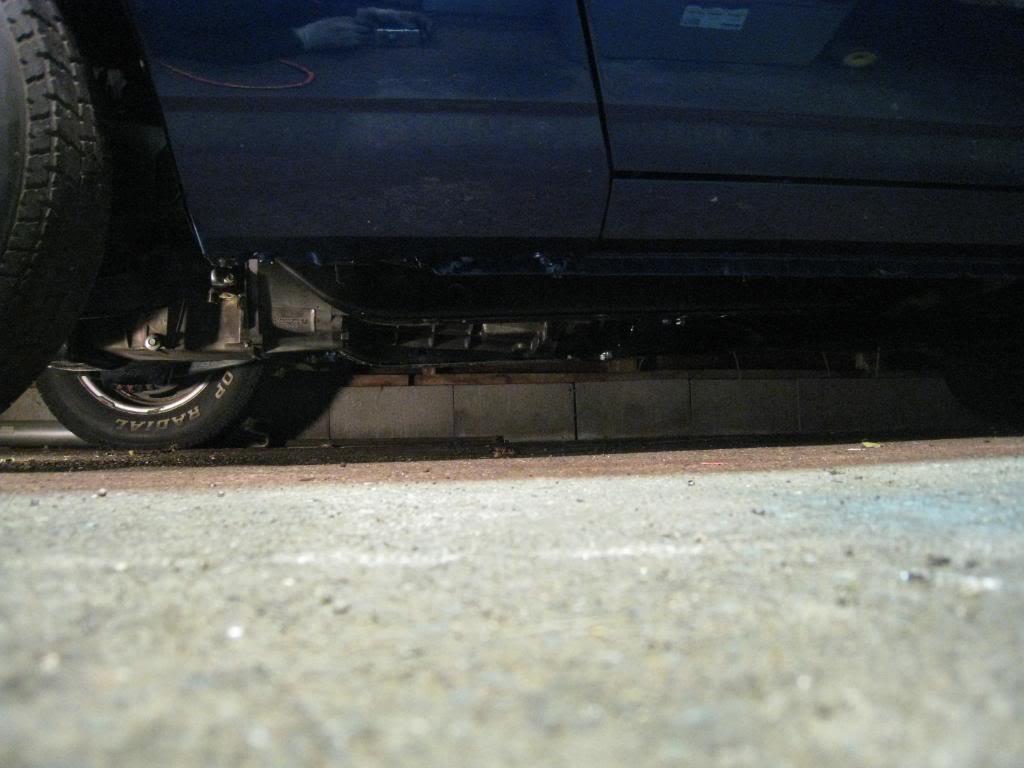
Cleaned up the tranny a bit and installed it tonight. The new crossmember worked perfectly, really happy about that! Here's a few pics. Note the clearance between the hood and intake, that shot is with the hood closed!
- all this is being done in a 10 x 20 garage too!!!


3/8/2009
Ok, I've been putting this daunting task off as long as I could. Time to convert my engine harness so that I can get this thing running.
Step 1. Collect as much information as possible. I found a wiring diagram/manual online and downloaded and printed as much of it off as I thought neccessary. Also found a manual for an aftermarket harness so that I could see what is used after all is said and done.
http://www.ls2.com/forums/showthread...hreadid=405808
http://www.hotrodlane.cc/PDFFILES/squireLS7.pdf
Step 2. Lay out the harness on the livingroom floor (sorry Jenn)
Step 3. Label as much of it as possible. I went as far as to use the aftermarket instruction sheet and use their item numbers on the labels, thinking that at the end of this it will make more sense.

3/11/2009
Again drifitng away from my wiring... At least I got something done!
Here's a cheap way to replace your Vaccuum Brake Booster with a Hydro-Boost booster. Or at least thats what I am hoping.
So I want to use hydro-boost power brakes so I don't need to be concerned with a lack of vaccuum because of my engine being super-charged. Not only that, the Hydro-Boost just seems to me to be a better idea.
I could have bought an aftermarket kit for $$$ but I'm all about building it myself, so here's what I have found.
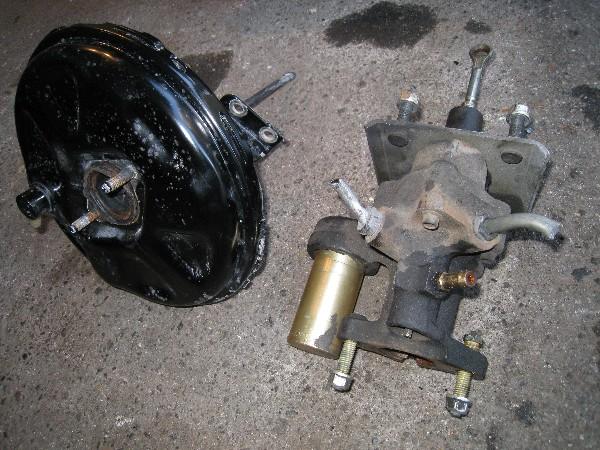
I found that Astro / Safari vans run a hydro boost system, that looks very similar to the aftermarket systems. I went to the wrecker, did some snooping, and found that pre-95 boosters have a flat mounting flange on them. The newer ones are recessed into the firewall on an angle, which may have worked if the bracket was flipped around, but I felt that the flat bracket would give me more options in case I had to fab something up. Paid $45 for it.
Took the master cylinder and vaccuum booster off of my car and started thinking.
Here's what I did.
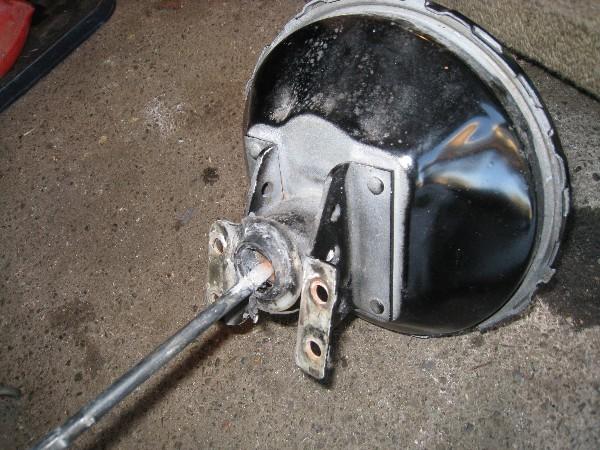
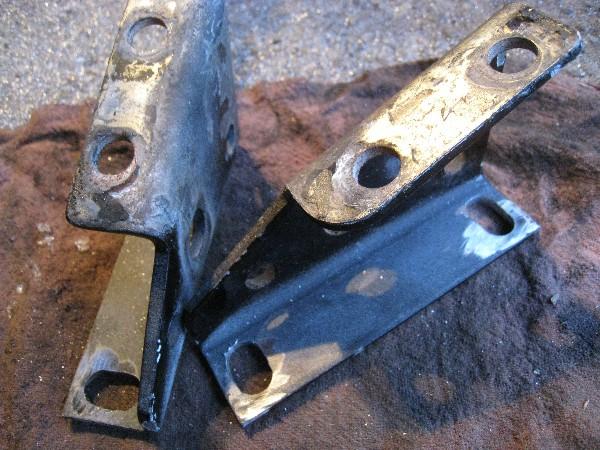
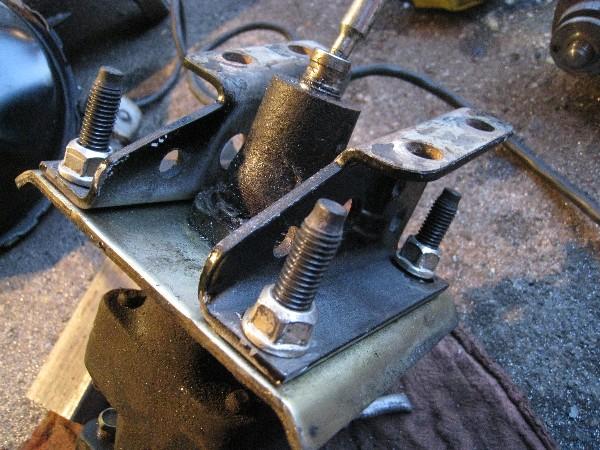
Step 1. Remove booster bracket from booster by grinding off rivet heads and prying off.
Step 2. Using a die grinder, elongate the rivet holes towards the center of the bracket by 1/4 inch.
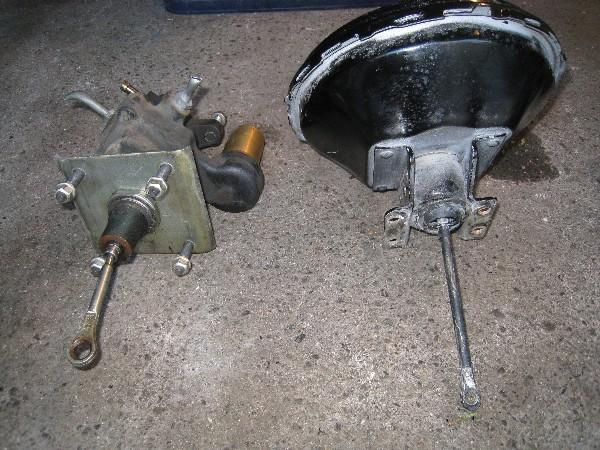
Step 3. Loosely attach the brackets to the new booster and cut the excess stud off.
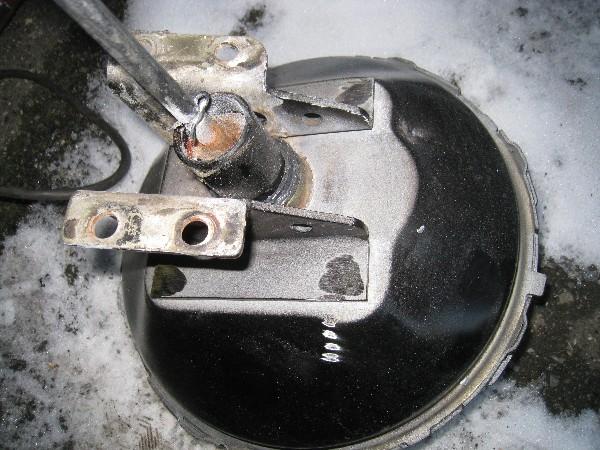
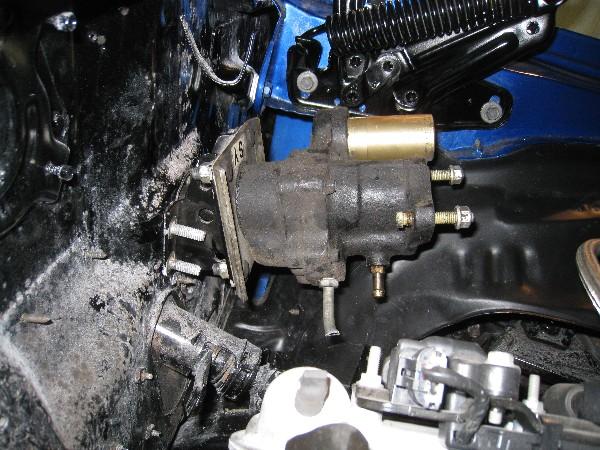
Step 4. Bolt the assembly back onto the firewall and then tighten the bracket to booster bolts. This will assure that the brackets are positioned properly.
Step 5. Re-attach the master cylinder.
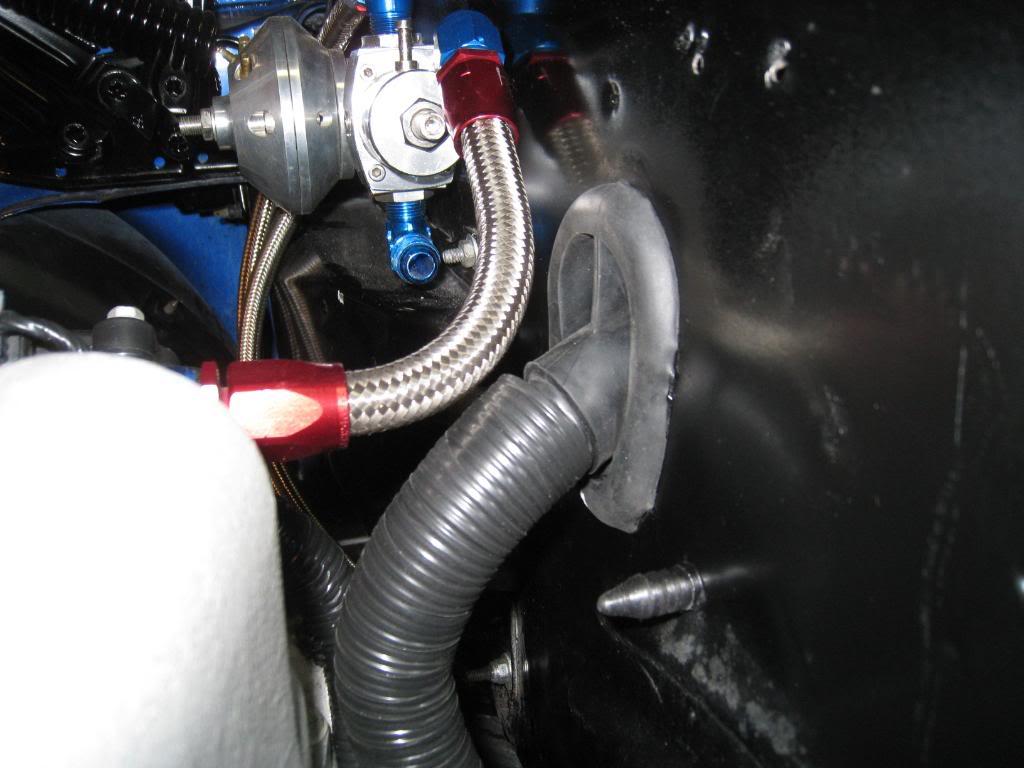
Thats all I had time to do so far, here's some pics...
I'm looking into a different master cylinder, I'm not happy with the hood to cylinder clearance. I'll address the pushrod length and plumbing later.

4/14/2009
Haven't been making that much progress, things are busy at work! I got a driveshaft made, and installed it. Got an aluminum 3 core radiator, need some rubber saddles for it and I'm looking for a non-chrome heavy duty upper rad support bracket. Ordered a 4" thick x 12 x 24 intercooler. Found a wiring harness grommet at a wrecker so that I can pass my PCM harness into the car. It came off of a 1998 mustang  (at the firewall behind the right fender if anyone wants one) I de-pinned every wire from my PCM plugs, ran them through the grommet, and re-attatched them. TEDIOUS!!!! I could have put a slice in the grommet I guess, but didn't. Funny, it didn't take that long to remove from the mustang!!!! (thankyou SNAP-ON side cutters)
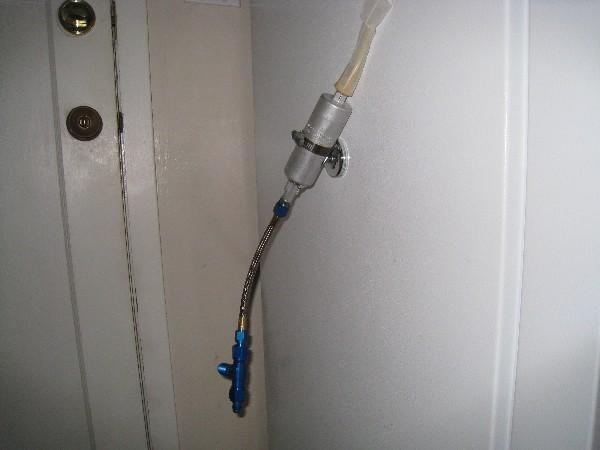
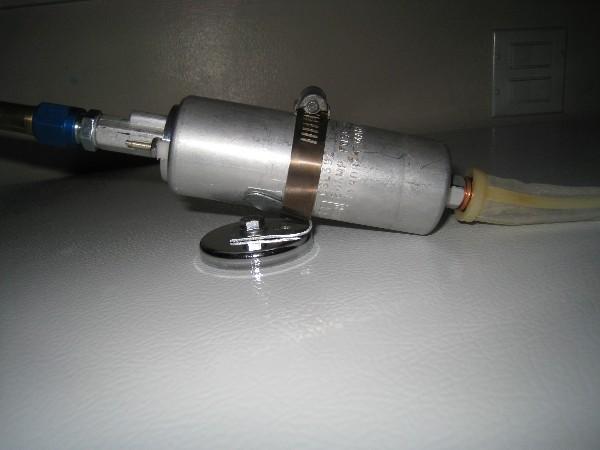
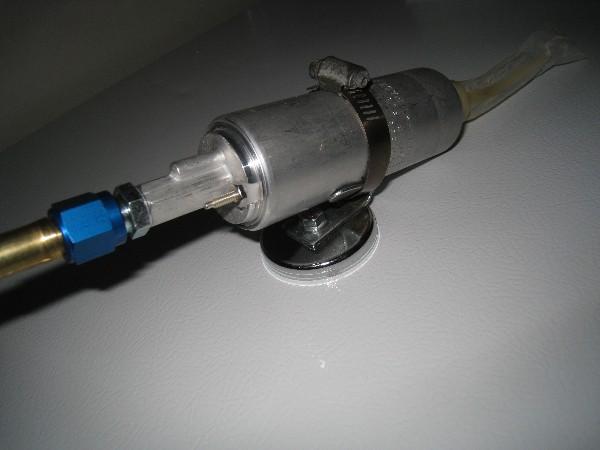
 started on my fuel pump arrangement. Basically, the pump is mounted to a magnet which fits through my stock sender hole. I am going to put a bulkhead T fitting through a hole drilled in the tank in the upper corner near where the stock fuel lines attatch. I have 2 pumps which will be located on either side of the tank, so cornering starvation won't happen. The power wire will then go through a isolater in the stock sender ring....maybe. yes the magnet is strong, there's the assembly hanging on my fridge.
Great build!
Posted by Diggymart on 2/14/20 @ 5:54:05 PM