You must be logged in to rate content!
10 minute(s) of a 217 minute read
10-10-2014
Well I hoped to make it to the Indy race this weekend but my trans got delayed in shipping and I will not make it. Long story short I sent it back for a little issue I found last week putting it in and elected to swap out first gear to the 1.62 and it is held up in shipping. ATI busted their but to get it finished and out the door and it is on a truck someplace between them and me. I was told the shipping company said I will have it Monday. Kind of stinks.
I will post some updates soon.
Thanks
10-23-2014
Hey Guys...... Well lots of progress on my end. I want to try and get everyone caught up so I can post the goodstuff.
Now the car is most of the detail work is done it time to show the finished touches that went into it.
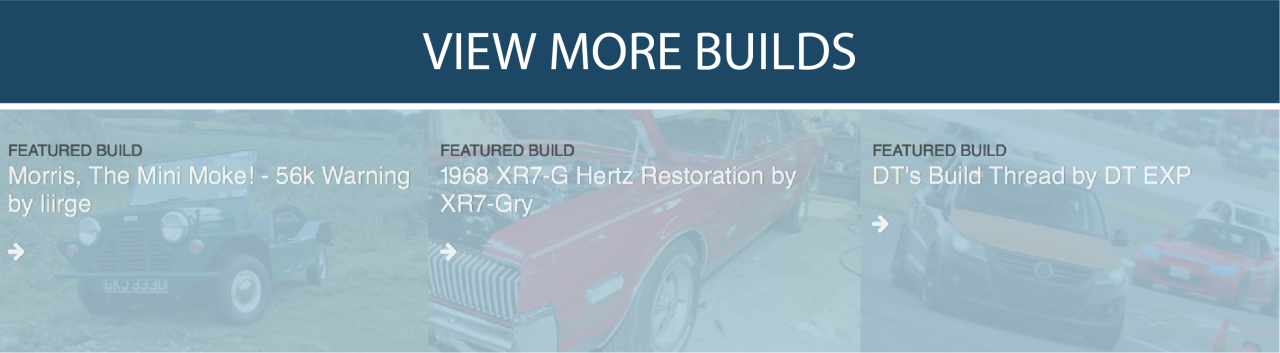
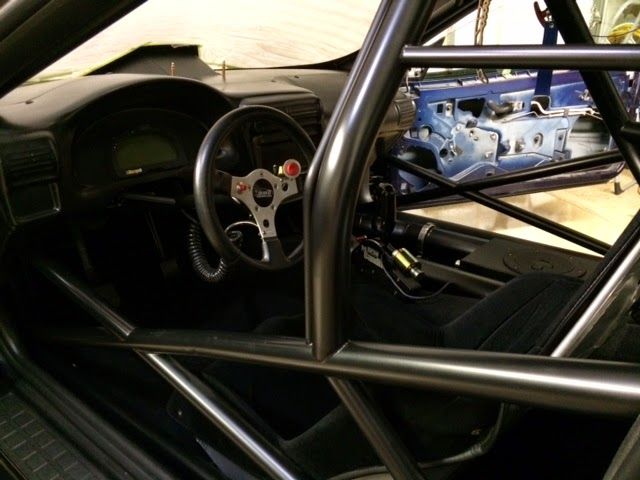
Here are a bunch of inside shots of the car
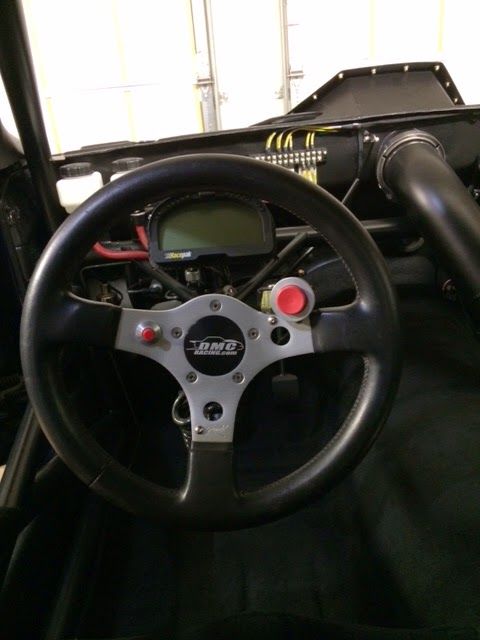

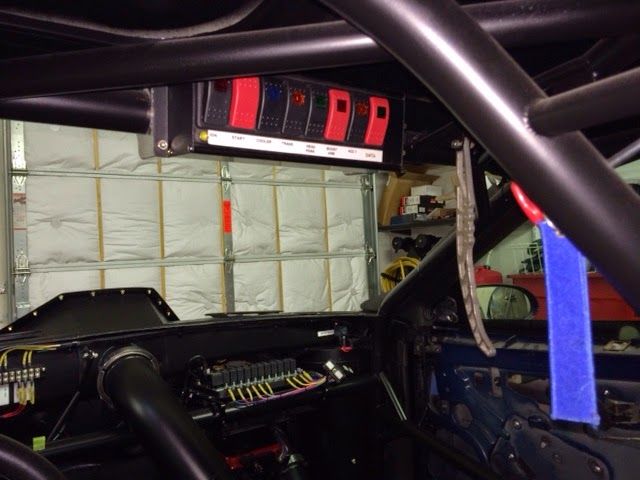
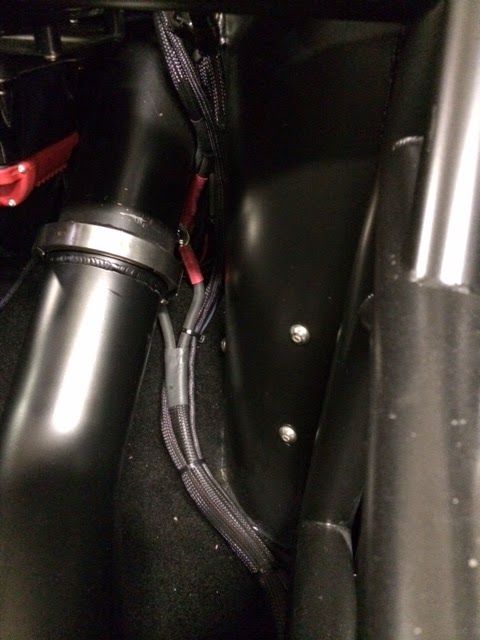
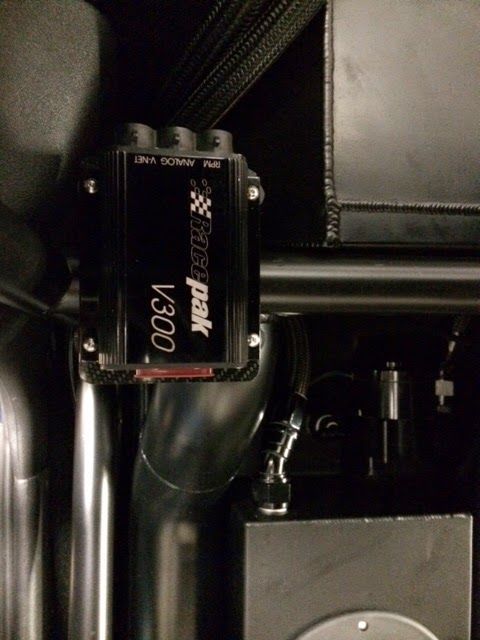
It all mount nice and clean under the dash area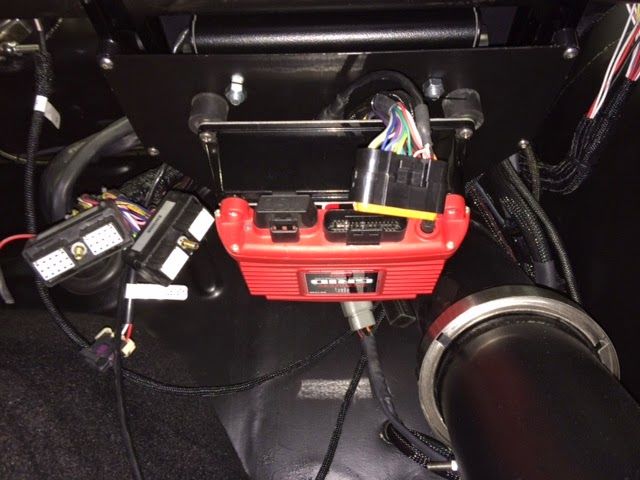
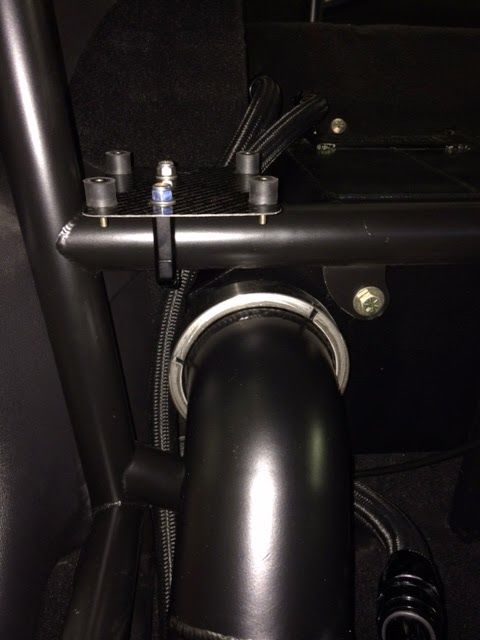
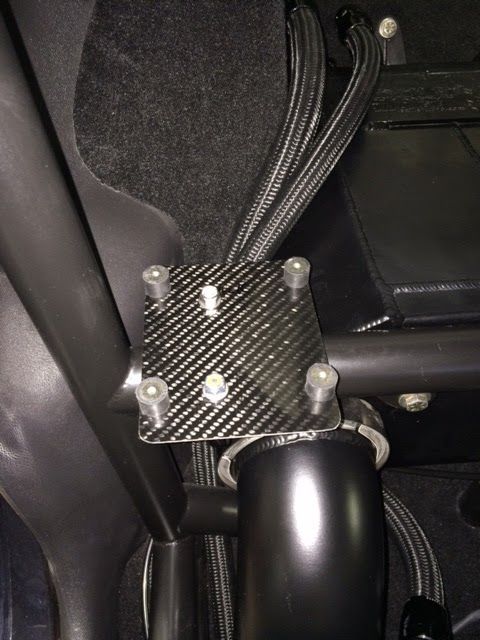
I made a little carbon Racepak mount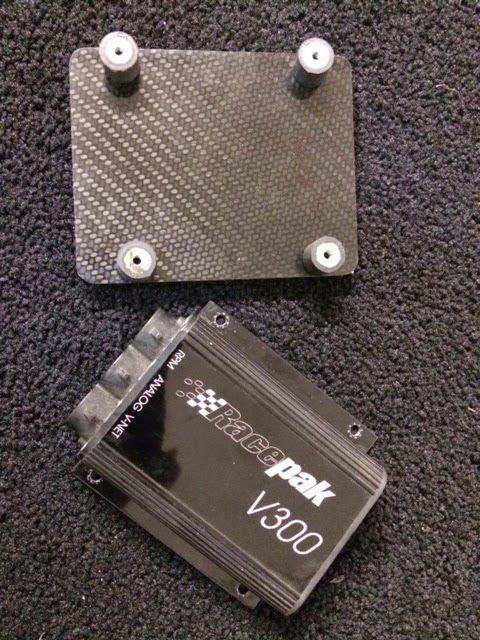

Now with the inside just about buttoned up it was time to put all the finishing details on the outside.
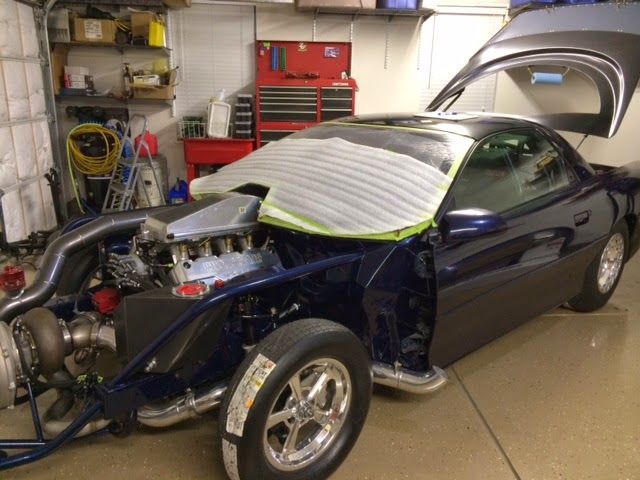
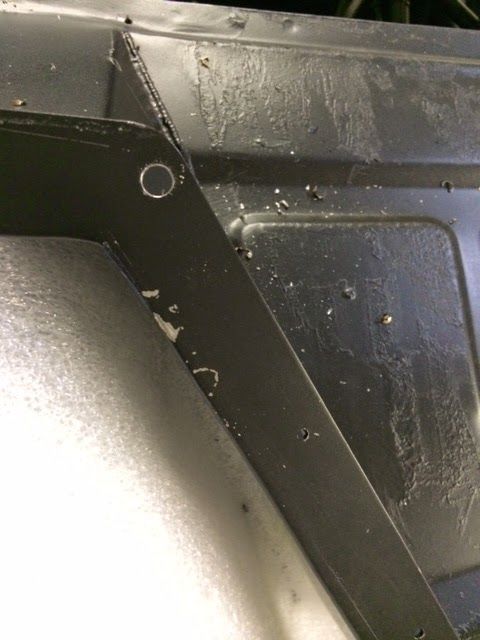
Now it was time to get the outside stuff done. With the main shell already painted and ready I started to installthe front window. So it was measured out and klicos were used to hold in.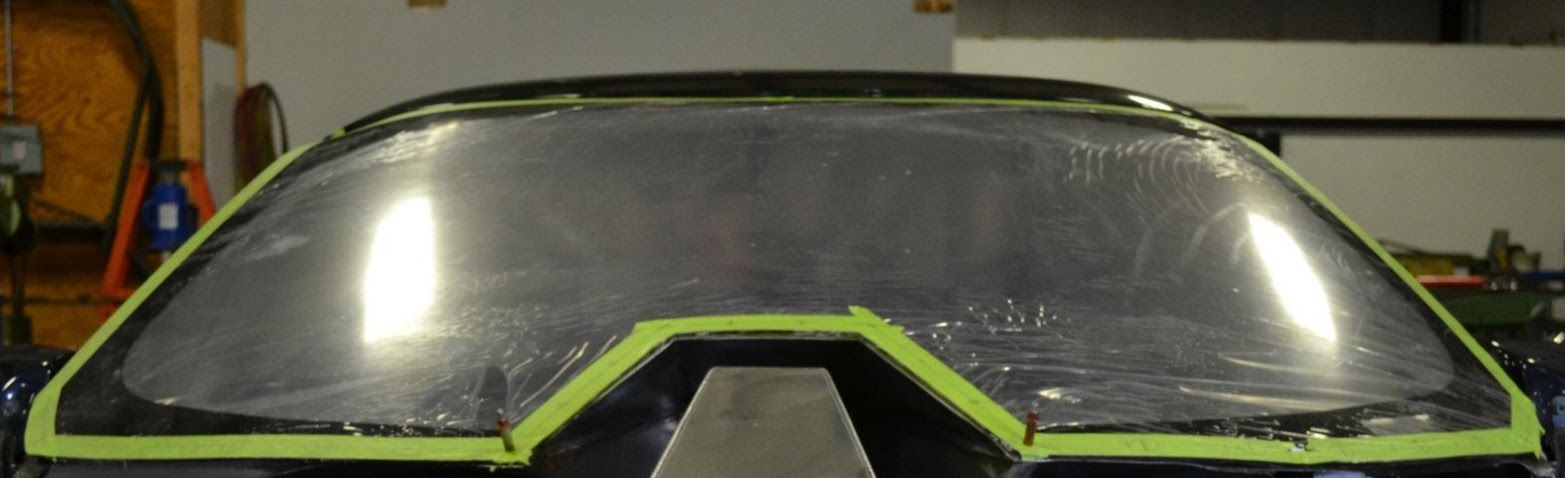
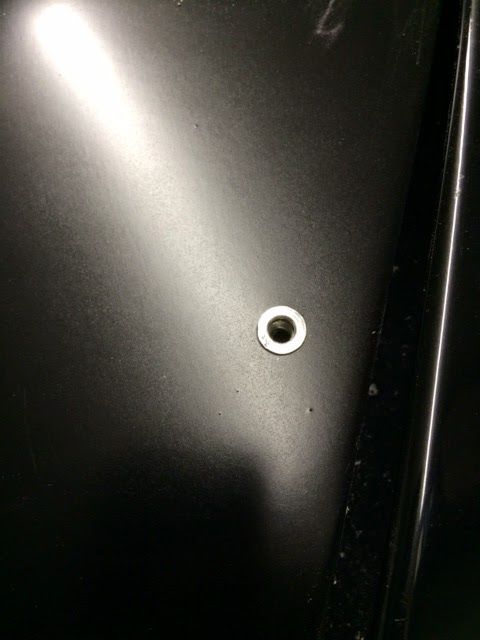
You can't just glue them in so rather than putting sheet metal in it I did a 8/32 rivet nutsert. This will make it nice to remove when needed. Here is how it was done.
I used the hex style and went with a tad smaller hole to keep them from wanting to ever spin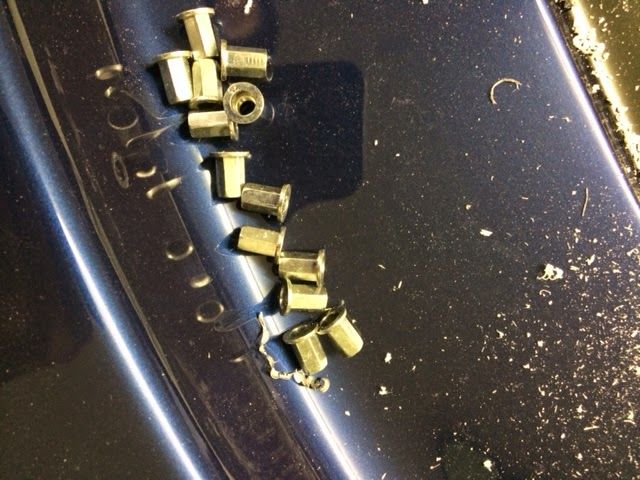
I worked my way around the whole window frame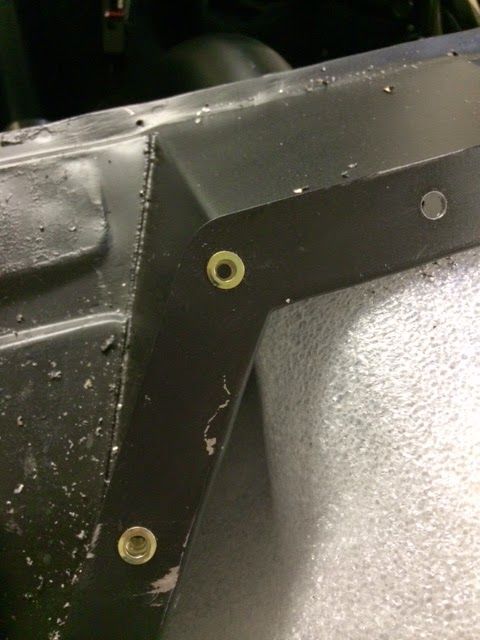
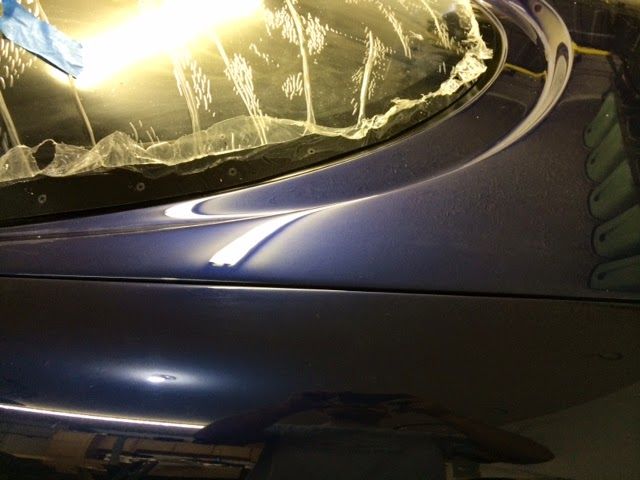
Once they were all in I placed the window on drilled through the klico holes and finished it off with a countersink bit so the screw heads were flat. I also used the factory front window molding to make the window look basically stock. This is how it looked installed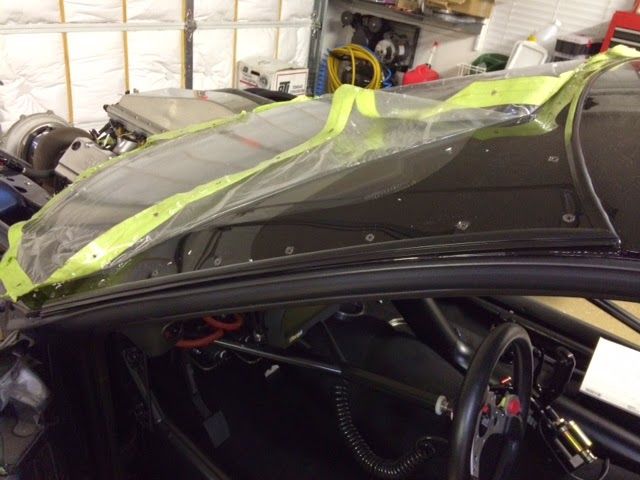
Now time to repeat the process for the rear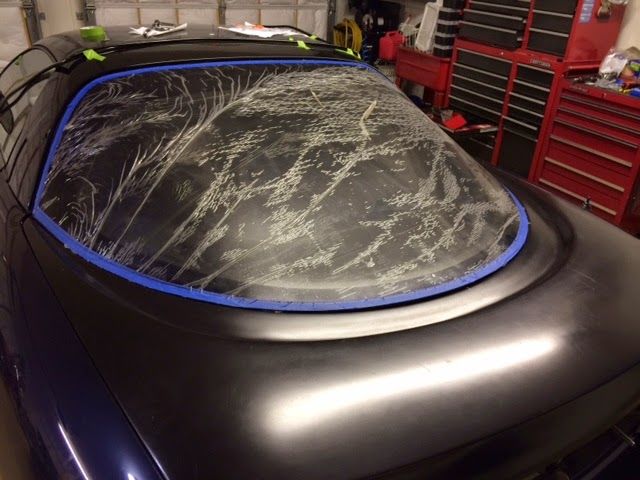

And after a good bit of time and being careful they were all in with out any bubbles or it bunching up anyplace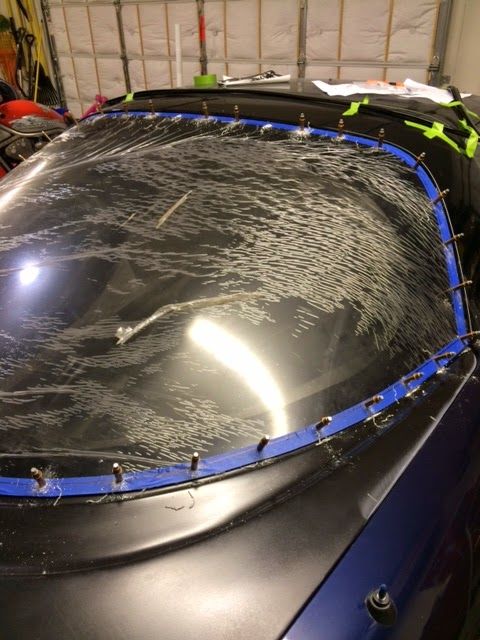
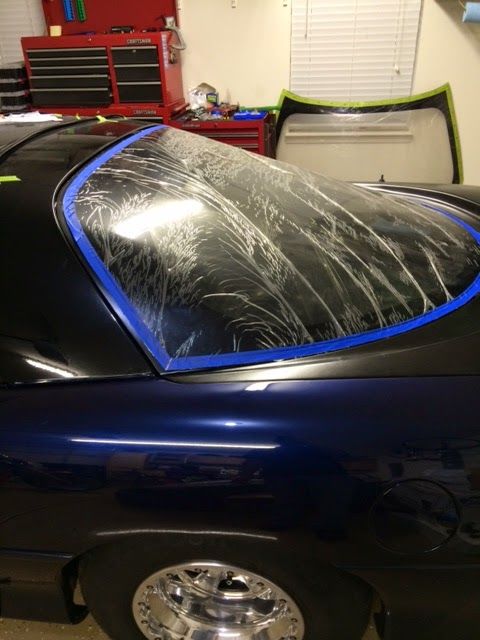
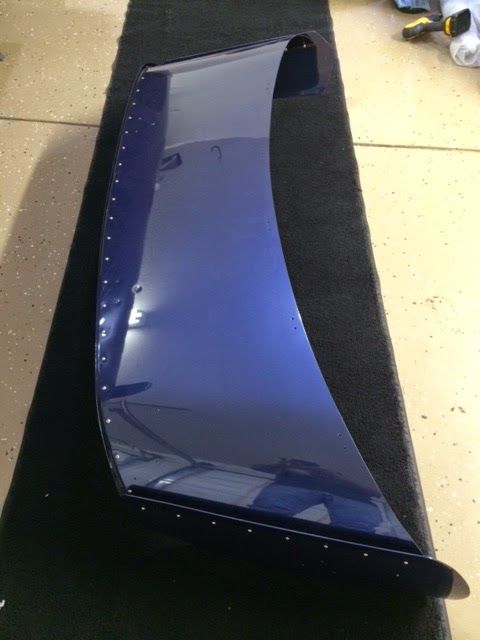
Now it was off to get the hatch and wing painted. I used a place right next store to our shop called DB Custom Paint. Well needless to say the guys did a great job. Now with the hatch painted I can get the nutserts installed into it.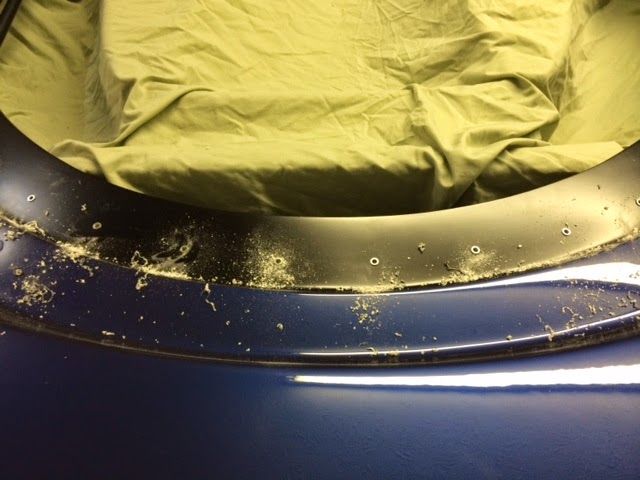
Same process of drilling the pilot hole in the window and the counter sink for the screws to sit flat and this is how it looked when done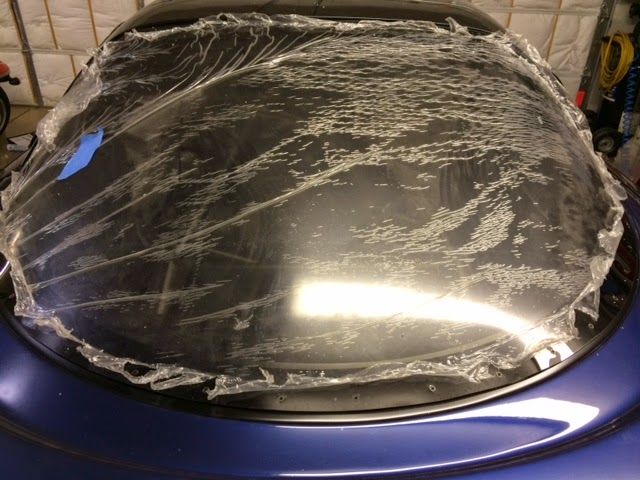
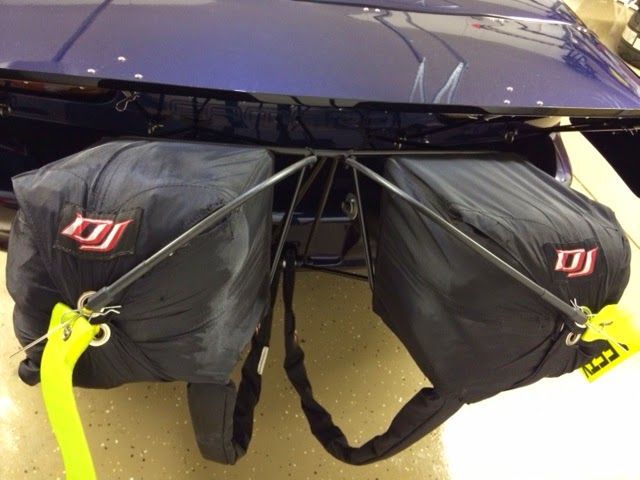
So with the window in the hatch it was time to finish the back half of the car. Next step was to mount the wing. I had the wing all painted up and just had to bolt it all together and installed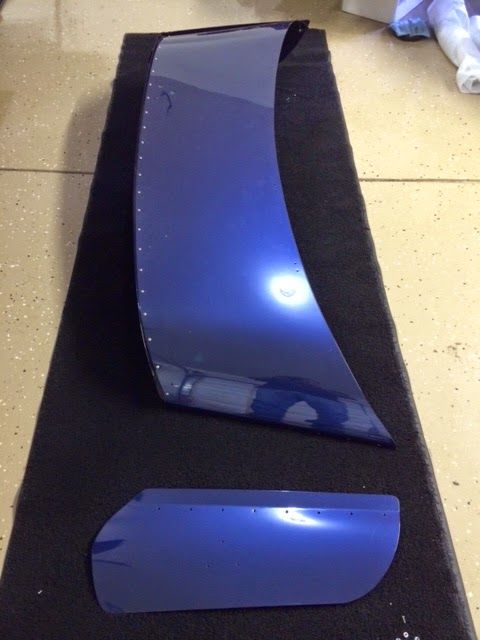

Ready to go on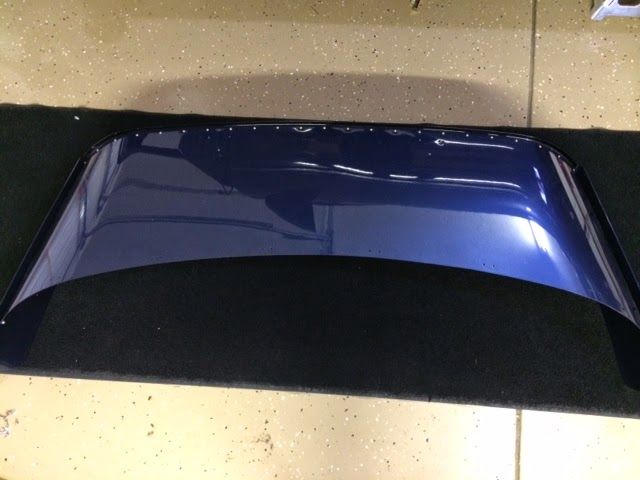
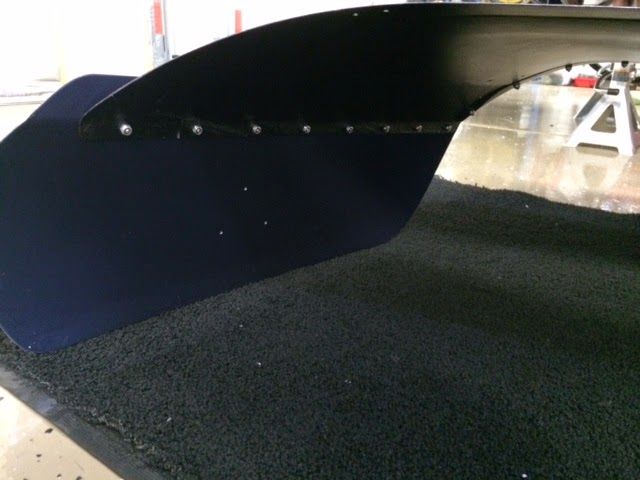
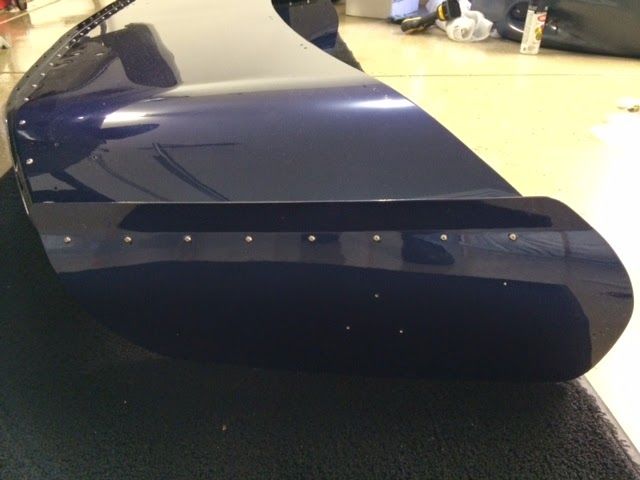
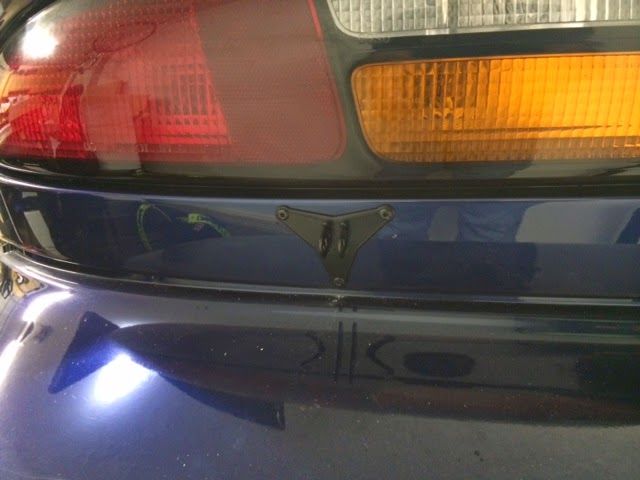
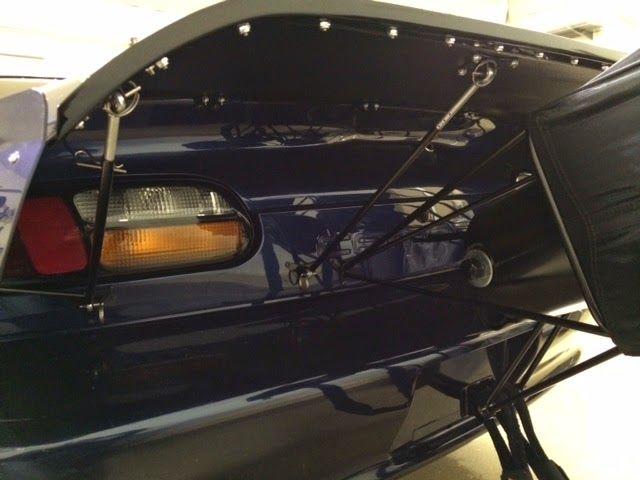
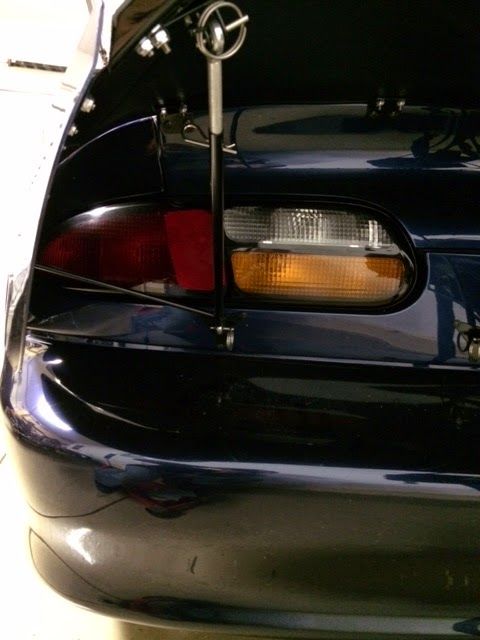
I had to get the tabs all onto the car for the braces. I sent everything out to get powdercoated matte black. I had to also get black rivets to make sure it looked clean installed.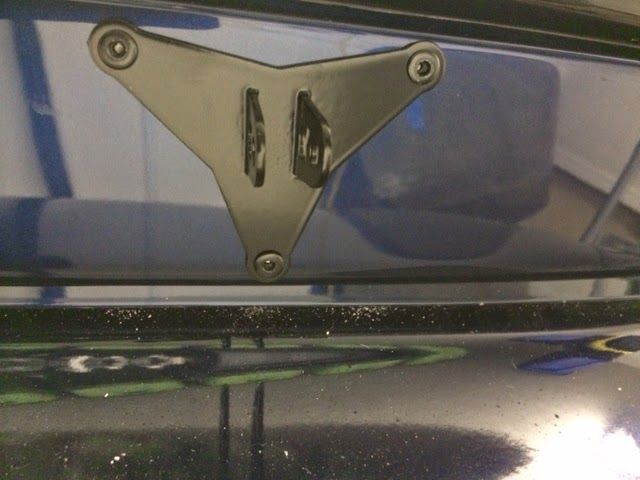
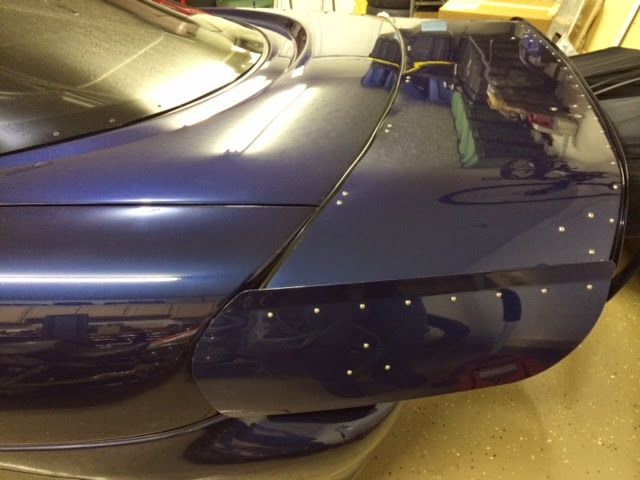
If you look up close I did a black edge trim to keep the wing and hatch from rubbing on each other. This will make sure it doesn't chip on the edges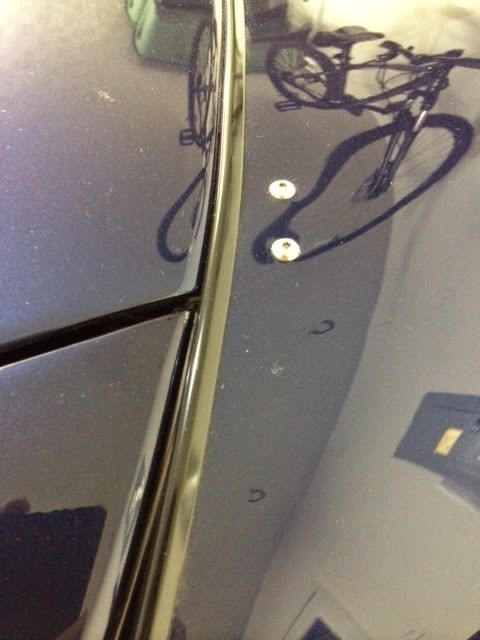
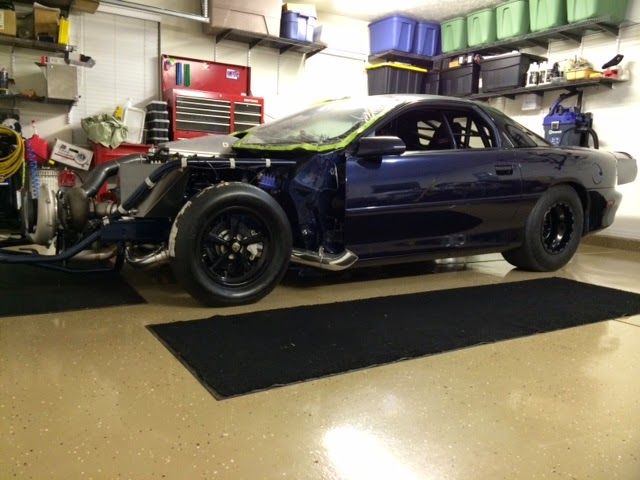
So with the back half of the car finished and things moving nice I had to think about getting it back on the ground. This is where I had to make one of my hardest decisions. With the car being mostly black and blue I wasn't sure if the wheels looked good as polished and not to mention they would be a major PIA to clean. So the I had 2 choices. Polished or Black..... Hmmmmm
Well after much talk and going back and for with friends I went black. Here is what they looked like.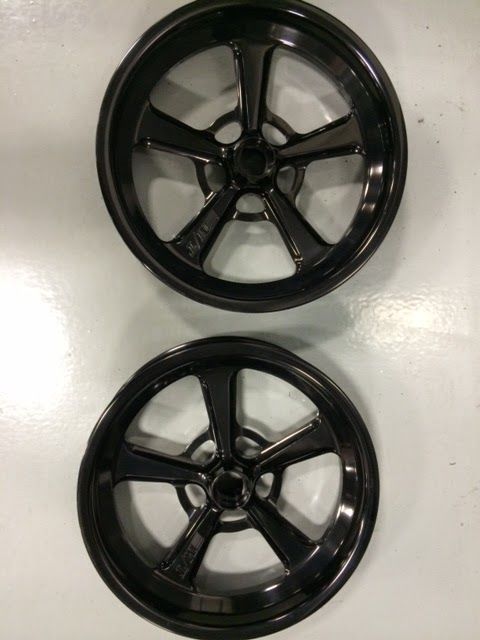
As you can see it is more of a translucent black. They were anodized but since they were polished and the shopknew what they were doing it has a depth to the black and not just a matte look. Well anyway I love the look.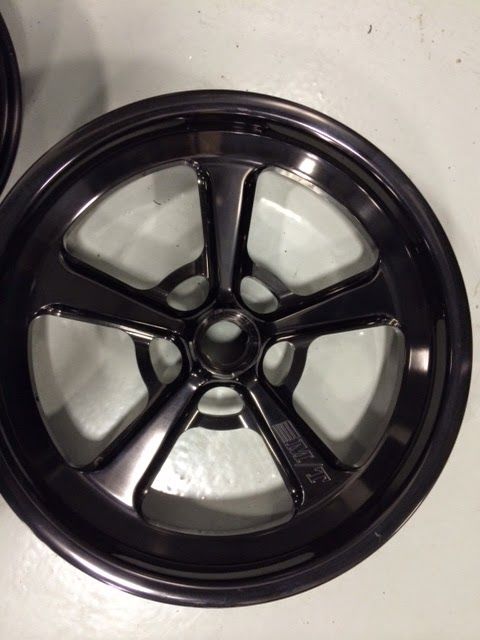
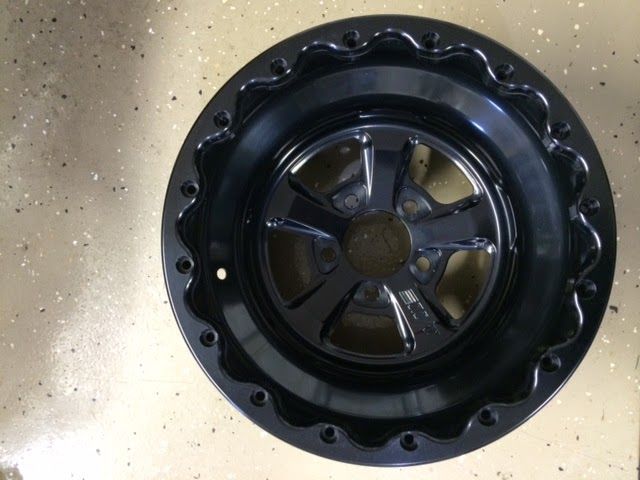
Now it's time to get the Mickey Thompsons mounted all up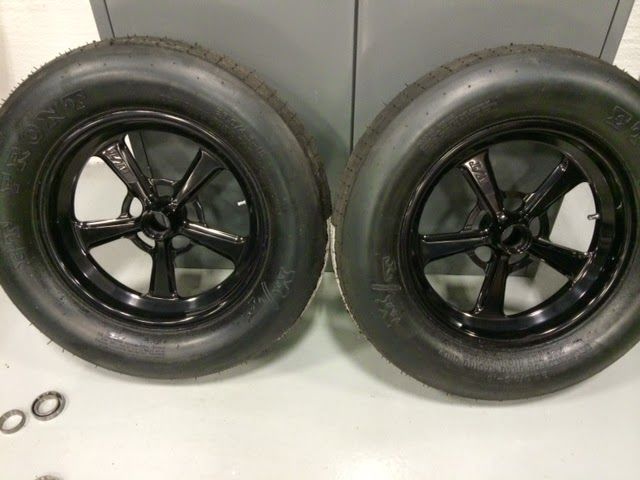
Some Pro 275's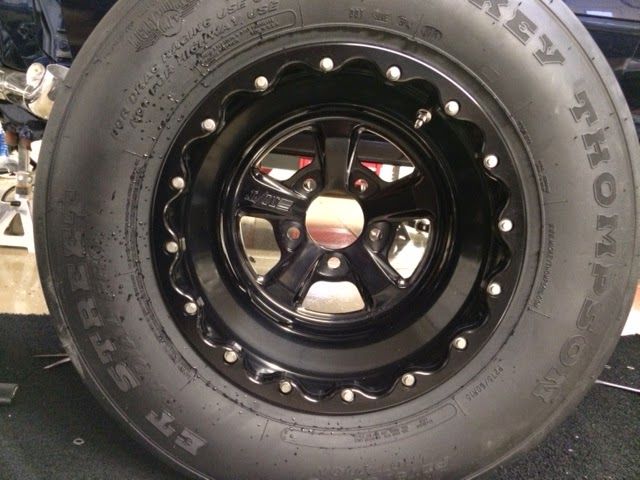
A little trial fit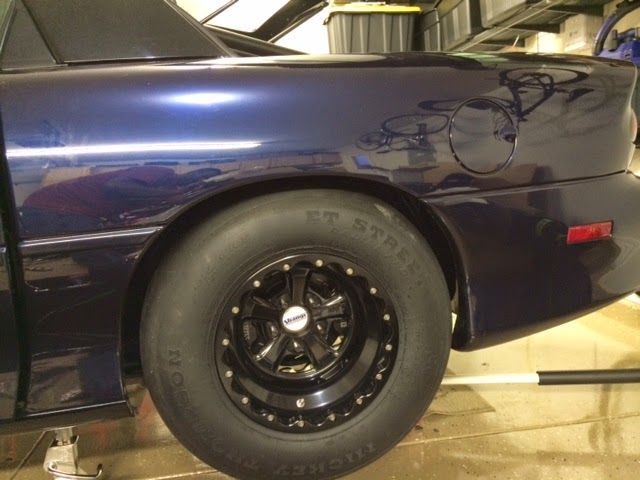
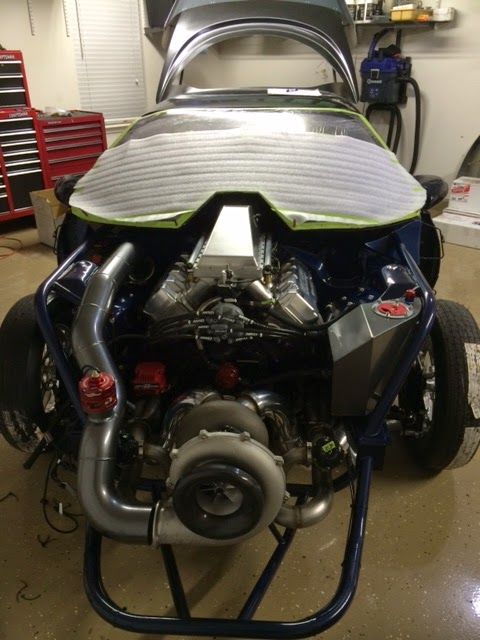
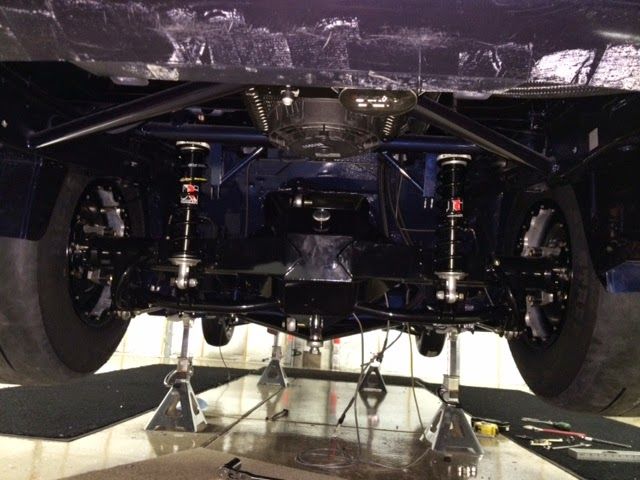
But I couldn't wait to get it onto the ground but I still had to get the suspension in and set up. Here is what it looked like all done.
Thanks to Midwest Chassis for building a great housing and torque arm set up. It fit's nice under the car.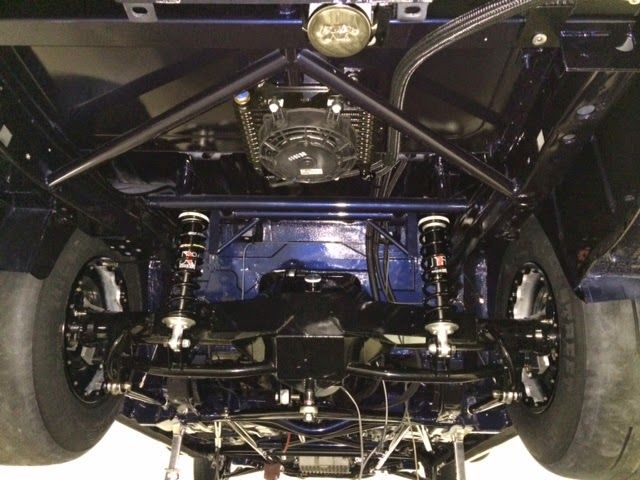
Some killer JRI Shocks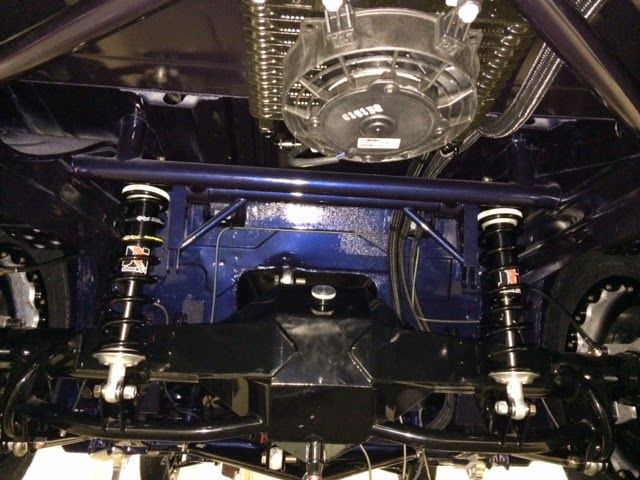
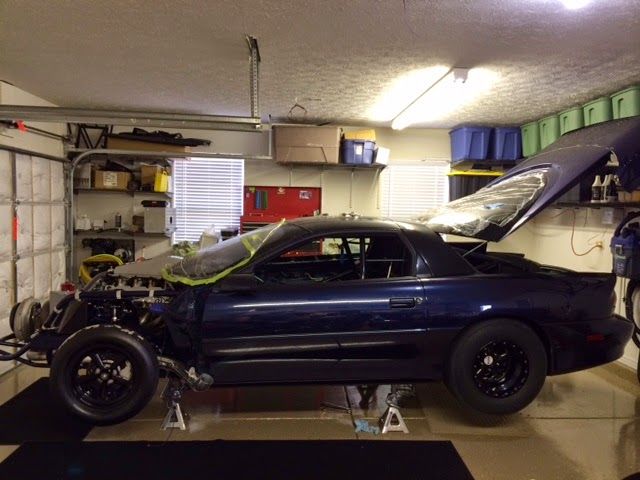
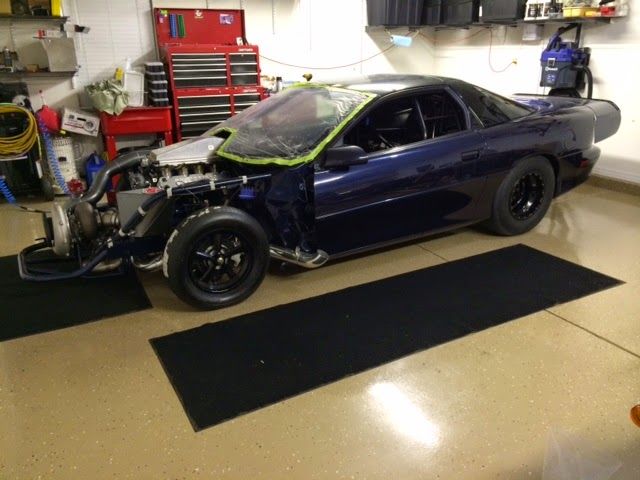
So here is the car sitting at ride height on the ground. Talk about a exciting day for me.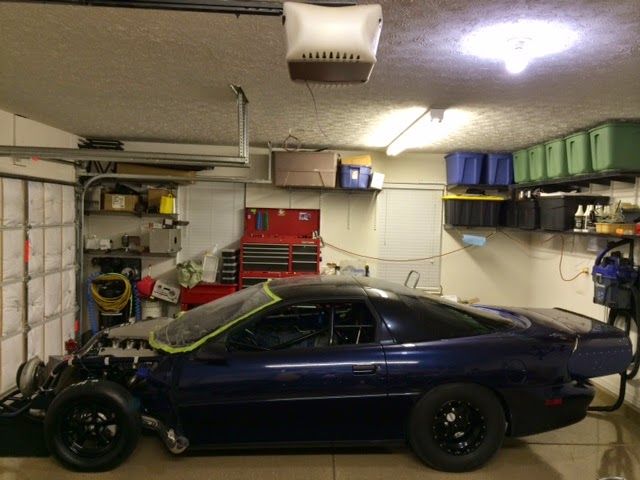
Alright guys. I'm off to bed for tonight and hopefully I can pick up tomorrow with some stuff and you all up to speed.