You must be logged in to rate content!
7 minute(s) of a 217 minute read
11-9-2014
Well sorry for the delay but I have been out racing NHRA and working quite a bit but I also have been having fun with the car. I want to bring everyone up to speed and show it finished up.
So with just about everything done it was time to get the front end completed. I posted pictures earlier on of what the front tree setup looked like that held front clip together and on. I will post 1 or 2 here to catch up.
DMC Racing made the front clip come on and off as 1 whole piece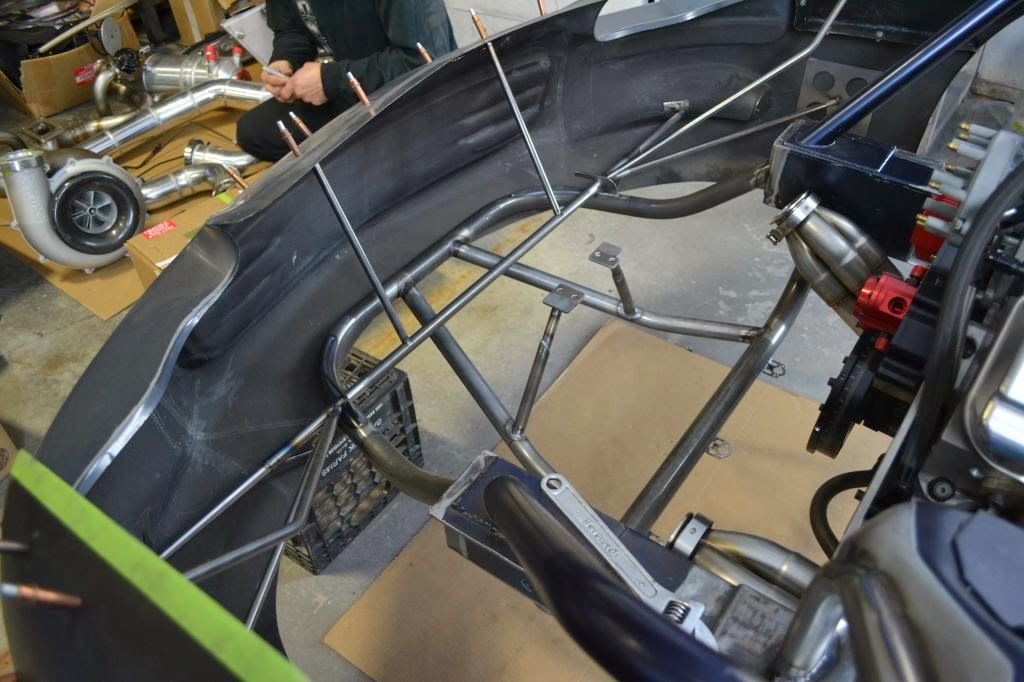
Slide in holders for the front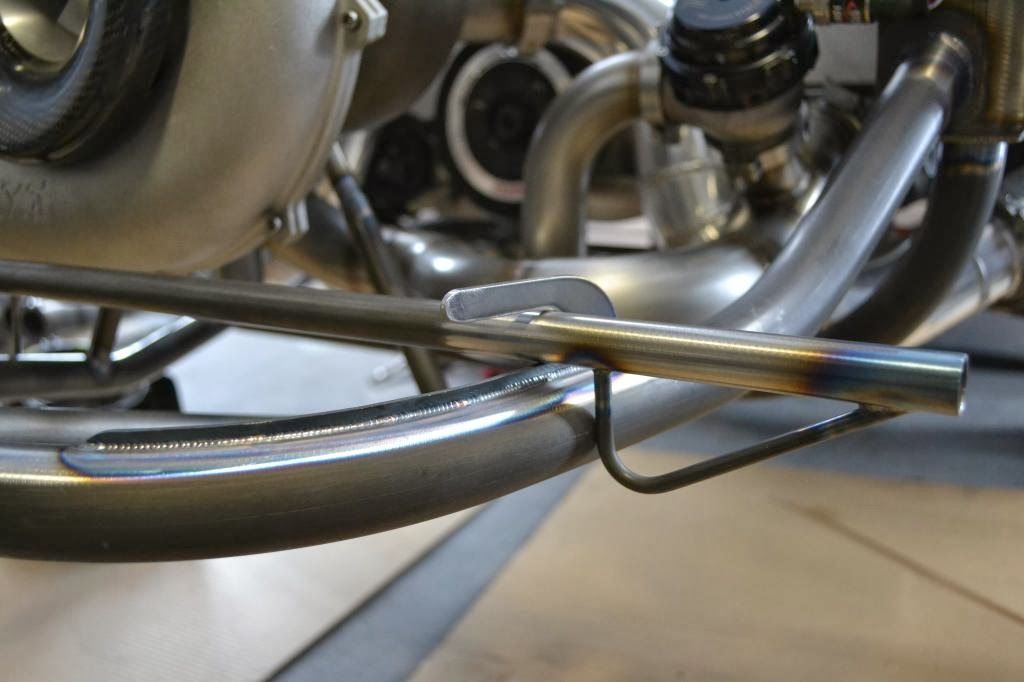
Inside Mounting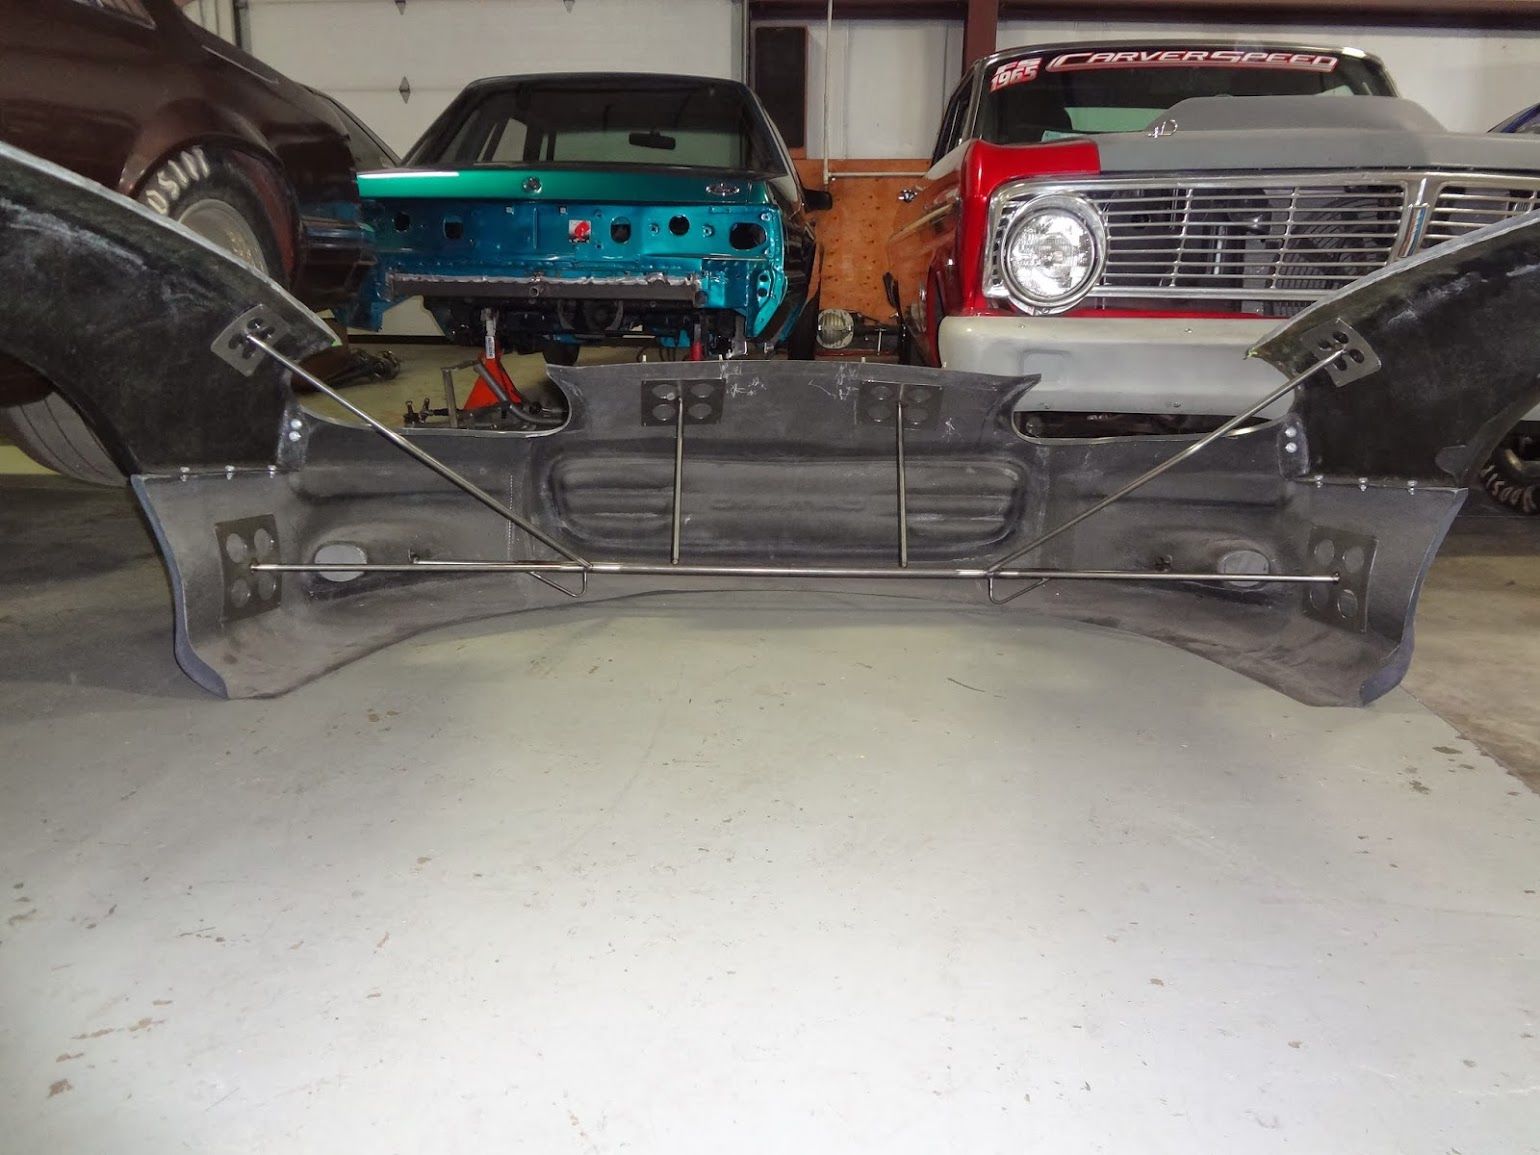
Fender Mounts
Mounted Up front End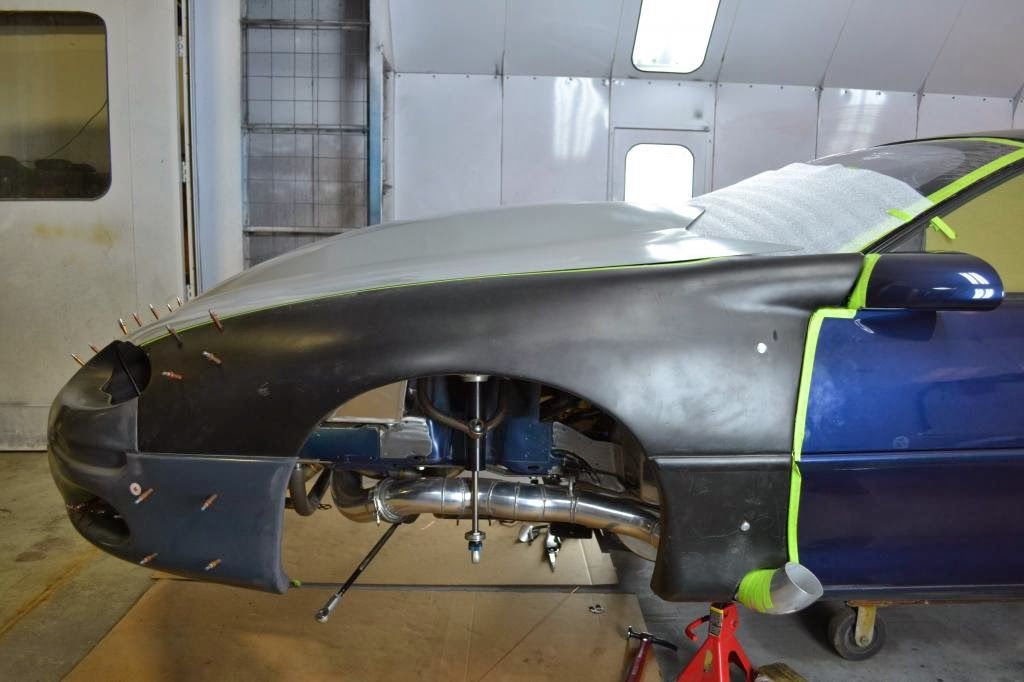
The next step in the front end was going to be a bigger project than you would expect. I wanted the hood to be able to get removed from the fenders so I can pull the hood off without having to pull the front end. So I needed to so hood rails on the fenders since it didn't have them. I went to my buddy Craig @ Leading Edge Composites for some Glass & Carbon Fiber work. This is what he did.
The fender only had a return edge to be bolted onto the stock rail. Well we no longer had the stock rail in the car and the needed a edge wide enough to put the hood onto it. Since we were doing that I can make it wide enough to build the dzus rails right into it. It will make for a way cleaner and nicer set up when done. Also one other that needed to get done was the flange needed to be .100 lower on the fender so the hood will sit flush with the fenders.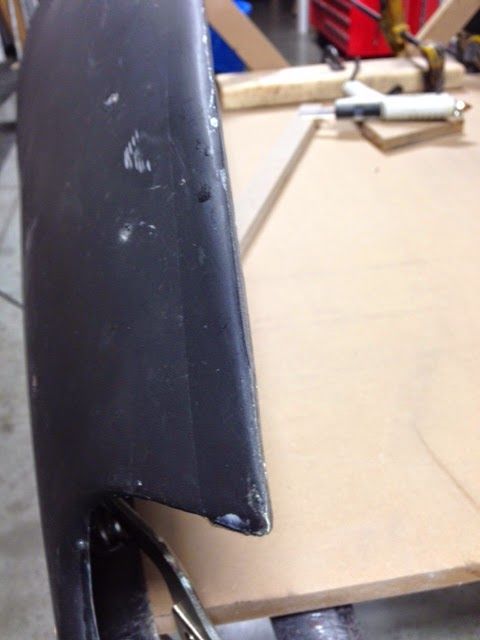
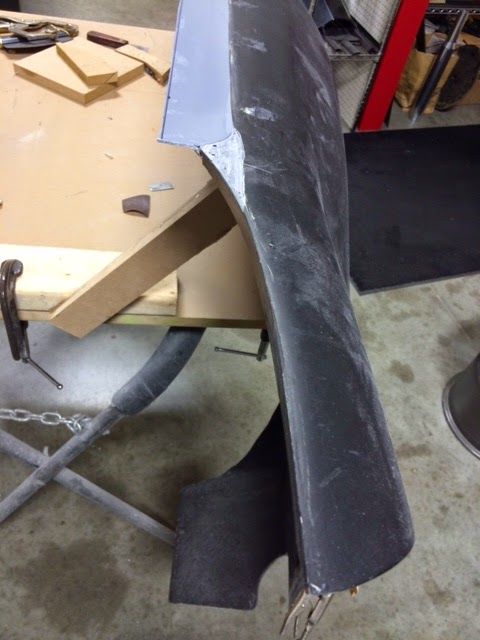
Step 1 was to build a series of wooden bucks to create an edge to put a strip of metal down for a backing to lay material on and create a flange surface. It also is a compound curve so it proved to be a little tricky but we got it.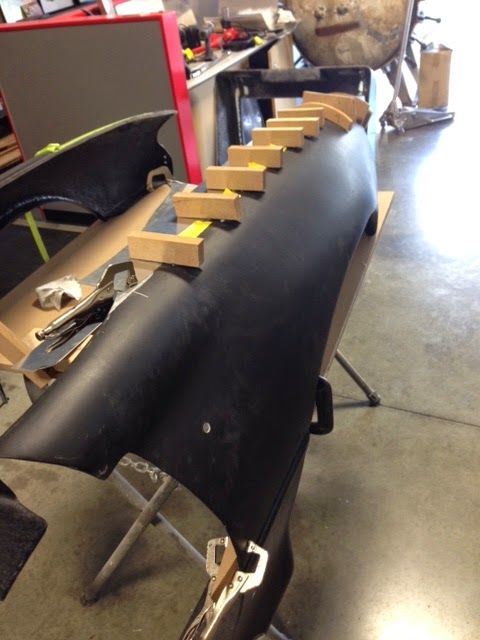
Next was to lay some gel coat on the inside of the strip so it will release from the molds made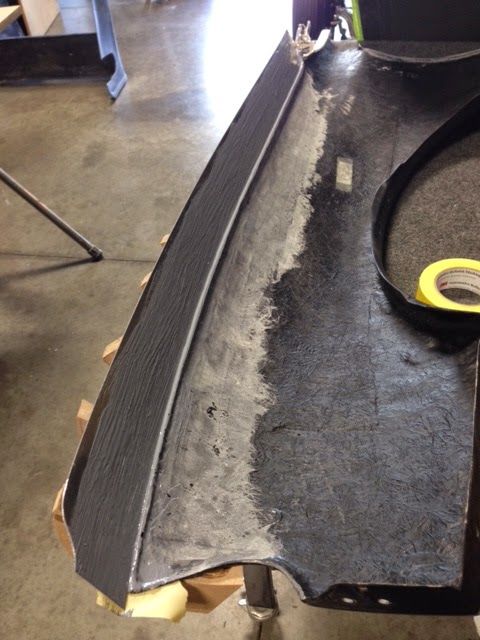
What it looks like out of the mold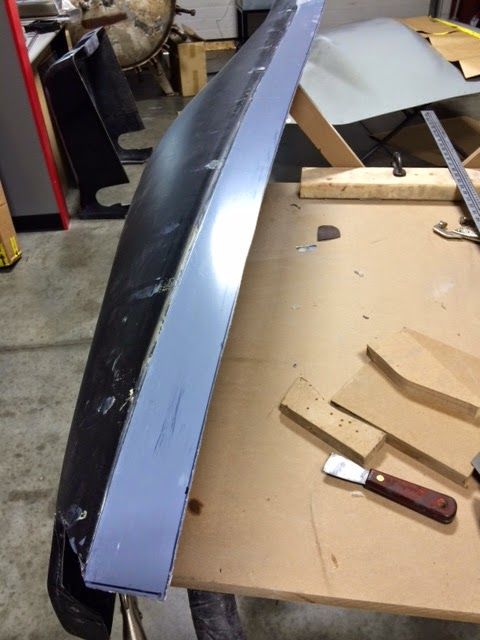
Cleaned up and made to look nice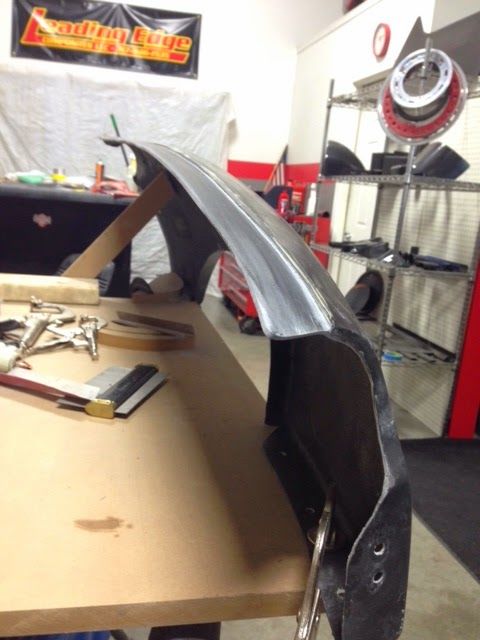
Test fit the hood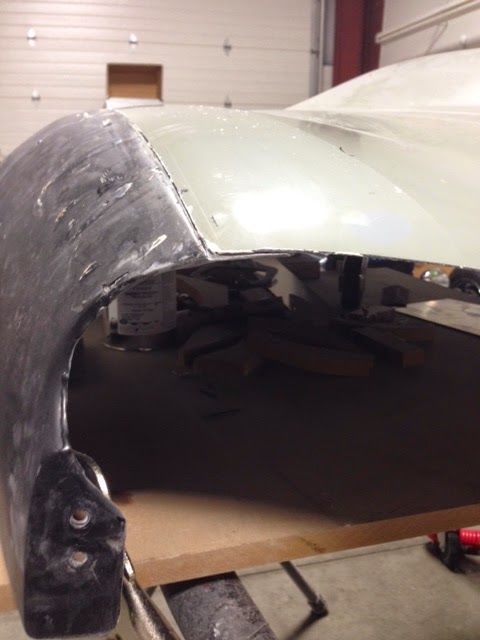
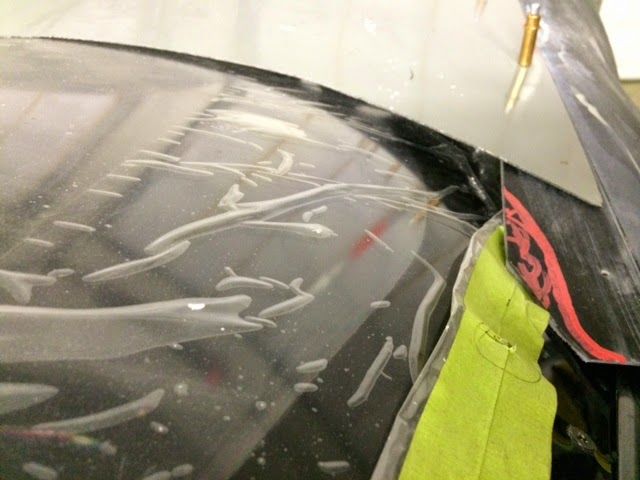
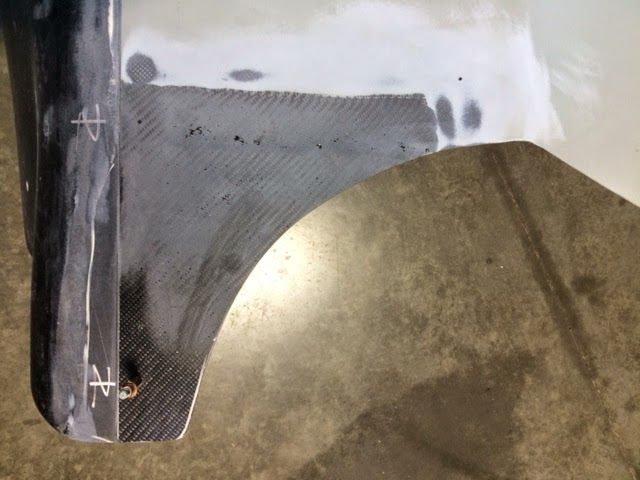
So anyone that has a Camaro knows the back of the hood area and fenders don't exactly work together when you change things. You end up with a hole that goes up to the mirror area and rather than having a flat filler panel I wanted mine to all blend together. So this ended up being a few step process also but we got it done nice and clean.
Since the hood follows a straight line we would have a empty area to side on the fender and would need a filler plate here.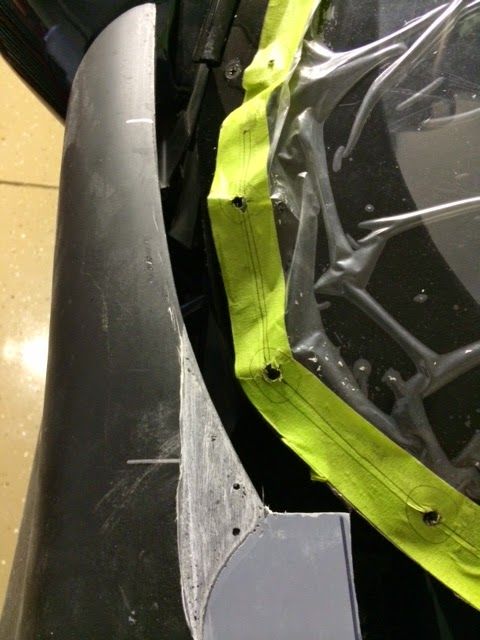

So this is what we did. We made the rail a lot wider on the top of the fender for some support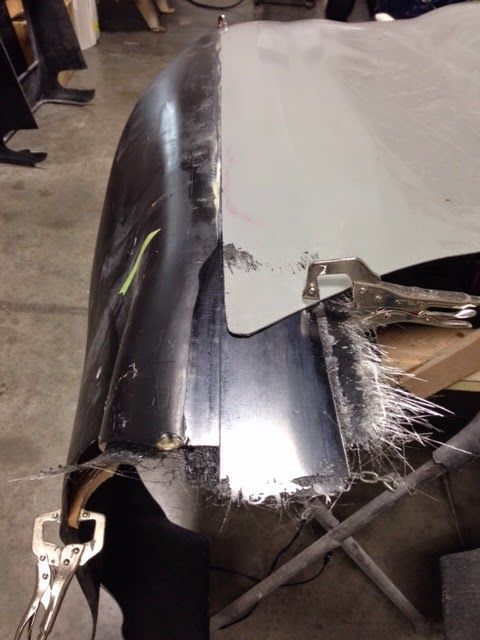
Finished look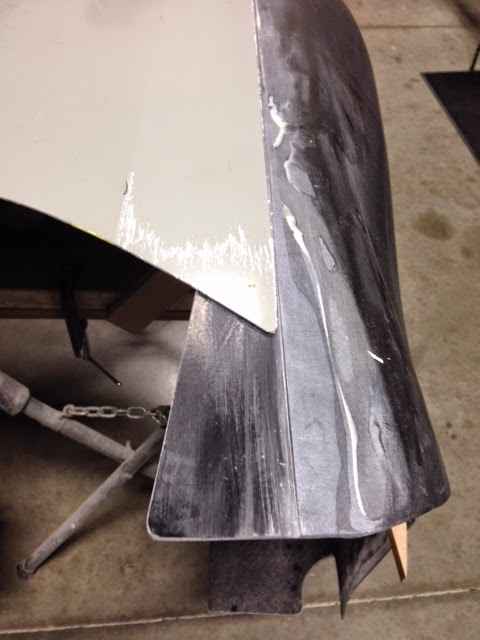
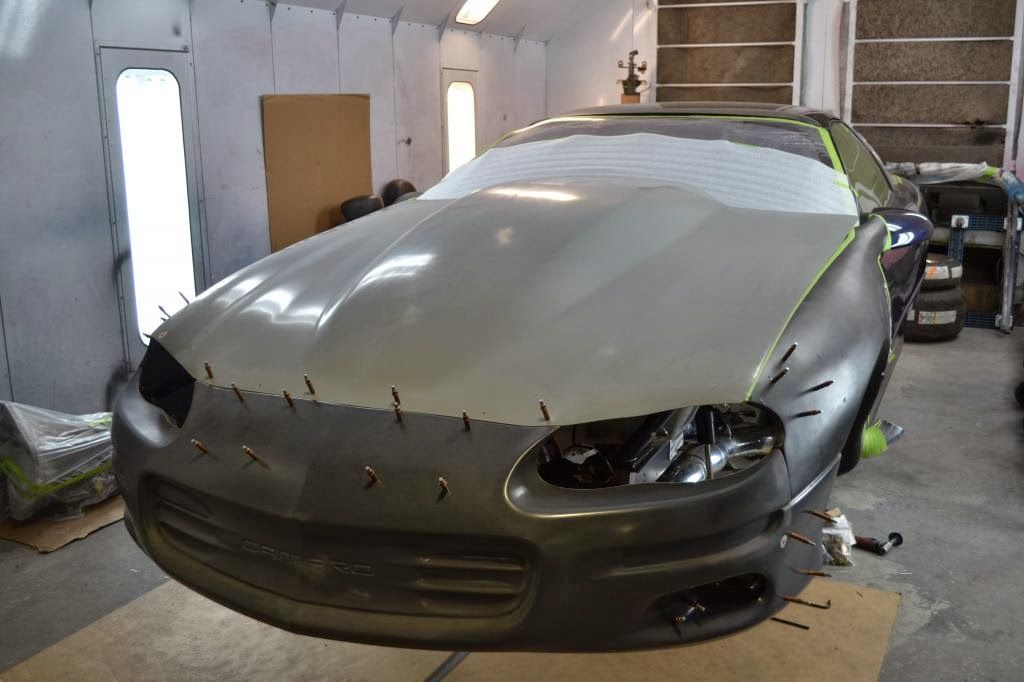
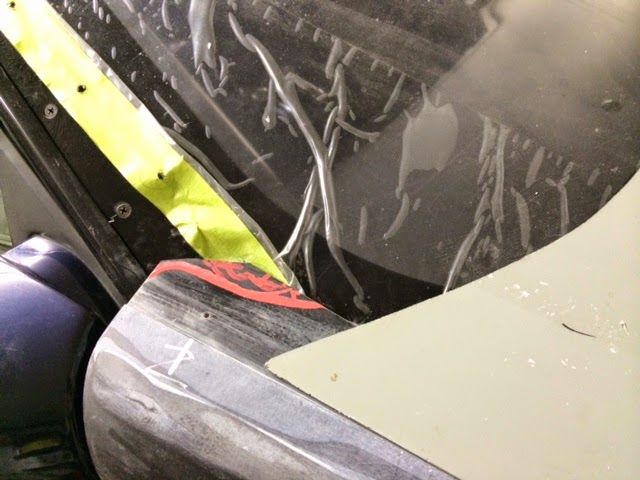
Now I mounted the front clip onto the car and here is what it looked like in that area. Notice the big gaps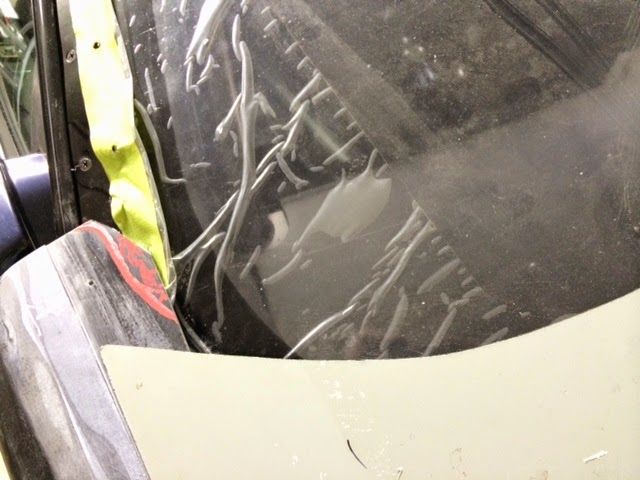
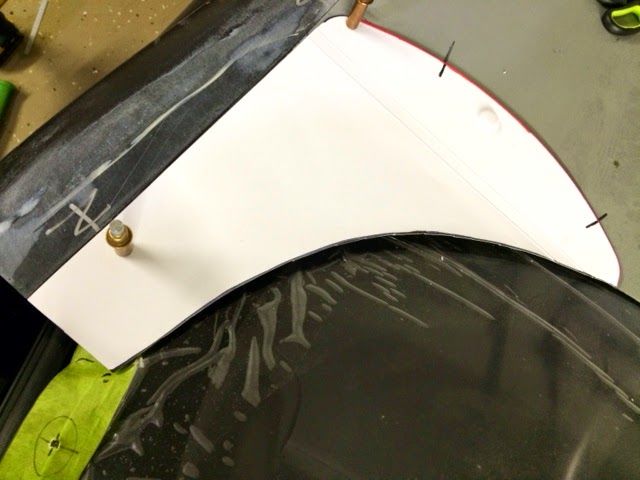
So it was time to break out some good old heavy paper and make a template of what needed to be done. The easiest way to make it happen was to add to the hood. Here is how I did it.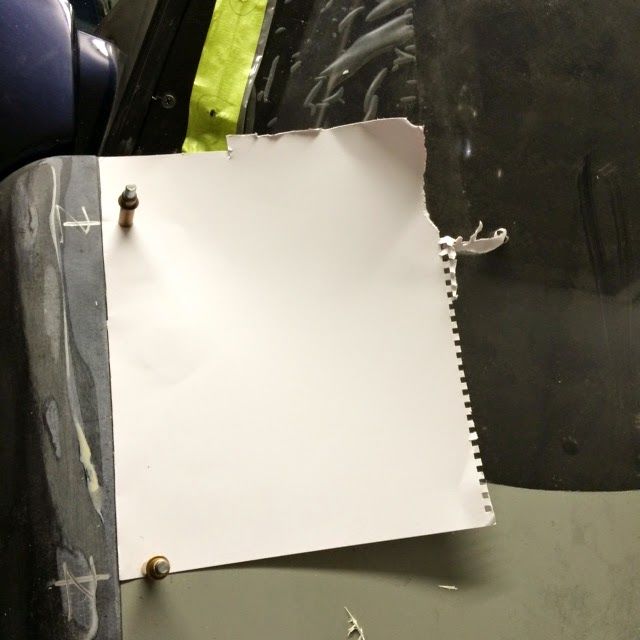
I'm doing a little hand modeling here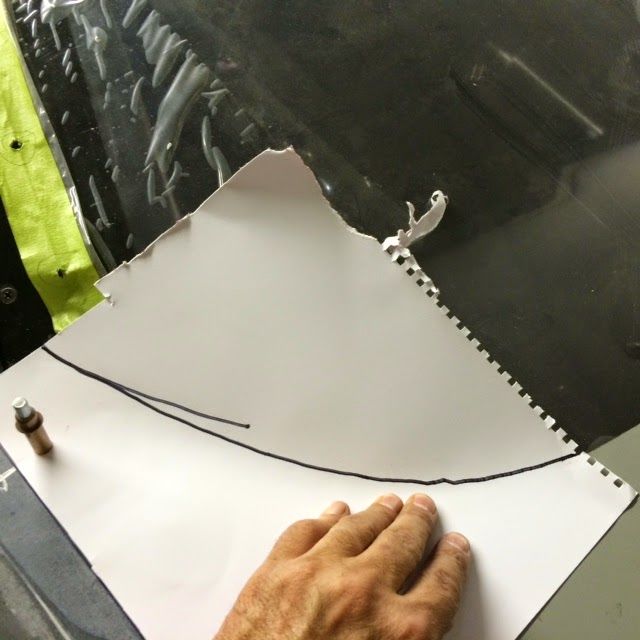
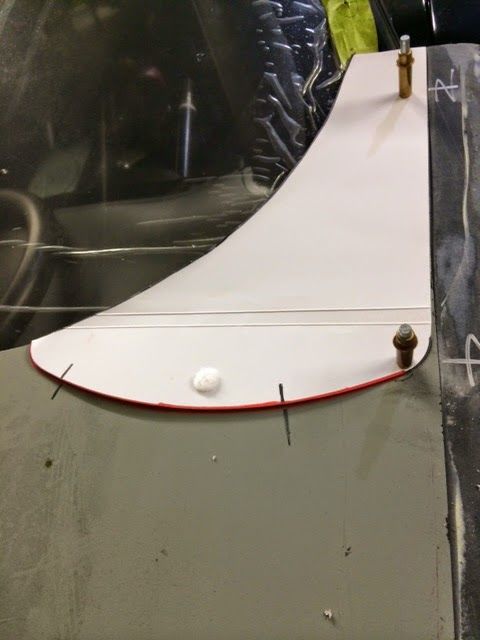
Trimmed up for a nice clean fit
Graph in some flat carbon to the back of the hood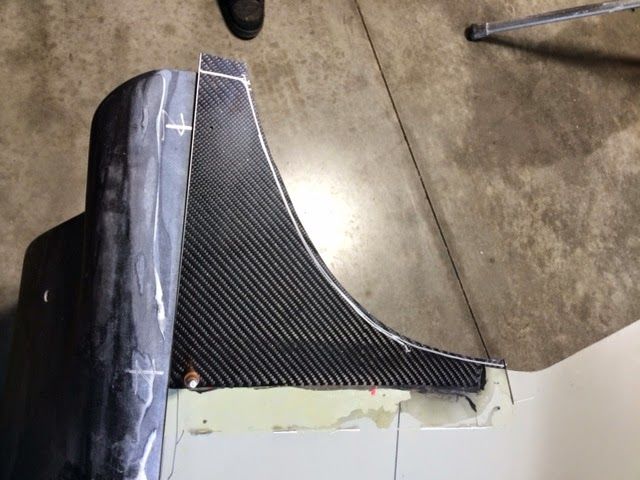
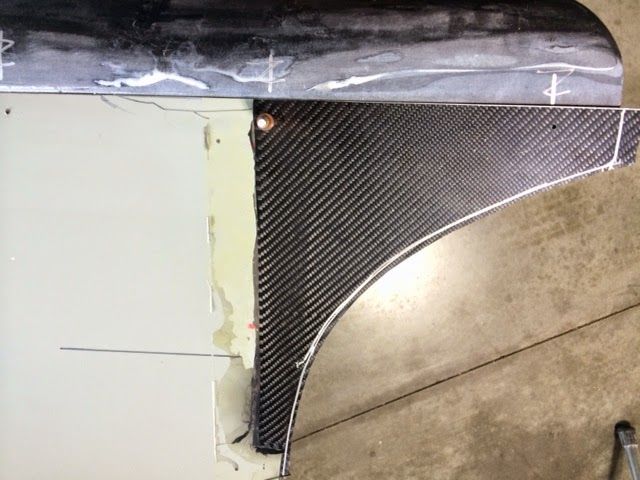
Then blend it all together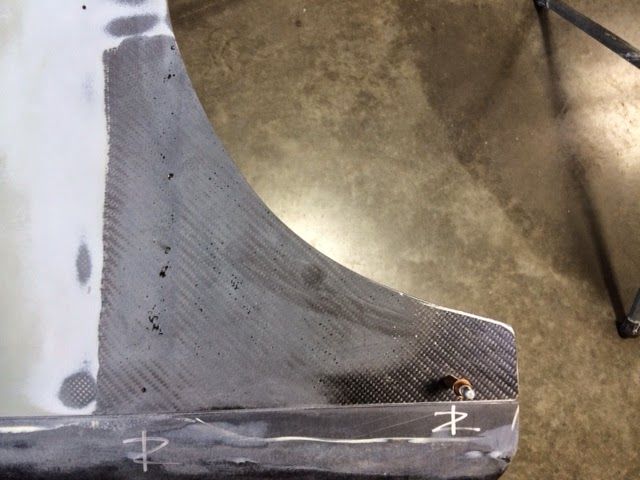
Final thing to do was cut a hole to let some air into the turbo. We put a return flange on it so I can make a intake tube slip around the outside of the opening that will help direct air right into the turbo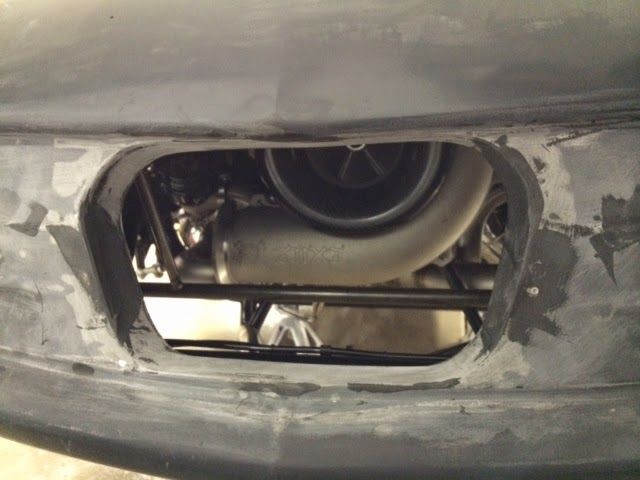
Final thing was to drop the front clip off at DB Custom Paint here in Indy. I stopped back a week later to this.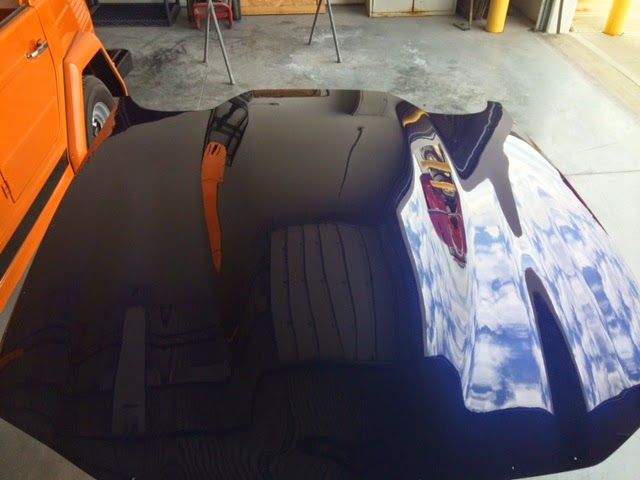
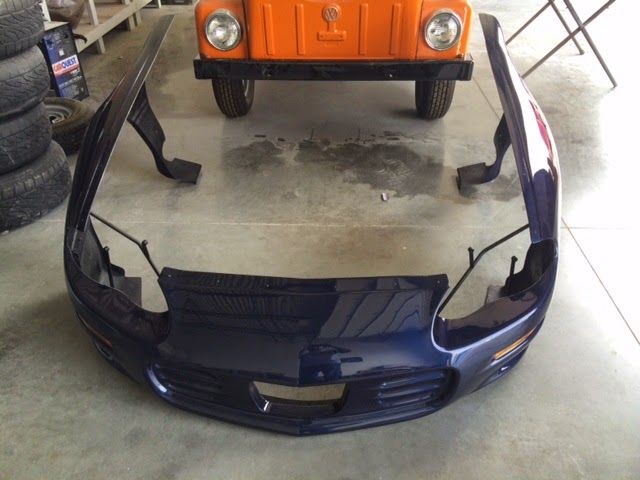
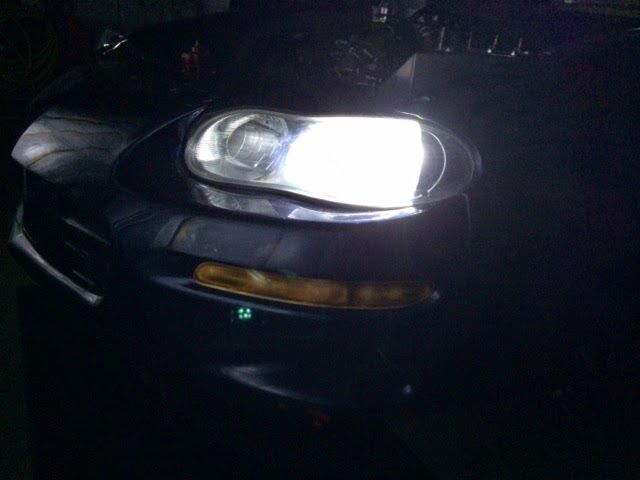
I'm not a fan of cheap stickers so I had them paint the marker lights on it
The nose clip fitted up and mounted and on the car. I also used the OE headlights with some LED bulbs so they work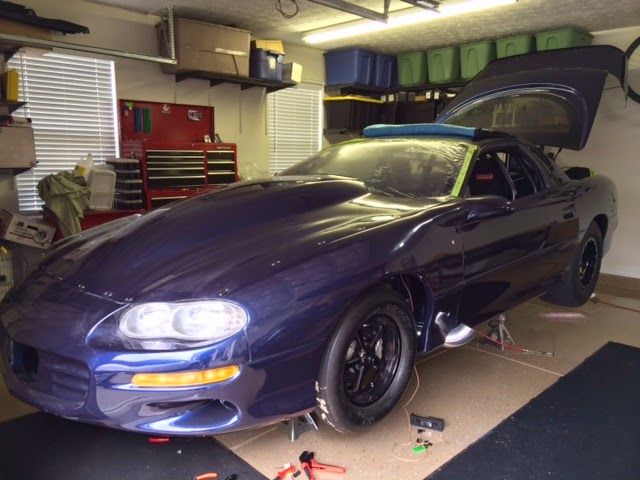
I have more to come soon. Thanks