You must be logged in to rate content!
6 minute(s) of a 176 minute read
7-10-2010
After staring at scratches in the paint day after day, I decided to do a weekend paintjob on my Camaro at work. I wish I took more pictures here for you guys if you want to try this (maybe the prep part at least) but heres the steps I took. It was a scuff and spray more or less with some minor bodywork.
1. Sanded the car with a D/A with 320 grit sandpaper
2. Sanded the edges with a red scuffpad
3. Any scratches or chips not taken out were filled and primed
4. Primer spots wetsanded with 320 grit on a rubber block
5. I pulled the mirrors off along with the spoiler to paint seperate (also pulled front bumper, but only because it needed some bodywork done)
6. Hosed the car off to get as much dust off the car and wiped down all the door jams.
7. DX320'd the car with a towel to clean the surface before masking the car up
8. I masked the windows and thats about it, I didnt paint the jams so I just let whatever got in the door jams, get it. I used junk wheels on the car too so I didnt mask those off either.
9. Rolled the Camaro in the booth and tack clothed the entire car to get any leftover dust off
10. Alcohol wiped the car to make sure the surface was clean and wouldnt fisheye
11. Sprayed sealer, followed by 4 coats PPG Black and 4 coats PPG clear
12. Baked the car in the booth for about a half hour, let sit overnight
13. Unmasked car
14. Wetsanded the paint with 1200 grit to get the orange peel out and then 2000 grit to smooth out the 1200 scratches.
15. Buffed the car with 3m cutting compound followed by 3m polish
I still need to shoot the front bumper, mirrors, and rear spoiler but the main body of the car is done and looking NICE! I will snap some pictures of the final product tomorrow now that I have internet again.
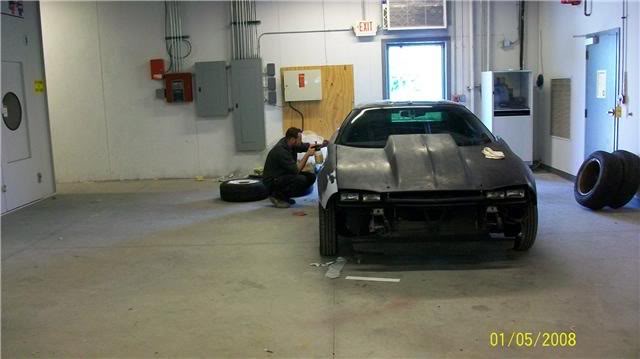
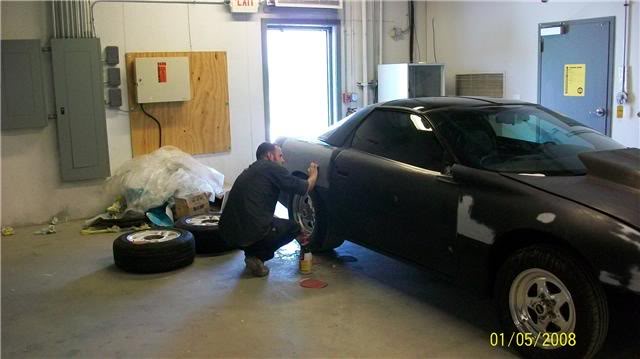
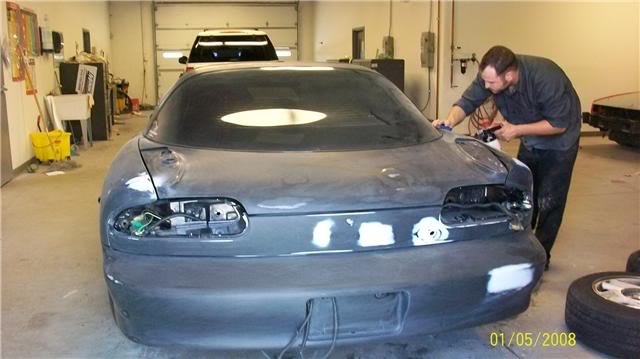
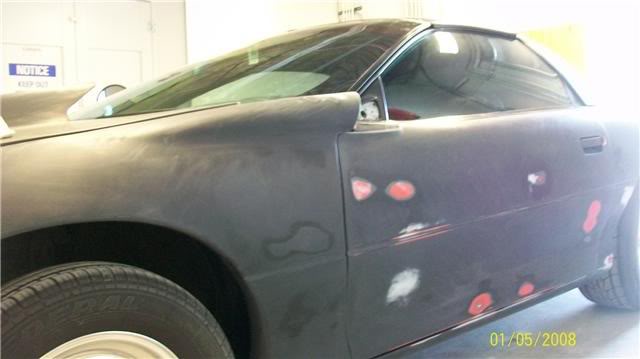
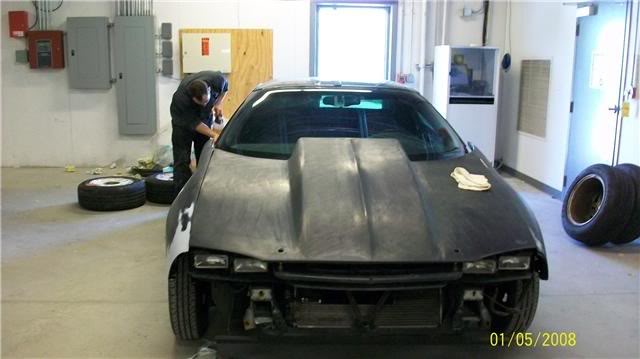
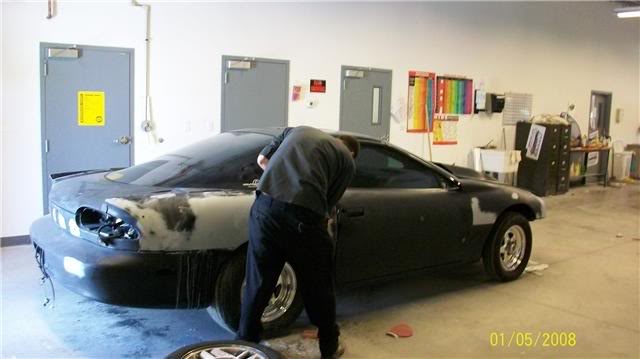
Now some pictures of prepping the Camaro for a repaint...
BTW...note the shaved antenna...
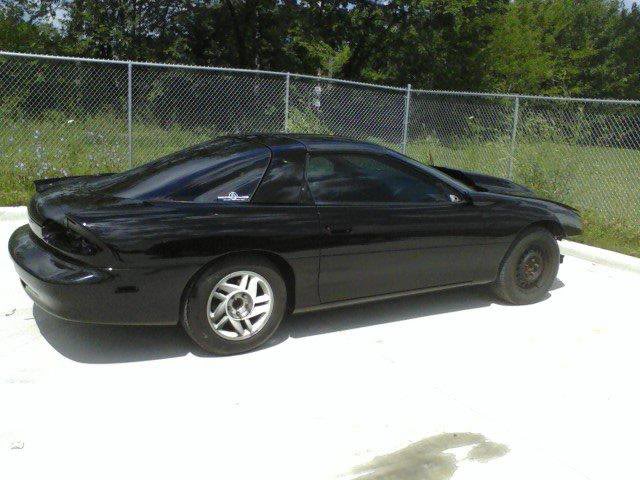
More pics to come tomorrow...teaser pic for now...crappy cell phone pic...
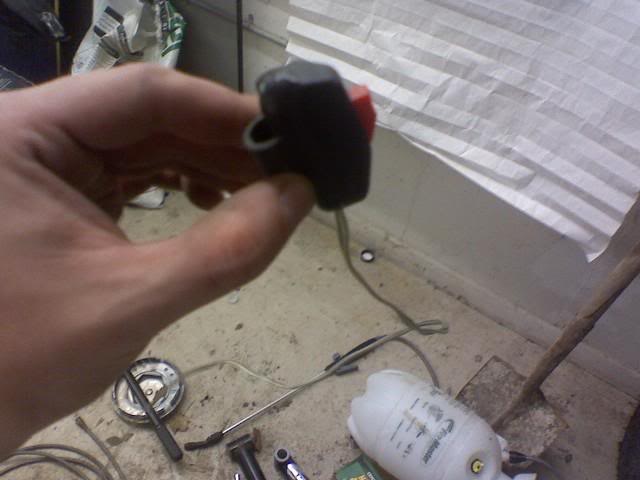
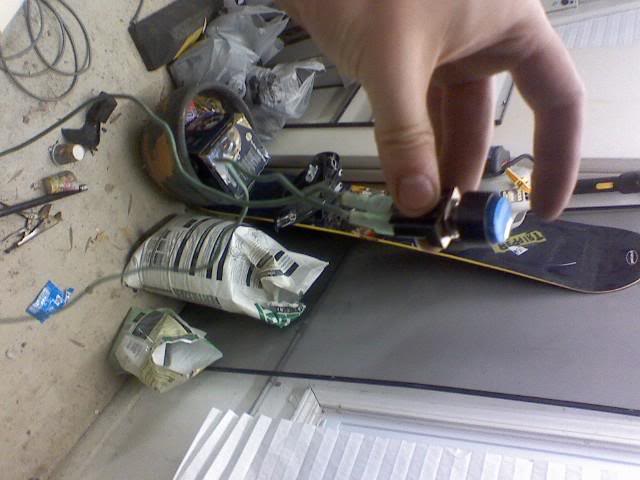
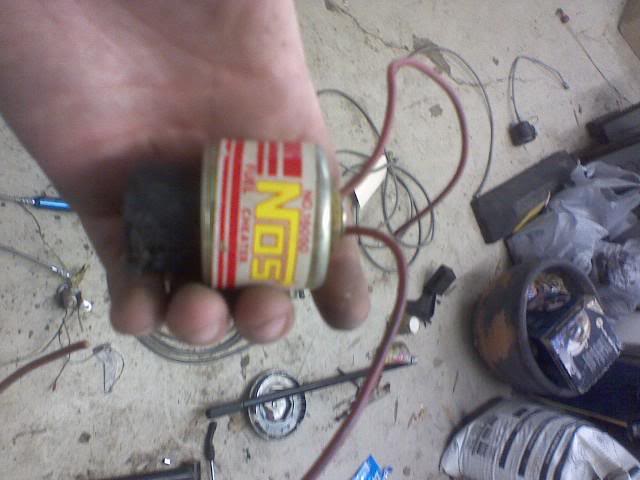
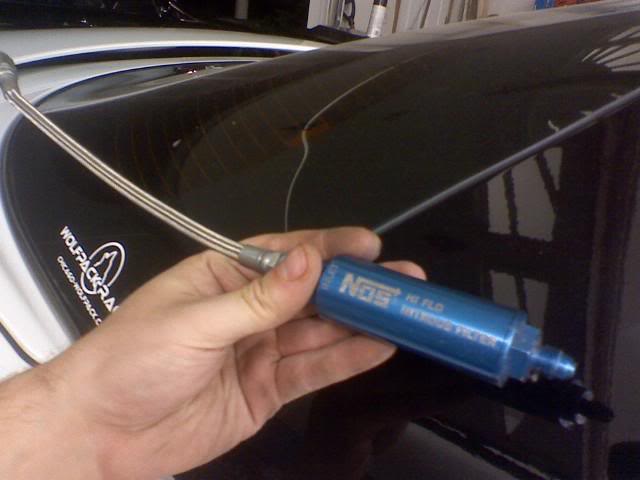
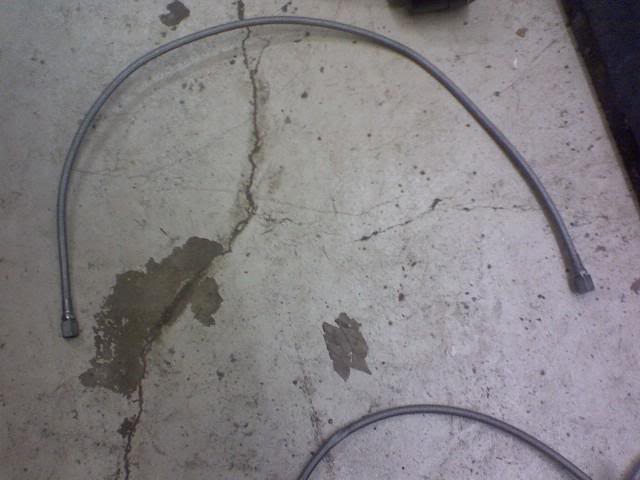
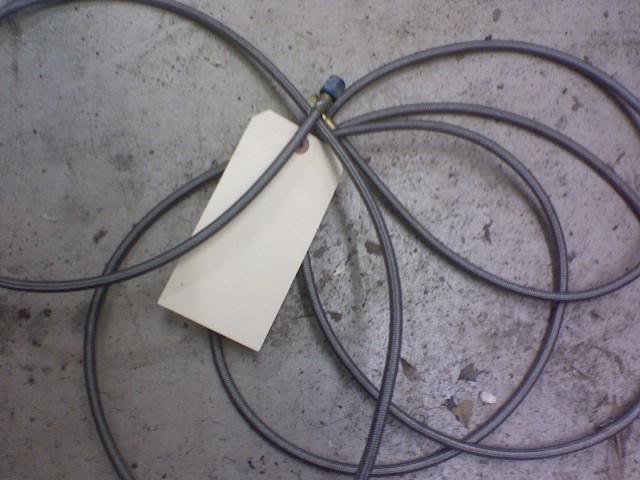
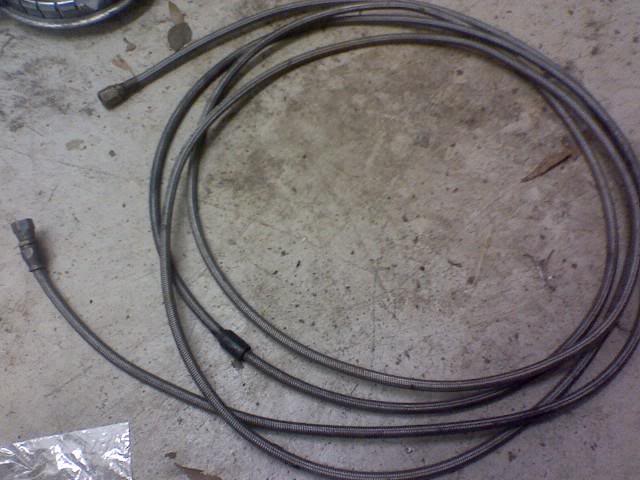
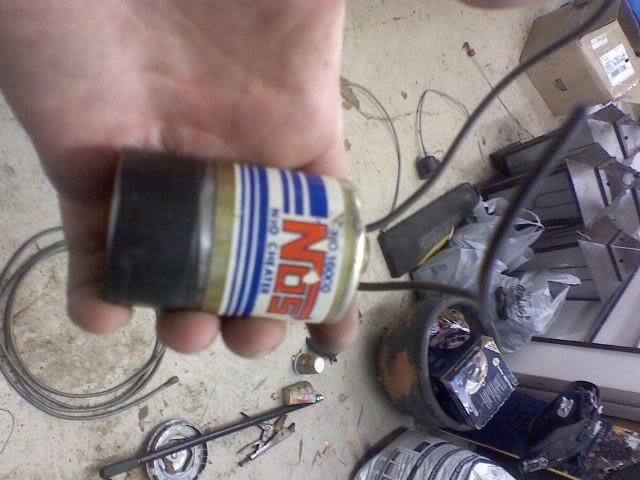
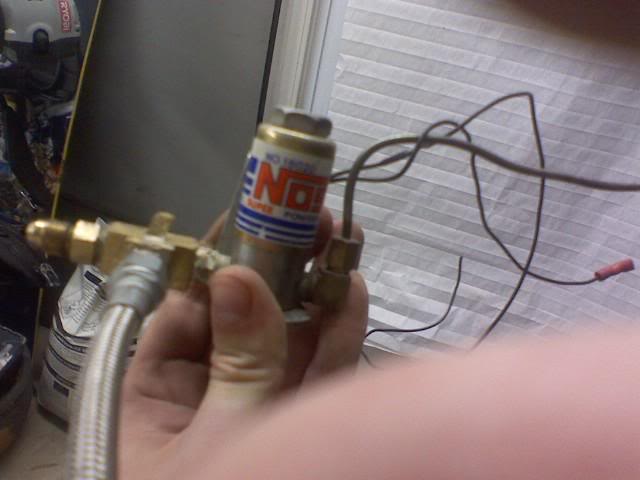
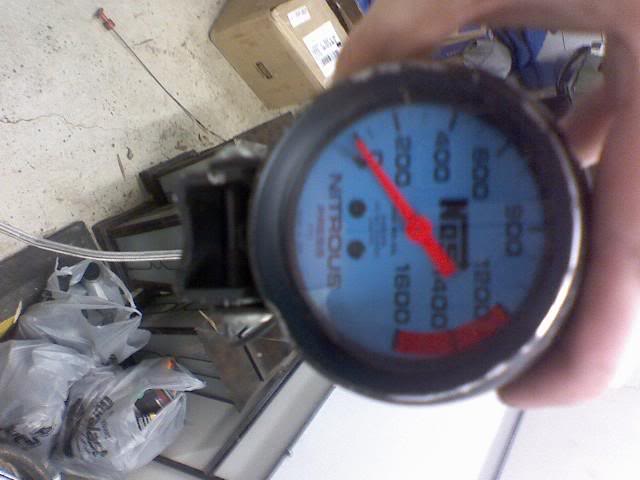
Another thing in the meantime, I took in a nitrous "kit" on trade from am_muscl. Minus some fittings and a nozzle (bought a shark nozzle later) I need some help with how I should install this...Rob...missed your call??? Here are some pictures minus the nozzle. Sorry for some being sideways, I didnt take them...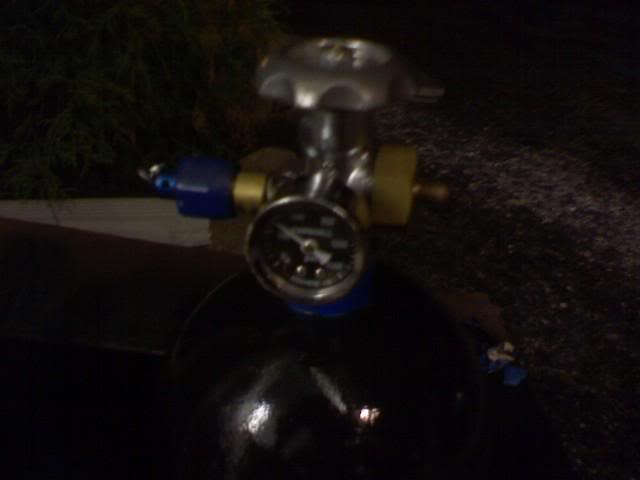
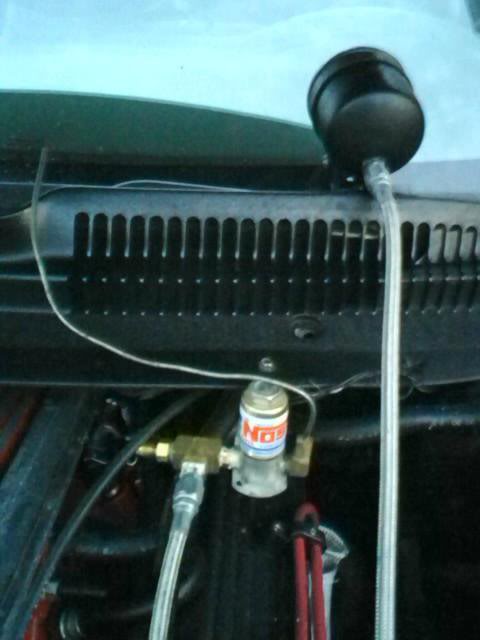
Mounted the purge kit last night. Looks like a decent spot...
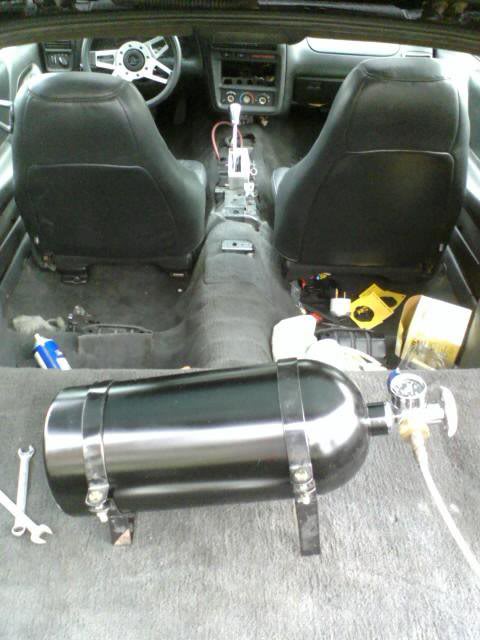
And think I found a good location for the tank (out of sight once the hatch is closed) Just need to bolt it down and start running the lines...
Had some spare money with one of my paychecks and started buying gauges, its not all I need, but these things arent cheap so a couple at a time...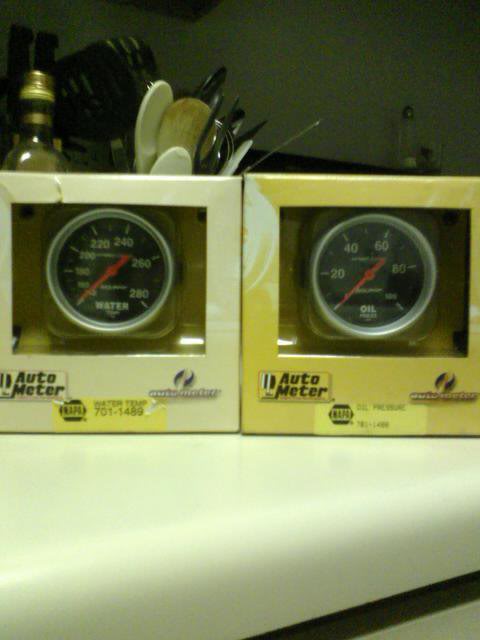
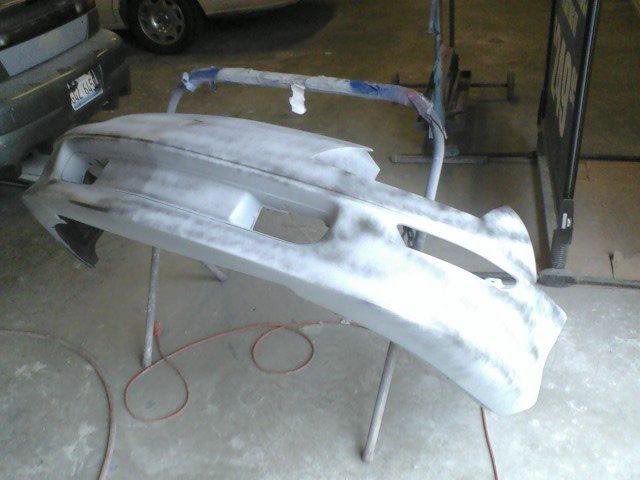
Also I mentioned earlier I pulled the front bumper off for bodywork, ended up the bumper was cracked in half and repaired once only to crack again. I fixed it the best I could and still looking for a good one (anyone?) I primed the entire bumper, guidecoated it, and I need to block sand it and paint it.