You must be logged in to rate content!
7 minute(s) of a 176 minute read
7-12-2010
Yeah, I figure you get what you pay for on those, my factory bumper fits like crap, cant imagine what an aftermarket bumper fits like. I ended up priming the bumper and fixing it the best I could and painted it. Can still see a few hairline cracks, but not noticable unless you look for them.
Anyways, I need to go buy some batteries for my camera. I snapped some pictures of the car all painted and put together with my phone. Not the best quality, but I am glad we put 4 coats of clear on the car! It shines a thousand times better than before! Cant wait to wax it!
Front shot...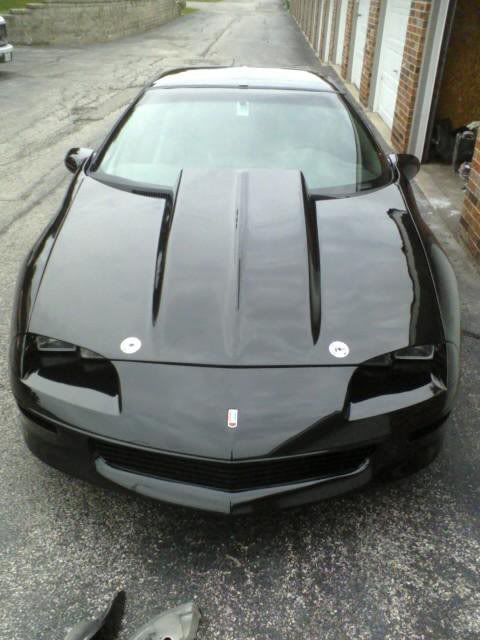
And from the side...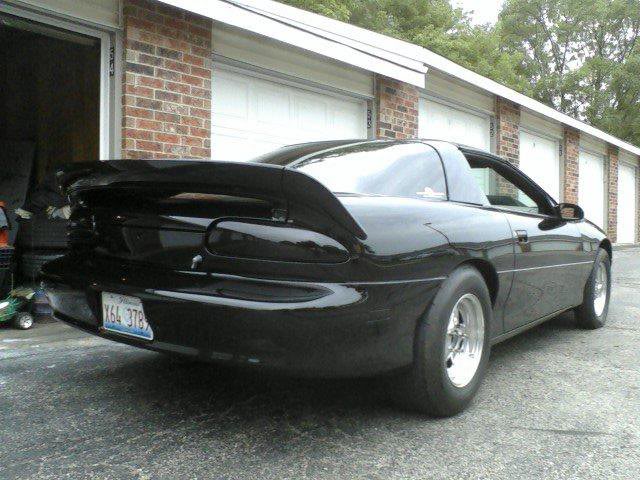
7-13-2010
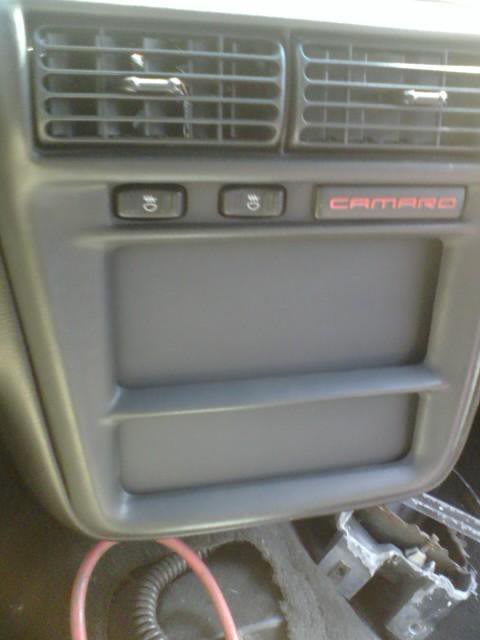
Finally got around to making a radio delete plate for the LS1 dash. Ended up cutting some aluminum to shape, drilled the mounting holes, and painted the panel flat black.
Tomorrow, I am going to mount my water temp and oil pressure gauge in the panel.
7-16-2010
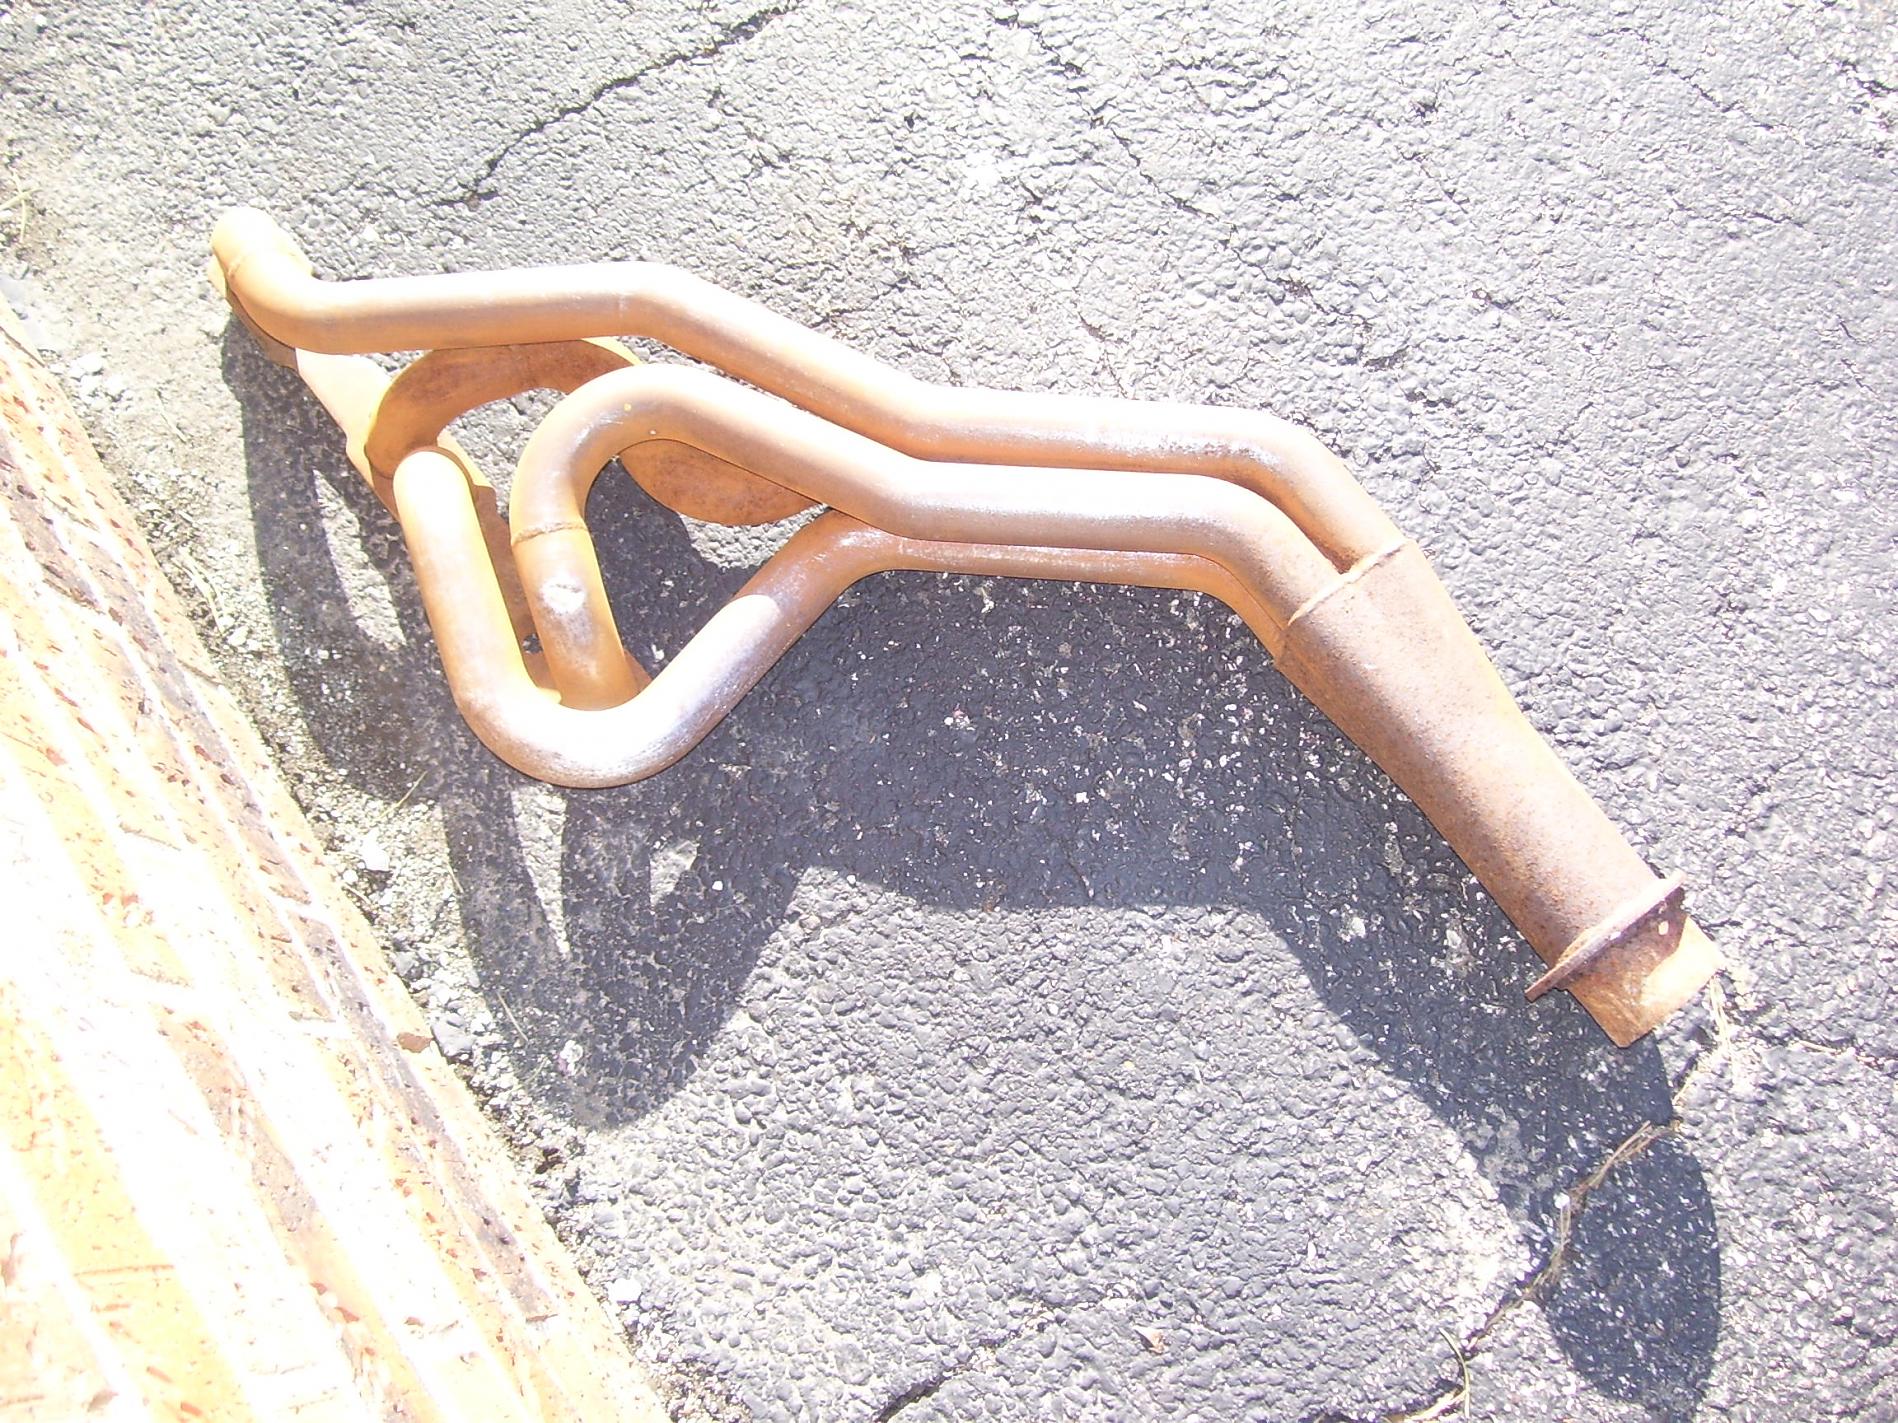
Promised awhile ago I would do a write up on my header restoration and after seeing another post on here, I got reminded that I never did. So...
Hooker LT1 Long Tubes...Looks like they were sitting on the bottom of the ocean! Tons of heavy surface rust, but for free, cant complain! Thanks again Carri! You rock!
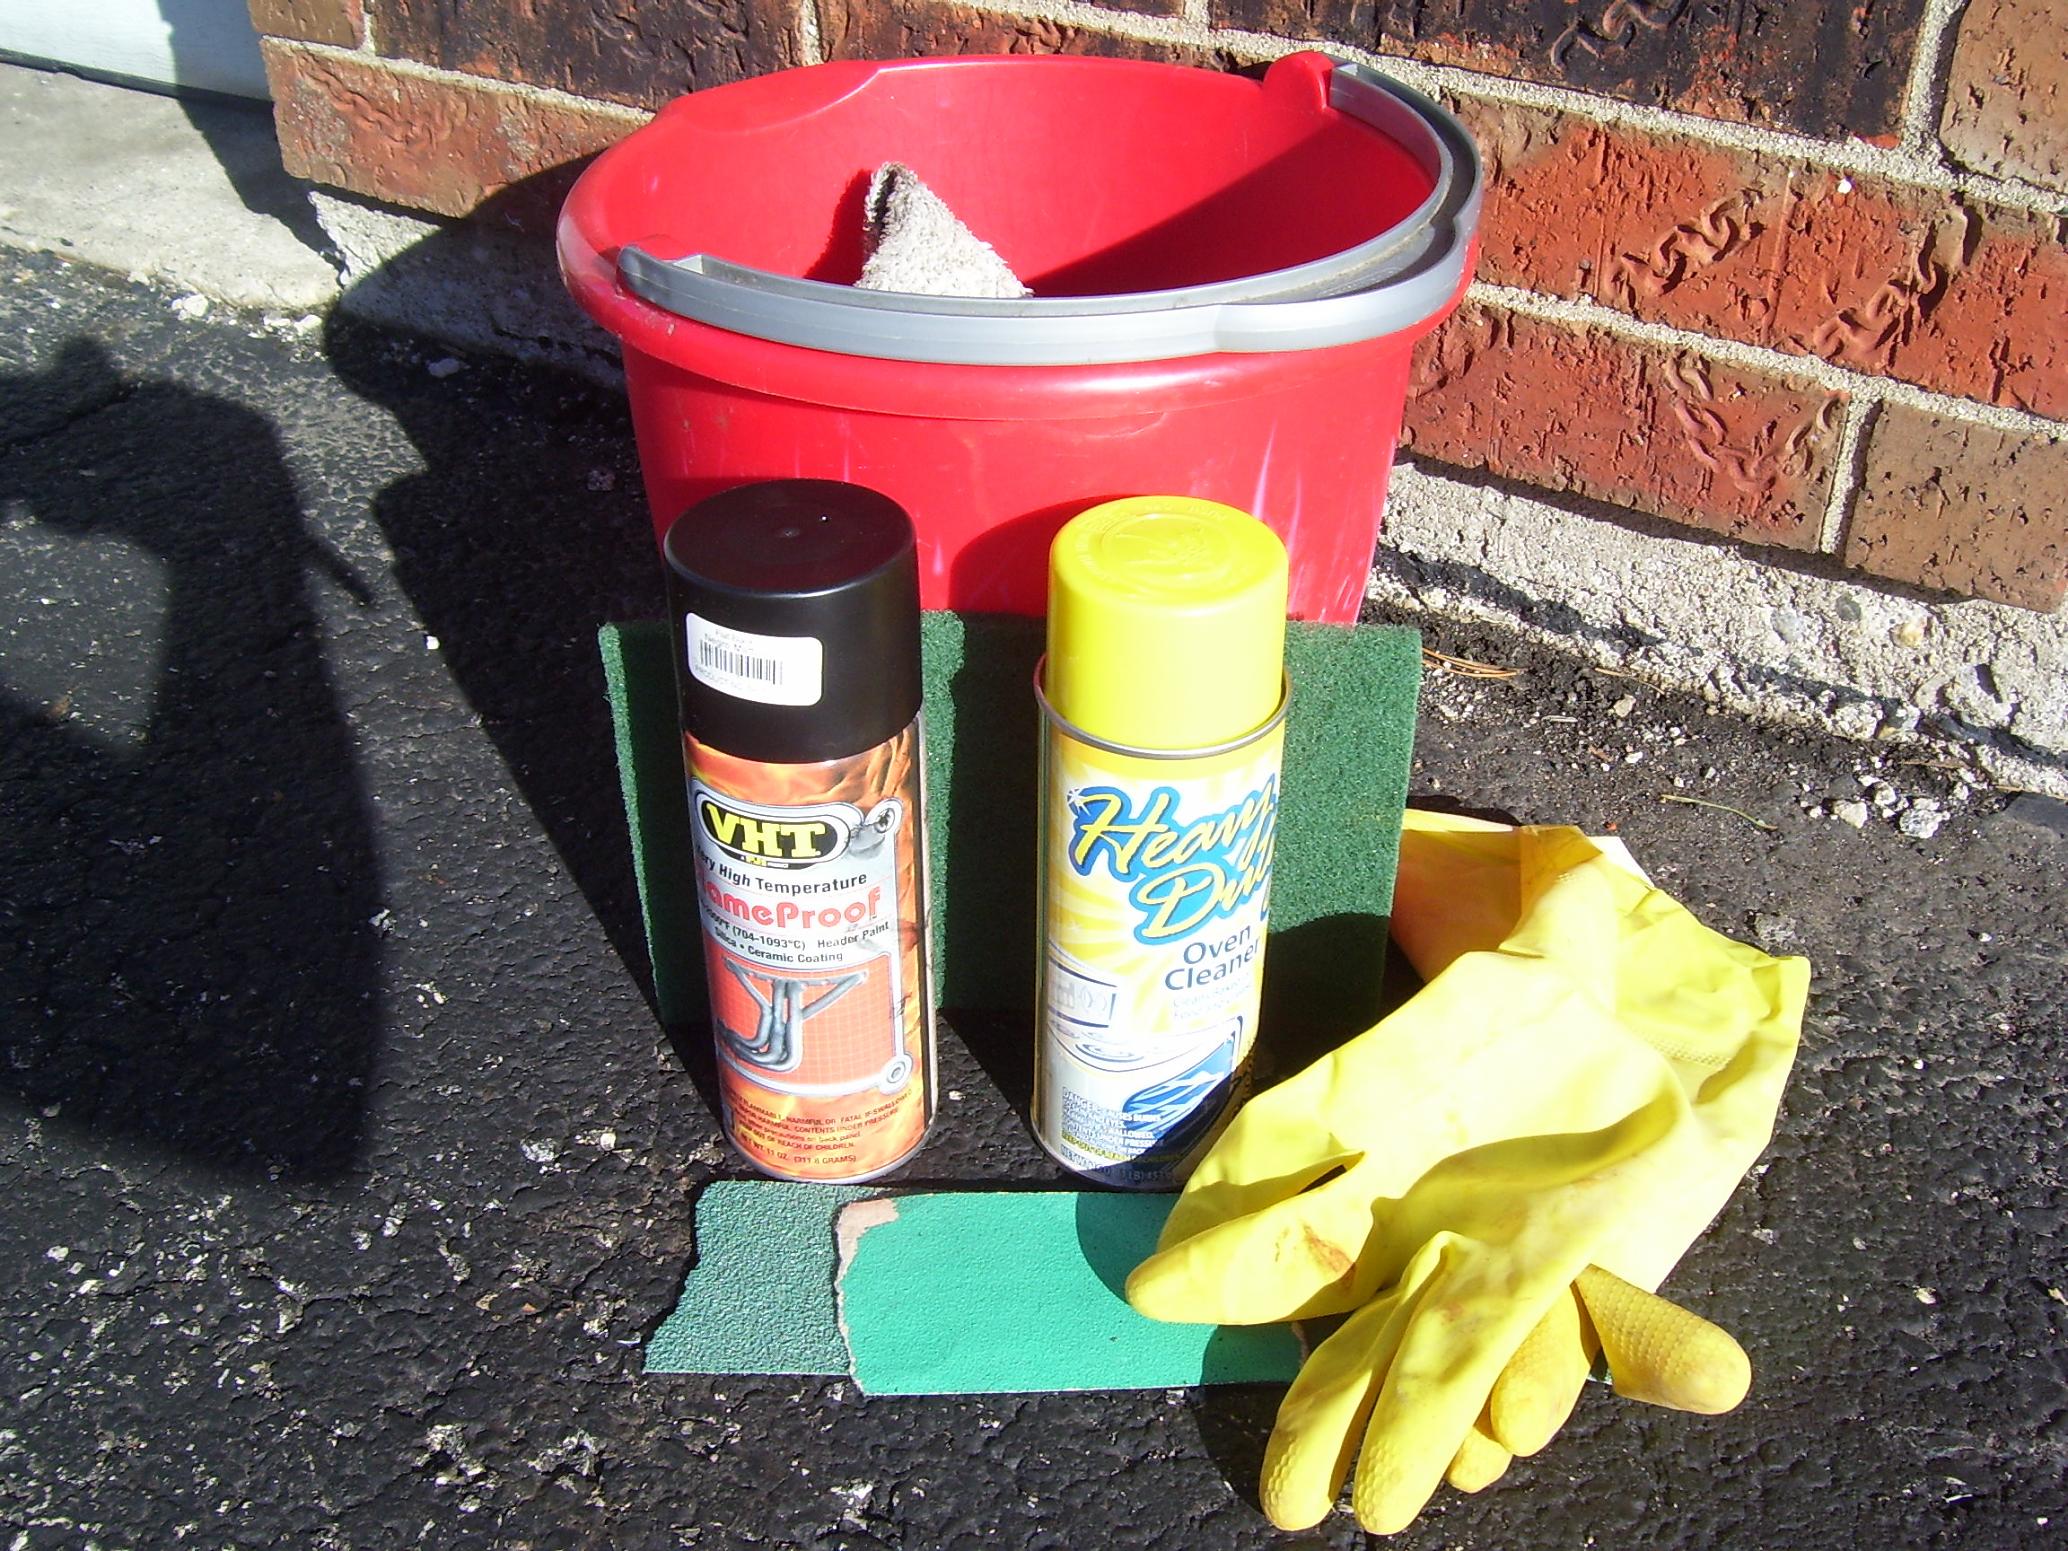
Here is what you will need, oven cleaner...make sure you soak the header good with the oven clean and make sure you have gloves on too, the rust will come off, let it sit for a couple hours, I sprayed mine and let the headers soak overnight in over cleaner...scotchbrite pad(s), hit it with some soapy water, may need to respray after this step if the rust is really pitted like mine was...VHT header paint...spray as soon as you are done drying the headers off to prevent flash rust. I did 3 light coats of VHT header paint. If you go too heavy, it will flake off. You just want enough to put color on them.
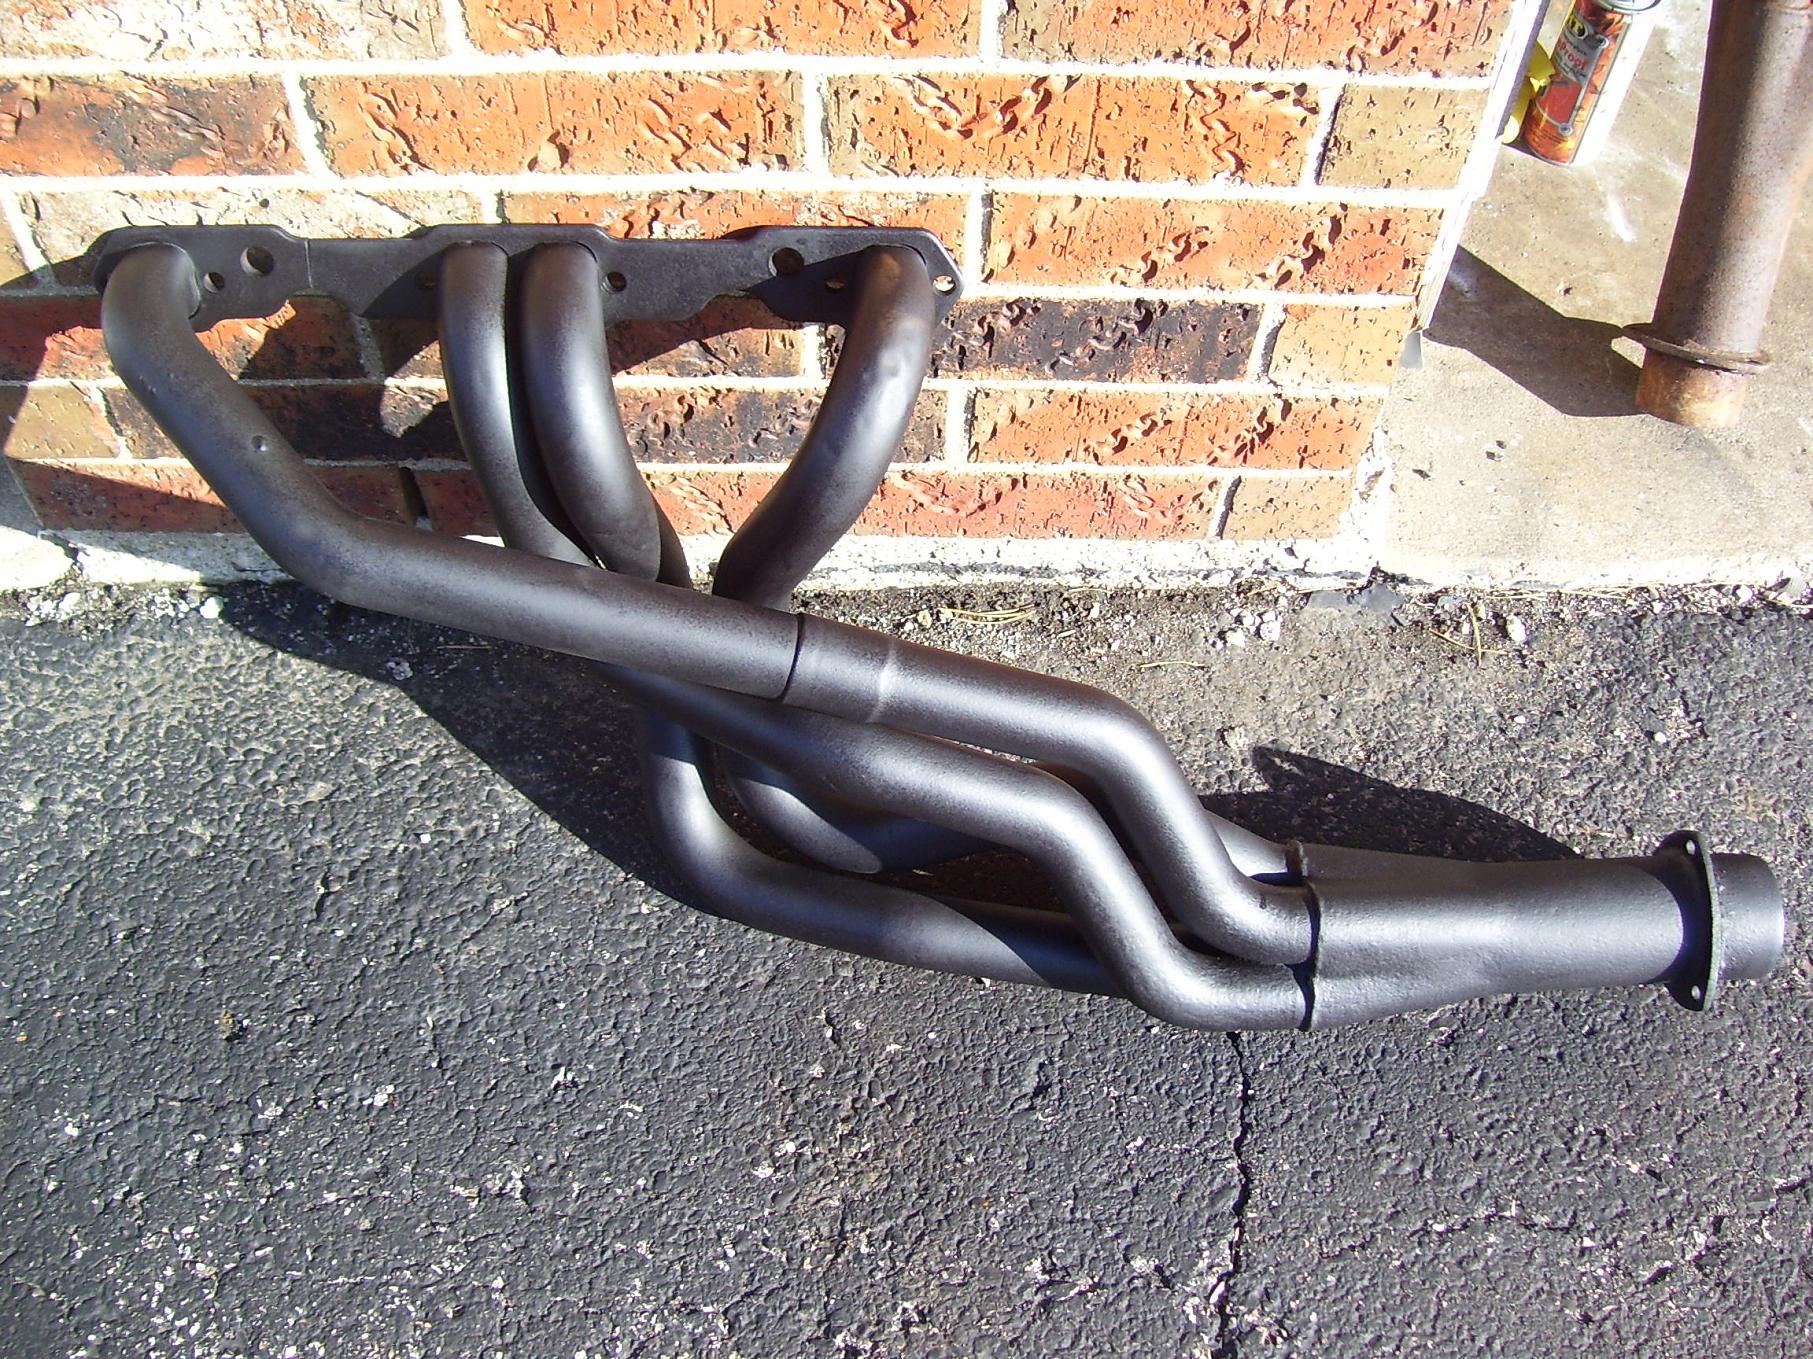
Finished product, looks better than new! And for $6 and a couple hours of work (minus the soaking time), no media blasting, acid dipped, and 2 years later still looking good!
7-19-2010
Talking with a buddy of mine who works at StikerDude and may be doing some "Dick Harrell" look-a-like stripes to go with the spoiler + hood theme. Thinking like a gunmetal silver stripe down the side with a checkered flag fading as the stripe got smaller and then the stripes down the side of the cowl with LT1 written in them in place of the 427.
Another possible "freebie" since Im going to do some bodywork for the guy. What do you guys think?
Also Jeremy came over Saturday and helped wire up the battery in the trunk, so that is finally done. I will grab some pictures tomorrow if the rain holds off. Thats about 40 pounds off the front end and over the rear tire.
7-28-2010
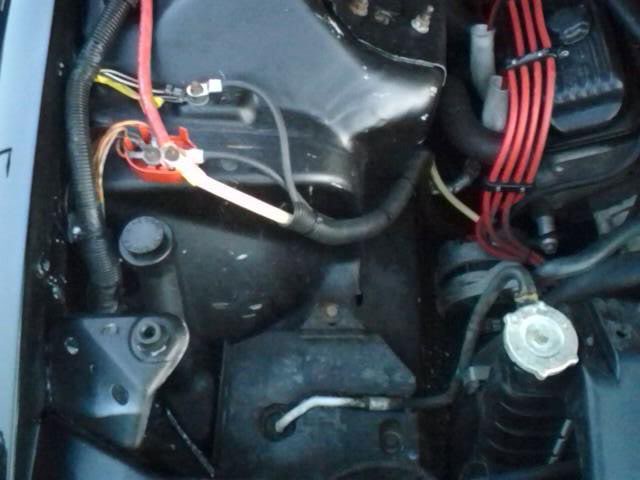
Big thanks to Jeremy Hedman for stopping by the other day and doing my battery relocation on my Camaro. Electrical work scares me! We went off this wiring diagram (although for a LS1, the wiring is the same)
All done, the nose is about 40 pounds lighter! just need an approved battery box and an overflow container and Ill be set. Snapped some pictures today. Again, I was stuck with just my cell phone, so I apologize in advance for the quality. Here is a shot under the hood without the battery and shows how we connected everything under the hood...
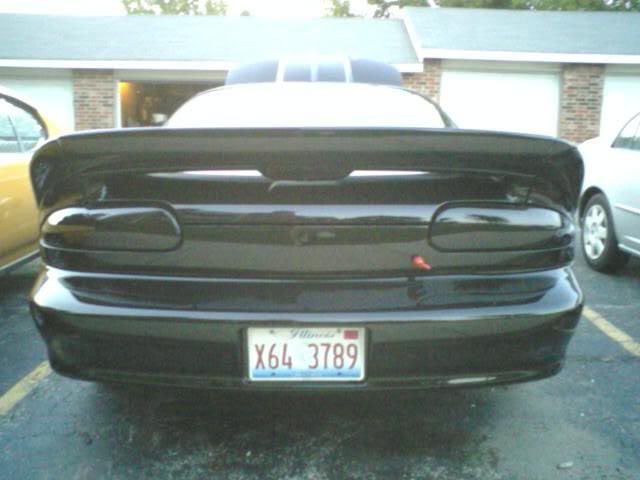
A shot of the rear with the shut off switch. Im not sure how I feel about the red handle, may keep an eye open for something a little less bold, wonder if I could paint it black to match?
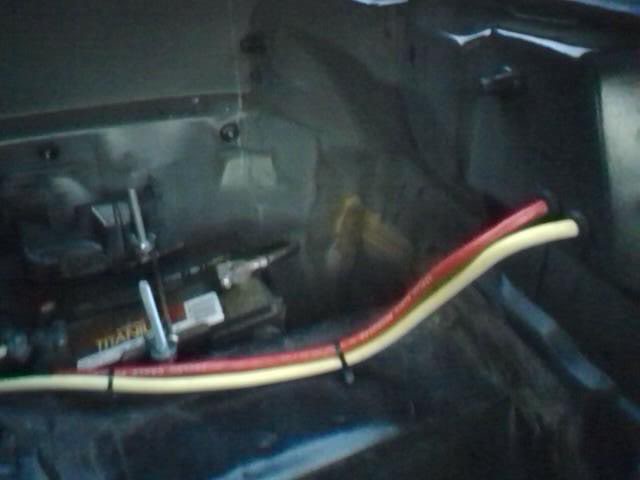
And a shot of inside the rear hatch. Still need a NHRA approved box though...
Also picked up awhile back a used TH350, TCI 3800-4000 stall with a nitrous anit-balloning plate, and a SFI approved flexplate. I am going to have my friend, Steve Scobbee, rebuild the trans with red bands and clutches and send the convertor off to get flush just incase there was any junk thats in the convertor is out.
Here is the Th350 trans with a fancy Lokar dipstick tube
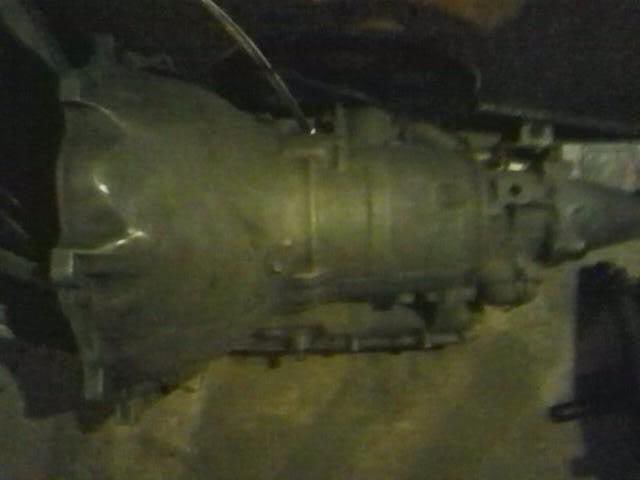
And the guy I bought the trans from gave me this flexplate. Not sure if it will work on a LT1. Anyone know? This all came off a 1970 Camaro btw...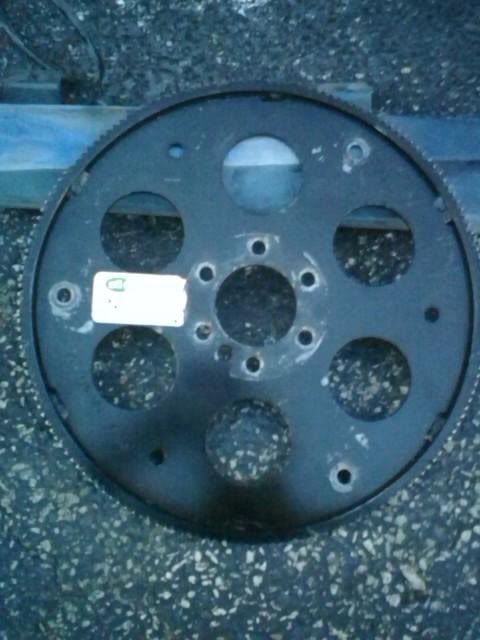
8-7-2010
Well guys, as much as I hate to do it, but I have to in order to keep this car, the Camaro is going back to stock style setup...details in this thread here...
http://www.ls1tech.com/forums/lt1-lt...ack-stock.html
Due to financial trouble Im selling my wifes Honda Civic to avoid car payments and Im giving the 94 to her for a daily driver. I dont know what the future will hold once things settle down, may keep it as a nice street car or may go back to my old setup.
I will need your guys help if you can. Im trying to locate the stock parts Ive thrown away or sold. Mainly looking for wiper arm assembly, windshield washer tank and lines, complete HVAC system, factory accessory setup (will trade power steering delete/alt relocation kit for) crash supports, factory wheels and tires (selling the ProStars) an LS1 center console (selling the ProStick) just off the top of my head.
I am going to keep this car detailed and maintained for her as well as any modifications that are going to help performance and streetability. So the car isnt leaving, just the theme/purpose of the car...it may turn out looking nicer than before, who knows...I will continue on this thread as progress happens
