You must be logged in to rate content!
6 minute(s) of a 176 minute read
8-17-2010
How to Paint Interior Plastics
Since I am piecing together stuff I have sold awhile ago, I have gotten several interior pieces that are great shape, but the wrong color. Maybe you replaced a damaged panel and the color is off or faded and looking to make it new again. For this write up here, I used a center console that I bought when I was doing the LS1 dash swap...
Here is a picture of the console when I bought it...Note it is a dark grey instead of black. I want the console to match my dash which is black...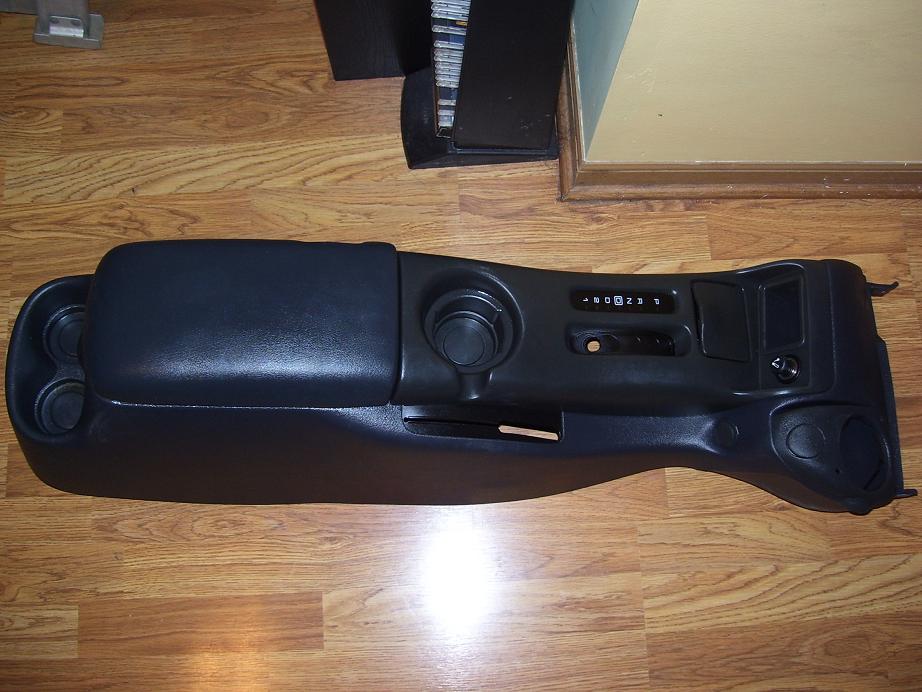
First thing you will want to do is to clean the panel really good. I used Purple Thunder (Can find in most automotive stores) and cut it 50/50 with water, this is pretty strong, so it will get rid of alot of stains, armor all, and leave the surface clean and ready to paint.
I went to CarQuest and picked up SEM Flexable Interior Paint. This is good stuff, I used it on some of my GTO interior panels years ago and no flaking and looks as good as the day I painted them. The color I used was Landau Black (P/N 15013) This color is the closest in semi gloss of the factory black...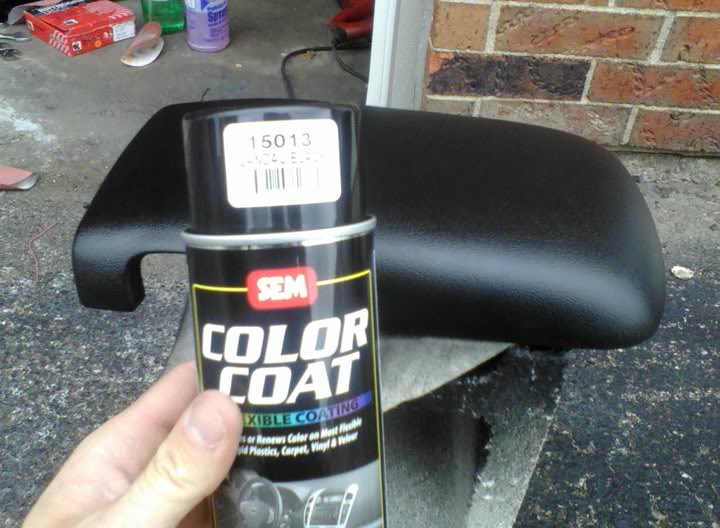
The key to success is to use as little paint as possible, the thicker the paint, the more likely it is to flake off. I kept the can back about a foot and lightly dusted on the first coat and let it dry for 20 minutes. The first coat will be very light and do not try and cover the entire panel. You will repeat this step about 3-4 times going very light and giving plenty of drying time between coats. You do not want the paint to look "wet" in any spots. Just take your time and lightly coat until you have full coverage and then STOP! Enjoy your newly painted panel and give it a full day before installing it!
Center console and lid painted black...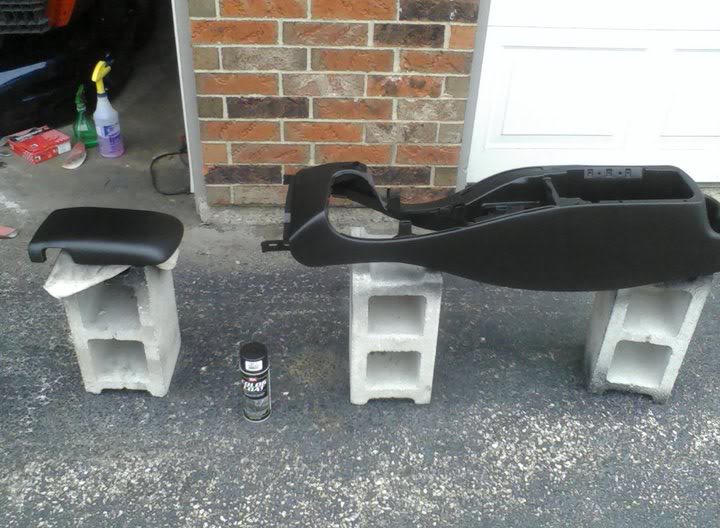
Now to finish up with the top plate and misc pieces that I wanted painted seperate...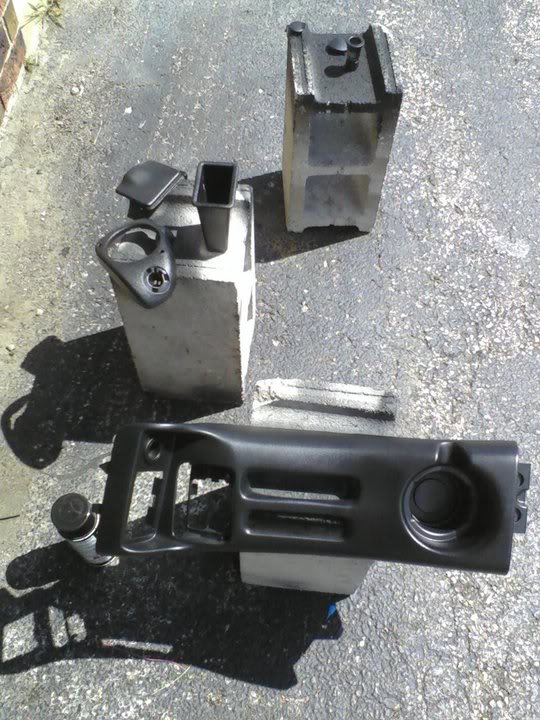
And time to put the console back together and install in the car. Note the factory steering wheel is also back in. Thanks Jason (am_muscl)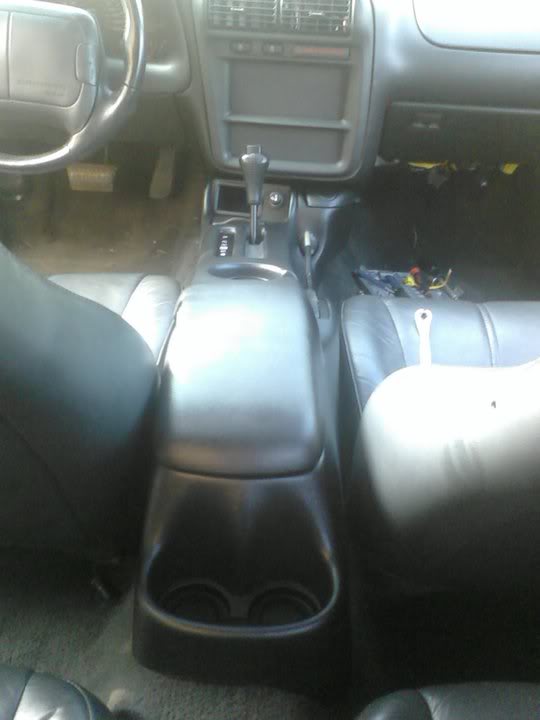
Still need to put the radio and once I locate a complete HVAC setup, I can install the heat, a/c, and vents...
Front Lowering Springs (One of the mods I am actually doing over stock stuff)
These strut/spring assembly is from a donor Camaro with good struts. My factory ones I removed awhile back only to find the top nut so rusted, you couldnt even get a socket on it. So I reinstalled the assembly and looked for another set.
Tools all laid out...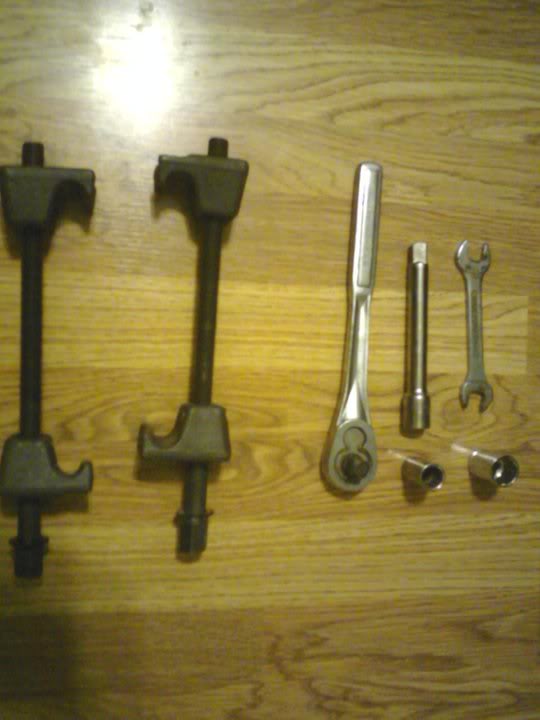
15 mm (strut nut)
19 mm (compressor nut)
15 mm wrench (just grabbed if needed)
1/2 Drive Rachet and extension
Spring Compressor
Strut/Spring Assembly with Eiback Pro's waiting to be installed...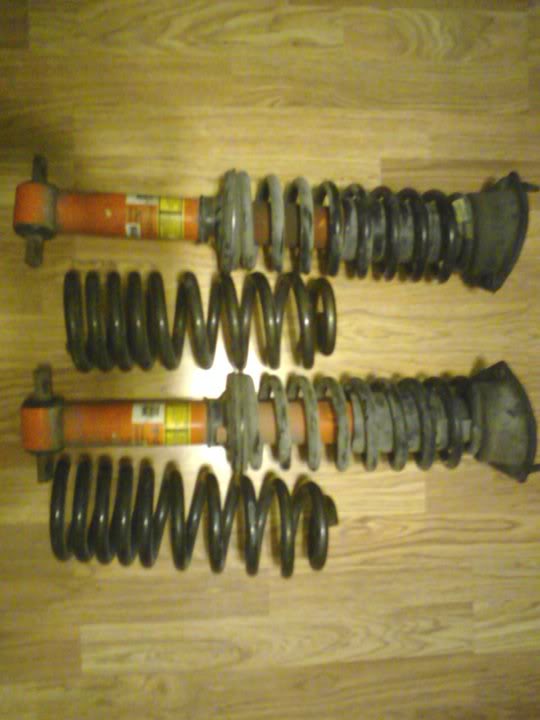
I tried tackling this last night with hand tools with so success, so I called it quits and today headed over to my buddys garage to use his air tools. Made this alot easier!
Pic of the swapping the springs out...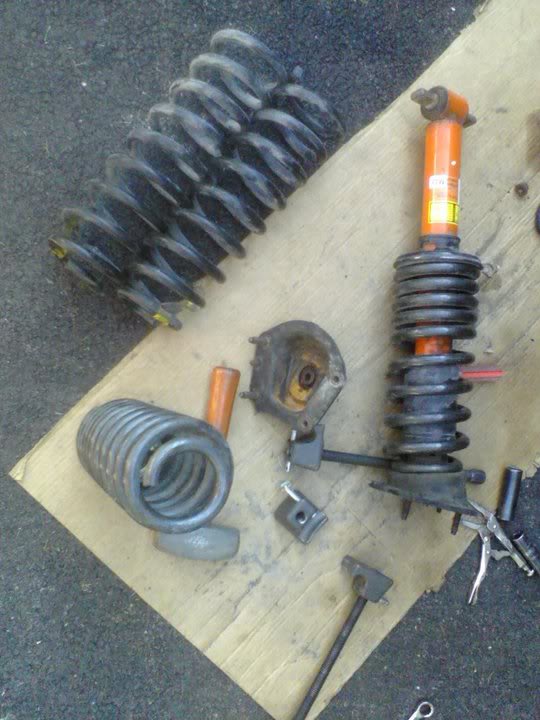
Eibach Pros on factory LS1 struts...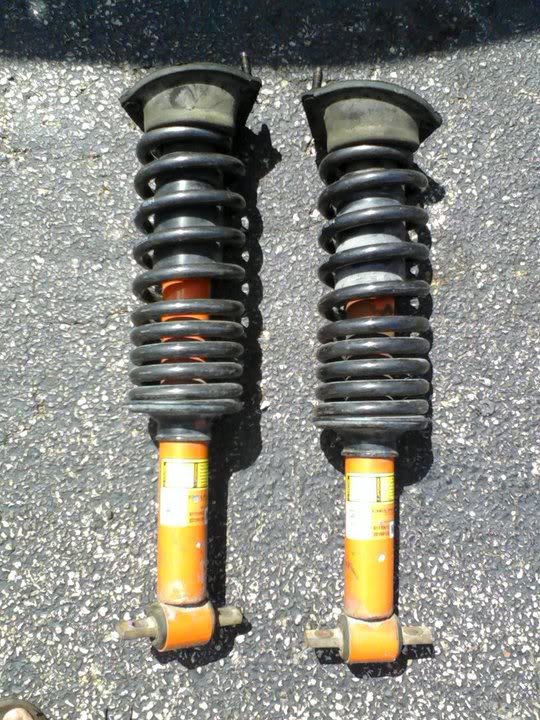
Now that I have a complete assembly, I can remove the factory strut/spring assembly from the car. The strut nuts were so badly corroded you could not see any threads at all. Here is the spindle unbolted from the top control arm...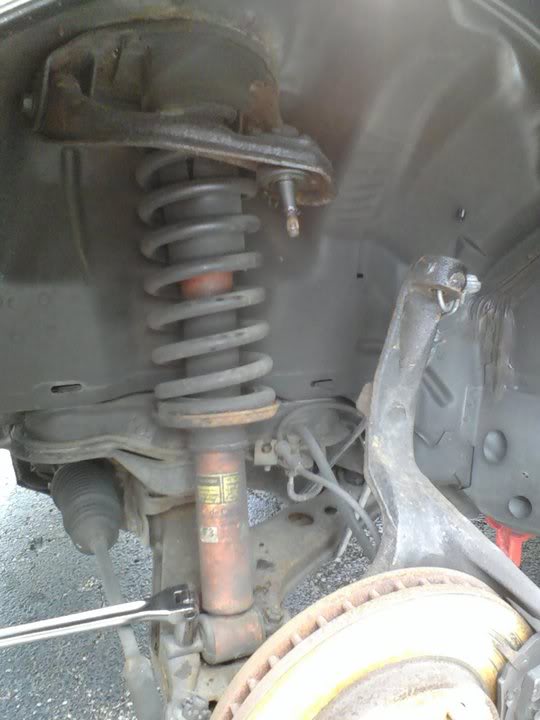
All finished up, still a little more gap then what I want, but once the A/C and front bumper support go in, hopefully it drops a half inch and Ill be happy.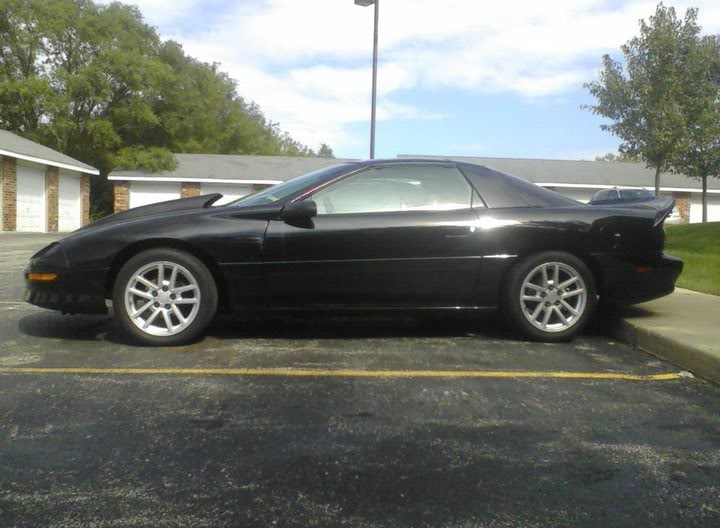
And hopefully the springs will settle a little after driving and drop a little too. But overall, Im happy with the results, I was worried it was going to be too extreme but now it just looks like factory ride height. Before, the car looked like the engine was out! BTW...am_muscl's white 94 is behind my car...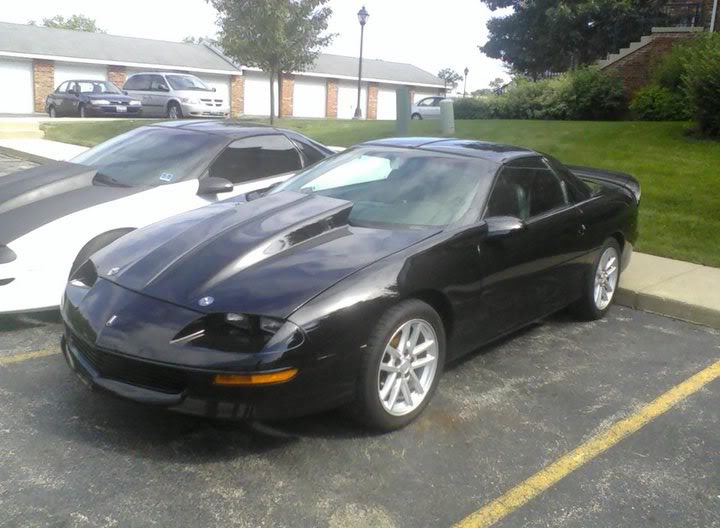
8-18-2010
Well looks like the y-pipe setup I traded Jason for my duals doesnt line up, so tomorrow I am trading my 8 pt roll cage for a hooker header back setup. Hopefully this will be an easy install and have a nice sound to it. Also picking up some aluminum valve covers as well. Still need to convert back to the factory acc setup and reinstall the front sway bar, need to find a washer fluid tank and the lines, buy or see if I can find p/s lines, and I think that will be most of the major stuff for now...I hope...